Holy moly! Kindred spirits. I’ve got plans on my workbench “to-do list” to build an Ofuru! I’ll use it for the ice baths as well as hot soaks AND when we redo our master bath here I’ll be adding one in there as well.
I don’t imagine you’re wrong about the soothing from the heat. In fact I didn’t do the extreme cold cycling until after my first year with the sauna and yup - pain was gone. So I guess indeed that is the case. Maybe the white blood cell thing is more overall health related?
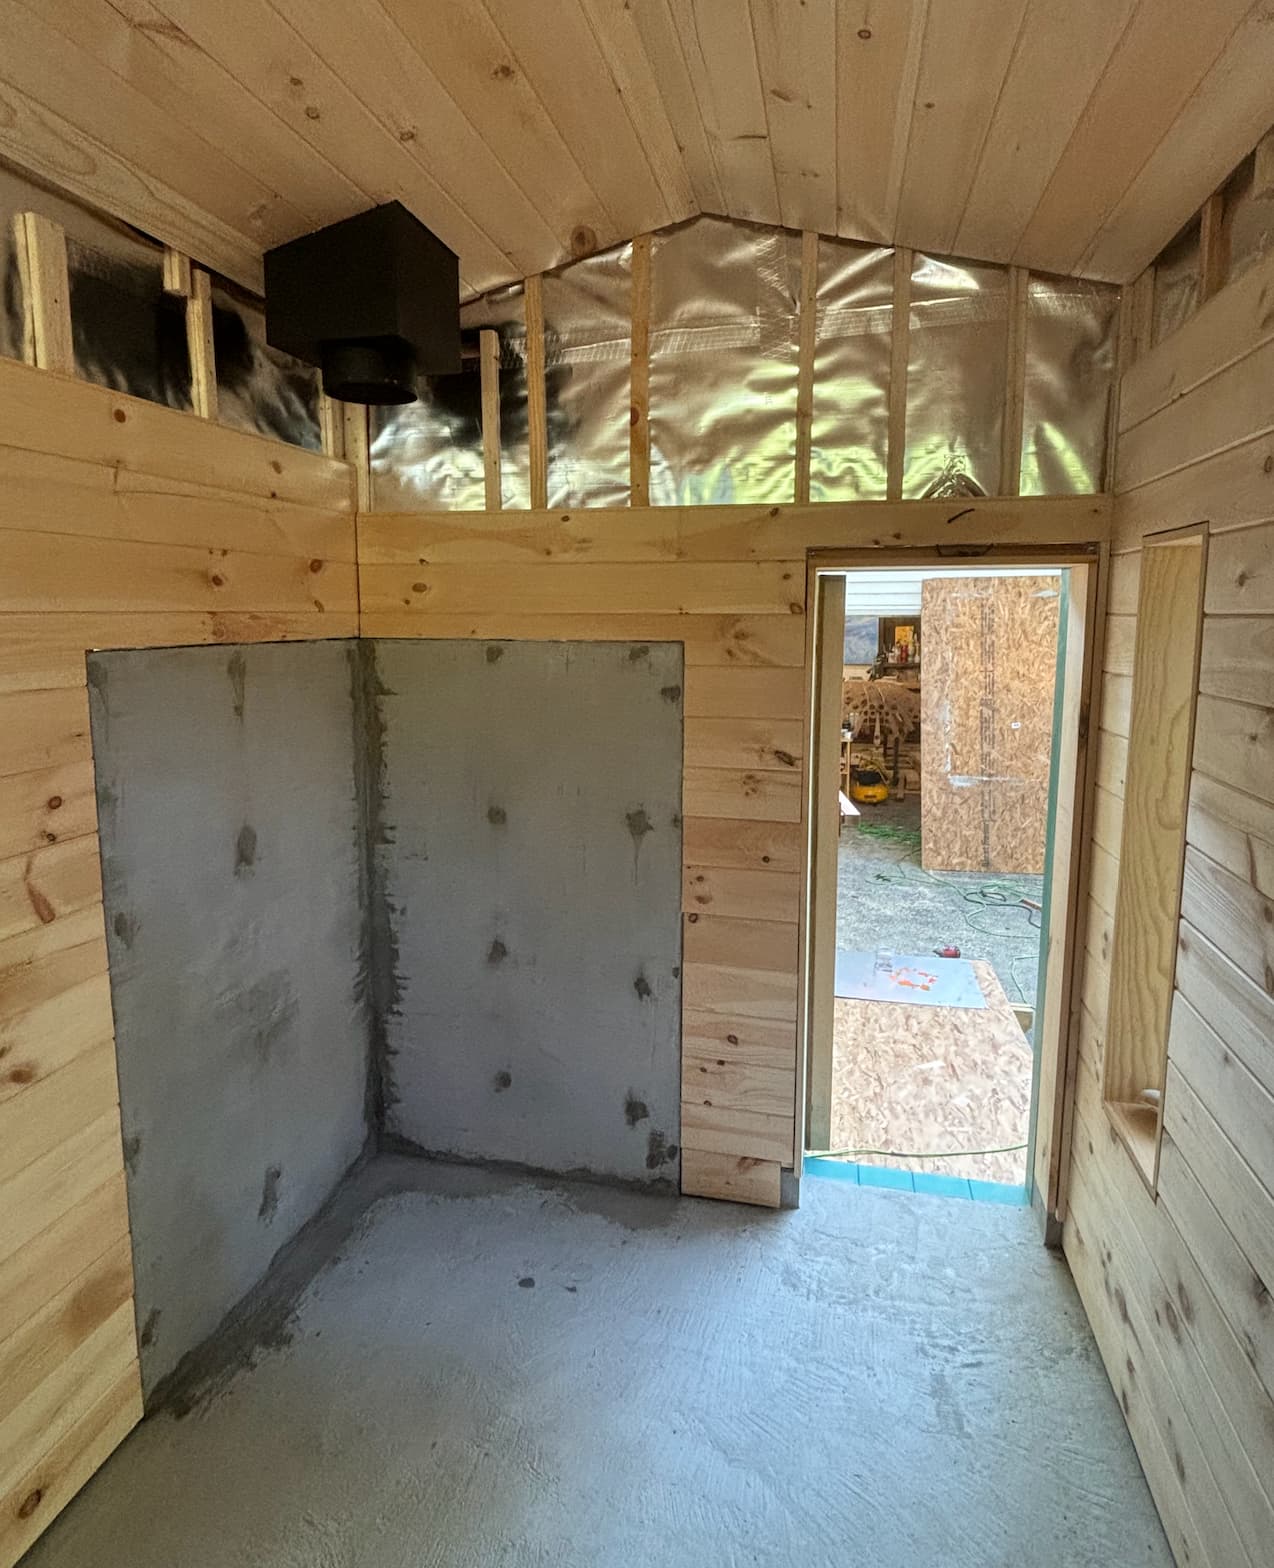
Love the framing and layout of this neat CNC’d Sauna project. Look forward to seeing how it turns out.
Thanks for this, forgot about sauna, and steam-shower benefits. Spent most of the day weeding, dethatching, raking and shoveling in the yard. Day dreaming of laser wielding yard robots. Now I’m thinking of how cool it’d be to visit Japan.
Am fortunate enough, to have been stupid/stubborn enough, to build a smart steam shower a few years ago. Works, but not finished… Aurora borealis lighting is pending. Happy to share material/build details if anyone’s consider similar misadventures (custom alexa integrated Kohler DTV+ setup. It’s awesome, but a prefab would’ve been so much faster and cheaper).
Greetings! I really love this project. I have been following Wikihouse for years and its one of the main reasons I started getting interested in CNC machines (have had a LR2 for a few years and currently upcycling it into a LR3). @japowers I saw your post about the sauna here on the V1 forums first, but just checked in on the wikihouse forum and saw it there. Something that I dont think is getting talked about enough over there is that a DIY CNC machine is being used to cut the files for your structure. So much of the conversation around wikihouse is that only a commercial CNC is feasible for a wikihouse project (accuracy is the main argument). I have always strenuously disagreed with that notion and I love to see your project b/c I think it busts that wide open.
As long as I replace bits regularly, and check everything is square once a week the Lowrider is totally capable. It might be comparatively “slow” but I can do other work on the computer while keeping an eye and ear on a camera.
Also when human starts glueing together the Wikihouse blocks, or in my case the rib-frames – things are going to be off by a mm here and there! Then there is moisture and other outdoor variables…wood is not inert.
That being said, the AdvanTech is a little more forgiving than ply – it tends to compress itself into openings when you hammer it in. Construction ply can be very stubborn.
The Lowrider matches my brain speed nicely in terms of prototyping and working on individual design problems. A commercial CNC in my garage would just be twiddling its thumbs most the day and developing a nasty substance abuse problem (the electrical bill).
Things moving along slowly here due to various travel “obligations” and straight up paralysis in the small decision making dept.
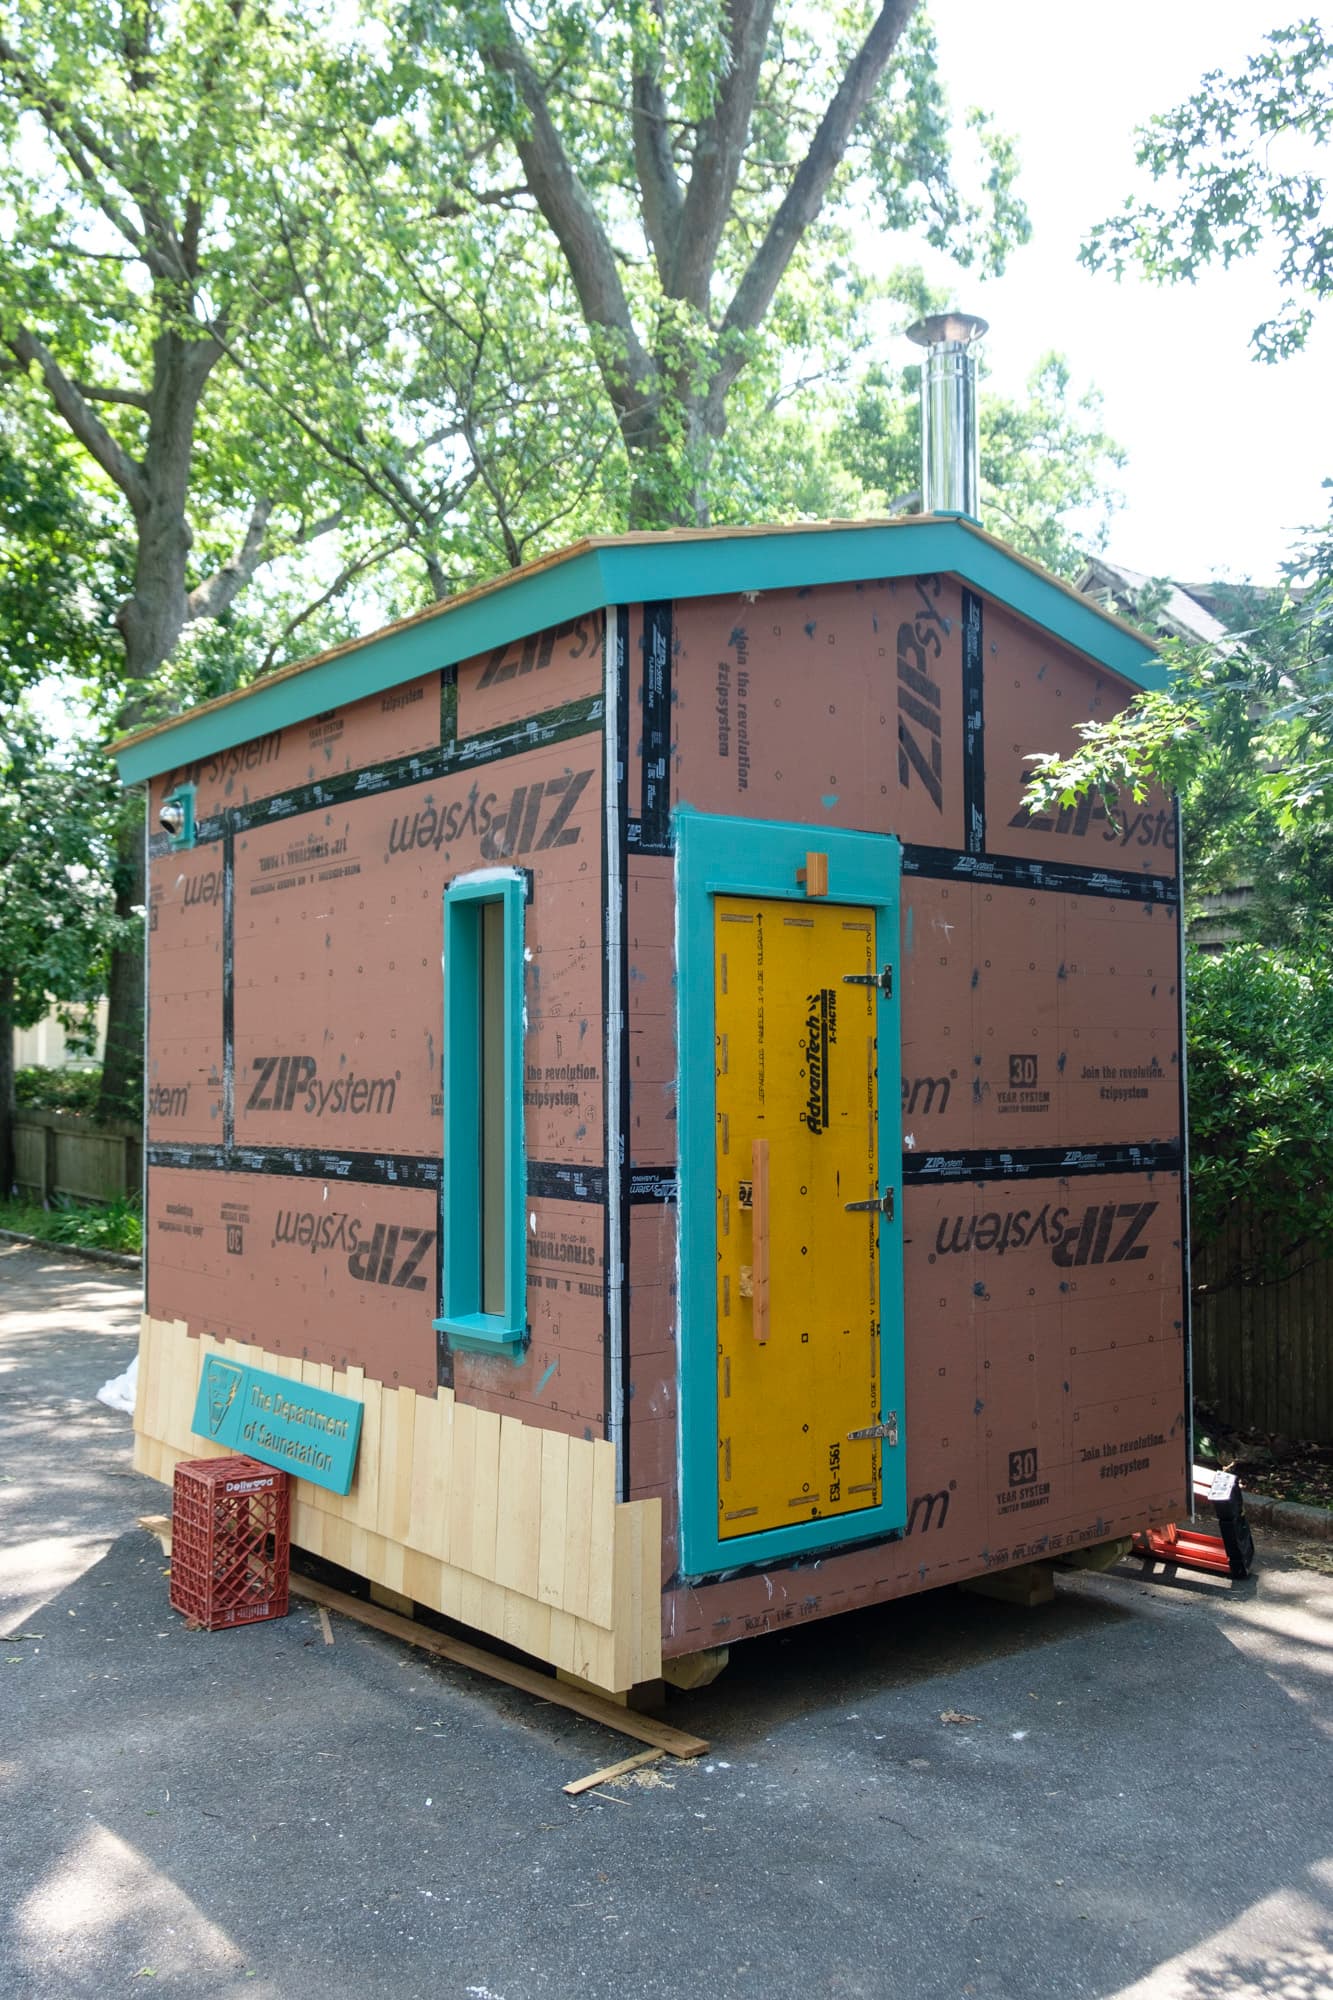
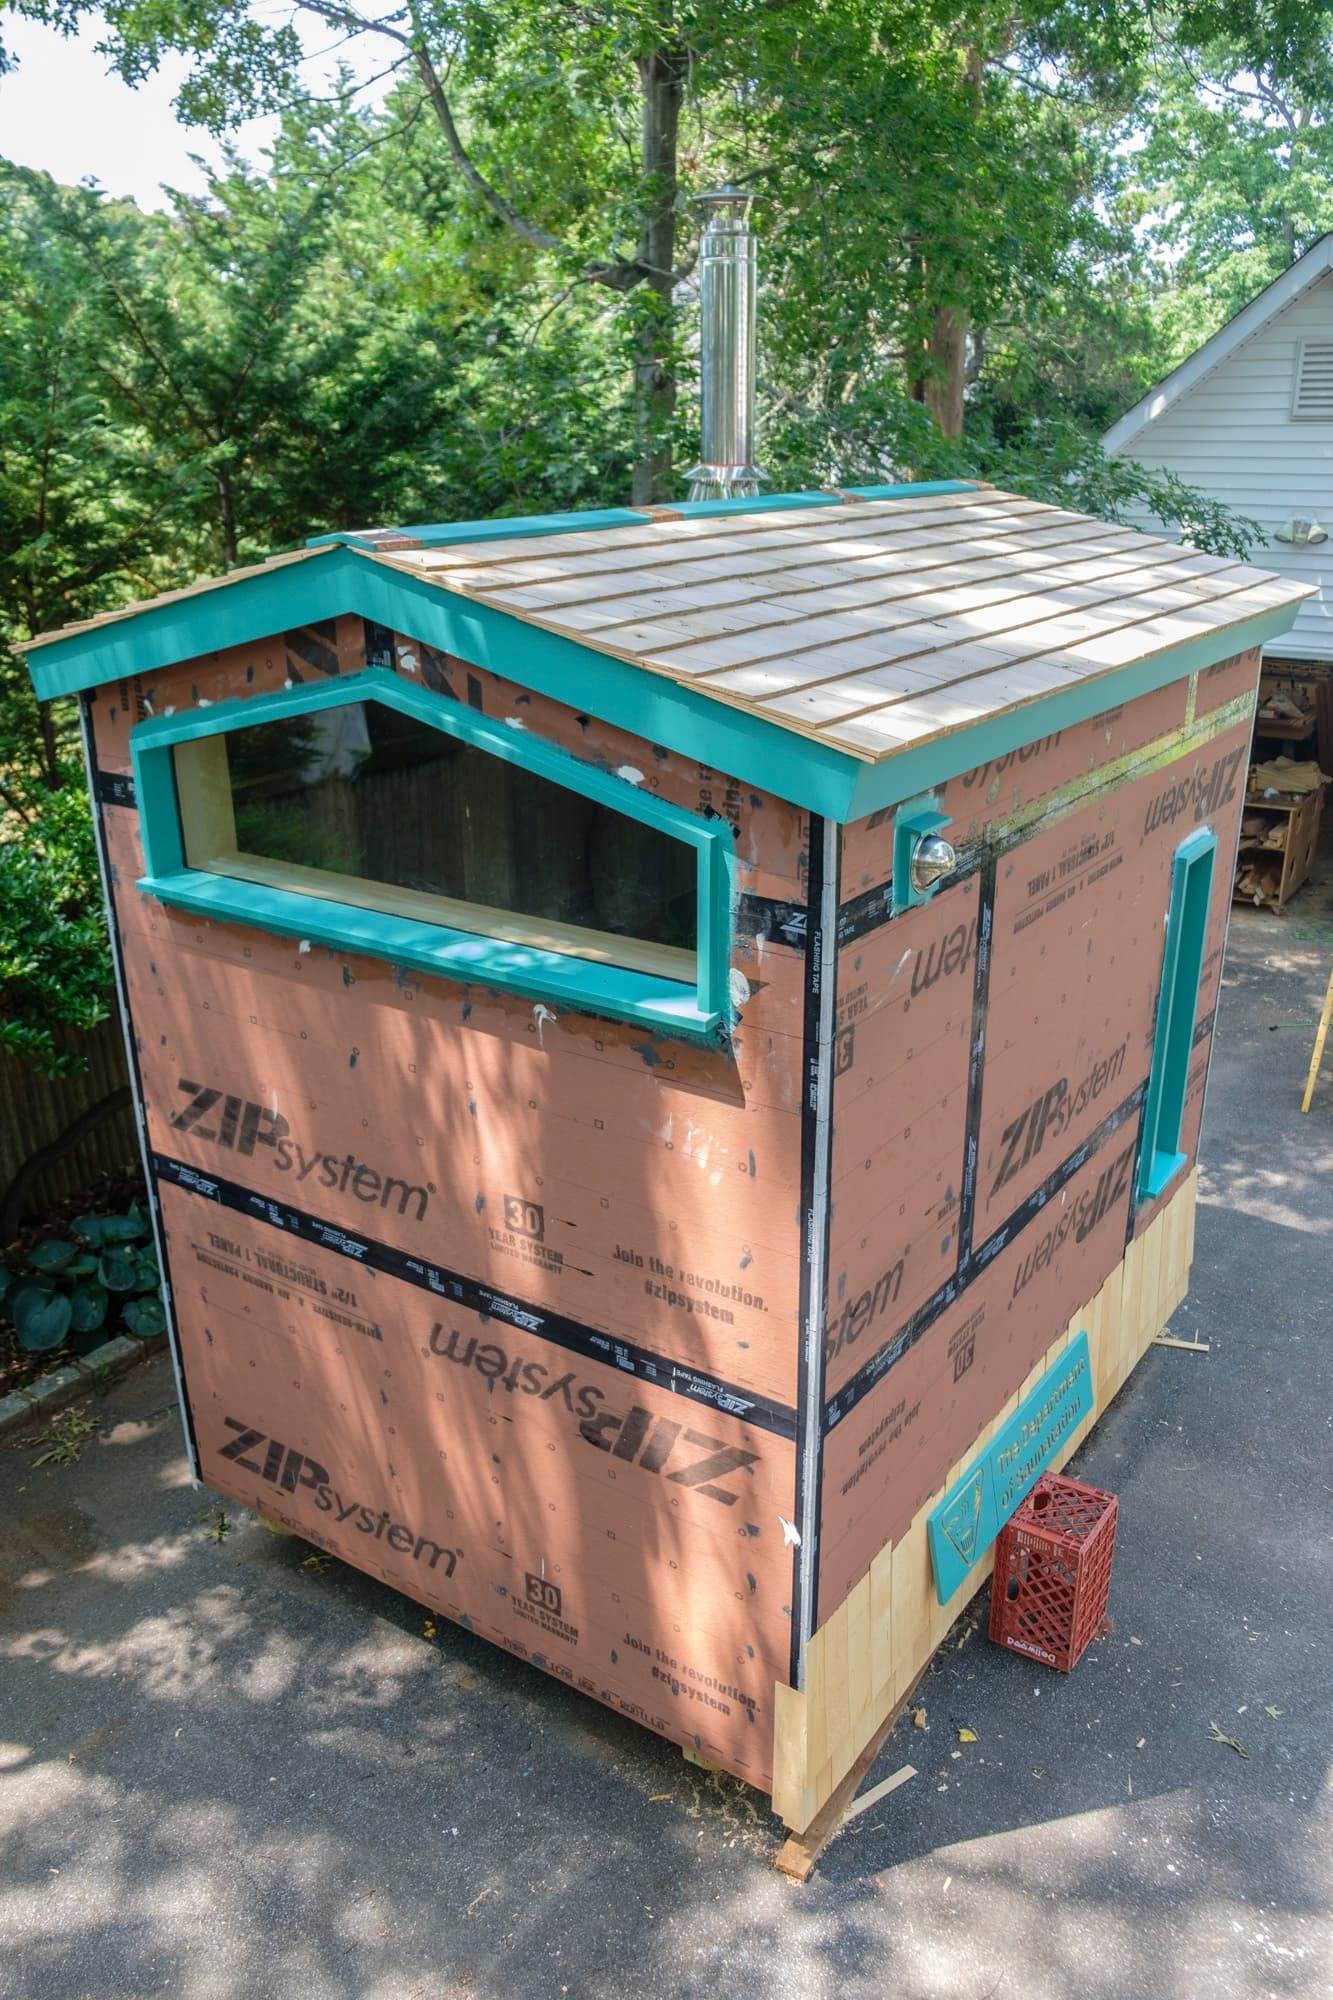
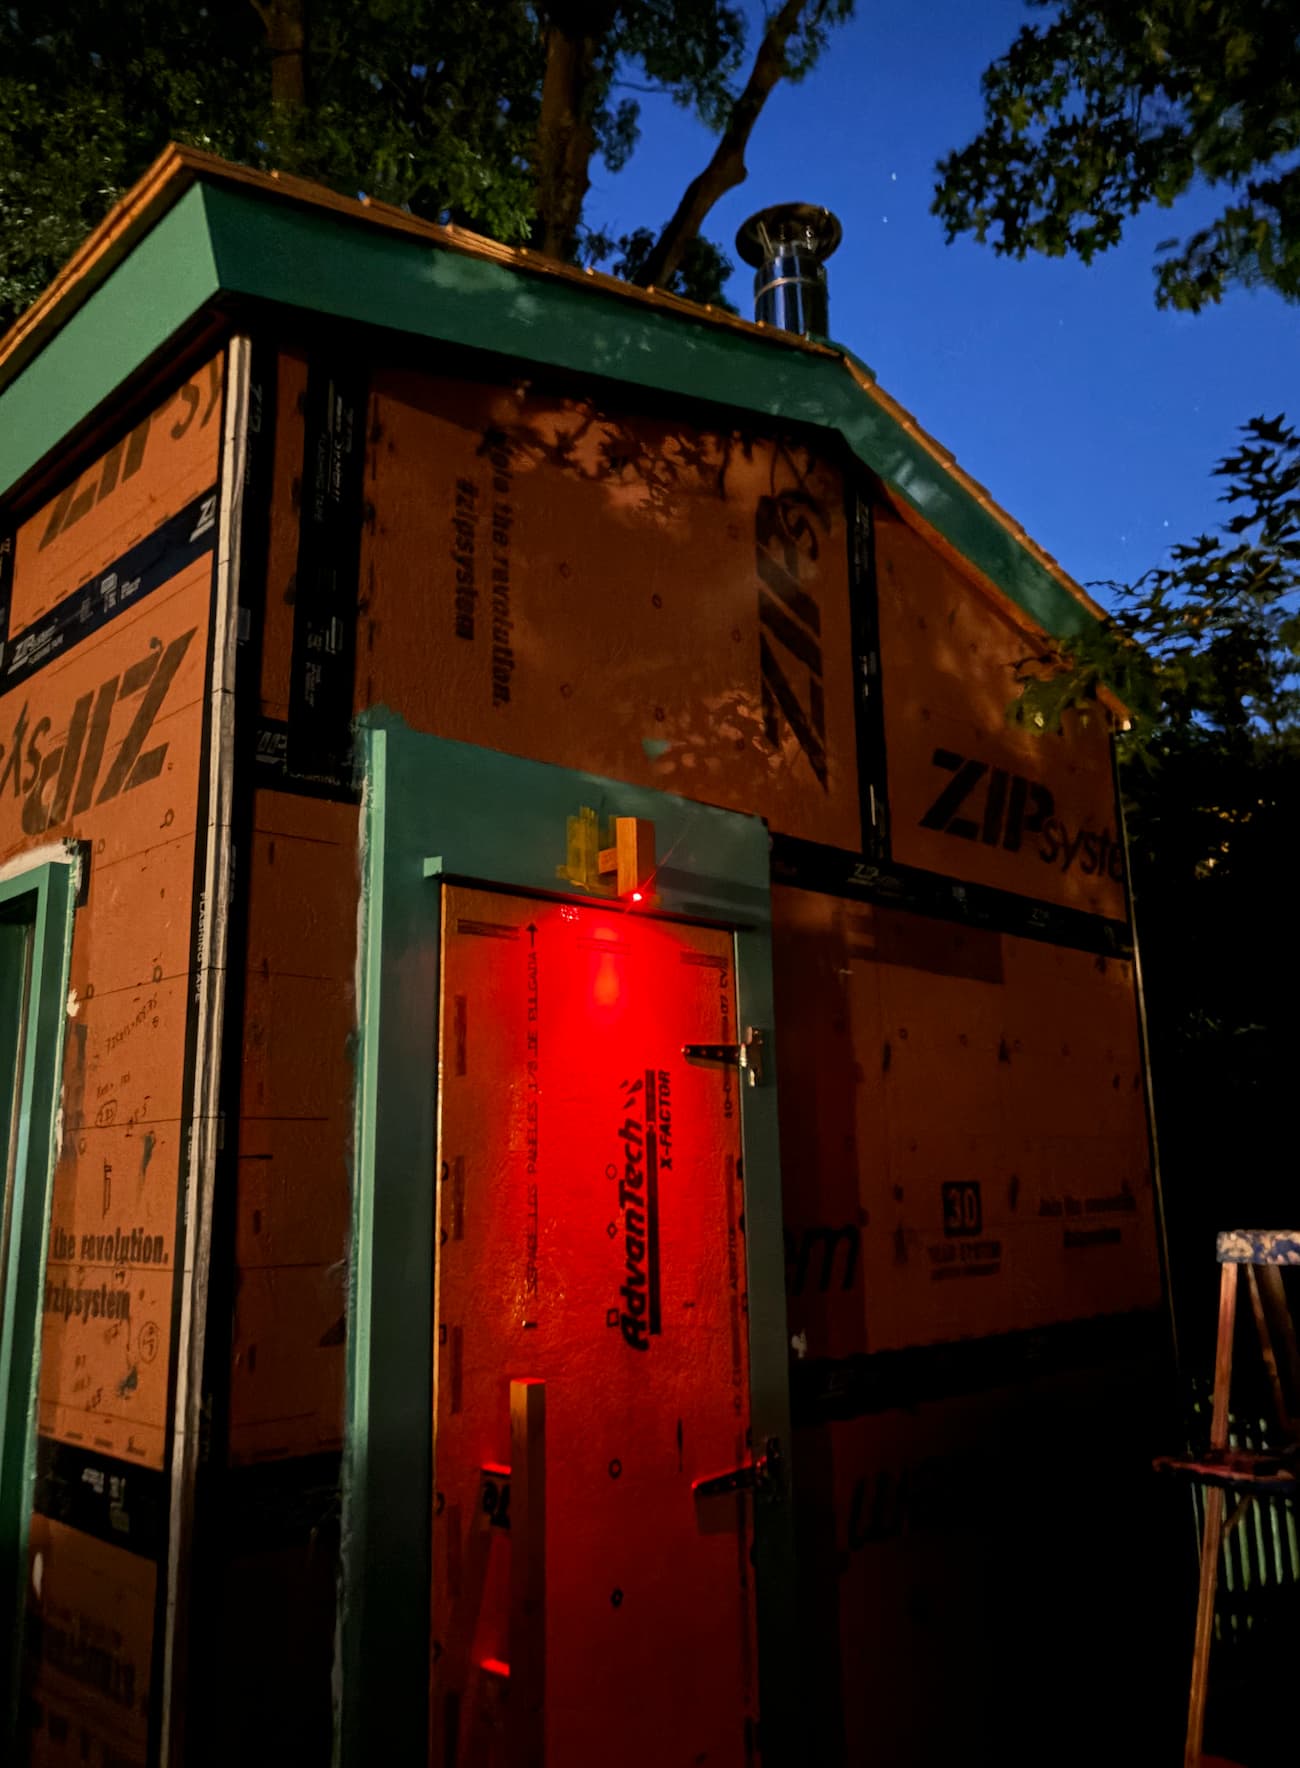
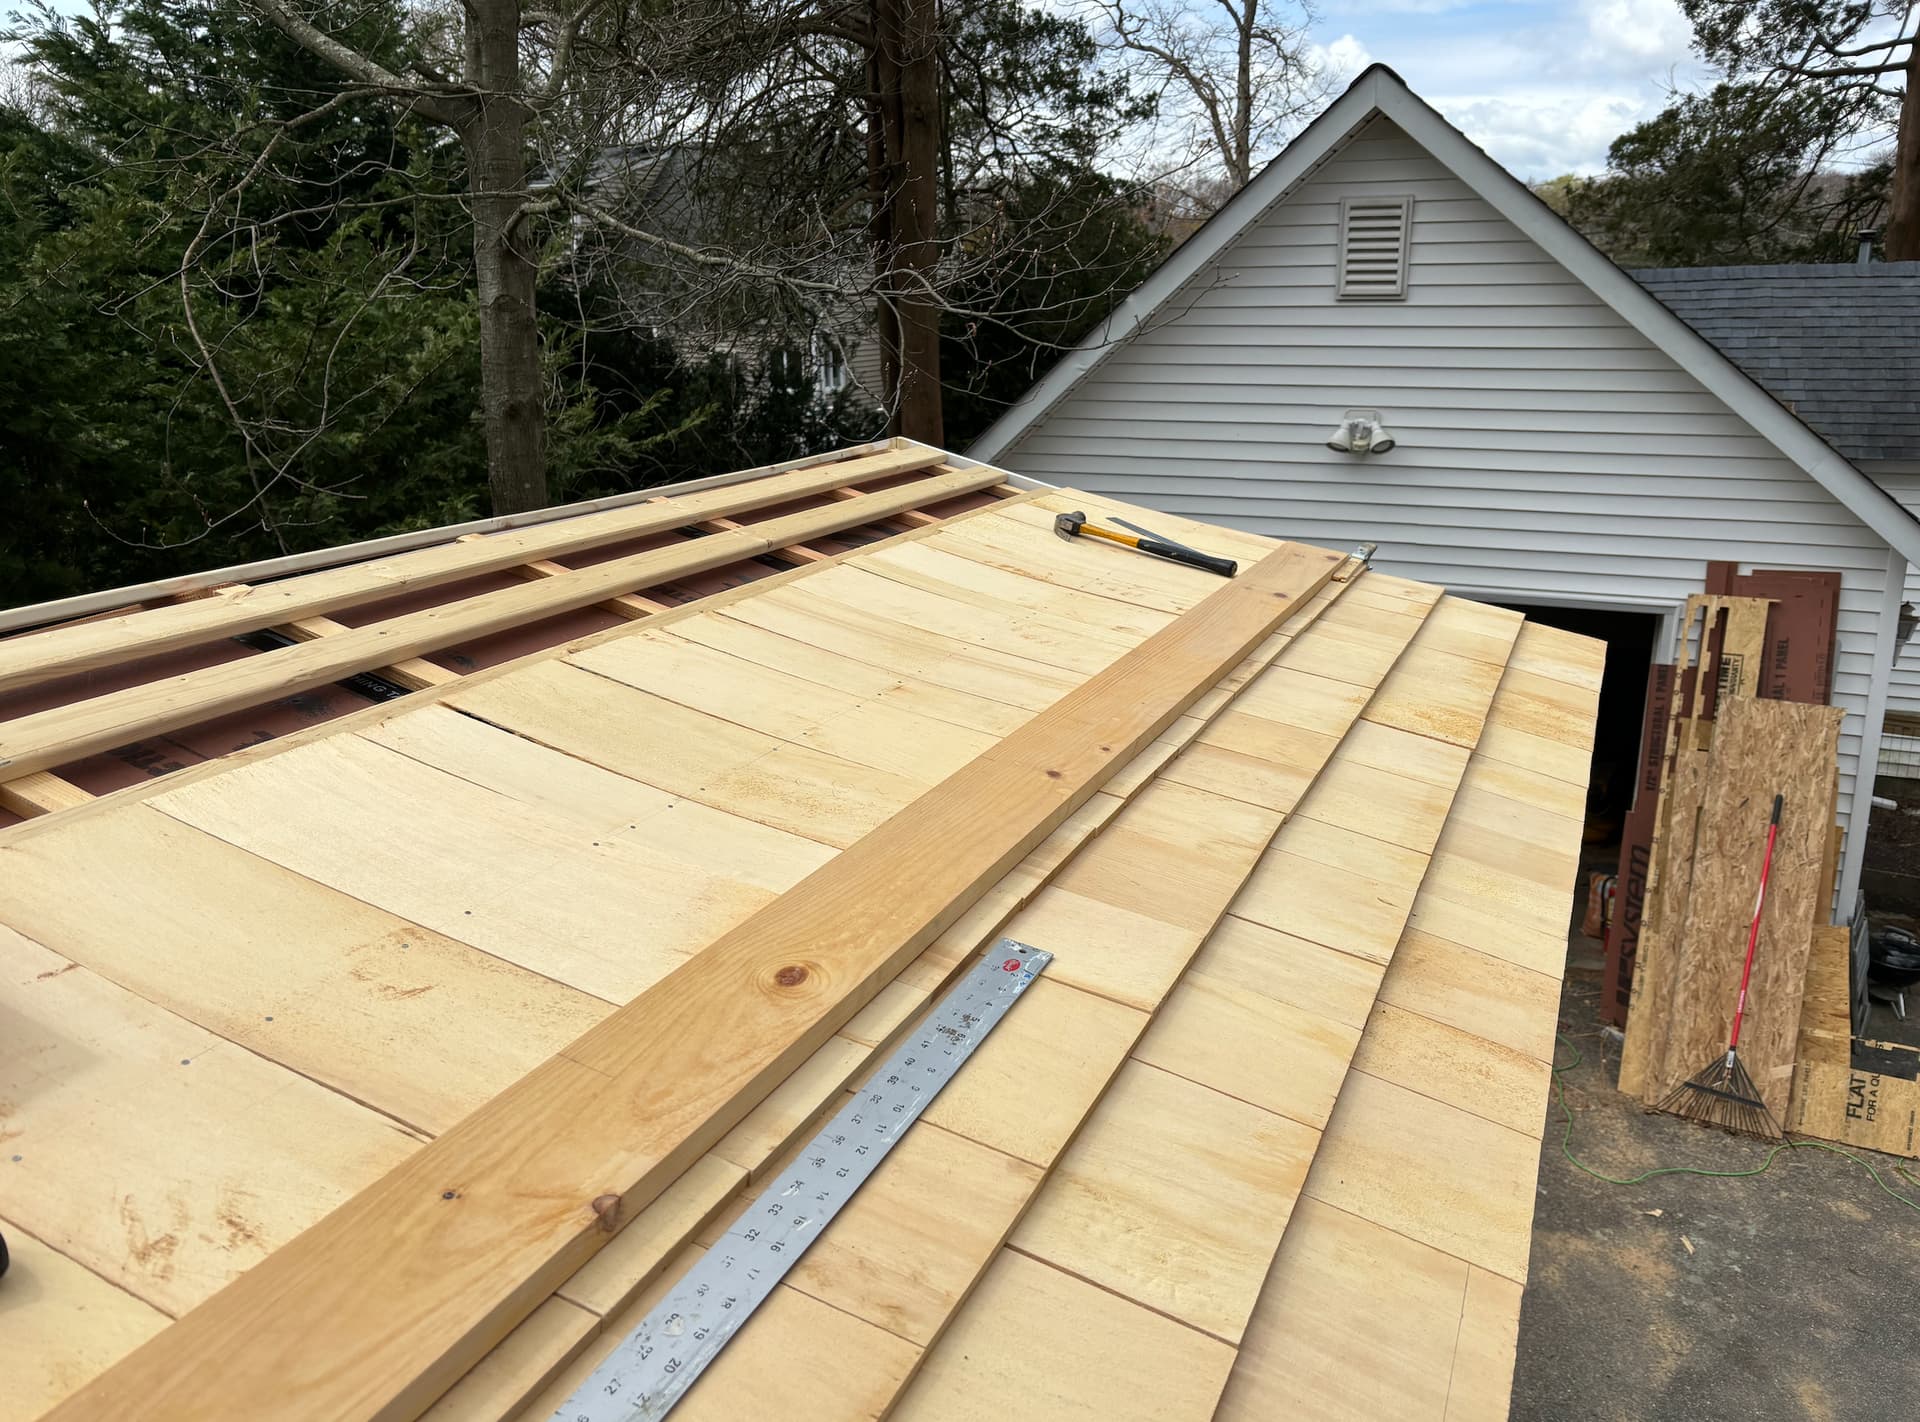
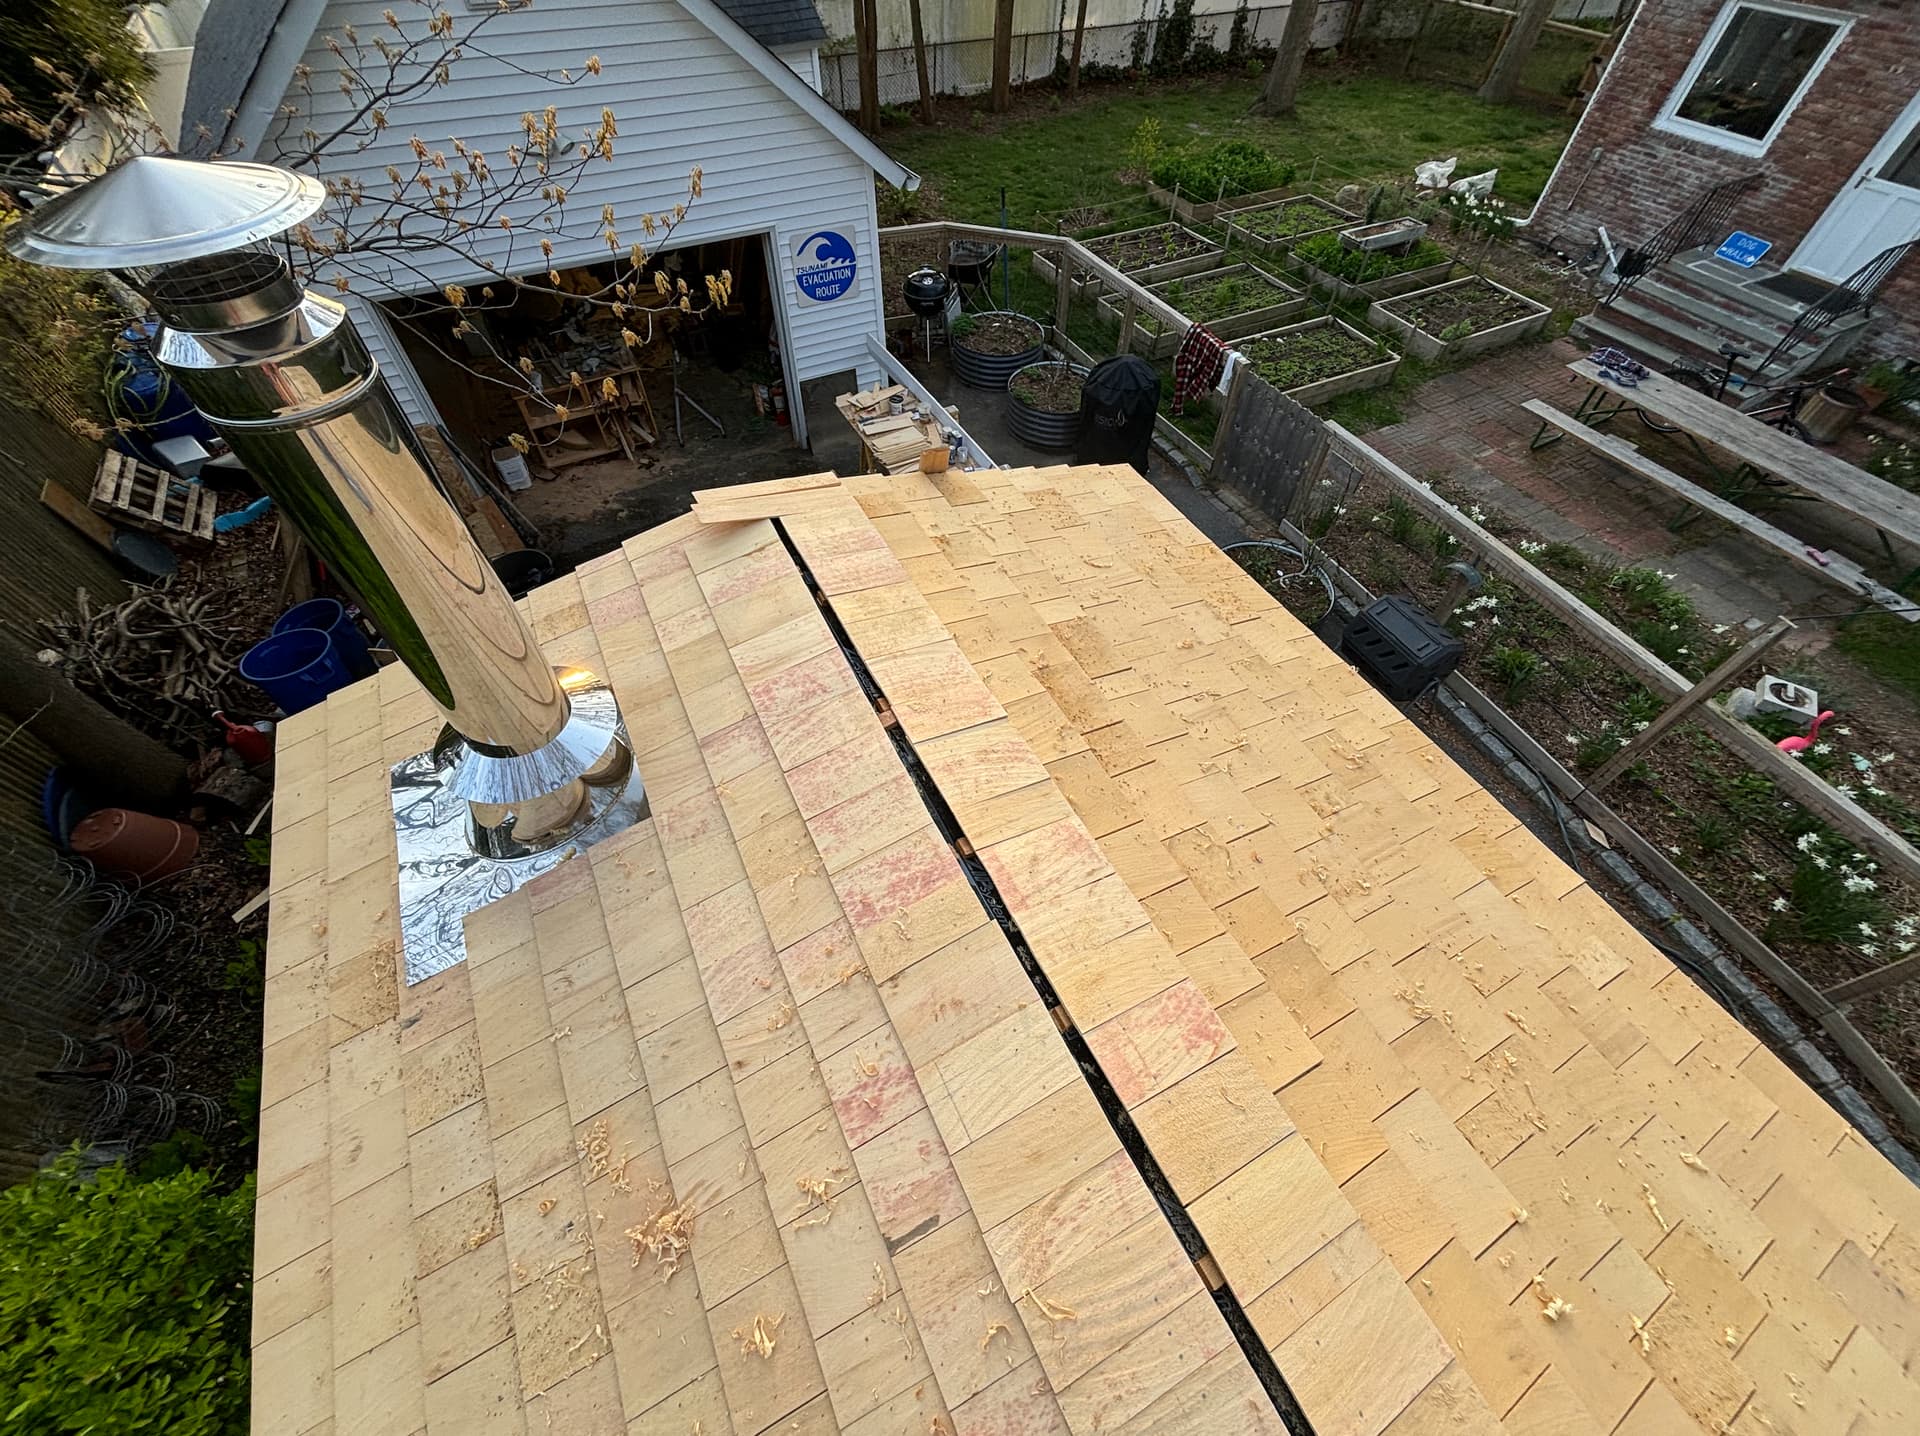
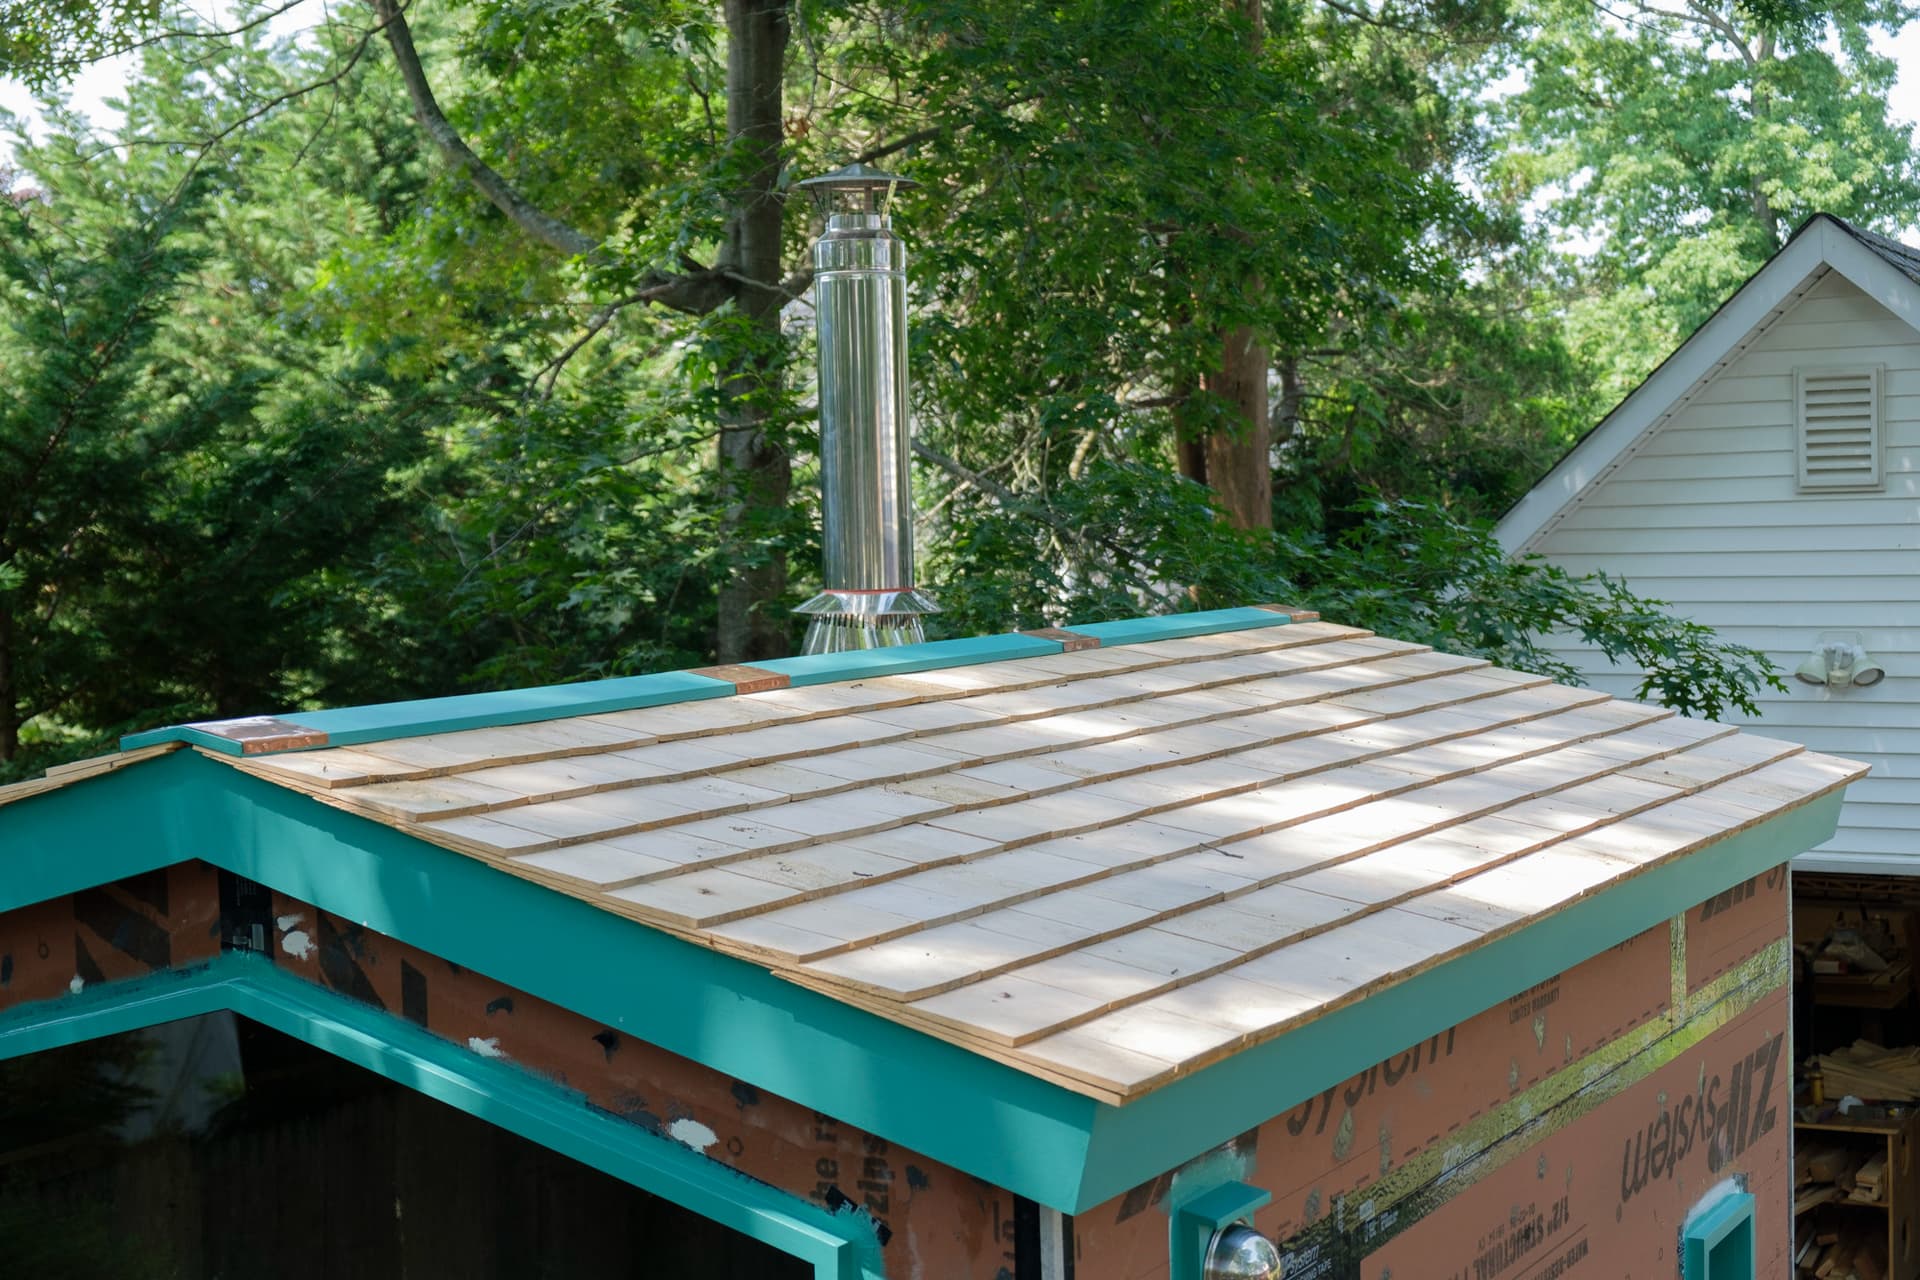
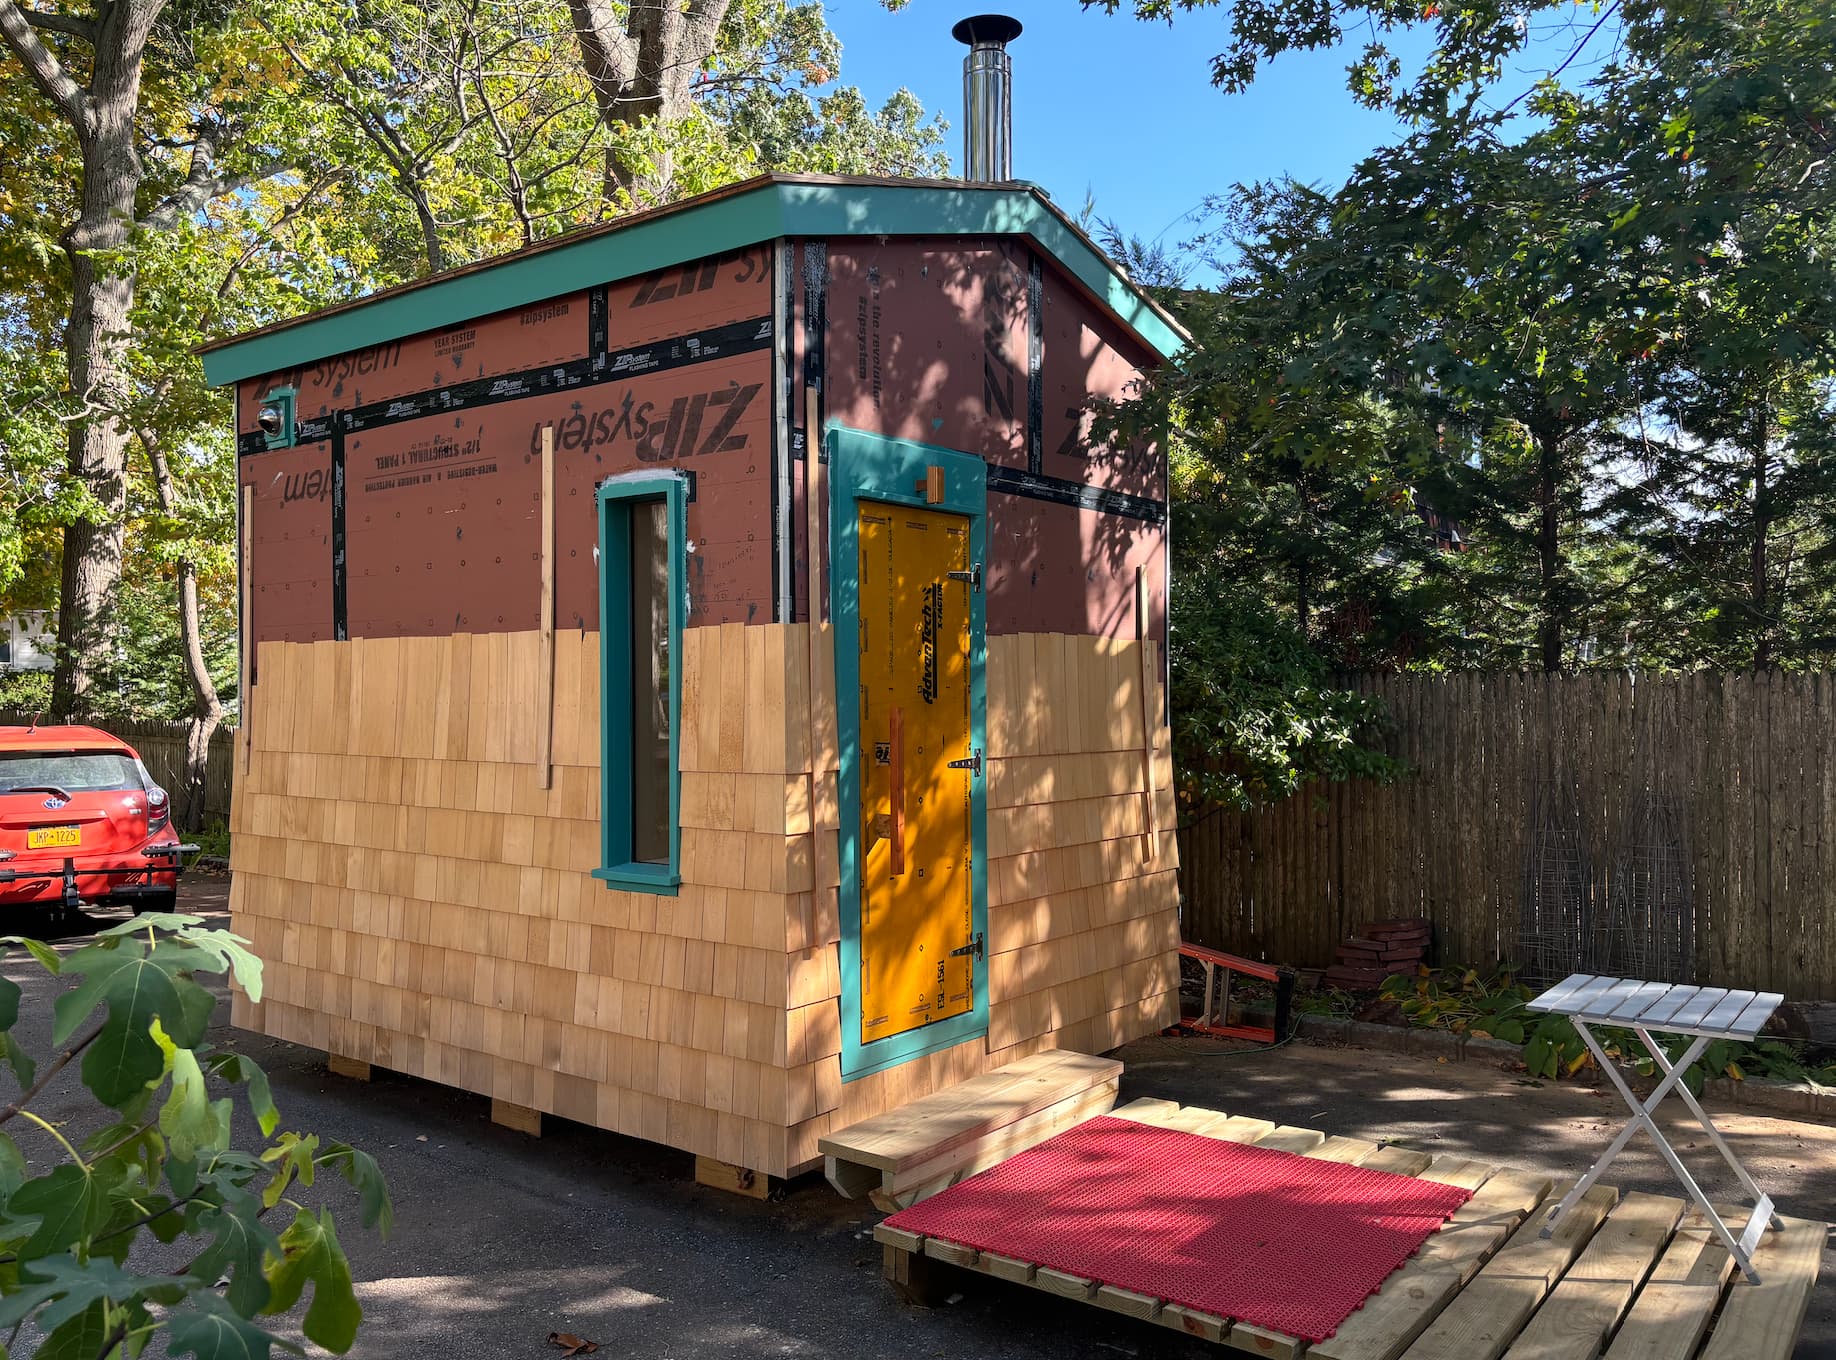
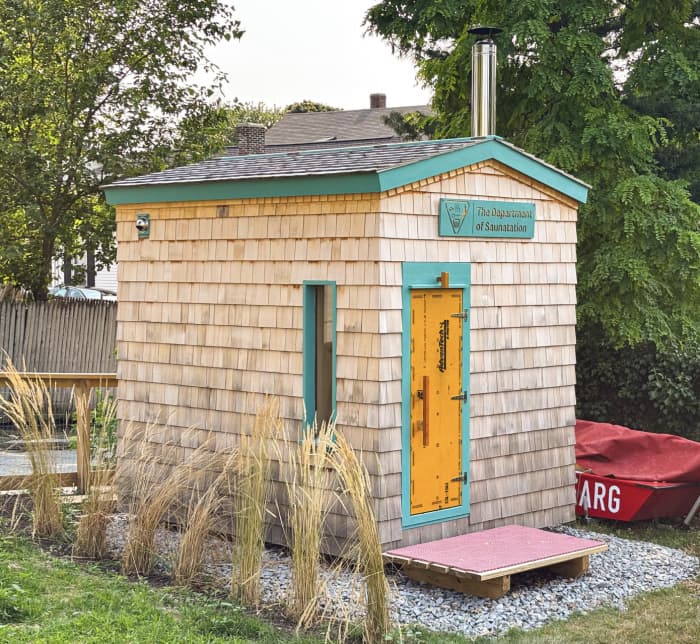
I decided to learn how to shingle. Eastern white is a bit overpriced on the East Coast so I paid a little more per bundle for premium Alaskan Yellow Cedar.
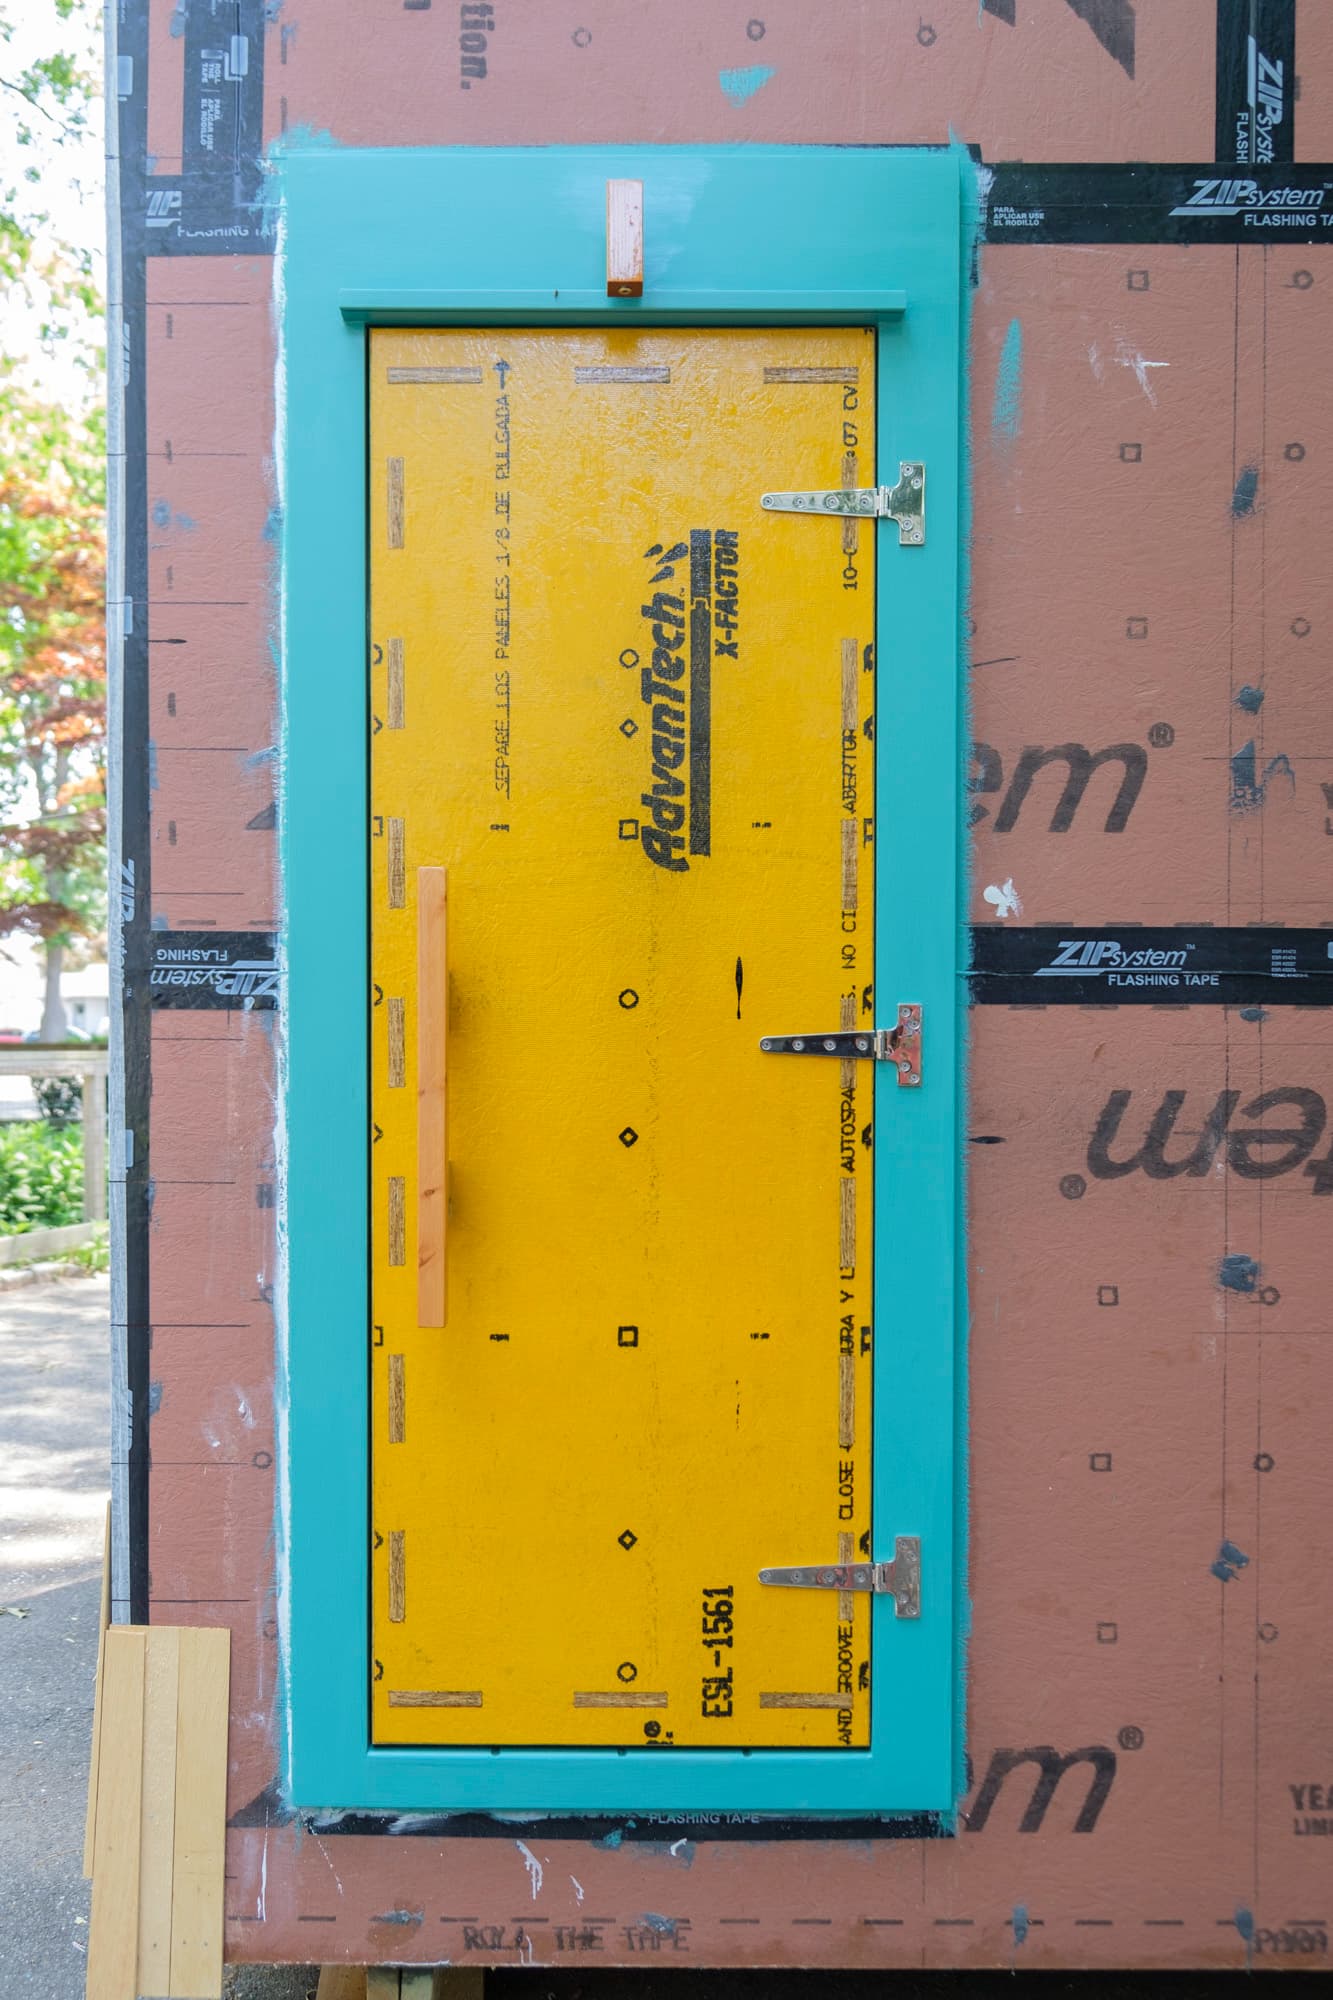
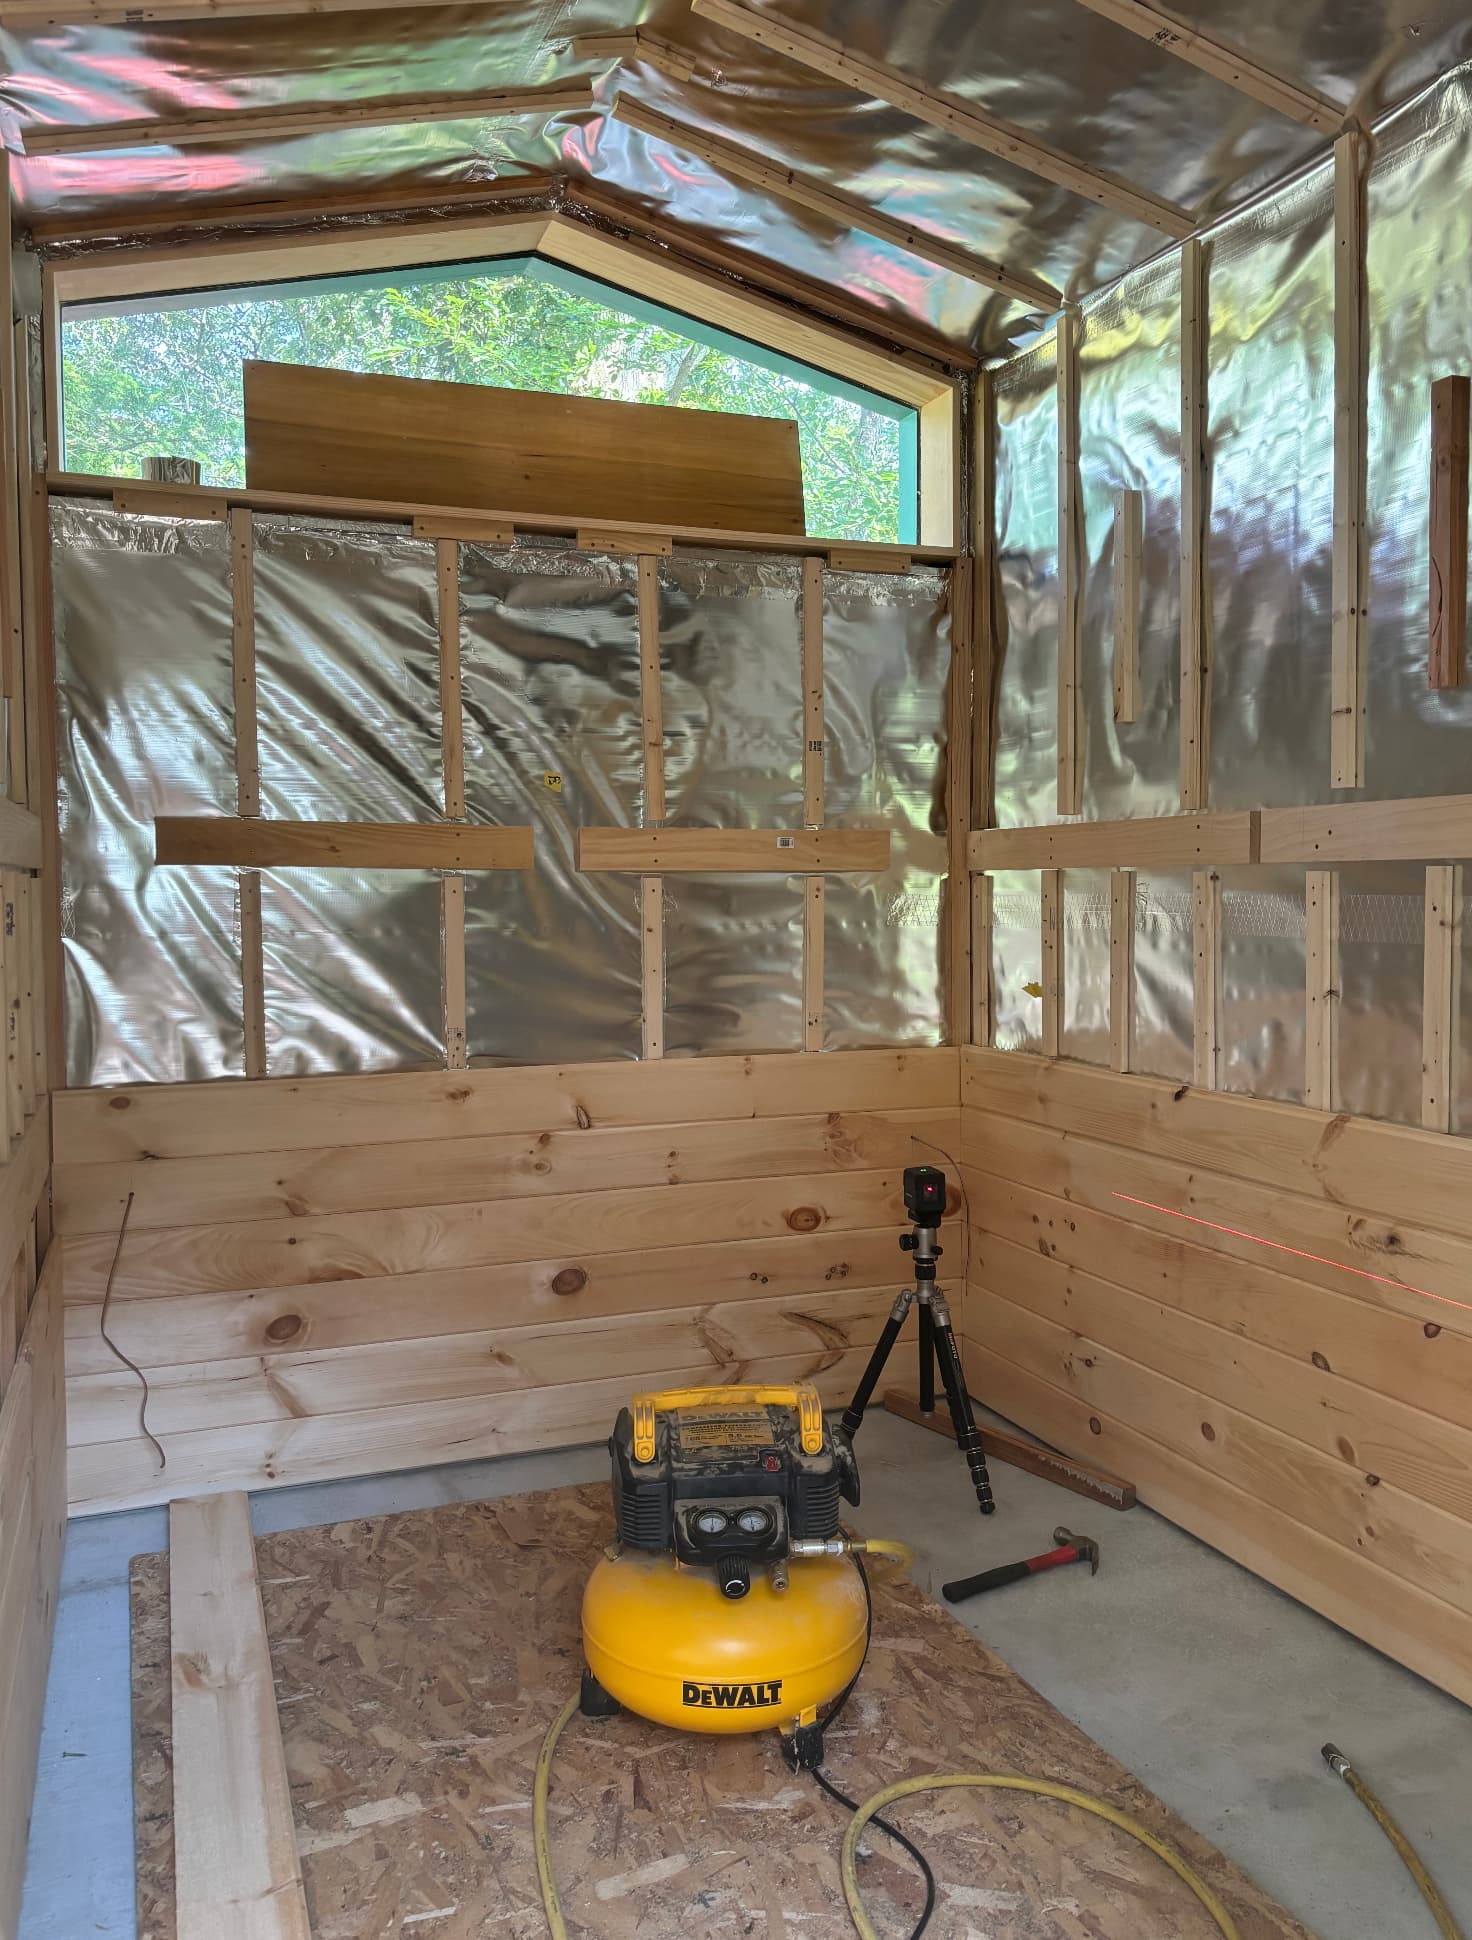
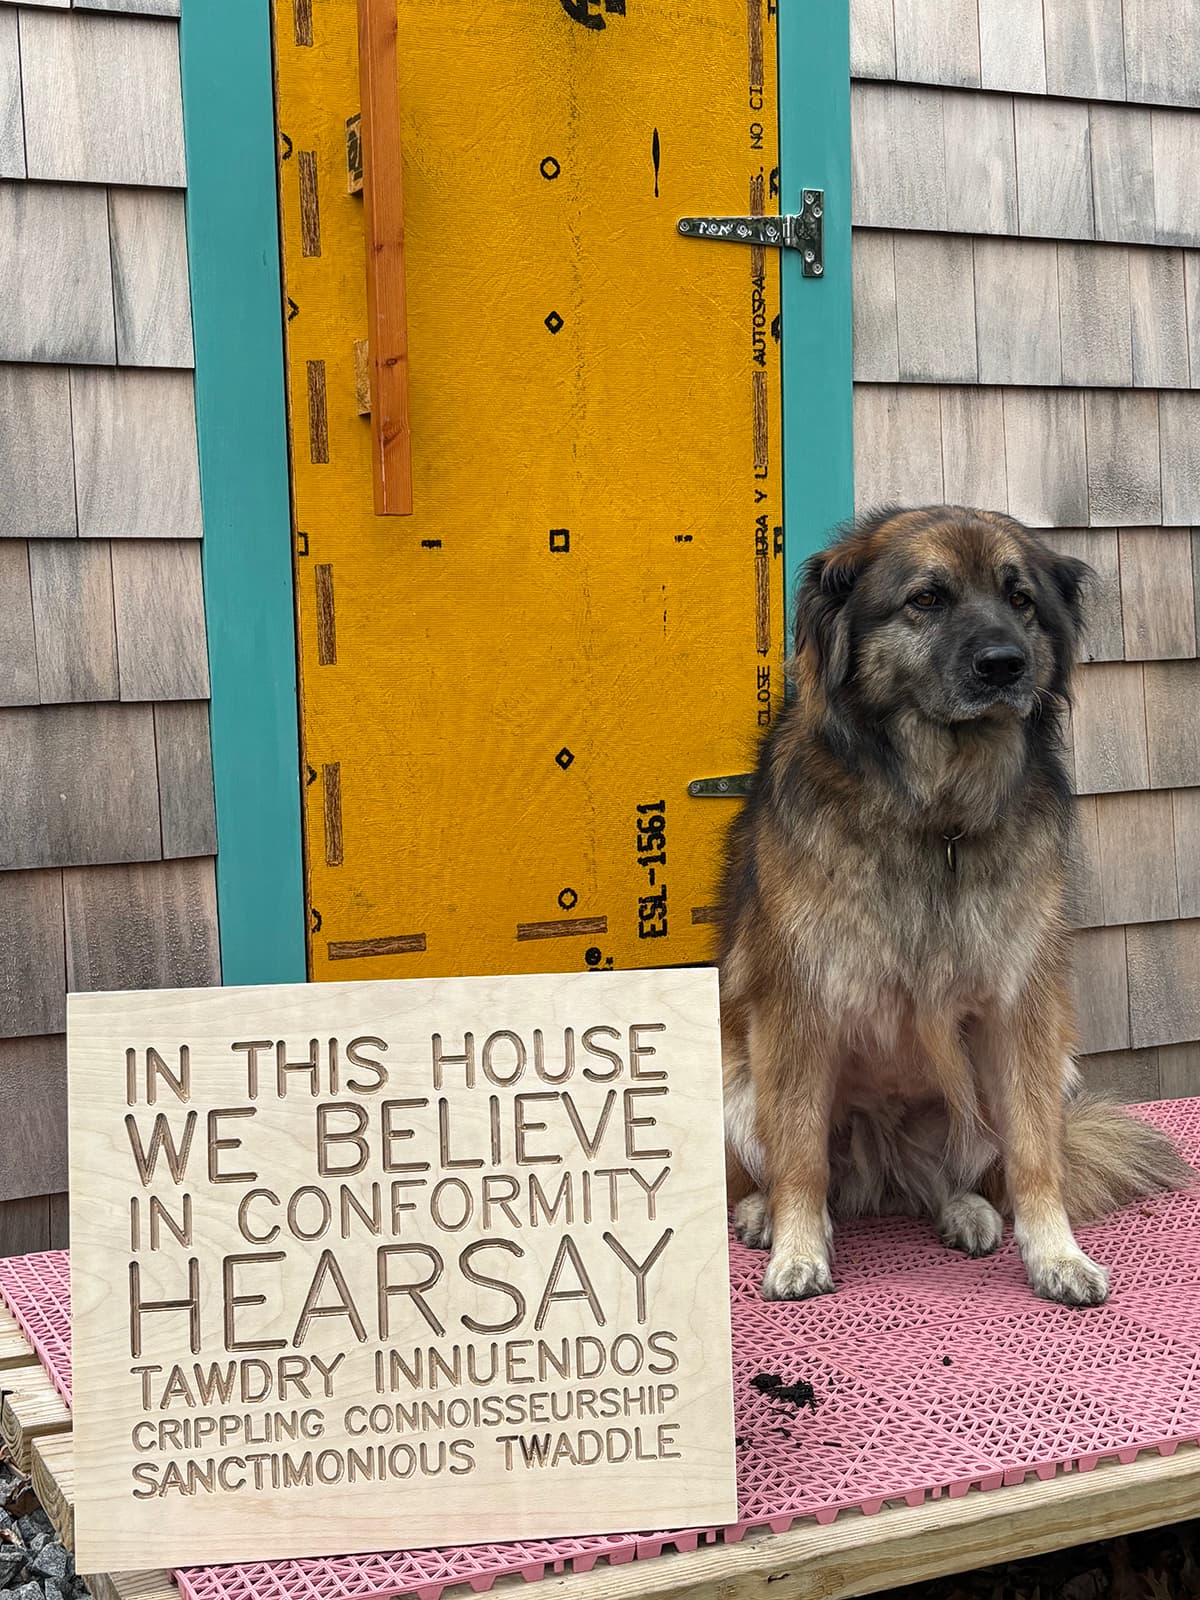
I wanted to showcase some part of CNC process so I used the exterior of the door to work with the cool Advantech X-Factor yellow. Saturated exterior with West System and a UV coat of Epifanes Boat Varnish.
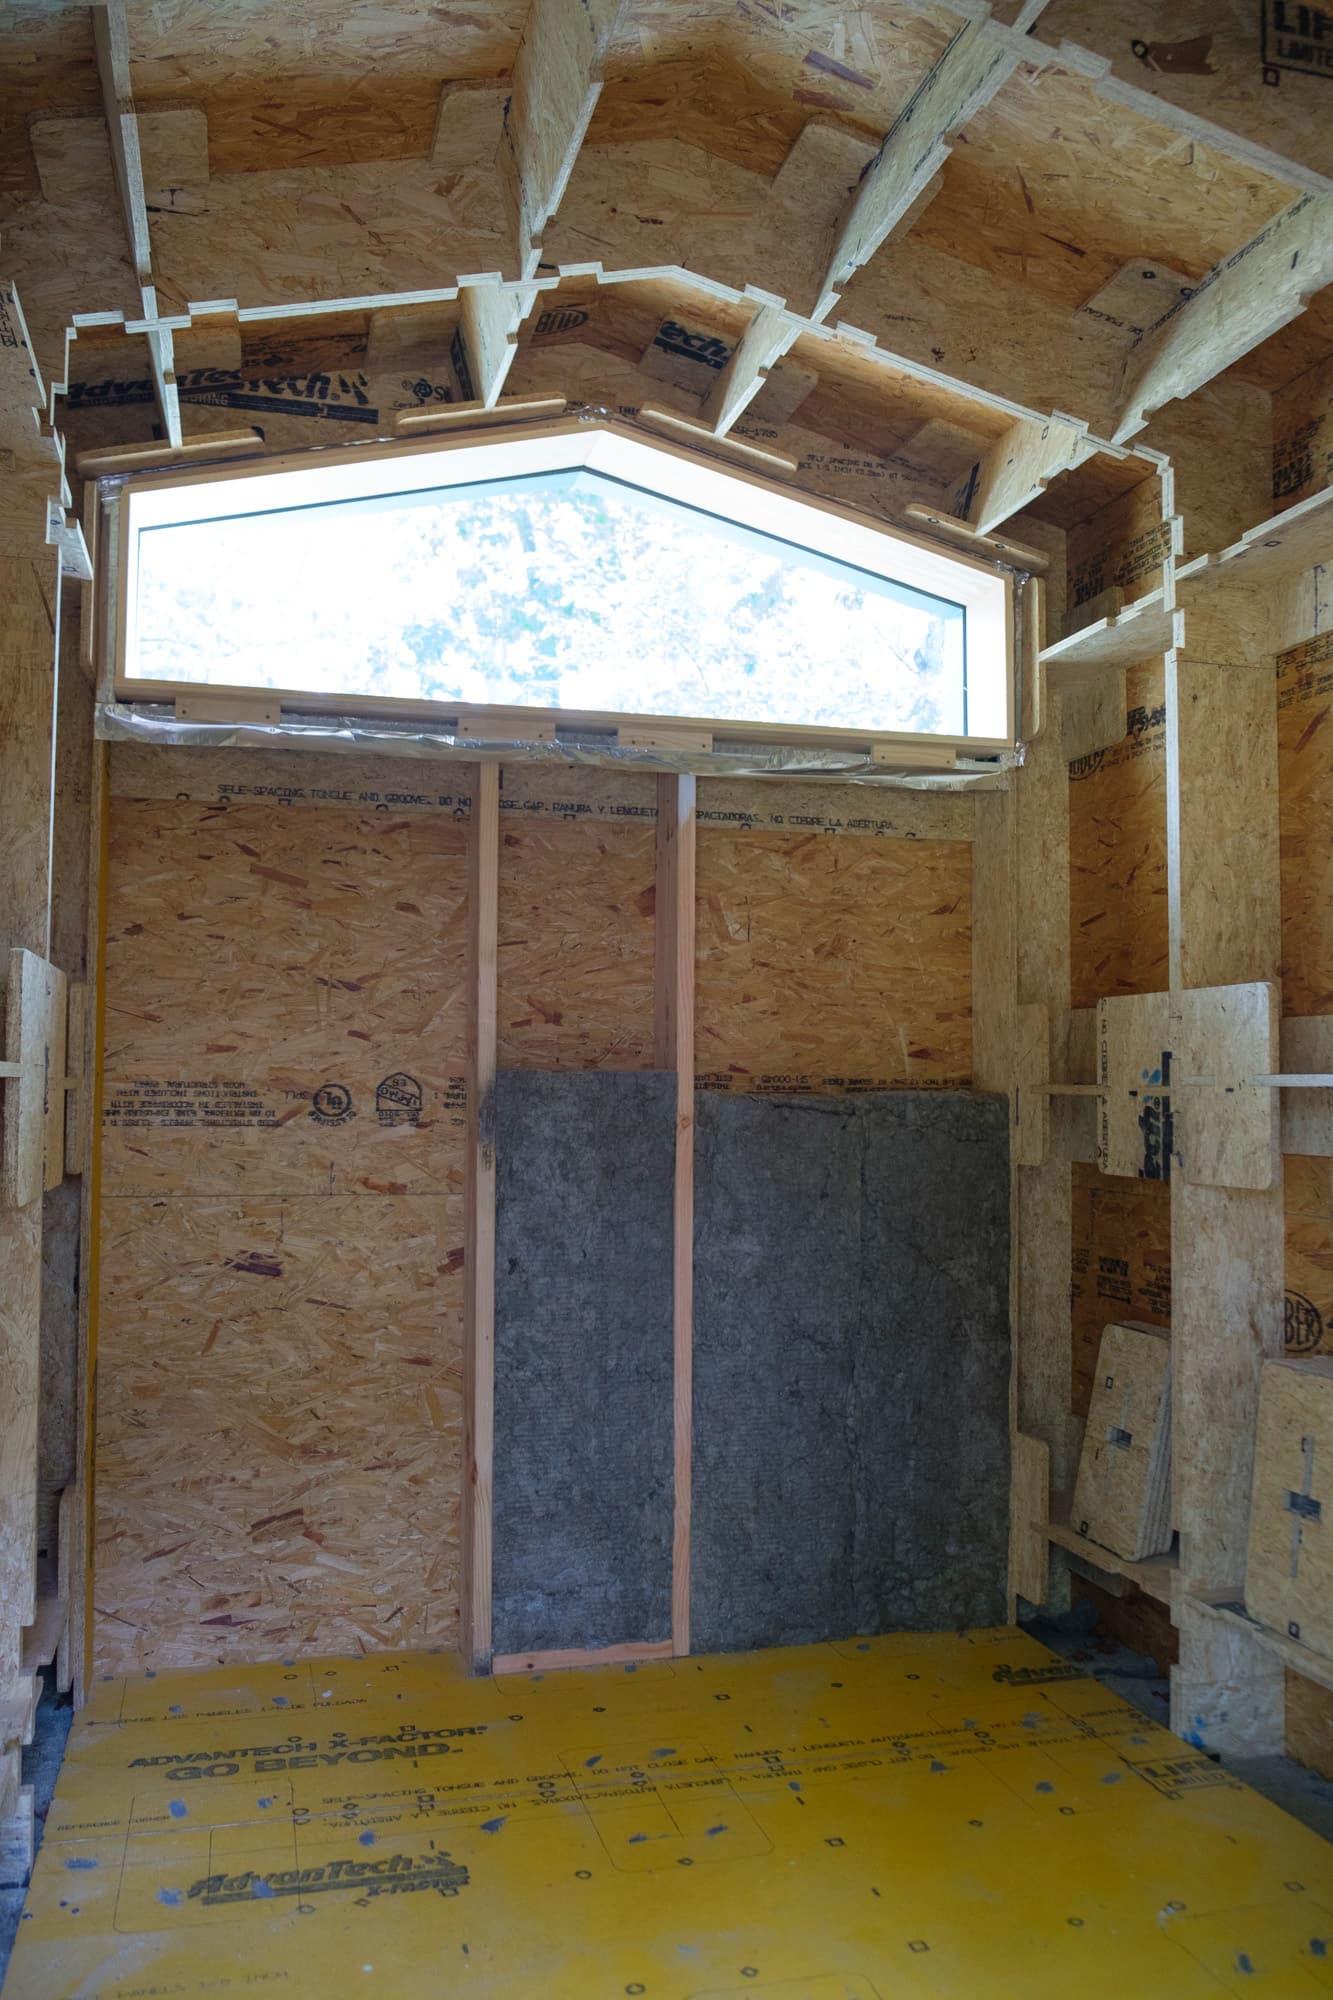
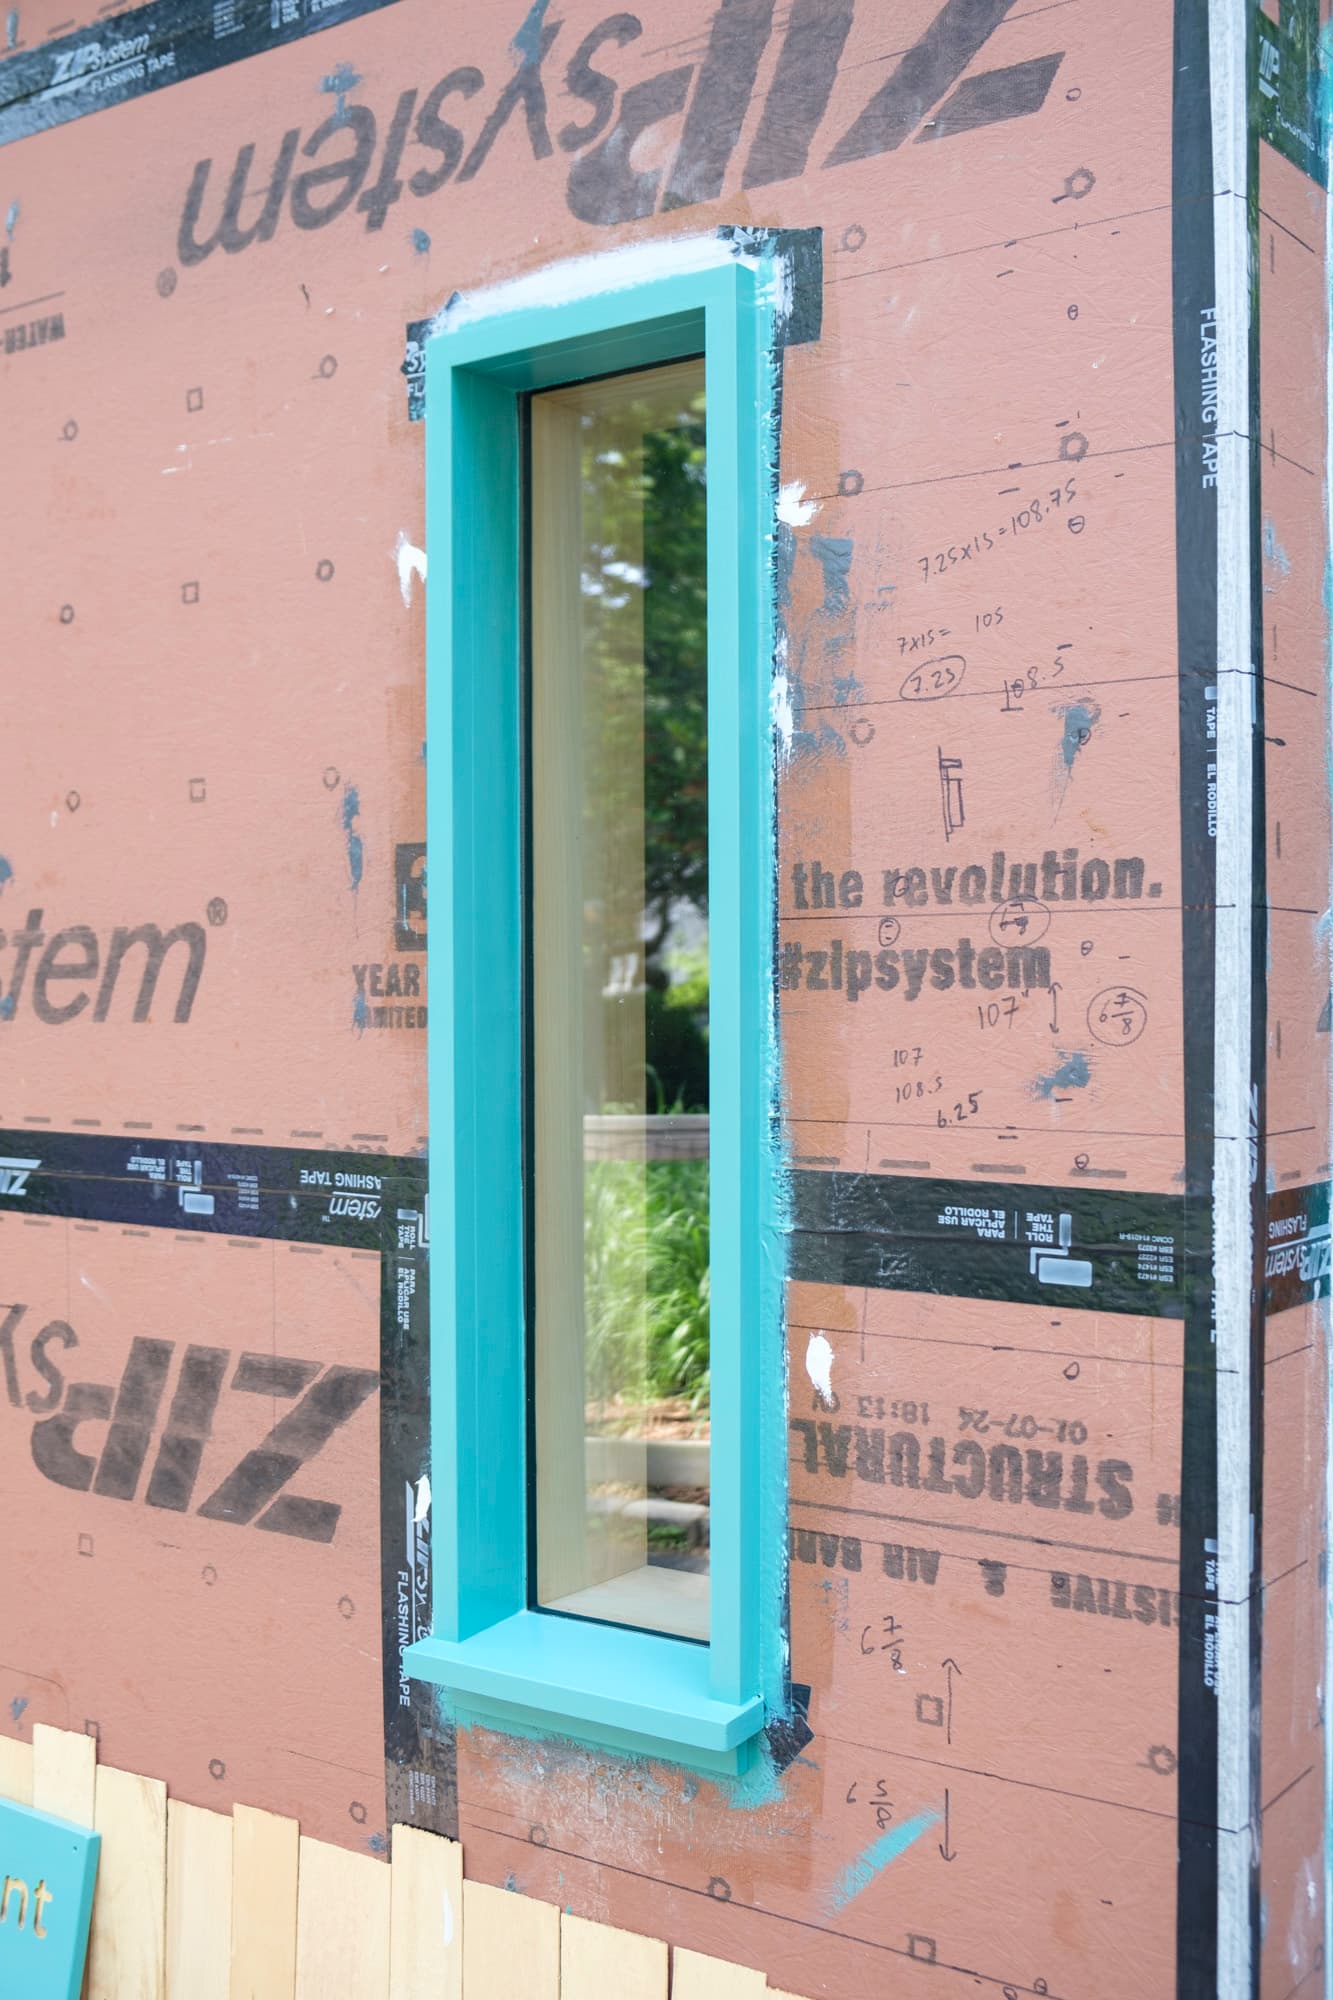
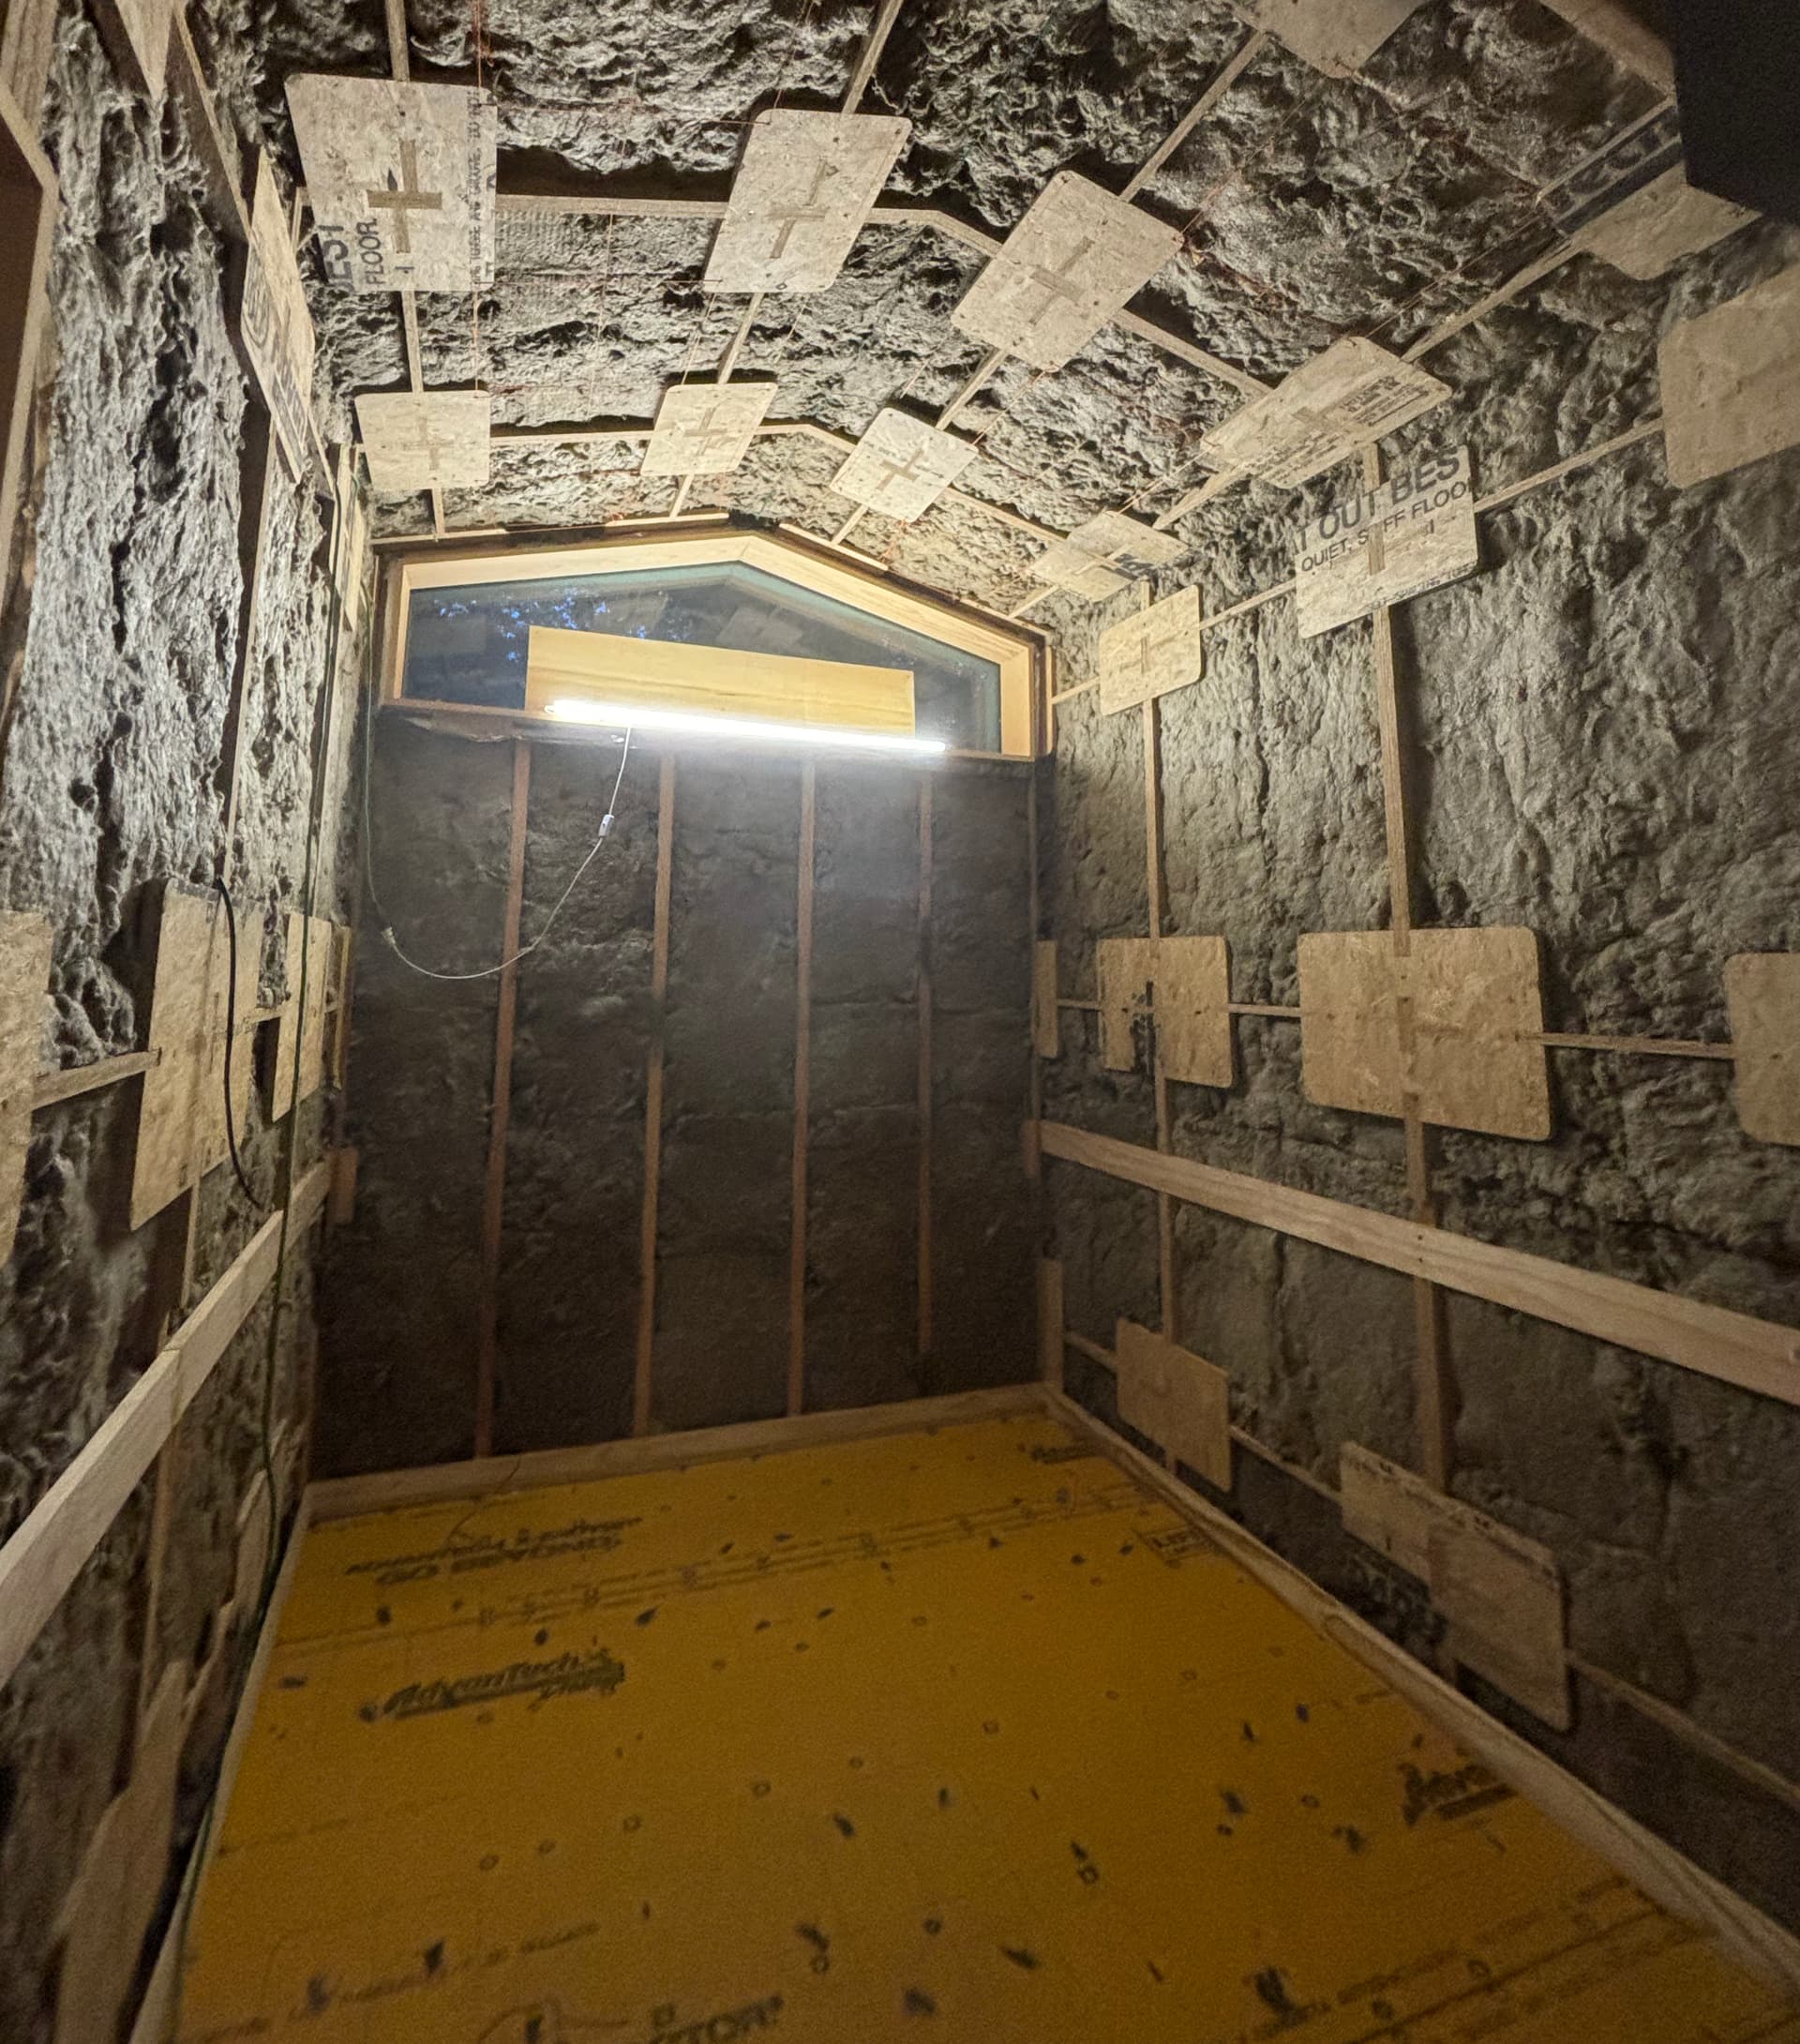
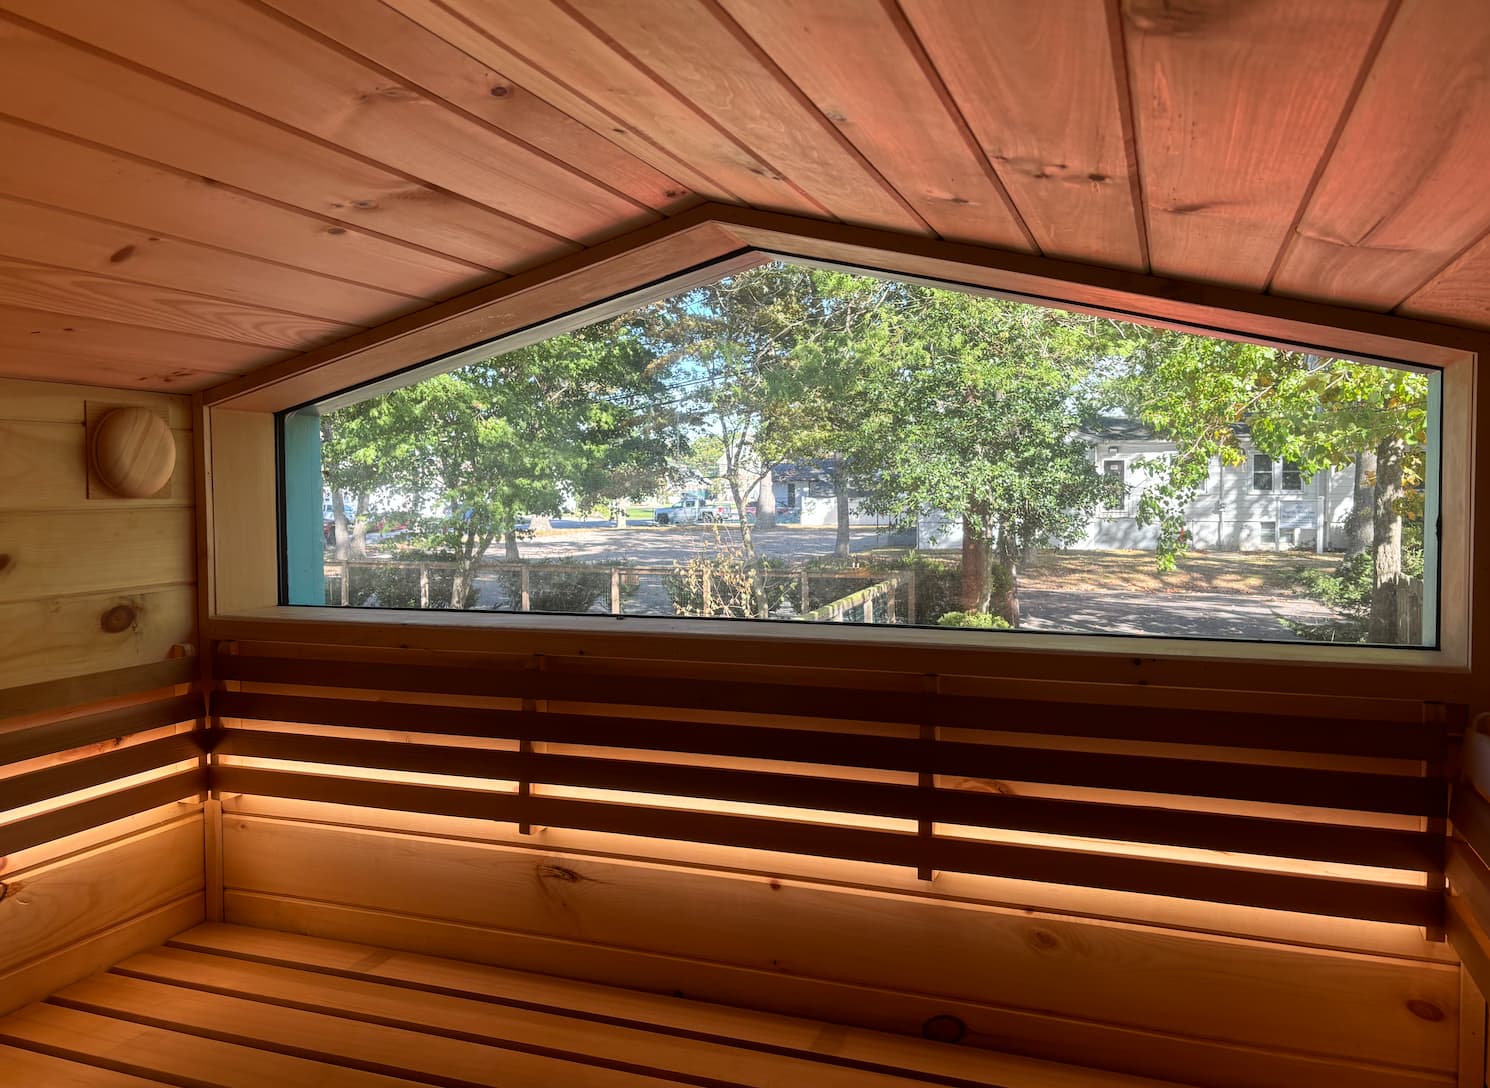
Tempered IG panels framed out in rough opening. Sealed with Buytl tape and polurethane SIKA. Inside pine treated with semi-permeable OSMO – a pretty low-key non-toxic finish to add a little waterproofing for condensation.
Since technically I have a cathedral ceiling, I decided to vented the roof deck to prevent any condensation buildup. I used battens instead of cedar breather. Breaths out/in through ridge and under rake/fascia.
Some of my favorite chems for exterior. Particularly in love with Kirby Yacht Enamel made from pure ingredients and a real pleasure to apply. The matte finish is forgiving in my rather dusty environment with trees and pollen.
Stunning. I really love following this build. If I ever have the space for a larger LR, I’d love to tackle a project like this. Maybe build myself a new shop, covering the whole garden (while my wife is on holidays).
I used Fusion 360 and created my own system - something that I wanted to be a little more lightweight that I could assemble by myself (although I did need another pair of hands in the initial part).
Since you mentioned Fusion, I assumed that you were using Fusion 360 CAM workflow to generate the gcode, not Estlcam ) Unfortunately there is no easy and reliable way to do the overcuts/dogbones in Fusion other than designing them in sketches, that’s why I asked.
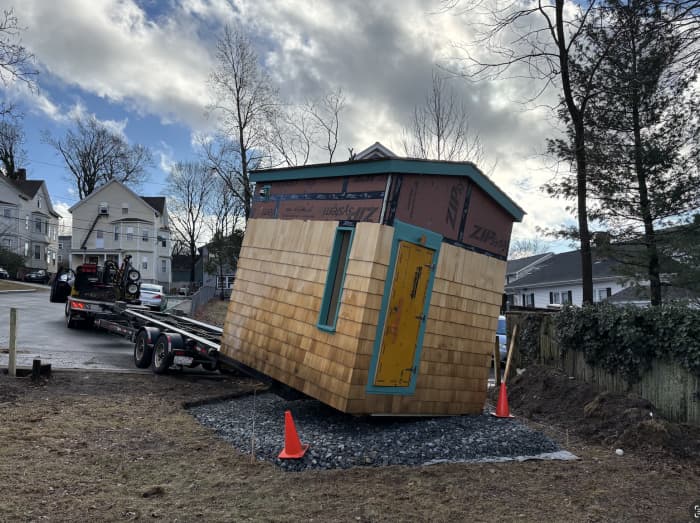
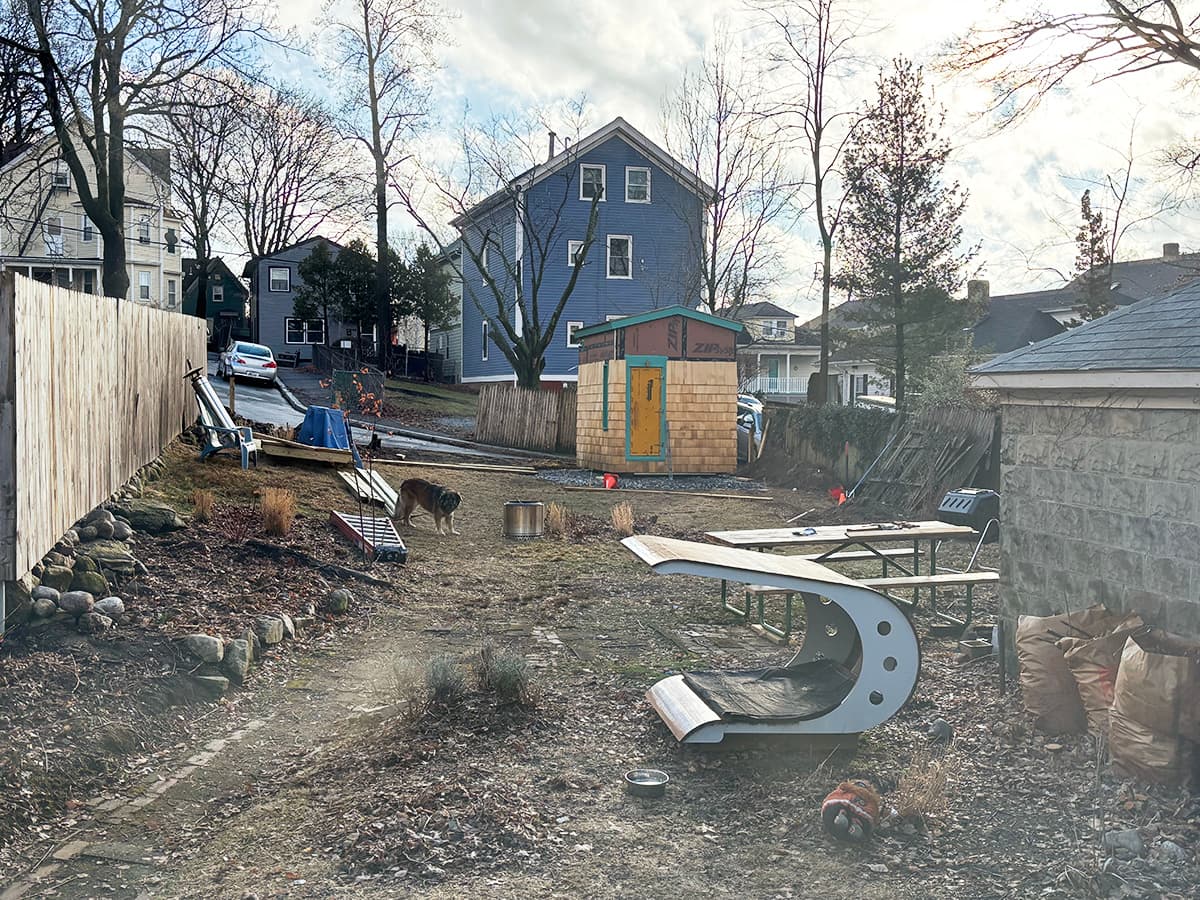
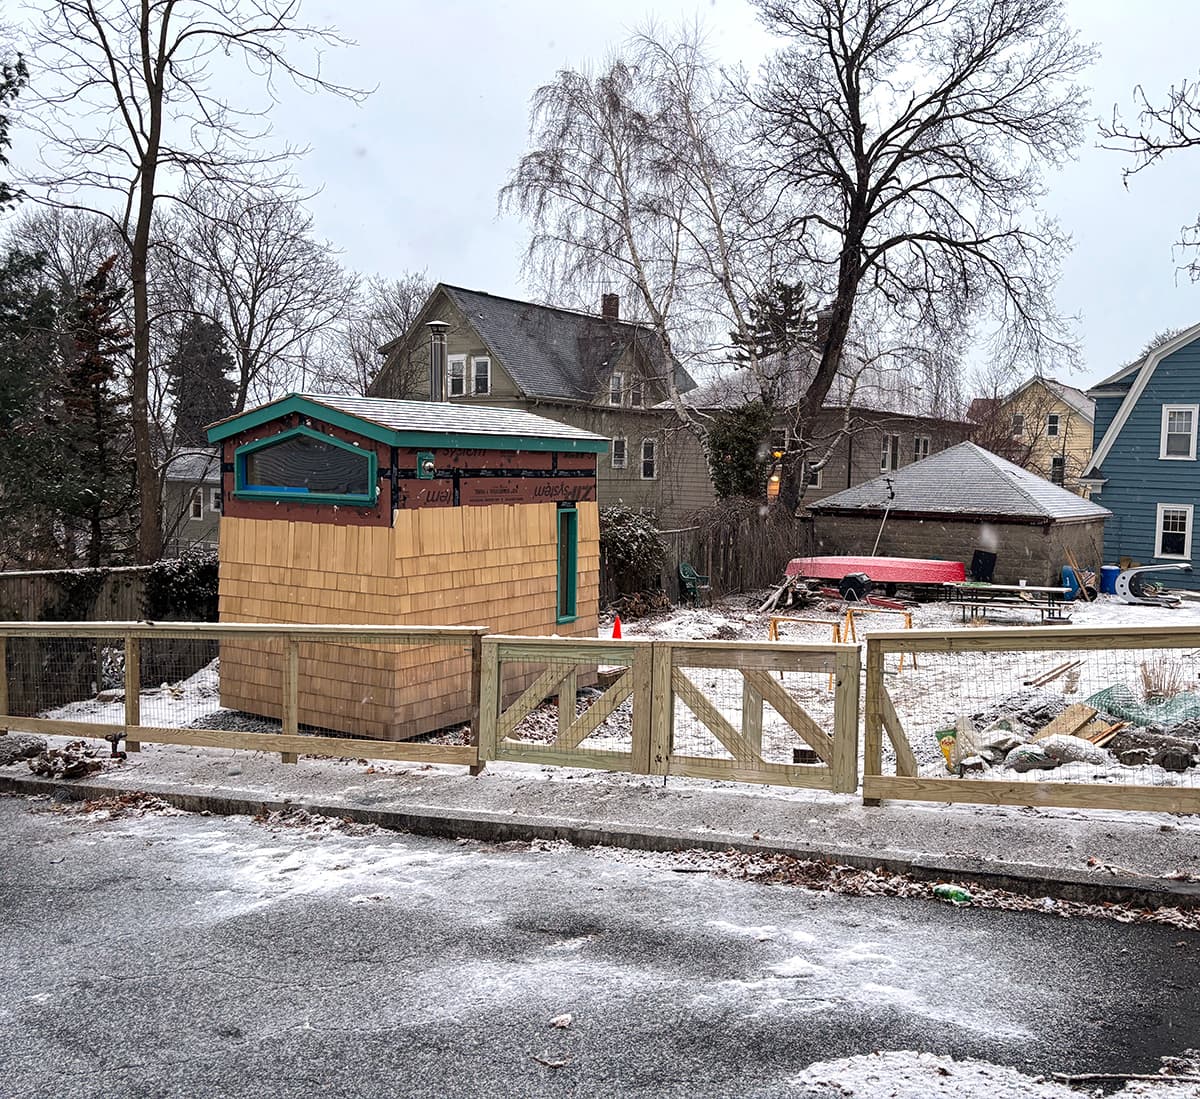
Sauna was moved from Long Island to Providence, Rhode Island at the beginning of 2025 by a rockstar shed moving crew. After dealing with i95 they had to contend with a pretty steep diagonal incline on arrival . Their trailer could gyrate at all angles and had a second set of wheels that lowered hydraulically allowing it to move left/right. They tucked the sauna into a tight corner of the plot. This was a very cool experience. I would definitely recommend building on a heavy duty sled foundation to anyone who might be thing of moving a small building down the line! The move cost under 2k.
Unfortunately, someone in the family got DOGE(d) in March so we had to self-deport to Denmark…where there are definitely no saunas . Hopefully, we can come back to this!
No saunas in Denmark?? I can’t believe it! I would assume Denmark is ridden by the same trend as Norway? Just photo google “saunas oslo”, and you’ll see quite a fancy spectacle.