@vicious1
The LR4 is truly awesome. I really only have one recurring issue: the Y-axis homing switch blades keep getting popped off from the side assembly.
And once one gets popped off, if you reinstall it, it is then easier to have it happen again.
What possible improvement could be made to LR4 regarding this? Is there a beefier, more robust switch, and if so what edits to the printed part would be needed?
I do keep looking into this but maybe we can fix what you currently have. I have home crashed my machine several times over the last few days and no pop offs.
This first easiest suggestion is use the Y max homing. Zero issues there.
For Y min homing…
If I crash typically the lever does not go past the screw, if it does it is a bad crash and I just lift it up and over.
My first suggestion is point your screw stops closer towards the Y plates.
Second is to make sure your screws are out just one or 2mm past the click point of your endstop.
Third is to bend you endstop lever out further.
Those three are simple fixes, but if this is a continual issue I will just remove Y min in favor of Y max. In the end there is minimal difference to homing to either side. You can even just set up your zero to be at the y max of your work.
I wound up actually mirroring gantry components and still using Y-Min — although my understanding is there are other LR4 makers who use the Y-max!
In this case, the LR4 was parked mid table, and had been there a while, and had the blade on the switch when it was parked, and when I went to home it, the blade was gone. I think it may date back to the early beta work days when I first had the issue with it running past the screw, getting yanked off, put back on. I’m not 100% certain. It’s as though it “just fell off”…
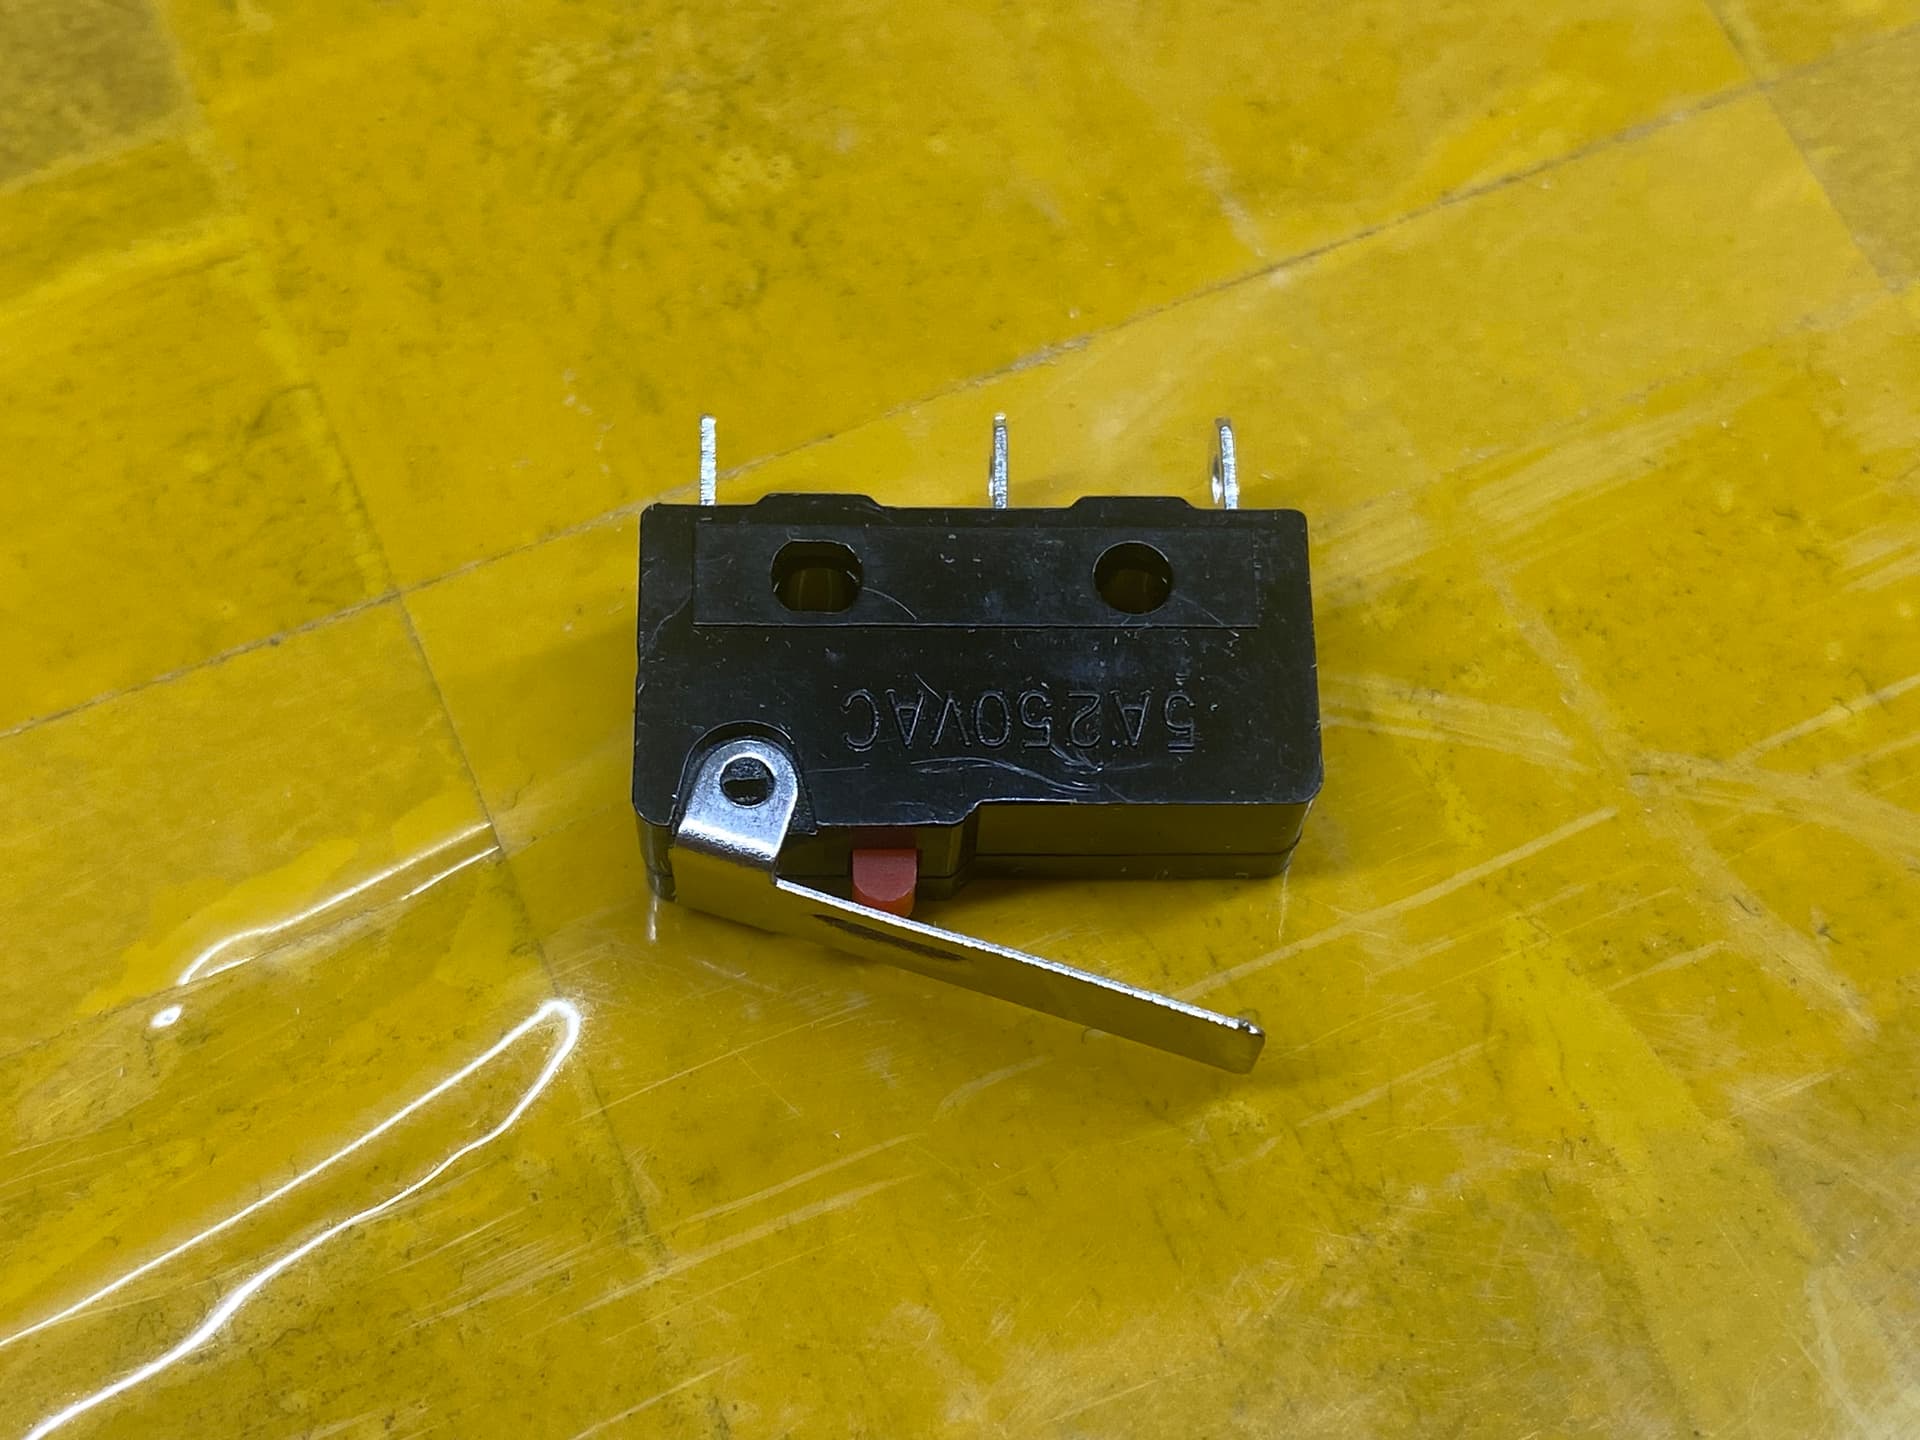
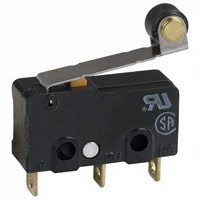
I just desoldered and replaced the original one that was missing the blade. I had some other switches that are similar, but slightly different:
Instead of the blade getting pinched to mount from within, this one clamps to the outside, and its blade is straight, lacking that little “hook” bend at the end.
From a standpoint of repairability, I’m thrilled with how easy it was to: detach the belts, flip the gantry, unscrew the old switch, de-solder and re-solder wires, reattach the new switch, de-flip gantry, reattach belts. One key for me in making this repair so quickly was that I was able to pull a little spare wiring though the side assembly, and push it back in when done.
The only fly in the ointment so to speak, is the new switch’s blade is not the same, so technically I should do the re-check for square headache. But I’m under a time crunch on an Etsy order and I’m just skipping that for now!
Other related instances of the Y-min switch’s blades coming is in the smaller beta LR4 gantry I built, that is detached from the smaller table when not in use, and just in moving it around and it getting bumped, I suffered the dreaded “blade loss.”
I spent a few days looking at this a month or so ago. There is no easy fix. I am considering just moving to Y max as this is one of the few complaints about the LR4 left.
To be honest this does not fix the issue you had. The arms will still hang off even in Y max, a snag will still pop the arm off.
One thing I considered was whether the side is more susceptible to getting broken than the front or back. In other words, is the newer Y-Max setup easier to keep from getting blade snapped off than the side stick out of the Y-Min. If so, then a redo of the Y-Min, that has forward facing switch instead of side stick out, might be worth looking at.
I got it homed (got the new switch to trigger). Because I am using superstrut and custom “table extenders” related to that, my endstop / belt tensioners are a remix. I was able to do a real quick tweak to the end stop to get it closer to the LR4 side, and I’m back in business.
Asking because current best selling wheel limit switches on amzn didn’t work for Scott…
Personally like endstops at Y-min for my build and usage patterns. “Feels” more precise for small jobs to have endstops close to where stock for small-med jobs are placed.
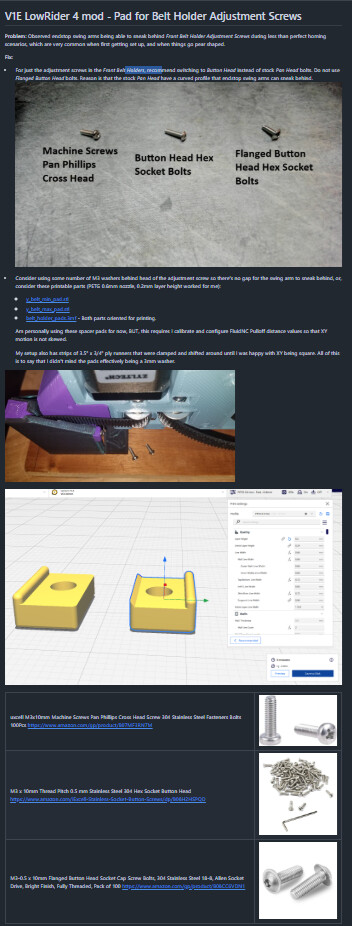
I see the Peter Plates offer some protection to the end stop switch lever. I don’t have the plates on mine I have just noticed in the picture. That gave me the idea of a small 3d printed piece screwed or glued as close as possible to the switch lever without interfering with the belt holders. Hmmm?
As for the lever moving past the screw head. A small piece tubing over the exposed threads that is the same diameter or larger than the screw head will keep the lever from catching. The tubing would still allow adjustment. Measure the threads that are exposed and cut tubing to length. I think you could split the tubing and slip it on and there would be no need for squaring. Just thinking out loud!