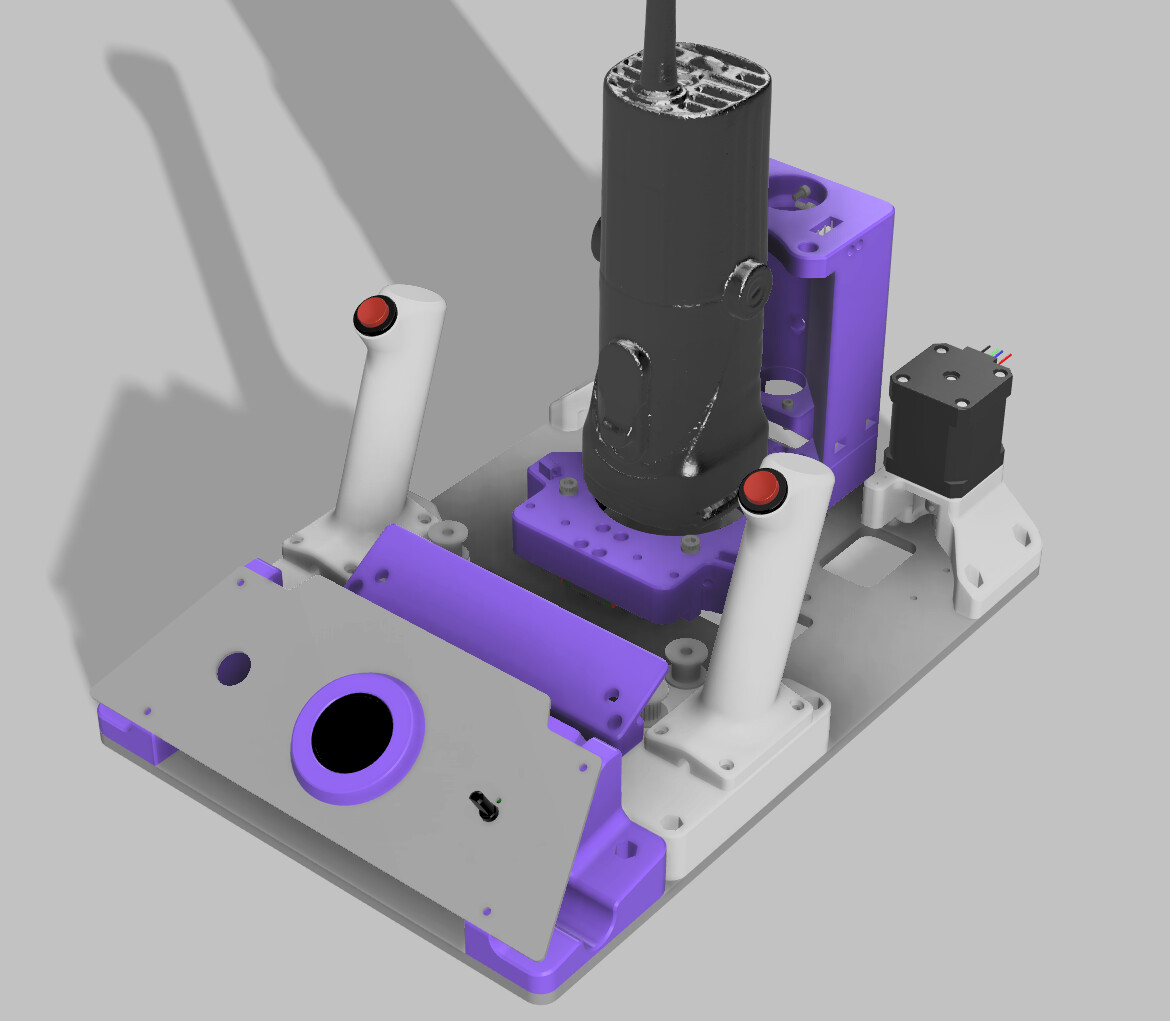
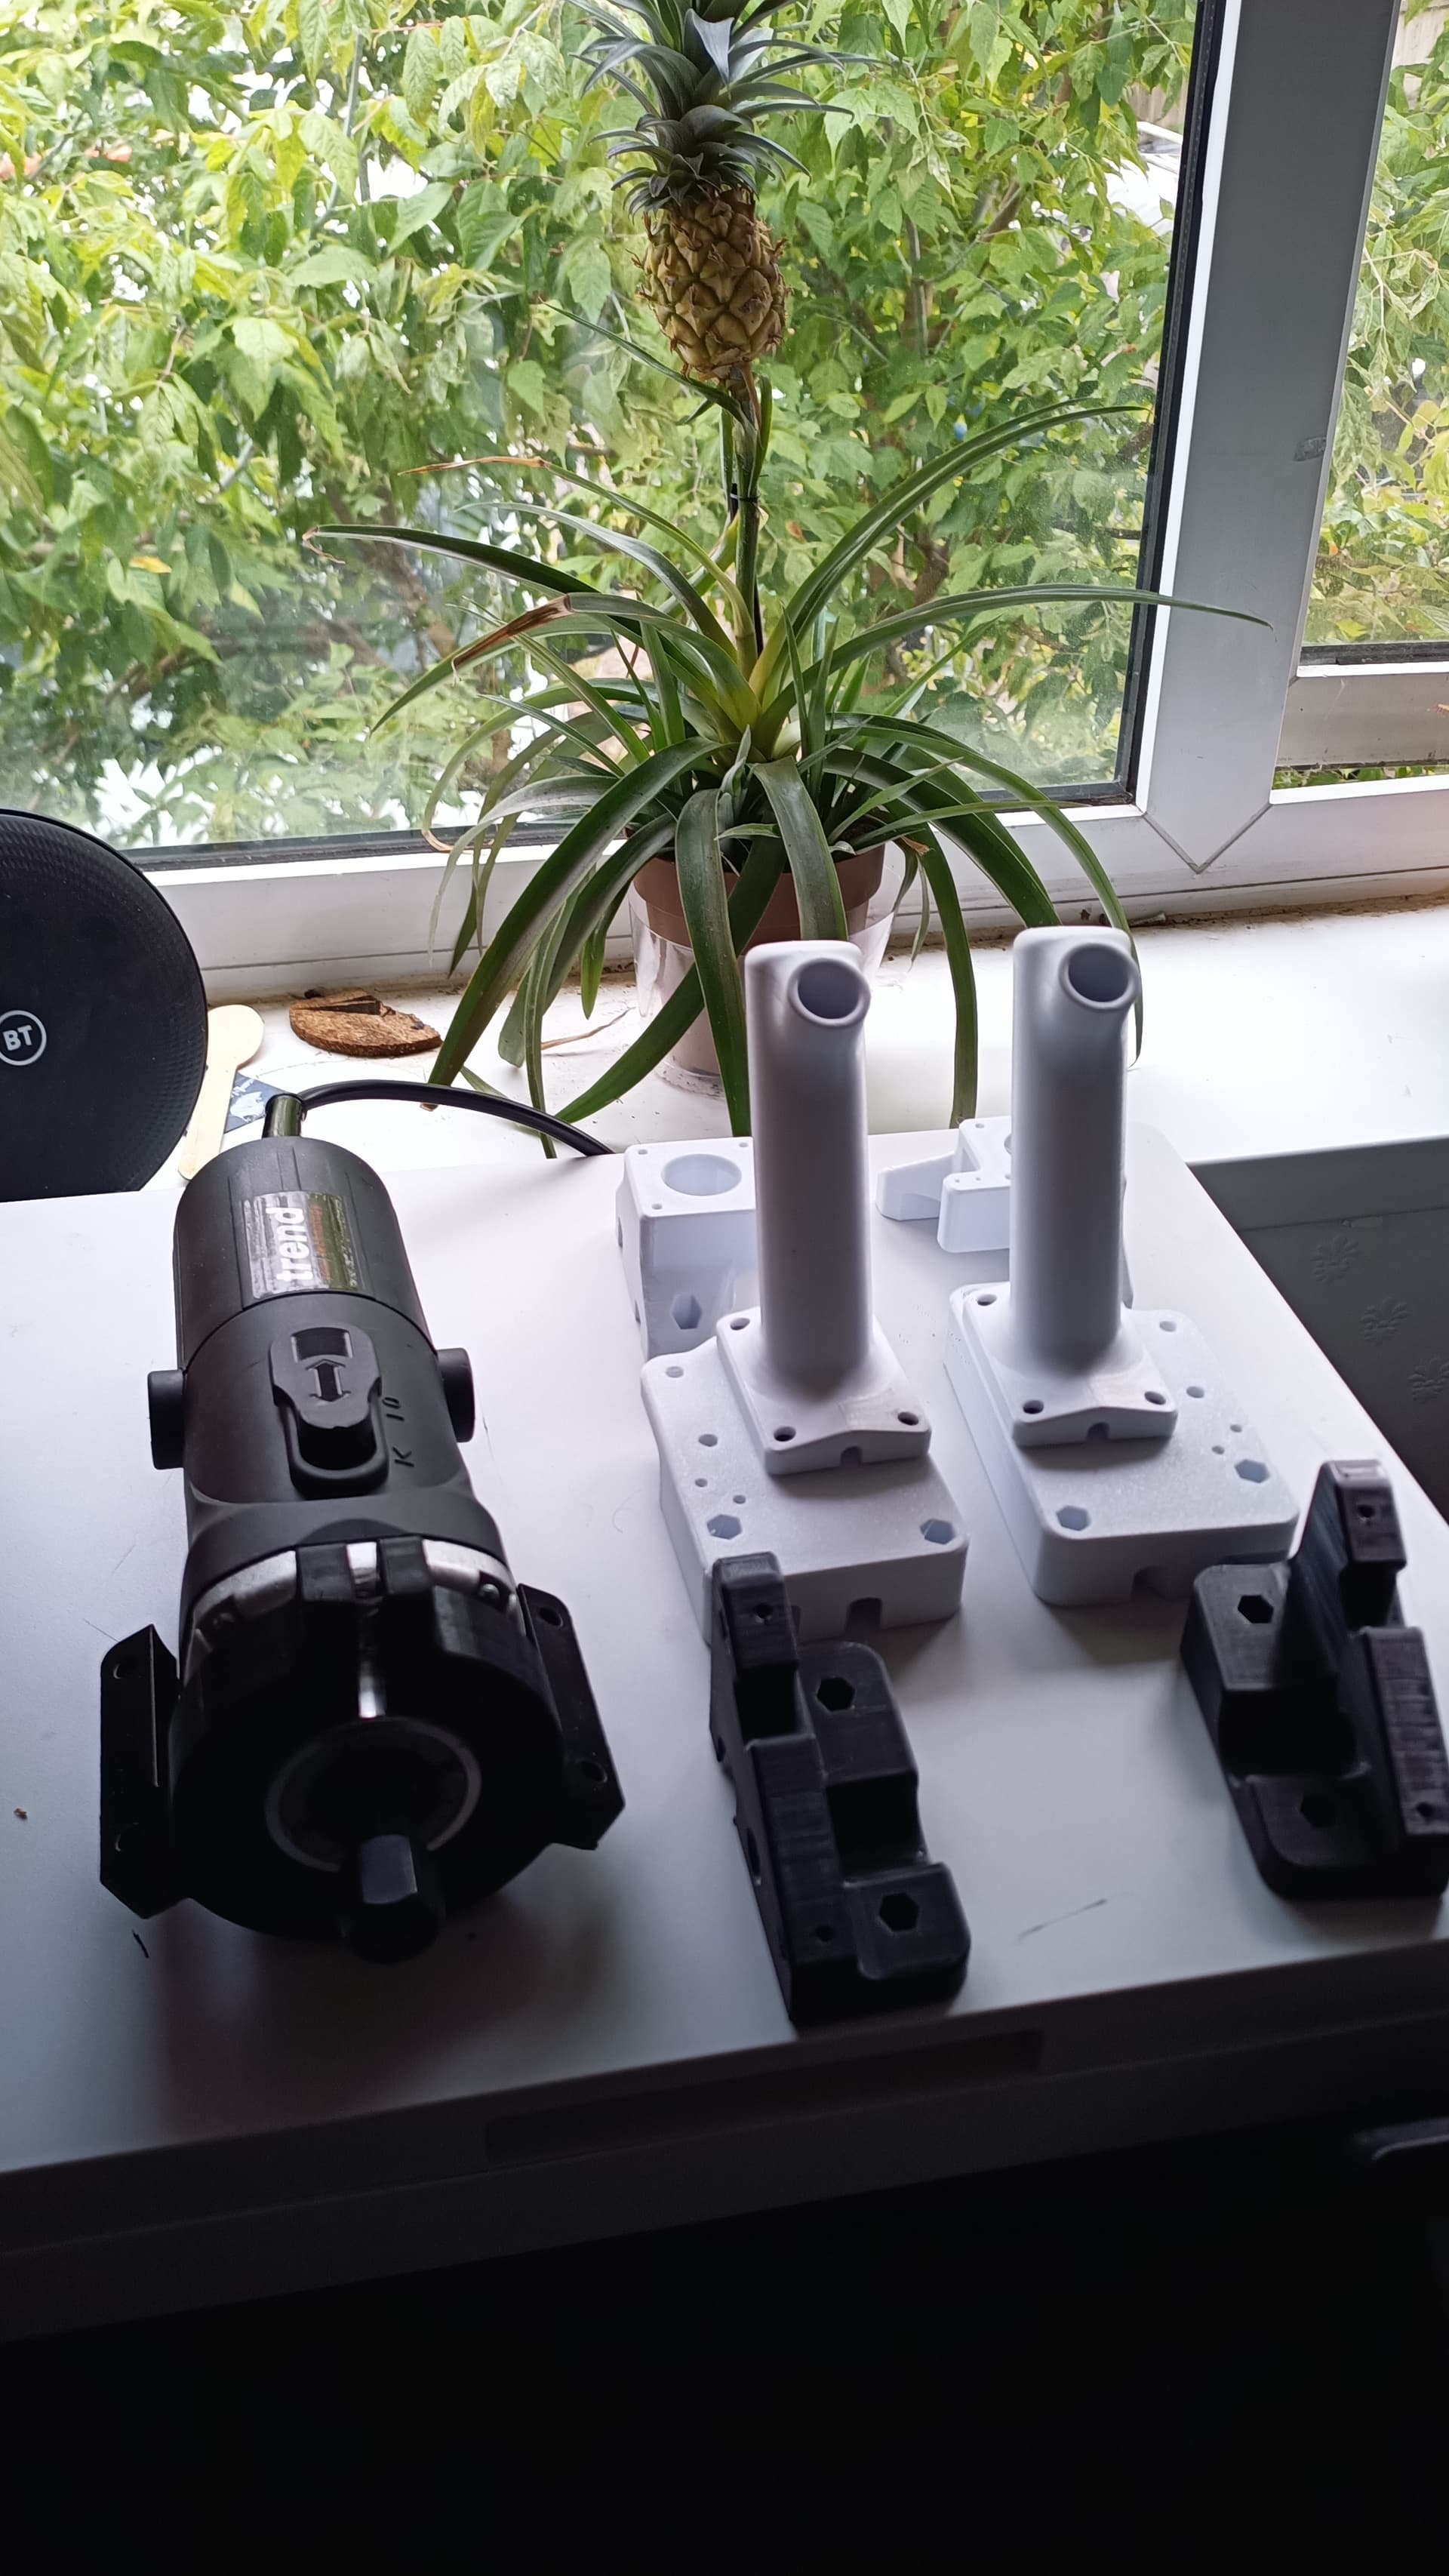
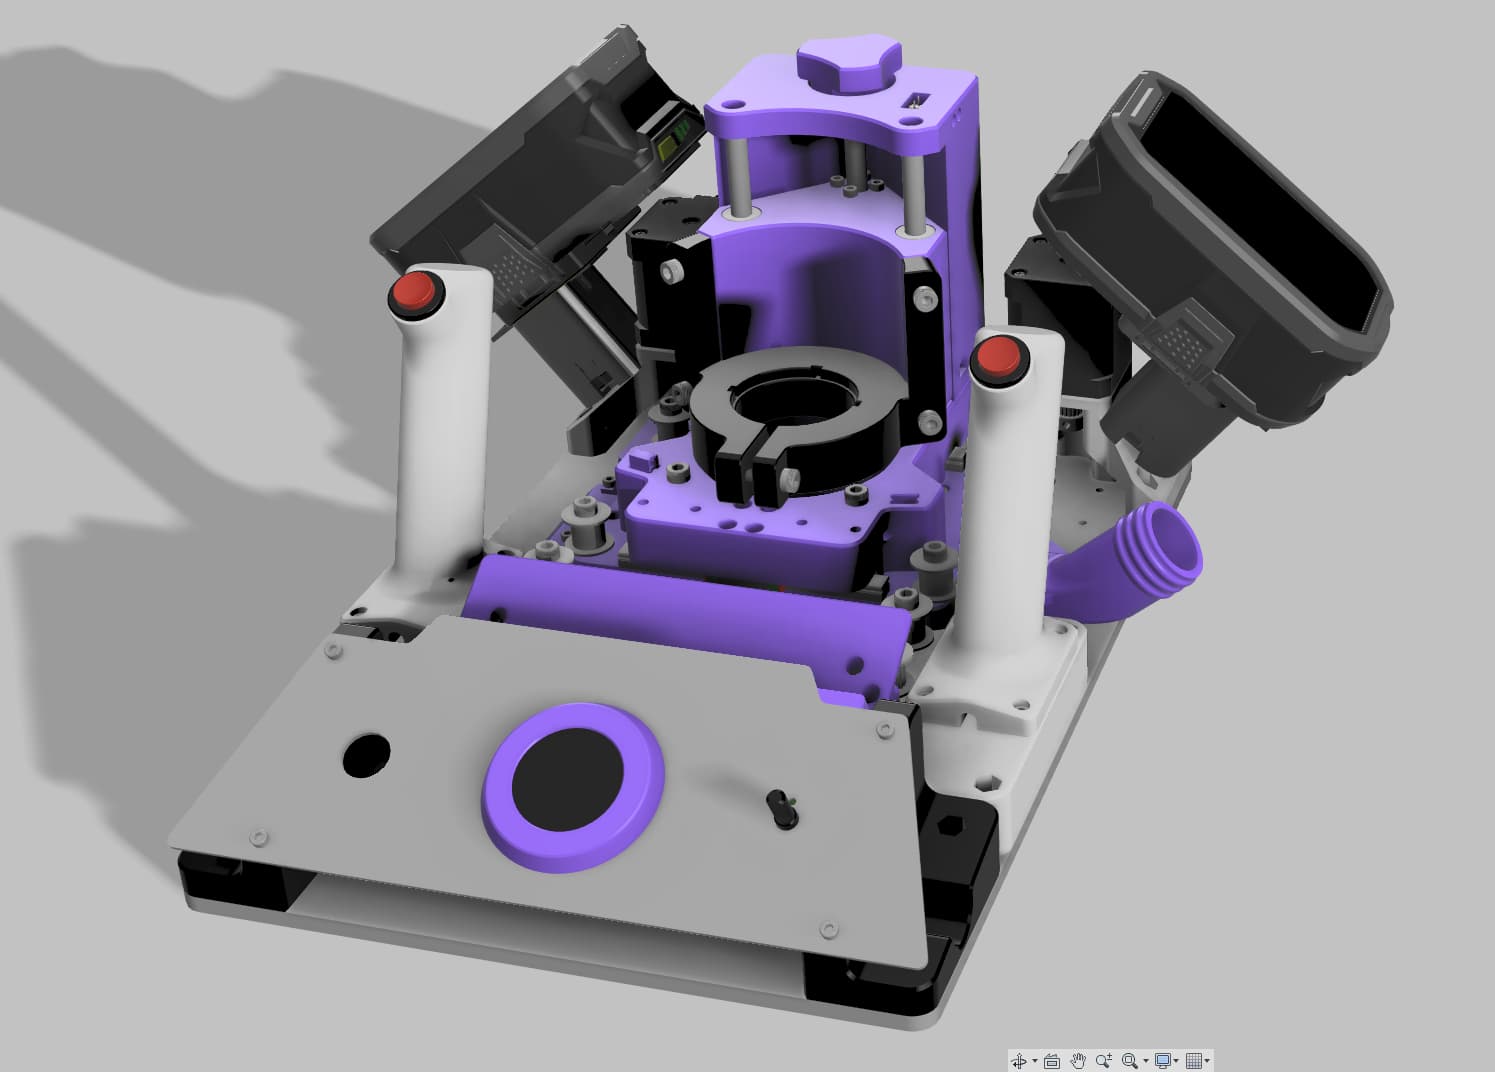
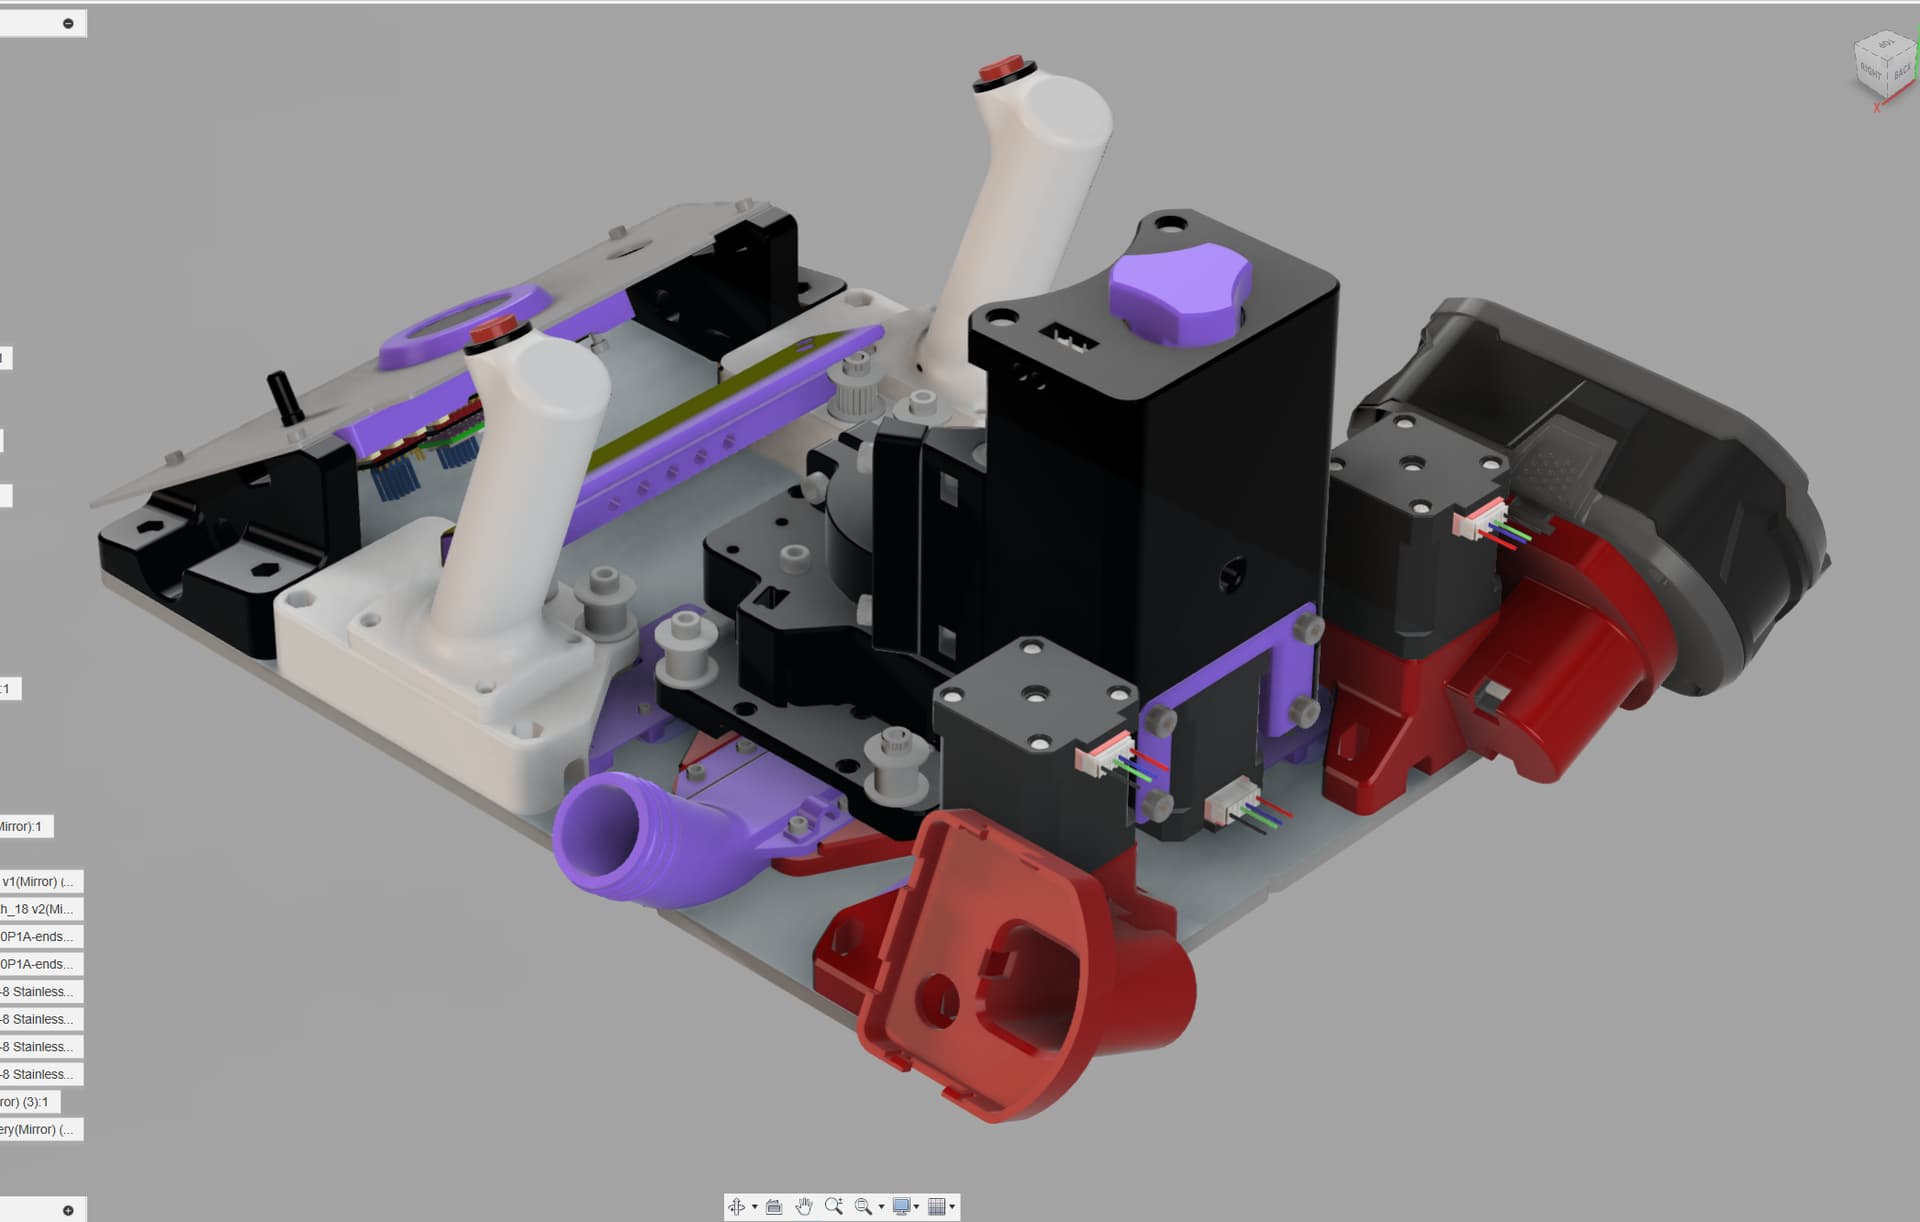
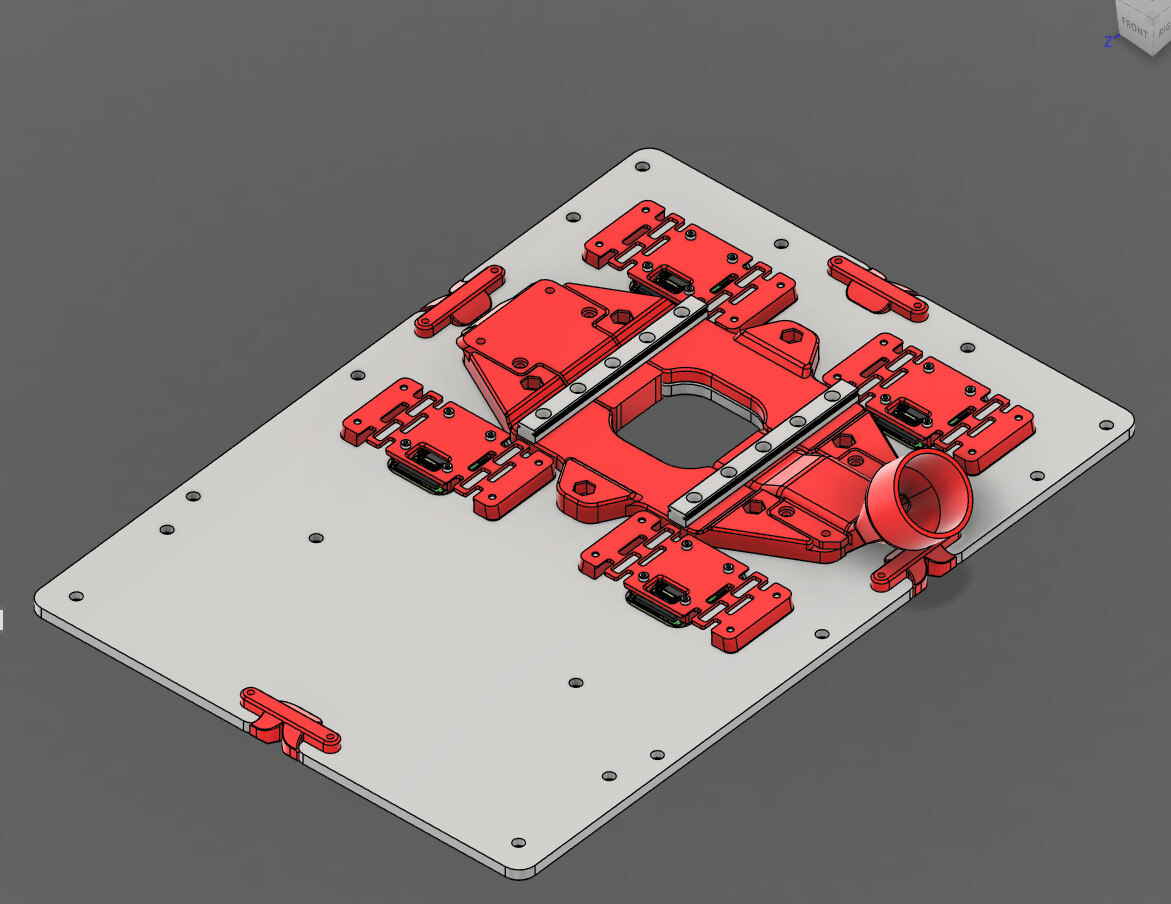
I like documenting my builds so thought I’d give that a go here, won’t be a blow by blow just the highlights ![]() starting off with an excellent reason to use the 3D scanner to get a mount made for my 43mm collar router. I do have an idea to make this fully cordless with a ryobi router and making a power feed from the battery, haven’t figured that bit out yet. it’ll probably be a 3d printed insert for the tool and a battery mount on the unit somewhere as team green has daft battery designs.
starting off with an excellent reason to use the 3D scanner to get a mount made for my 43mm collar router. I do have an idea to make this fully cordless with a ryobi router and making a power feed from the battery, haven’t figured that bit out yet. it’ll probably be a 3d printed insert for the tool and a battery mount on the unit somewhere as team green has daft battery designs.
7 Likes
I’m excited to watch the progress. I’ve got my popcorn.
I’m excited to watch as well, but I recall seeing TeachingTech’s youtube video where he started with a Ryobi cordless router on his lowrider and changed it out for a corded one pretty quickly as the battery life didn’t seem to last long enough for his projects. I don’t want to throw a wet blanket when you’re just getting started, but it might be worth reviewing this video to see if you want to continue down that road. It’s a few years old and based on the Lowrider 2, but I don’t know that the battery life for the router will have improved much in that time.
Hi! yes battery life is definitely a consideration, my idea was to have 2 of them (in parallel) behind the handles to centralise the weight. I have an UltimateBee 1015 with 2.2kw spindle for the big/heavy stuff (like base plates!) and there’s nothing to say I can’t have a tethered option that drives the router in lieu of the batteries. It’s all just musings at the moment, going to get the standard one built and mod from there.
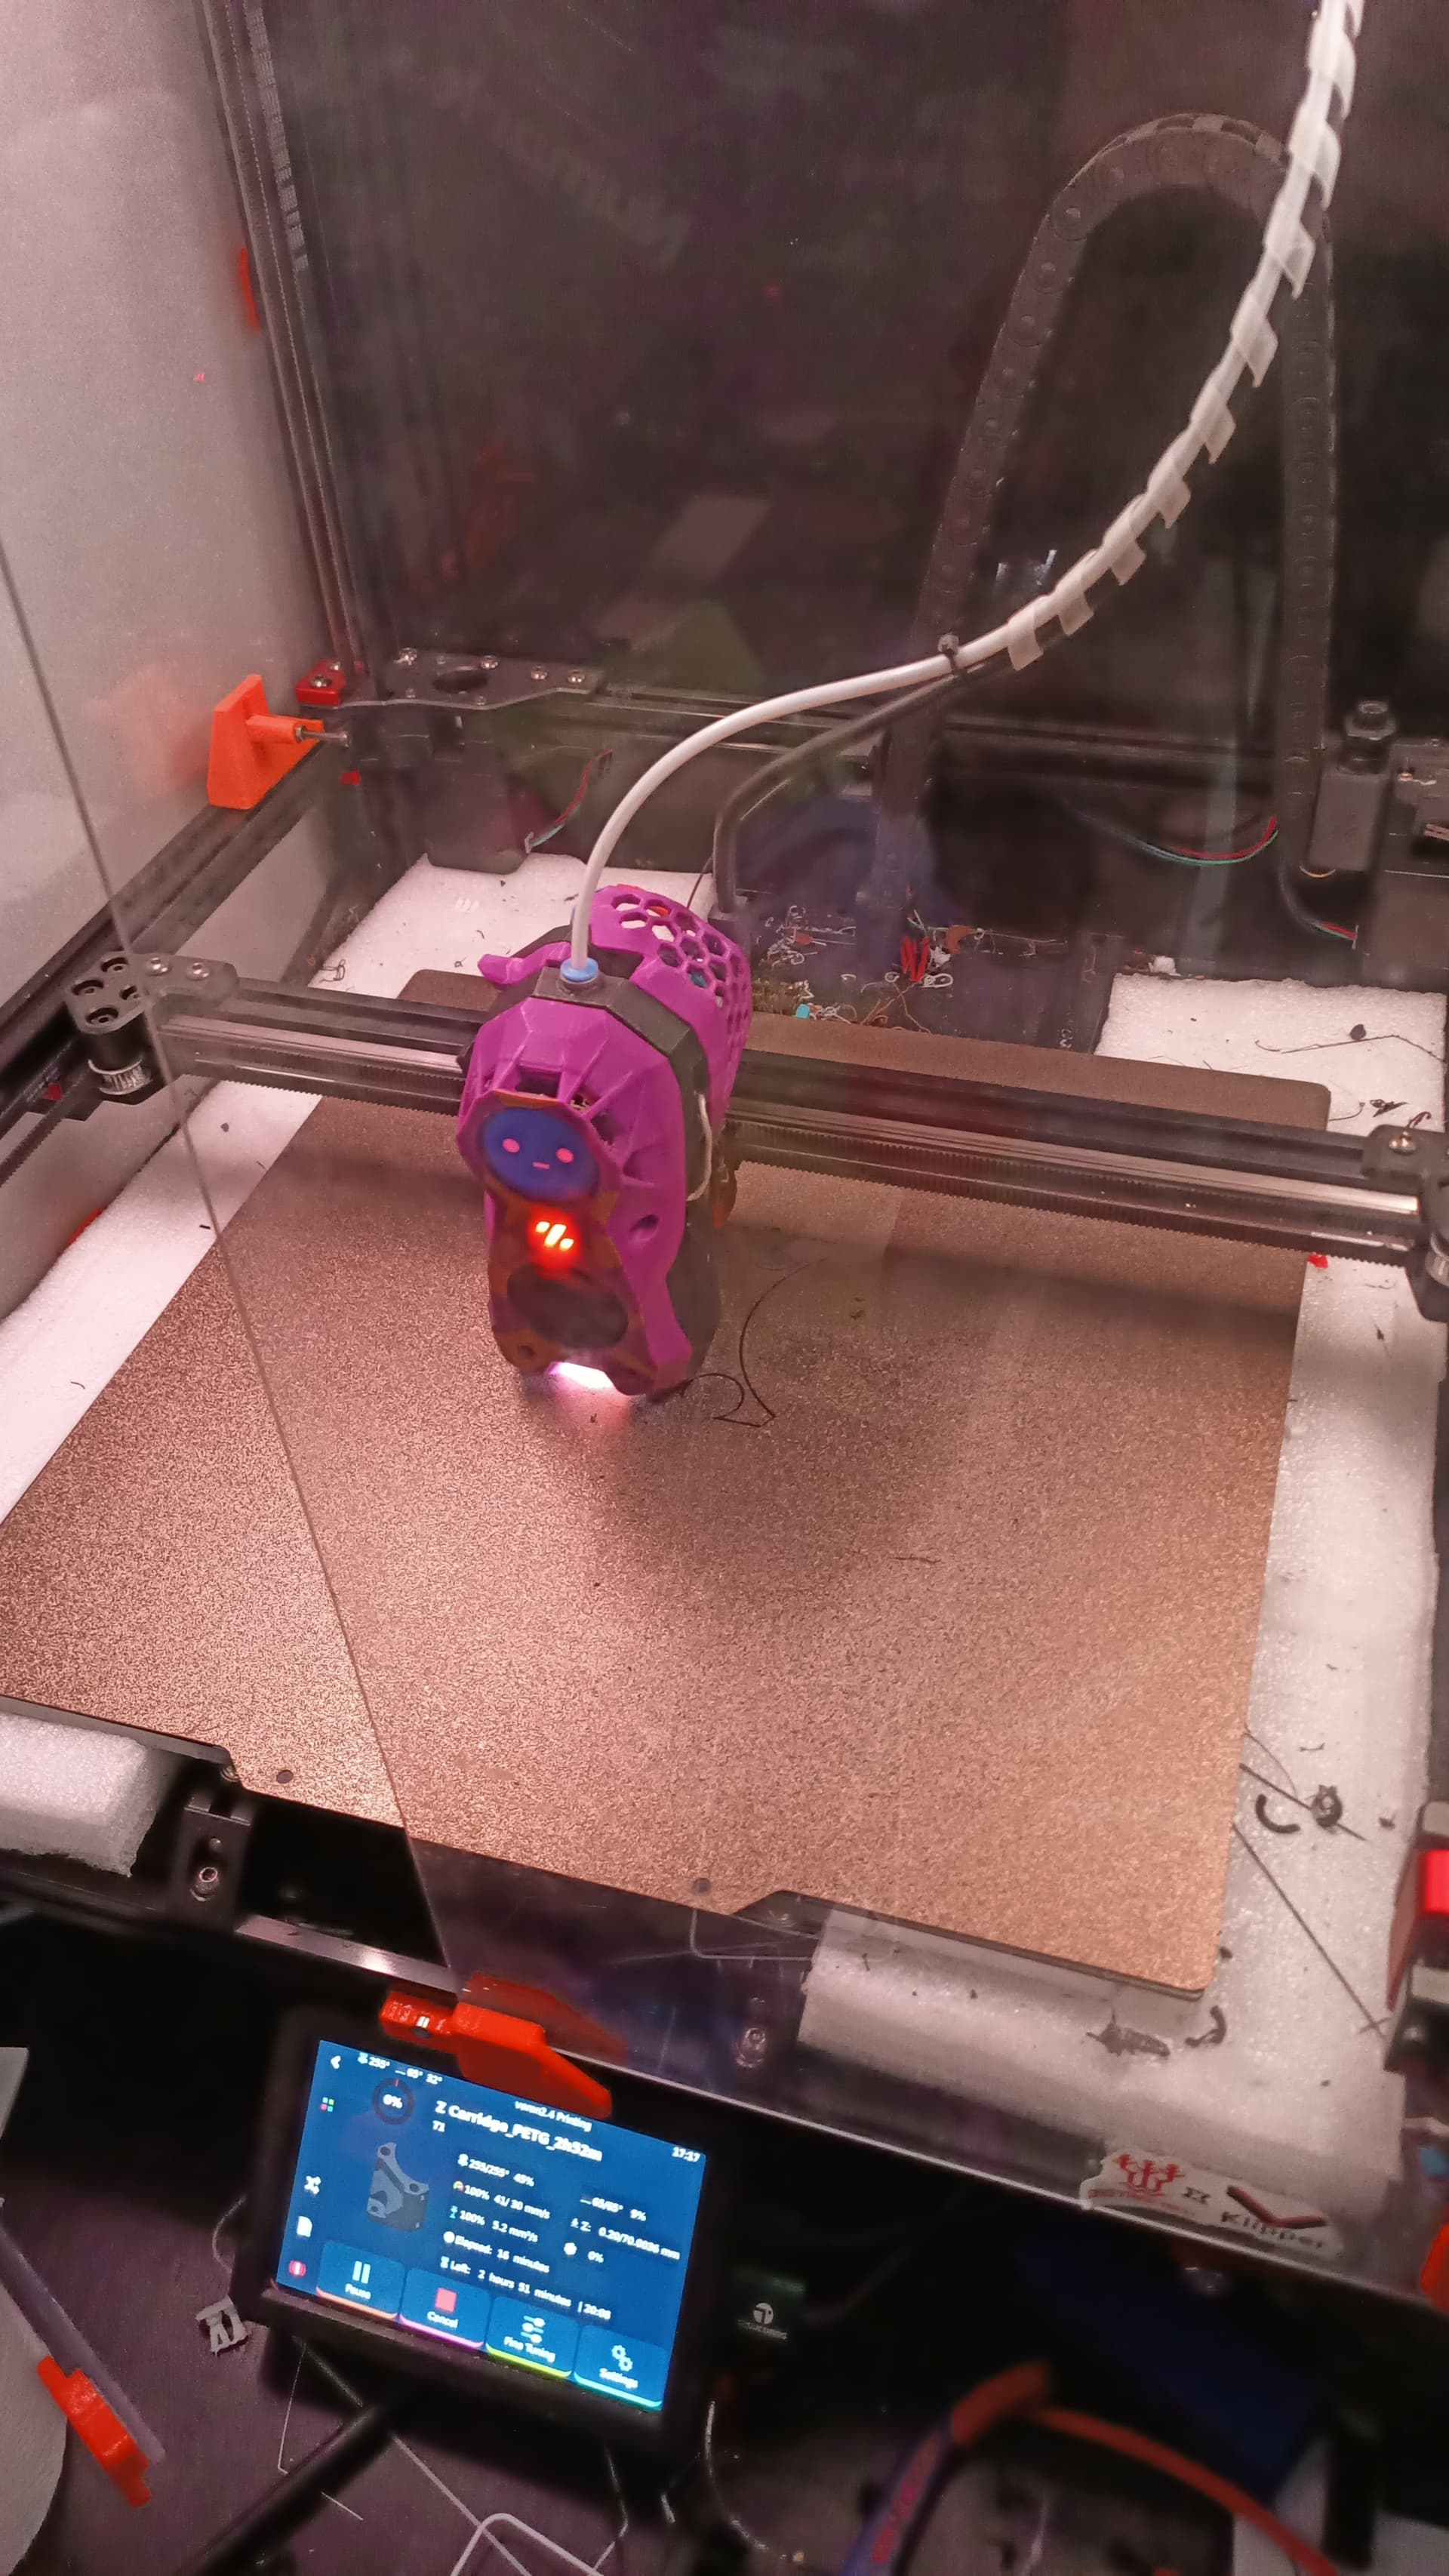
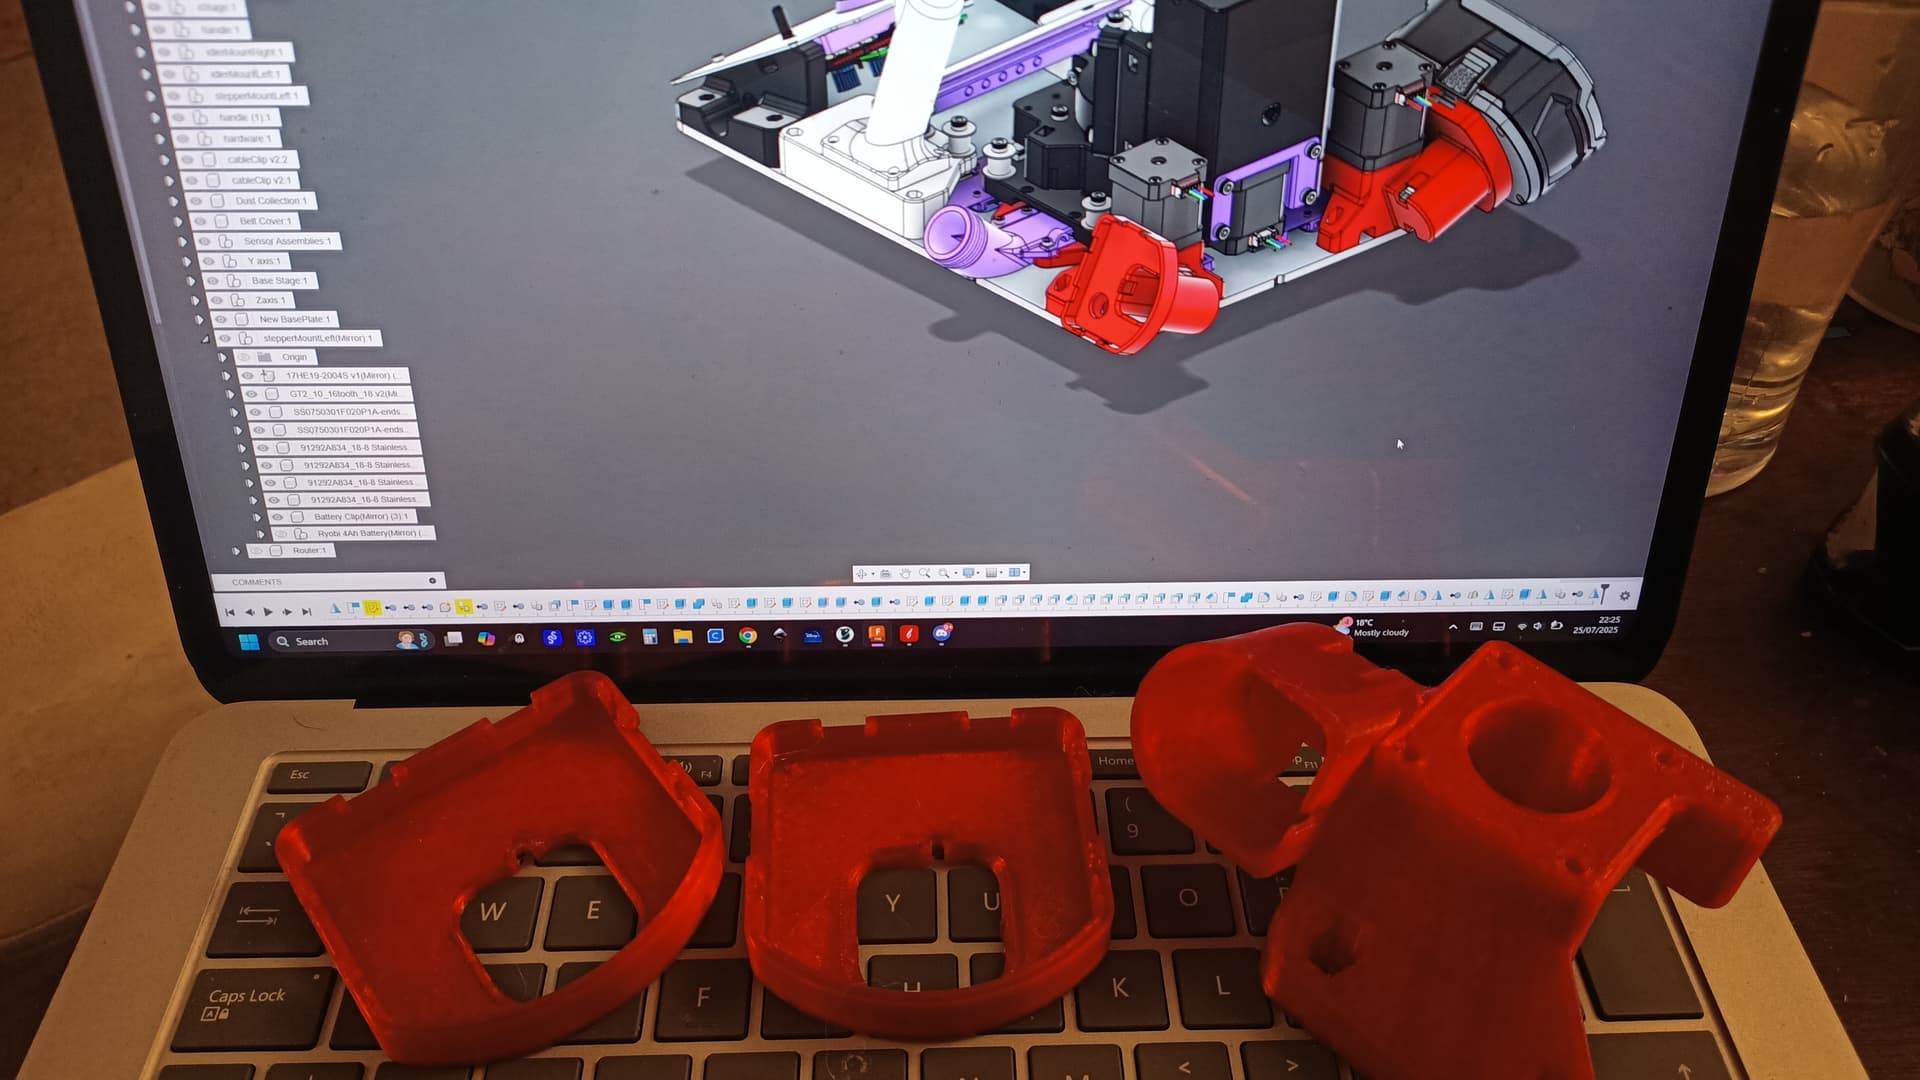
Update wise the mount for my trend router is all cadded up and printed and Mr Voron has been chugging away happily, even the ERCF is playing ball today!
2 Likes
Sweeet!! I love to see it. The idea of having a fully cordless machine is indeed pretty sweet. I used a battery adapter on one my earlier prototypes (this is the link if you’re interested: Amazon.com: 2 Packs Power Wheel Adapter for Dewalt 20V Battery Adapter Power Wheel Battery Converter Kit with Fuses & Wire Terminals, 12AWG Wire, Power Connector for DIY Rc Car Toys, Robotics and Rc Truck : Tools & Home Improvement). I didn’t test it extensively because I generally just preferred the security of cabled power adapter and not having to worry about battery life. This is what that setup looked like:
Tbh I didn’t really take battery mounting into consideration when designing V1. I’m curious to see how you go about placement.
2 Likes
Yea. Note: Those look like Ryobi batteries, which I like because they have good integrated BMS.
They also make those in sizes up to 9 Amp hours, so a pair of those has at least some potential for reasonable run times.
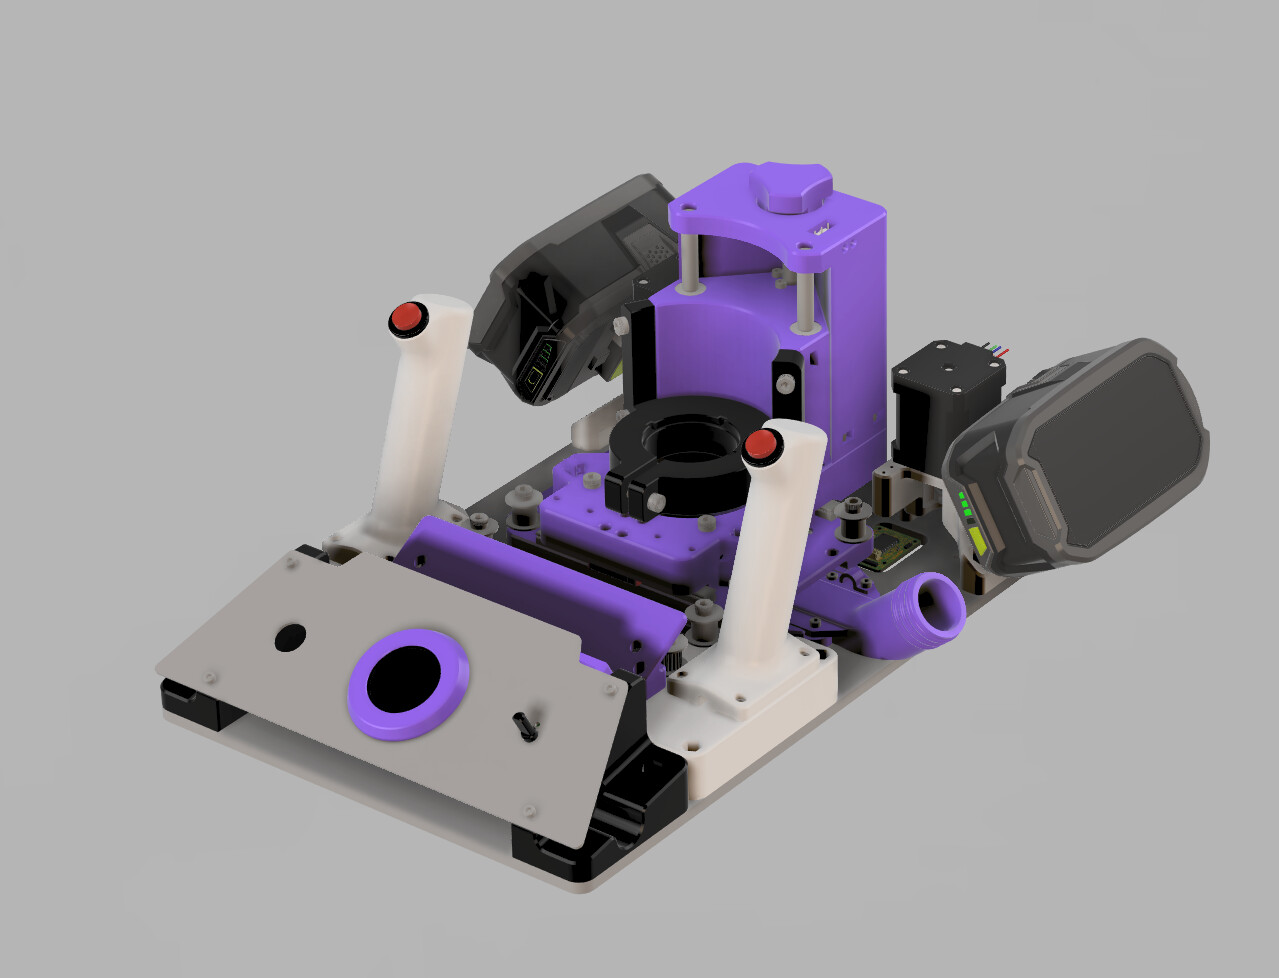
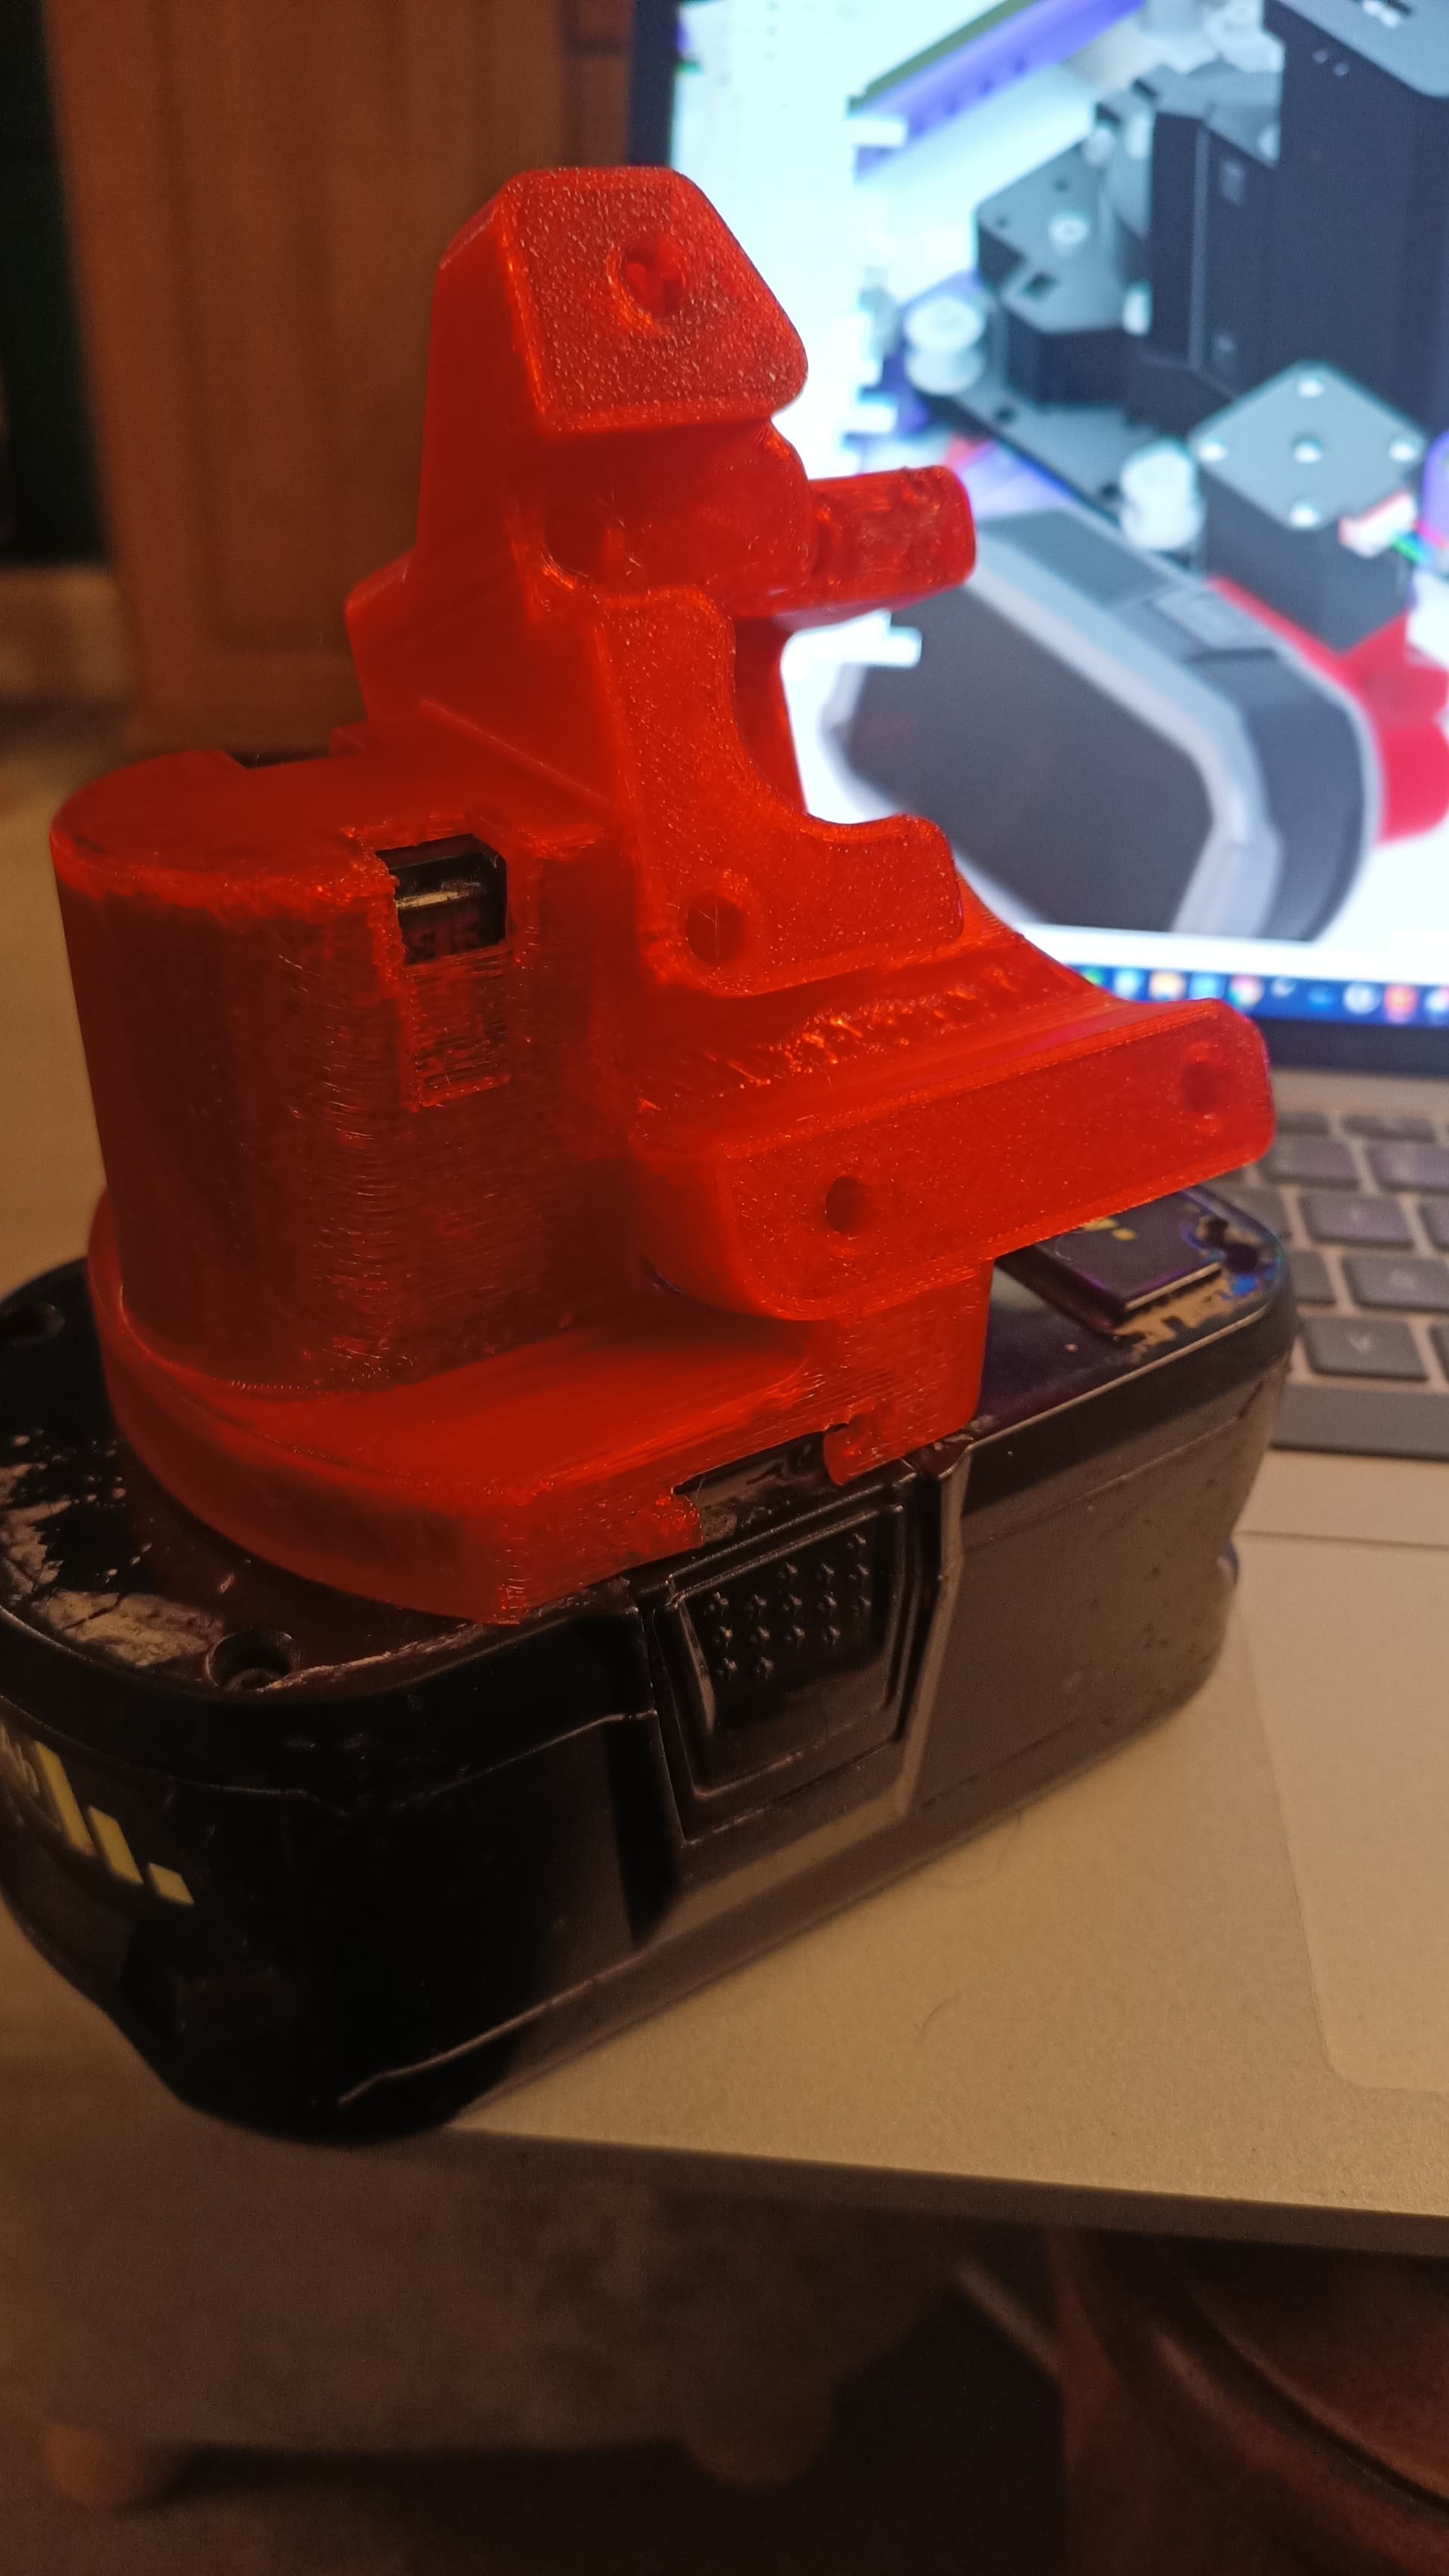
I’m not hating positioning 2 batteries here, keeps the weigh low and gives it a bit of a startrekky vibe. the battery clips are also unobtrusive if it’s running tethered with the mains router. test print incoming!

1 Like
I think batteries will be fine. The issue with the battery on a larger CNC machine is the scale of project you’re going to do with it and what happens when it runs flat. You’ve got a large machine that you’re potentially running long uninterrupted jobs on and just keeping an eye on it. If the battery runs flat you’re going to break bits, damage work, lose steps, all potentially with no easy graceful recovery method.
In this machine you’ll be running shorter jobs and actively using the machine so you can just stop feeding into the work avoiding most of those issues.
With my Makita brushless I was getting ~20-30 minutes of use with a pattern bushing and spiral bit doing heavy routes when I made my Paulk Smart Bench. You’re WELL aware of how long you’ve been going after 20 minutes using the machine like that.
I’d probably plan to use a separate battery for the motion platform than the router, personally, so you can easily hot-swap the battery if needed, but beyond that I wouldn’t worry. I also would advise against having 2 batteries in parallel without some careful consideration, connecting a pair of lithium ion packs that are at different states of charge or even the same state of charge but different temperatures can result in some VERY gnarly currents. Even most of the power tools that use dual batteries do it by having them in series or by fully discharging one battery and then electrically swapping to the next.
In the RC world you can get high current mosfet balancers for running Lipos in parallel and I planned to squirrel one of those away somewhere to prevent slight differences causing damage and safely allowing hotswap.
Not this one exactly but gives you jist of what they do: Amazon.co.uk
1 Like
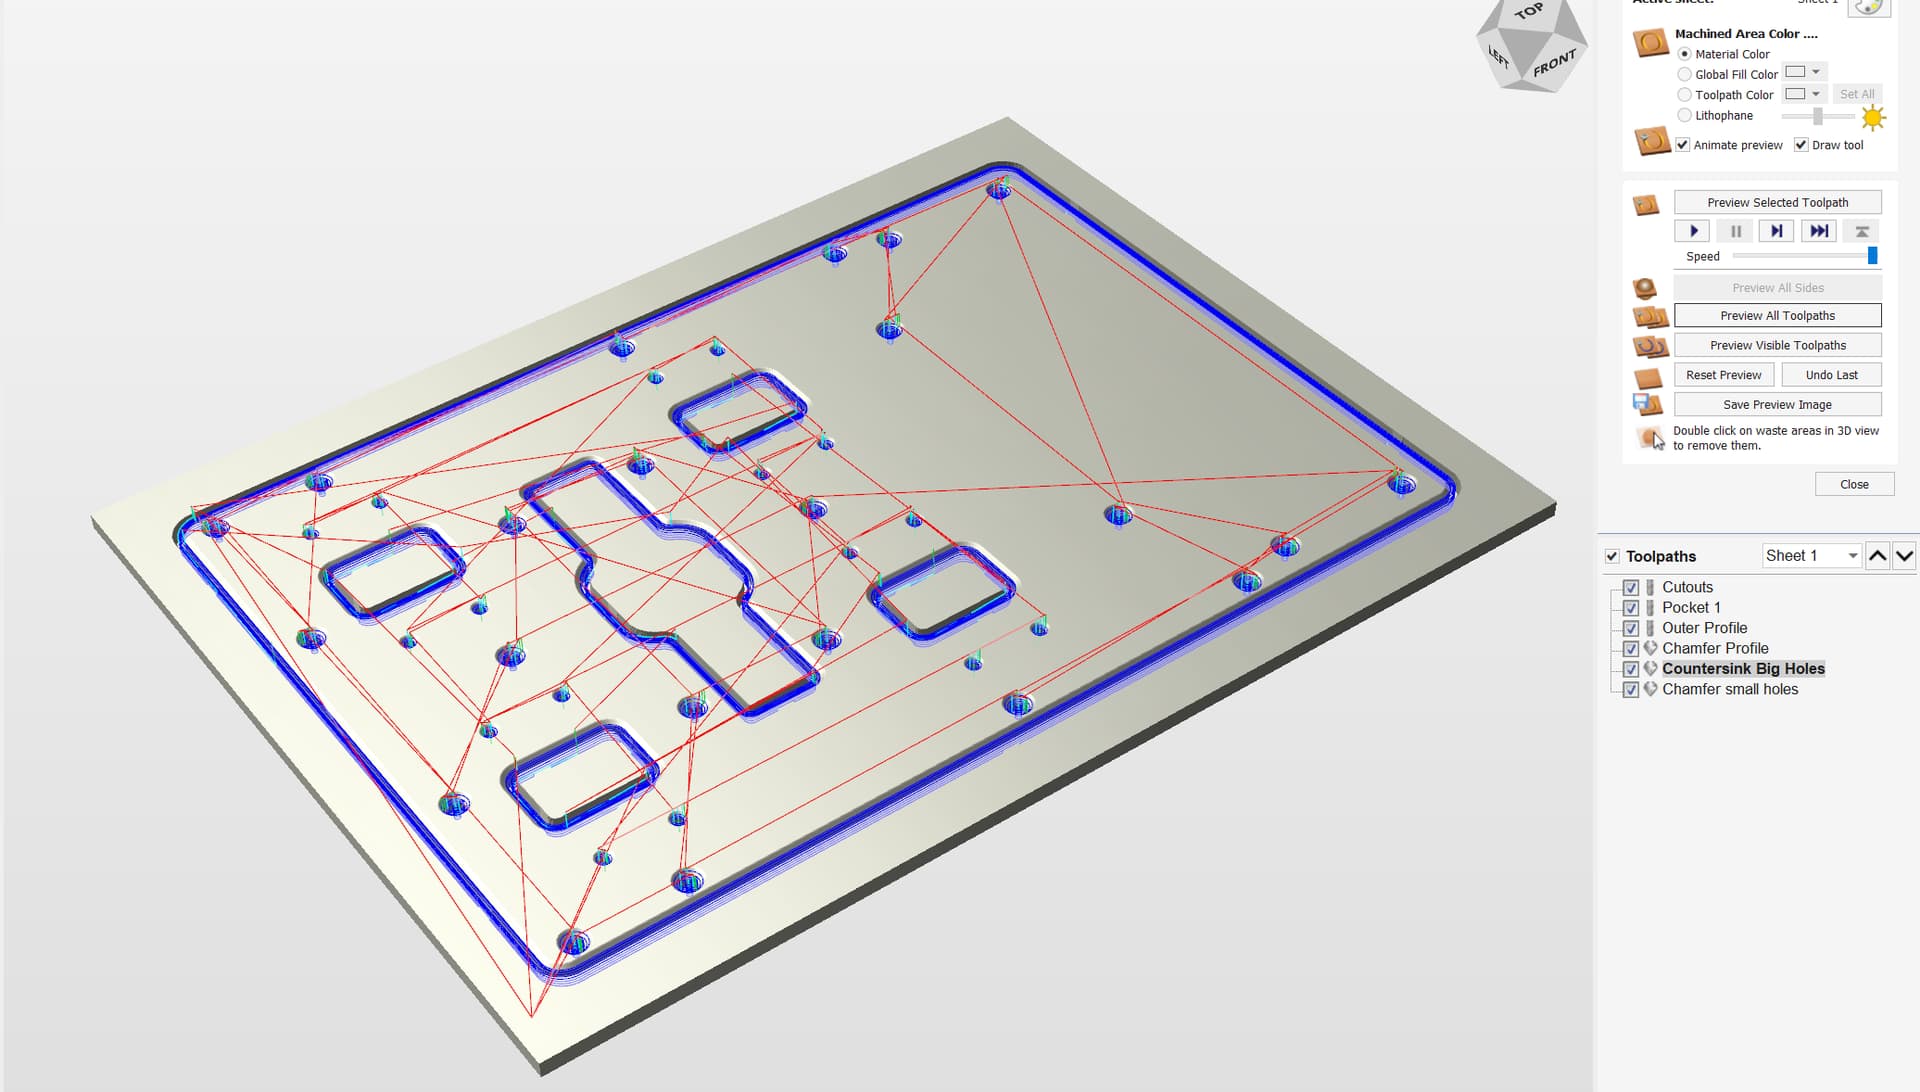
Getting the tool pathing done for the baseplate this evening, an excellent excuse to finally get that 90deg Vbit I’ve been forgetting to buy for months.
1 Like
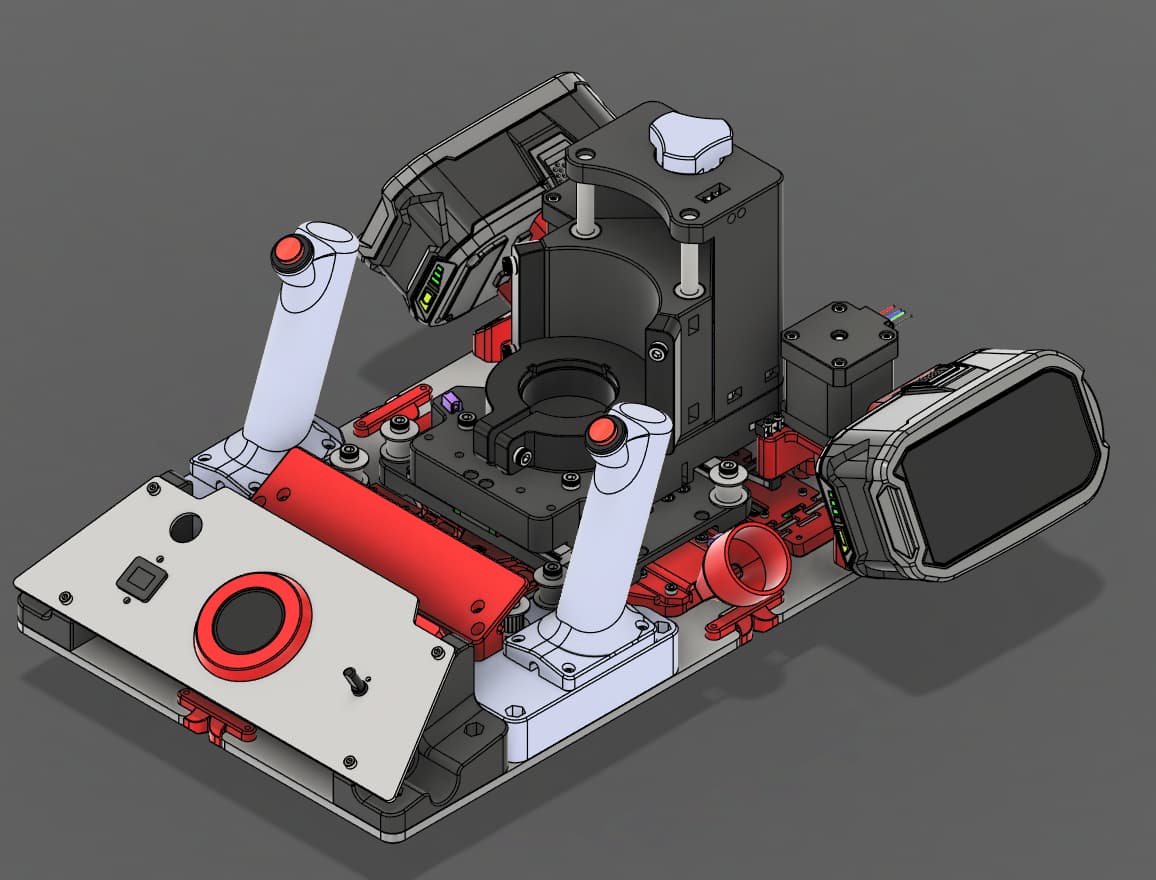
Dude I’m loving it!! The angled mounting in your render looks pretty awesome, ngl.
FYI I did also just push a new baseplate design. It’s pretty much the exact same, only with notches on all four sides to help line up the center. I had been meaning to add those for a while but got caught up with other stuff. Silly really—tiny little change. I didn’t realize people would be so fast to get building! I thought I’d have more time to procrastinate hahah.
2 Likes
Sorry! I’ve been waiting for this one ever since I saw the “device which shall not be named” sprinkle a little ADHD hyperfocus on top and we’re well away!
3 Likes
Hahahah absolutely no worries, I love it! Keep the updates coming
1 Like
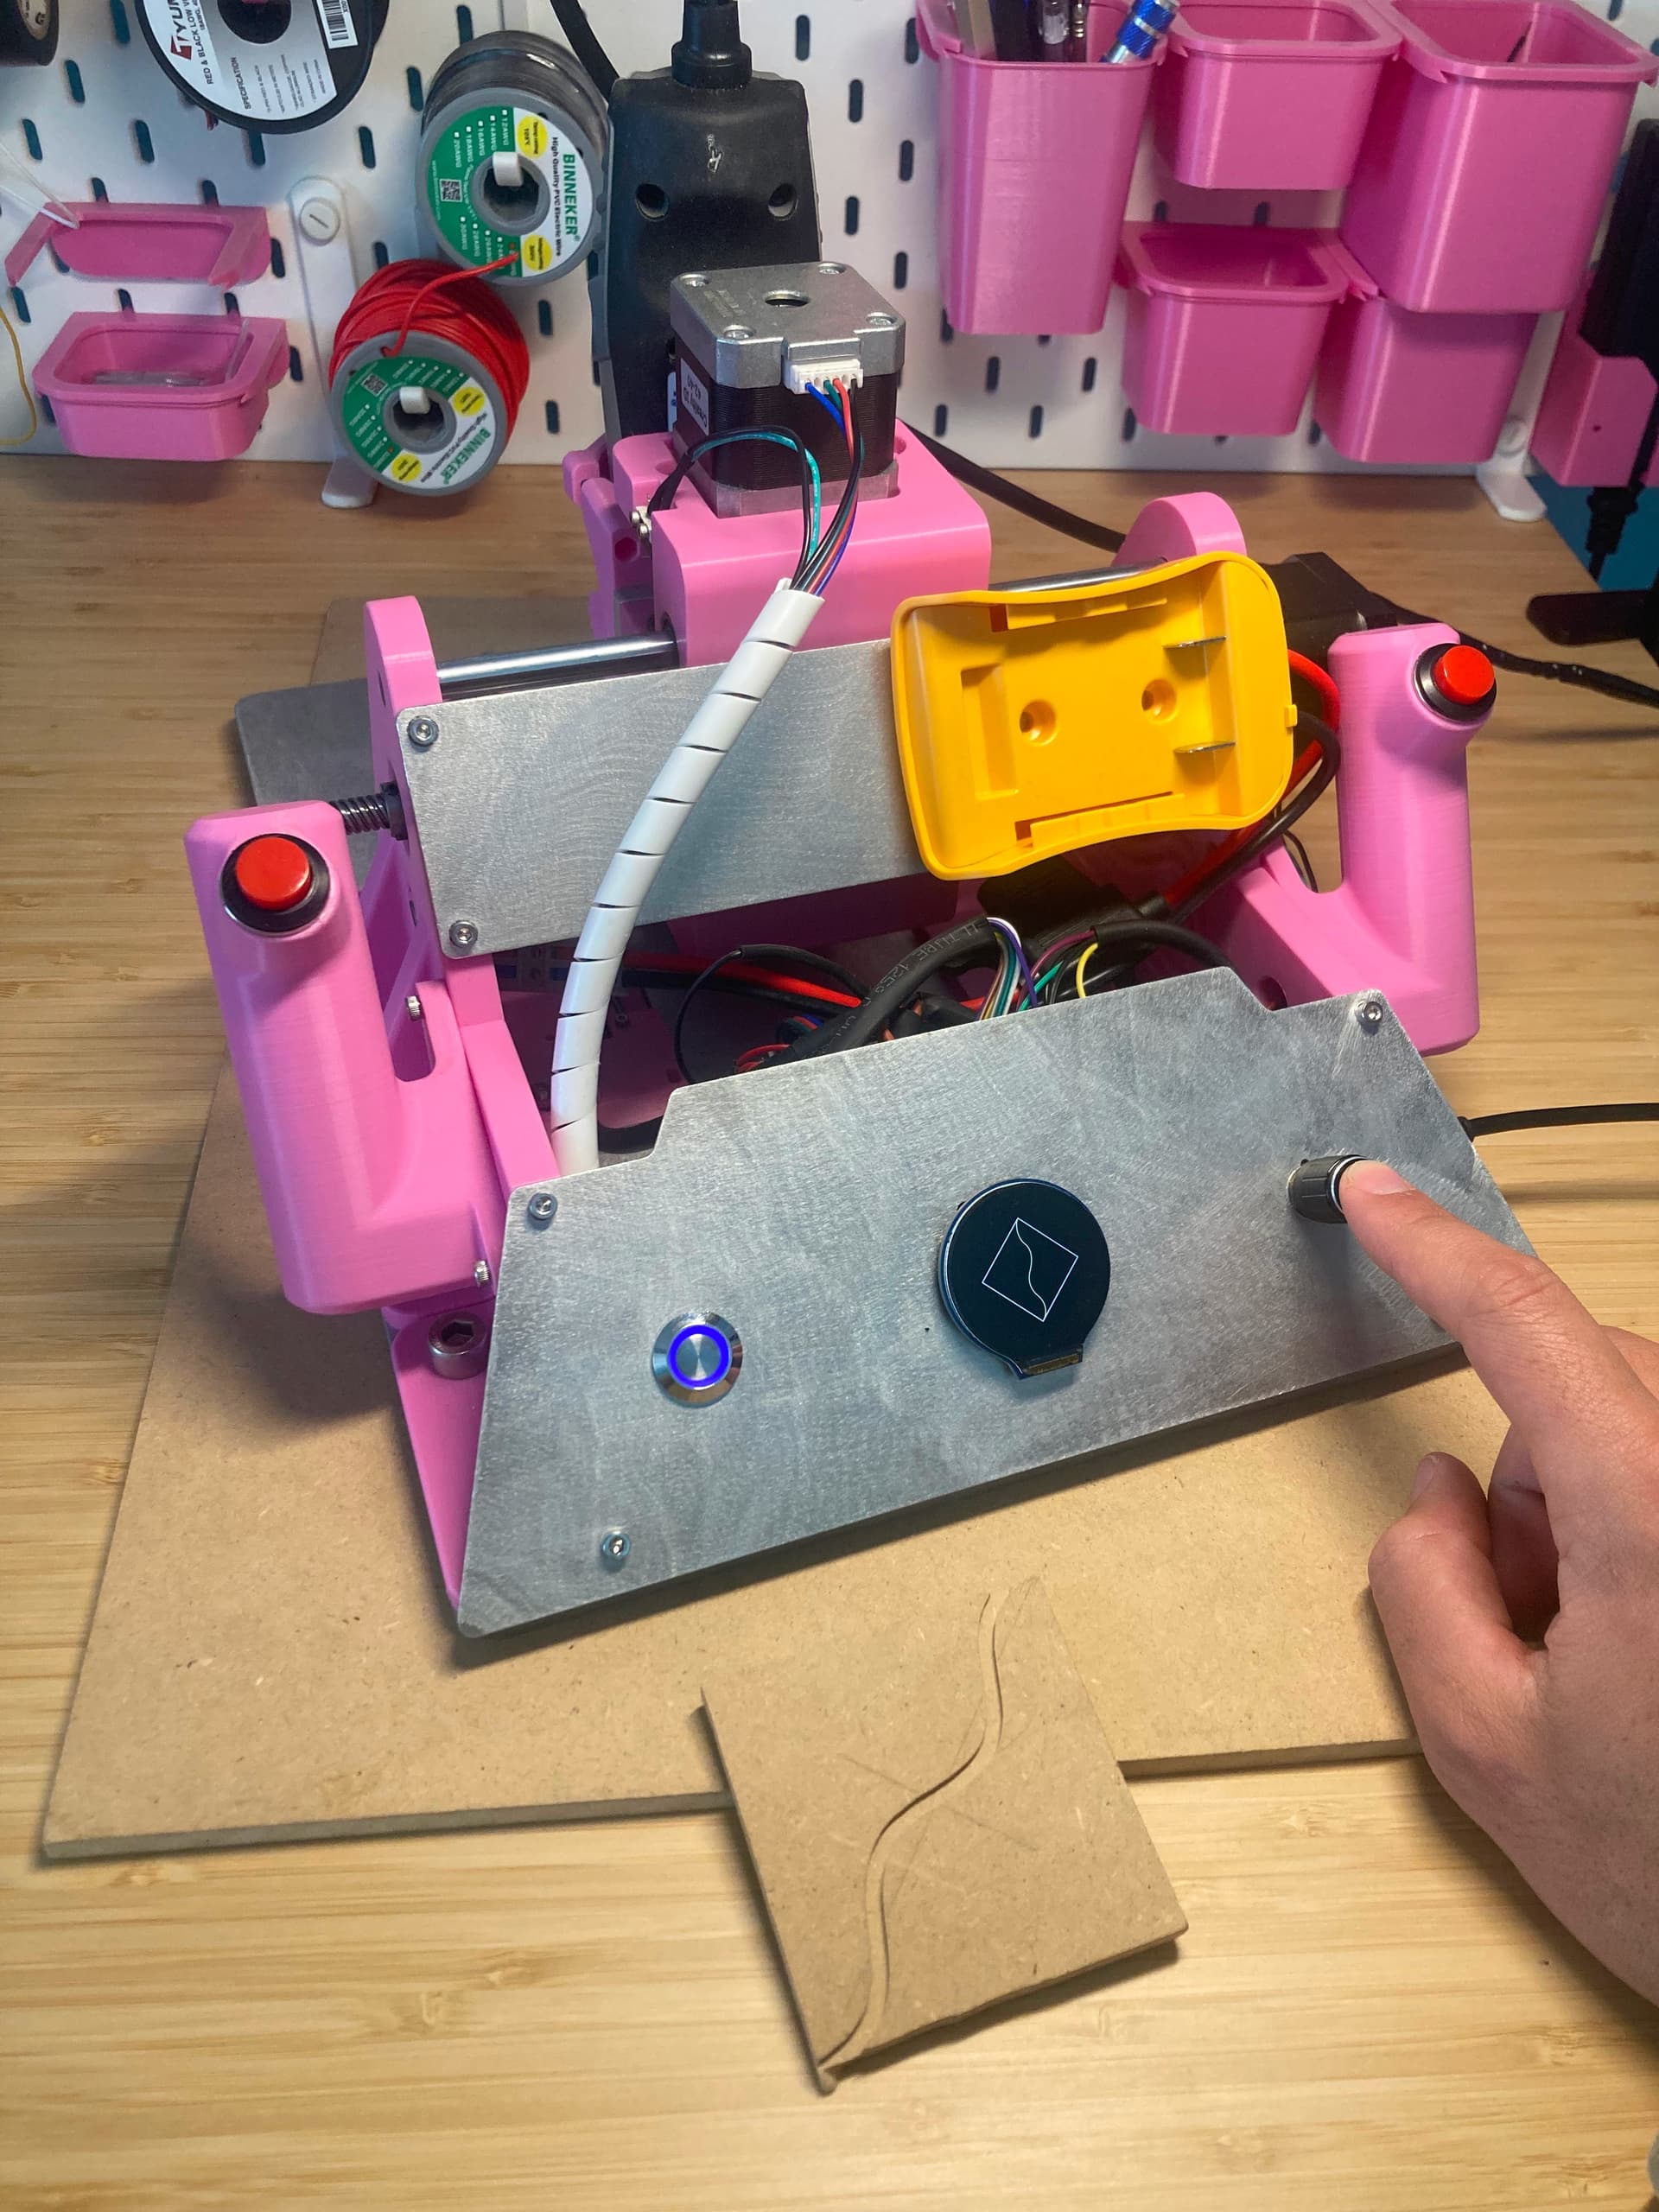
Bit of R&D today, I was hoping to get away without clipping the batteries in but it was too sketchy so I spent most of my spare time getting a nice snug set of clips dialled in.
For anyone wondering about the colour scheme I like to call it “end of spool chic”.
4 Likes
Battery clips done, pretty happy with how they’ve come out with draft settings, should be really clean with some variable layer height and a PLA support interface.
Also made the notches into arrows for a cleaner point when cnc milling the base plate.
3 Likes
Awesome! The battery mounts look great.
The one concern I have with this design is snagging on the material… It seems like that spike is asking to dig right into your workpiece. Idk maybe if you chamfered the bottom side a good bit…?
1 Like
good call ![]() I’m currently toying with a removable 3dp plate for the center indicators, might want to attach it to a guide rail or something in the future, need to re-kerjigger the dust extractor but I’m liking how the idea is coming together so far
I’m currently toying with a removable 3dp plate for the center indicators, might want to attach it to a guide rail or something in the future, need to re-kerjigger the dust extractor but I’m liking how the idea is coming together so far ![]()
2 Likes
Exciting times! everything except the hardware is now ordered and all the 3D printing is done!
for anyone from the UK after parts I’ll have a couple of sets of PCBs and PiHut has the teensy 4.1 in stock for a reasonable price.
Been playing with a few bits in CAD, a longer travel spring and changable locator notches.
Switching gears to my Hotwire attachment for my CNC machine for a bit while we wait for parts to come in, the Aluminium should be here by the end of the week so should get to milling over the weekend, I’d consider selling plates too but it’s unlikely I can do them cheaper than a laser-cutting place.
I know it’s not an MPCNC but in fairness I did build one many years ago and that got me started with CNC routers! the hot wire attachment works by disconnecting one set of linear bearings and the drive nut from the gantry and sliding it fully forward and then switching out the fluidNC profile.
5 Likes
I’d first check in with @camchaney if that works with the license (I’ve got no clue, just mentioning it). For the LowRider you can’t do that for instance without asking Ryan for permission. It’s open source, but non-commercial.