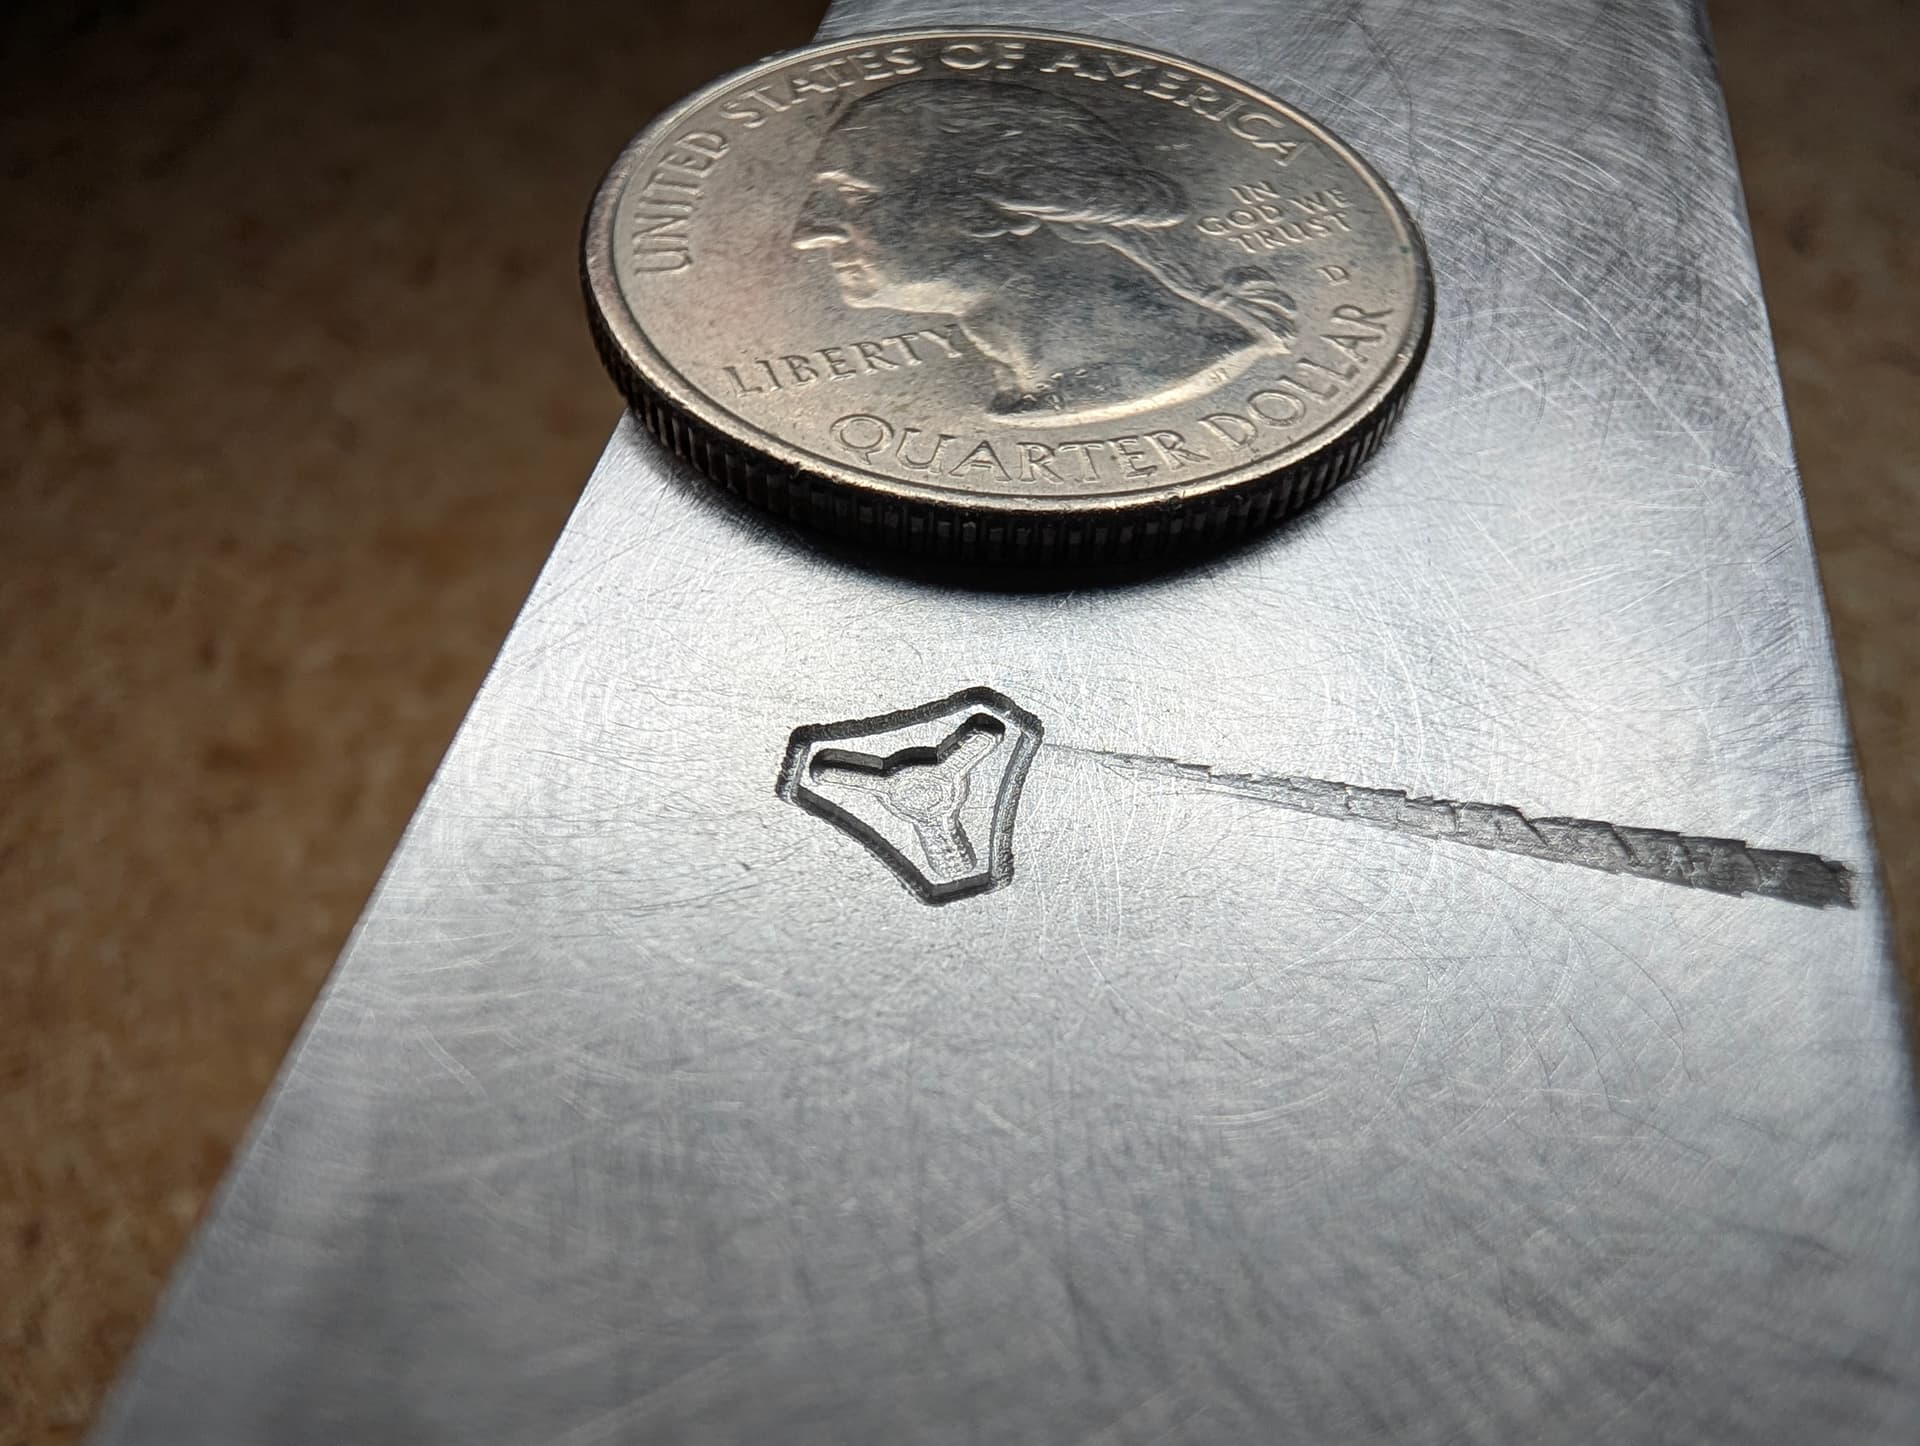
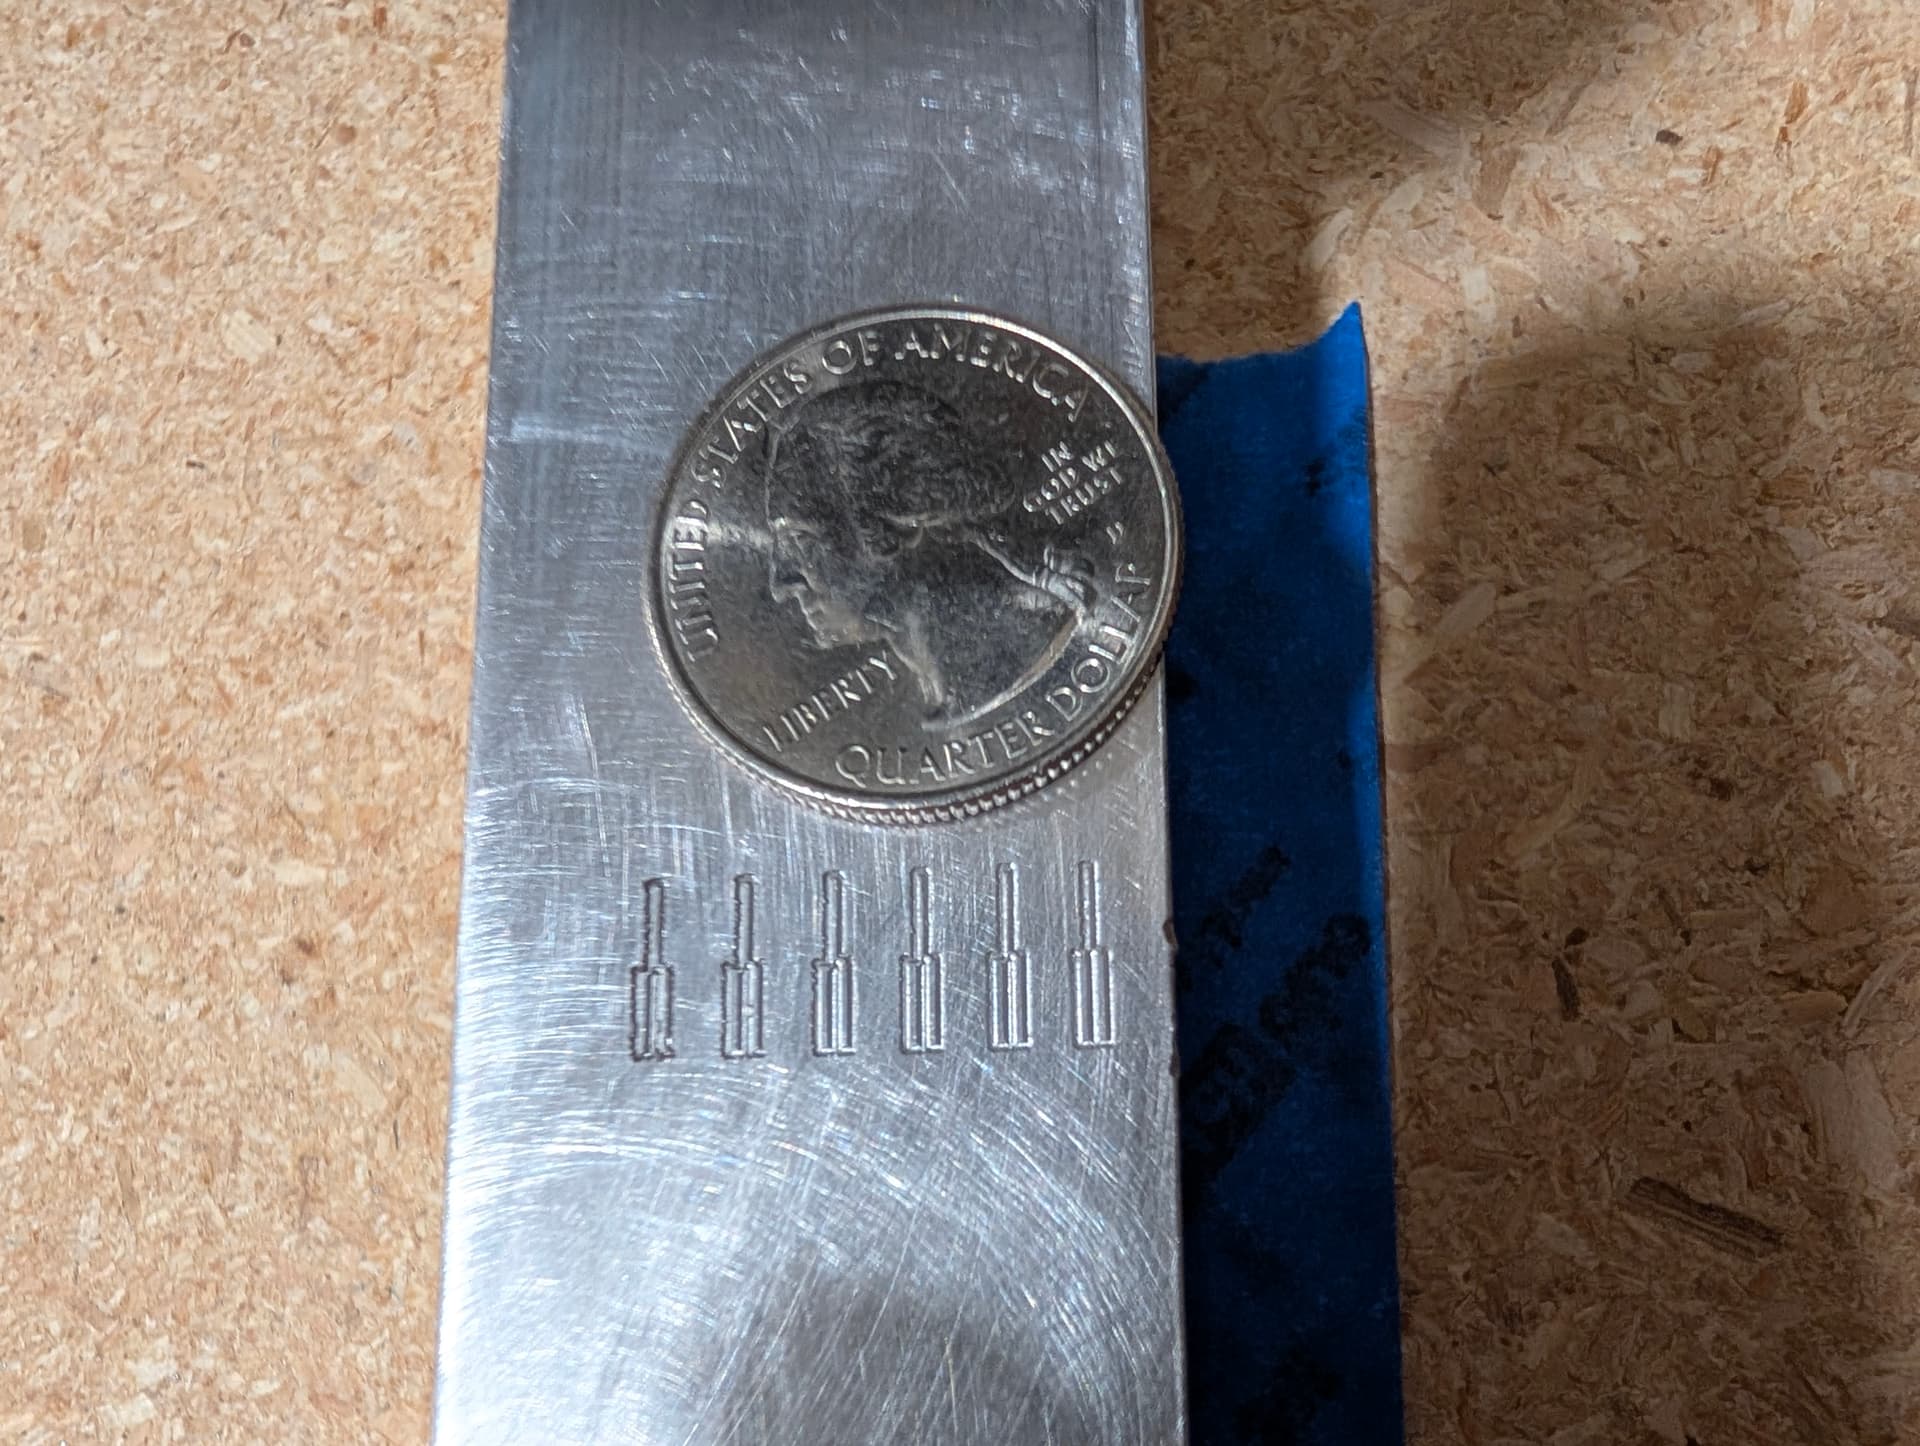
The left most trace is 0.01" Then up by 0.002" for each test ending at 0.02" (The Jackpot uses mostly 0.0254"). The funky wide trace on the right is from 7-8 years ago on a MPCNC.
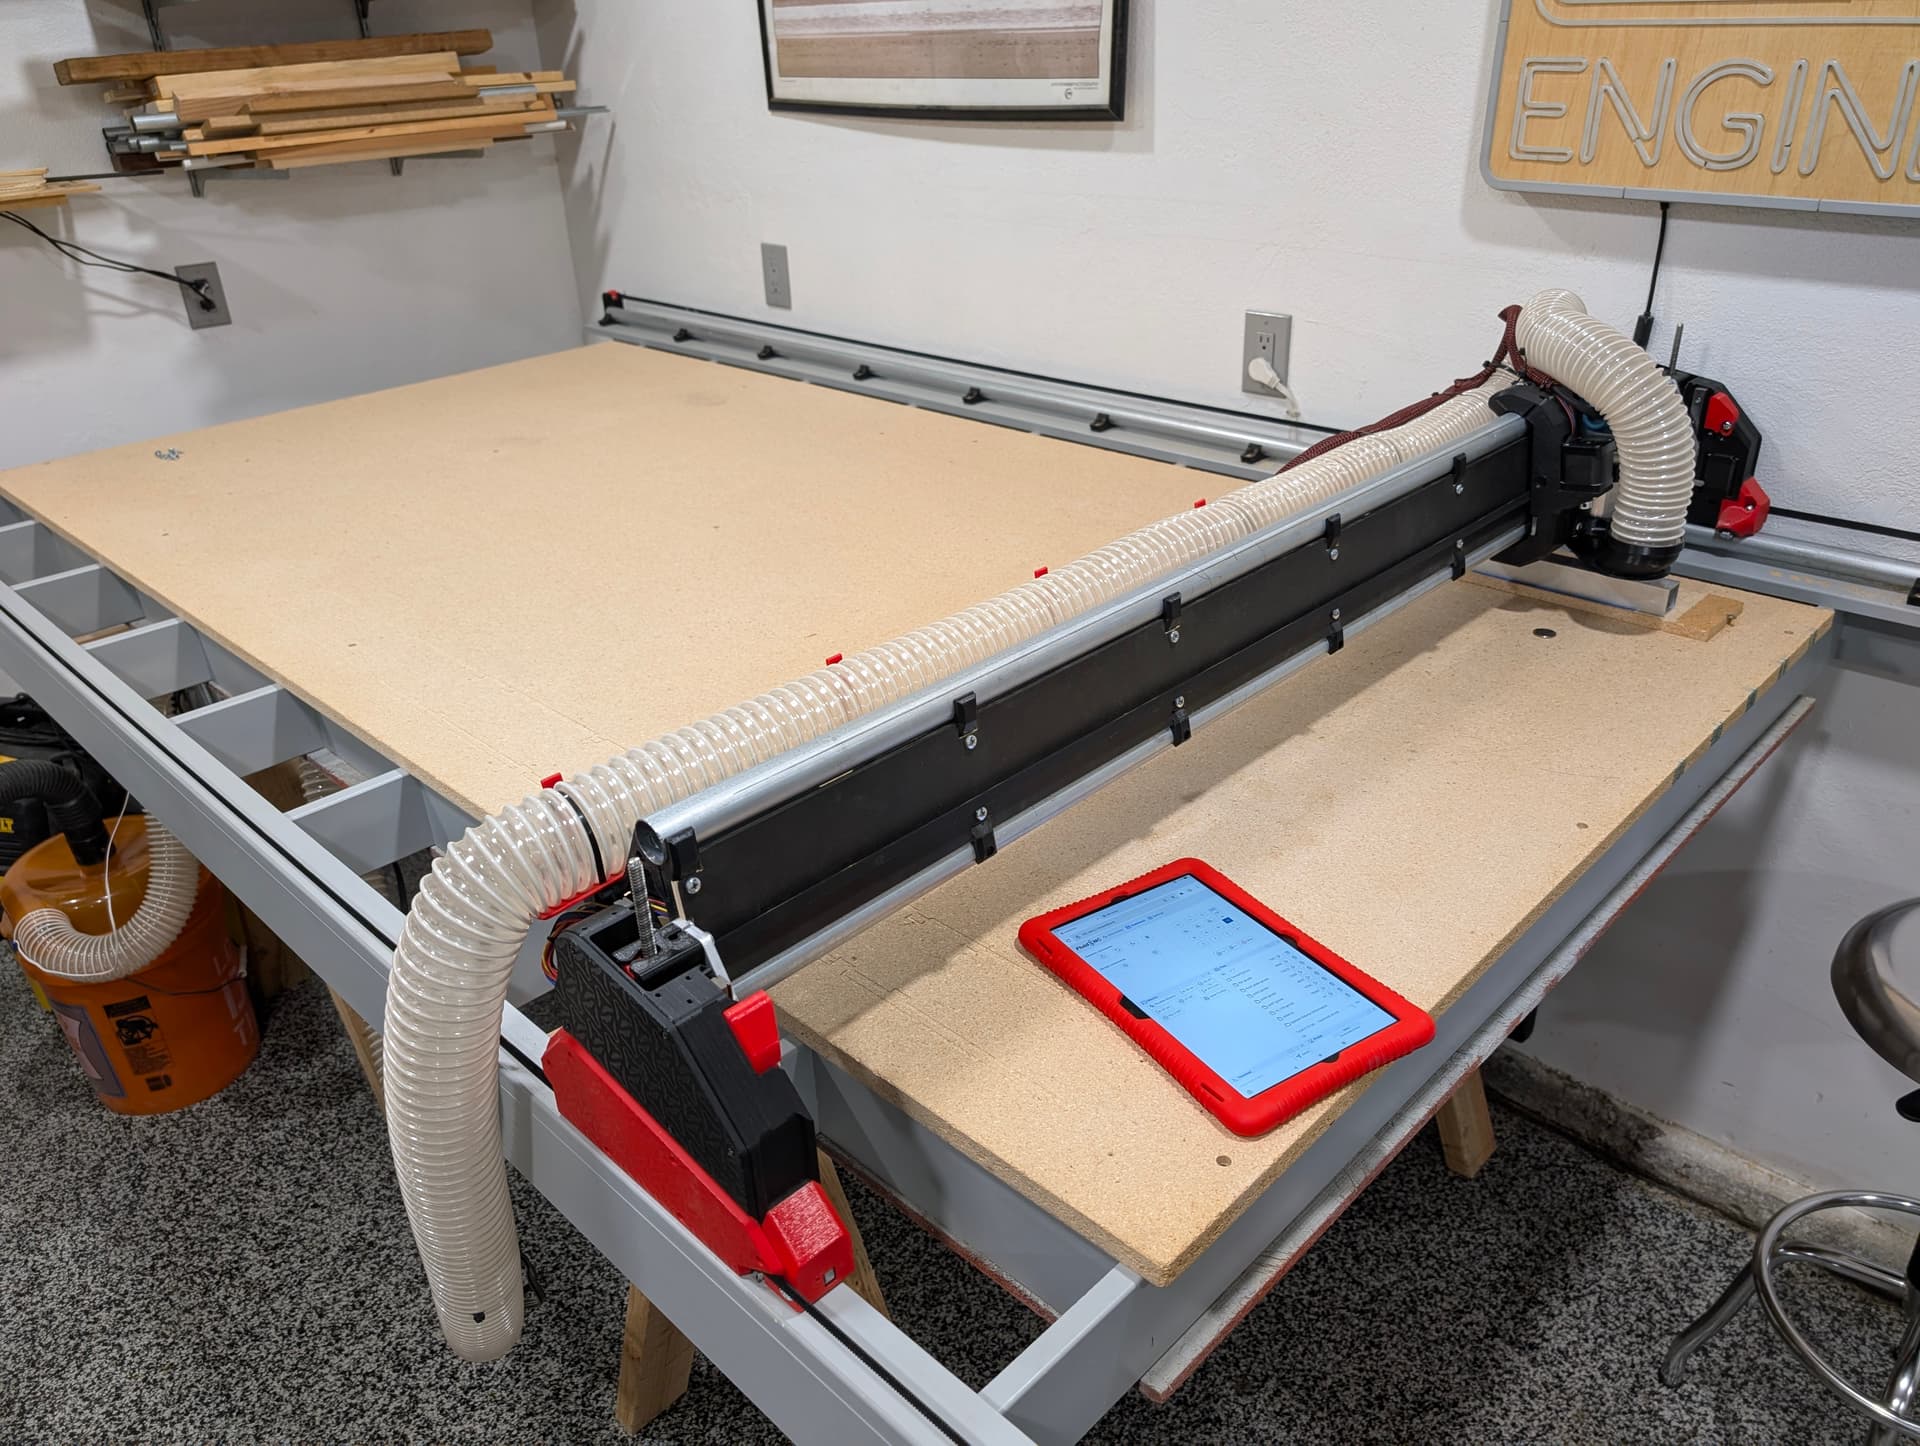
Using a giant CNC to make a tiny test is pretty fun. I learned a lot. I want to clean these up even better tomorrow. I still went too deep.
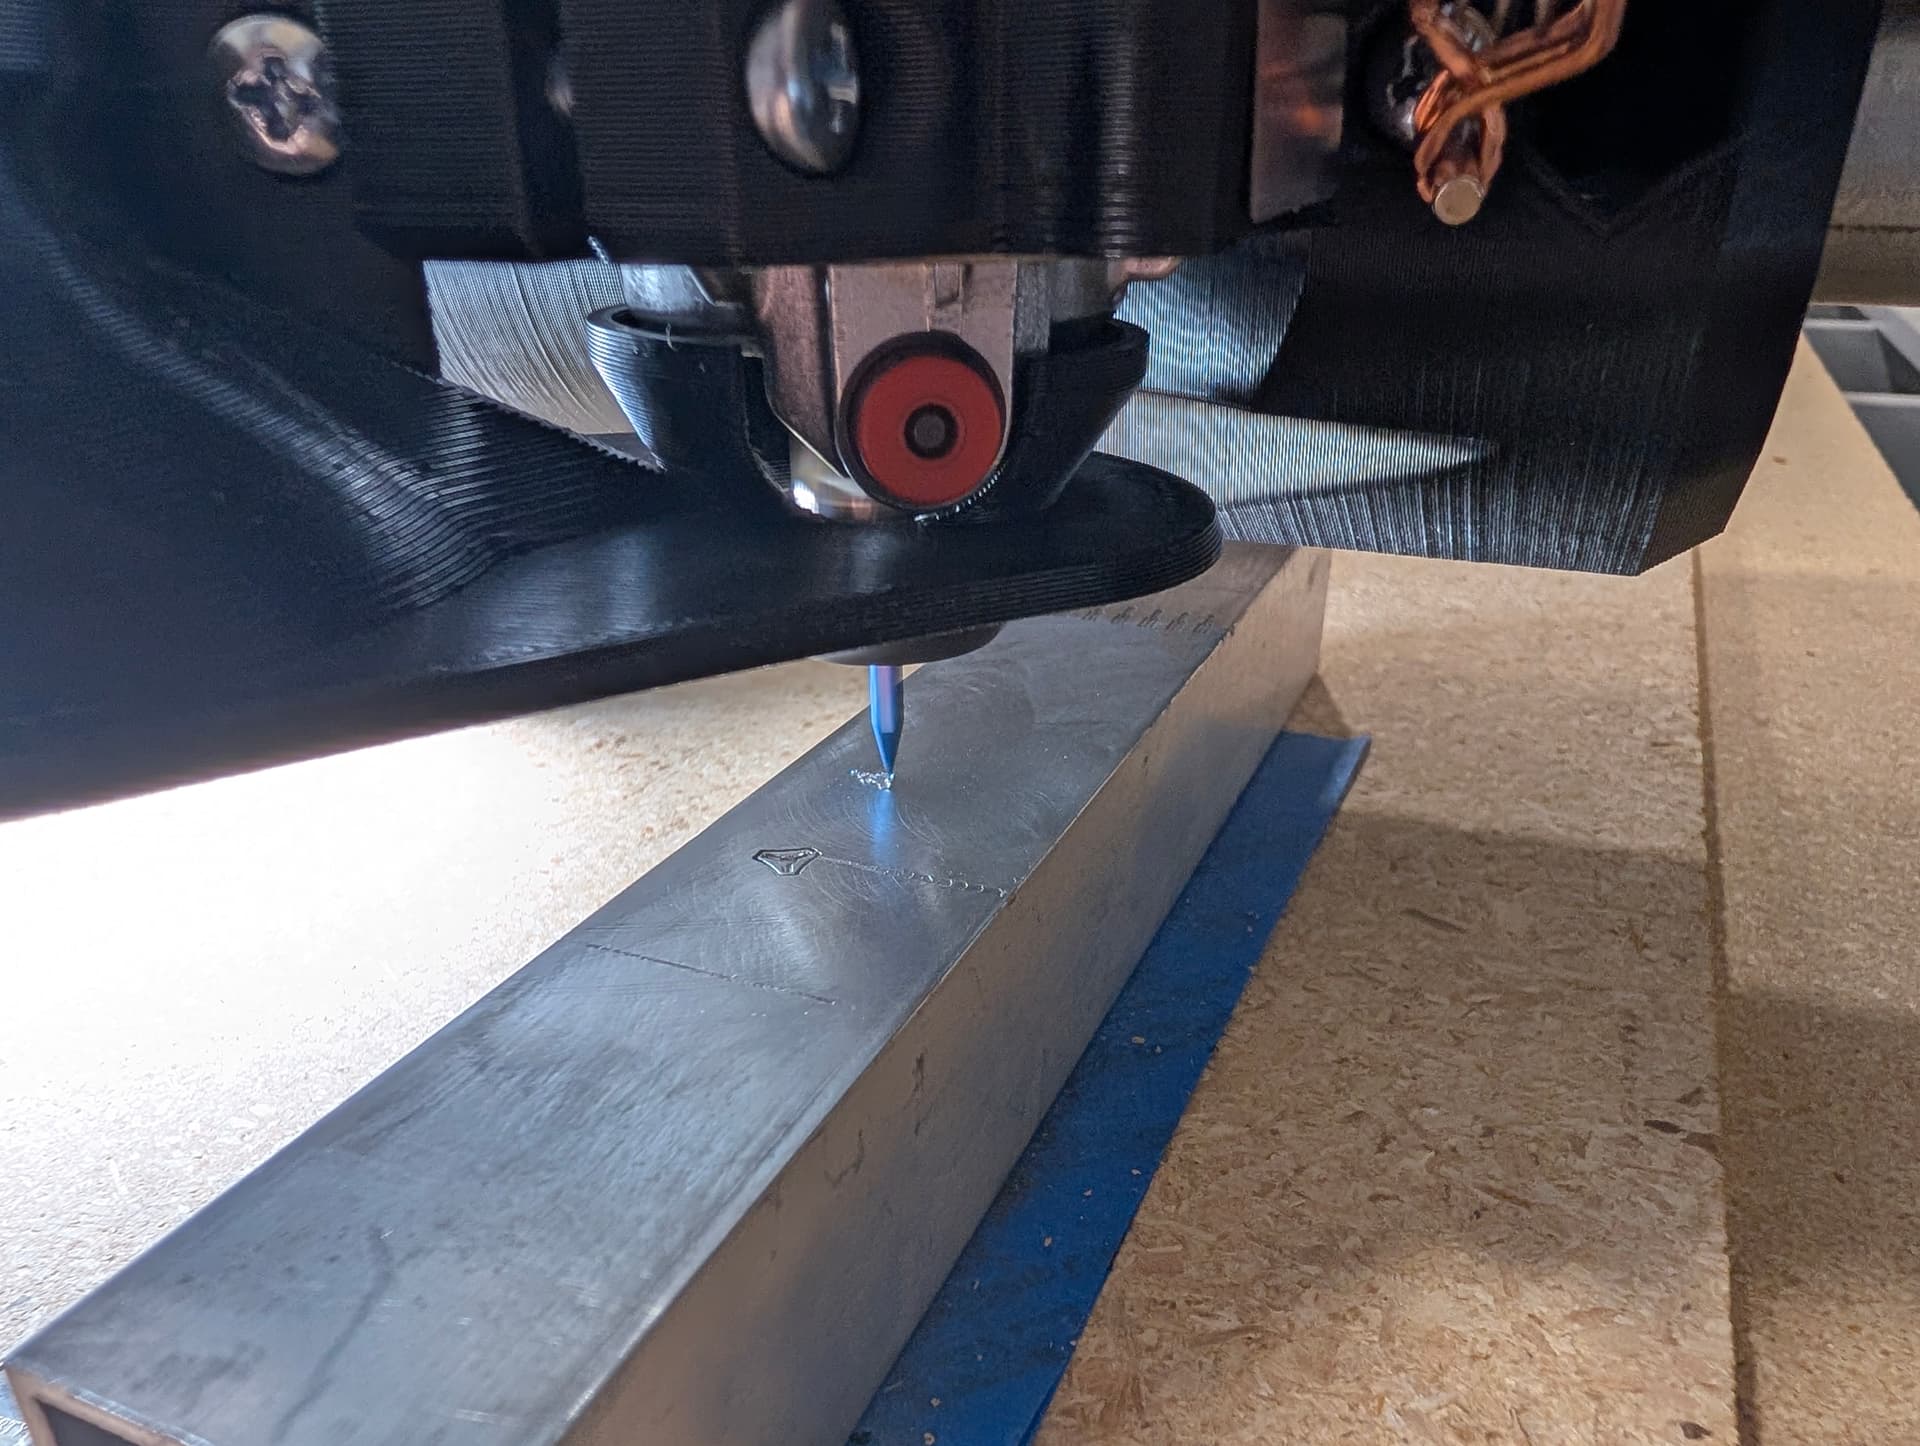
The trick is inputting the cutter diameter at the final cutting depth. Tool Width Calculator - HobbyCNC, I used a 30 degree v bit and the last test was at 0.08" deep it only needs to be about 0.045"-0.05"(1.27mm). I also surfaced the particle board and used the tape super glue holding method.
I am having a hard time converting the gerbers to a CAM usable file thought to try a jackpot 3 sample.
Current setting is 3mm/s feedrate and 2mm/s plunge. No idea how fast I can push it but that works, I will move faster when I get the depths right.
Wow, really interesting. Did you use a sender, or how did you ensure the LR and the PWB were flat, flat, flat? I’ve never had much success unless using a sender like bCNC that can probe the surface.
Absolutely, I just needed to make some test cuts for a friend’s project to check capabilities. I don’t foresee myself cutting many if any actual PCB’s until maybe that project is done so no, PCB vac holder for me yet.
There are so many variables with a Vbit, I want to do more test cuts. Mist? How deep and fast can I go? Maybe it is finally time for that belt buckle I have always wanted…
Yes I know. I had that on my LR3. But I would really like to see what Ryan comes up with since he puts little things on the machines with this in mind.
I need to make my new table base first. I finally had a decent idea this morning. So hopefully get the CAD done for that and maybe even start cutting today.