This is for the plasma rig I’m detailing over here: LowRider 3 - Plasma Build “On a Budget” - Clarksburg, WV
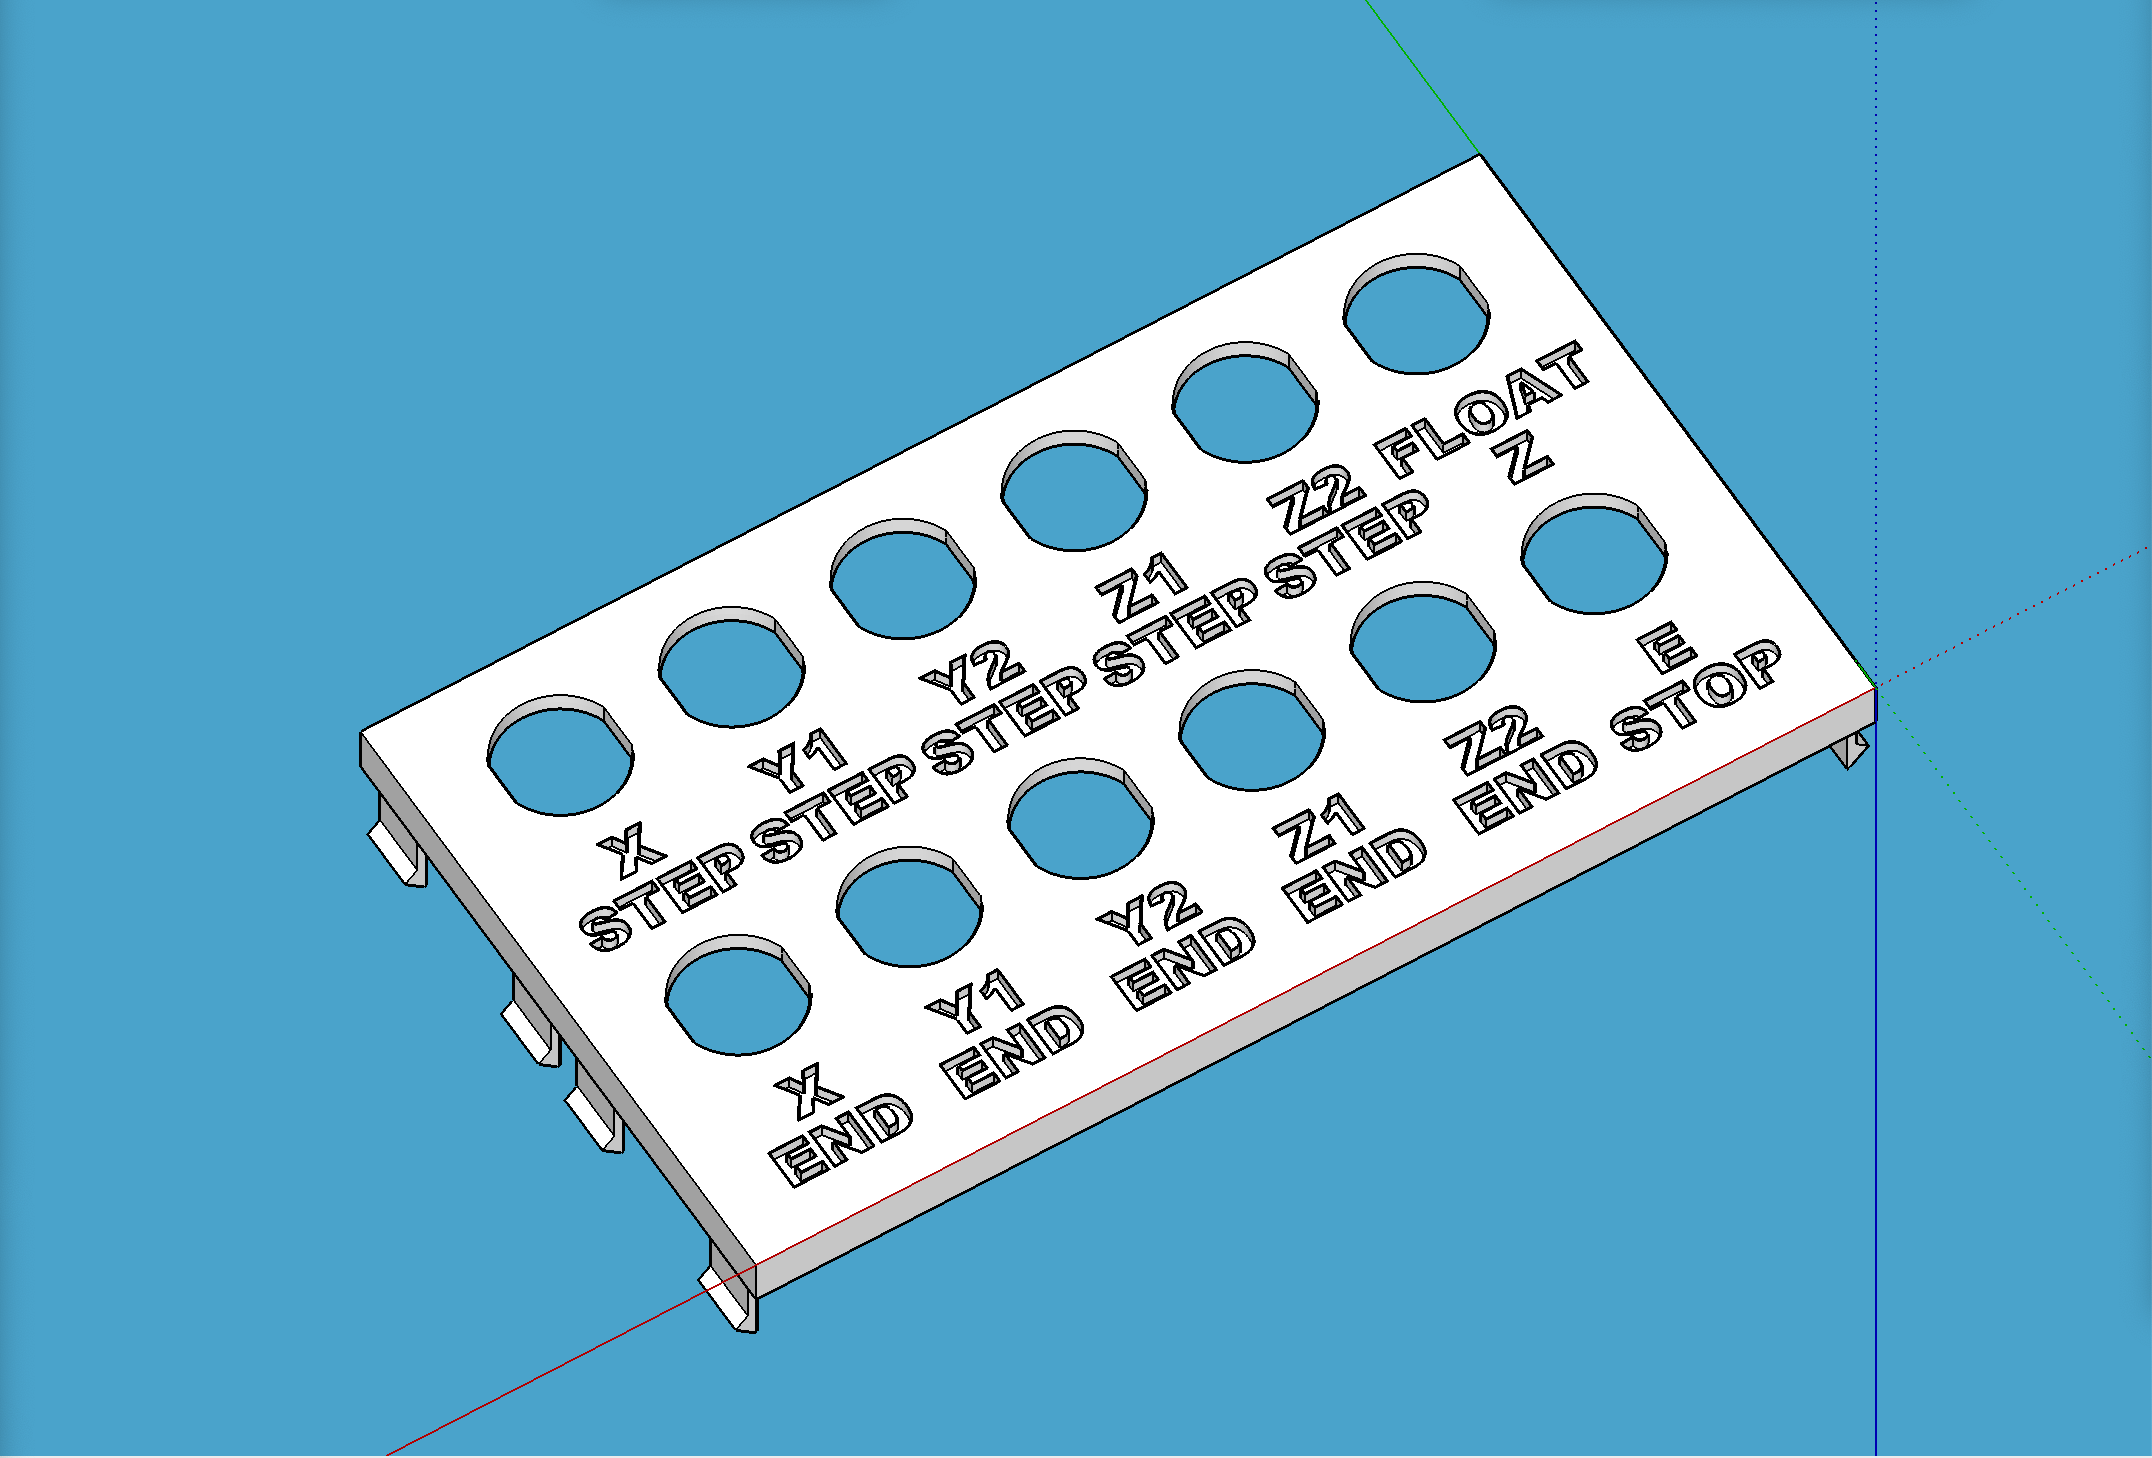
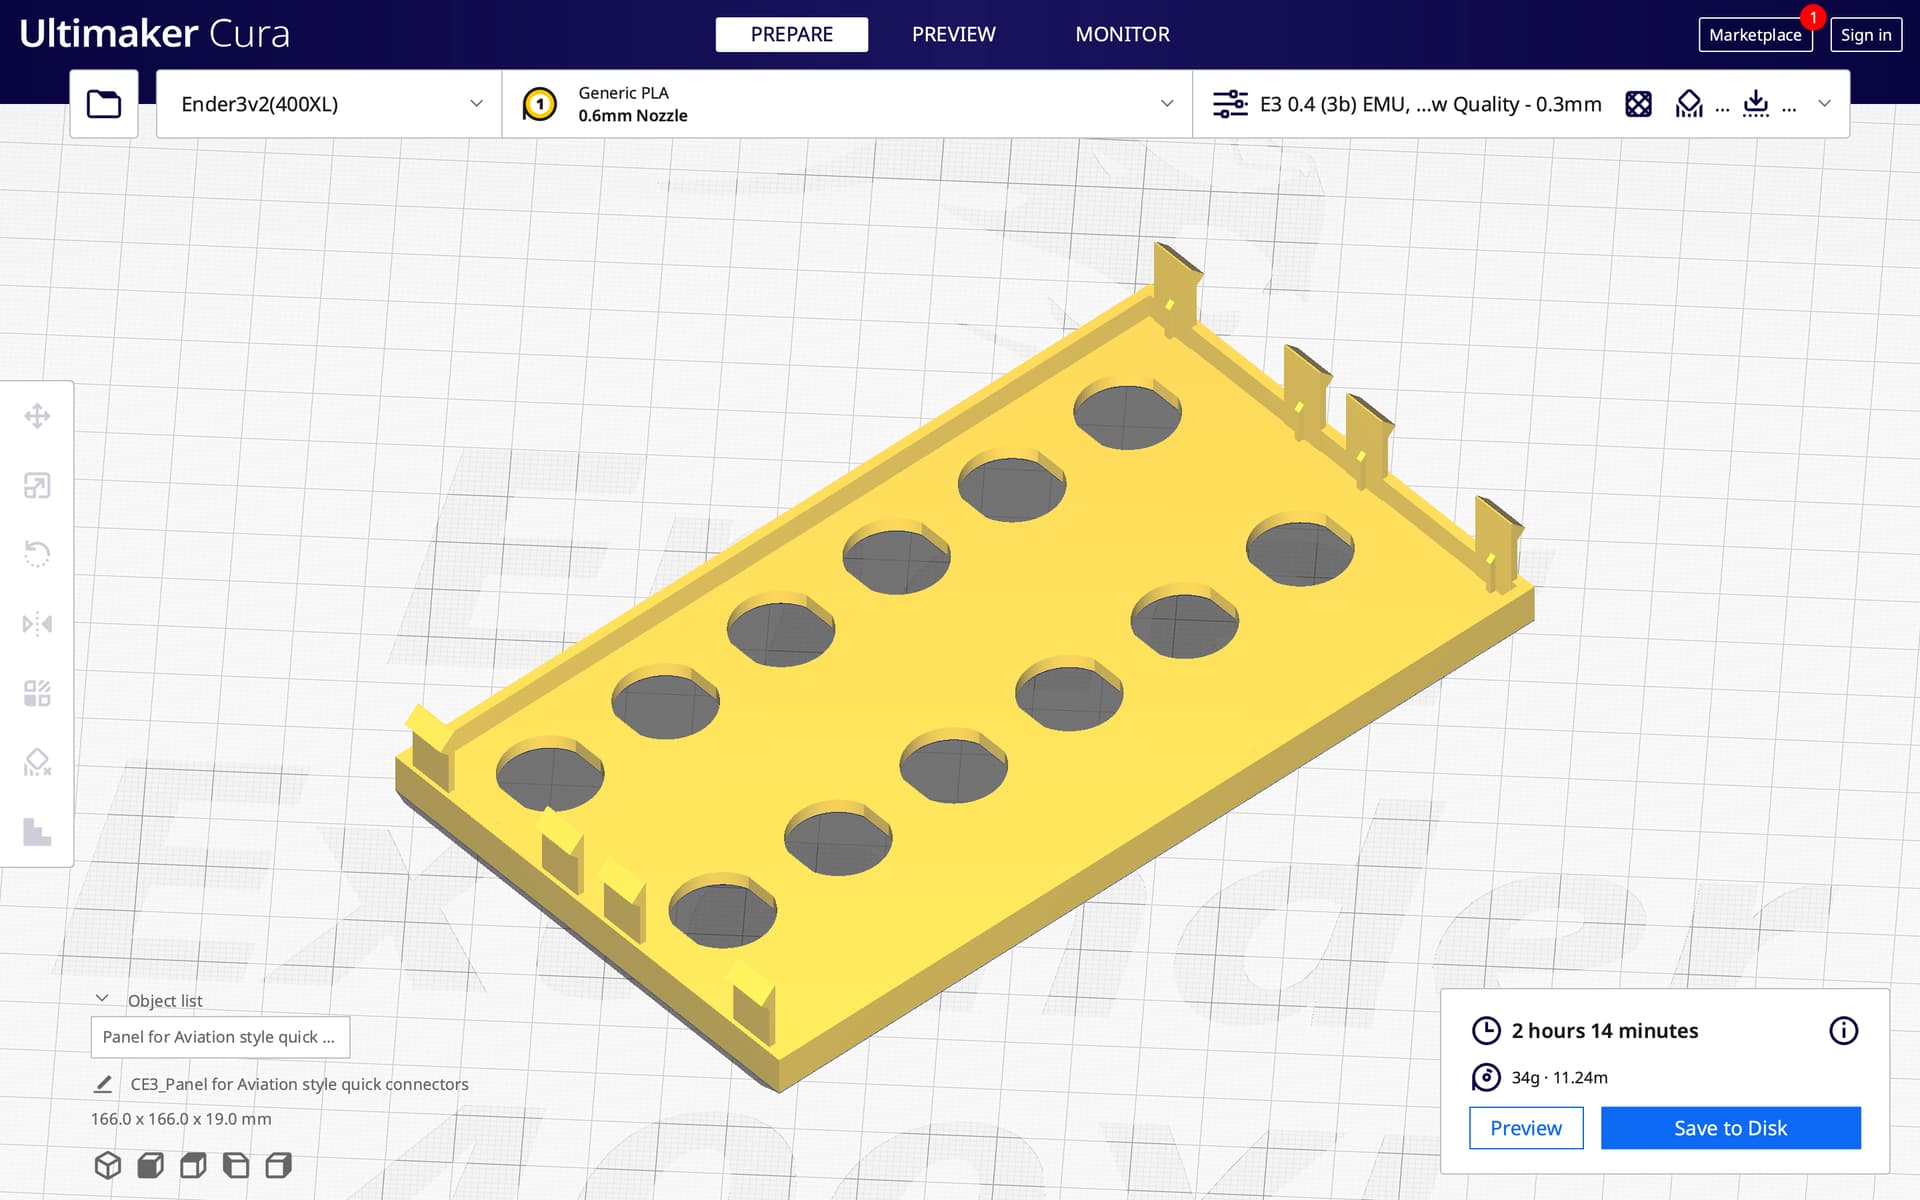
Panel for aviation-style quick connectors (for recycling old PC tower as CNC plasma control box) (v1.0.0)
Description
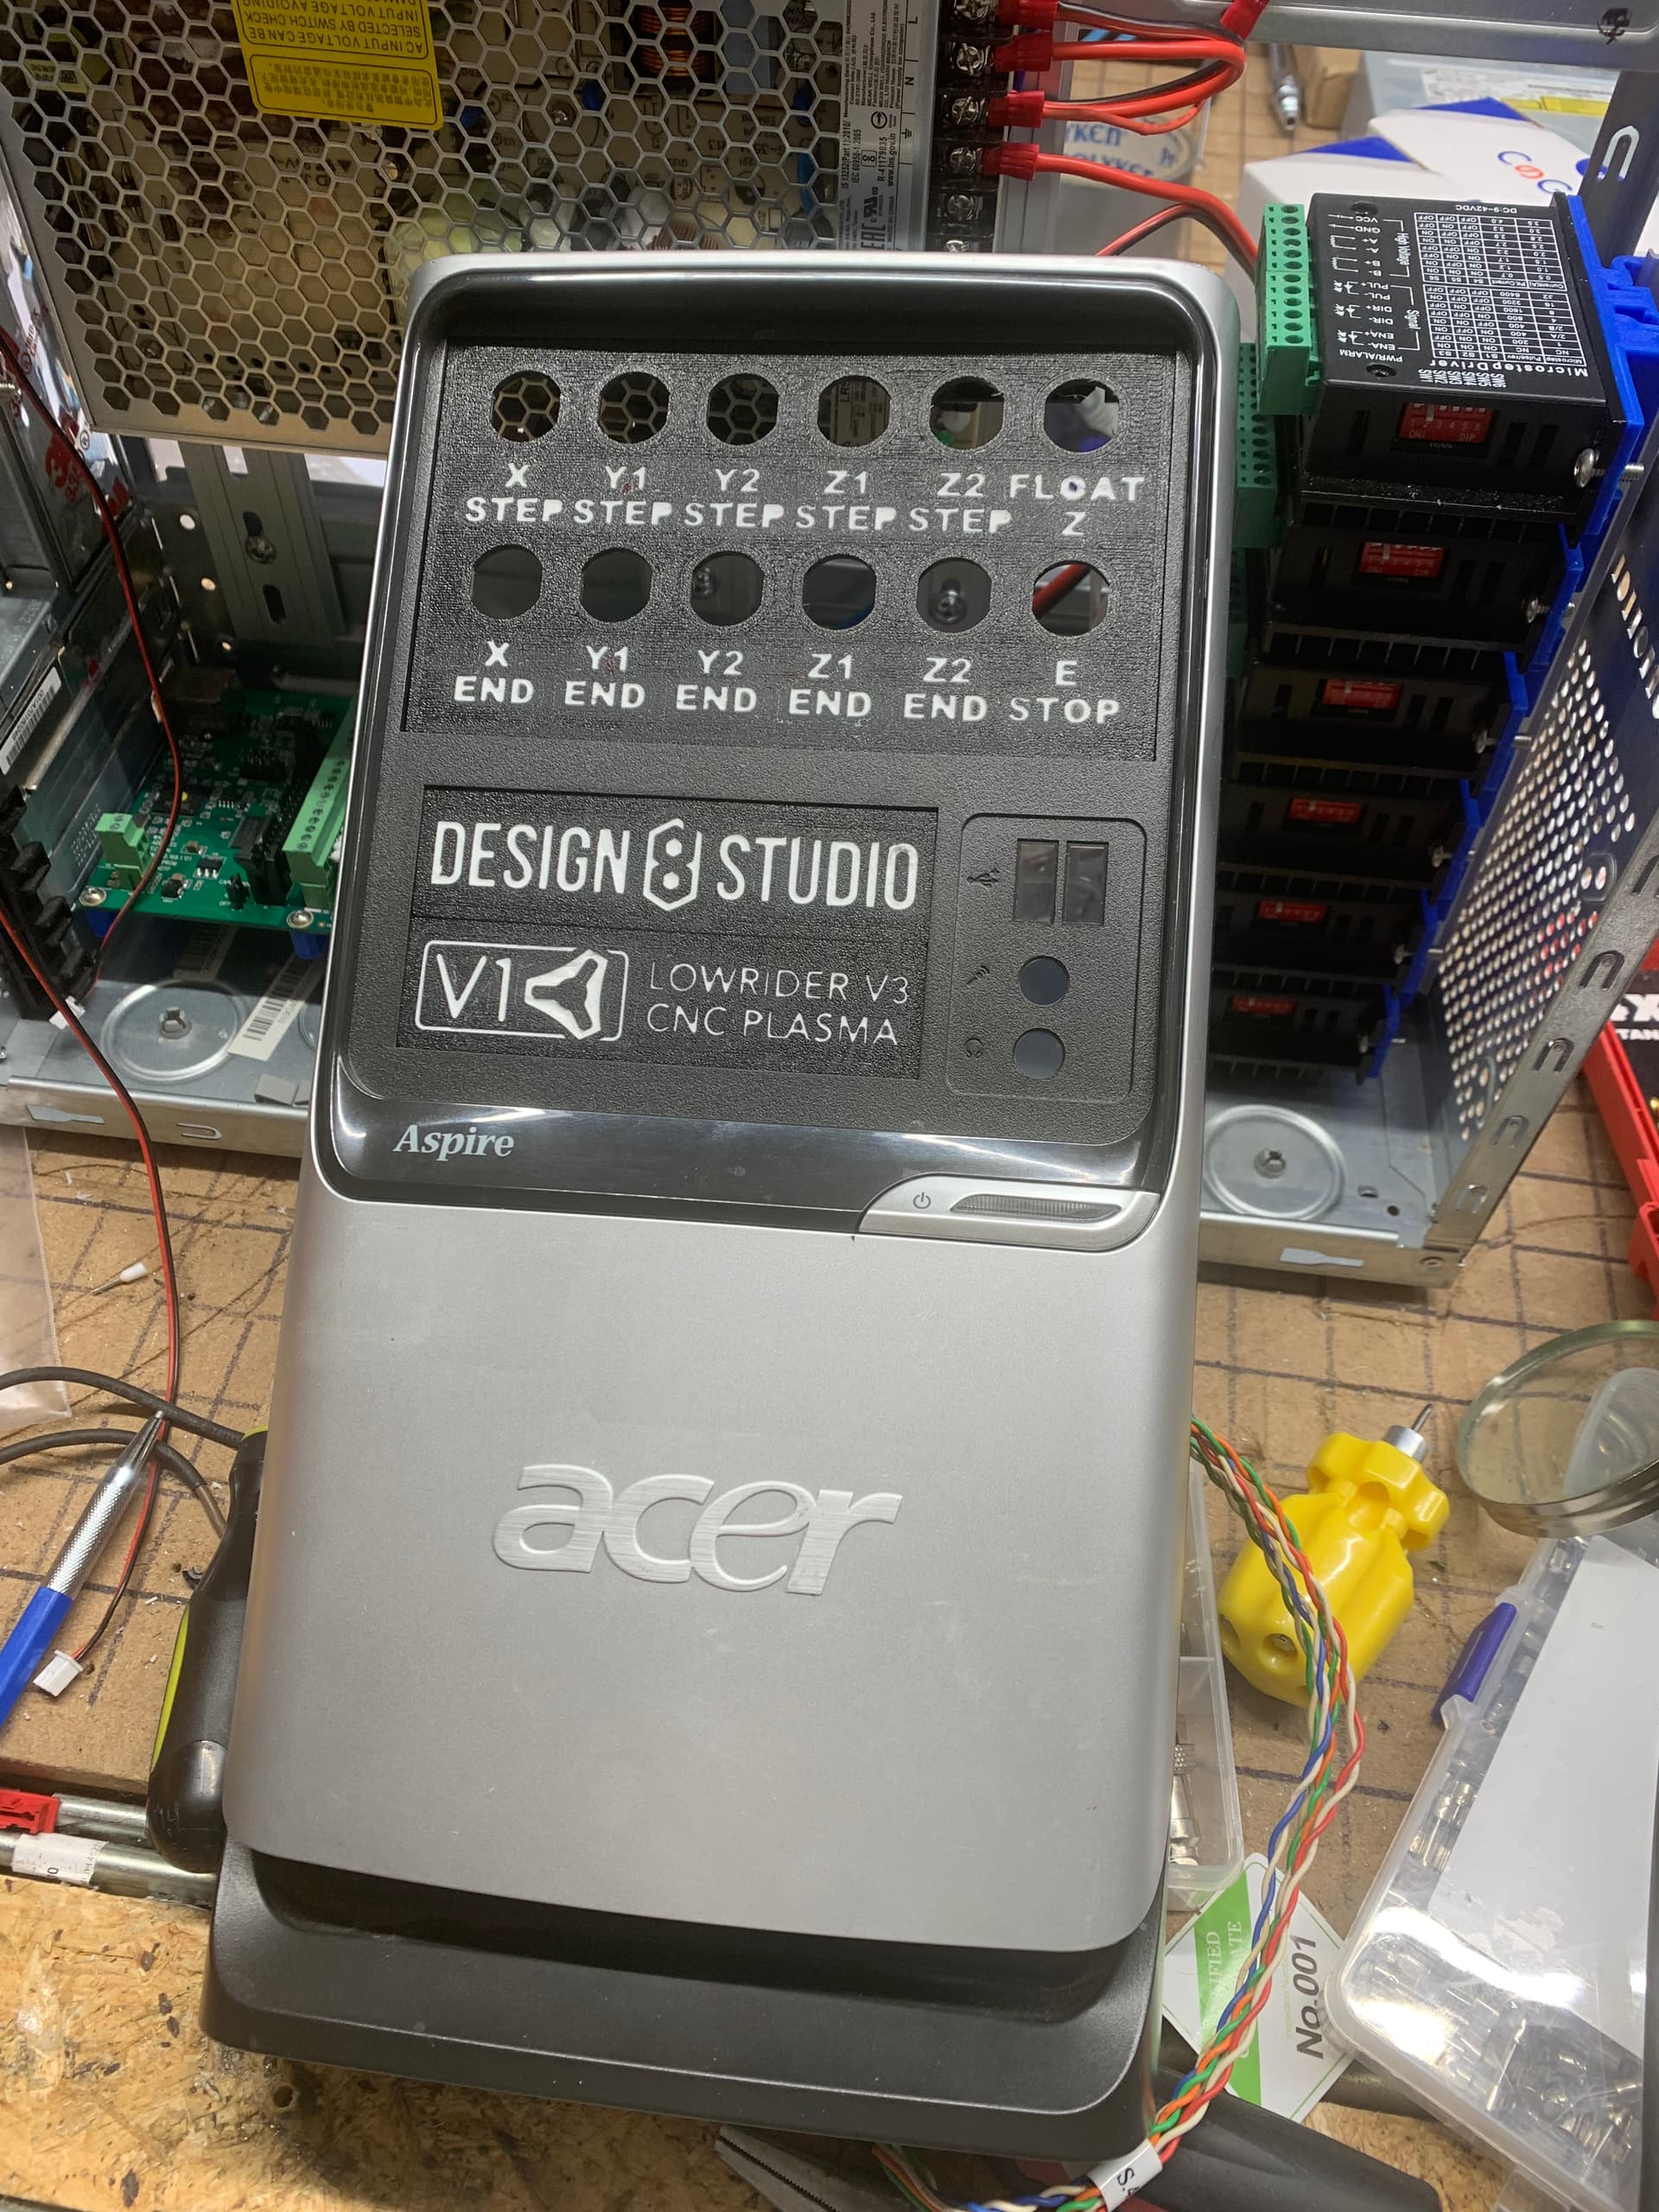
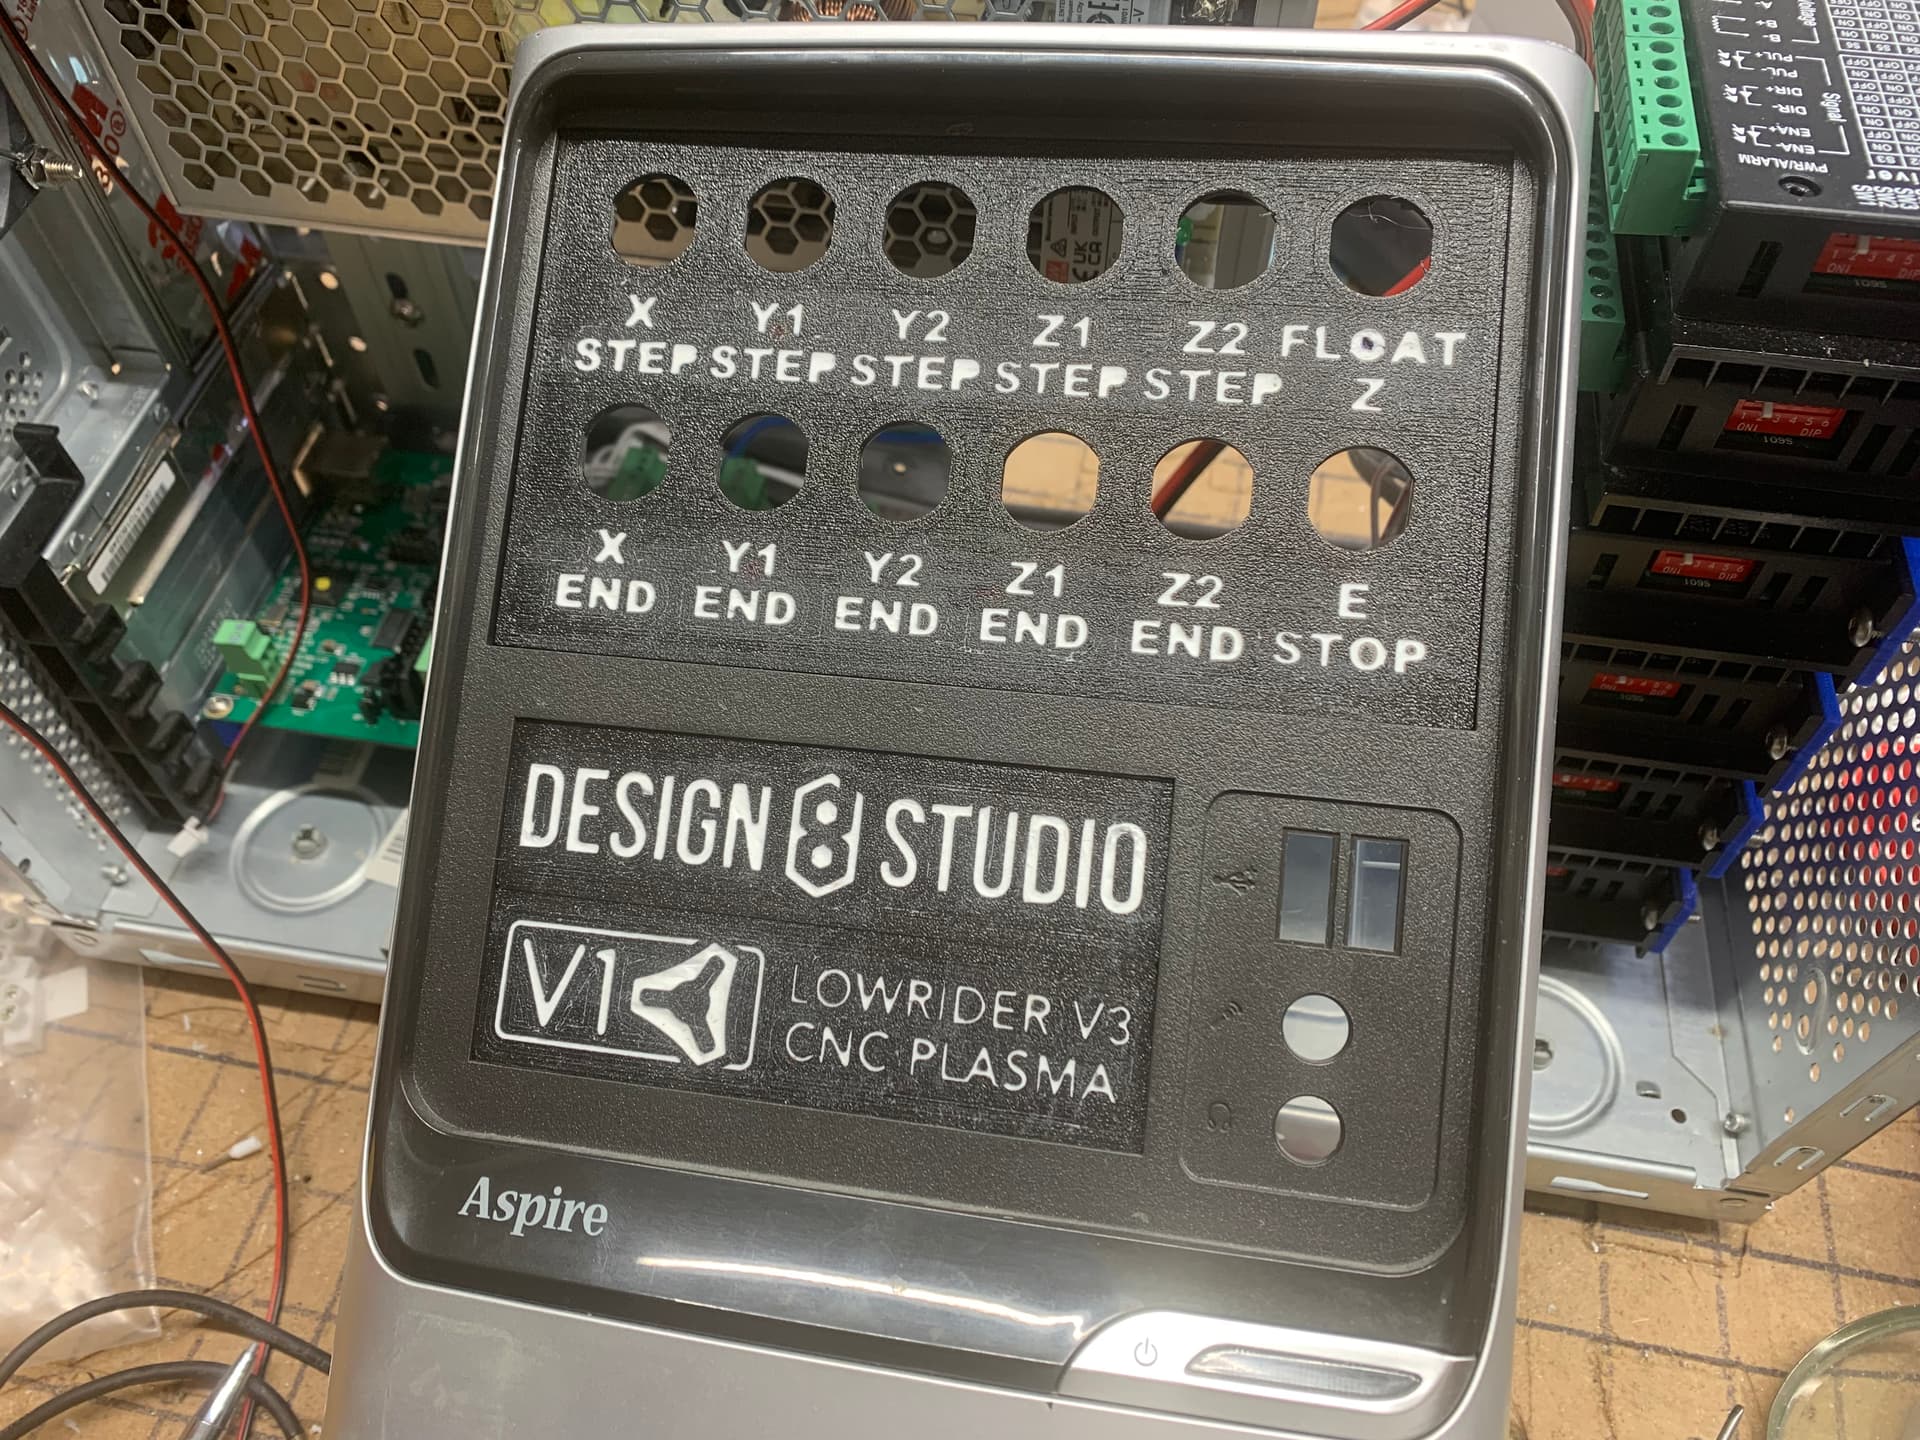
I gutted an old desktop PC tower for the control box for the CNC plasma I’m building, which is based off of the V1 Engineering LowRider v3 for its motion control system. I custom designed printable replacements for the plastic covers over the bays where the CD-ROMs and disk drives used to go, in order to position aviation-style quick connectors for the various wires for stepper motors, endstops, etc.
Note: the holes for the aviation-style quick connectors are not completely round, but rather are what are commonly called “double-d” holes, with sides lopped off to match the connectors. It is intended to keep the connectors from spinning once installed.
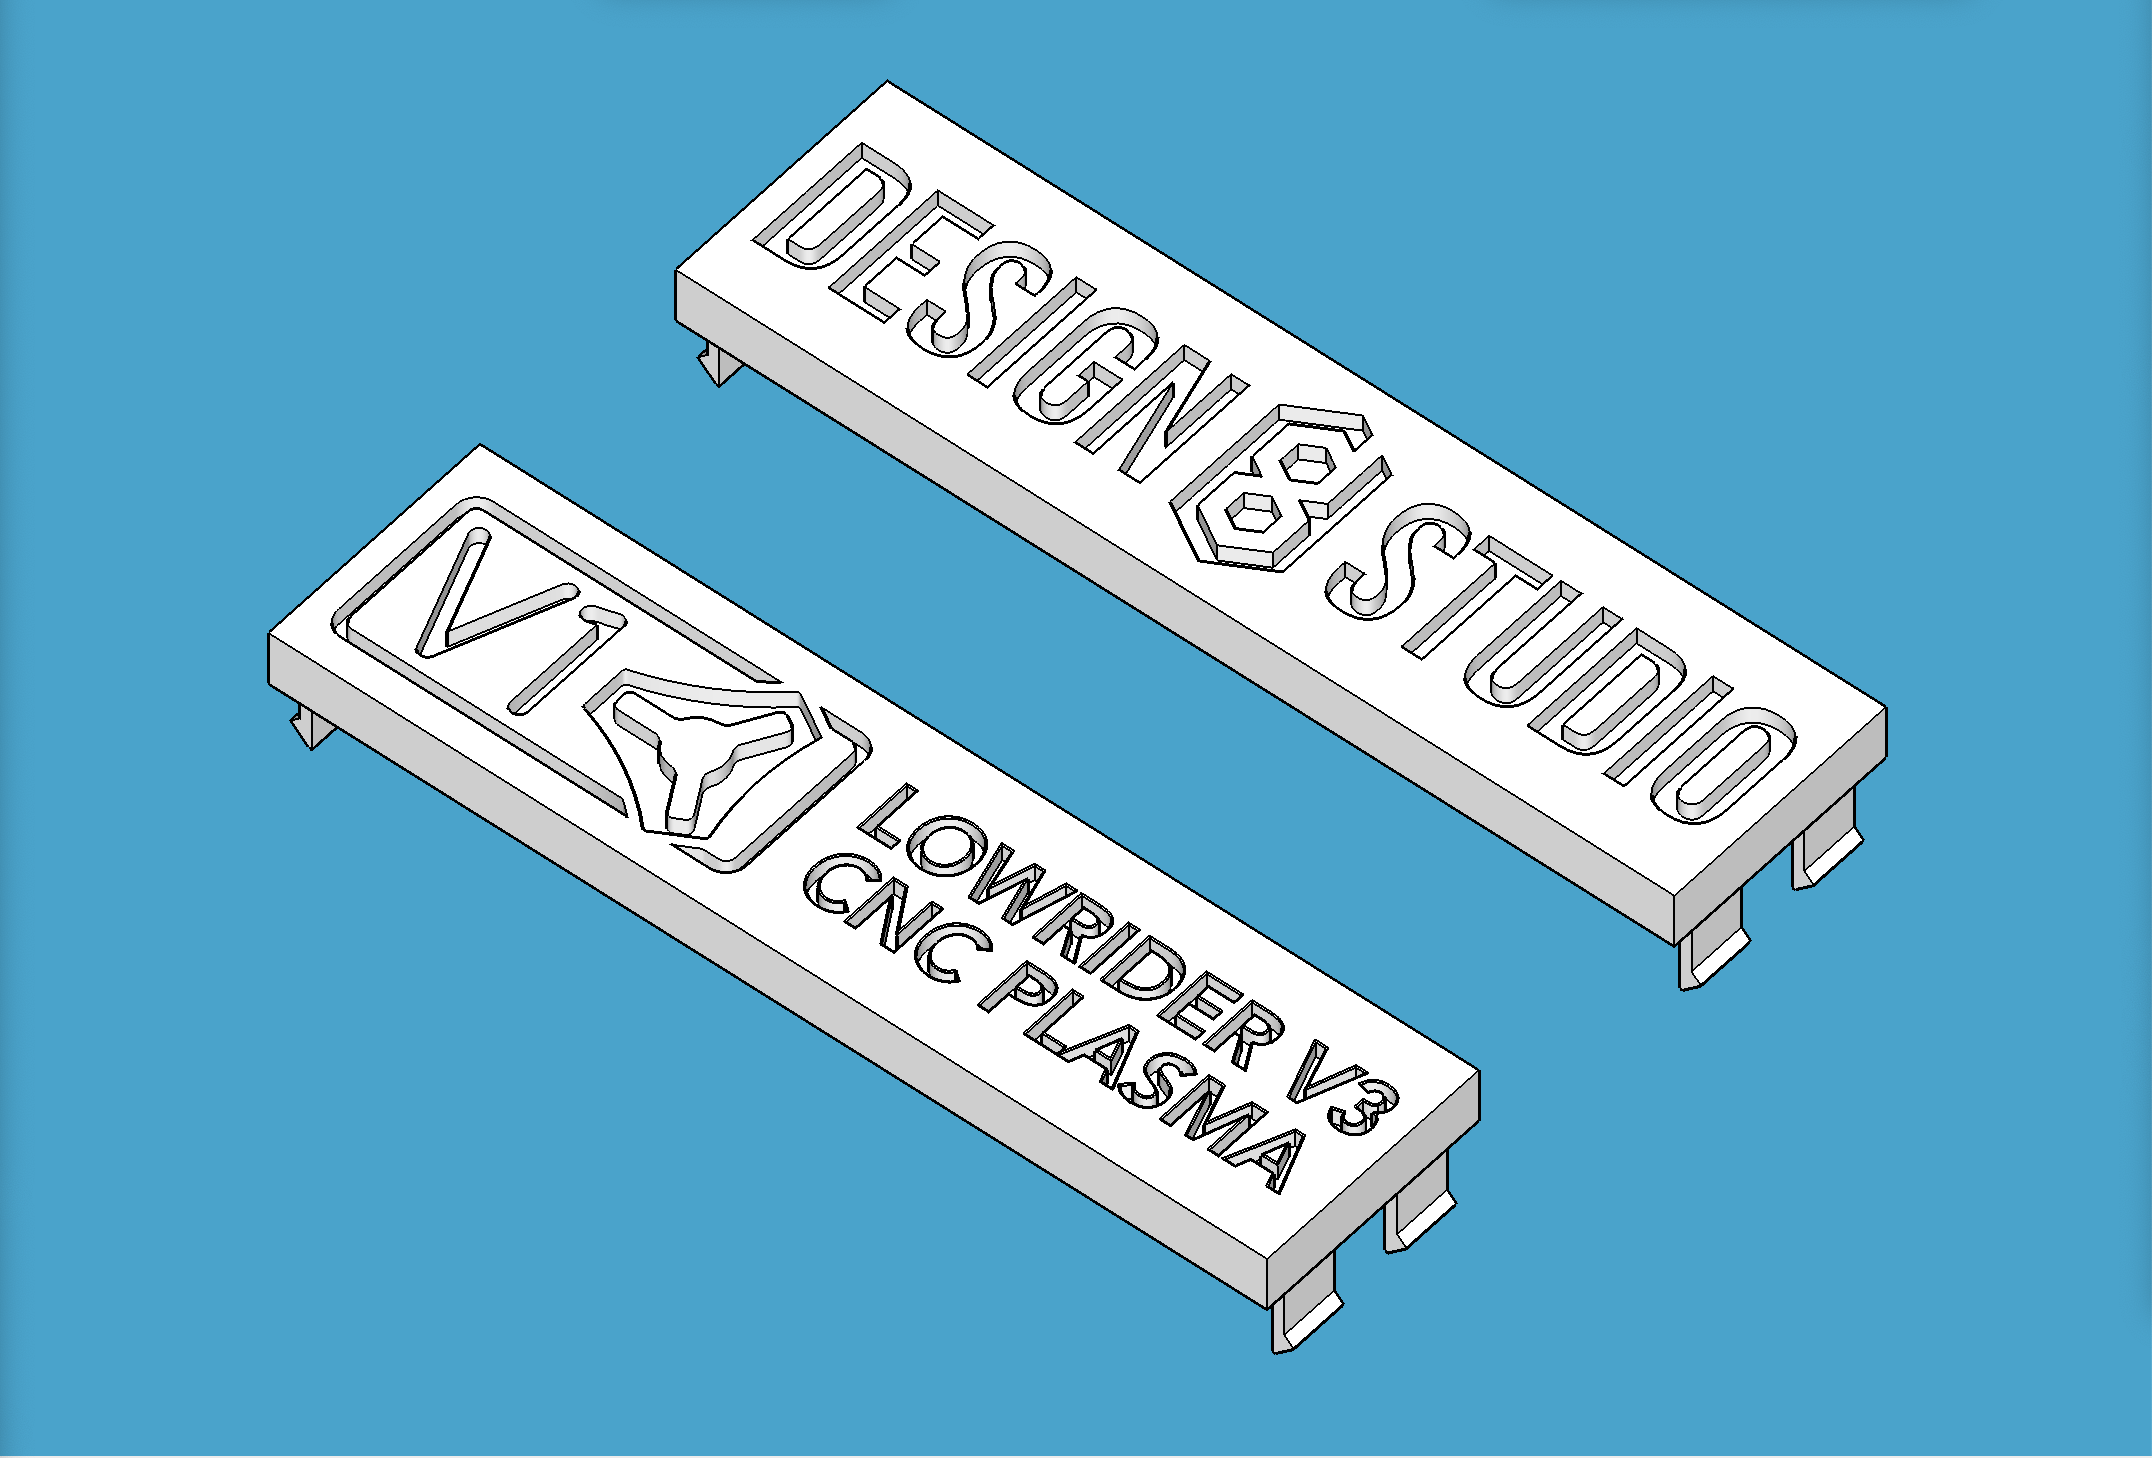
My white “inlays” for lettering (labels, etc) and graphics were done using essentially the method shown in the video below, except I used caulk that was a silcone-acrylic mix, and it was “quick dry” (took only 20 minutes to dry, instead of 24 hours!) so my project work was completed much sooner than shown in the video.

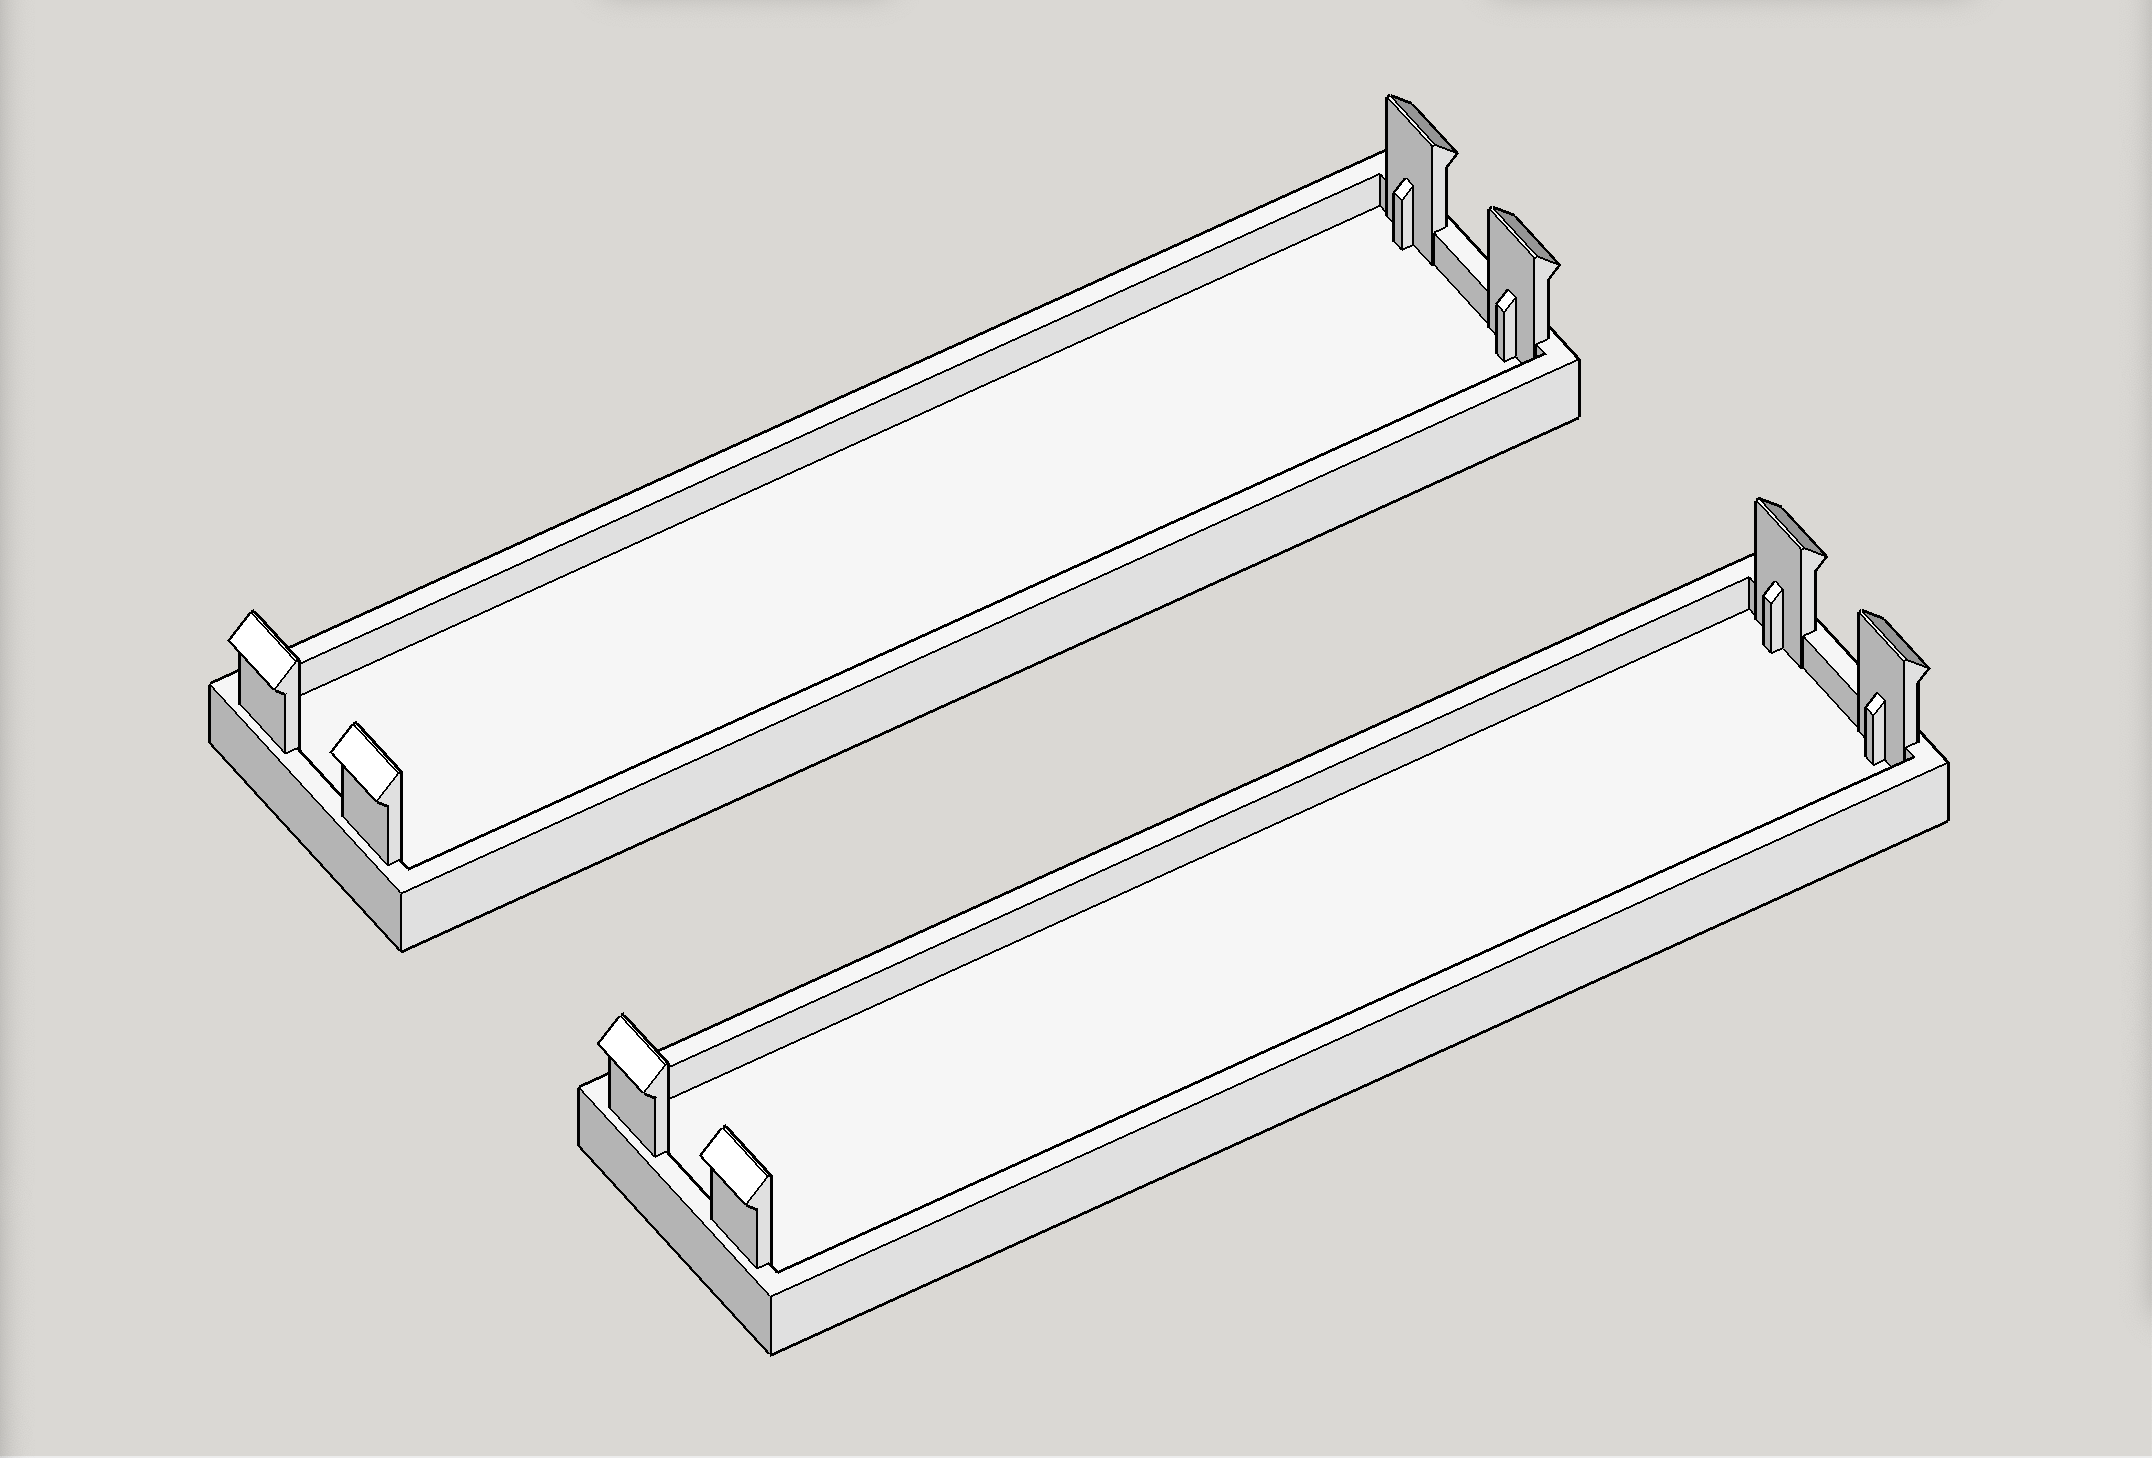
If you should ever happen to want to reuse an old PC tower and you want to redo/redesign the plastic covers for its bays, you could do a lot worse than remixing or otherwise reusing my work here. ![]()
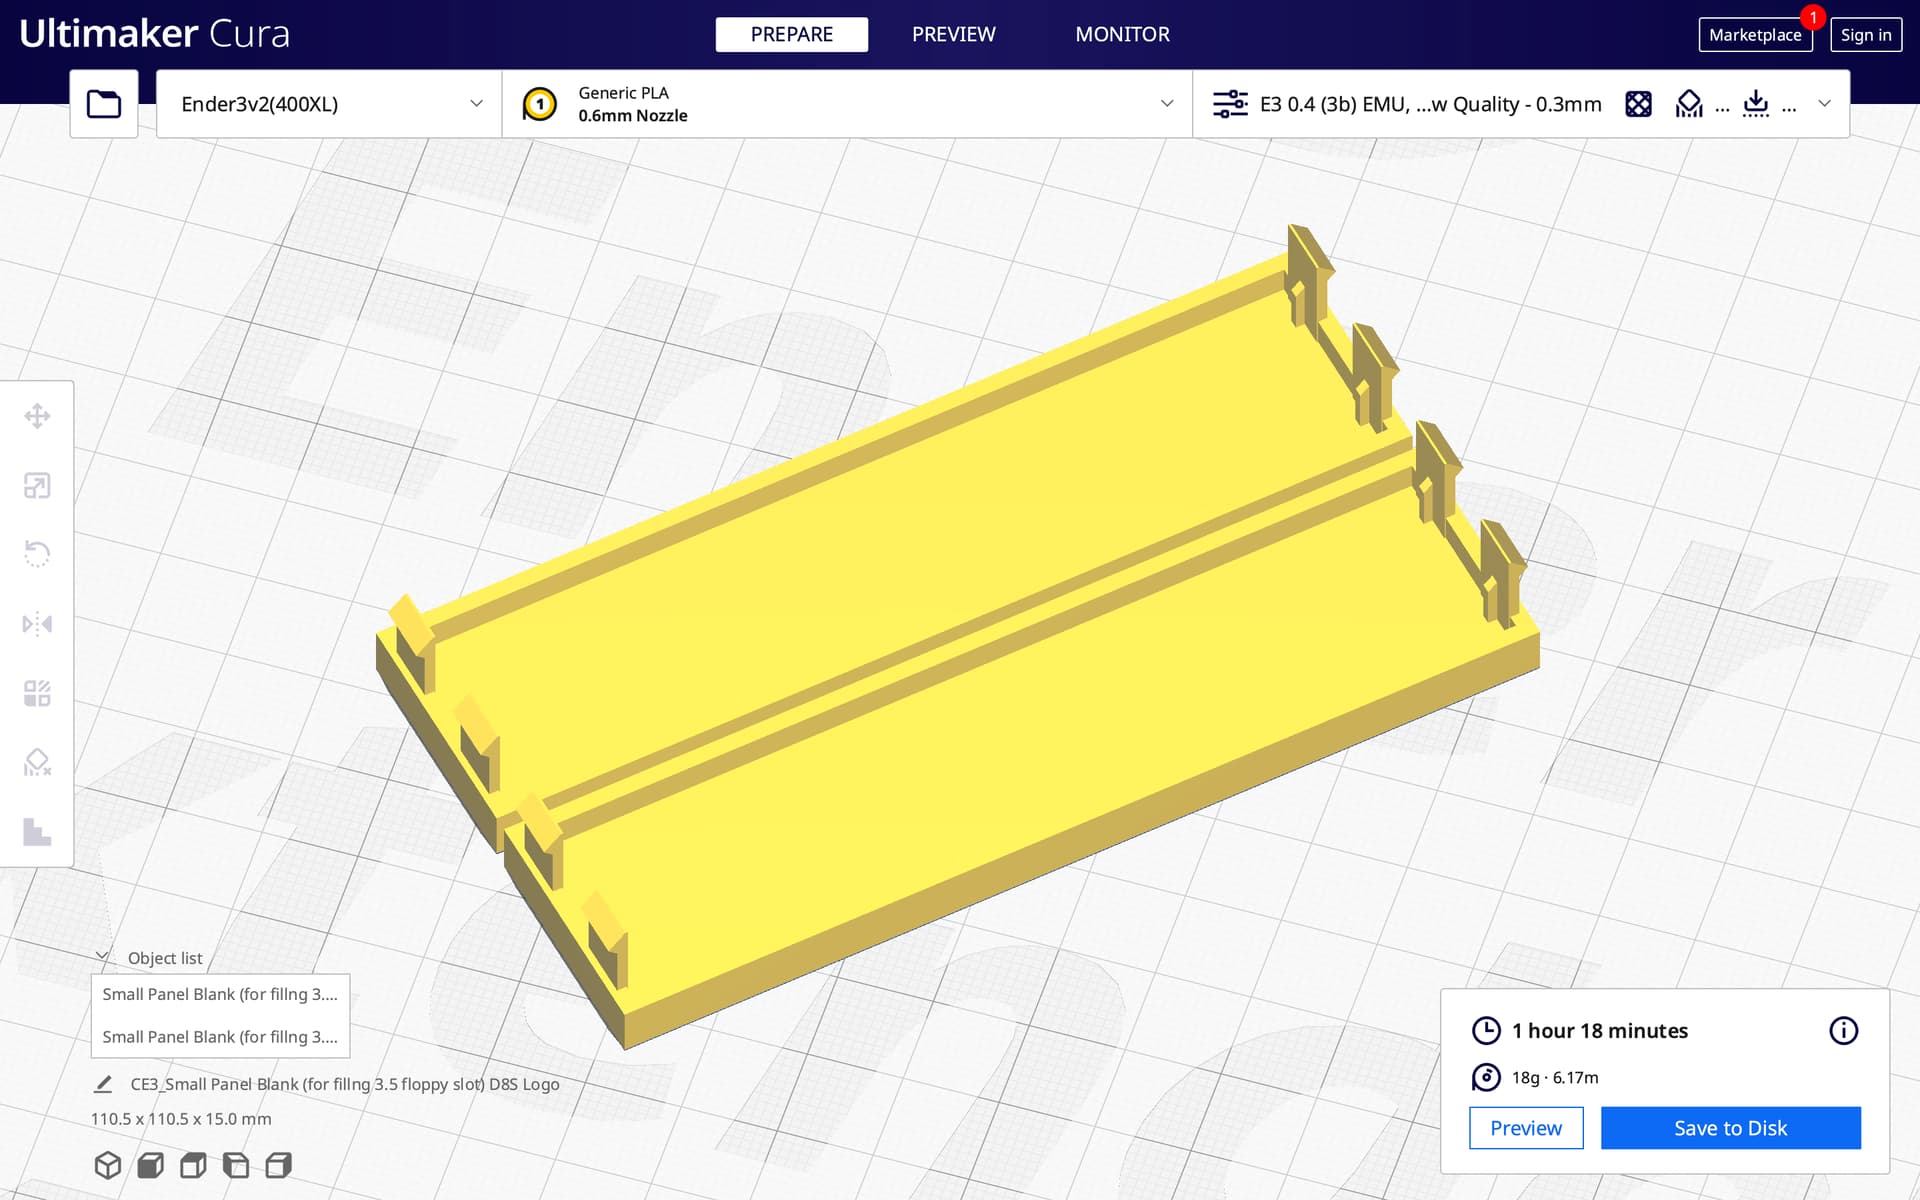
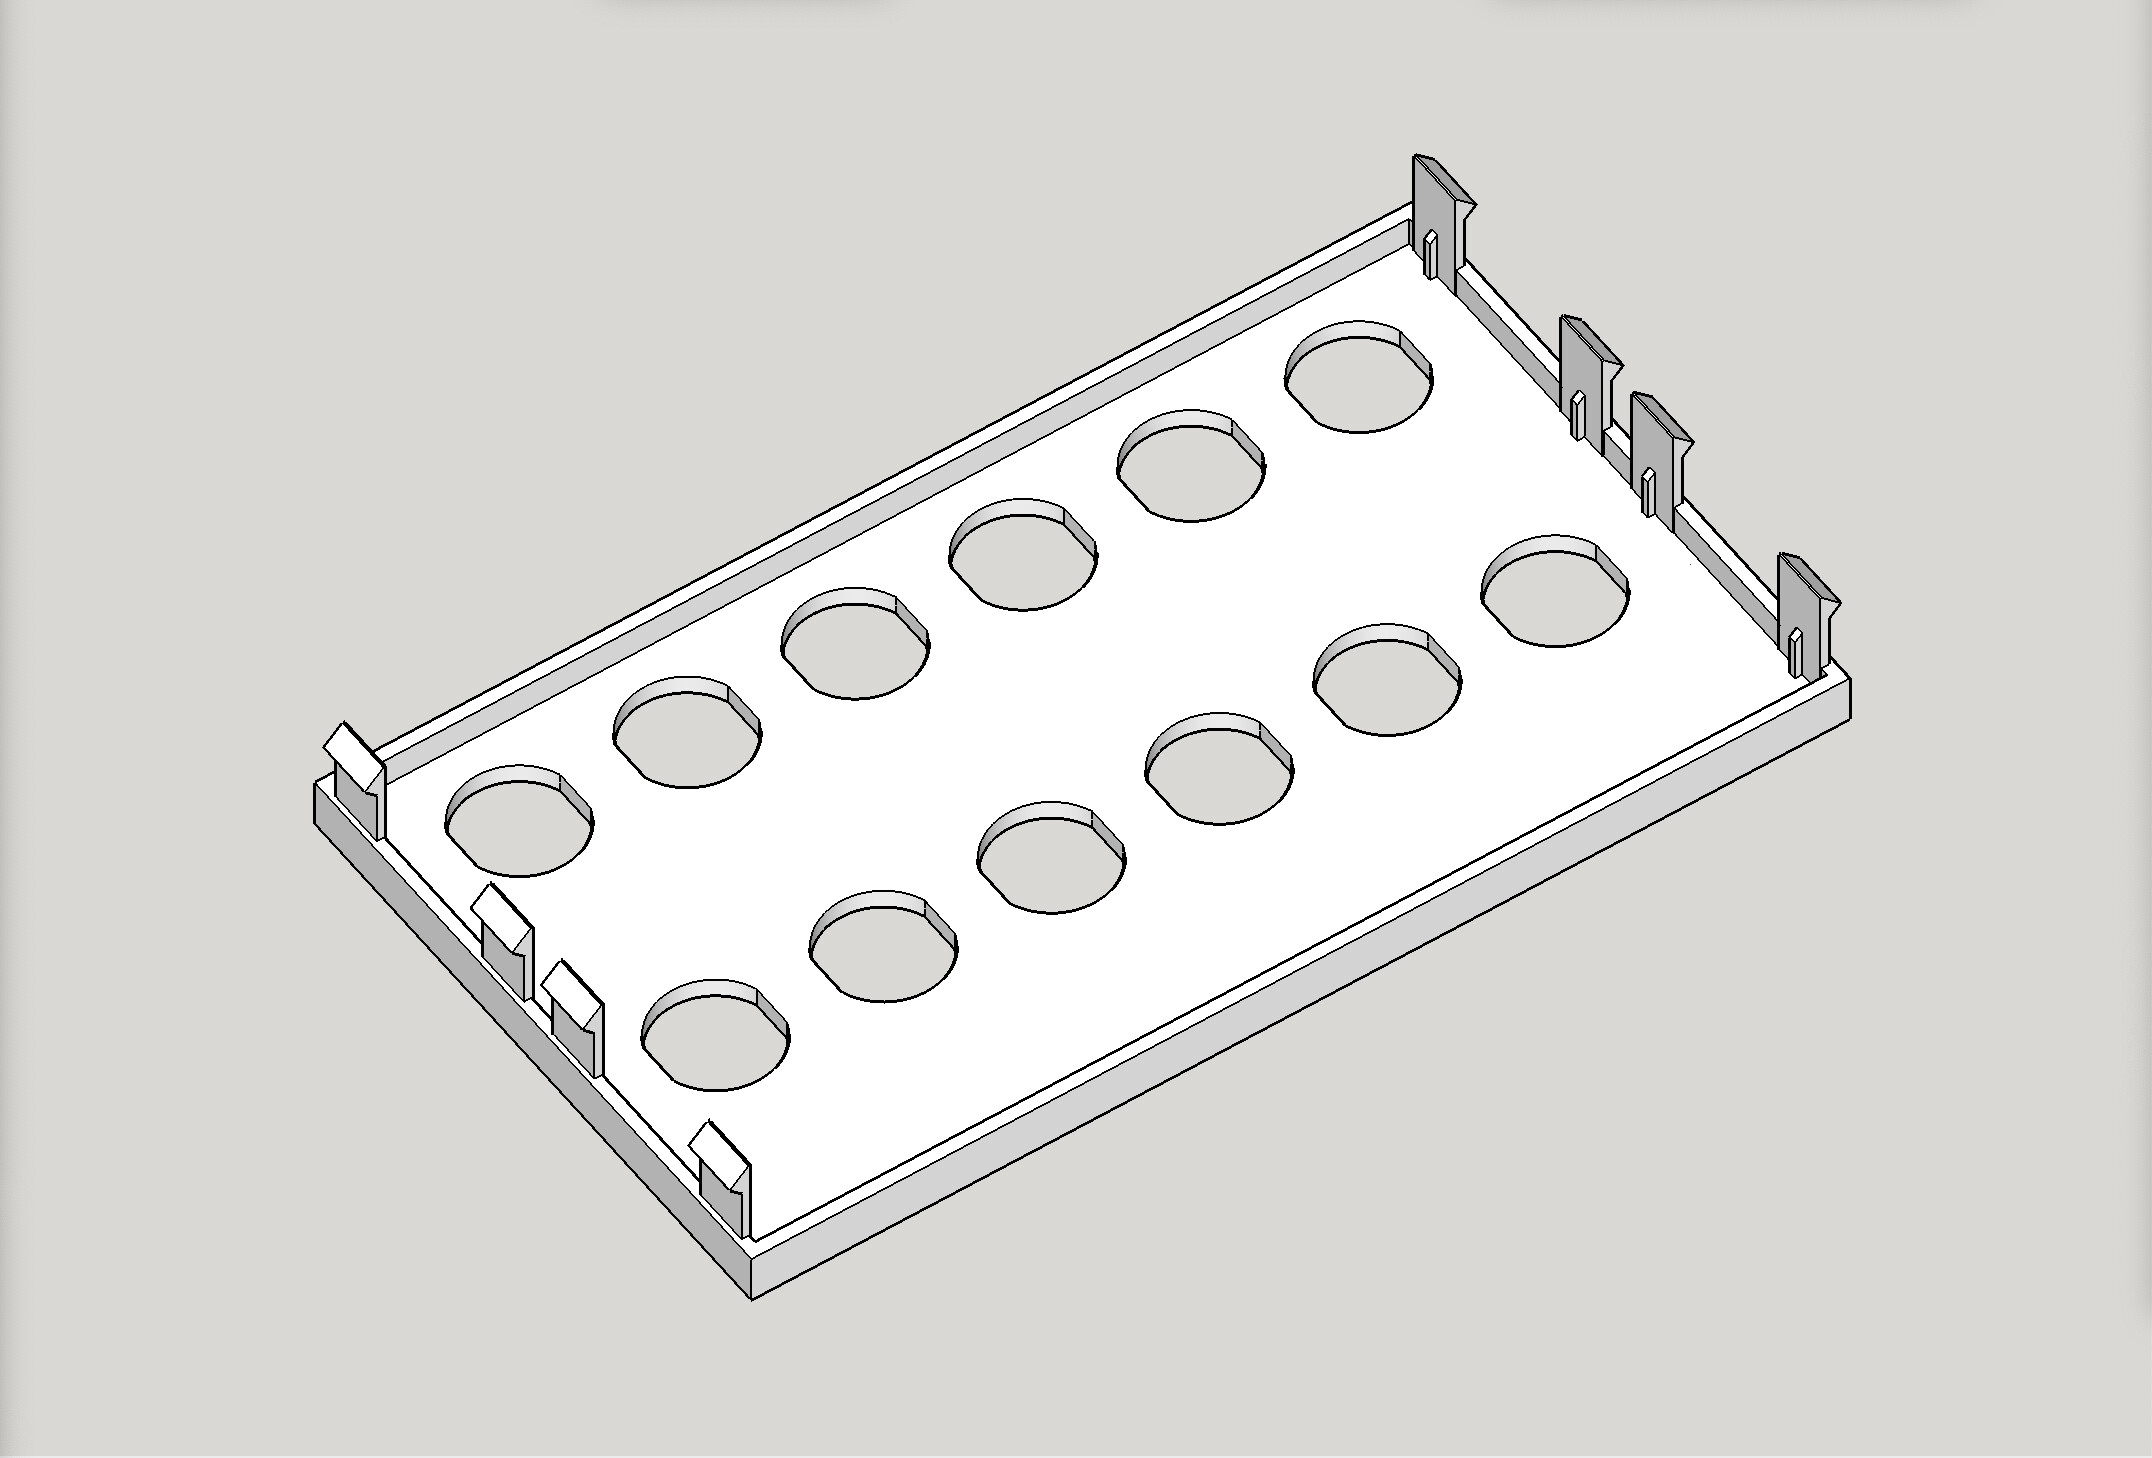
I’m also including a “blank” version of the smaller plastic cover (for bays that used to hold what we called 3.5" floppy drives).
Print details:
- Prints without supports
- Filament: PLA
- Nozzle diameter: can be either 0.4 or 0.6 mm. I used 0.6.
- Layer Height: 0.3 mm
- Wall thickness: 0.6 mm
- Number of perimeter walls: 2
- Number of top/bottom layers: 3
- Infill: 20%
- Print as oriented*
My print notes:
- I printed as oriented with only one exception: I also rotated my prints by 45% so the layer lines would be straight across and straight up and down instead of on 45% angles.
- This was printed on a heavily modified Ender 3v2 (modified with Ender Extender 400 XL, board and touch screen replaced with BTT items, and the extruder and hotend replaced with MicroSwiss direct drive extruder and all-metal hotend).
White inlay lettering details:
- For prepping the prints before the caulk inlay, to protect the panel from caulk sticking everywhere, I used whatever dish detergent we had in our kitchen. It was blue.

- I used this caulk (see link) but bought it at Walmart instead of Amazon as the price that way was lower: Amazon.com (DAP brand “Alex Fast Dry” 5.5 oz white caulk)
- This caulk dries much quicker than shown in the video, and I was able to get done super quickly. Highly recommend this approach. Worked great!
Change log:
- December 21, 2022, 5:10 am (EST): initial posting of v1.0.0
My PayPal tip jar: https://paypal.me/design8studio
Various LowRider 3 CNC remixes:
View all my models and remixes on Printables: