Opinons on 3D Carve Settings

It was purchased from Etsy and only came as the STL. I agree if I could have had the DXF as well it would have been much cleaner. I’m sure getting the sizing right would have been fun. Unfortunately it didn’t come with anything but the STL so I’m stuck doing it all 3d carve. The small one I did turned out really well. The words are just so small in it that it was about impossible for even a 1/16" ball nose to get them cleaned up. But with the size the final sign is I don’t see that being a problem at all.

Here is the test carve I did yesterday…

And here it is next to the final sign. Currently cutting at 20mm deep and haven’t gotten to the words yet lol

1 Like

I’ve purchased some off etsy also. You can reach out to the person you bought it from and they will often help you out with modifications. But… not always.

Thanks. I’ll definitely keep that in mind next time. I didn’t purchase this one. A friend of mine did but once he got it and started looking he wanted the sign larger than his 24”x24” primo could handle. Plus it’s a surprise for his wife so no way he could have kept it hidden while it was cutting for this long lol

Well this sucks!!!

Guess I’m going to try cutting a 1/4” sliver and glue it in. And once dry let it try again. Man it’s been doing so great. Idk what the hell happened there

Found the reason…

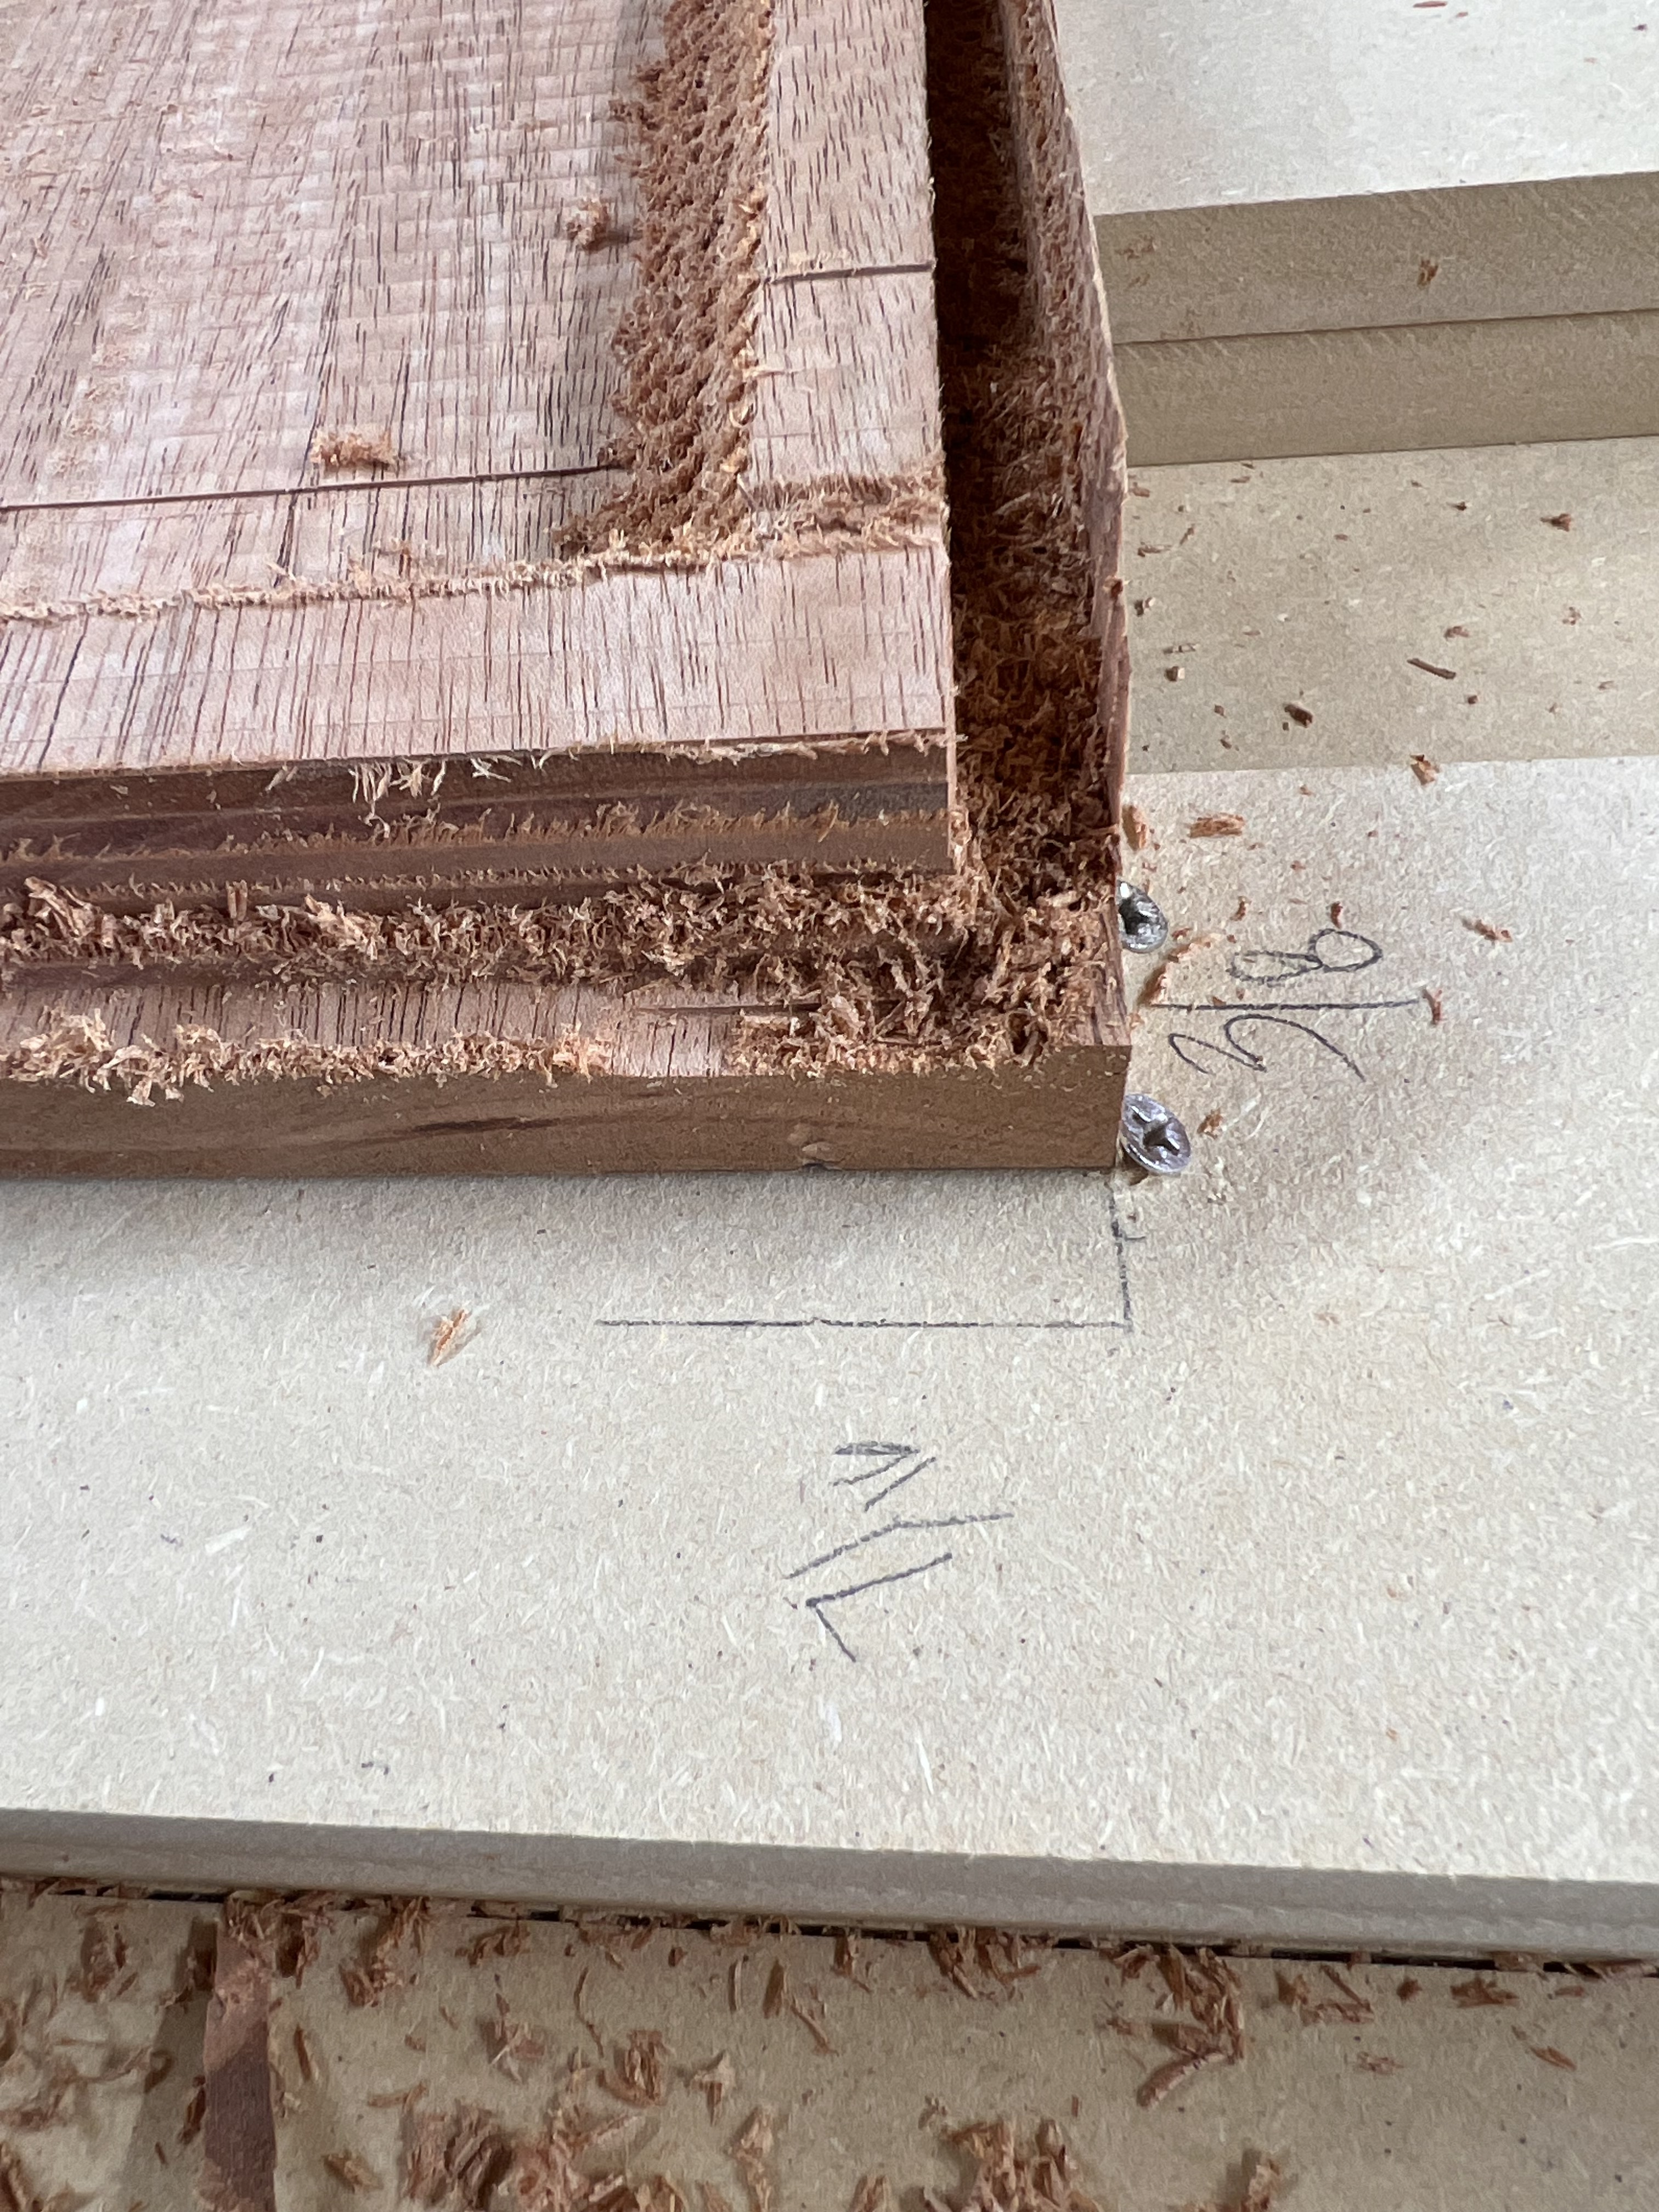
Whole thing moved on me. Totally mg fault. Idk why I didn’t put any screws on the side.

Here’s the fix…hopefully

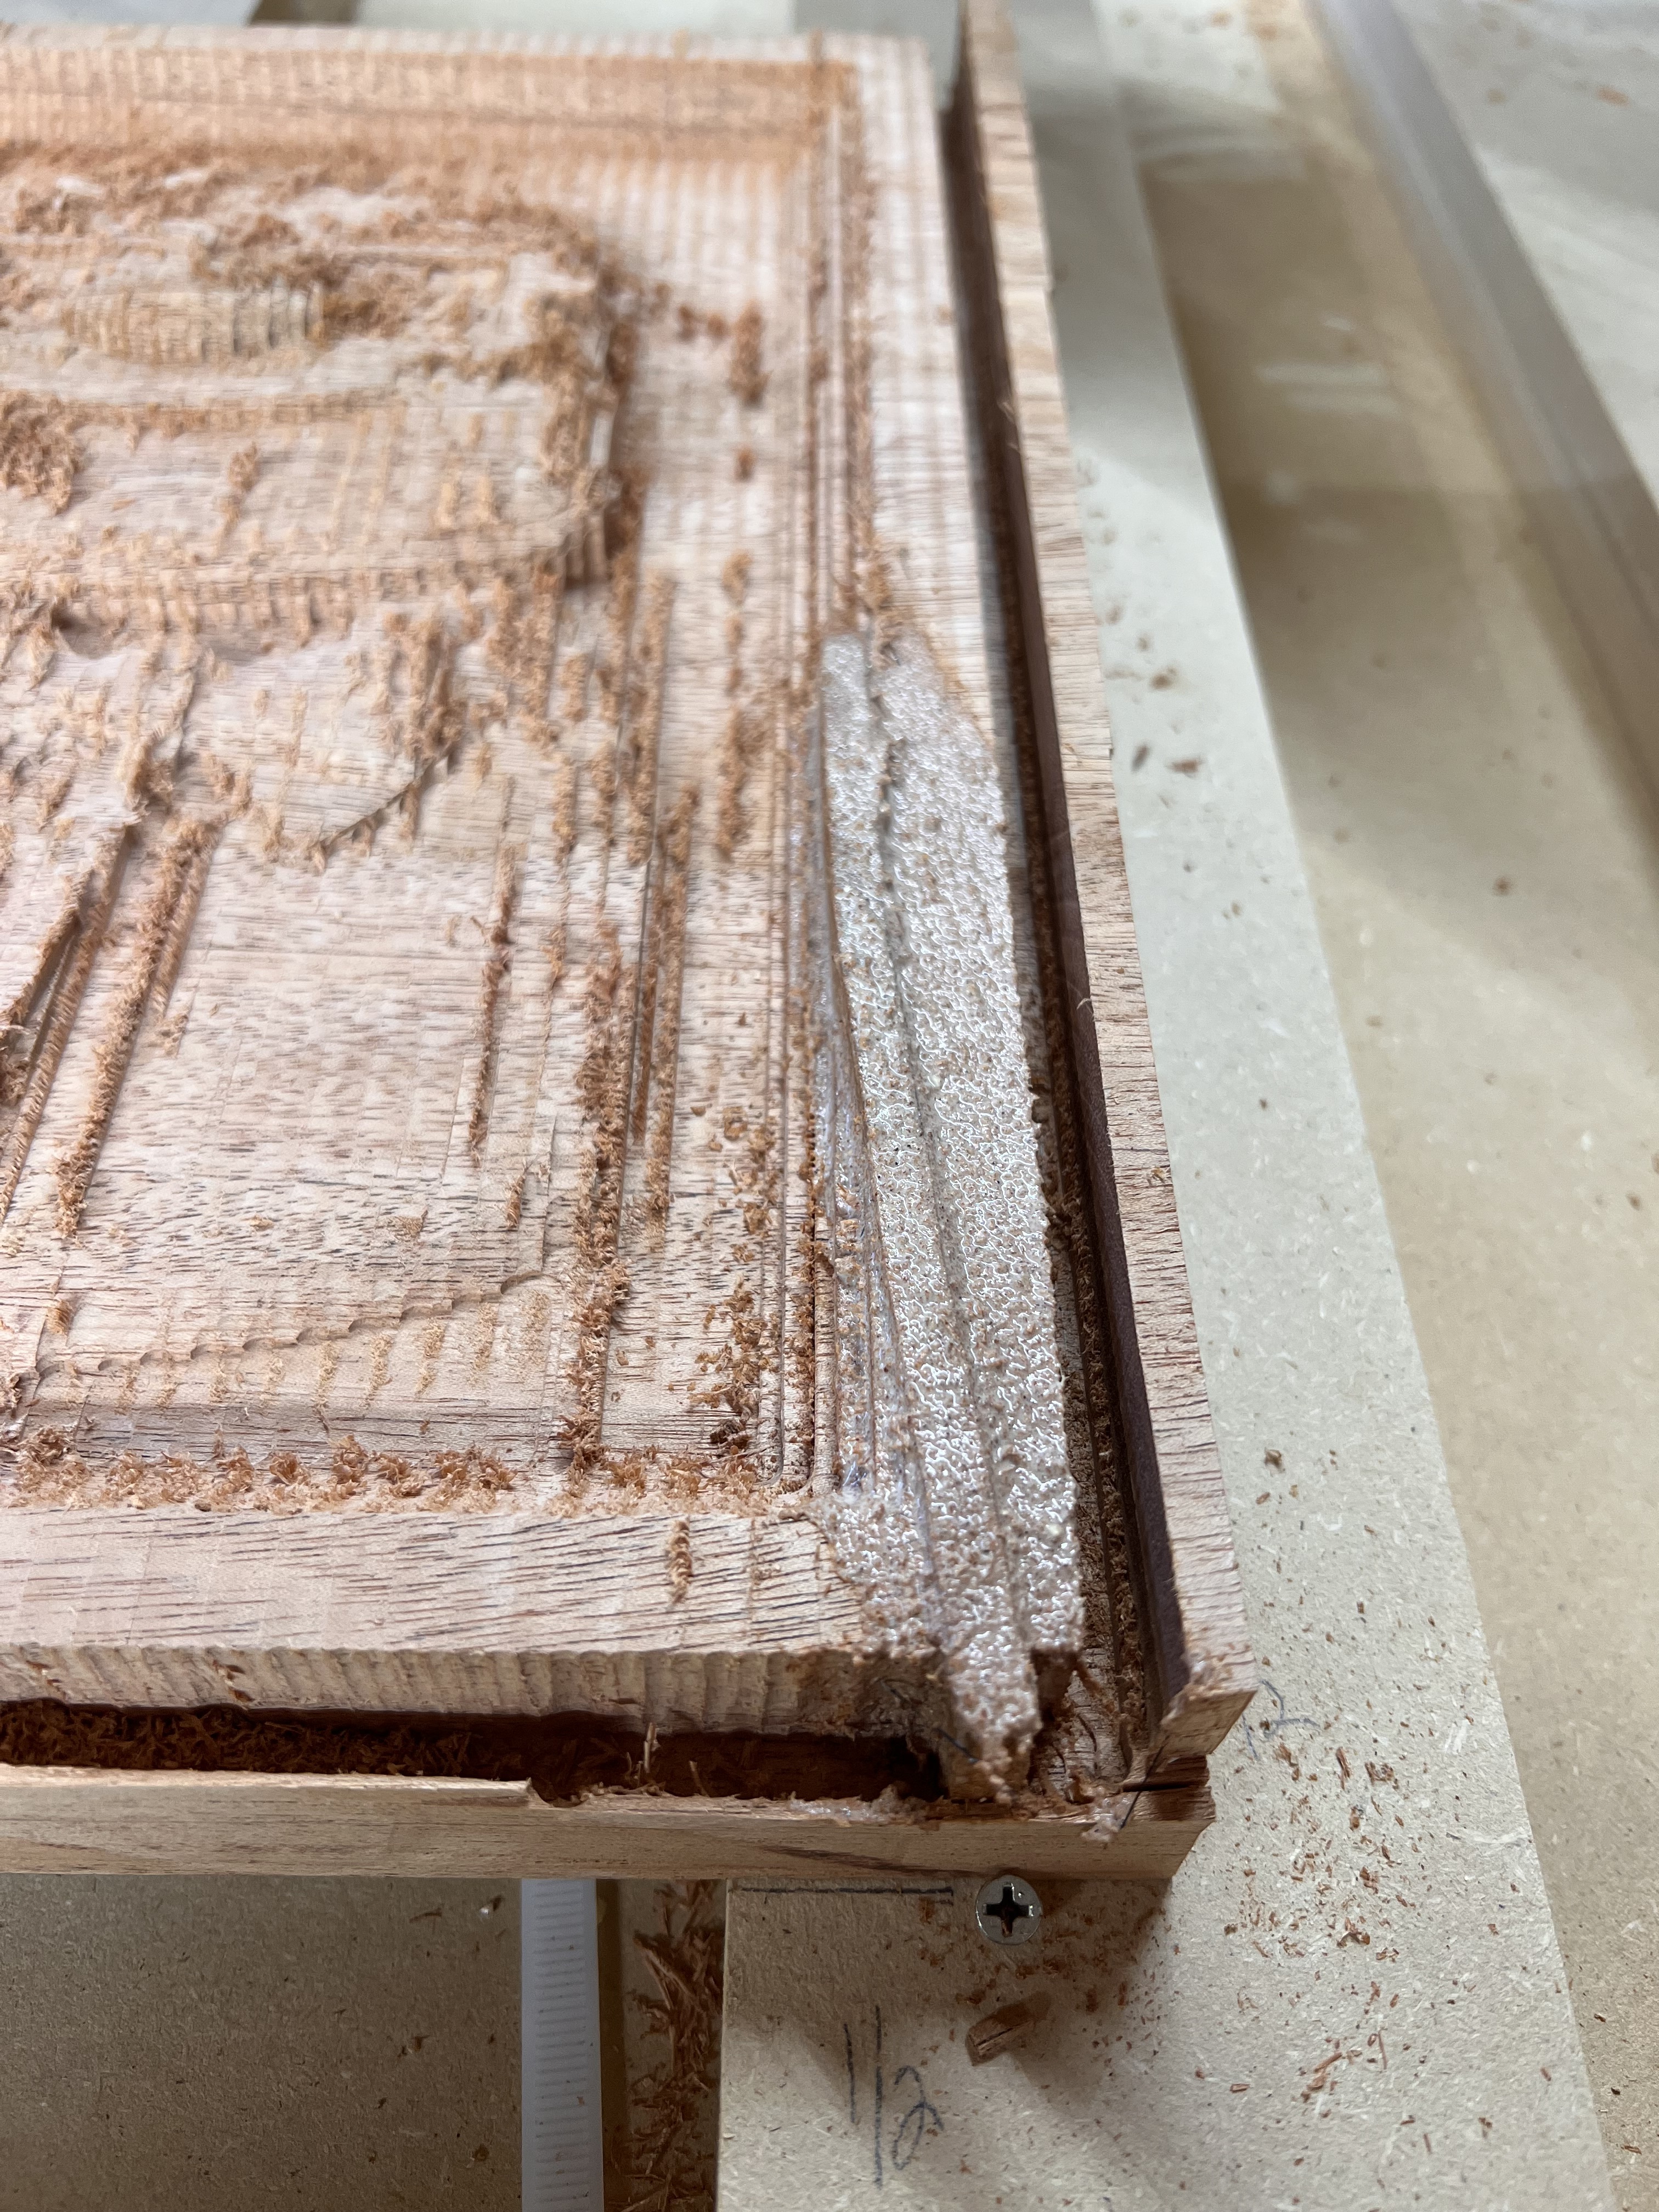
Now while the glue dries I’m going to attempt to go back though the code and find just the end section for each layer and made a new file with just those and then pick up where it left off at the end of the 20mm layer. Wish me luck lol

4 Likes

New post made hoping for some help with the Gcode

Ouch! Been there a few times…

1 Like

Yeah it sucks. Working on the gcode to fix it now. Truly hope I don’t end up screwing it up more!

Looks like you had the forethought to mark where your material was originally.

Yes sir. Now I’m just hoping I can clean it up correctly. So worried I’m gonna screw this gcode up lol

2 full days of roughing and 9 1/2 hrs of finish pass…

I had some little tear out where my patch was so I mixed some tightbond and sawdust up and painted that in. The words didn’t come out clear with the 1/8th inch ball so tomorrow I’m going to set it up and run my 1/16th. Hopefully that will be the last pass. Figuring at more than 12hrs to run that one.

2 Likes

Wow, Johnathan, what a journey…I would say you have learned a lot! Write it down for next masterpiece. You can read a lot of advice about 3D carving in my detailed tutorial on terrain carving, esp. Step 4.
https://www.instructables.com/Carving-3D-Terrain-Topographic-Relief-Maps-on-a-CN/

2 Likes

It has very much been a journey. With many bumps and bruises. That pic was not the final for this sign. With the 1/8" ball you cant make out most of the words. And I have now had 2 mishaps running a 1/16" ball. I’ve got one more shot today. If it doesn’t work then that will be the end for this sign and time to get more wood and start over. I don’t think there is enough thickness left in the bottom to keep going lol.

Yeah, I’ve been there! I suggest to practice and test your toolpaths, bits, feeds and speeds etc. on cheap wood or MDF for all new designs. I also found it helpful to select little rectangles of my design and just 3D carve them, to save time (and wood) in testing (say, with a portion of text and a portion of the 3D people.)

1 Like

I should have thought of that LOL. Estlcam 11 doesn’t give me an option to bring out a 2d version so I could use a V bit on the letters. But I was playing around with Estlcam 12 and it looks like it does. I didn’t try to set it up there as I know that software is still in alpha testing but it was neat to see it as an added option!

The v12 2D conversion is interesting, but I did not see any way to save it as a 2D drawing or use it as a Mask. It varies with the STL, but the conversion can include lots of layers. I don’t know if the online STL to DXF converters have improved, but that is another possibility - the clearly defined perimeter on the couple should help.

Free machining has more options, e.g. test cuts using a Mask (what Steve suggested?). Block machining is mainly for 2 sided carves or if you need to do the perimeter cut in 3D (you don’t).

I’ll have to look tonight, but i remeber in v11 there is a way to export a mask/outline.

Am I really the only one that didn’t know it was possible to change a bit in the middle of a cut?? Last night I knew the bit I was using was getting dull but I had no idea I could change it. I just knew if I messed with it I would never get it set back to the same height so I let it go until it screwed up and I had to abandon the cut. Now tonight I’m running it again and realized I didn’t have enough stick out and was about to abandon to start all over again. Then I noticed “more” on the screen next to pause. So I said what the hell lets click that. Found out I could get to the terminal that way. Then I said well if I can get to terminal I should be able to change the bit, then G28 Z followed by G38.2 Z followed by a G92 Z with my offset and be right back where I should be. Well I’ll be damned if that didn’t just work like a charm. Its amazing what you can learn when you just start poking around and trying things LOL.

4 Likes

Incase anyone was wondering how long it takes to run a 1/16” ball endmill over a 3’ wide 3D carve at 20% stepover…

1 Like