I have been going around and around with various CNC devices this last week: worked on two different Laser machines until I figured that I really had all I needed for the moment.
I built my LR3 about 15 months ago and have really enjoyed it except for the hassle (self made) of setting it up and taking it down to store (I have a large workbench, but it is not dedicated to the LR3).
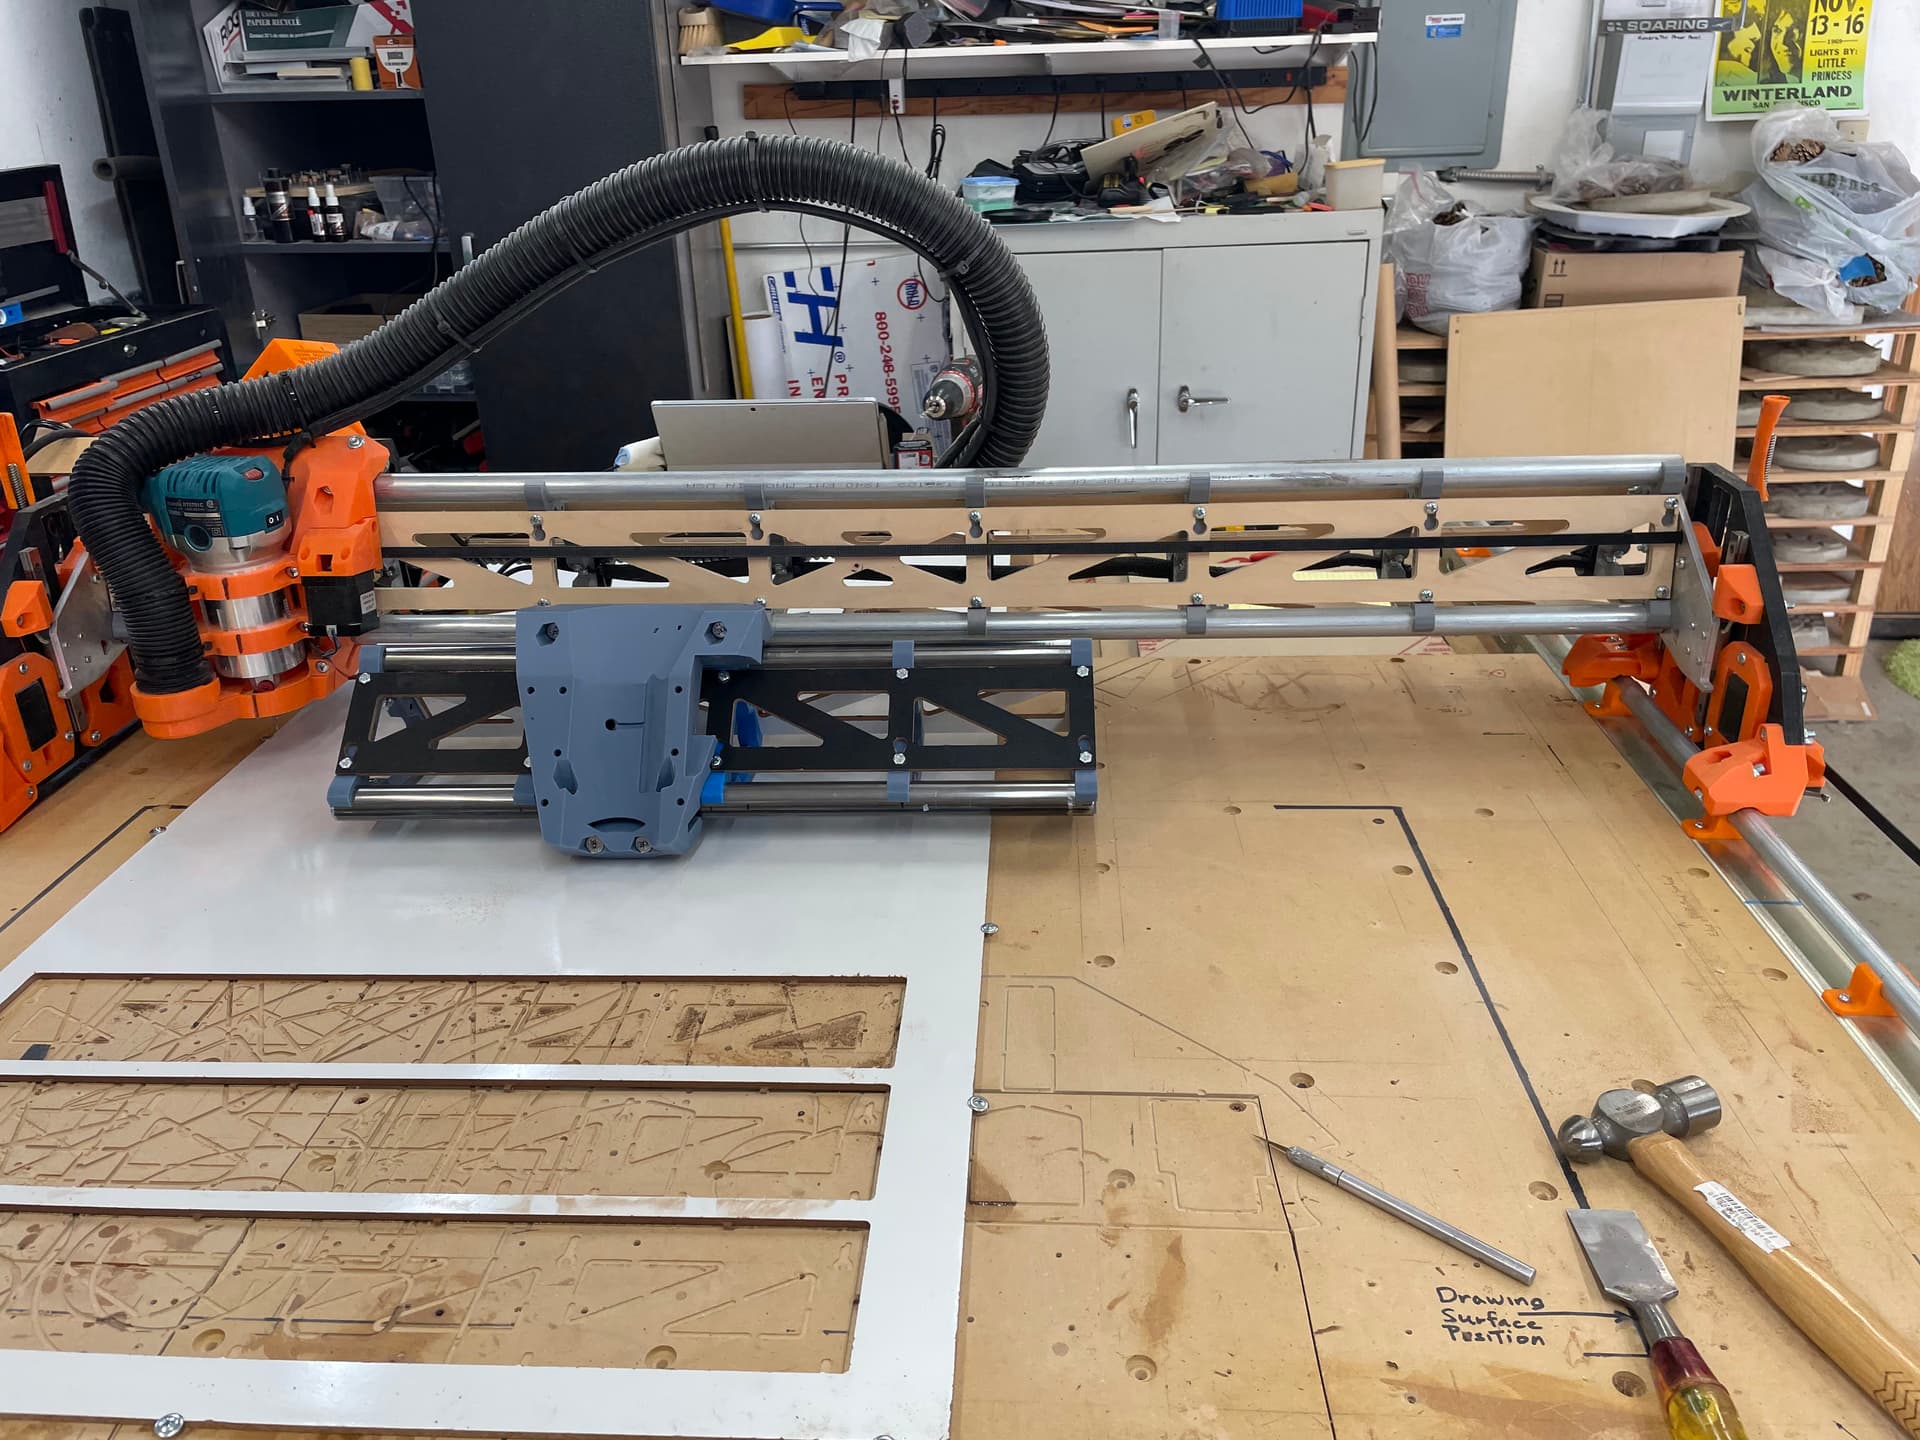
Unlike many others of you, I’ve decided I need a smaller machine for many of the project I want to do. I had a Primo, but it was also difficult to store. So this one is a smaller and portable LR3, with approximately 20x30 cutting area. It can easily be moved from the workbench to the table saw and I can actually leave it there most of the time (the table saw is one of the least used tools, but I’m not getting rid of it).
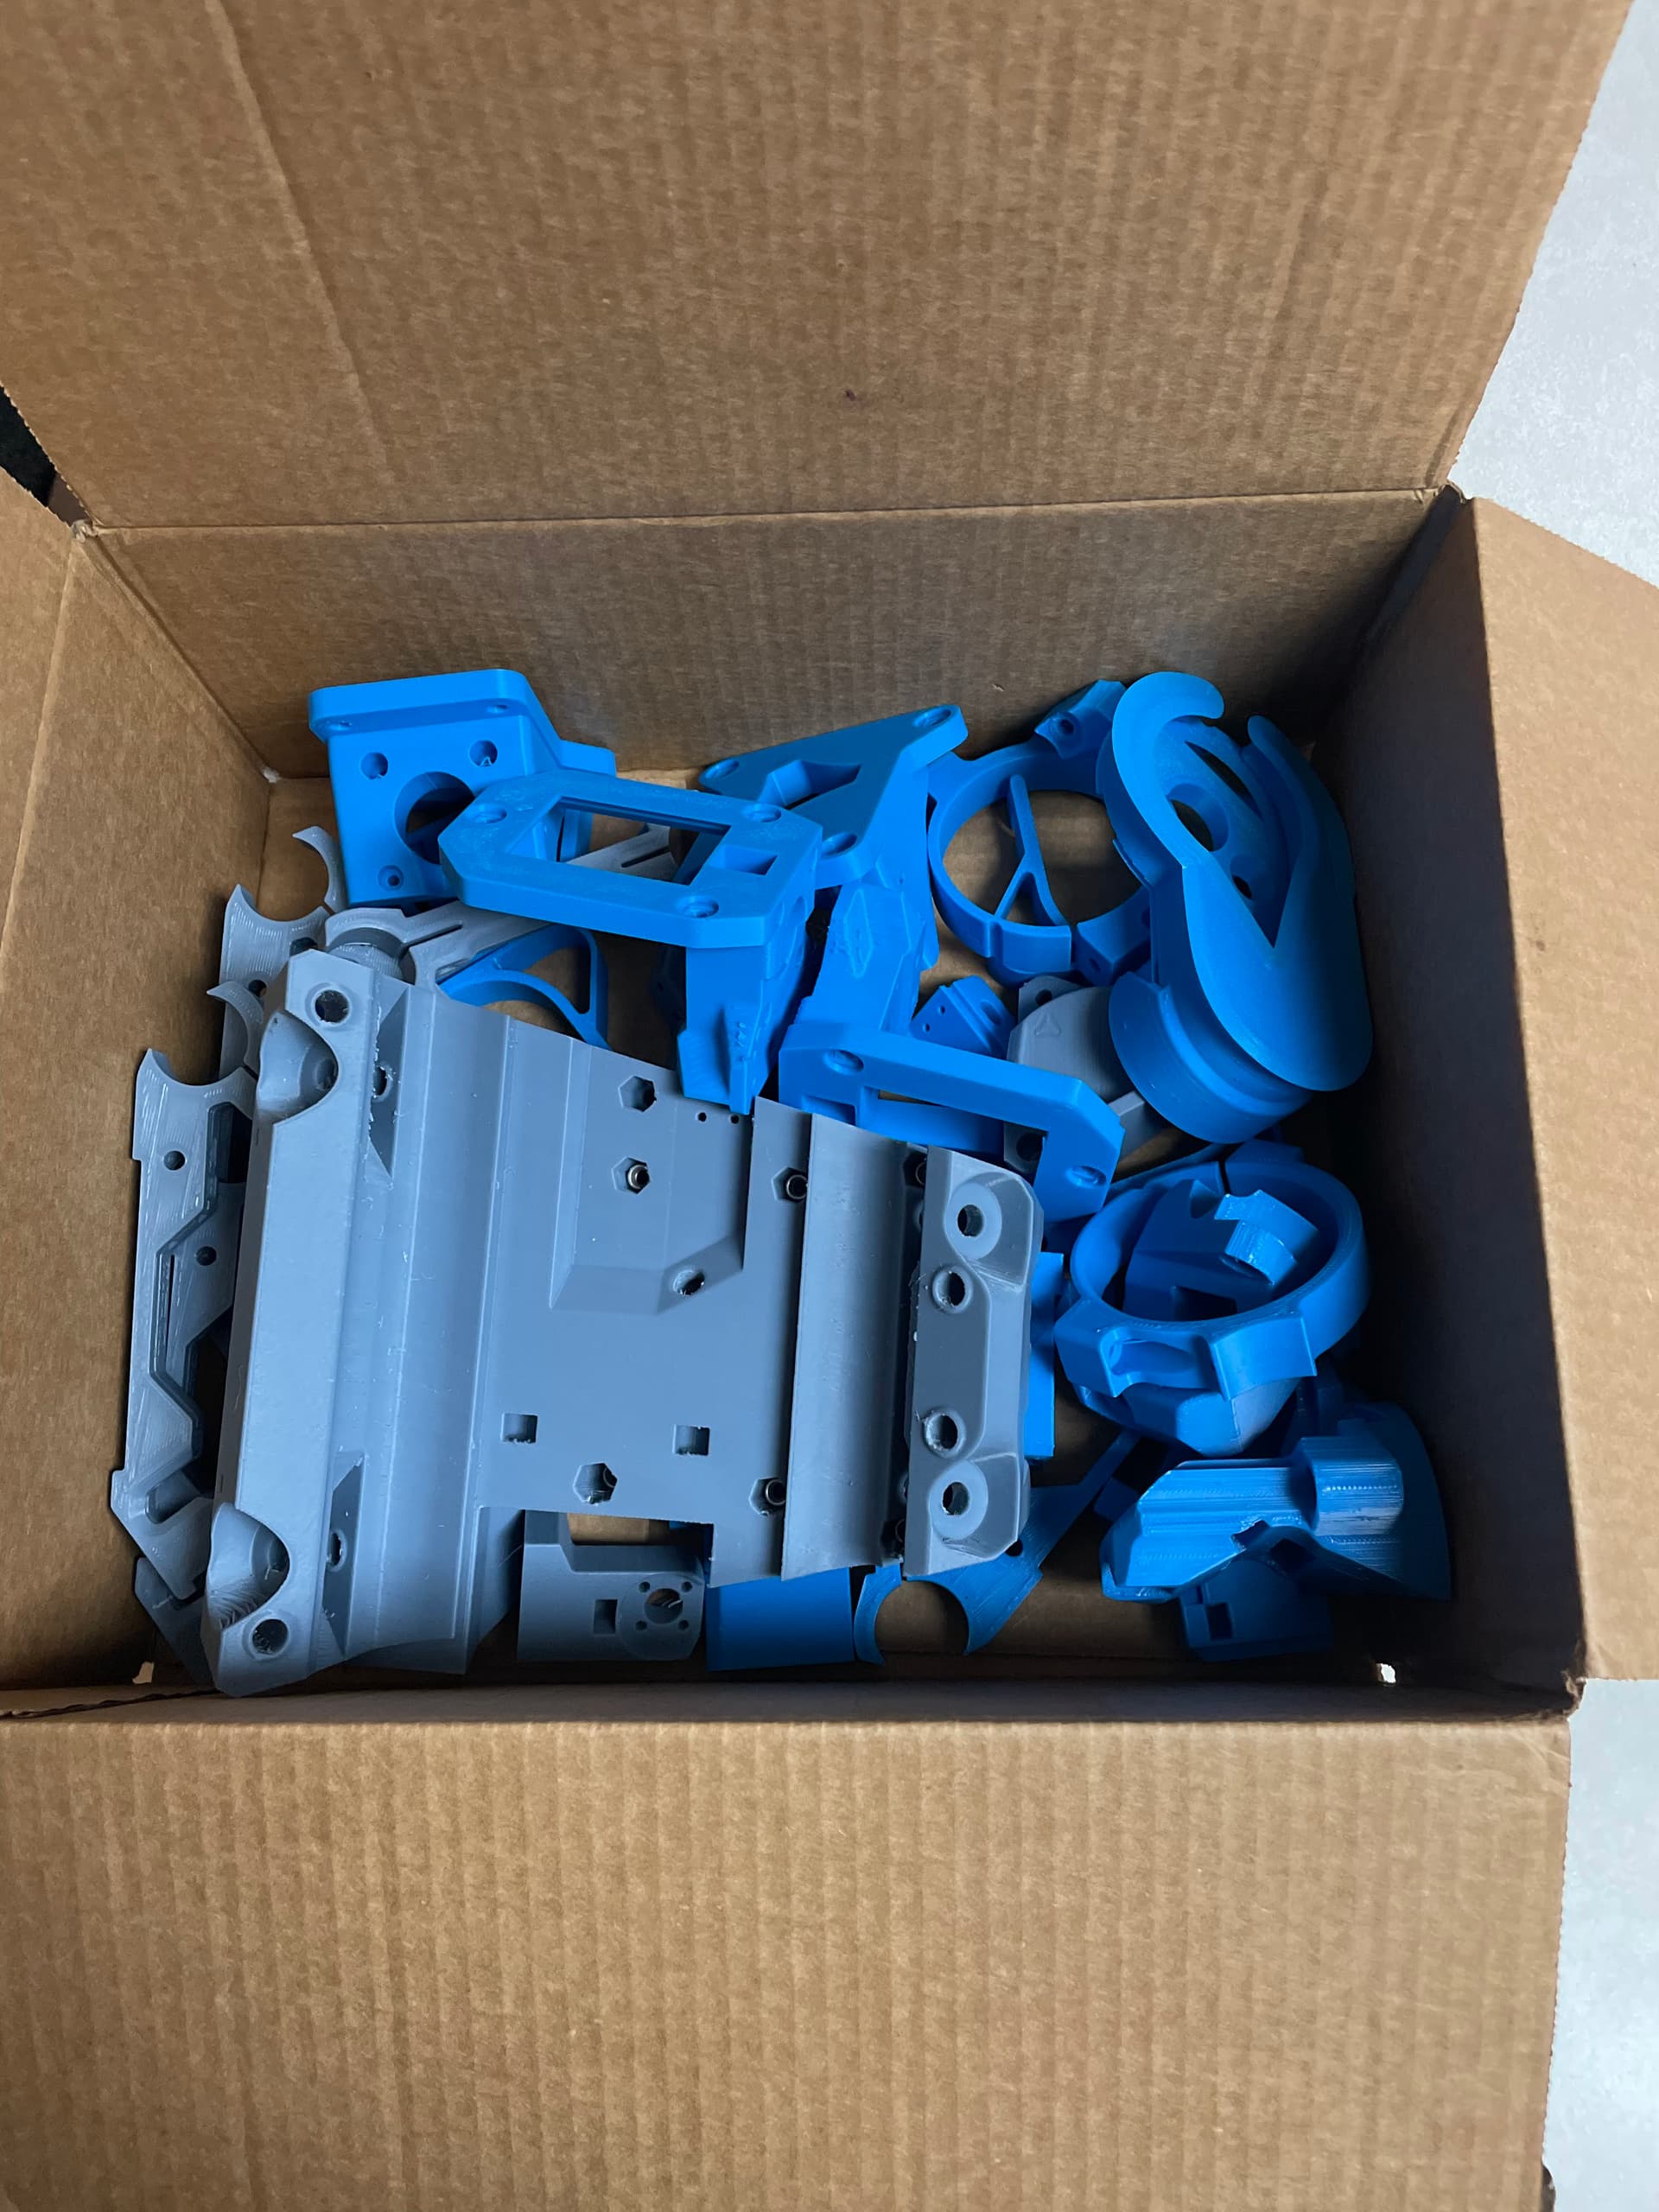
I made my new V1e store purchases last night and Ryan shipped them today. The order is supposed to be here on Tuesday, I better start printing.
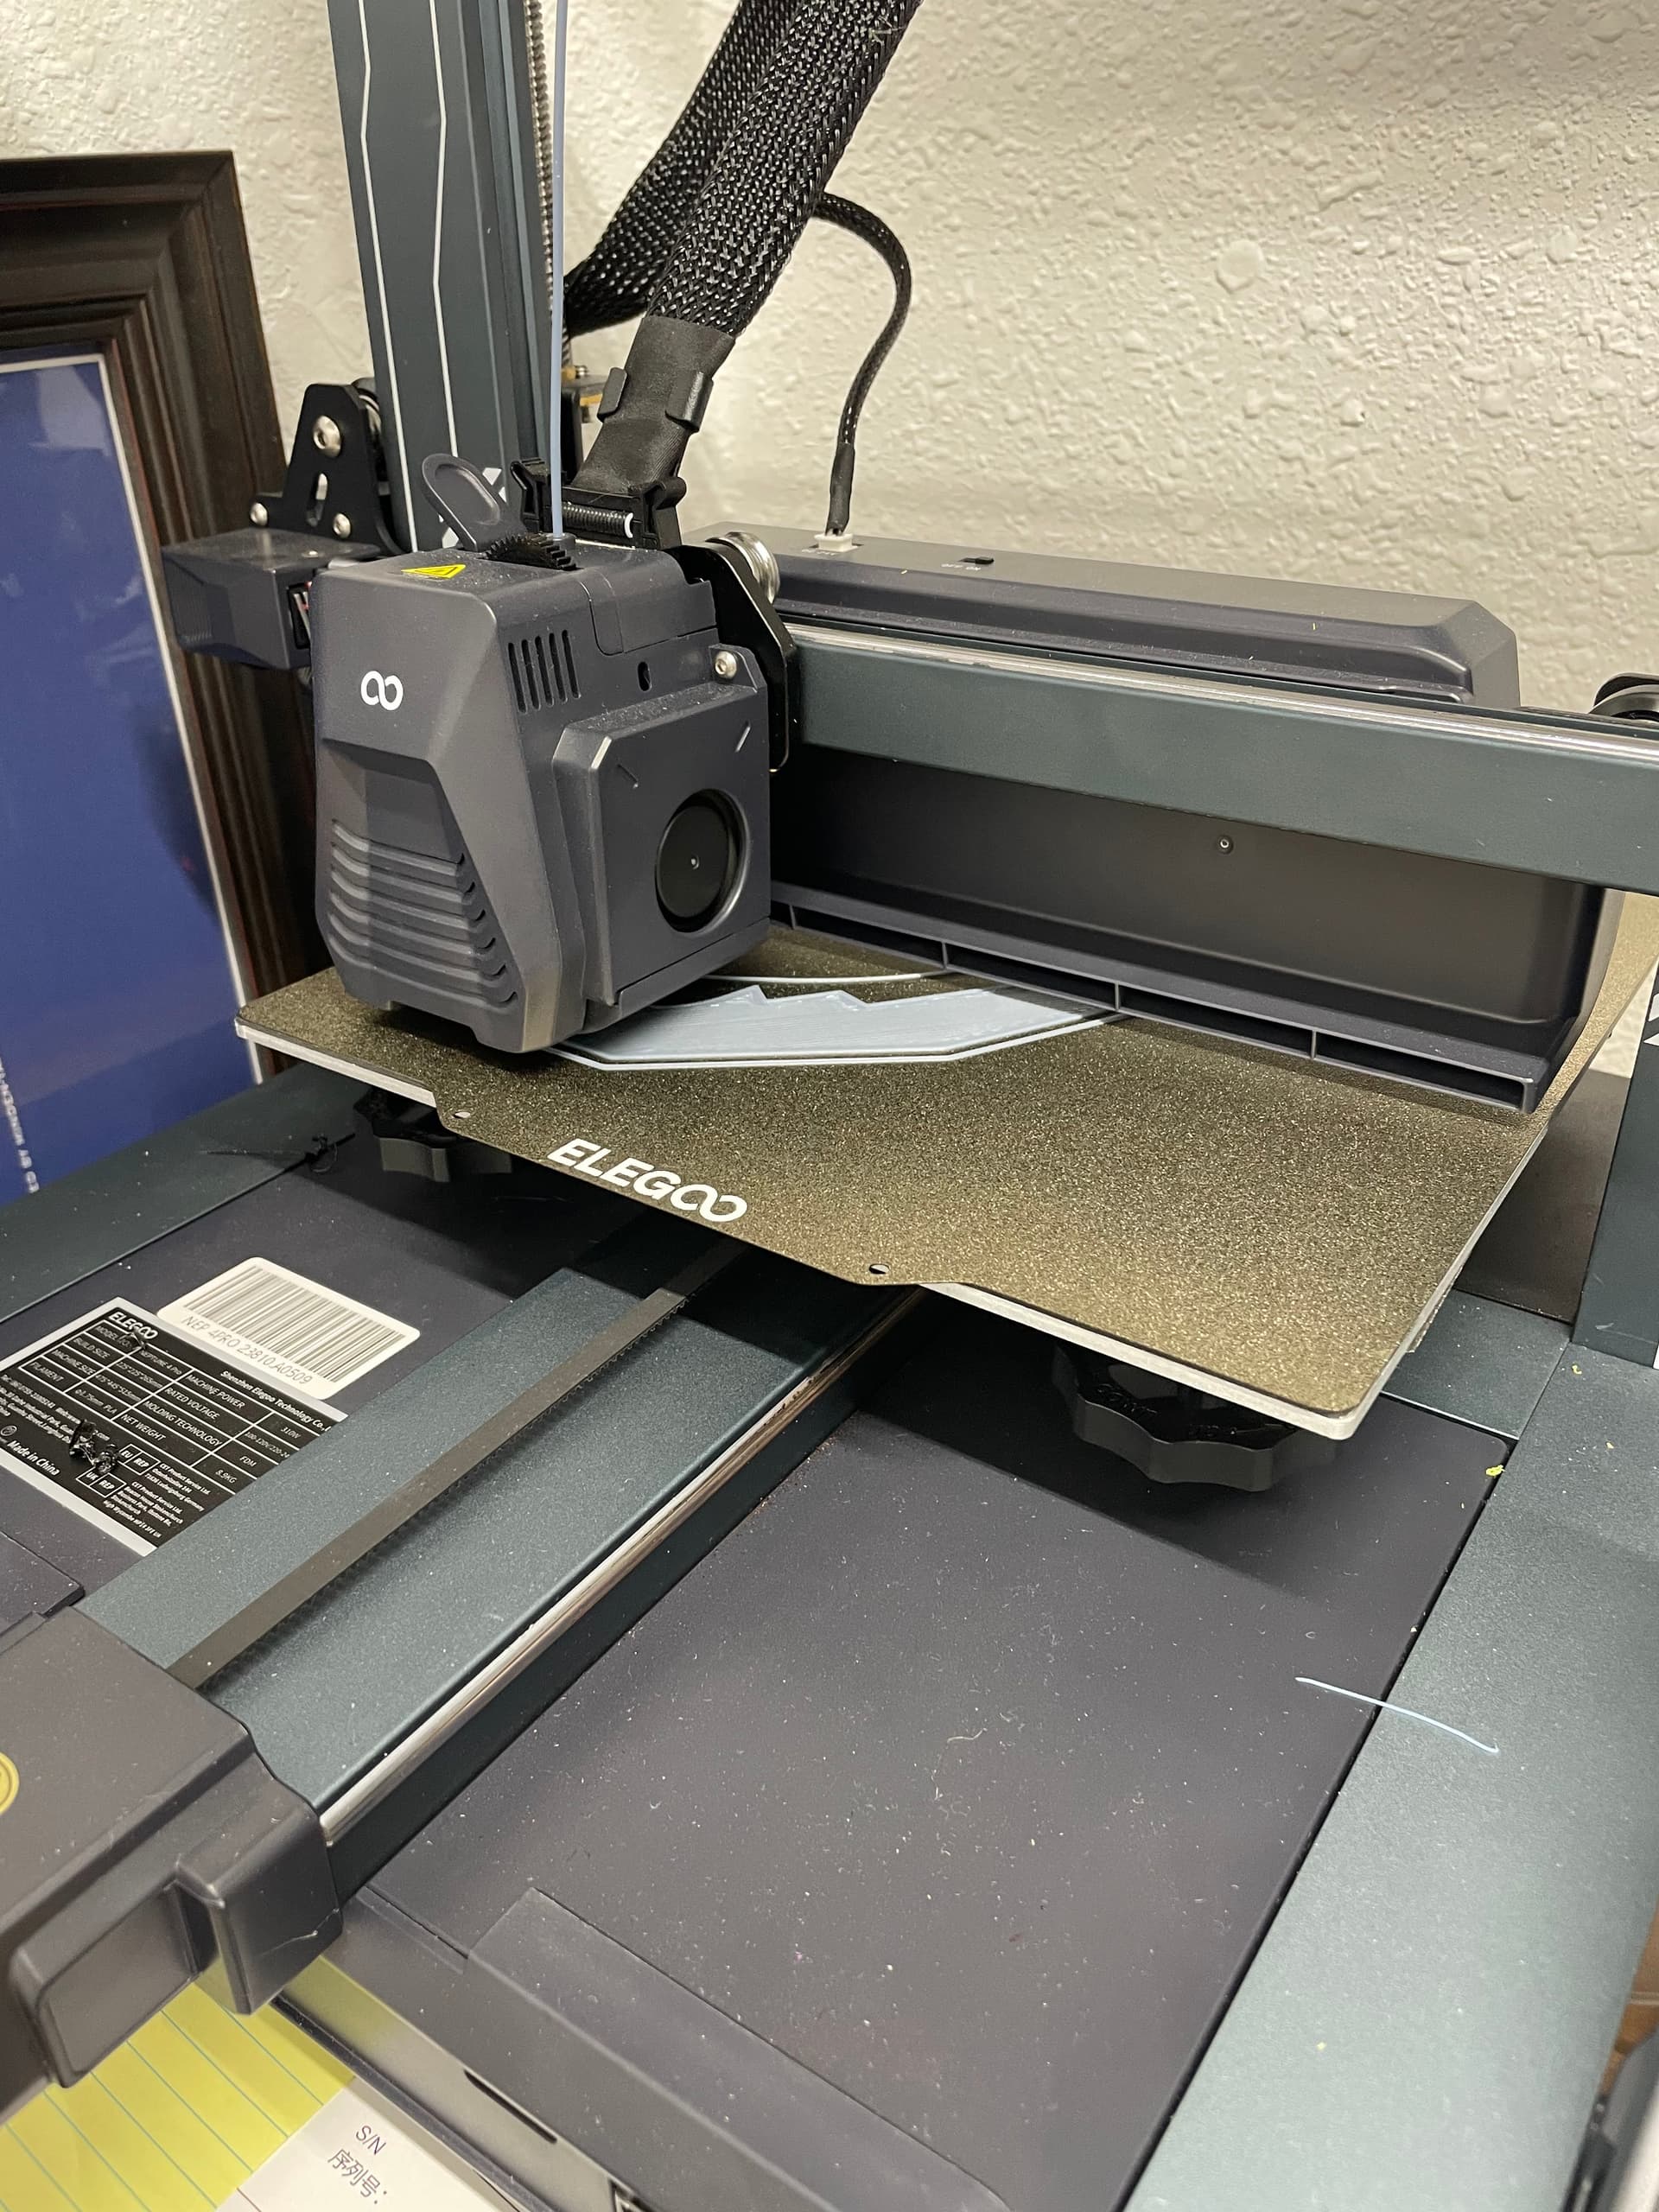
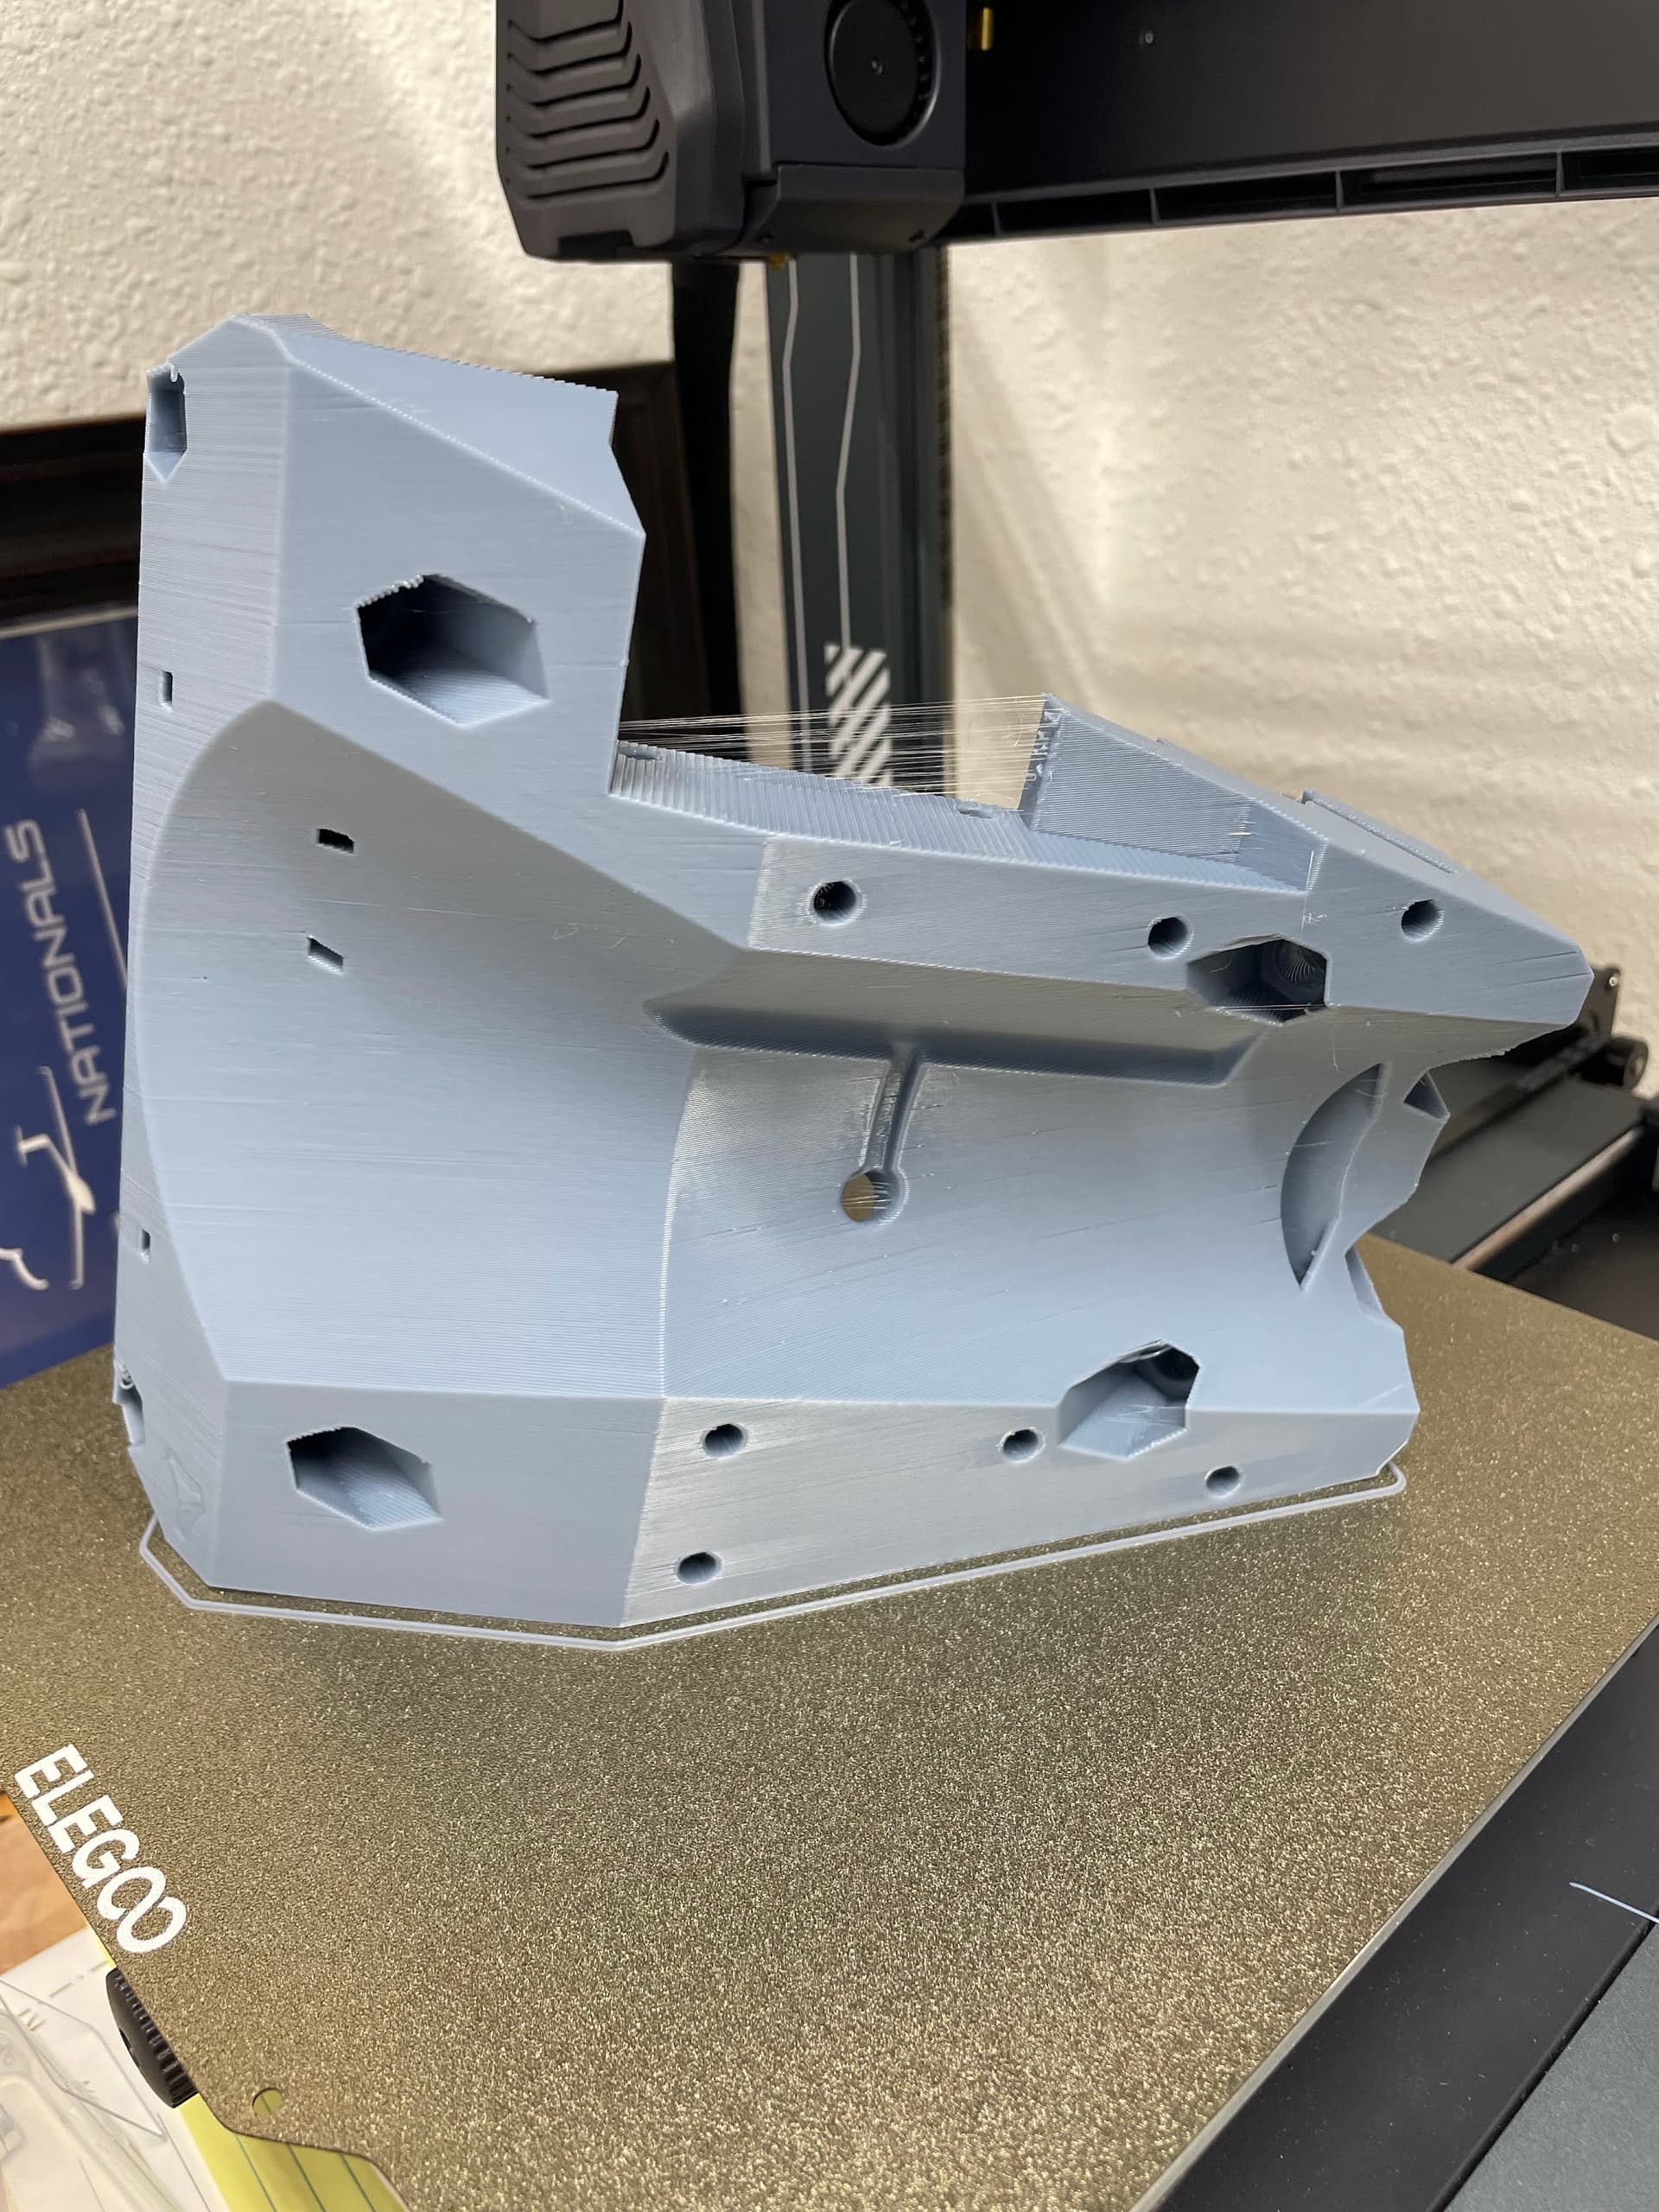
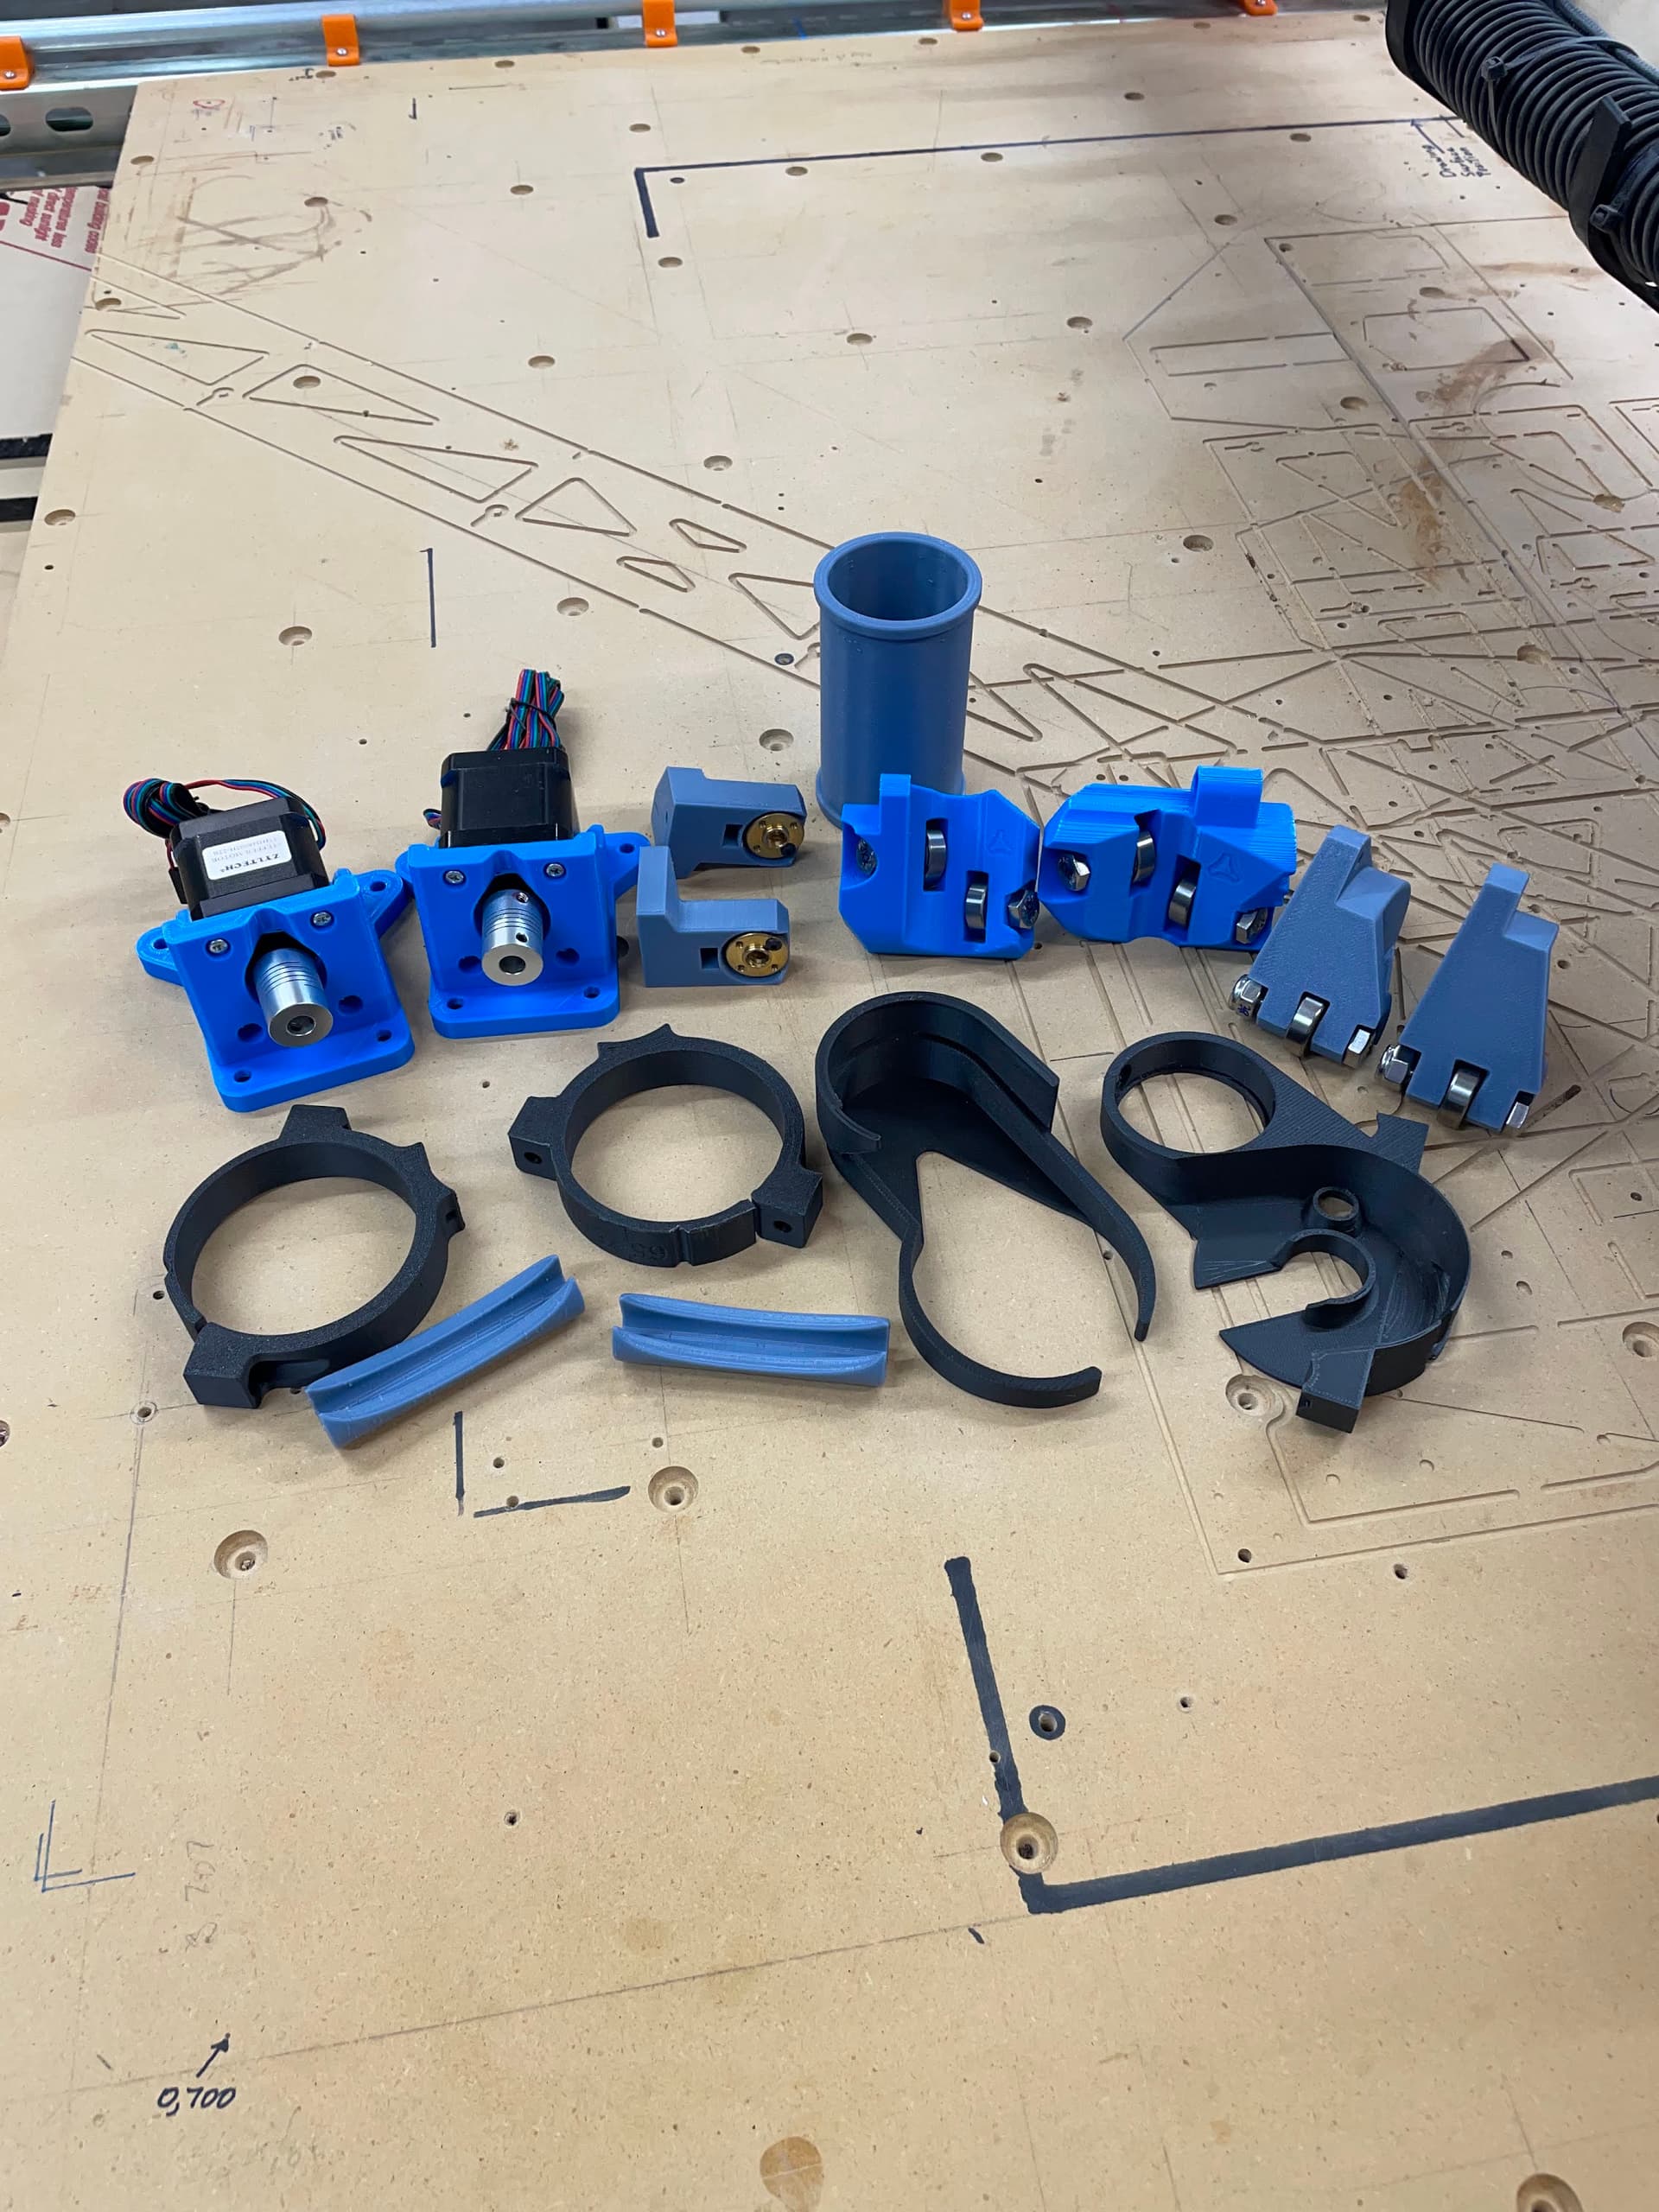
So here are my first pictures. I started with the core as the last time it took 38 hours(!) on my Ender 3. This fall I pulled the trigger on a new Elegoo Neptune 4 Pro and it’s FAST.
I did the same thing and love it. Although both of mine are on dedicated tables. But any flat space in my house becomes storage LOL. So its nice having either option. And sometimes Ill be running parts on both. Enjoy the build! I’m sure you will love it!
I hear that… went down to the work shop, and realized that I can’t see my Primo anymore… moved a bunch of stuff off of the table that used to hold the Primo to build the laser… and put the stuff on the Primo…
I’m very happy with the Neptune. There really is a difference between 60mm/sec and 500mm/sec (but I am only using 200mm/sec).
The other thing about this printer in the pre-installed Klipper. I was working on an installation on an Ender 3 and decided that the Neptune was ready to go and I could start learning Klipper right away.
And you’re right, getting all the settings is really the most work but makes all the difference in printing.
True. I printed all of my parts for my mpcnc on a dirt cheap $150 Anet A8 printer that came in kit form in a box full of parts. It worked well enough to use and I learned a lot. Although it was always just slightly out of square. Could never true the thing up but for most of my projects it was just acceptable. Very useful tools to have around.
It wouldn’t be a V1e thread without scope creep. Have you considered electroplating all the parts to make a shiny fancy LR3? I just came across this again last night and want to try it.
Same. I don’t think there has ever been a time where both of my machines could be run to their full extents at the same time LOL. stuff just moves from one table to the other. or the floor, or that other table, or on to the primo, or the table saw… Yeah its never ending it seems LOL
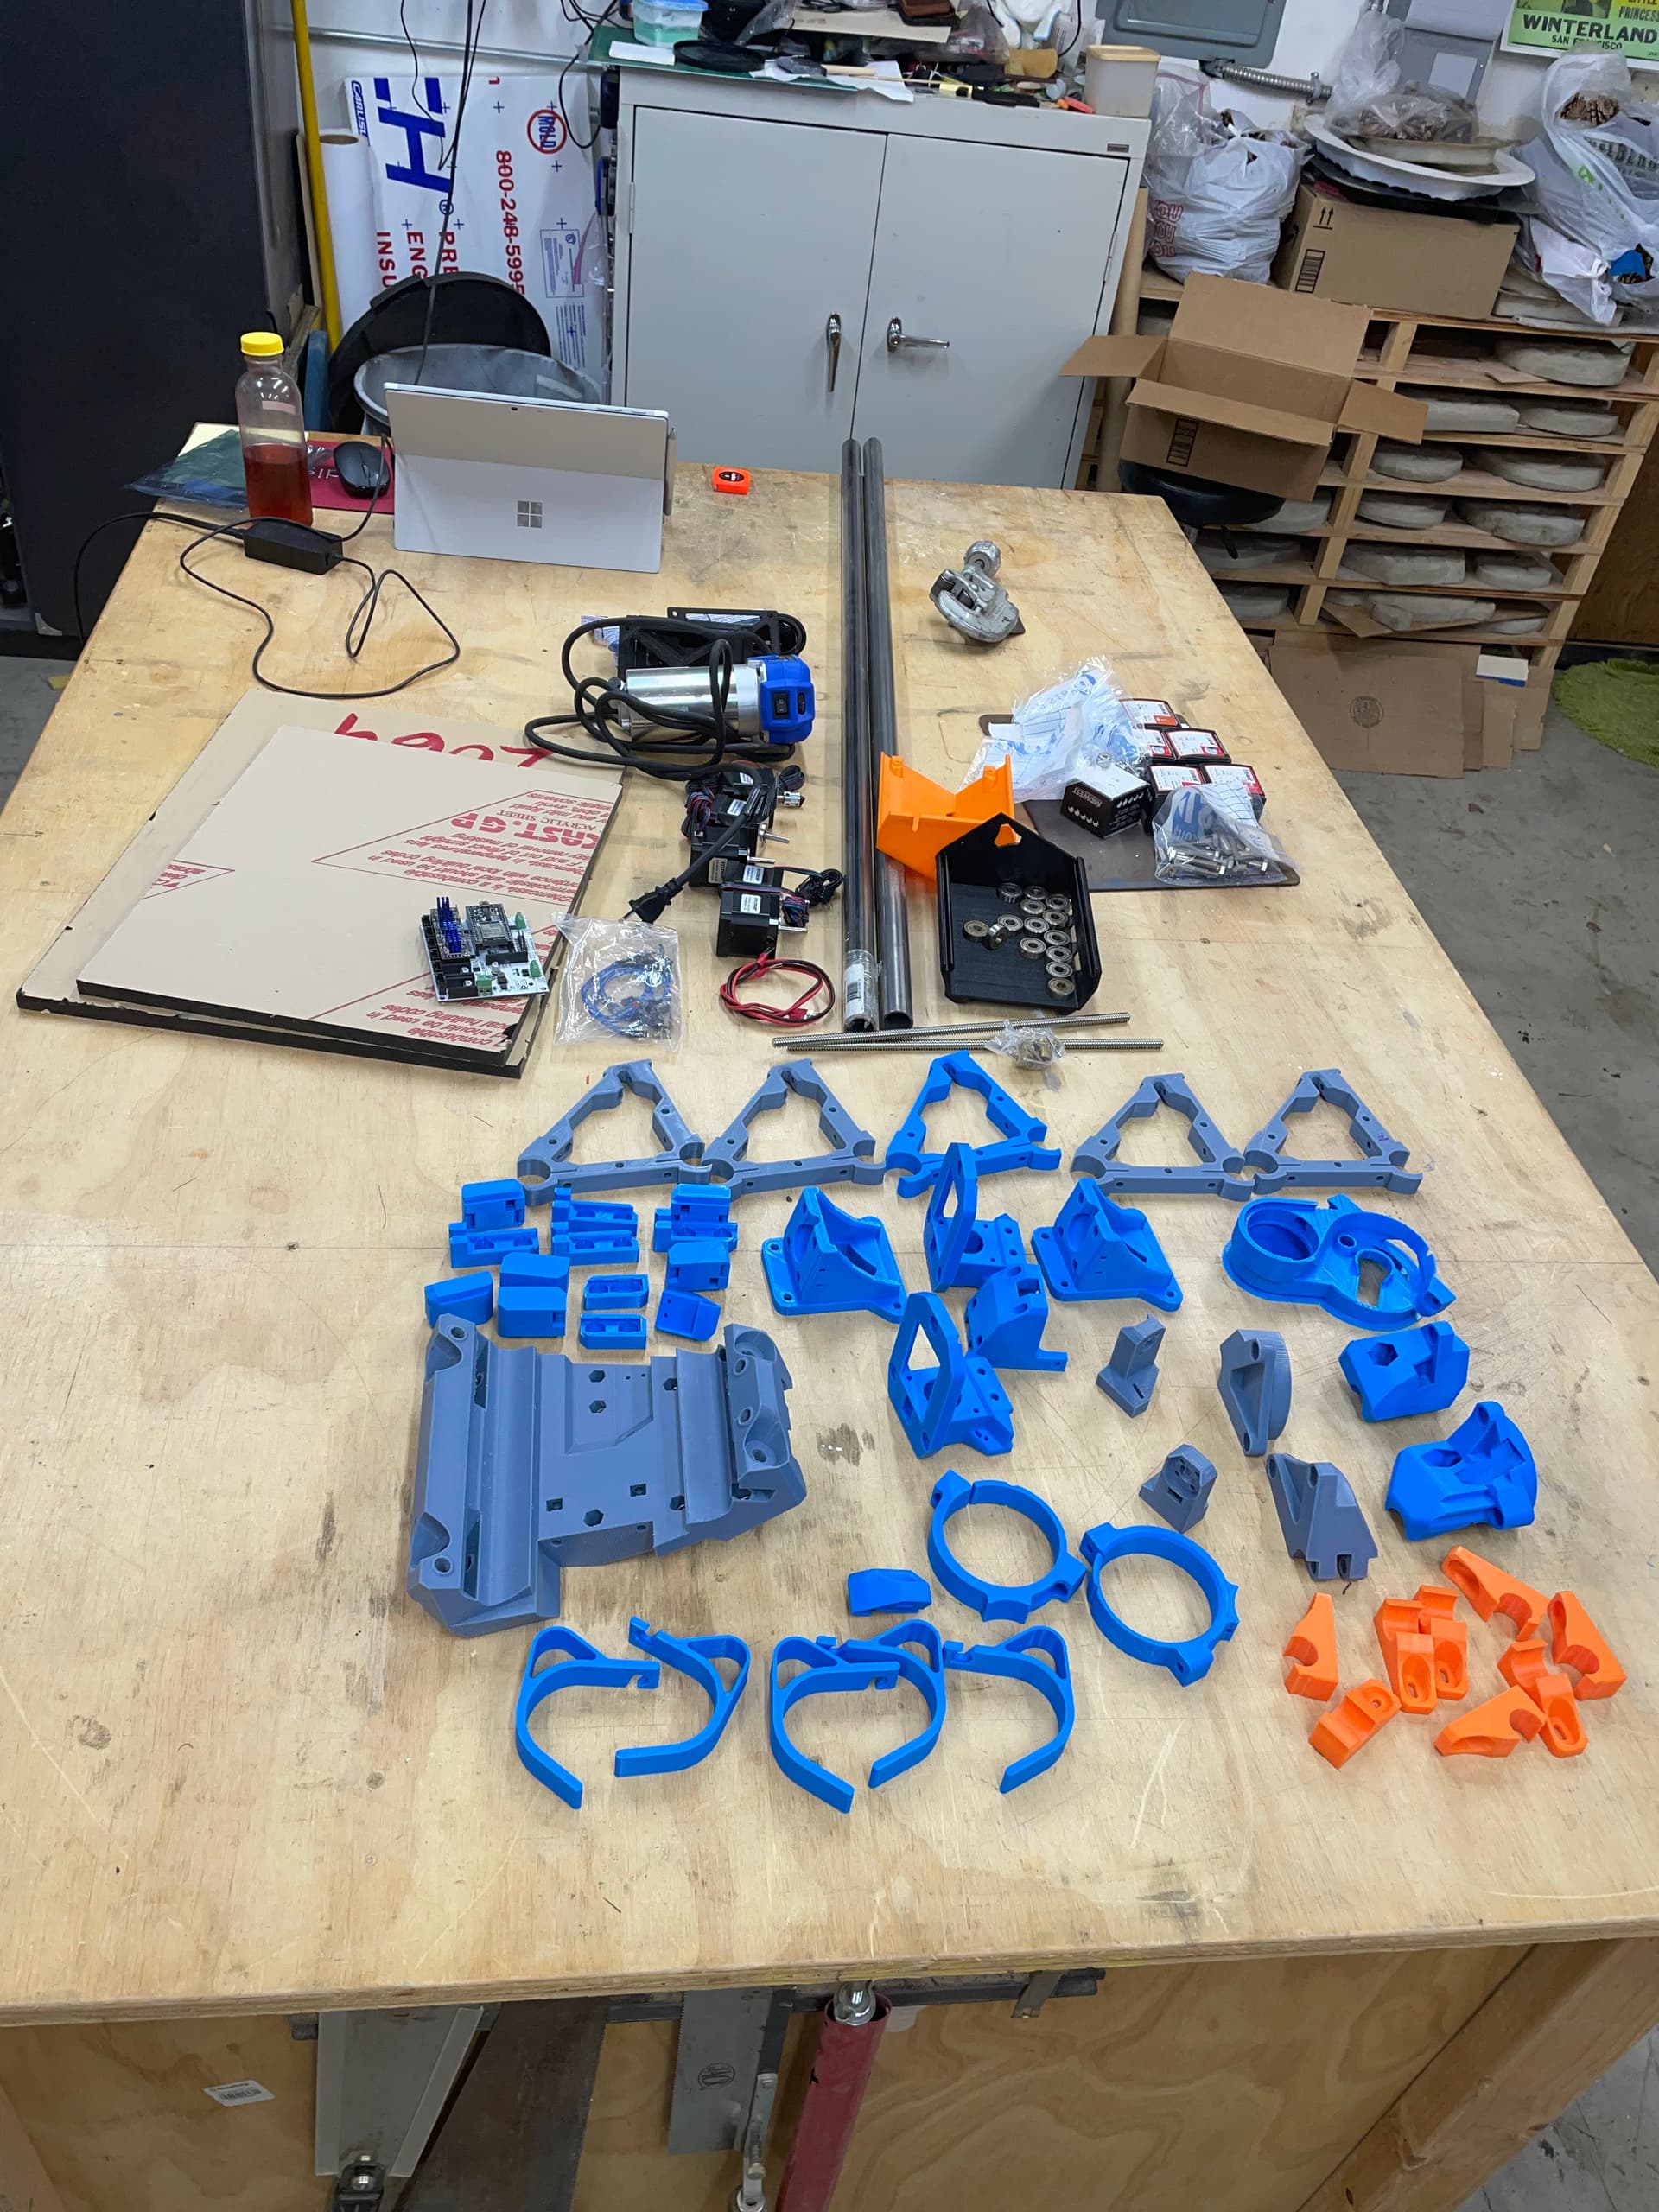
I’m going to start the assembly tonight, after cutting the gantry rails from the DOM steel left over from the Primo I didn’t build!
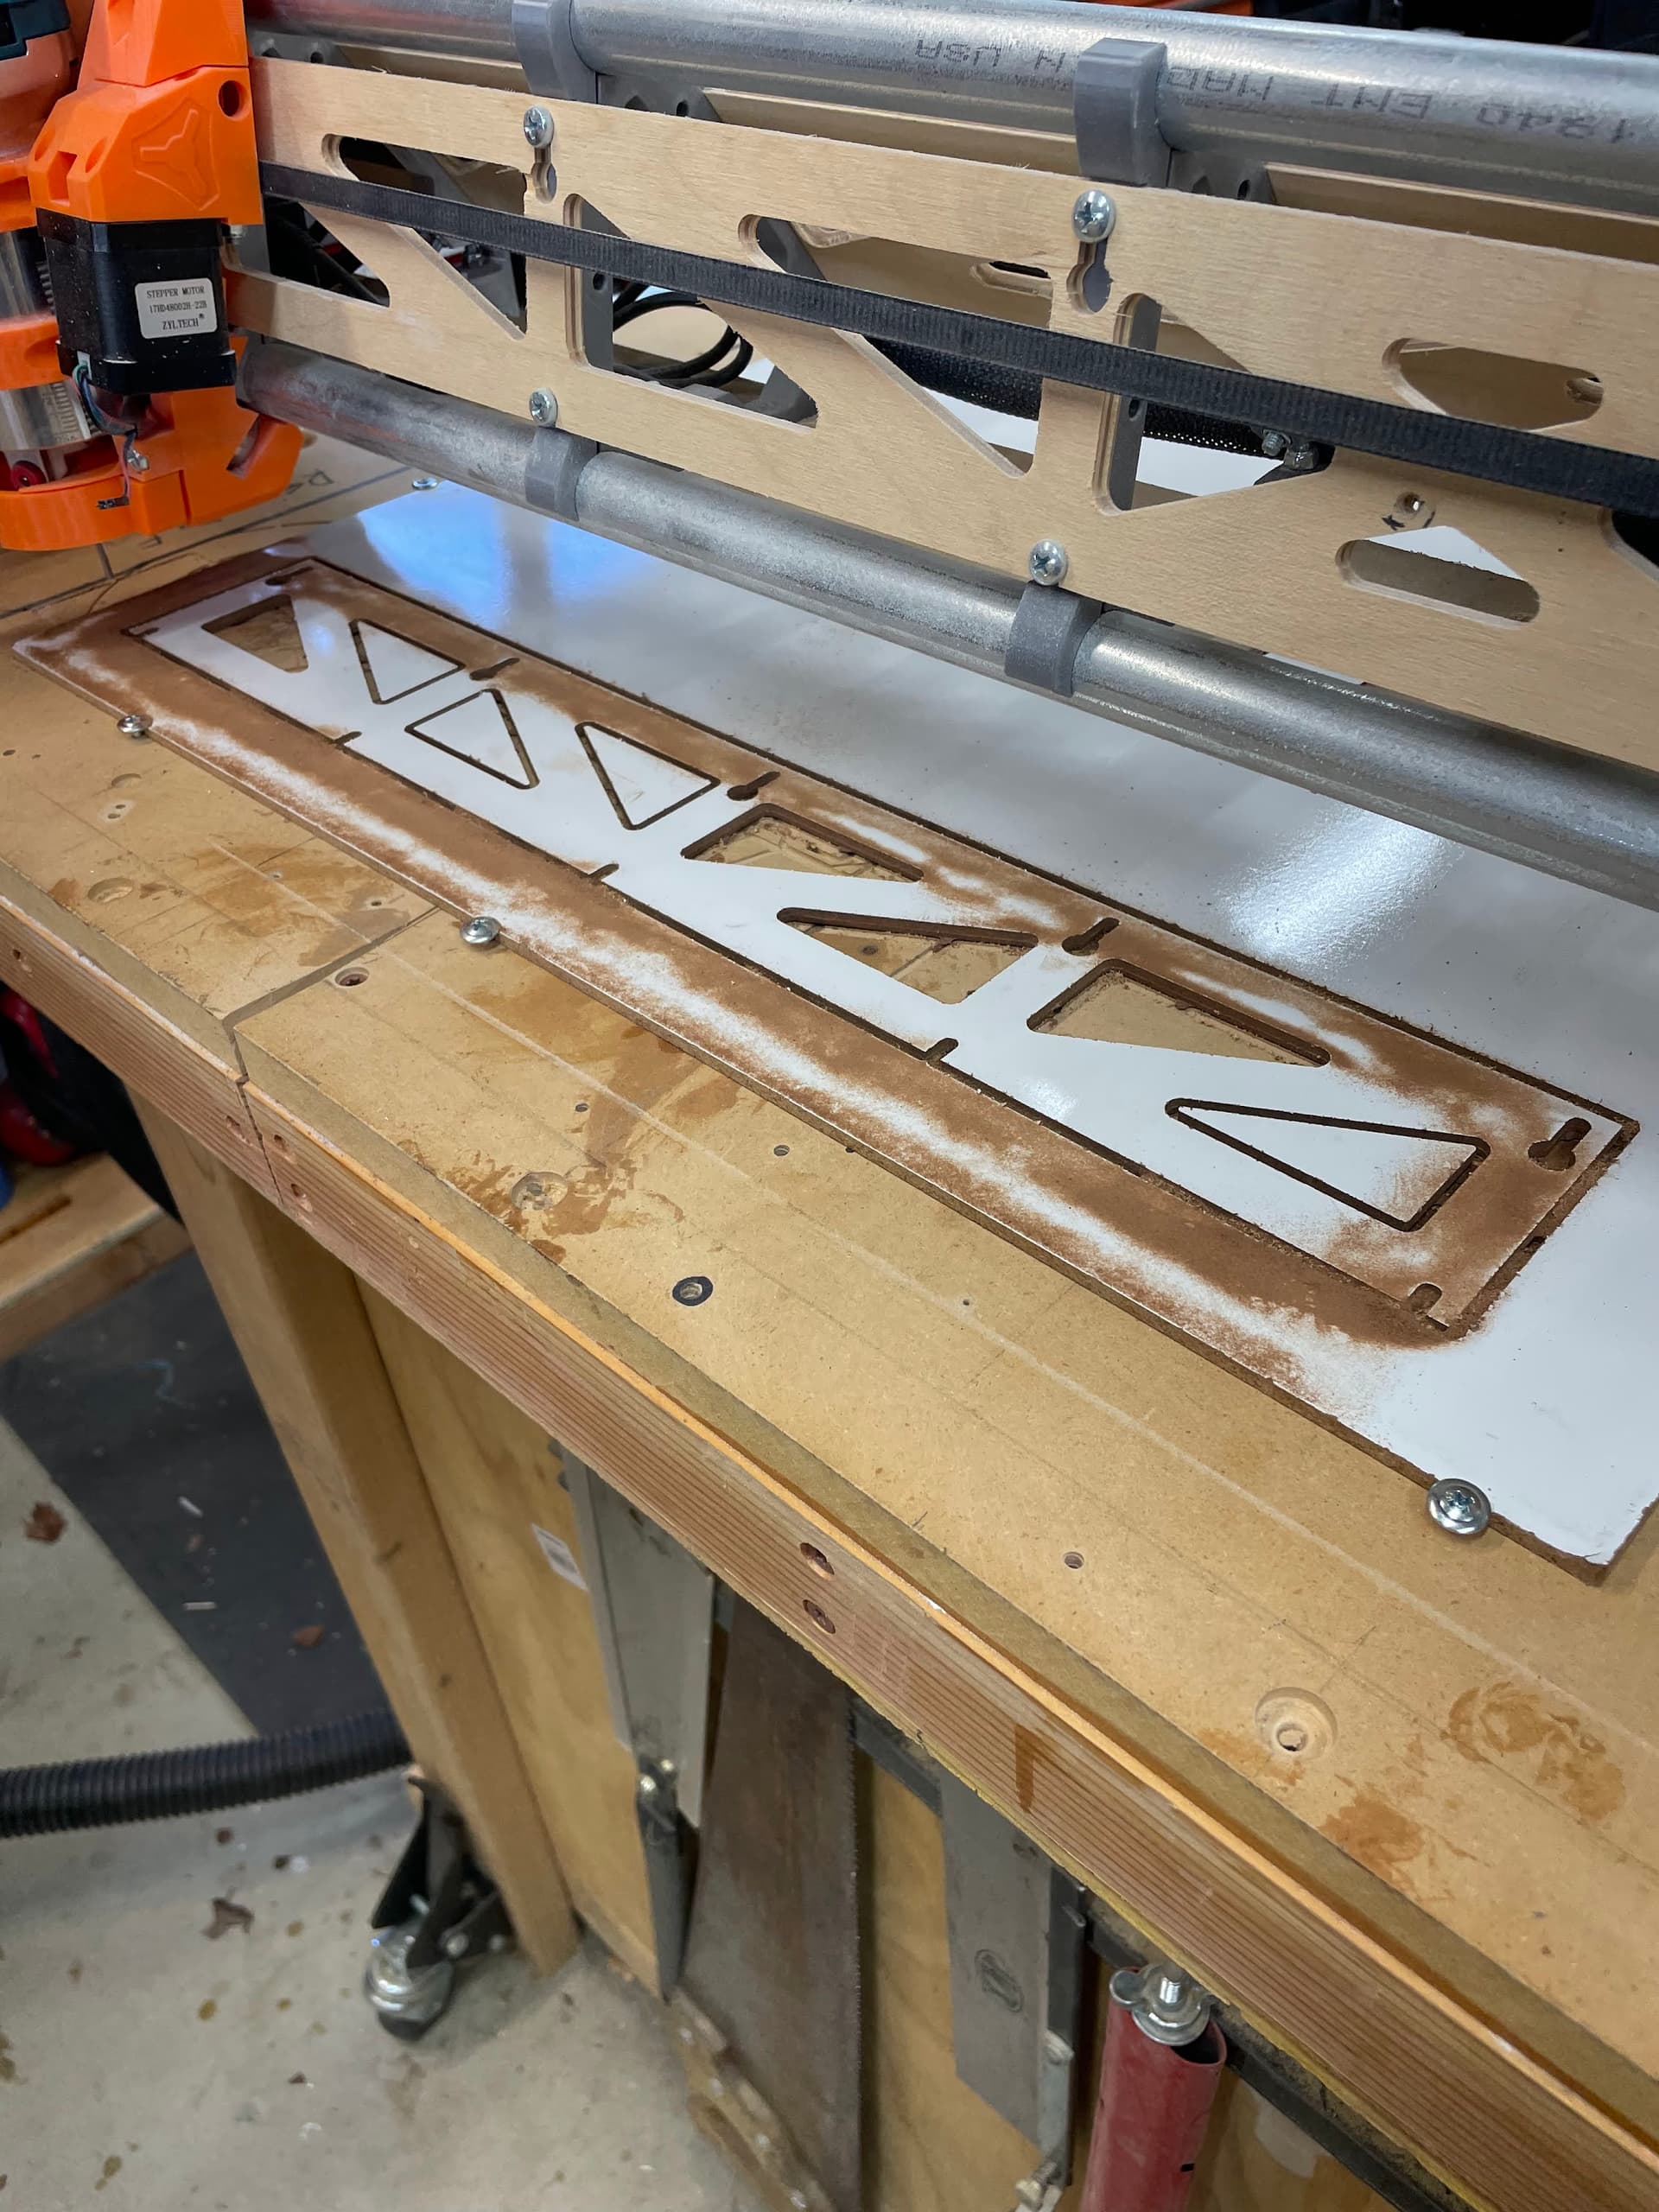
I also chose to buy some acrylic to make the YZ plates. These two pieces were cut-offs at the local TAP plastics store: less than $6!
Wish me luck with my first acrylic routing. I’m glad to see the various recent posts that describe how to do it.
I have several controllers I can choose from but what the heck, I’ve got a Jackpot! Does anyone want an SKR 1.2 with screen?
I was going to use those y-rail clips from my first build, but they look so out of place I think I’ll make some new ones from either the blue, or blue-grey filament. I have a piece of Conduit that was for my ZenXY (not yet started) that can become the Y rail.
I am building to fit in a particular storage space and was not worrying too much about the size. EXCEPT I do have a few 10x20 inch projects that would be more easily cut on a smaller machine so I designed to that cutting area to be a little bigger and still fit into the storage slot.