On upgrade path: LR2 -> LR3, Clarksburg, WV, USA

That probably would help too. I still think my illustrated image would be the most effective.

1 Like

Yes, adding the skr port name would make that chart complete and not look wrong ‘on first glance’

2 Likes

@jeffeb3
Thanks for being so understanding.

Of course. We have the same goals. Users are trying hard to build the machine and get to having fun. The docs are trying to get them there too. Things like this are generally an easy fix.

It gets a little trickier when different users need different information. Some people follow the text to the letter. Other skim it and look at the pictures. Others (myself, probably) will only read it if it is short enough.

The longer the docs, the more difficult it is to keep up to date too. So there is some reasoning behind keeping some data only in the forums.

Luckily, when things fall through the cracks, there are a few dozen people willing to help out here.

The question is always, “Did this person just get lost?” Or is it, “100 people have gotten lost, and this is the first person to say something”. There isn’t a good way to tell (at least until a 2nd, 3rd person speaks up).

The picture is really good for anyone using the skr pro. I would be happy to add an skr column, but I will let @vicious1 decide if the skr image is good to add, or if it would be a problem for the rambo users.

4 Likes

Sounds good. My thought was to make an image like that for each supported board, and builders could just go to the one for them.

2 Likes

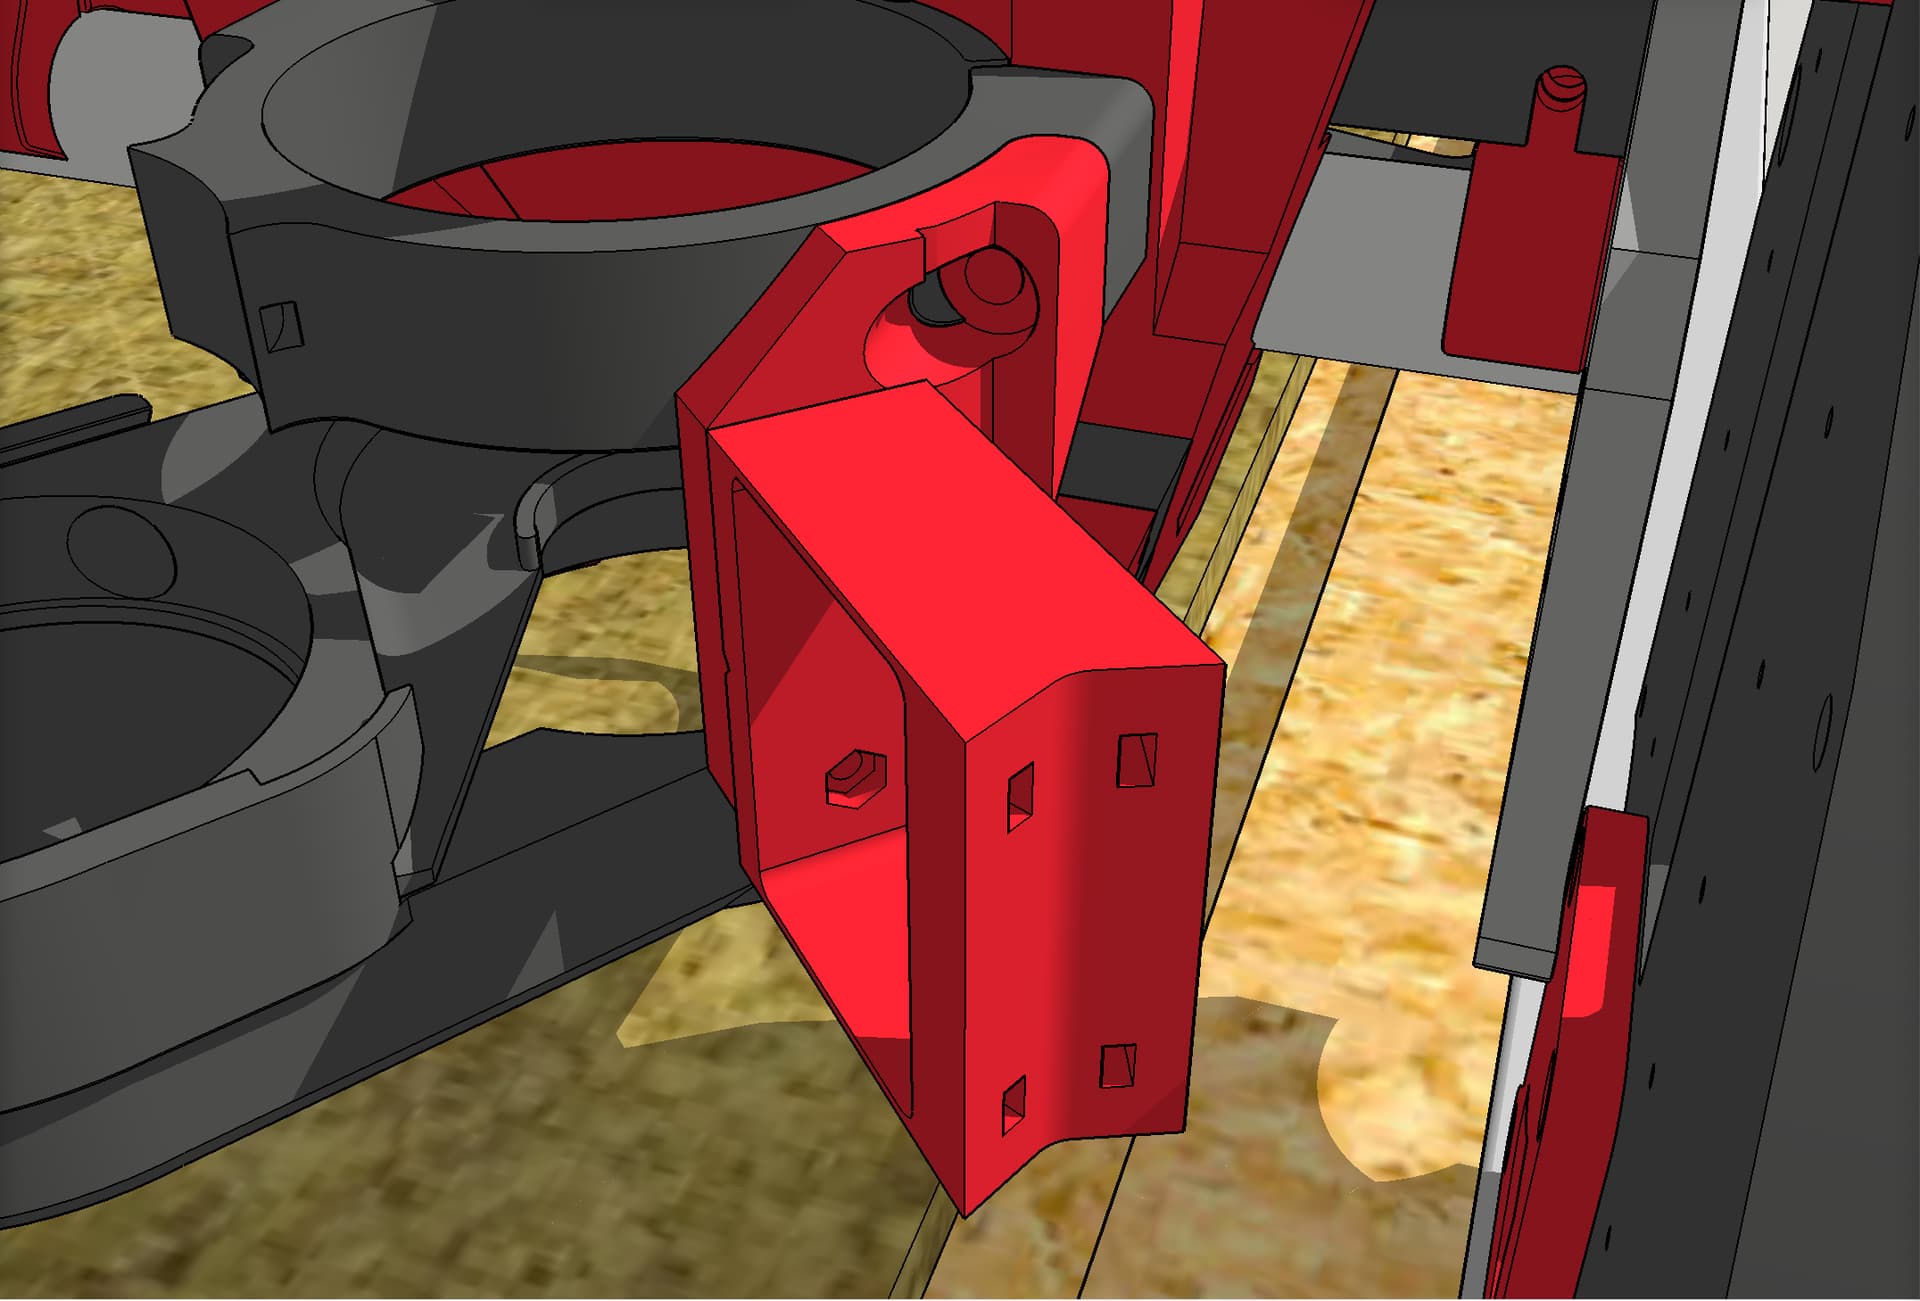
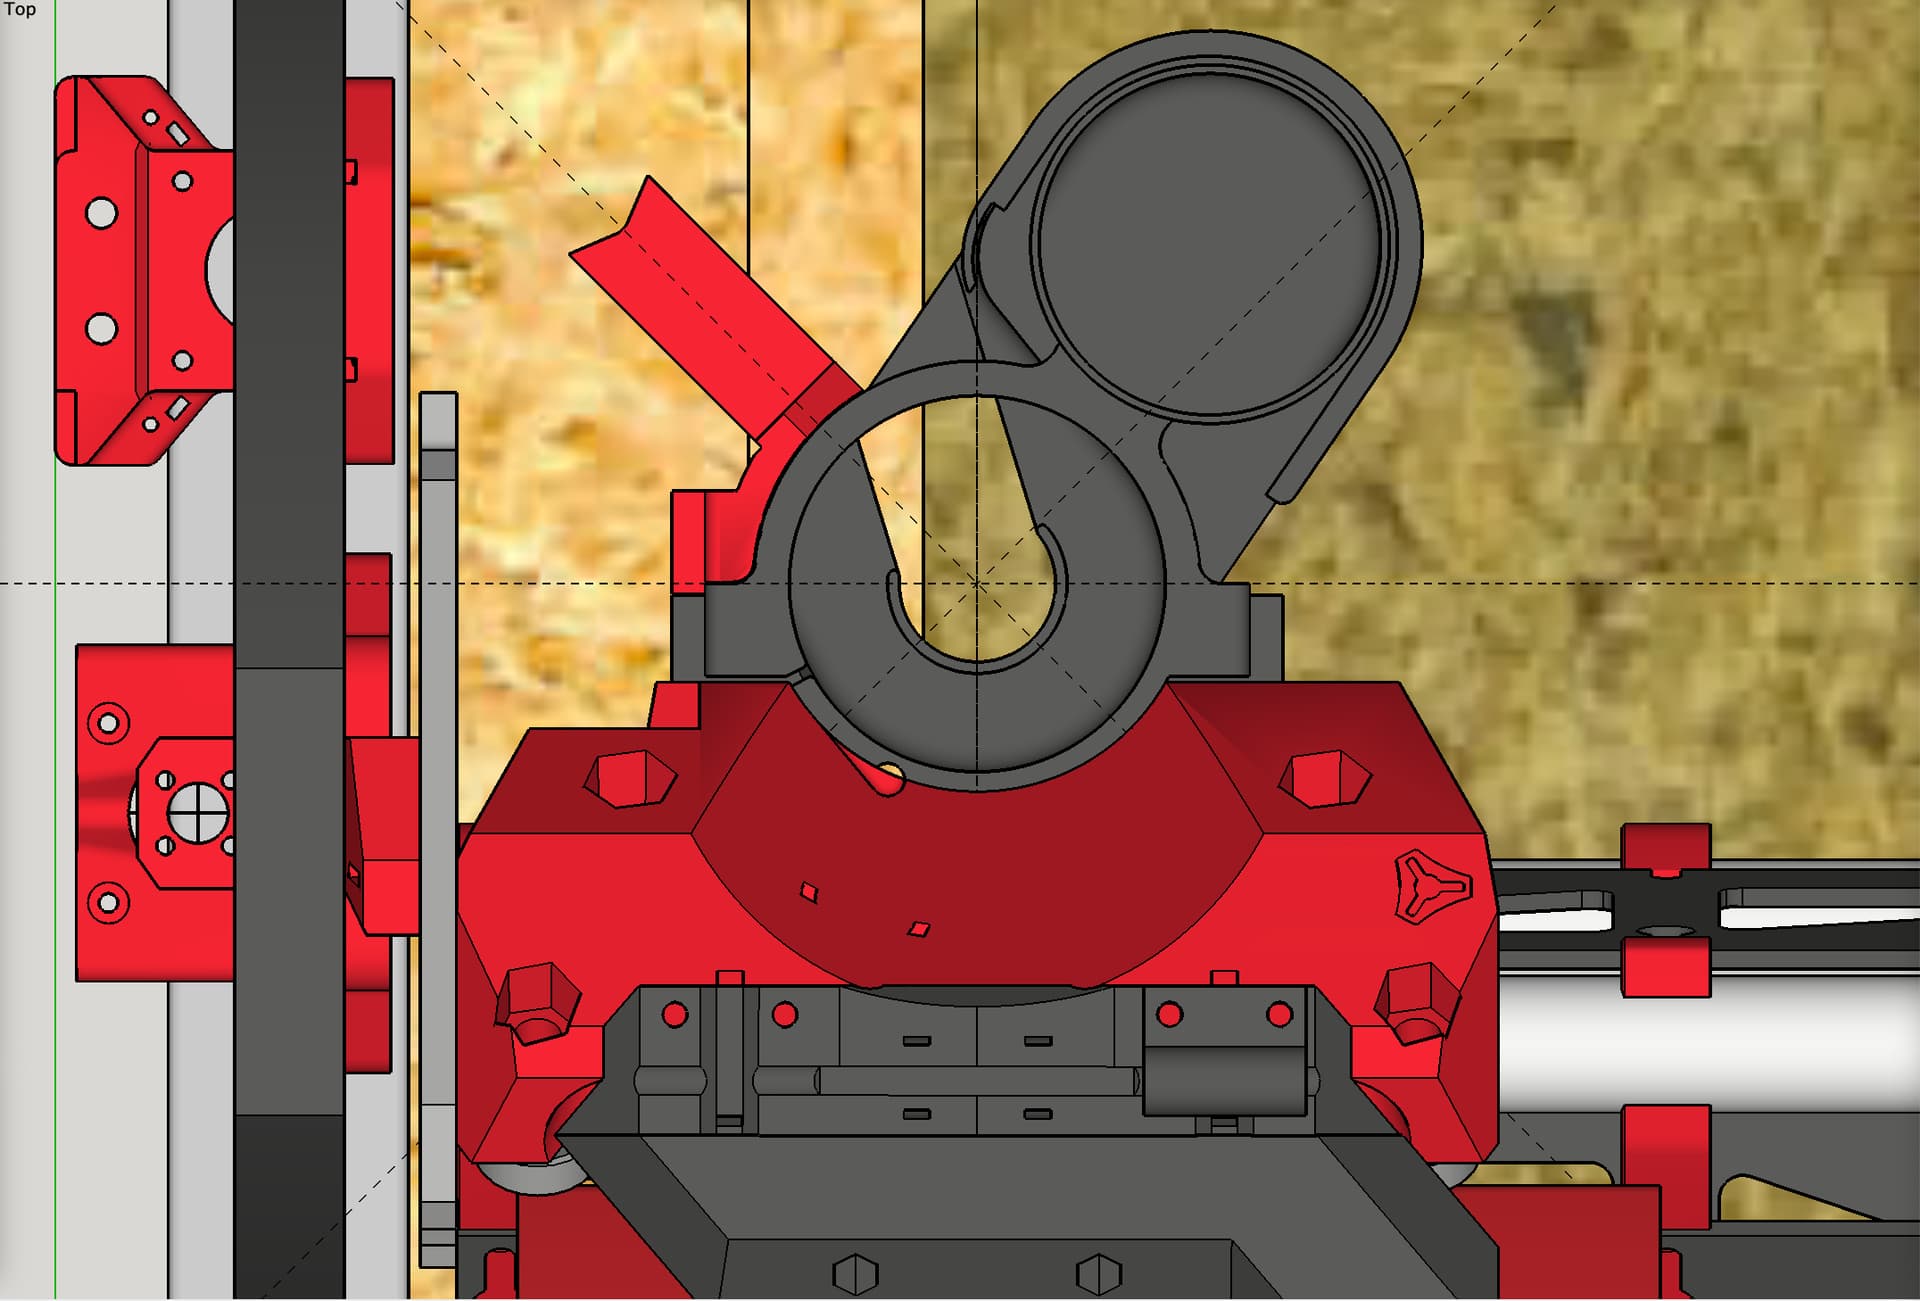
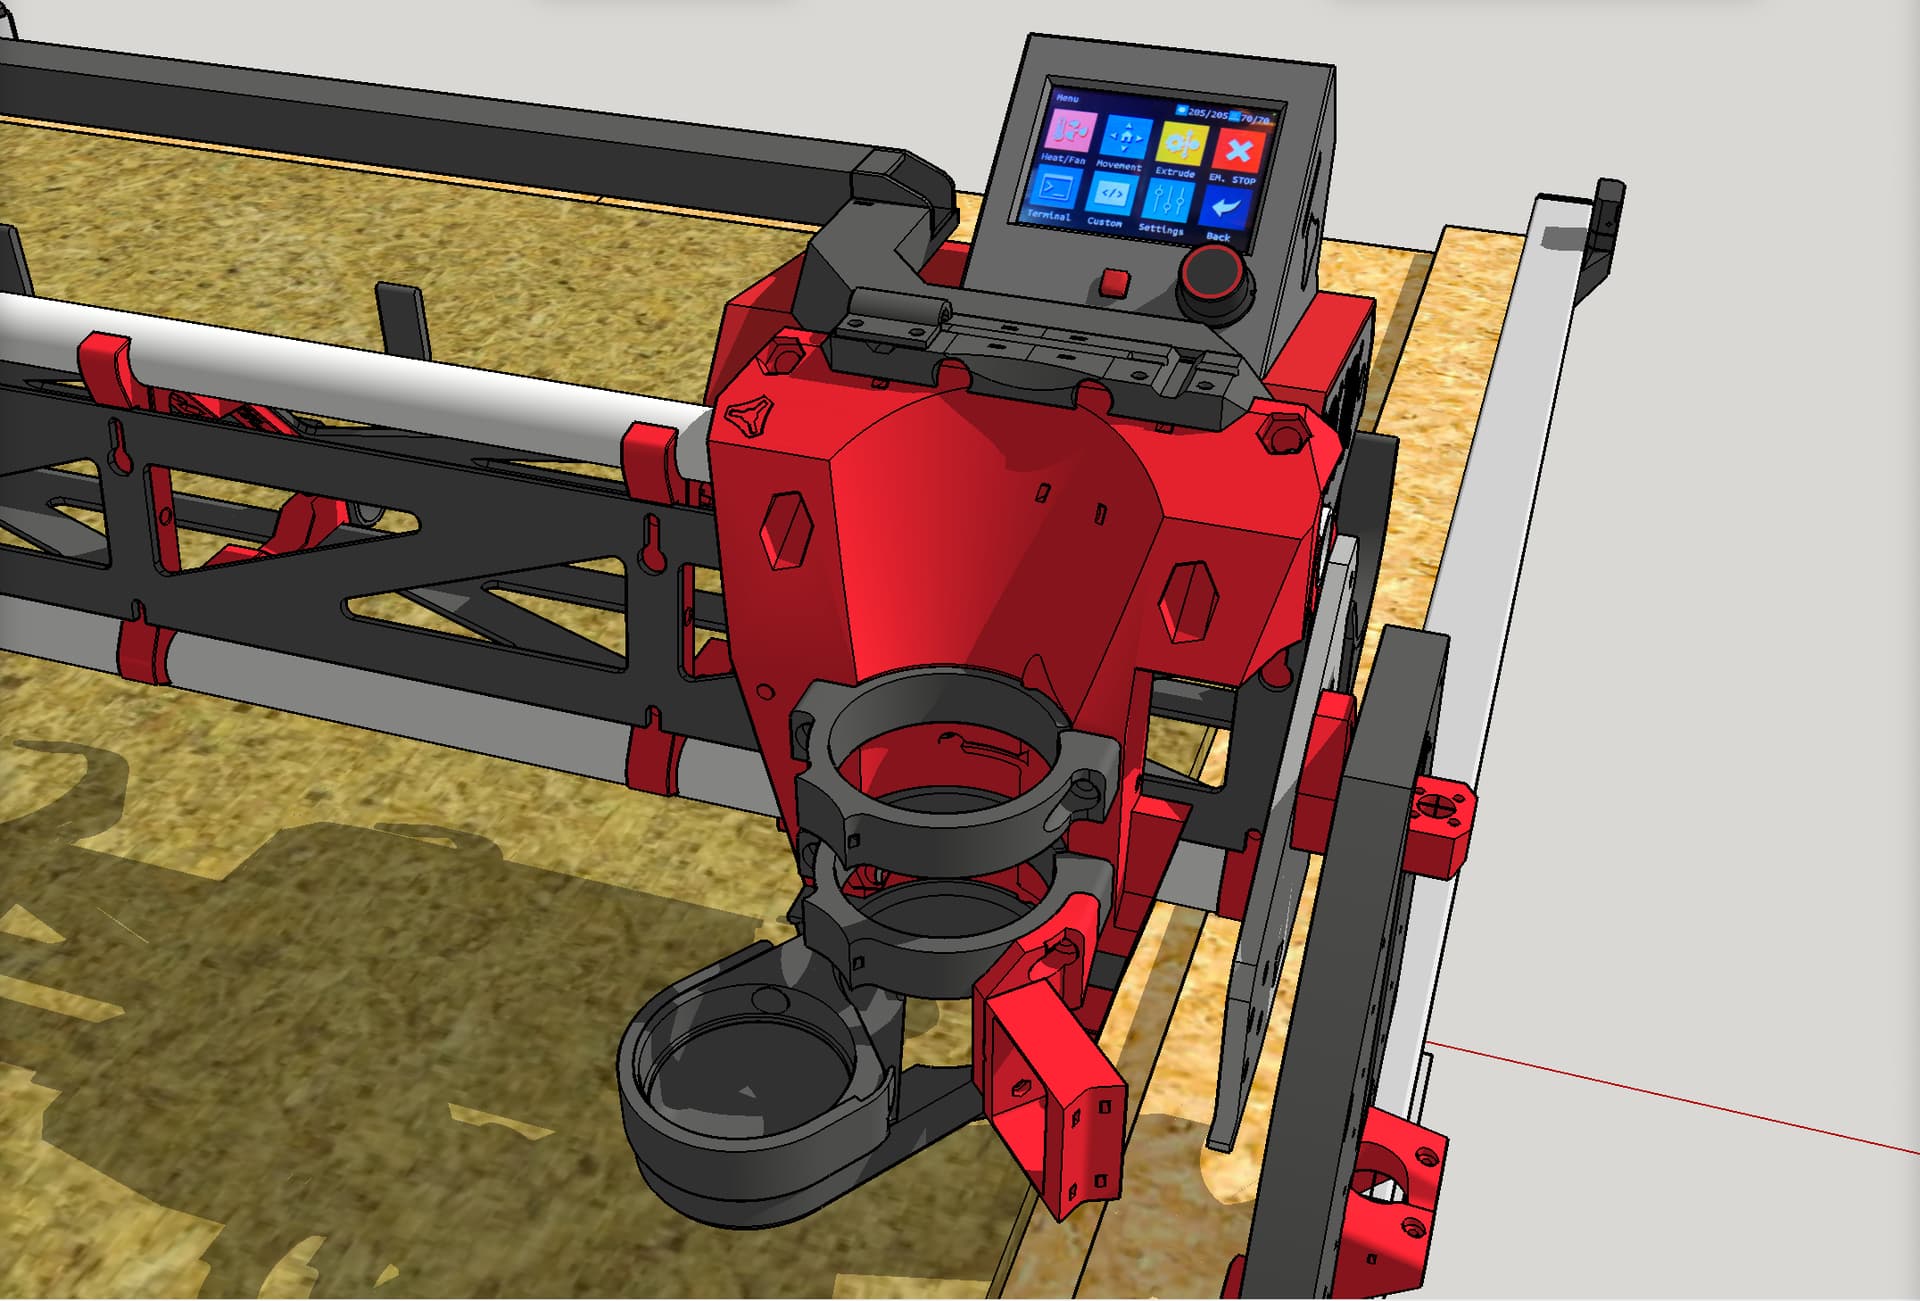
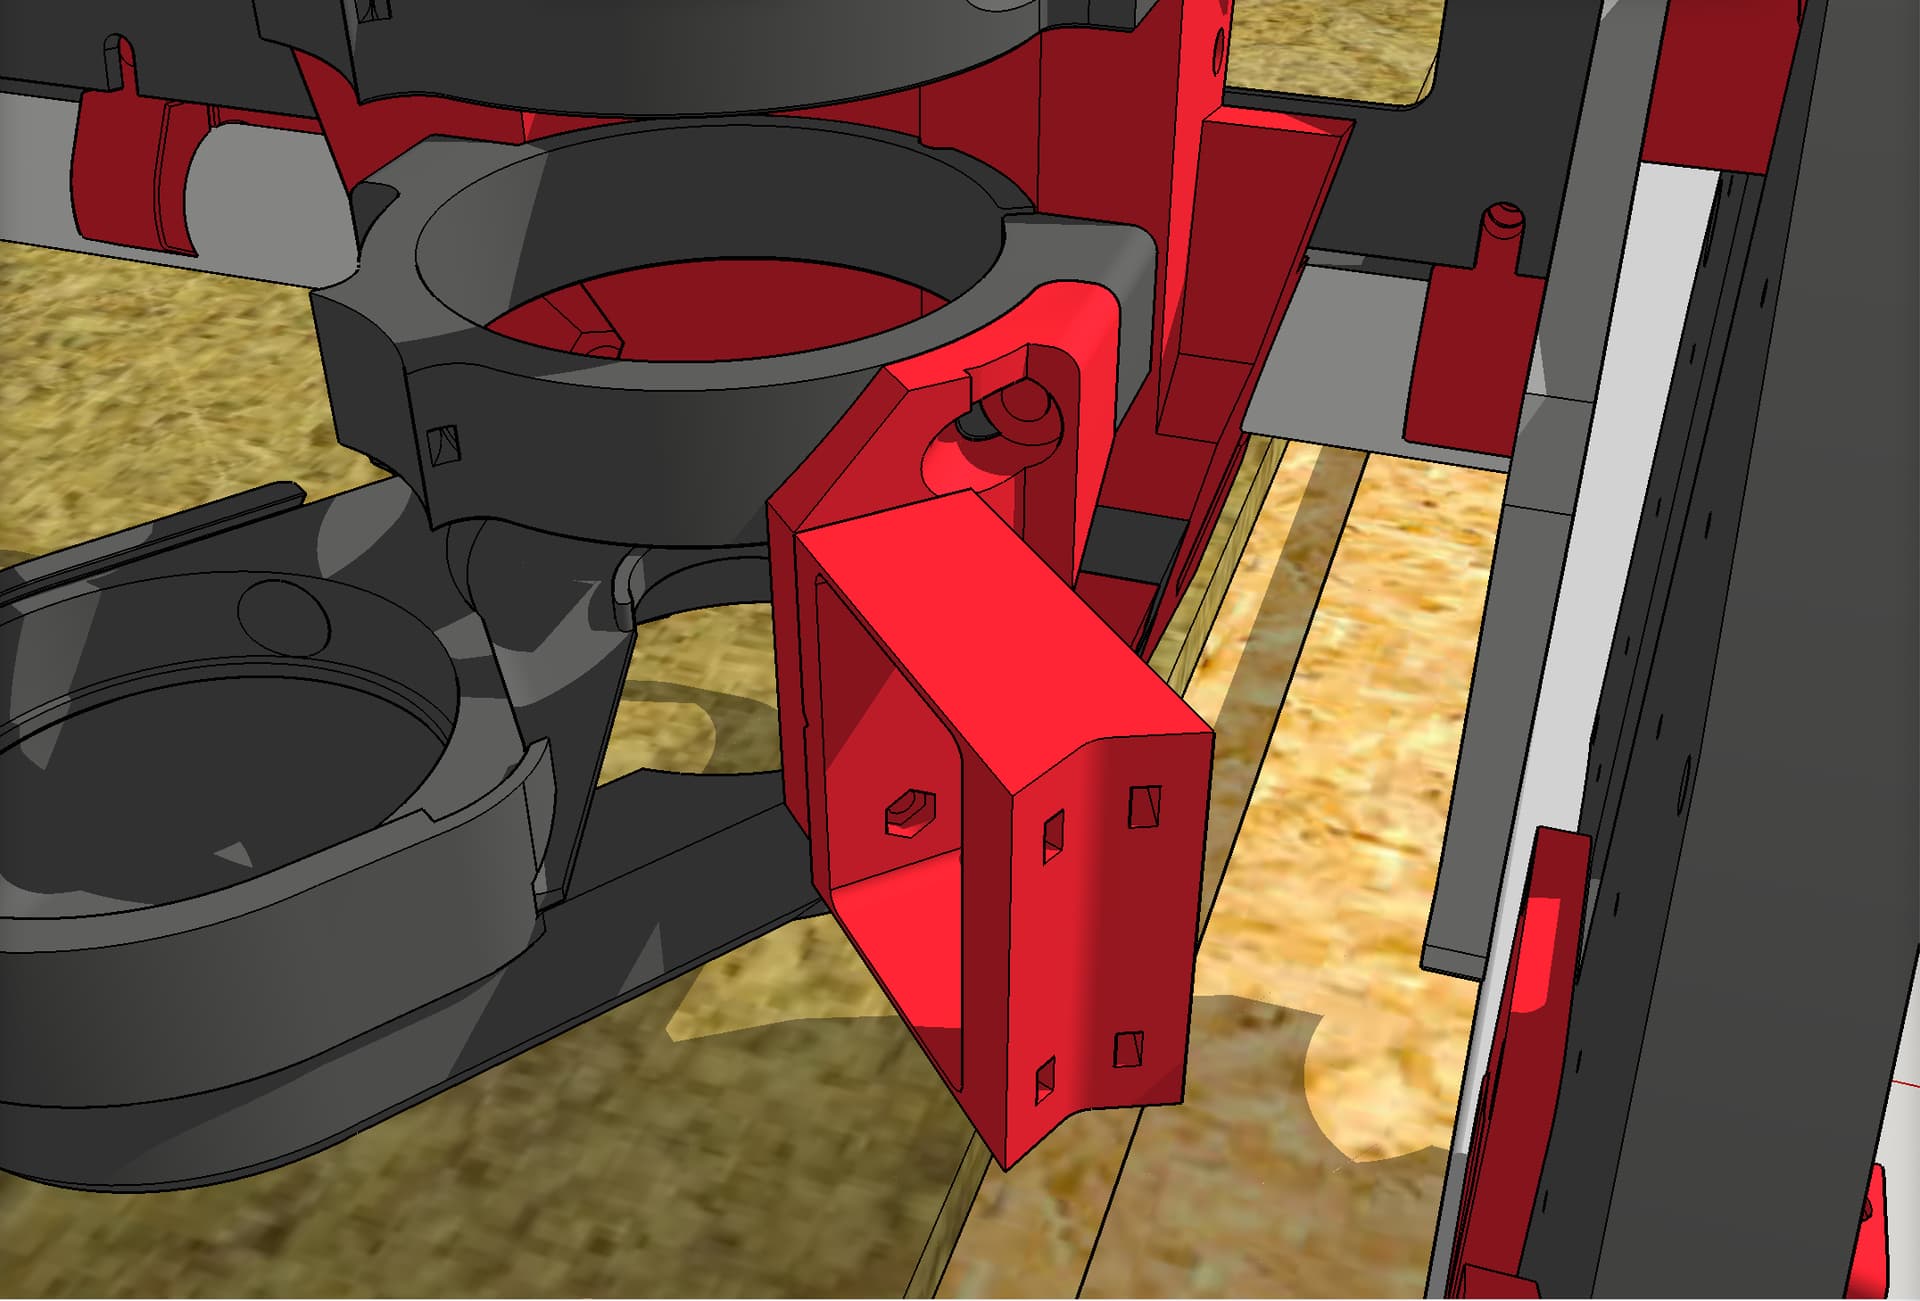
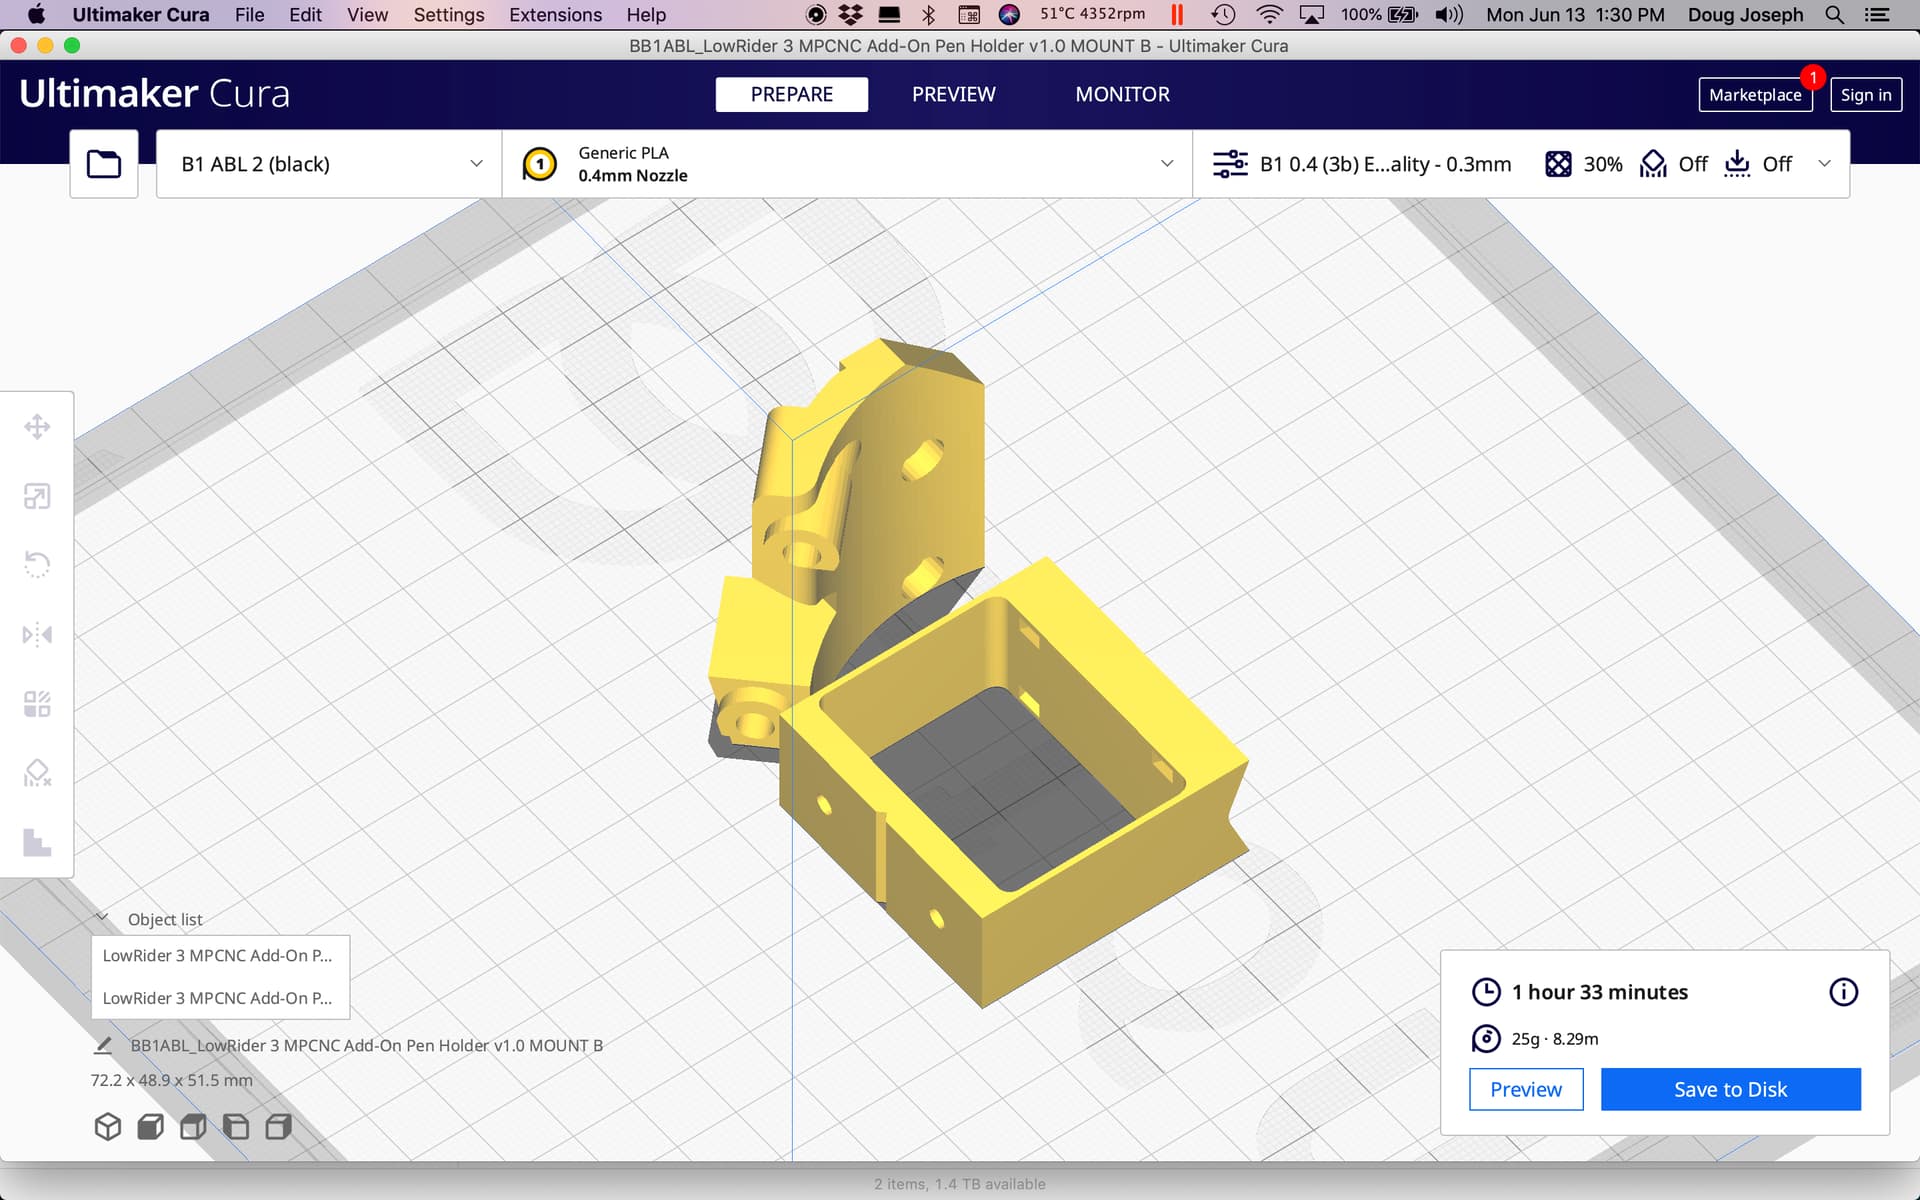
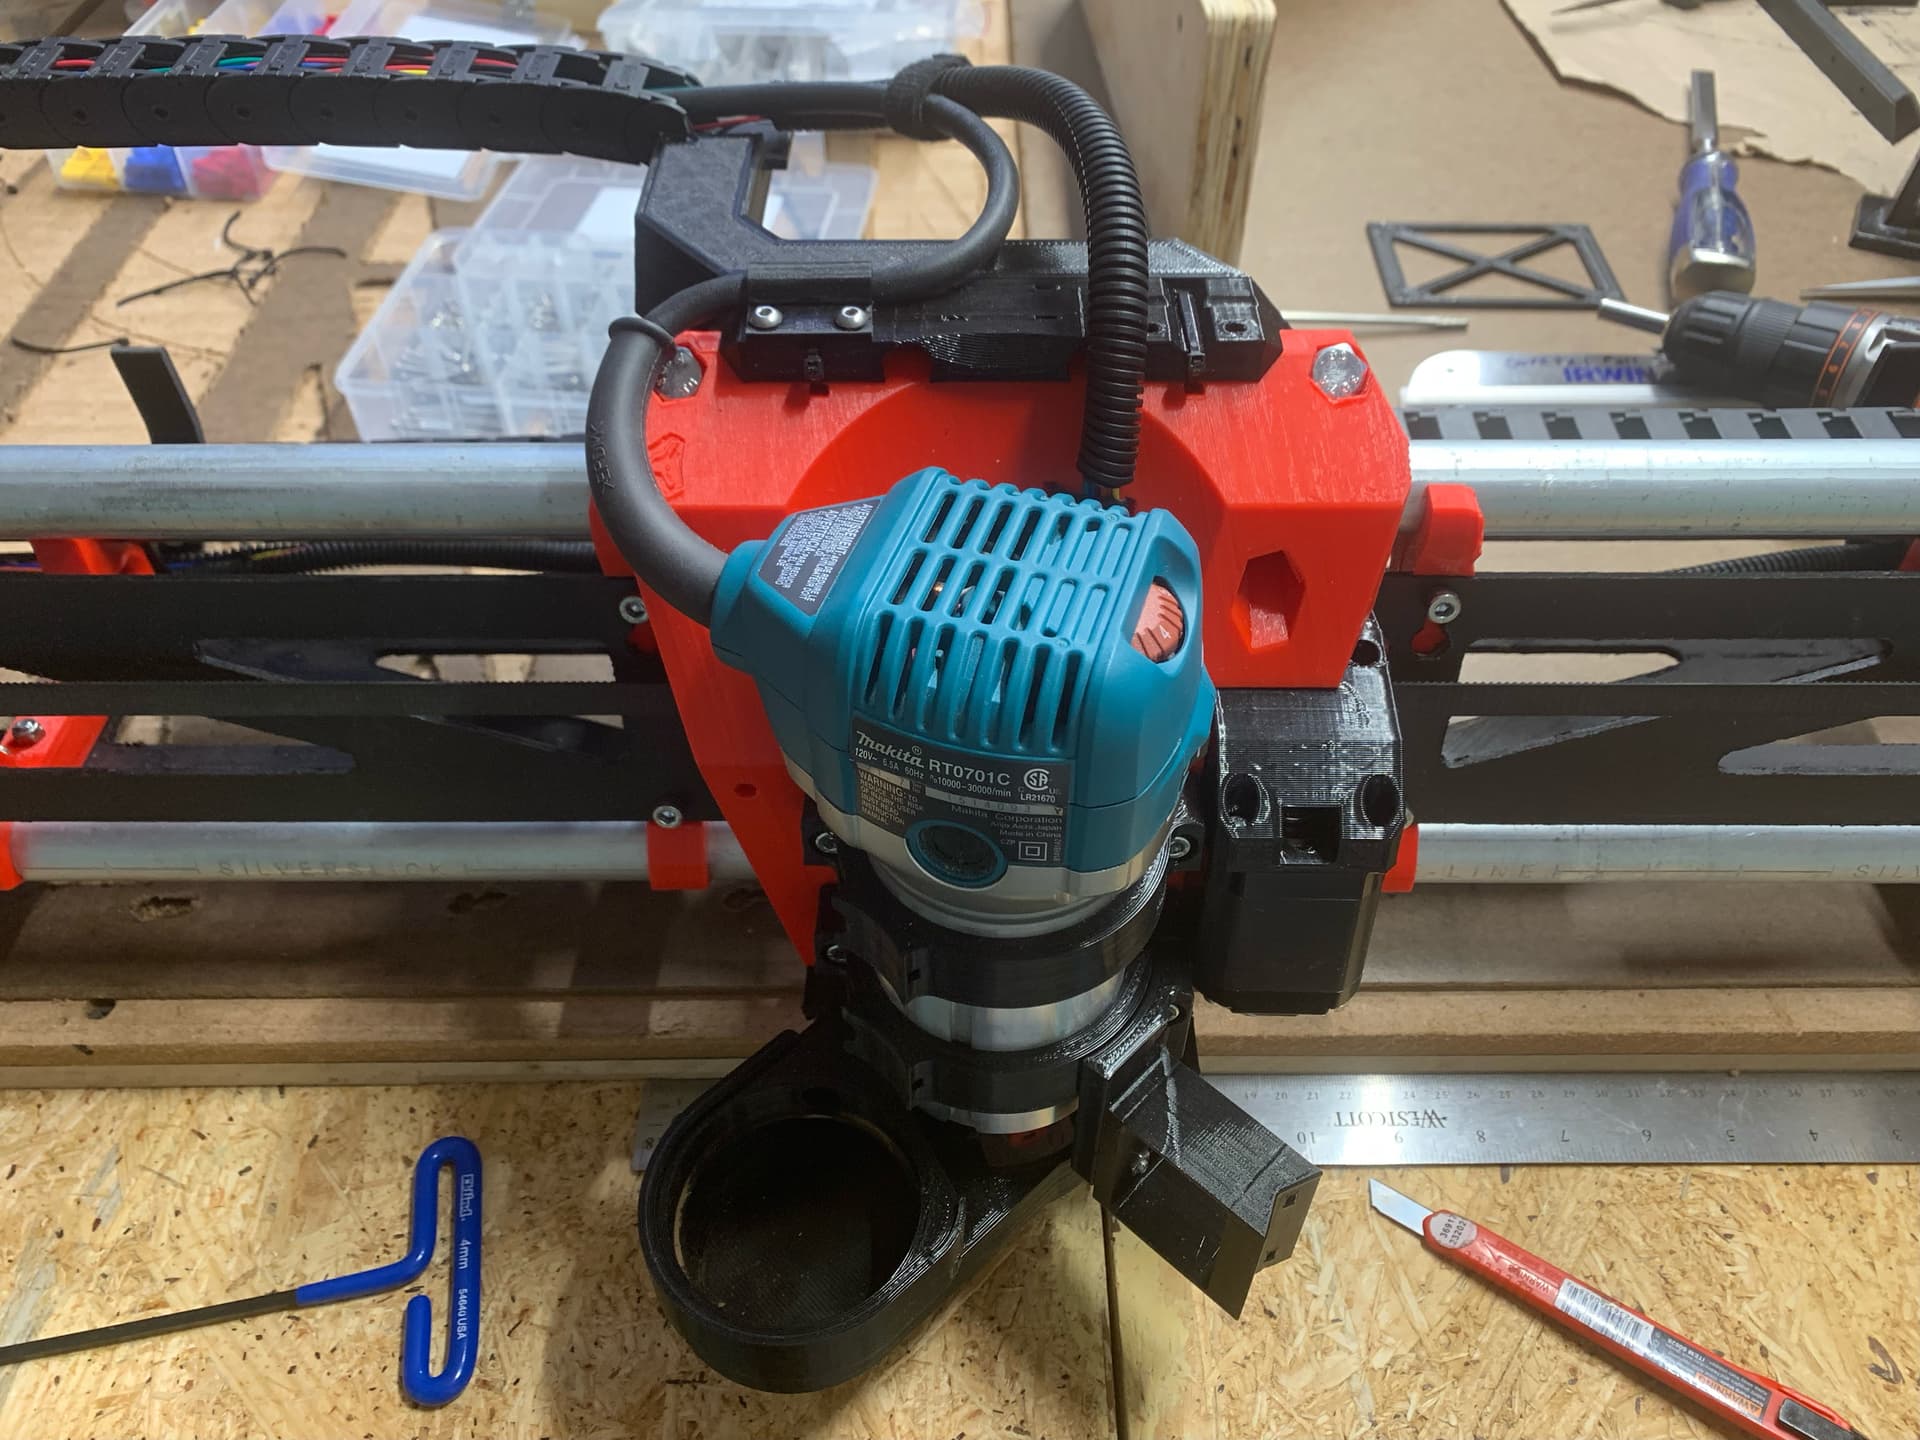
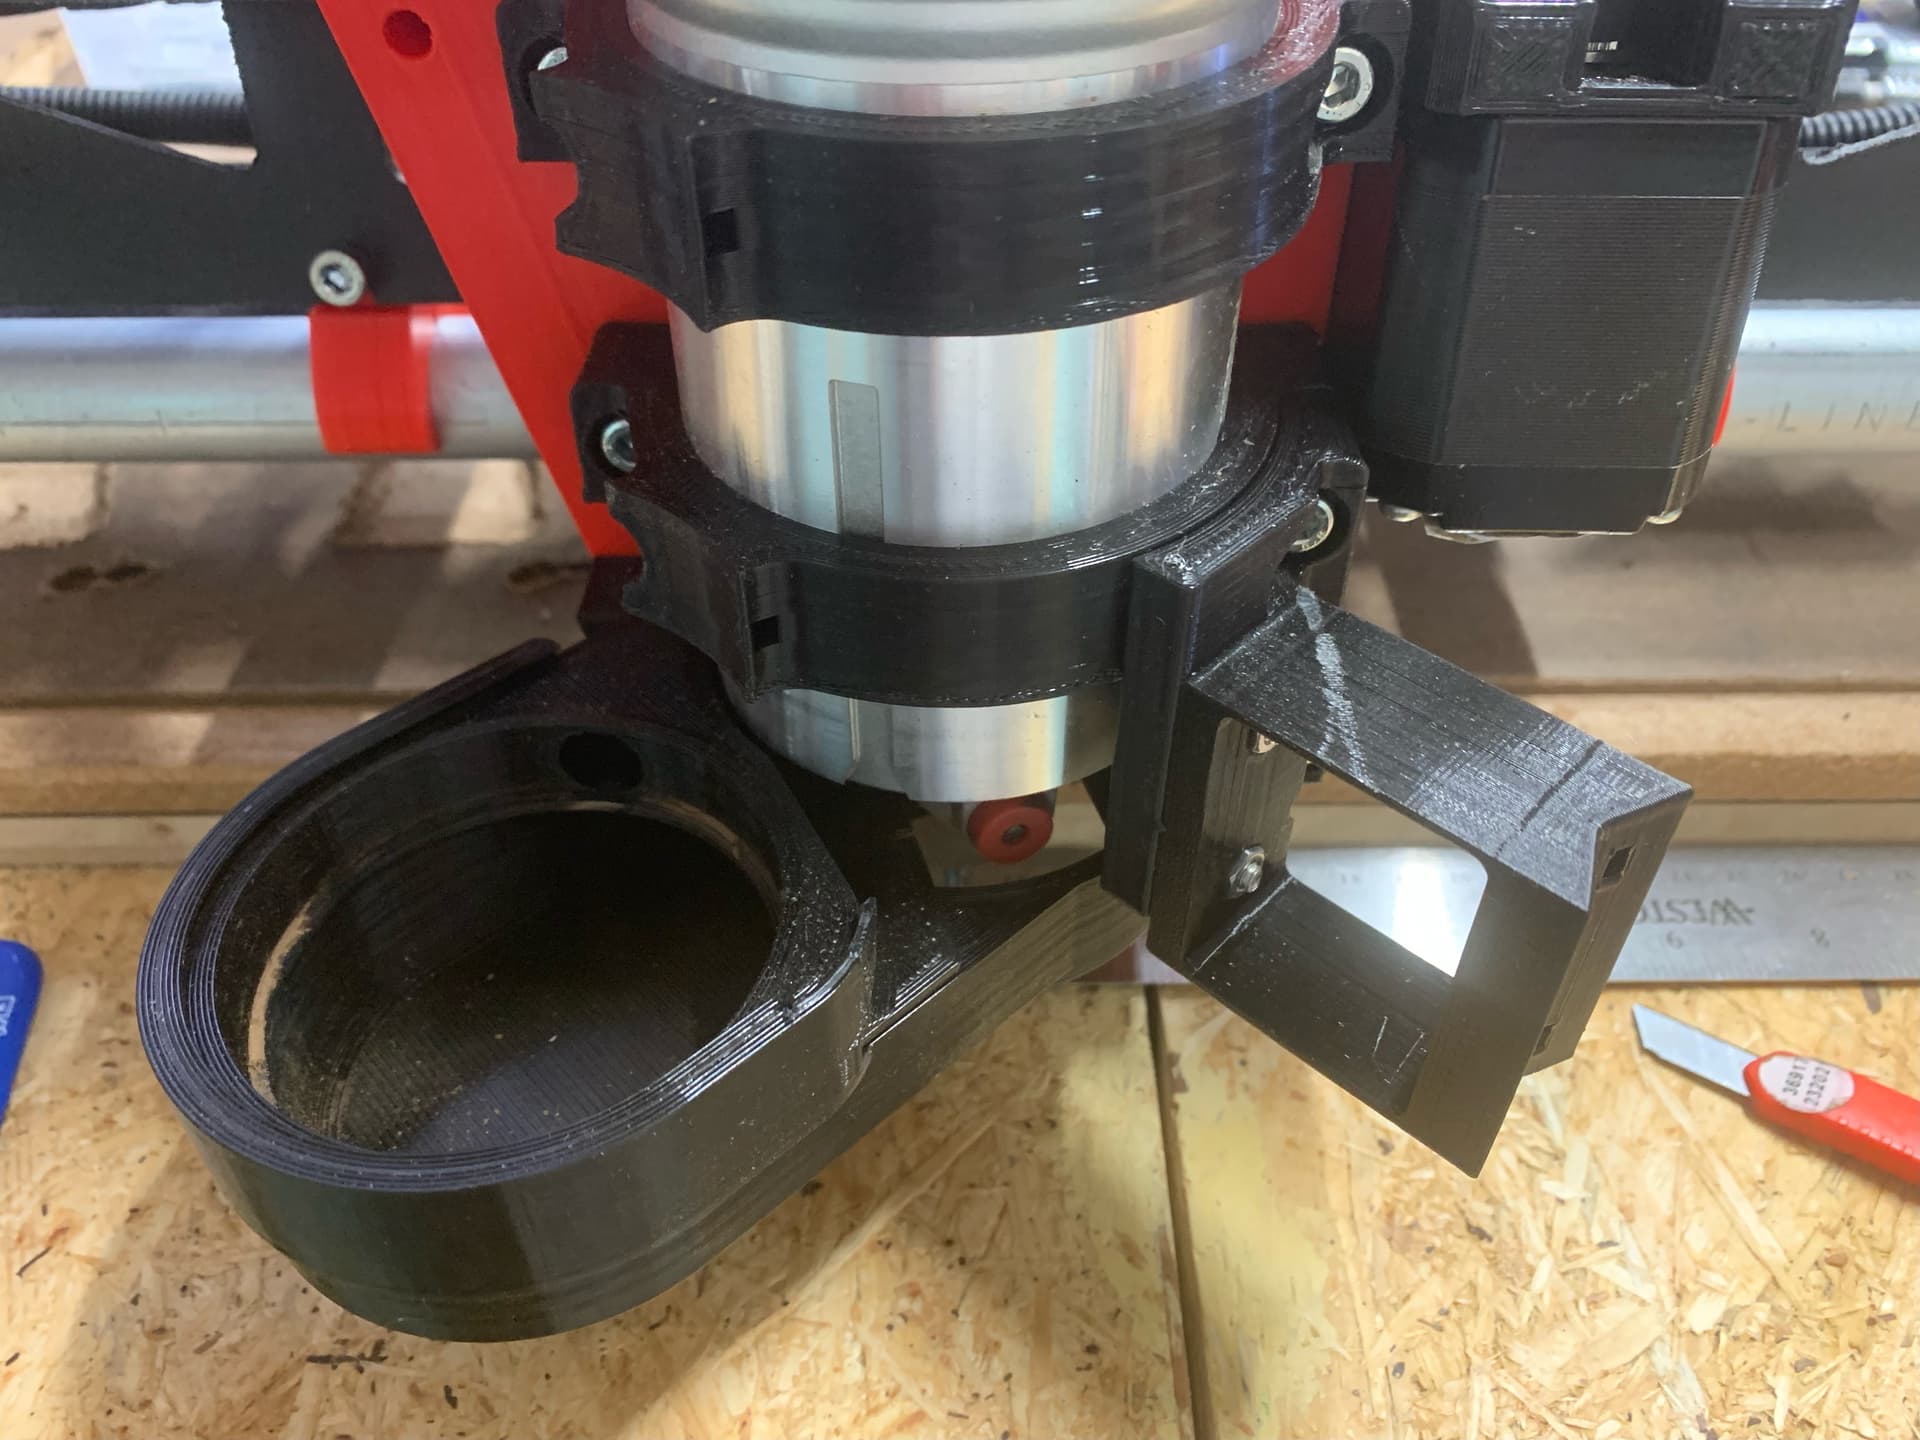
Just updating my build thread here. Got the pen holder / drag knife mount conceived, modeled, printed, installed, and posted for others in case they want to use it.

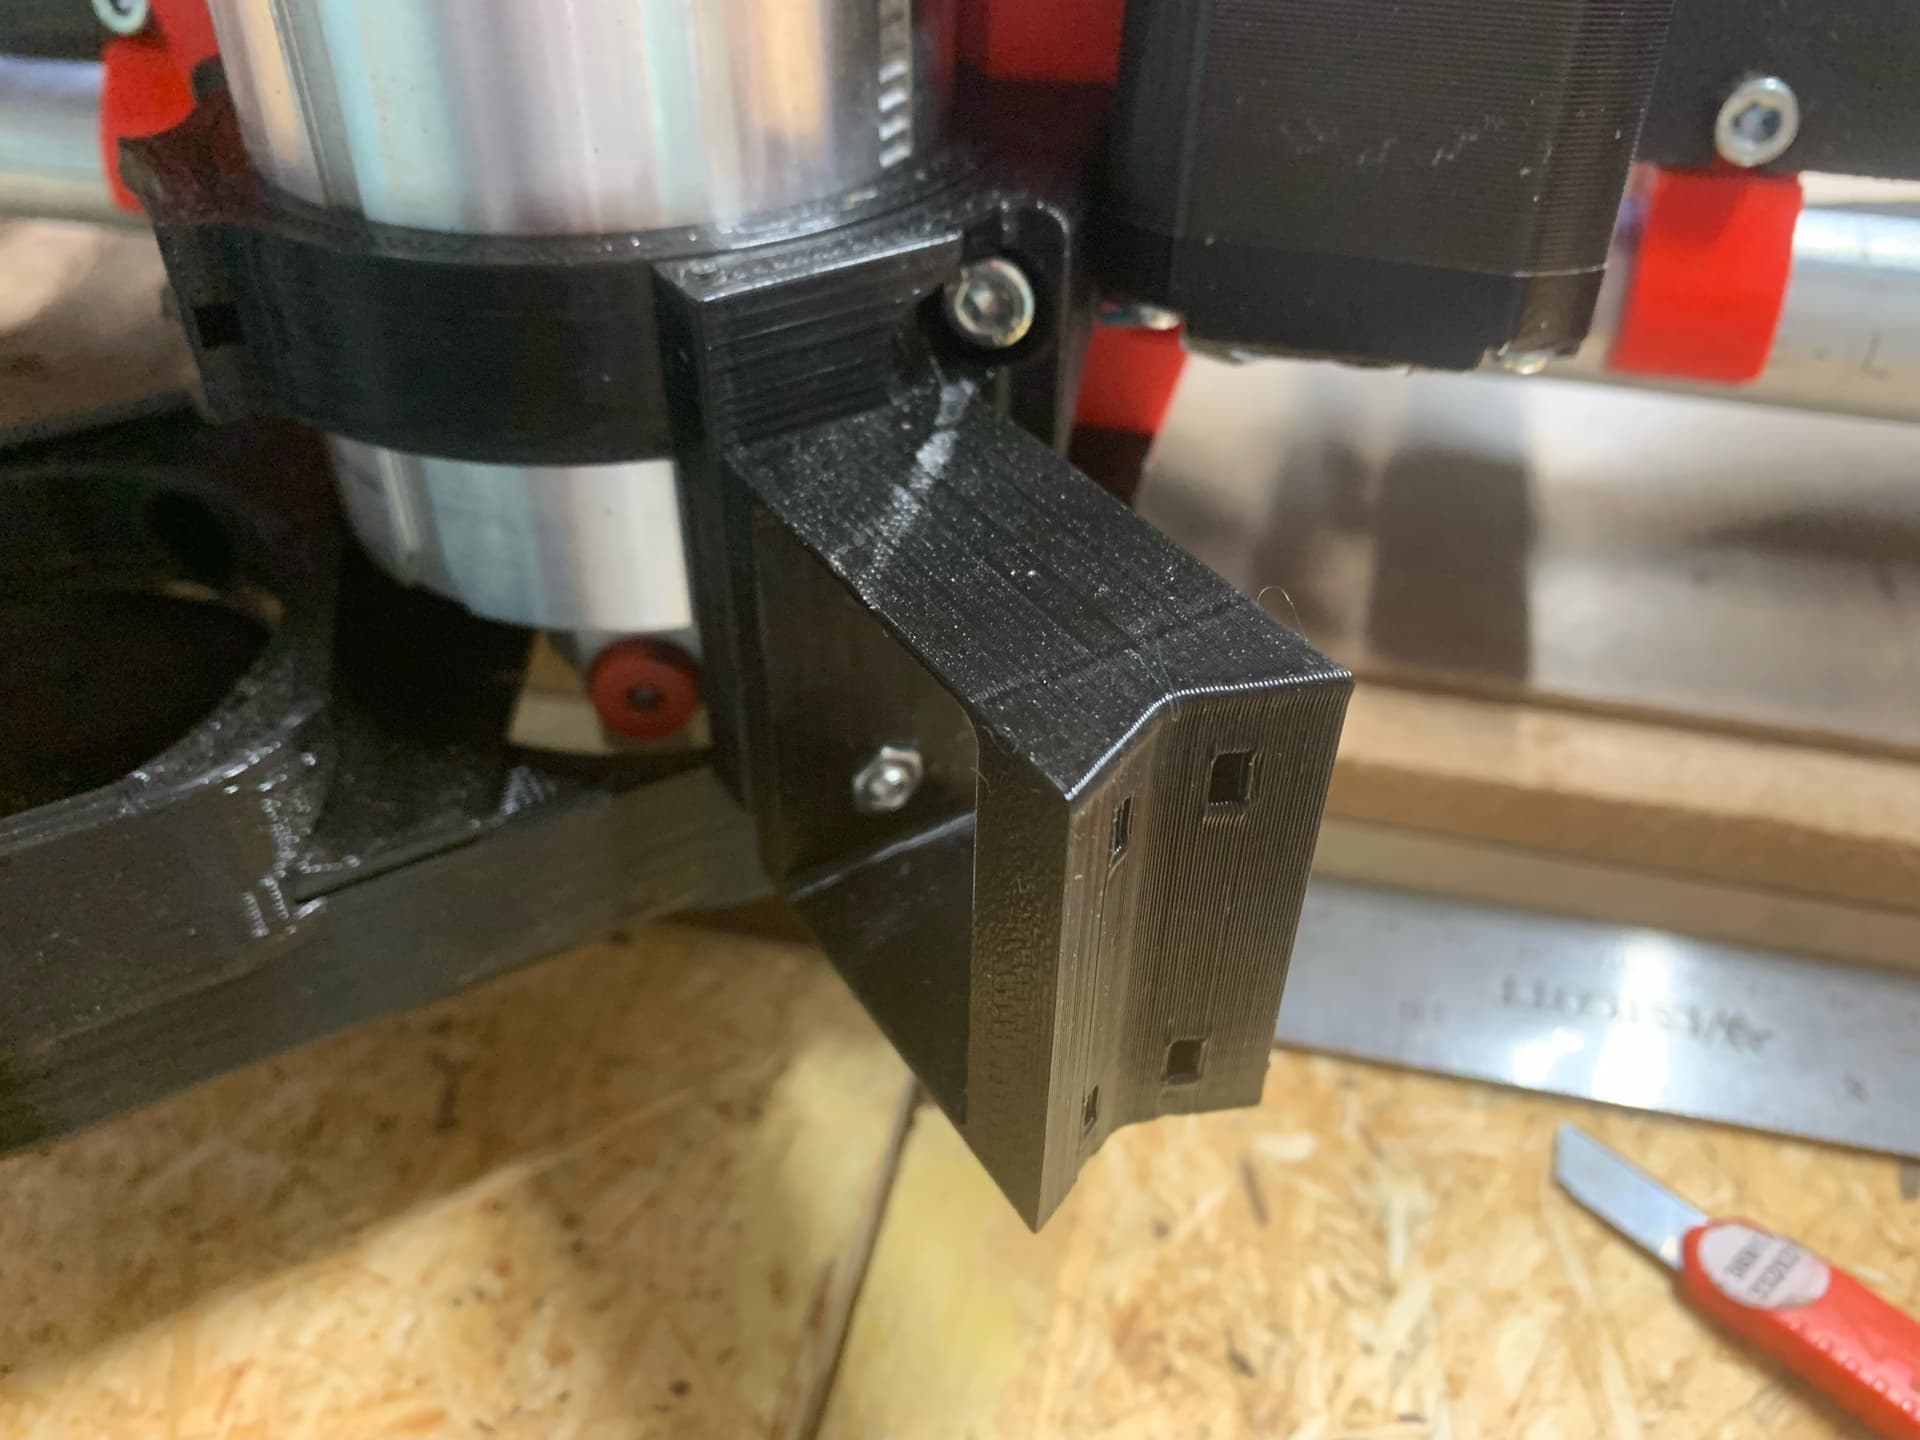
UPDATE July 3, 2022: in using the pen holder, I think its flex arm needs to be narrower. It takes a little too much force to flex it. Remix coming soon.

Details here:

Download here:
https://www.printables.com/model/225516-lowrider-3-cnc-add-on-pen-holder-drag-knife-holder

5 Likes

If I wait long enough (which I will) - all the little bits will not only be designed but tested too! Looks good Doug!

3 Likes

lol, yeah

im looking for a quick attach NEJE 40640 laser mount next…

3 Likes

Finally got around to measuring my LR3 for square, and across a 4’x8’ area I’m off by 6mm. I’m out now, but when I get back I will work to calculate how to offset to counteract this.

Also, I’m experiencing some deflection at the center area of the beam, and it’s pretty noticeable. I think I will switch to 1/4" struts out of plywood, and switch from 8 braces to 10, and switch from 3/4 (ID) EMT back to my 1" stainless steel tubes, which were on my LR2, and would need cut down to fit. Thoughts anyone?

The above 2 are what I used in my build and I don’t see much deflection. I used them because I already had them from the LR2 build and some spare plywood lying around. But that may not be the only solution. Will let others chime in.

I can’t imagine any deflection you have is anywhere even close to LR2 levels. This should be far far more rigid in comparison as designed. You should be trying to bend your strut plates on end, as in not gunna happen. The slow down we get with this one is twist, not really deflection.

1 Like

This worked with 1/2" emt at LR2 levels with super thin Strut plates. We went to 1/4" hardboard and 3/4" emt and everything was better.

2 Likes

If I used the wrong term please pardon me. The issue seems to be related to the beam twisting in the middle, allowing the router to change angle. I called it deflection for lack of a better word but it does seem to be based upon the beam twisting.

1 Like

Would love to have purchased 1/4” thick hardboard, but the only thing sold in our area was 1/8” thick hardboard. So the current bit of twisting I am seeing is happening with 1/8” thick hardboard.

At this time my plan is to redo my beam, partly because I want to extend it from 1425 mm to 1435 mm, and partly to try to eliminate this little bit of twisting that I am seeing. Since the 3/4” EMT has already been cut down to the 1425 mm length, in order to extend it I would either have to buy more EMT, or cut these stainless steel tubes down that were used for my LR2.

Is there a simple test cut one can try? Or what do I need to do observe/measure it? I can try it on my build and comment on the twisting part.

1 Like

I noticed the twisting while attempting to cut 1/8” hardboard at a depth of cut deep enough to cut through the whole thing in one pass. When I reduced my depth of cut to about only half of the thickness or 1/16”, the twisting reduced substantially but was still slightly noticeable. The twisting happens when the LowRider is pushing in the Y axis direction against a load as it’s trying to cut.

Got it. What should be the position on the X-axis - center of the beam or the corners?

You mean without the strut plates on? It is absolutely going to twist more without them. Still the twist is the limiting factor here, it should be better than a LR2 with SS tubes as you have it built. 1/8" hardboard with strut plates on should be no issue whatsoever. We were doing full depth test cuts in 1/2" MDF at crazy speeds.

1 Like

That was cutting 1/8" hardboard full depth, 1800 mm/min with 1/2" EMT and only the temporary struts. (Also a super long bit so lots of twisting force on the gantry.) I cut all three struts side by side that way with very little distortion. (Full disclosure, because my spoilboard wasn’t level, I had to cut that last strut again, about 1mm lower.)

1 Like

Yes with 1/8” strut plates on I’m getting a little bit of twist.