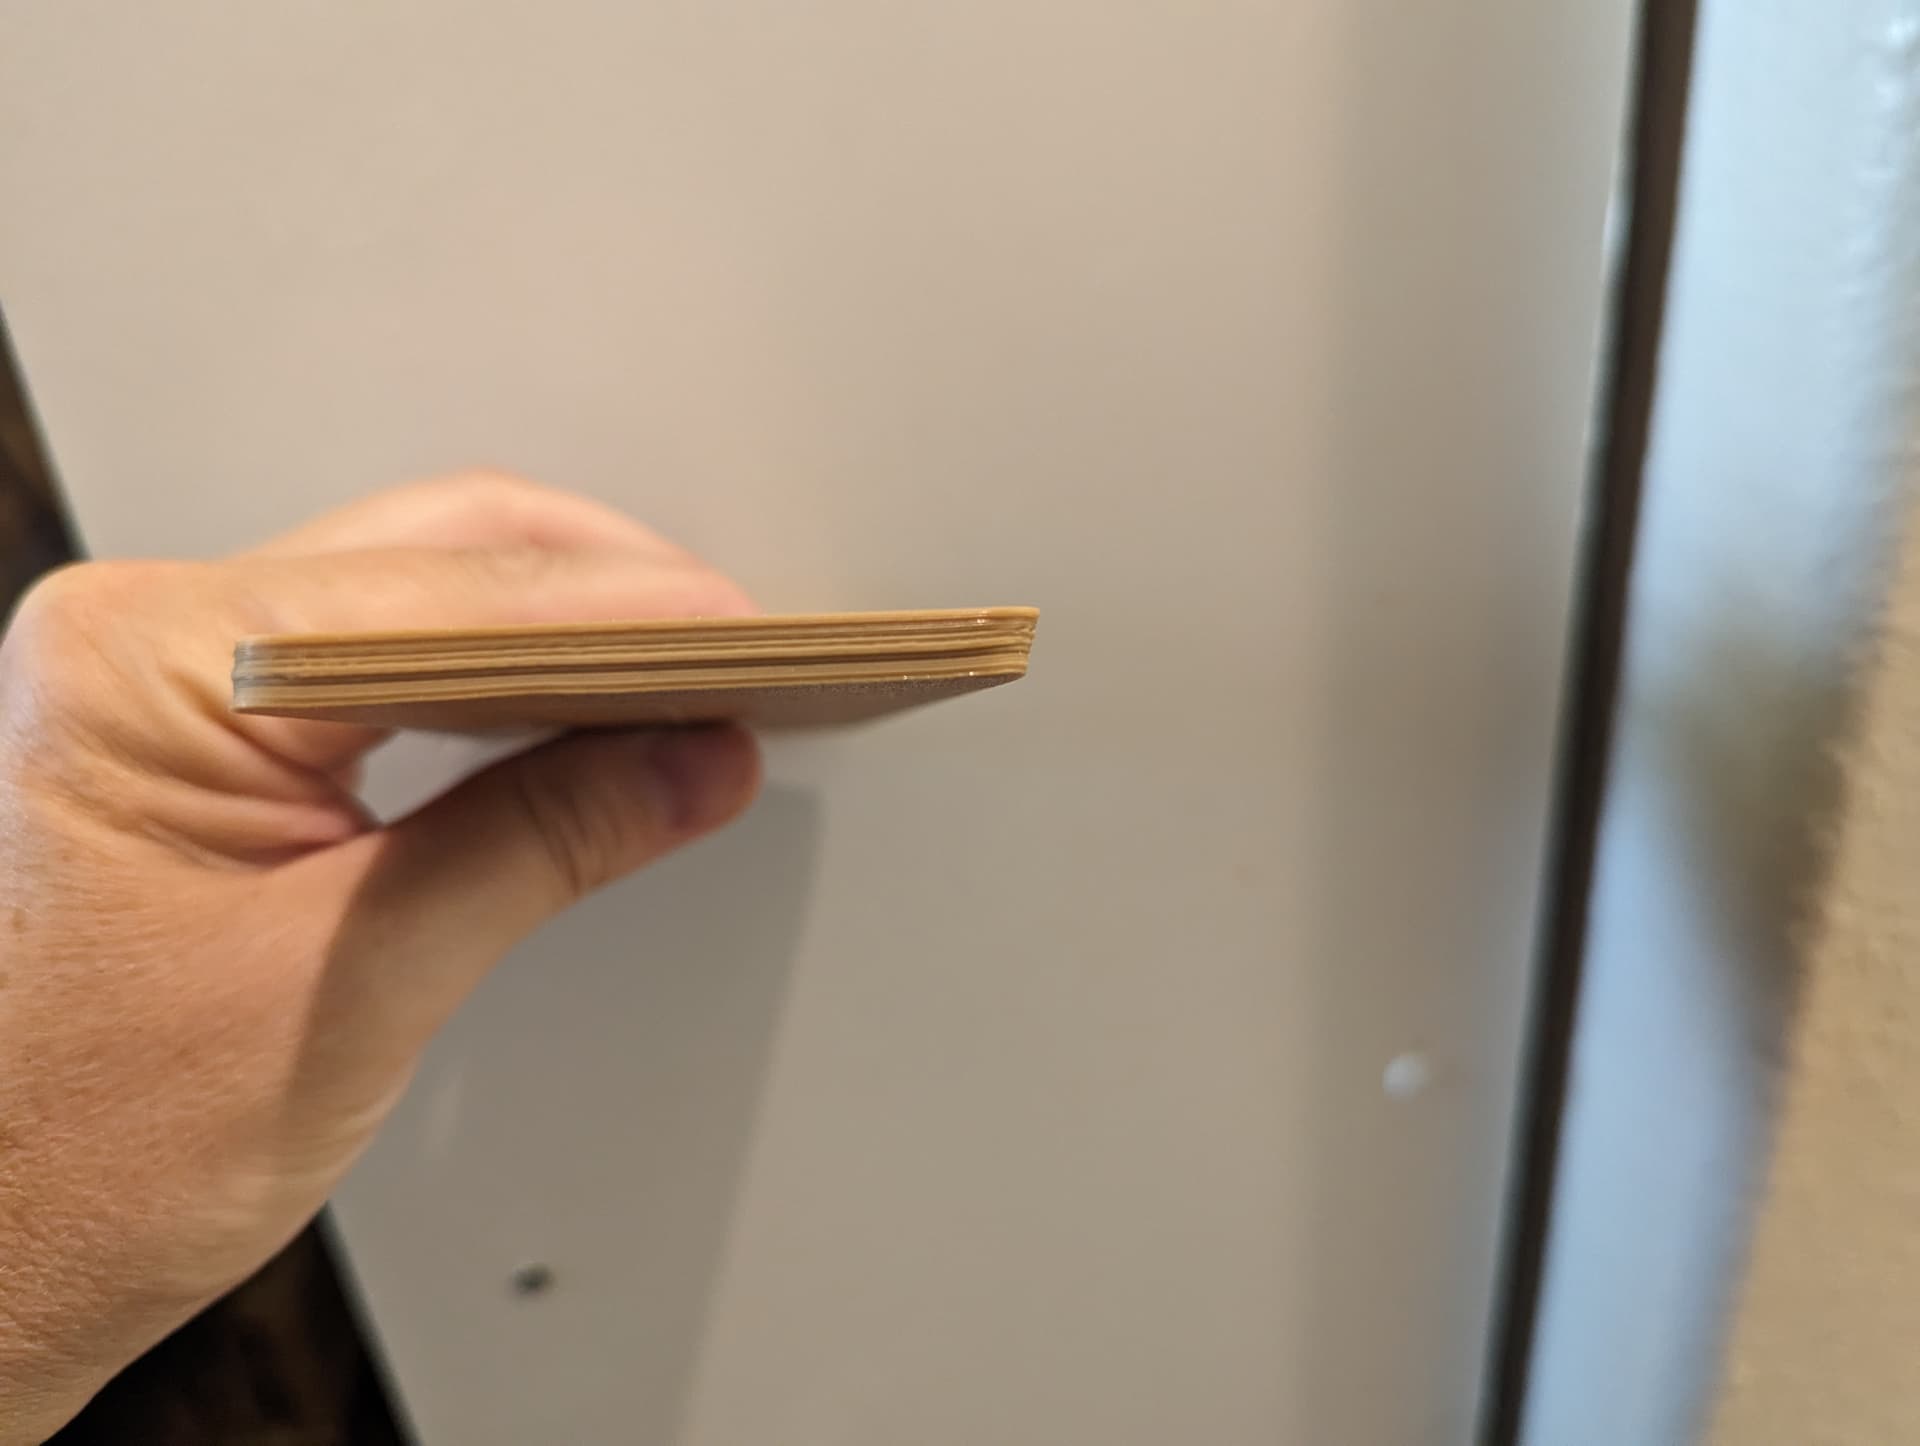
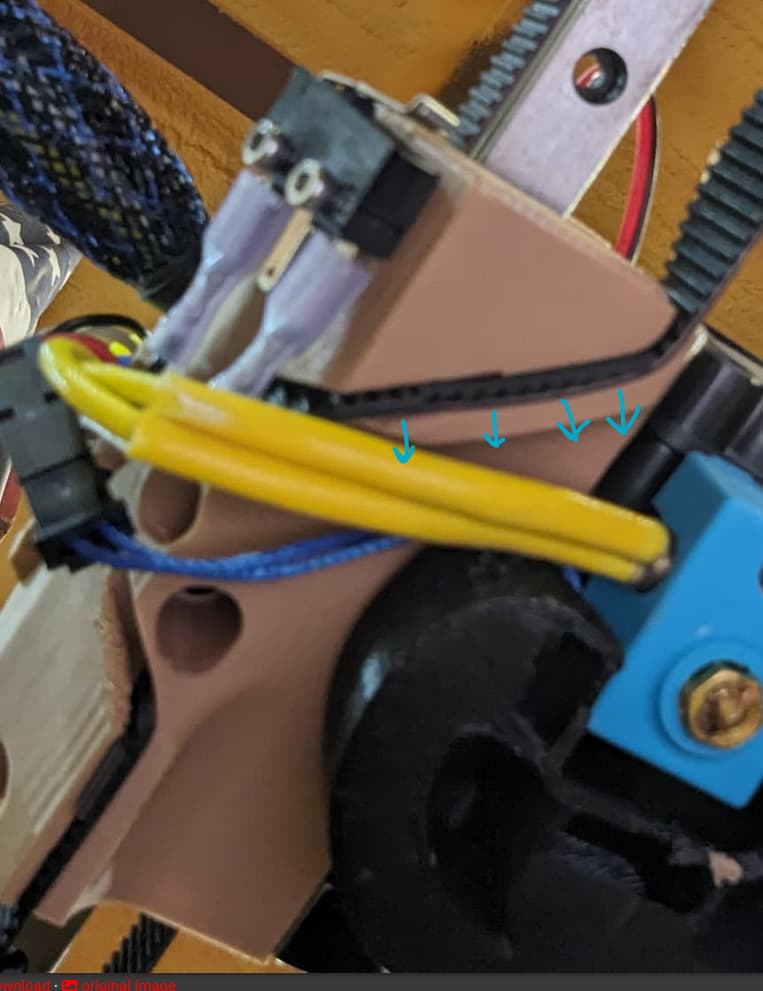
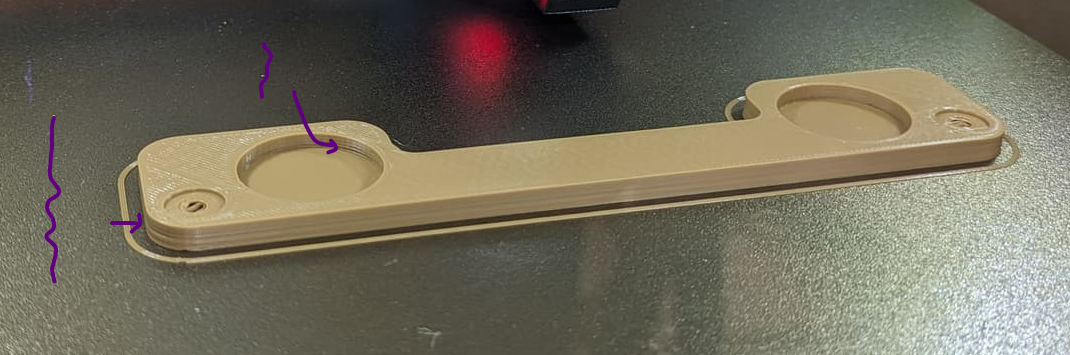
Not referring to the slope built in to the core…
I’m talking about the prints I printed after replacing the core. I printed a bunch of bead holders for my wife that were about 8mm high. There was a noticeable ‘slope’ to the print.
Not referring to the slope built in to the core…
I’m talking about the prints I printed after replacing the core. I printed a bunch of bead holders for my wife that were about 8mm high. There was a noticeable ‘slope’ to the print.
Oh that is a rough print.
Hopefully the belts are just so tight the steppers are having a hard time rotating.
I’ve run a few more prints. It’s cleaning up.
Sort of. This last one did not go well. Walked out there and the one belt was loose.
I’m thinking I’m starting off too tight and the extra stress is causing it to go loose.
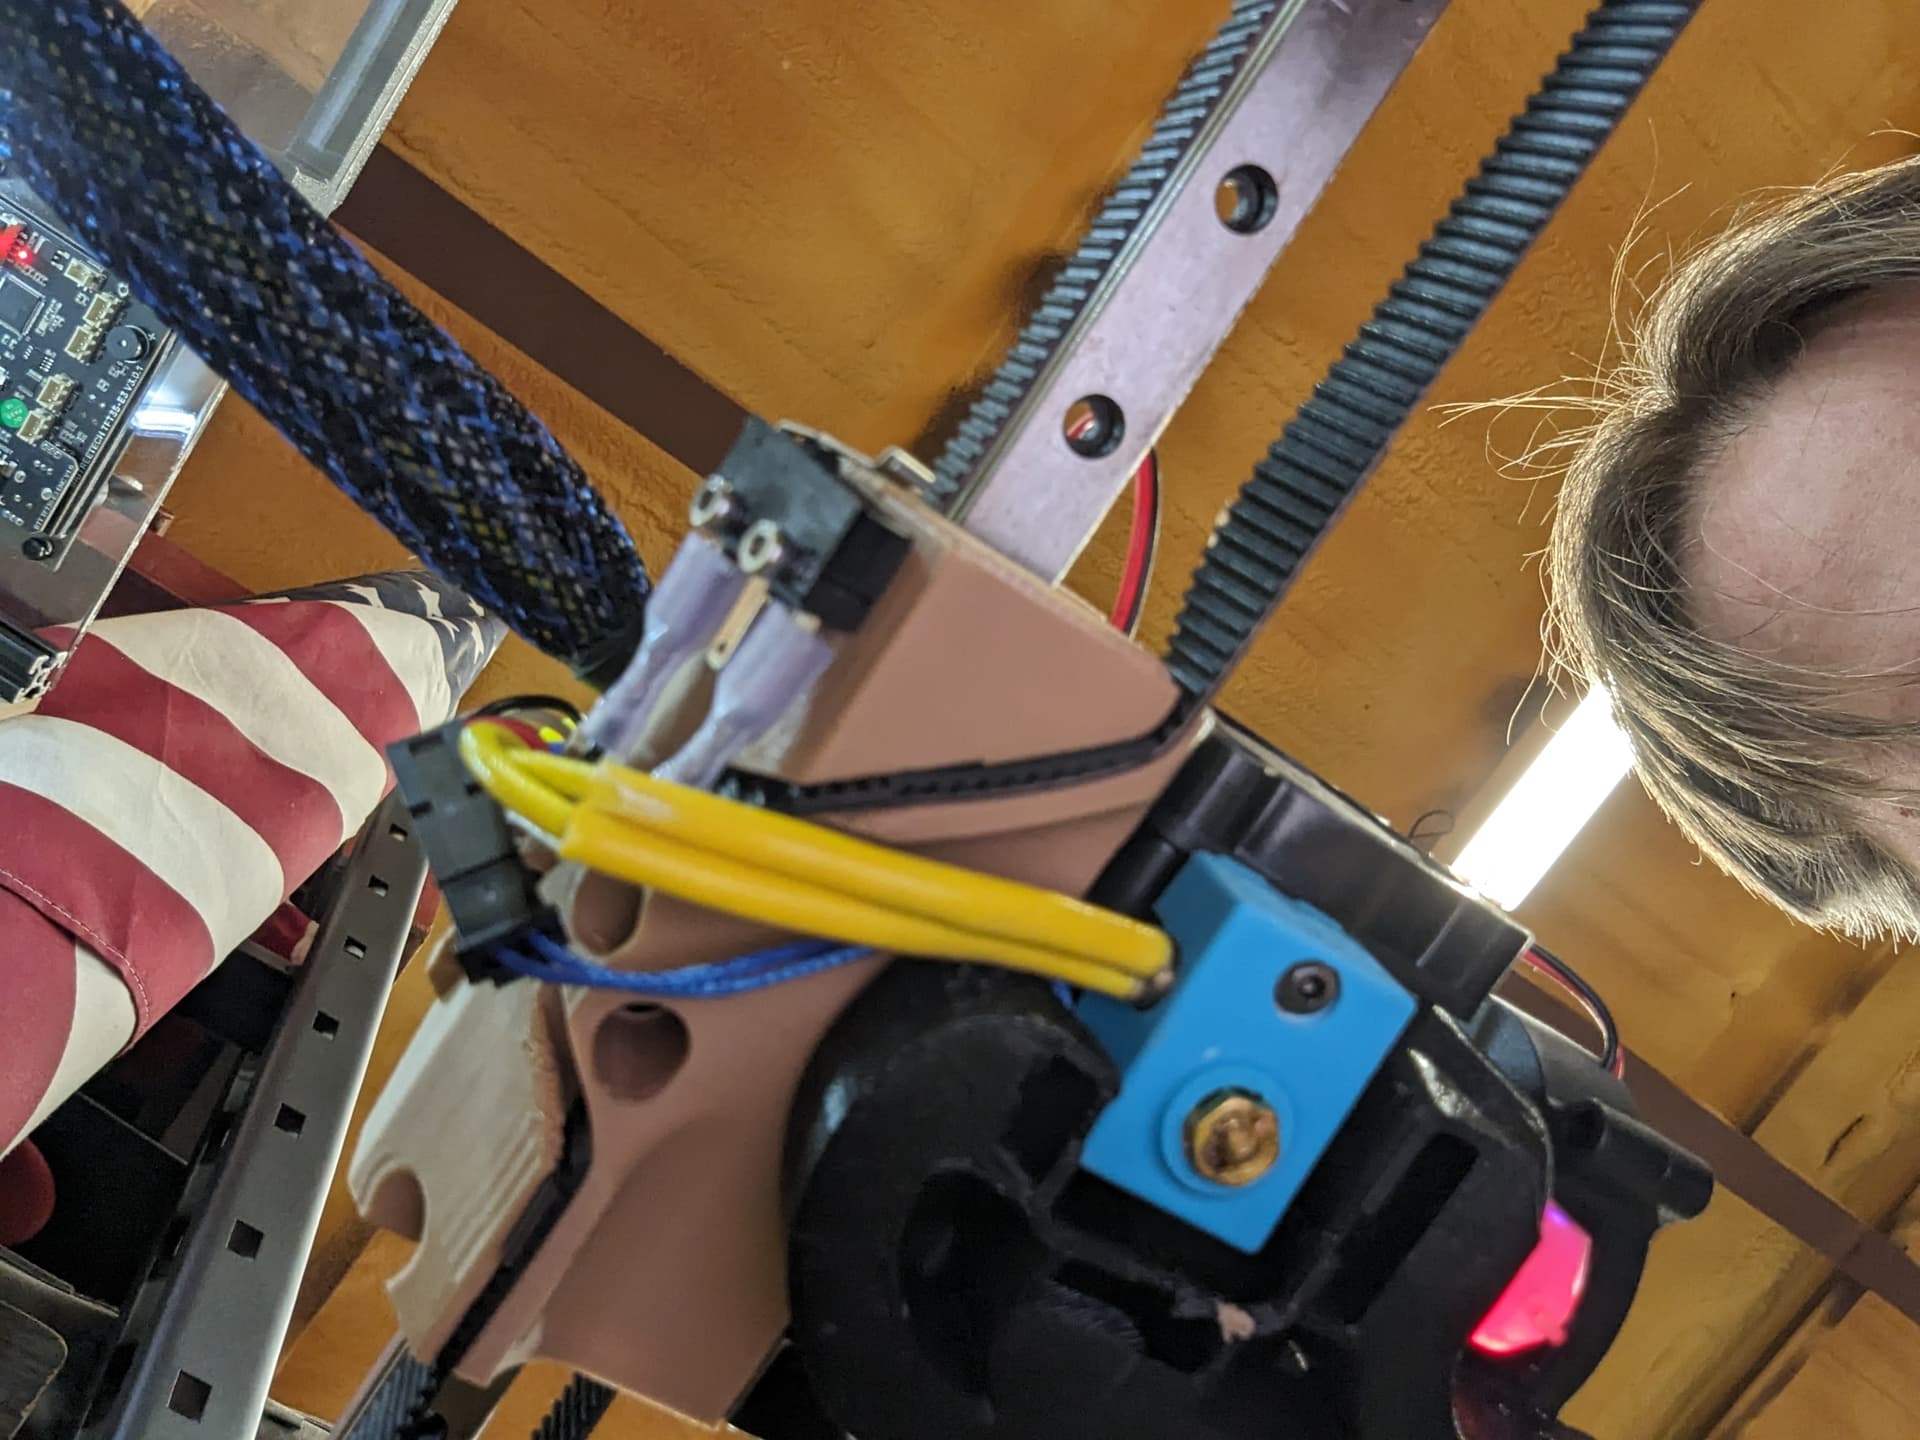
I also discovered while out there that the extruder was a little loose on the core. I tightened those bolts back down.
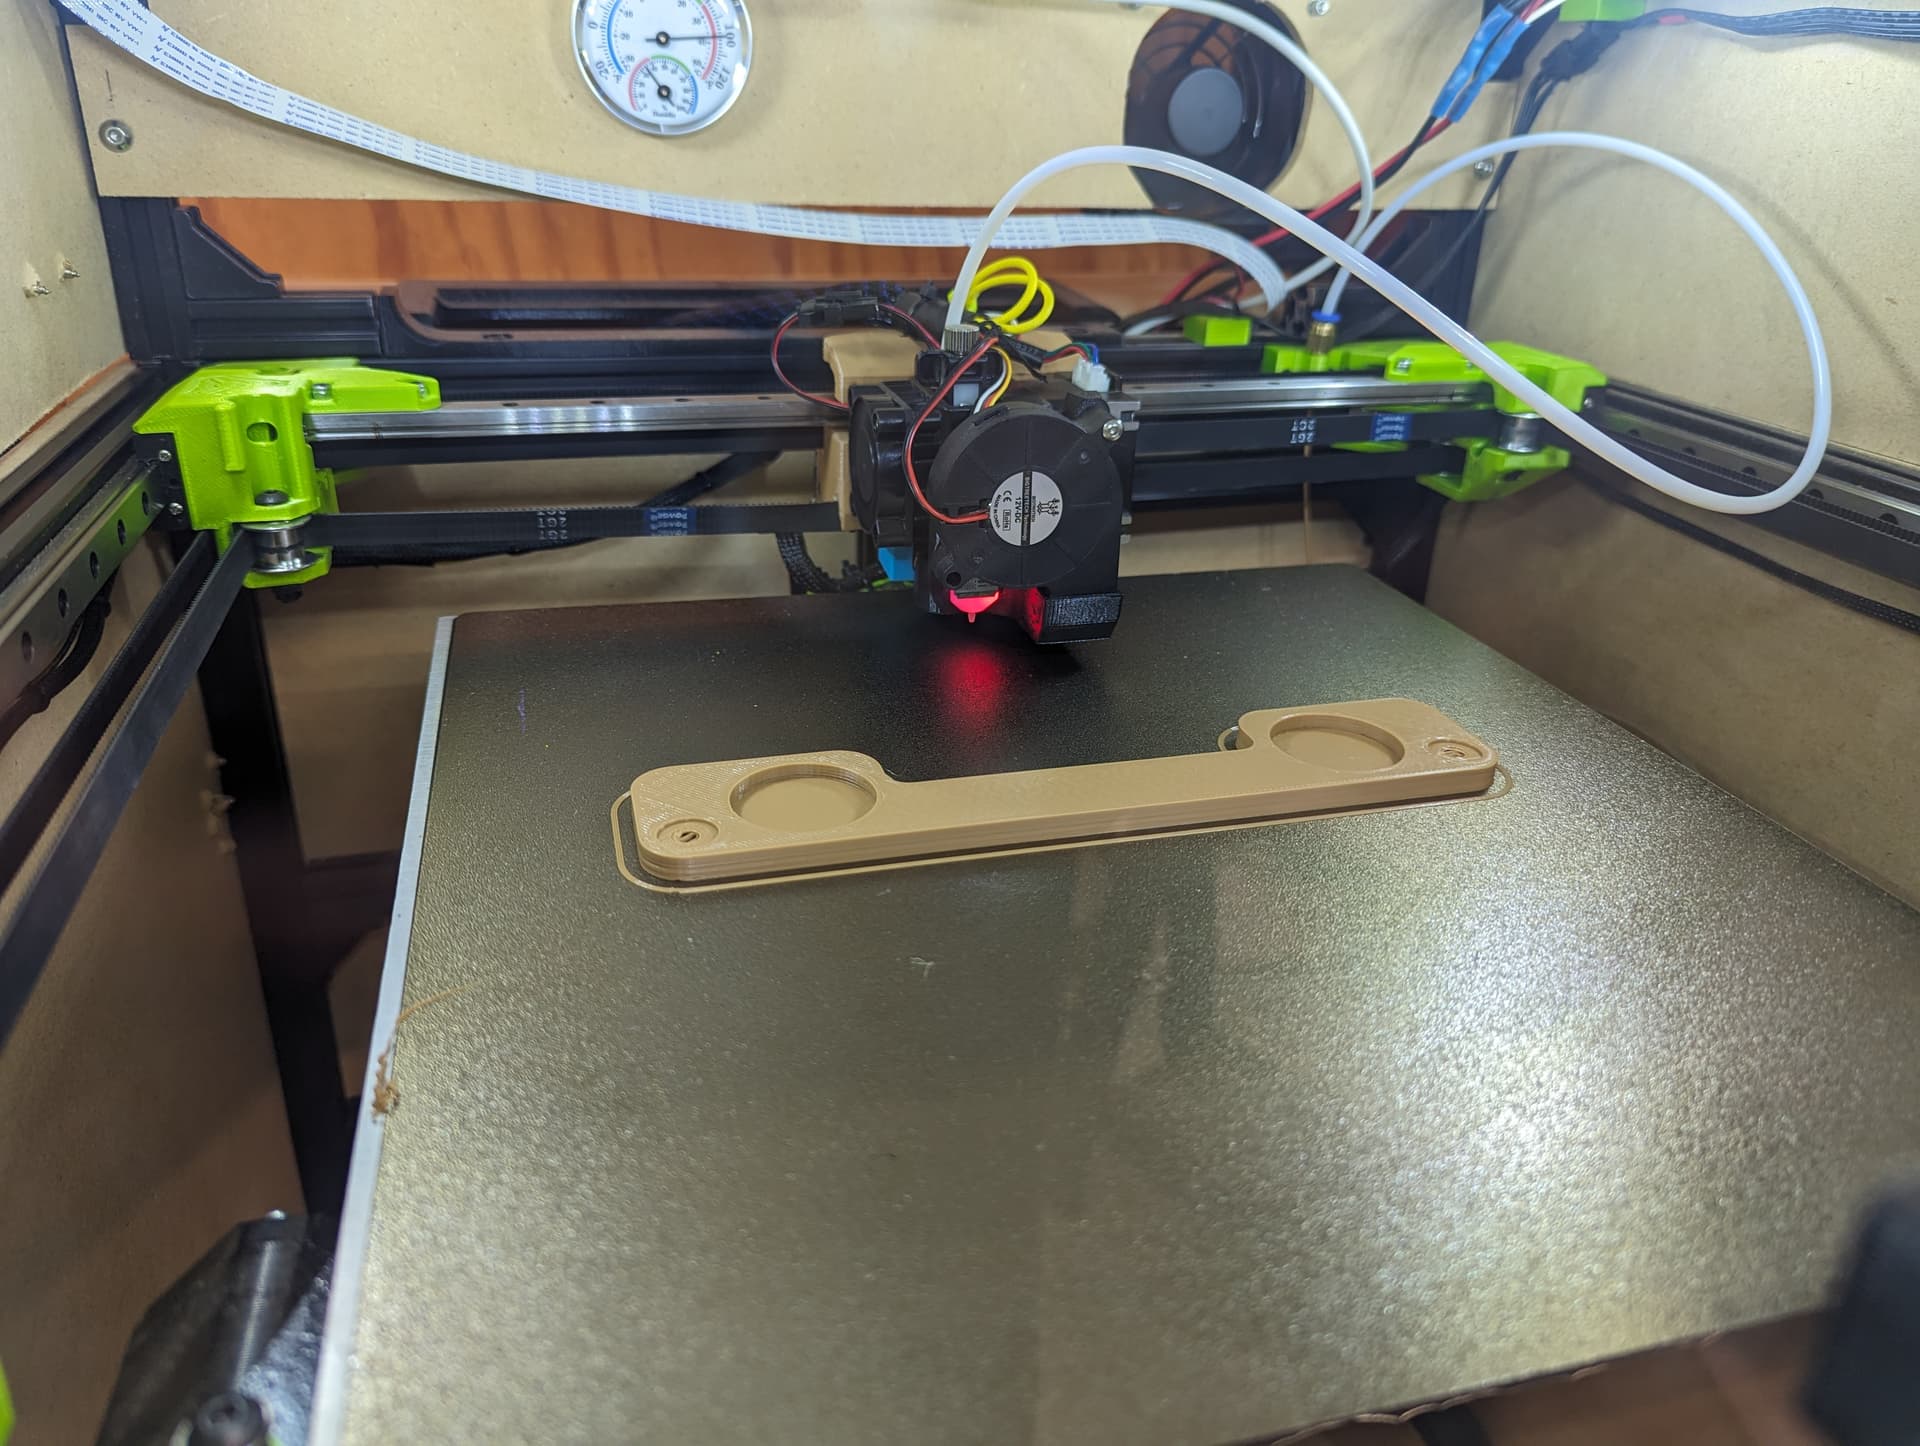
I’m still thinking the extra heat we’re having here is causing issues. I’m going to run the next print with the front door on the printer open. Right now I’m going through a bed mesh level because I think the one I ran earlier today was with the loose extruder on the core.
3 failed prints today.
All 3 the belt loosened up during the print.
Here’s a video showing stuff.
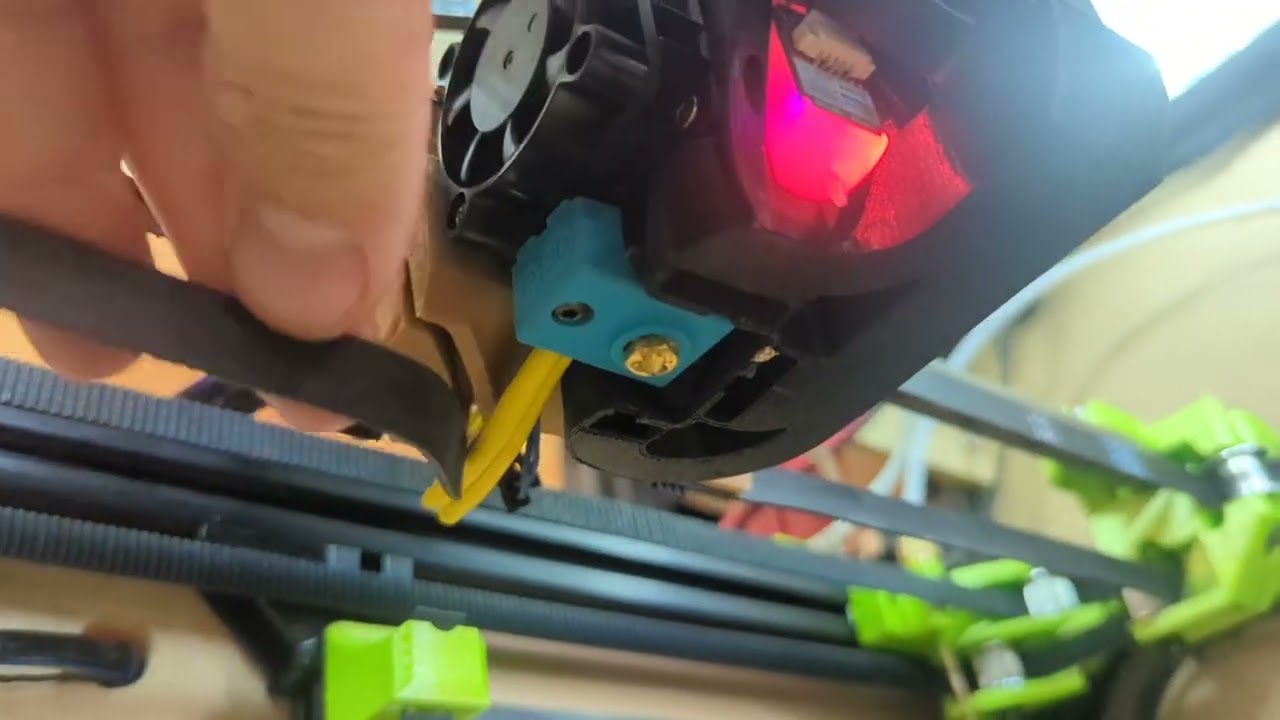
The video is unlisted. I only want people following this thread to see it. This is the first issue I’ve had with this printer and I don’t want viewers taking it out of context.
Once that part gets stretched out glue is the only thing that will keep a belt in while you print a new core.
Did you figure out if it was too tight? We have similar climates, I am trying to figure out why this keeps happening to you and not me, we also both use PLA. So wither the prints are super loose and the belt slips though, or they are too tight and stretch the part.
I just not sure the best way to put the belts in otherwise.
One thing I noticed is I do a lot of printing at 45 degrees. So that particular belt is being worked a lot as it’s the one pulling the gantry back and forth.
Edit: that’s a dumb statement… The next layer goes the other way…
How about I ship you a couple cores to see what is going on? We need to eliminate some variables. I still have some stuff going on around here, I can’t start working on a new core yet.
I see that print is pretty rough, but there is no way in heck I can fit three belts in there. So I am not sure if it stretched super crazy or the print is just way off.
Just to triple check this, on the initial assembly on the fresh core. When you put the belts in there you do use the little 1mm notch as the stop for the second little locking piece right? Like you put them in and pull it to lock it in place?
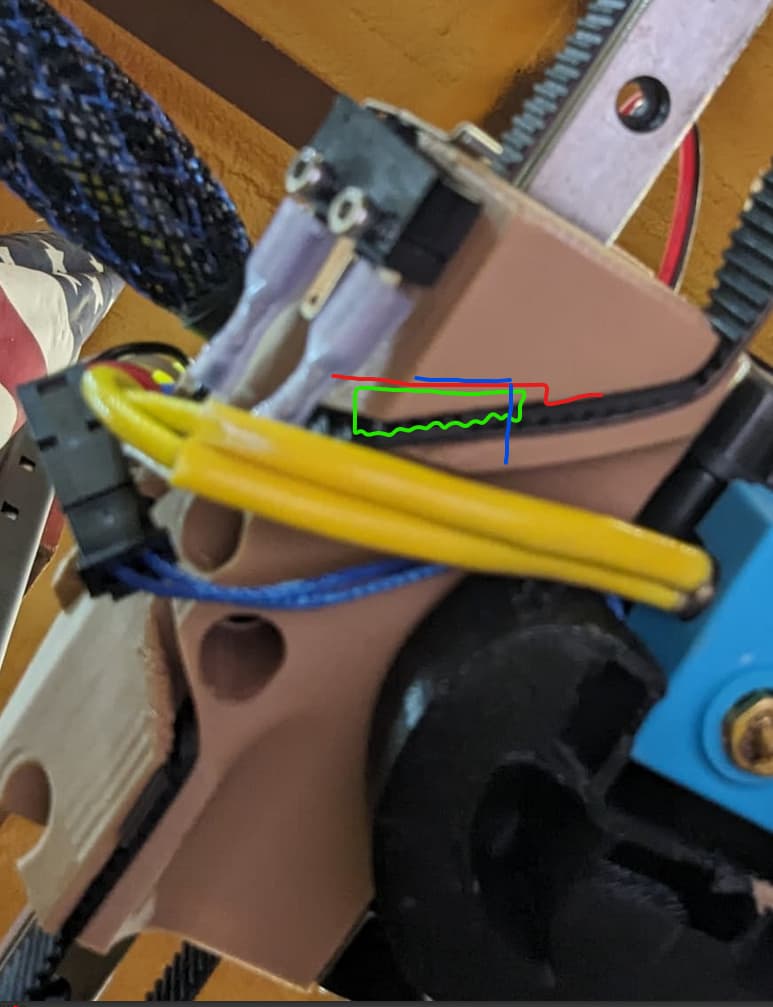
This is the wedge idea. Expand the slot to the red line. Green is a separate wedge piece. That blue represents a bit that traps the wedge and belt from falling out.
The wedge can provide more holding force, and is easier to use. The slot can be wider so it is easier to feed the belt in.
The drawbacks are more pieces, the wedge will need to be printed flawless to interlock with a 2mm belt, and this will kill some of the adjustment that is possible.
I like your wedge idea, but I’d add a 3mm hole perpendicular to the wedge that I can thread a 3mm bolt into and clamp it in place. A touch of superglue on the threads to lock it in place.
I wouldn’t be opposed to you sending me a core to help troubleshoot. I need to print one more version of the design I’m working on, but then I can try printing another core to compare mine to yours.
While I was watching the printer work, I also got to think that I could hog something pretty similar to your core out of aluminum on my mill. I need to take some measurements off my last core and see if I have a chunk big enough to start with. I was thinking I could clamp the belts on each end perpendicular to how they’re being pulled. I could machine away most of the material except where bolts need to go to mount parts. It wouldn’t have the part over the top for zip tying the umbilical, but I can figure something out for that.
That pushes even harder on the wall you are already bending.
Taking a note to print some in the morning.
At 0:53 in your video, the belt just falls out  . Was it like that when the Core was first printed?
For me, my belts were a PITA to add/remove, Core holes were very tight…
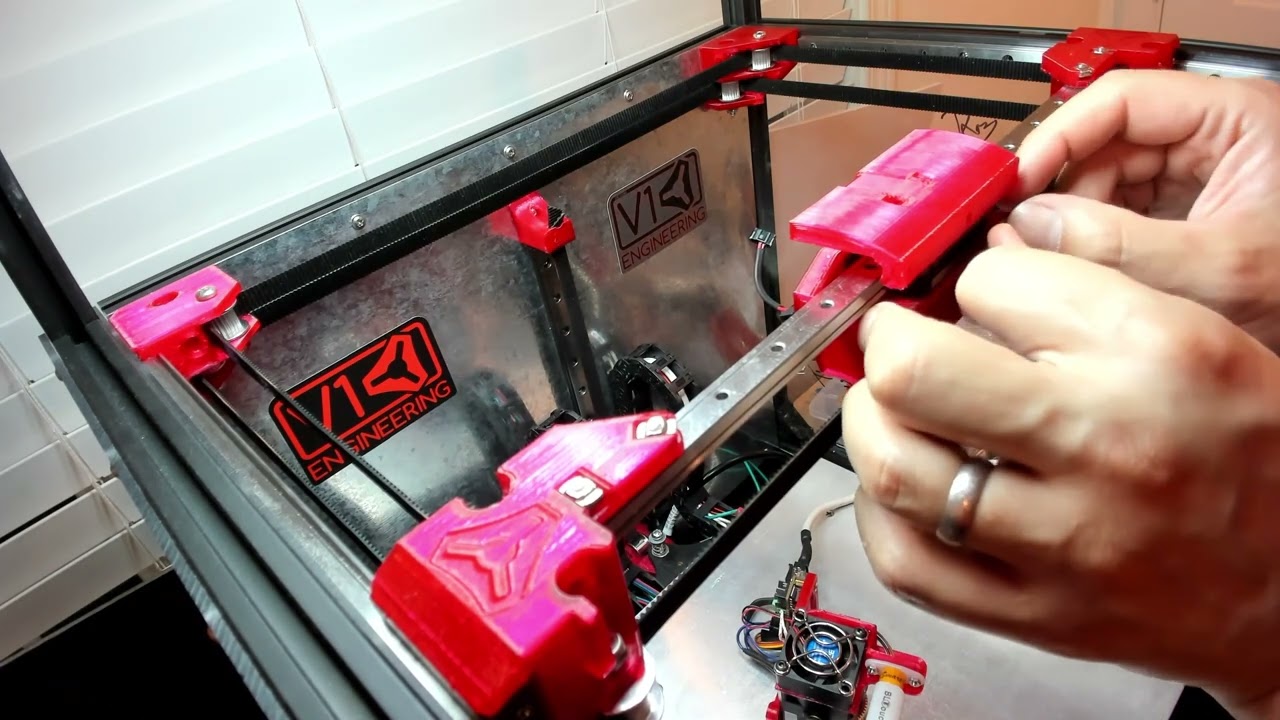
If belts were always loose, then am wondering if under-extrusion caused Core slots to be too loose?
I would assume if the printer was over or under extruding that none of the bolt holes were lining up.
I keep going back to it being a combination of over tightened belts and excessive heat causing the PLA to flex.
I know Ryan says he has the same temperatures, but I’m running a full enclosure. I’m wondering if heat from the hot end or bed is getting trapped near the core. I know I had to take the fan shroud off and use a hot air gun to heat and flex the back part up because it had warped down towards the bed and was lower than the tip of the extruder. I discovered that issue when the fan shroud started acting like a scraper and was popping parts off.
In underextrusion, the location of holes would not be incorrect. There would be too little material present, so gaps would change, wall thickness would change, part adhesion would change, part strength would change, and because of these, stretching and sag would be worse aside from gaps being too large. There’s at least some hints of that above in pictures of the gaps and flexing of the belt retainer slot.
Overtightened belts would make all of that worse.
Do you have an extra thermistor pin on your electronics? I wonder if it might be worthwhile to wire up a temp sensor to place somewhere up on the assembly to measure what temps that part is seeing inside the enclosure.
couldn’t you put the belt connector in like the mpcnc where there is a press loop in a captured piece with an adjustment on it. the core could be a little different shape for that. Though that is a redesign… I would be ok with a 5 part core and 4 bolts if it would secure the belts though it would add significant mass to the moving carriage. The rounded knob that the belt follows to fold on itself on the mpcnc works quite well… The H2V2 core I’m using has oversized belt slides, so I have to add extra thickness to the belts… like electrical tape to get them to stay. I had to fold the belt around something to get it to lock on one of the parts. This is a user modified add-on I’m using so not exactly your design so I wouldn’t lay this one at your feet Ryan, but if you happened to redesign the carriage belt setup, we would all benefit from it. (Hey, let me add one more to your list…)