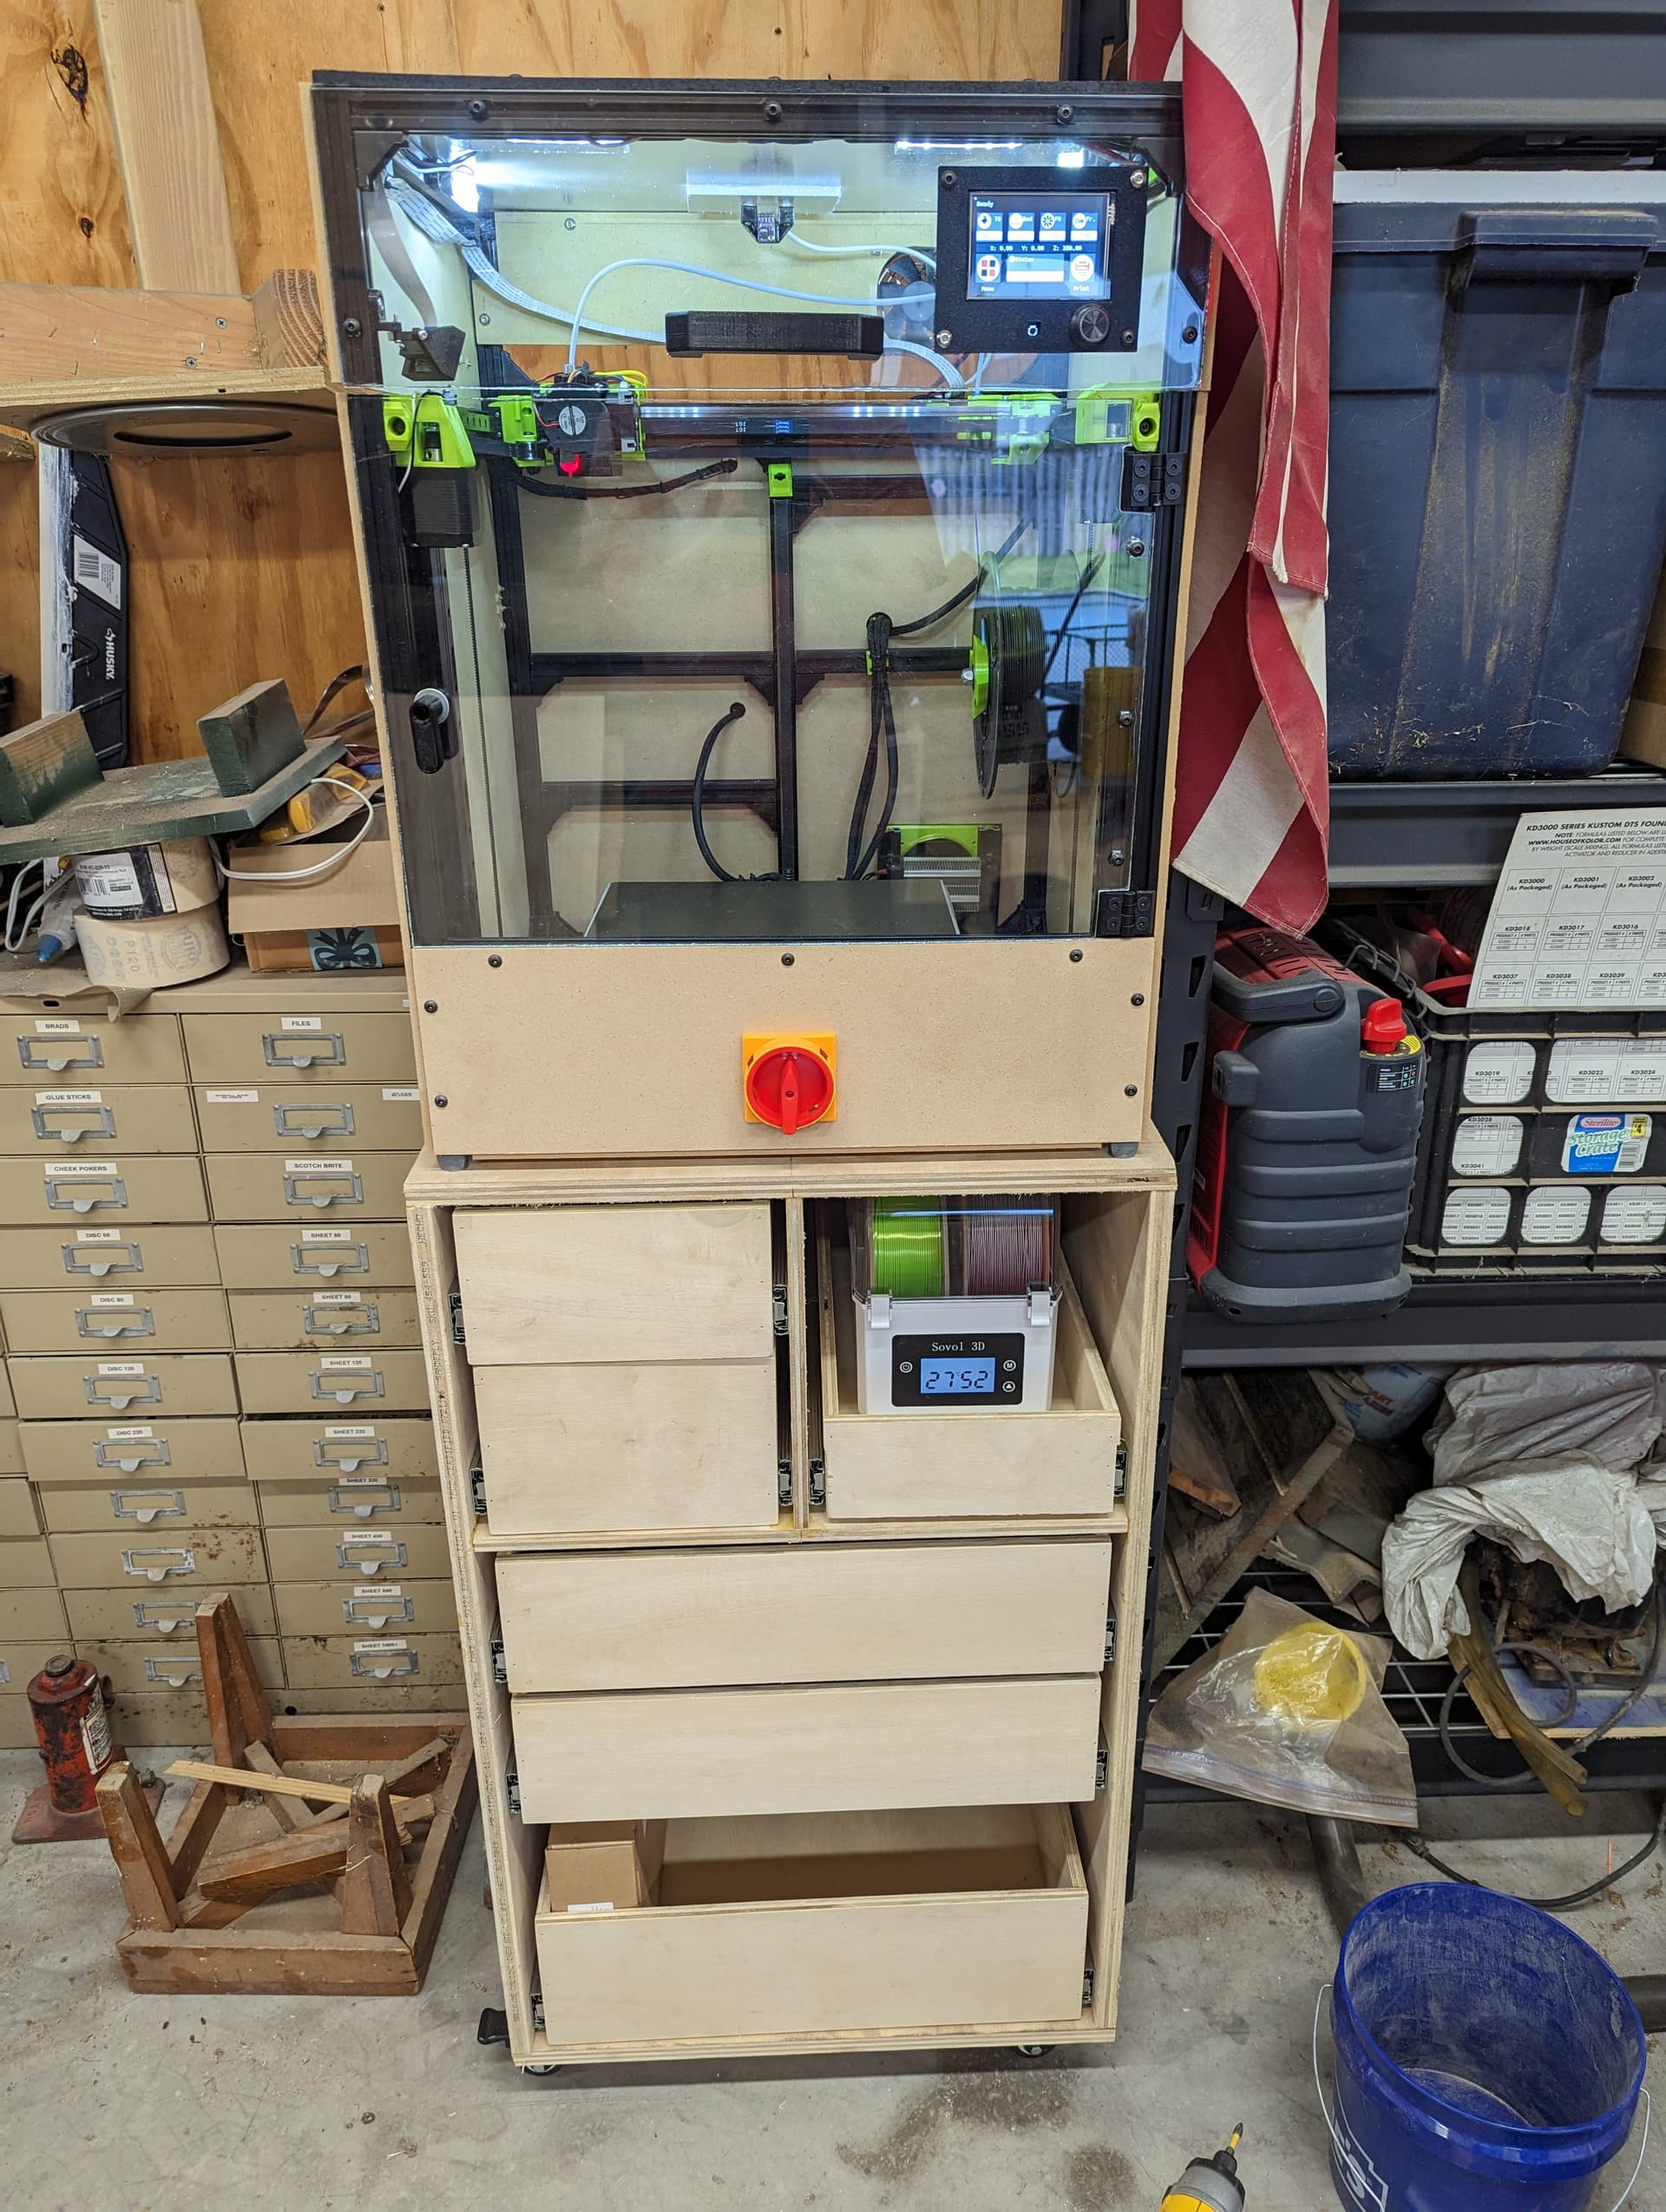
Tonight’s progress is on the stand. I got the two braces installed and started building drawers. I only got one drawer installed. Mostly because I haven’t decided what distance I want the others from each other.
My wife and kid won a spool of filament from polymaker at the Rocky-MRRF. I got a combo blue/green silk one to try. After I opened it, I realized it was PETG. I guess I have some work to do.
Tried to print something with the silk and it failed again. I went to swap back to the black and had nothing but issues getting it to try to extrude. After fumbling around with cold pulls and cleaning the nozzle a dozen times, I finally started taking the extruder apart.
I found out that the little screw that’s supposed to tighten the hob gears wasn’t doing it’s job. No matter how much I tightened it, it wasn’t making the hob gears tighter. The wedge piece had backed off so far it was no longer moving like it should. Doh.
I put it back together and immediately got good prints in black again. This could have been my issue with the silk too. It could be that I never had the hob gear part working correctly, but the black could grab just ‘good enough’ to work… until it didn’t, whereas the silk, being more slippery, never really worked right because the hob gear couldn’t grip enough.
I’ll probably play with the silk some more this evening and see if I can get it more reliable.
Nice,
I worked on mine last night. Was having issues with what looked like underextrusion on one cornr of the cube. Turns out that when I set up pressure advance I used the factor for a bowden tube to get my number. Once I changed it I printed the most perfect cube I have ever printed.
Still have a small lip at the bottom but I think I can fix it by adjusting my first layer flow rate.
You can also adjust the ‘babystep’ on the first layer for the nozzle offset from the build plate. I have to adjust mine each time I replace the nozzle.
I think I need to adjust my startup Gcode. I’ve noticed if I’m printing back-to-back that I’m getting a lot of oozing during the bed leveling sequence and it’s causing occasional jams.
Right now I do the following:
Heat the bed
Start heating the extruder
Home
Level Bed
I think I need to move the extruder heating until after the bed is leveled.
On a cold start, it’s not an issue. It takes a bit for the extruder to warm up, so there’s not a lot of time where filament is sitting in the hot end waiting for the print to start.
But on a back-to-back print, the extruder doesn’t cool off enough, so it warms up almost immediately.
Or… I need to figure out a better way of wiping the nozzle at the beginning. This printer doesn’t have much space where the nozzle over-hangs the edge of the print bed like the last printer did, so the nozzle wiping/purging gcode that I use doesn’t have as much of an effect.
I need to spend some time moving the print head around the printer to the various extents to see if there’s any place where it is off the edge of the bed.
M104 S[extruder0_temperature] T0 ; heat bed
G28 ; home all
G34; level bed
M420 S1
M109 S[extruder0_temperature] T0 ; heat extruder
G0 X0 Y10 F6000
G0 Z0.1 F1000
G0 Y60.0 E4.0 F1000.0 ; prime
G0 Y100.0 E8.5 F1000.0 ; prime
G92 E0
So I guess I really do need to just find a better place to run the prime command. Or. Wait for the extruder to cool completely before I start the next print.