What were the negatives you found that made petg-cf the wrong choice?
Personally got some petg and pla for my build, waiting on it to show up. Won’t know how it goes until BUT worth giving a try. Gate keeping myself to cut aluminum plates for the LR4 with the LR3 before I do a full build
For me, I didn’t accomplish the things I had hoped with the additional cost. The nut traps didn’t work well, even with all the little tricks (which I thought the carbon fiber would help with stiffness but it still wasn’t PLA). I ended up gluing them in. Some minor things with the core and mount, like the router is no longer held as tight. I had to adjust it a bit to keep the core from wobbling.
This may all have occurred no matter what filament I used, I had just spent a little more to try and prevent it. Frankly, my printer was much more tuned for PETG as well, so I was probably destined to use it. However, when I thought about reprinting for LR4, if I was going to spend for a premium filament, I wanted to put some thought into my goals and try to spend wisely.
That’s and interesting one, I would have thought if your machine was geared towards petgcf that it would have turned out great for you. Pretty much everything I print is is petg-cf.
I am kinda reluctant to use it, given the recommendations to stick with PLA. I just know. My printers and I never get the same quality result with pla.
Interesting on Mpcnc forum @vicious1 seems to be approving of PETG-CF.
I don’t want to be an idiot, if PLA is the go, I’ll buy some, and spend the time to get my printer great with it.
But I have a lot of high quality, expensive, Petg-cf, that I’d love to use, if the LR4 gurus say it’s all good.
As far as I know, the recommendation is still PLA for a base machine. Also PET-GF (Note- NOT PETG, not CF) , perhaps others as builders gain experience and results get updated.
Even more so, having a properly tuned printer and doing test prints is highly recommended.
If the nut traps don’t work or the Z stubs don’t fit together, the printer isn’t working correctly. Full stop. Don’t print a full parts set until you can get those right.
1 Like
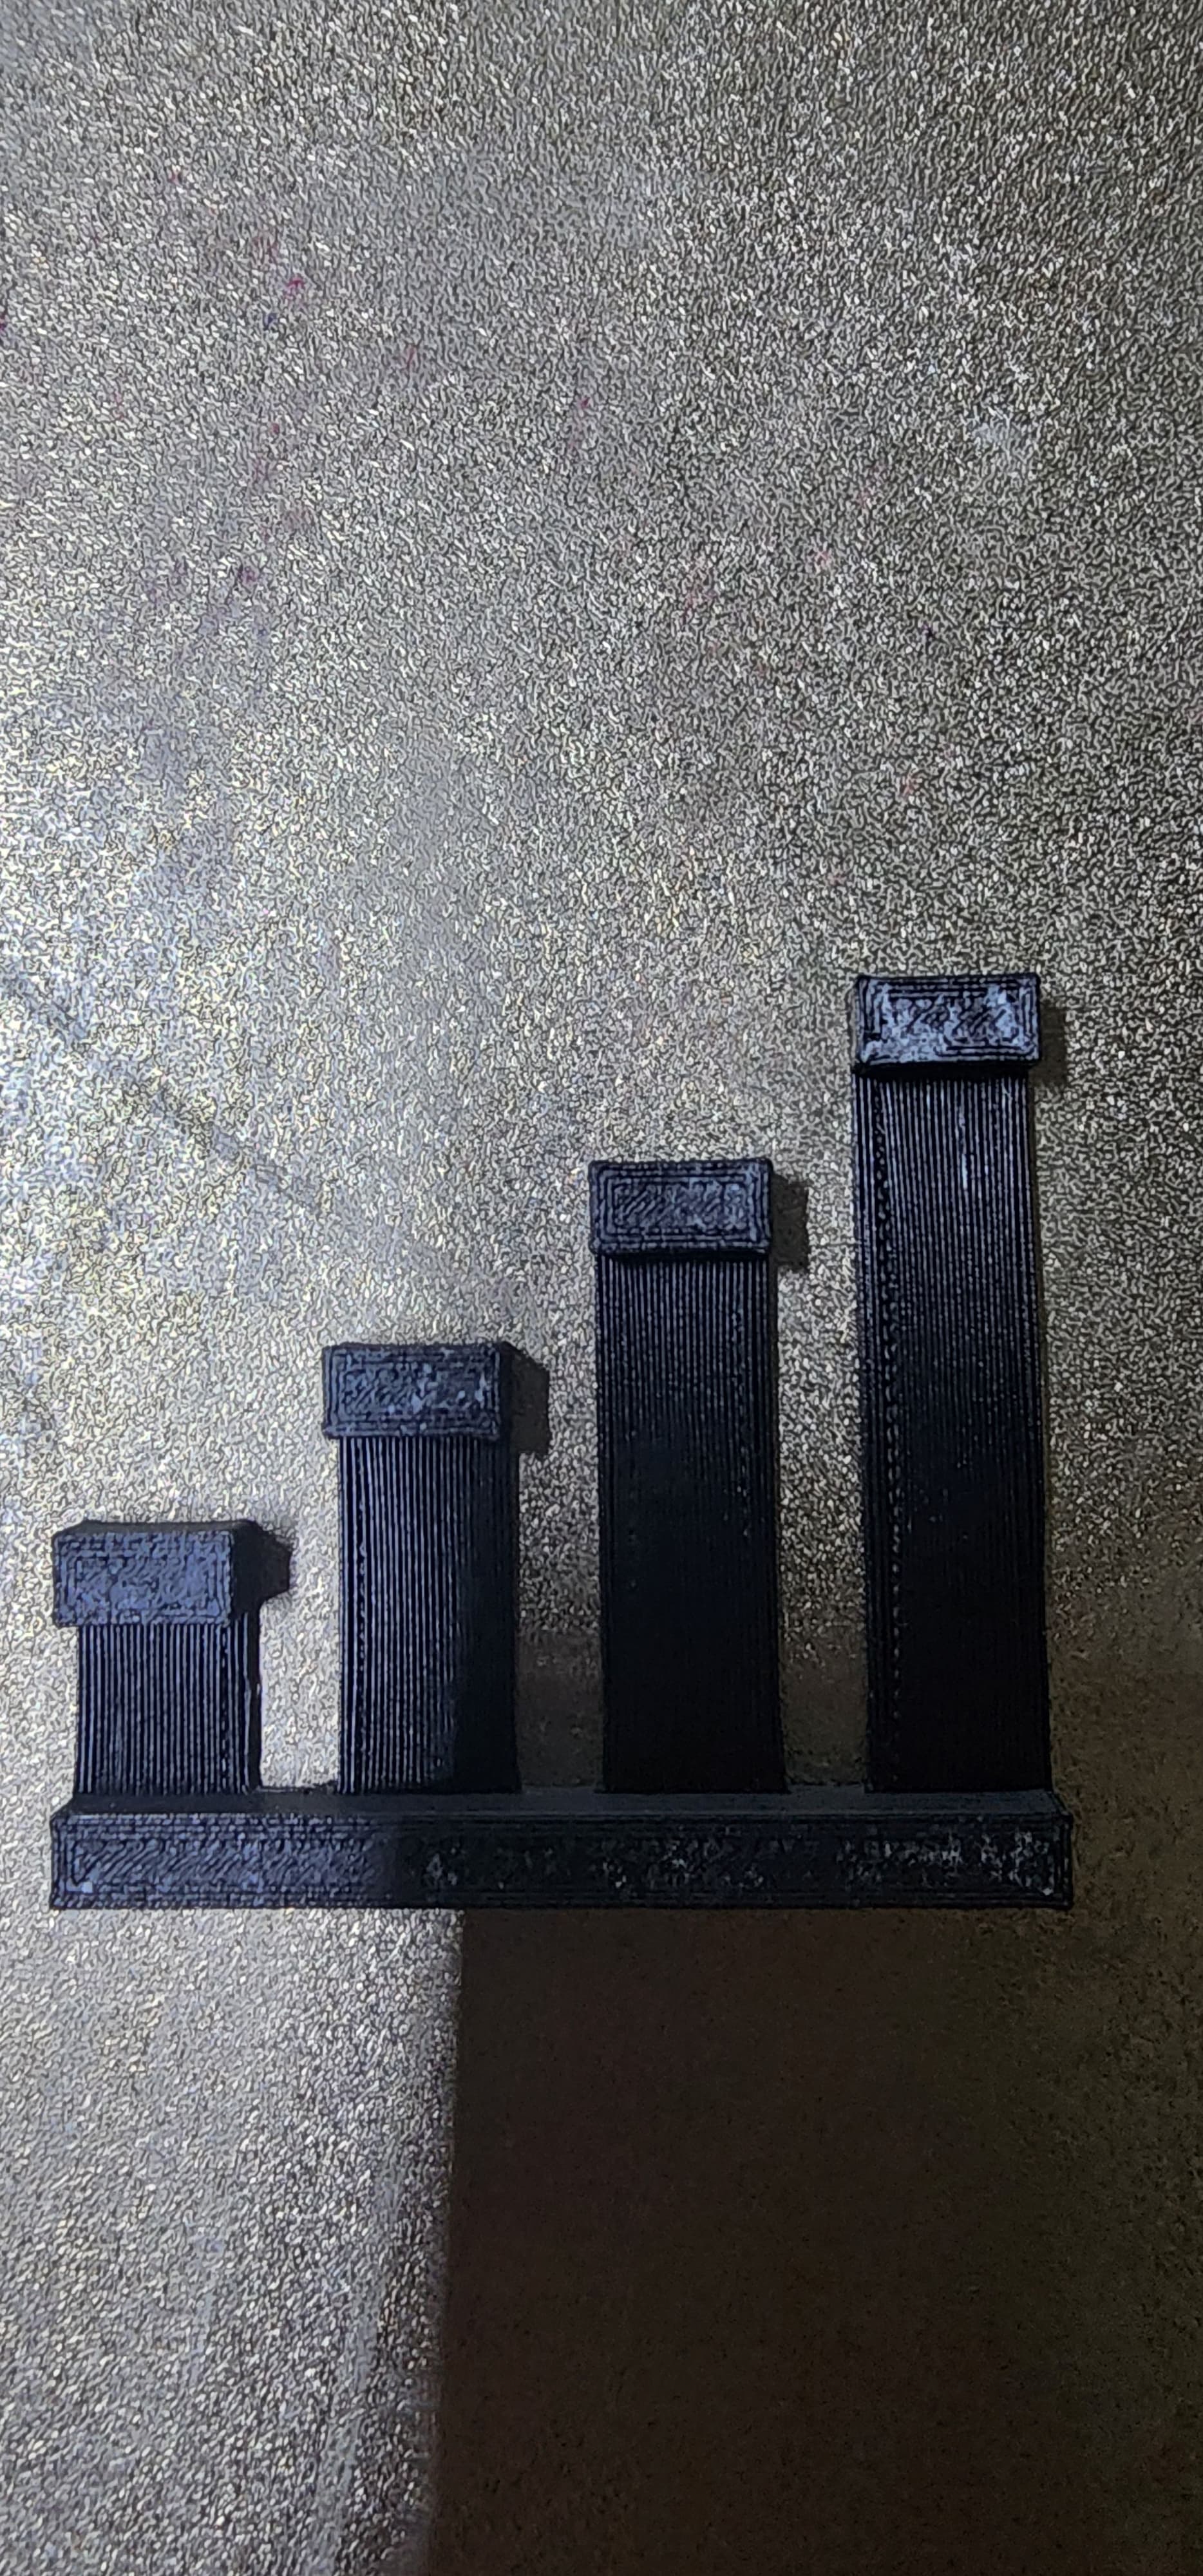
This might be the easiest way to see if you are ready. Clearance Tolerance Test by 3DMakerNoob | Download free STL model | Printables.com You need 0.2 to or better. That is a pretty easy target to hit, if that does not work you need to tune you printer/slicer/filament.
It seems like this is a huge sticking point, in reality once you get past printing non-functional parts 0.2mm clearance and a 10mm bridge is a very very low bar. Most bridge tests start at 10mm or larger, Test Bridge by mc2_project3d | Download free STL model | Printables.com
2 Likes
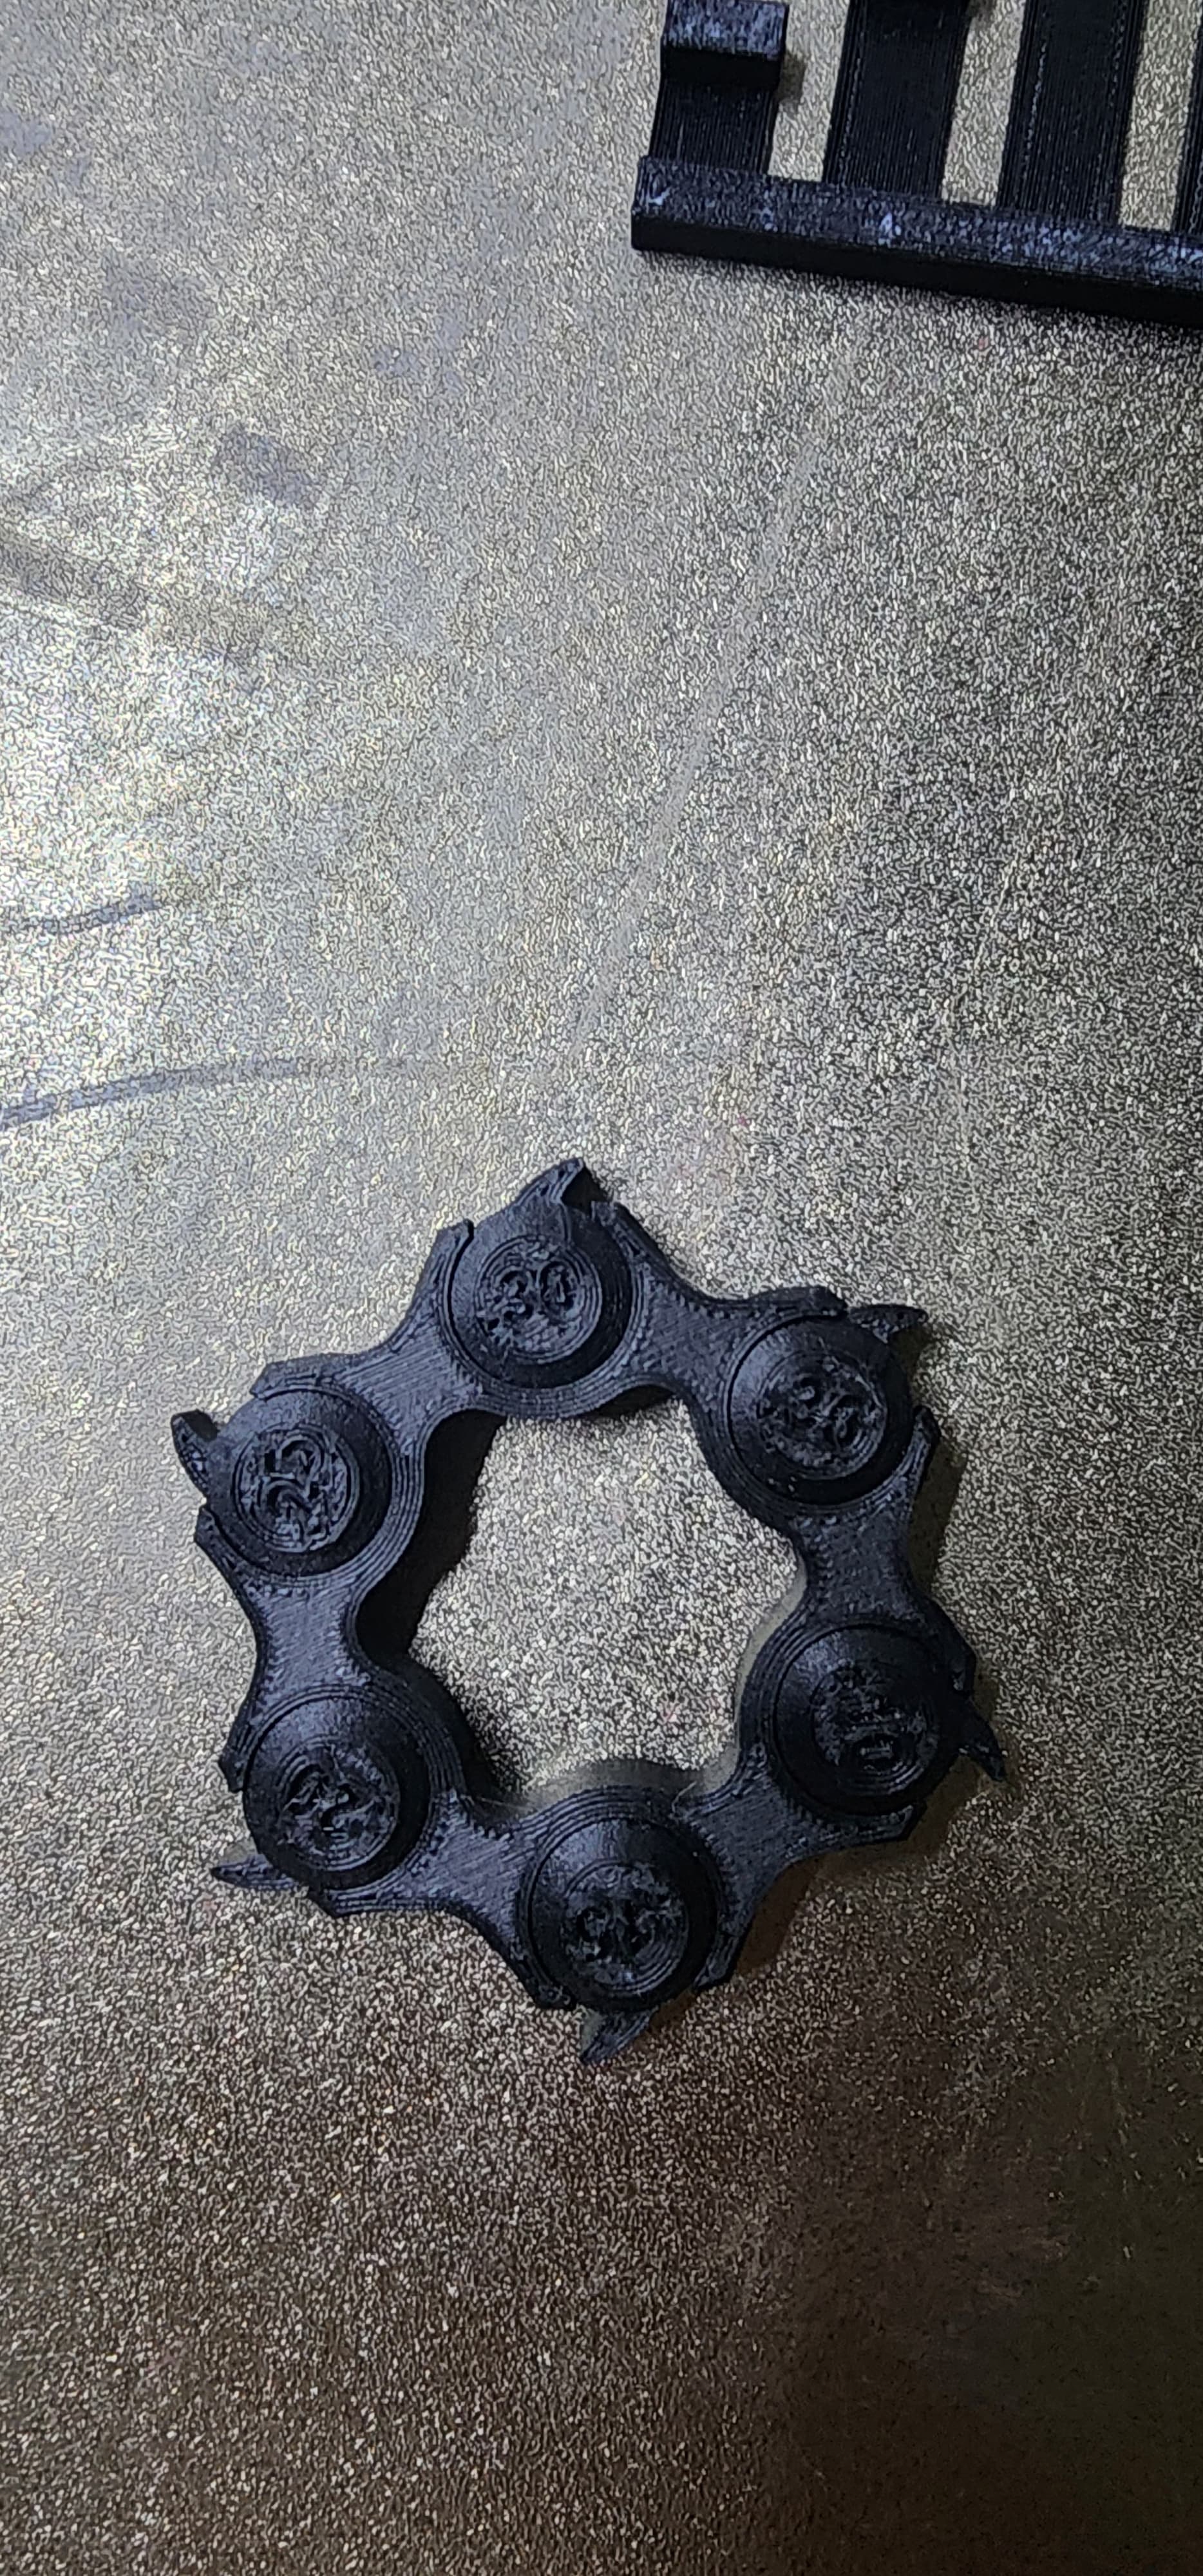
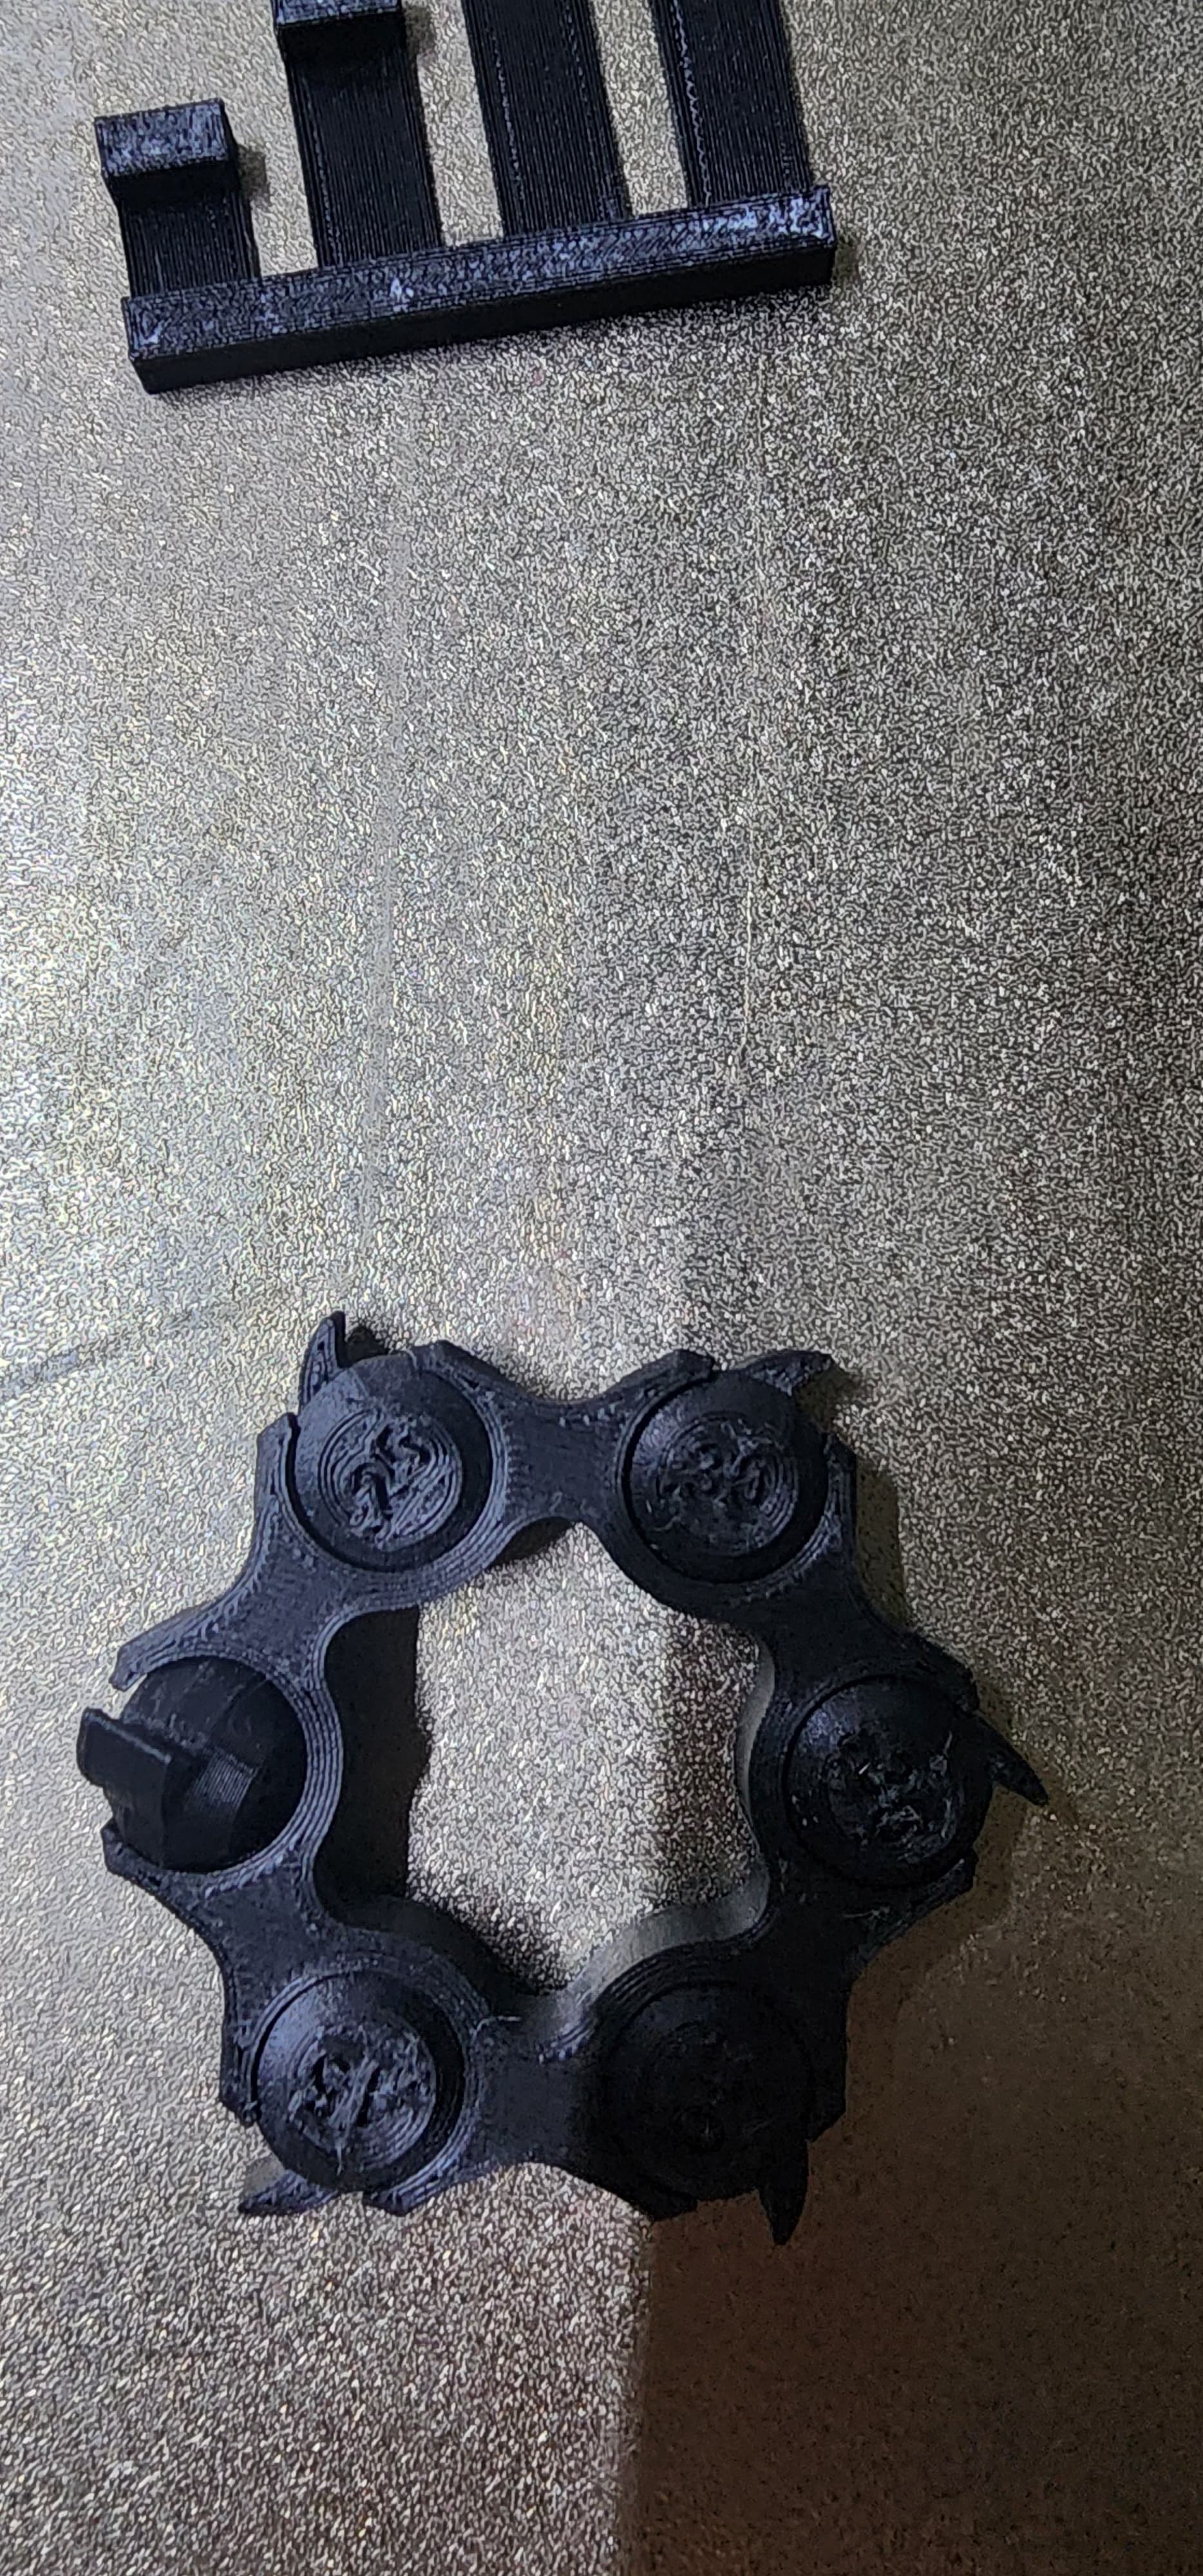
I printed this out just now. Stock P1S. All the way down to .1 was free without and “breaking” it free. Didn’t expect that. Running the bridging now.
1 Like

Getting there with petg-cf. But taking on board the advice here. I have orderered some pet-cf. So will run all the tests again then.
2 Likes
If you are running a printer that you can do PID tuning on. I suggest you run that for the higher nozzle temp when you get your pet filament. Power requirements to hit and maintain 290°-300° are quite a bit different than 200°-240°.
Also if a klipper based printer, make sure your max extruder temp is set something 5°-10° higher than you plan to run your pid tune. If not you will error out and shut down. I speak from experience ![]()
1 Like
Great, yes I don’t normally ever go over 240/85
So I’ll have to experiment with the hight temp and pid tuning.
I found this article for elegoo 4. I’ll have to play to ugh when I get home from work.
I also have my second calilantern just finished printing so will be exciting to see how well the adjustments worked, again can’t check until tonight.
Also if I didn’t mention this before I apologize. But make sure you have a hardened nozzle. That CF will eat up a brass nozzle quick
1 Like
For sure, i learnt that the hard way already with nozzles. I’ve have a lot of petg-cf, but honestly am not experienced in much else. I have had great success with it, so stick to it.
This LR4 building exercise has been great, opportunity to learn and optimize the machine and starting to use different filaments.
That said, if petg-cf was the chosen filament for LR4, Id be in my happy place haha
1 Like
As the person who just ruined his build plate with PET and TPU, learning and tuning new filaments can be a bit frustrating at times.
I can say Ryan has never once hesitated to help me with Jackpot issues, and service on the parts he sells, even though I printed my prior LR3 from PETG-CF and PA6-GF. So if you’re really most comfortable with PETG-CF, just know that he’ll help everywhere he can, but for PETG-CF specific stuff you’d be on your own.
My point is that Ryan really does try to support the best he can, even for those of us that like to throw a mod or two on and print from non-spec materials. We just need to accept responsibility for our part.
1 Like
Yes he does. Ryan always goes above and beyond for sure! I think everyone here does their best to help out as much as possible! This is an awesome community that Ryan has created for sure!!
What issues where you having with the PET that caused a ruined build plate? I have printed a few rolls of it now and can try to help out
1 Like
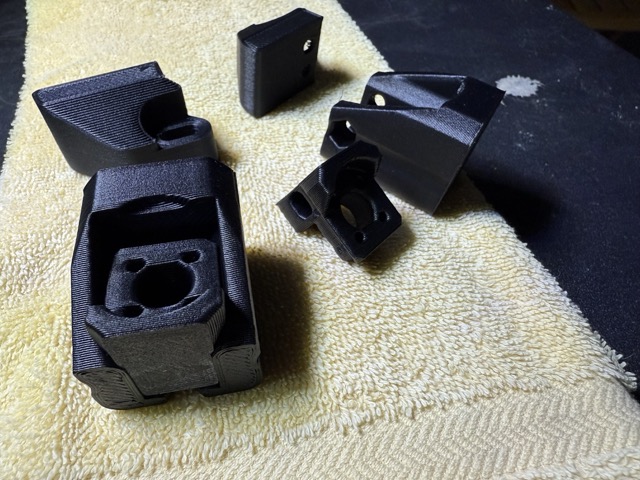
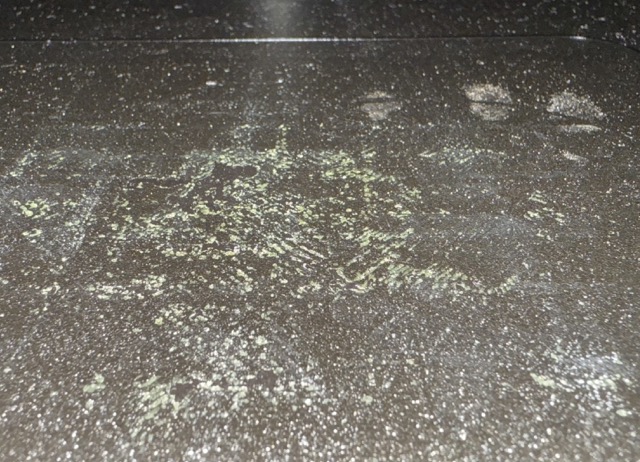
Thanks - it’s just a new material and I am having over-adhesion problems. I’m pretty sure I’ll need a releasing agent. The good news is that the small parts I’ve printed so far look pretty good. How much cooling fan do you use? Especially when I get to the larger parts, I don’t want to run into adhesion problems.
Here are the parts:
And here’s the build plate now. Some of that is cruft I can’t seem to remove. But there are voids in the PEI powder coat now. If I want cosmetic parts, I’ll have to order another build plate. It’s just expensive because it’s a large printer. I’m sure a large part of this is that I’m also learning a new printer.
What hotend do you use? And what max flow rate are you getting for it? I think those parts were printed at something like 28 mm3/s. On the max flow rate calibration for a Rapido 2 I was getting 36mm3/s -ish.

I read the dust shoe should be in petg, so I am compliant with reccomendationa for my first piece.
I’ll start a build log thread now that I’ve started ![]()
6 Likes
I have an orbiter v3 on the MP3DP v5 and I had it capped at 16 mm^3. But after a few rolls I ran into issues where the heater couldn’t keep up after a while so I moved it to my E5 Pro with a orbiter v2 and Rapido 2 hot end. It was right before I was coming back to work so I just left it capped at 16mm^3 as well and it printed awesome! Nice to know I can turn it up some.
And yes that stuff sticks like crazy!! I did end up bumping up my z offset just a tiny bit. It still sticks amazingly but seems a little easier to get the skirt off. The parts always come off good with a flex of the plate. I use my pocket knife to get the skirt off
As far as cooling it definitely needs some for overhangs and bridging. I think @vicious1 is back to using normal PLA fan amounts and having good results. I was running mine at 30% for overhangs and bridges. My V5 has a single 5015 and that wasn’t enough. My E5 Plus has dual 5015s and it was a lot better but still not perfect
This might be the cleanest PETG print I have seen. Do you have a filament dryer?
No, just high quality PETG-CF.
1 Like