Could connect it to Z Endstops, going off when it’s triggered. ![]()
1 Like

Thats the gear!!! I plan on sifting through Aliexpress and the esp32 forums this weekend for solutions. My plan was to have the LEDs change colour as per the action similar to the voron stealthburner macros. Flashing orange for homing, green once homed, red for tool change, magenta/purple flashing while operating.
As the LR3 is still together and working I go go overboard with a art piece for the next iteration ![]()
1 Like
Sooo, something like this?
Yes Jason! Thank you kindly, I will jump into that rabbit hole after work. Greatly appreciated.
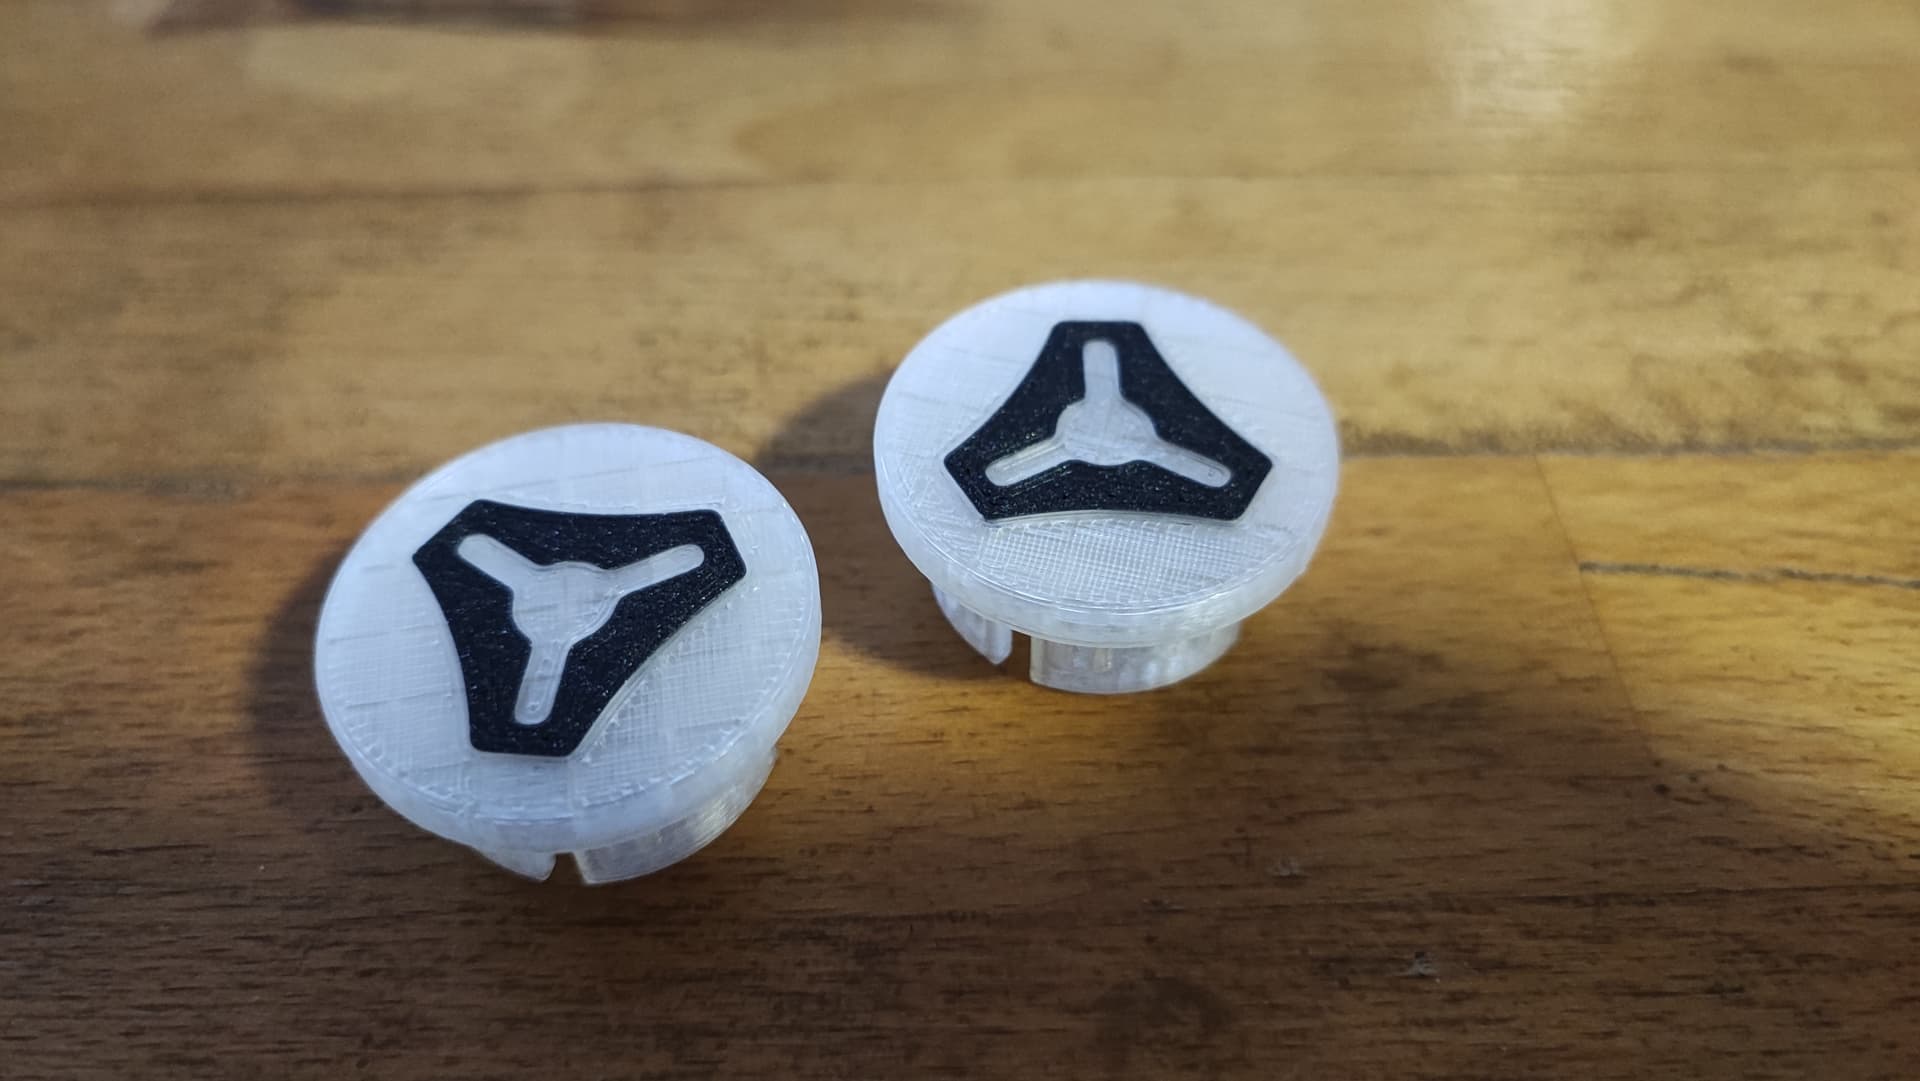
![]() @Tokoloshe the silhouette style looks awesome!!! More ideas!
@Tokoloshe the silhouette style looks awesome!!! More ideas! ![]()
![]()
![]()
2 Likes
Only did it this way because the logo doesn’t go all the way through in the MMU version, so it would not have worked to have the transparent logo… ![]()
That looks fabulous - I have only realised that with the MMU version there is enough stick between colours not to have to run a layer over the top - is 0.6mm enough thickness do you think? Will fix that today! Can you upload that as a make when I have the docs done please?
Soon…
1 Like
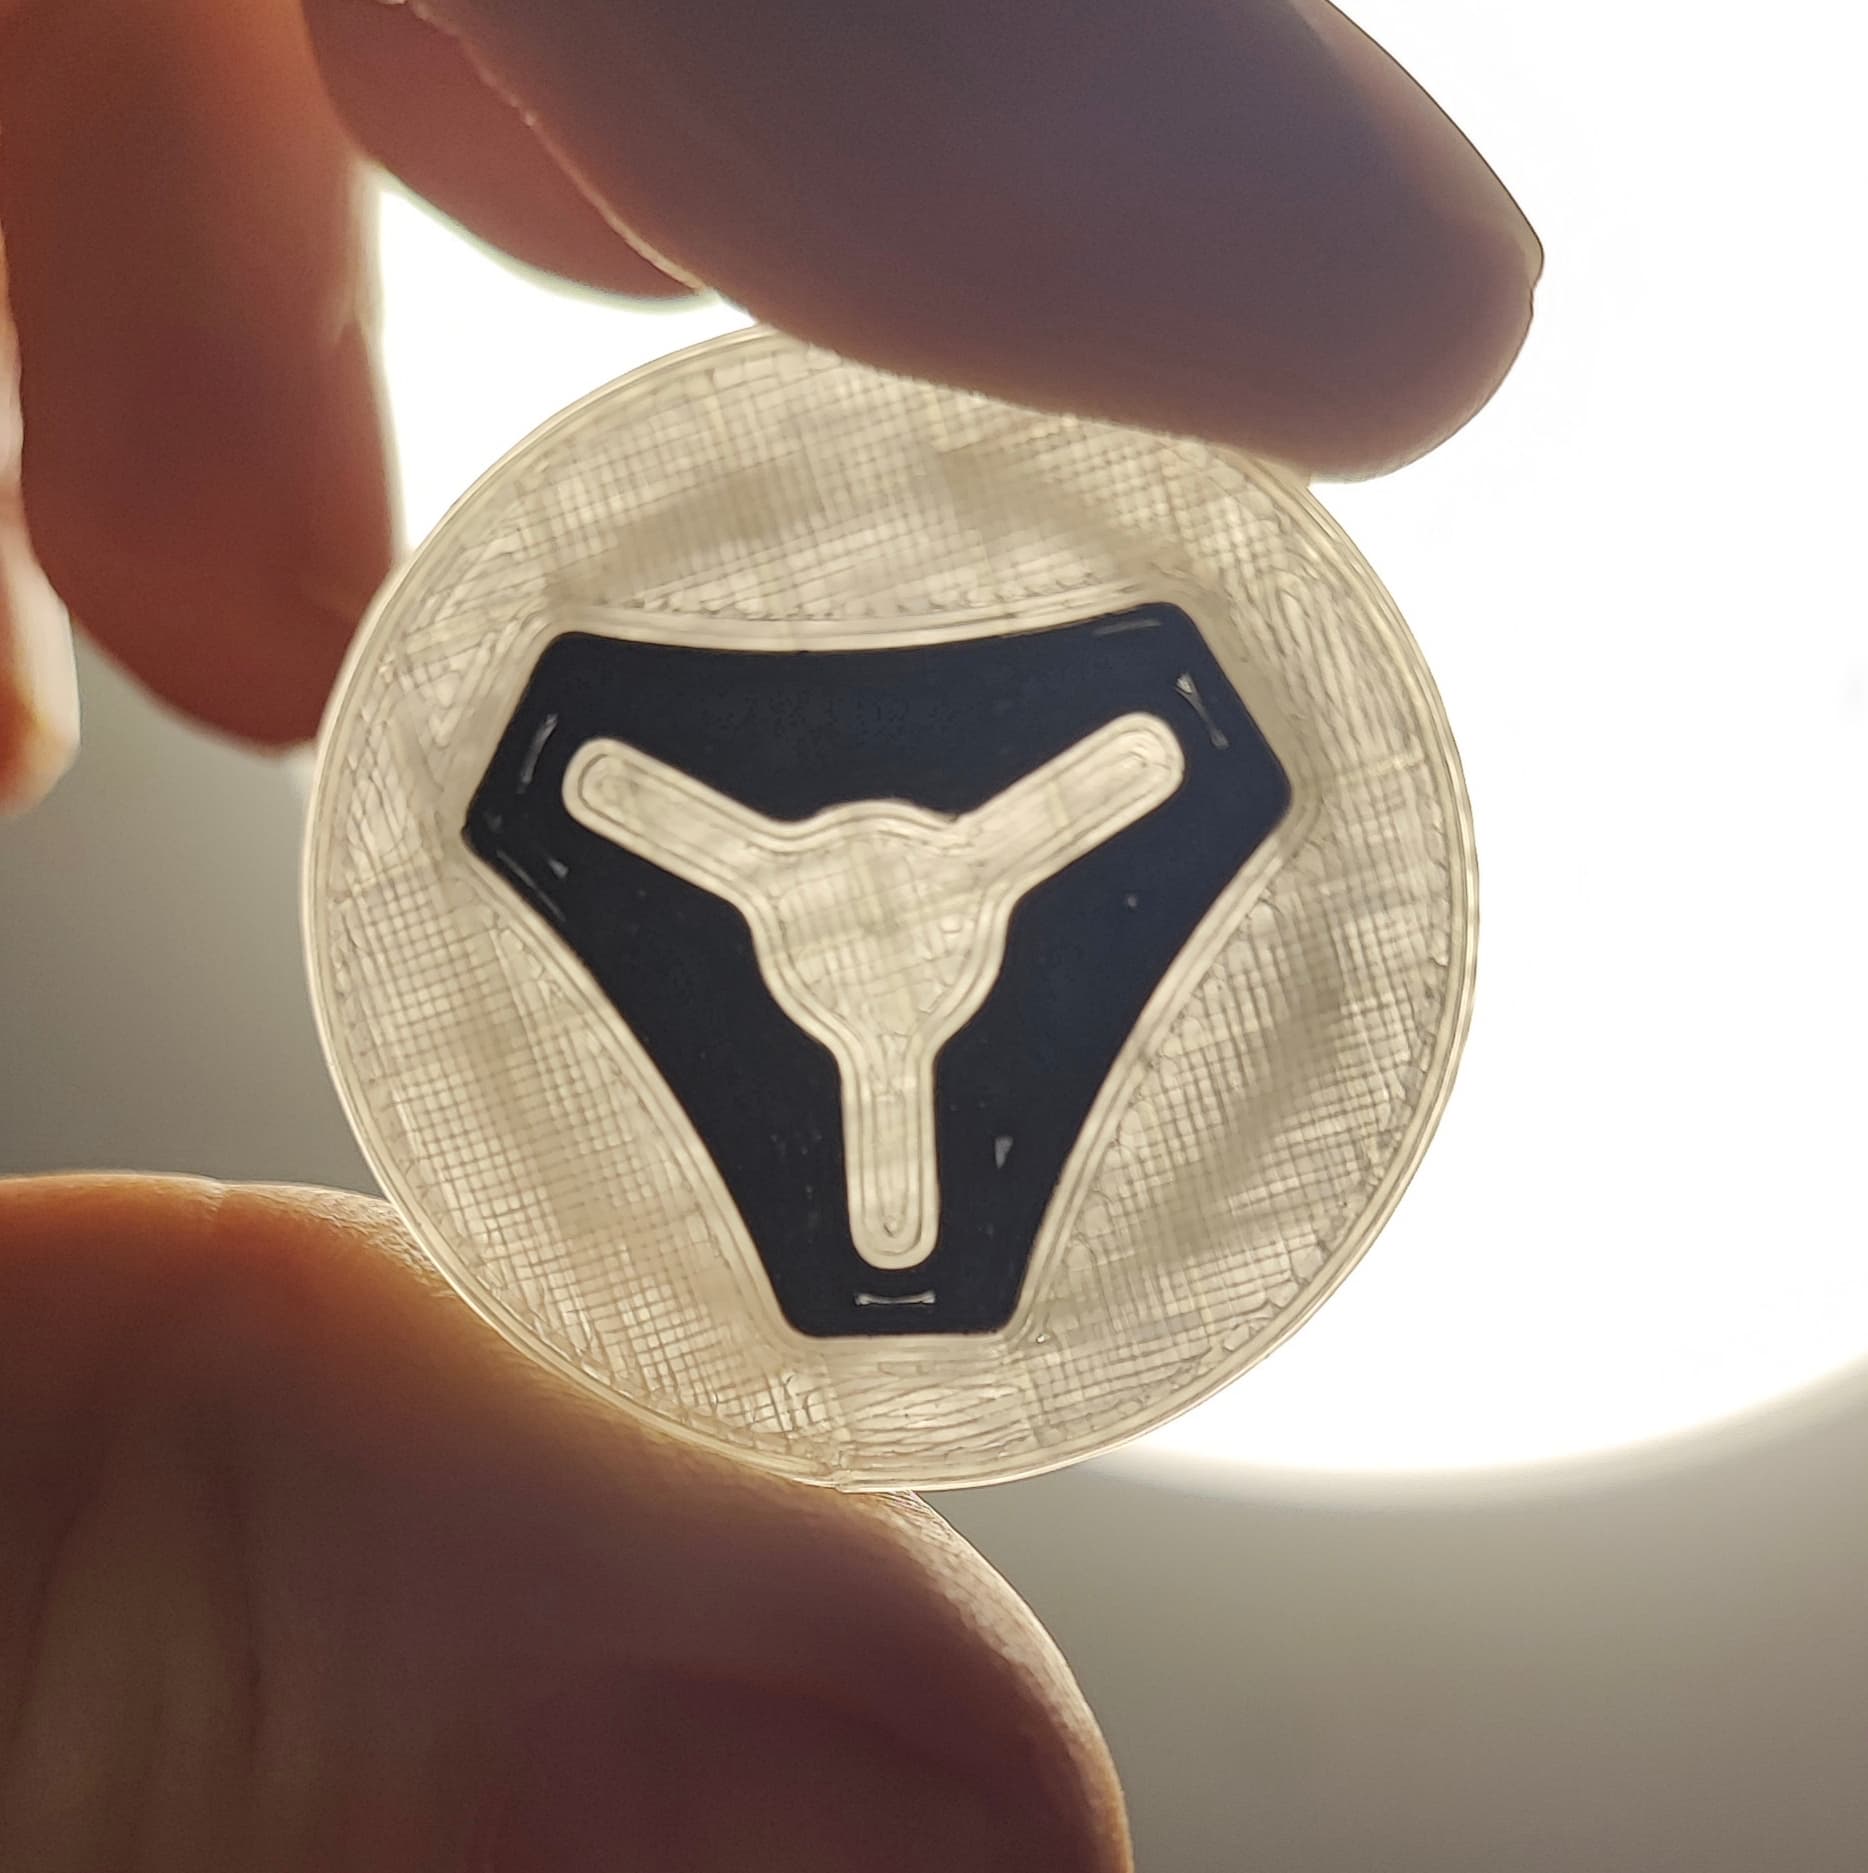
The logo has to be as thick as the cap basically so it can shine through when printed translucent.
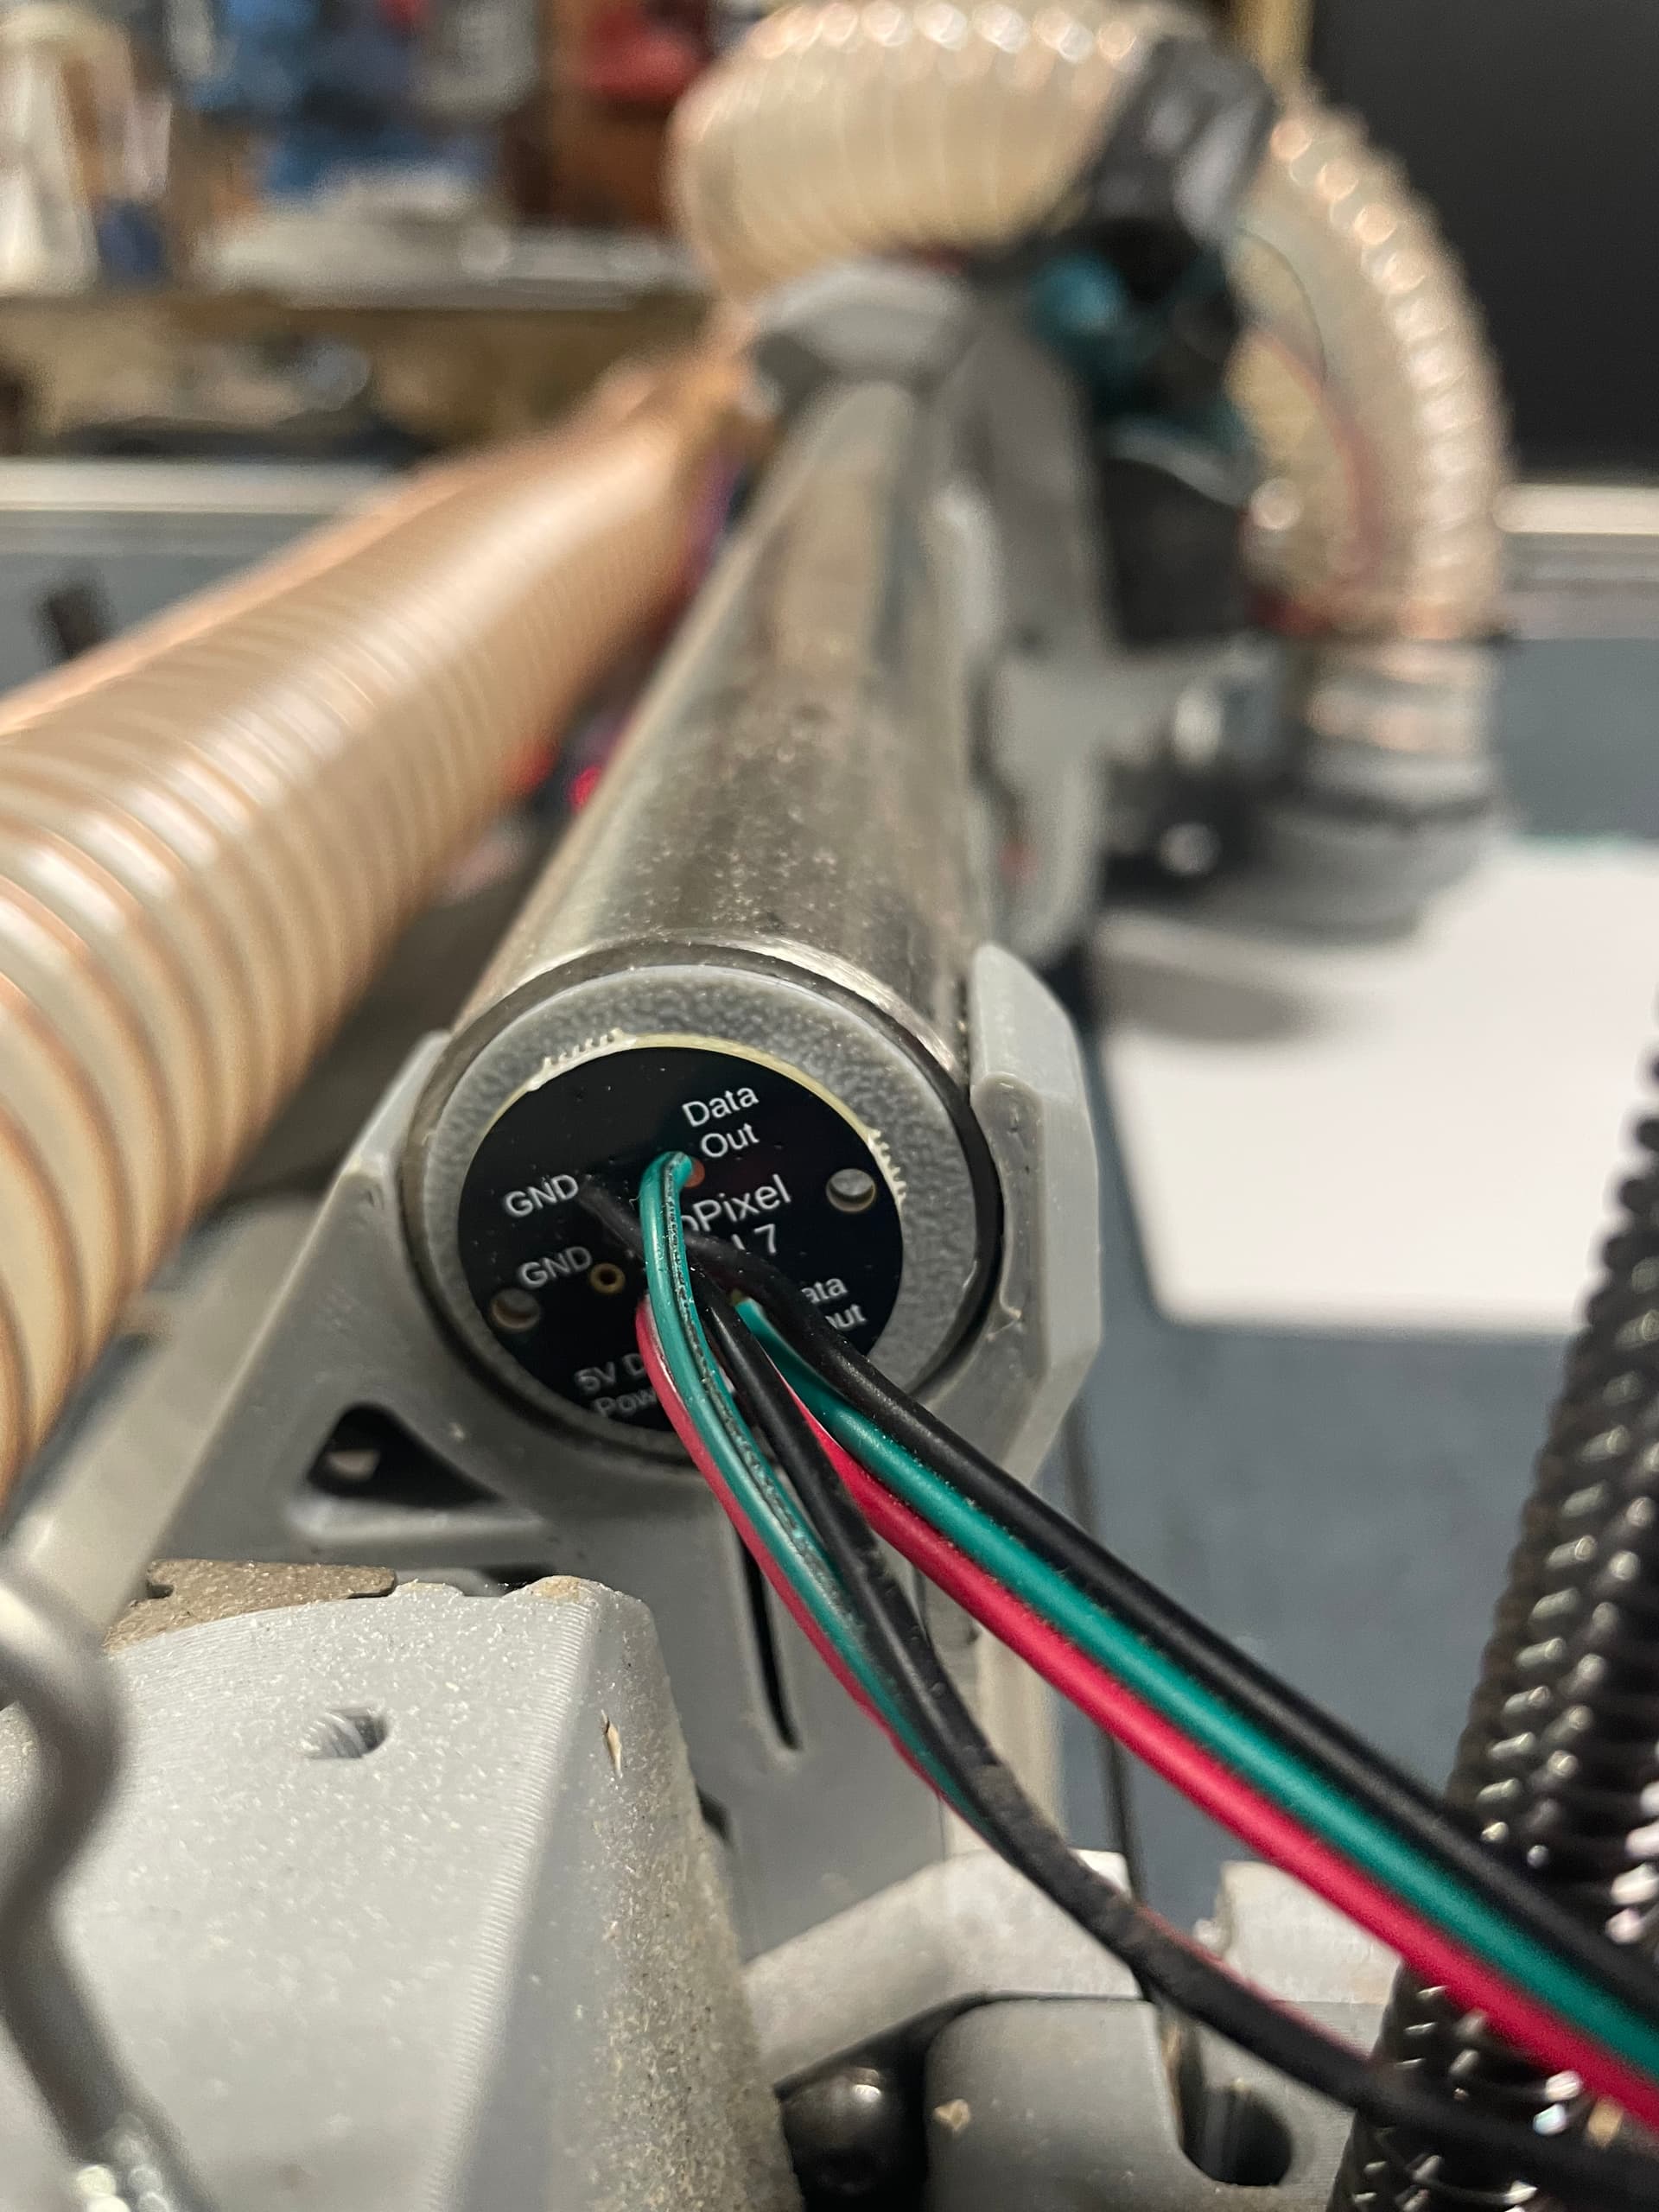
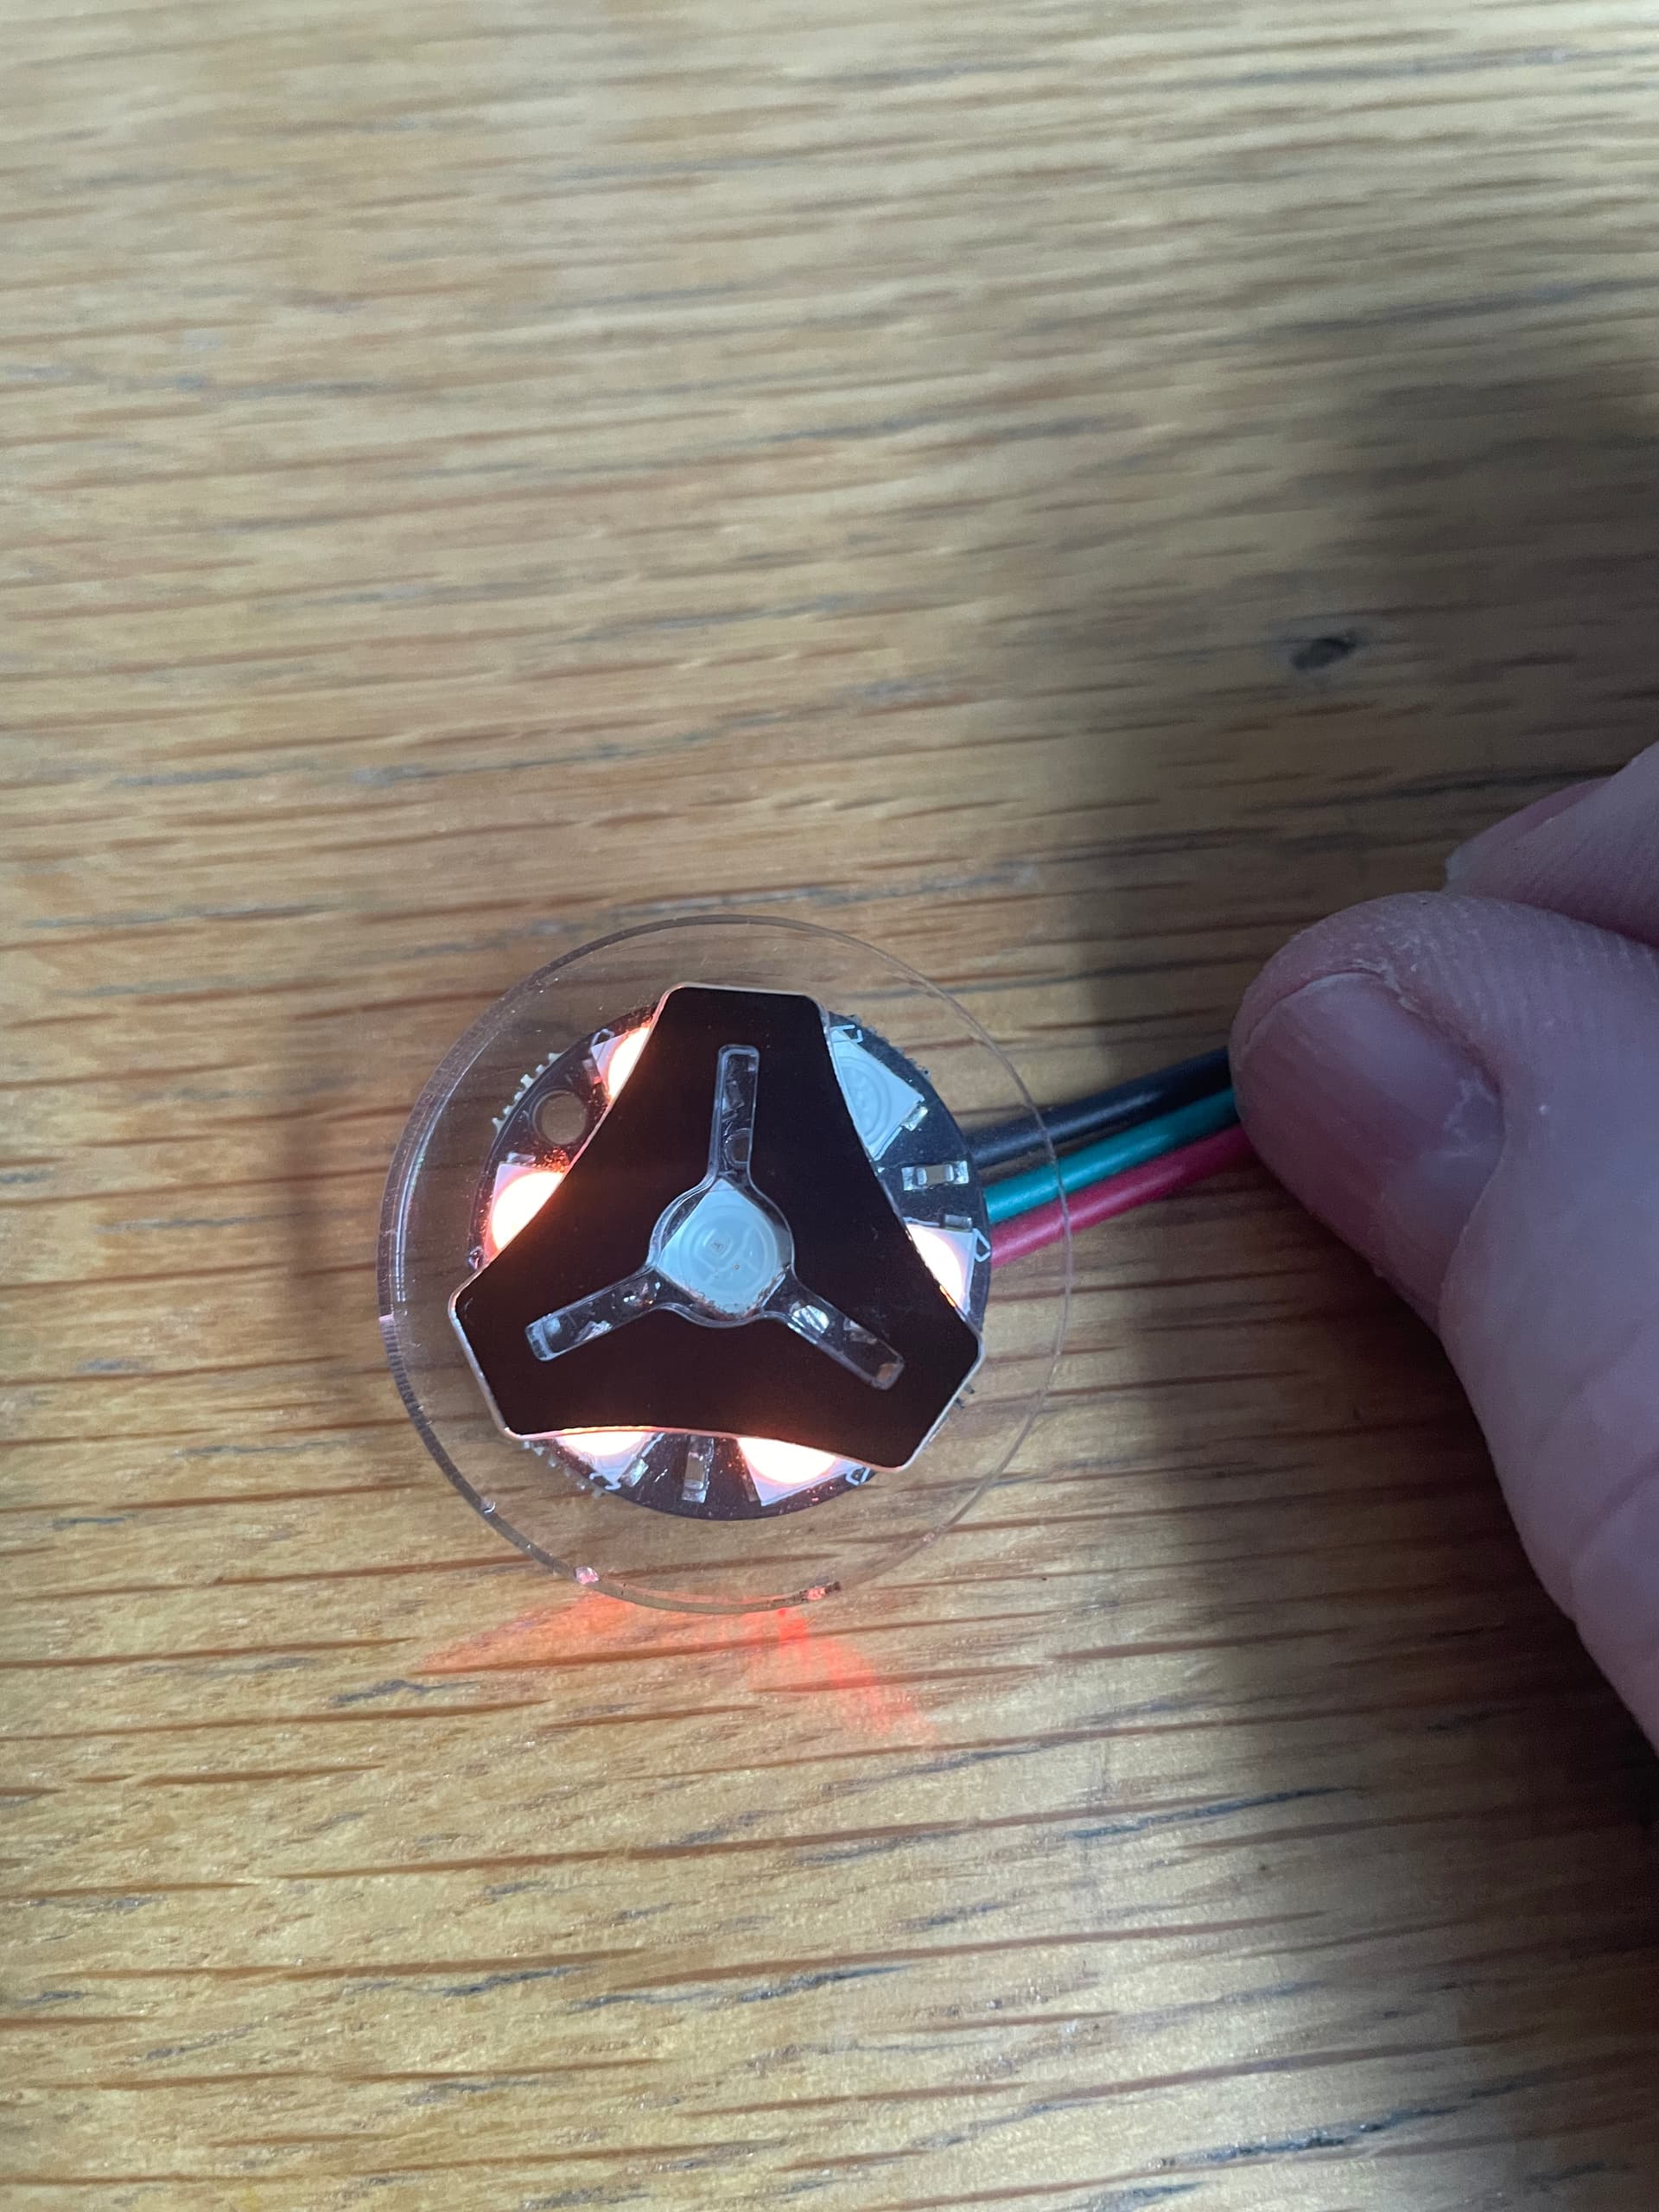
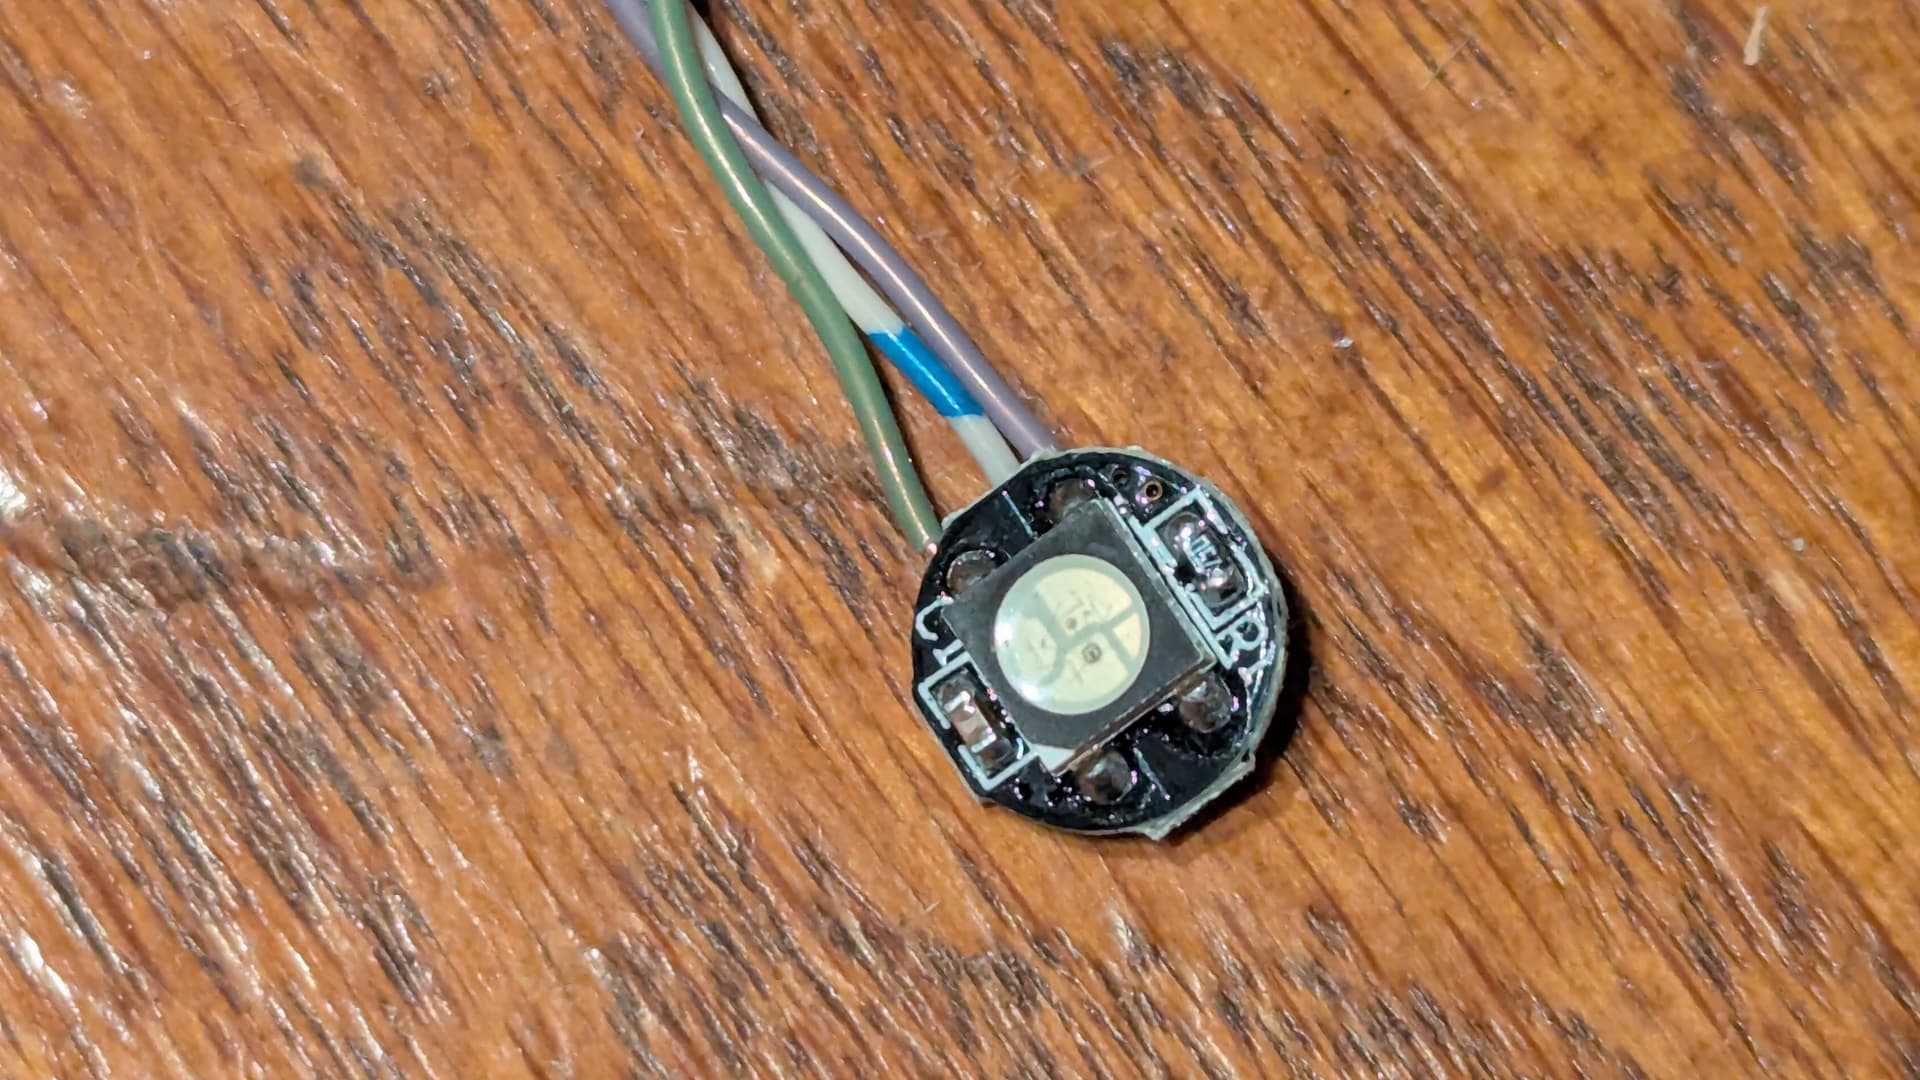
Quite hard to get a good photo of them tbh but the colors are very good. I put a short video on discord that is a little better. WLED is running on a teeny tiny esp32c3
2 Likes
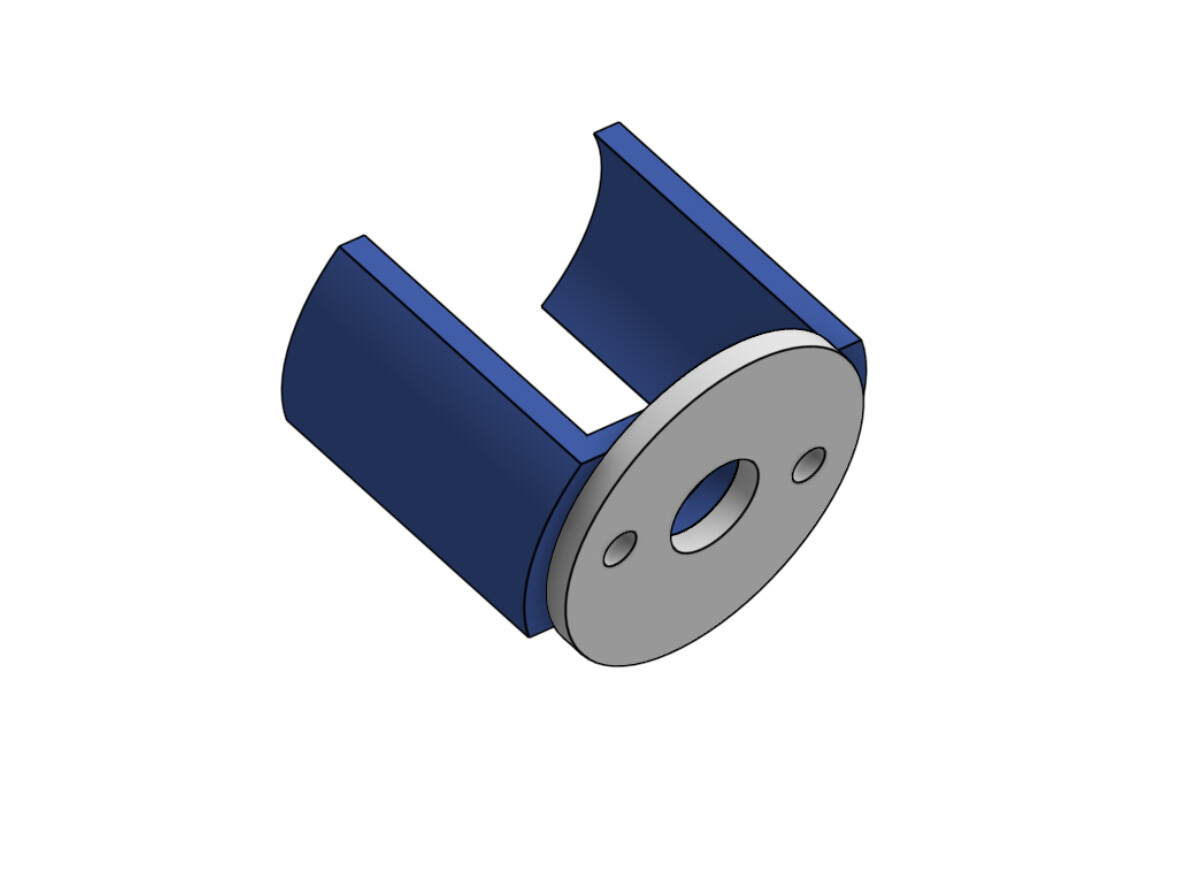
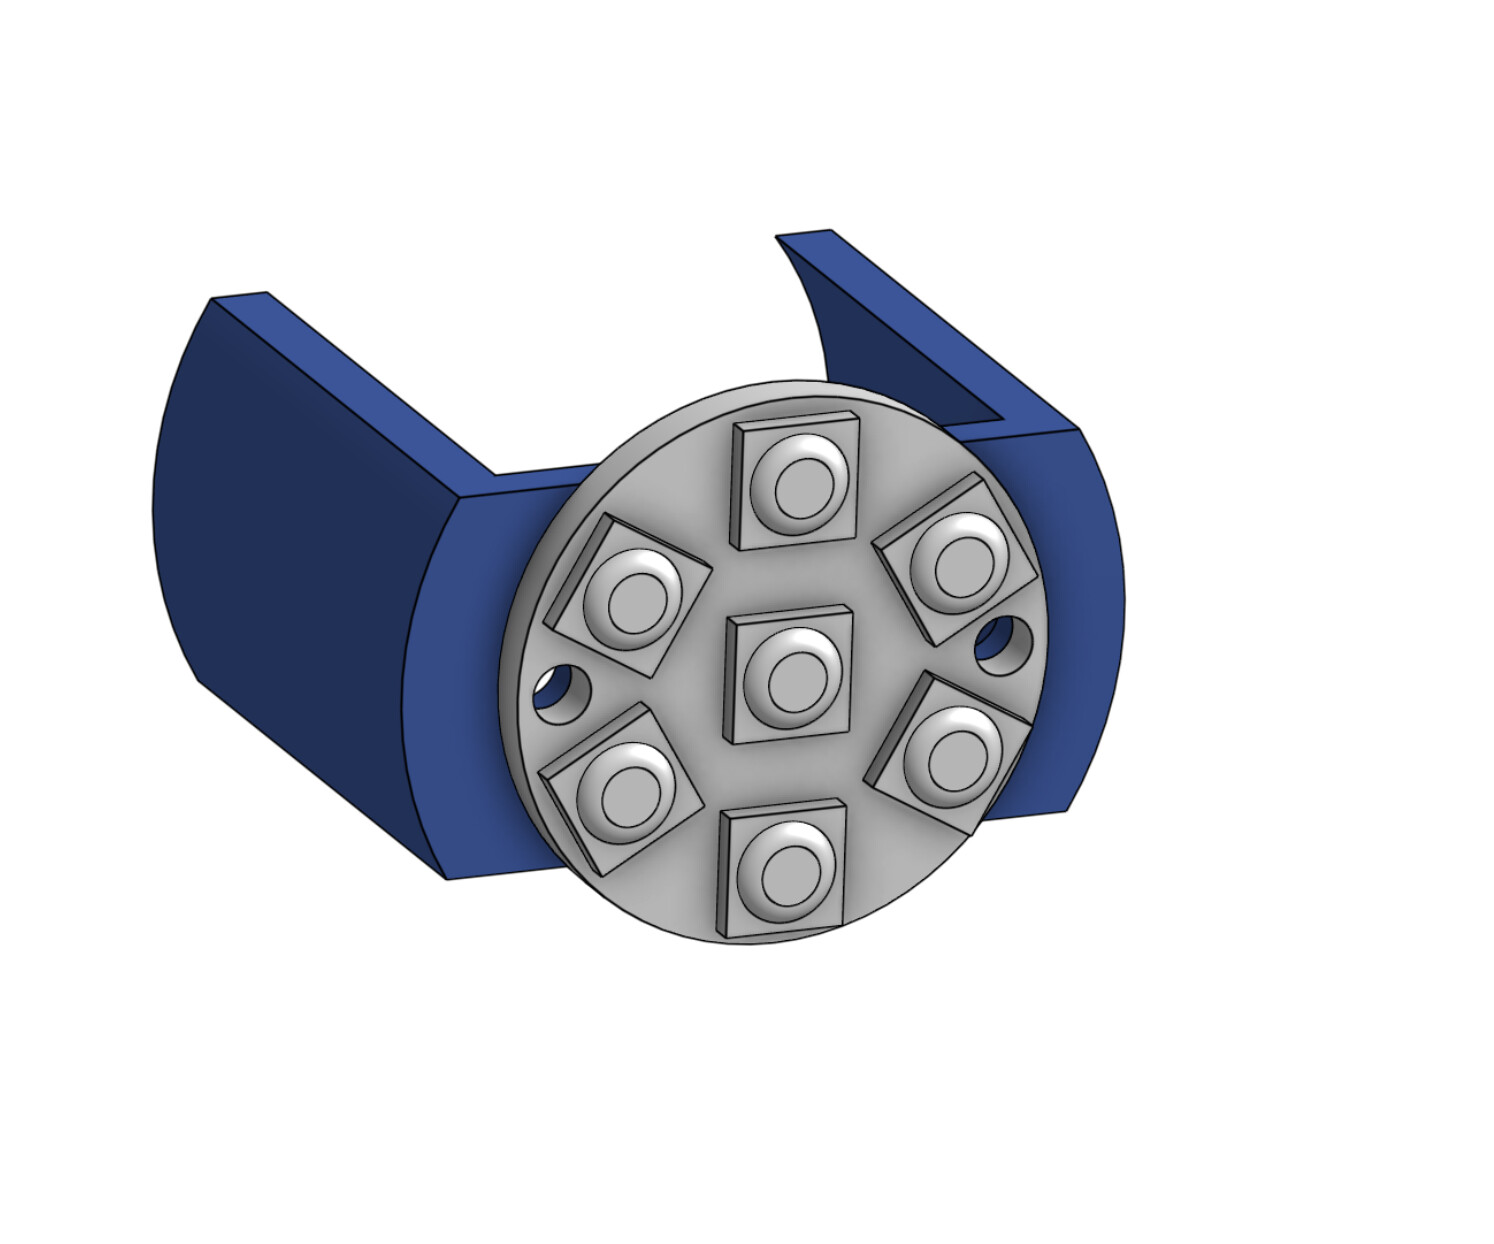
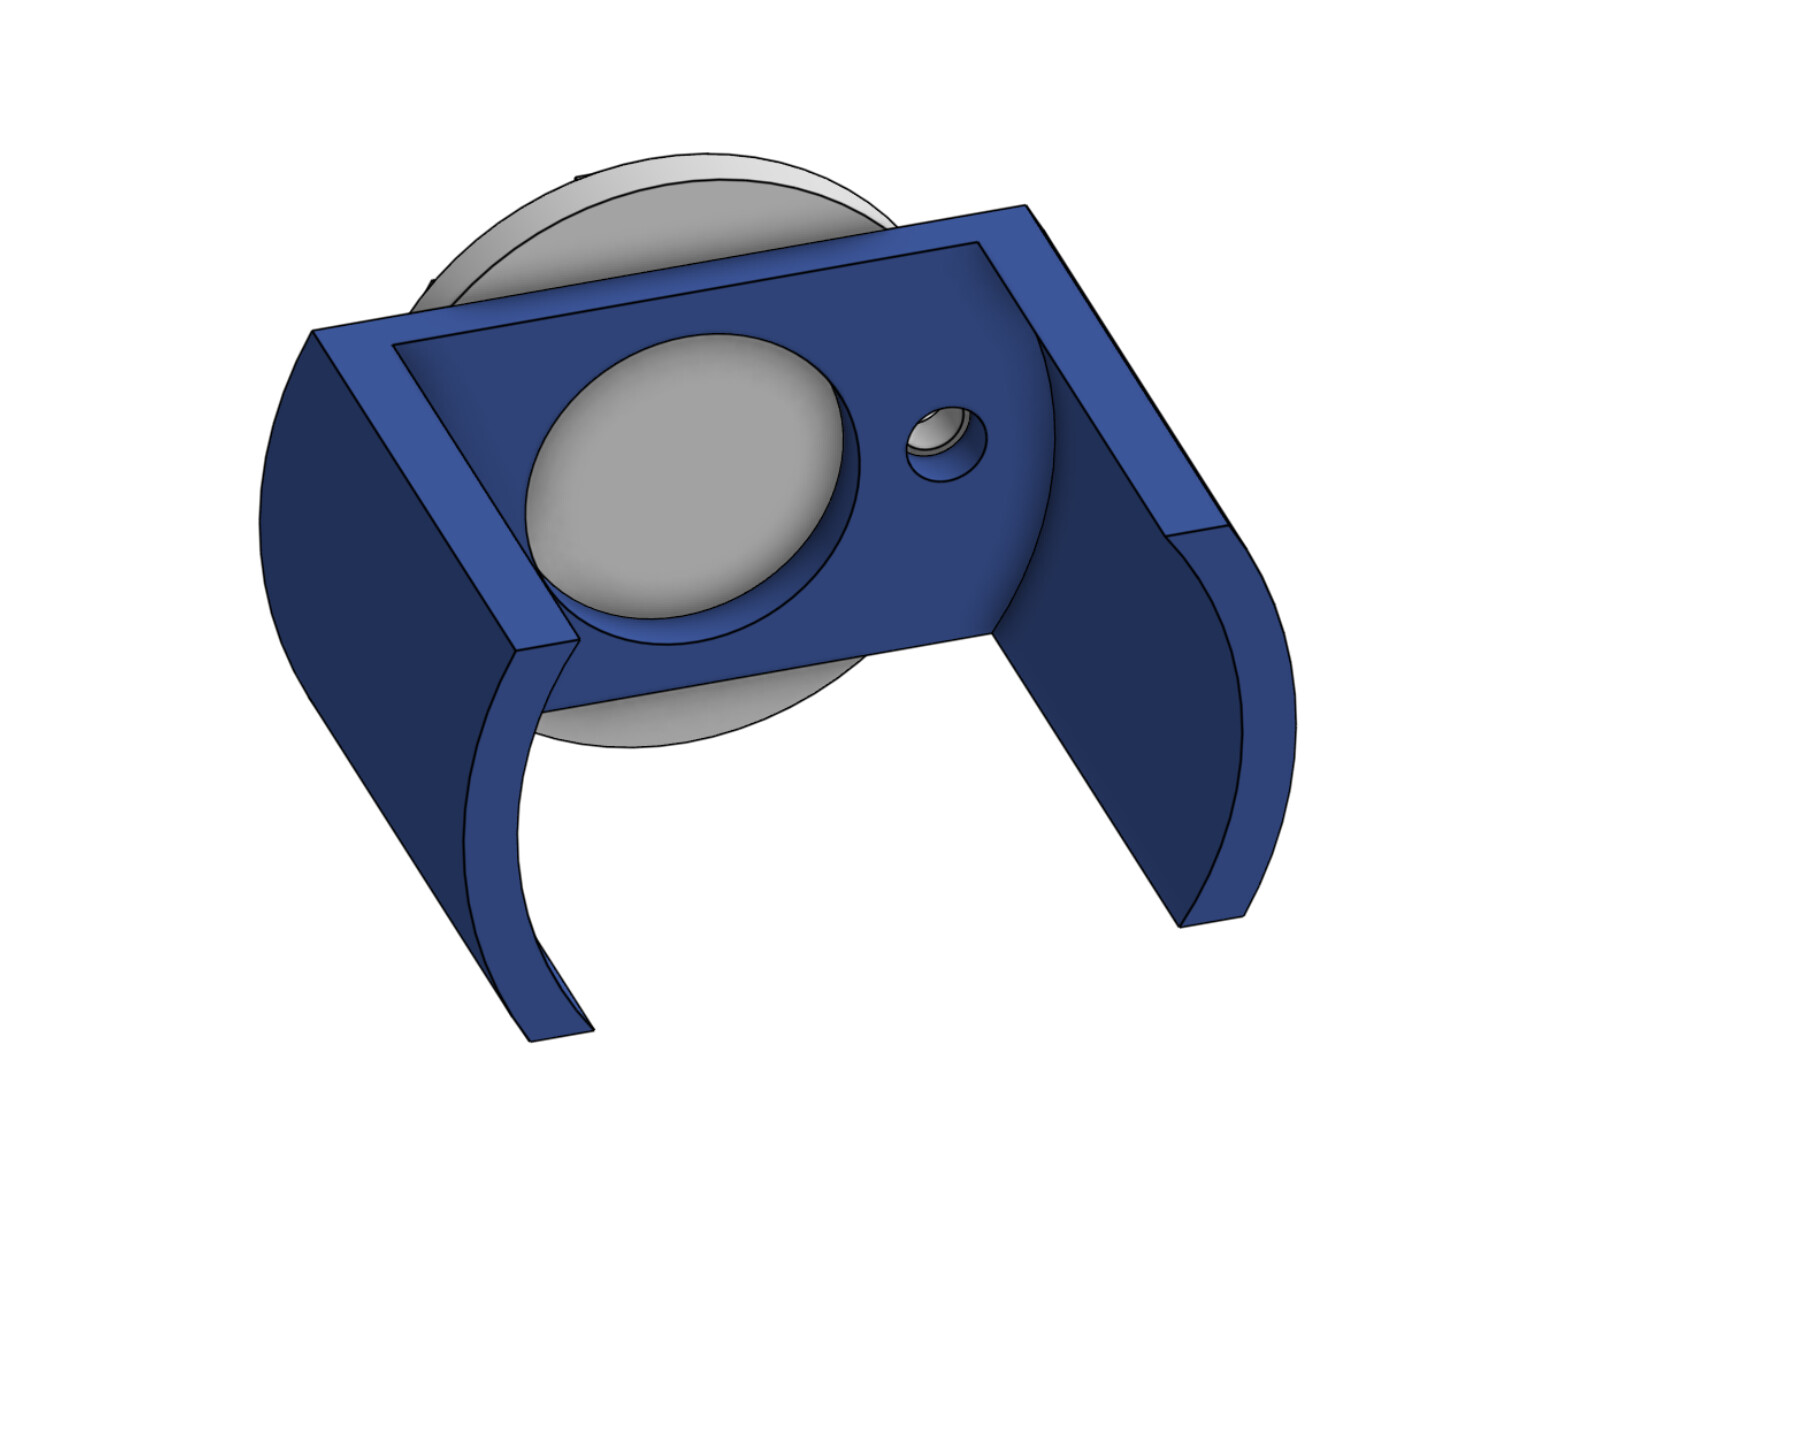
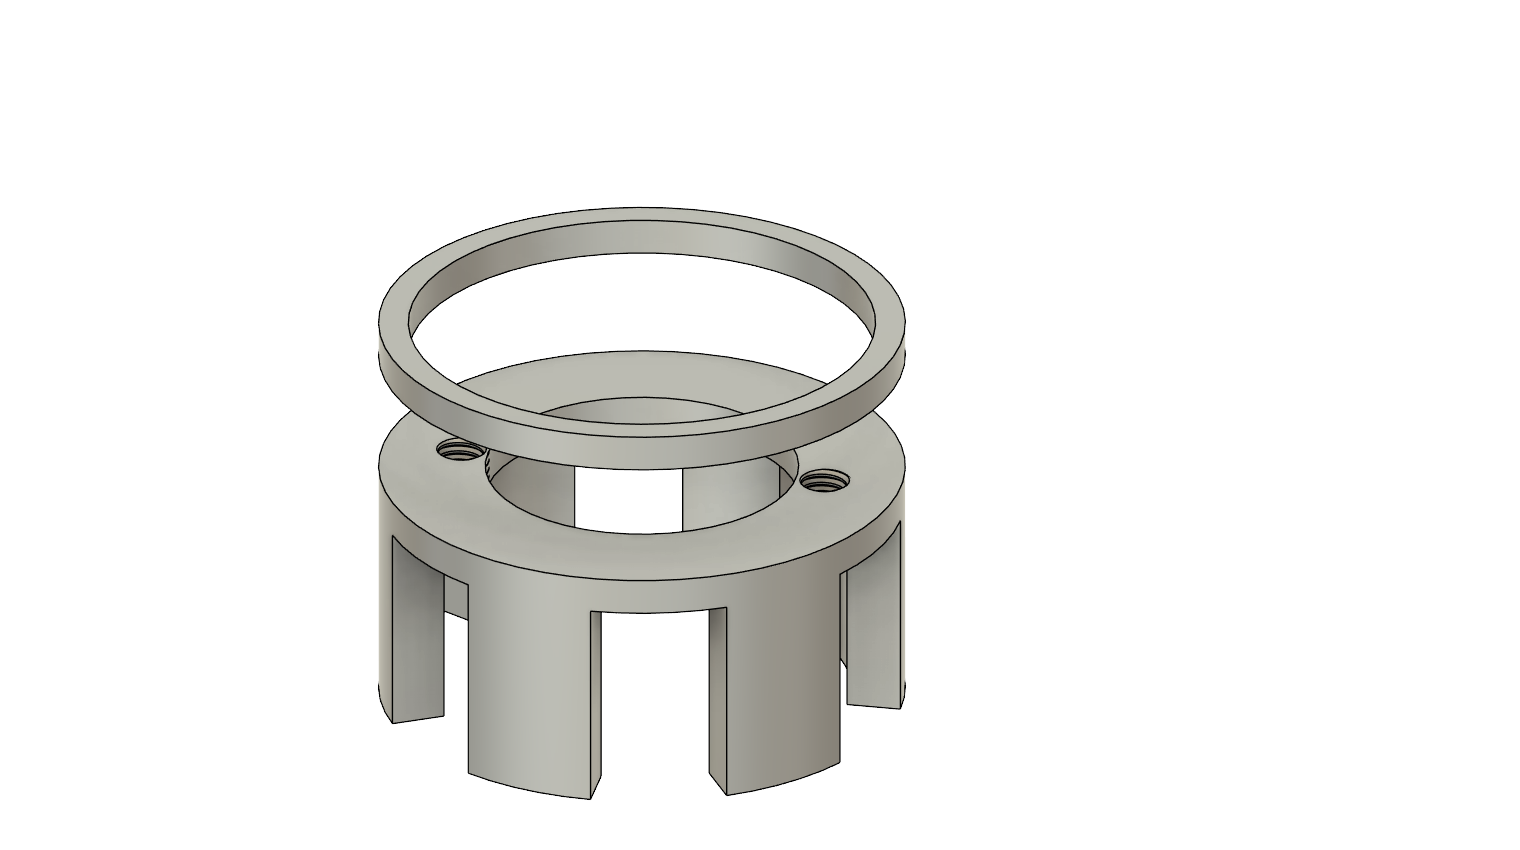
I could make a little parametric mount plug to mount the board on - so that when the dimensions of the end cap are changed the plug will match automatically. Nothing too fancy, but it could be a sloppy friction fit - I’d even just hot glue the board to it.
Cool!
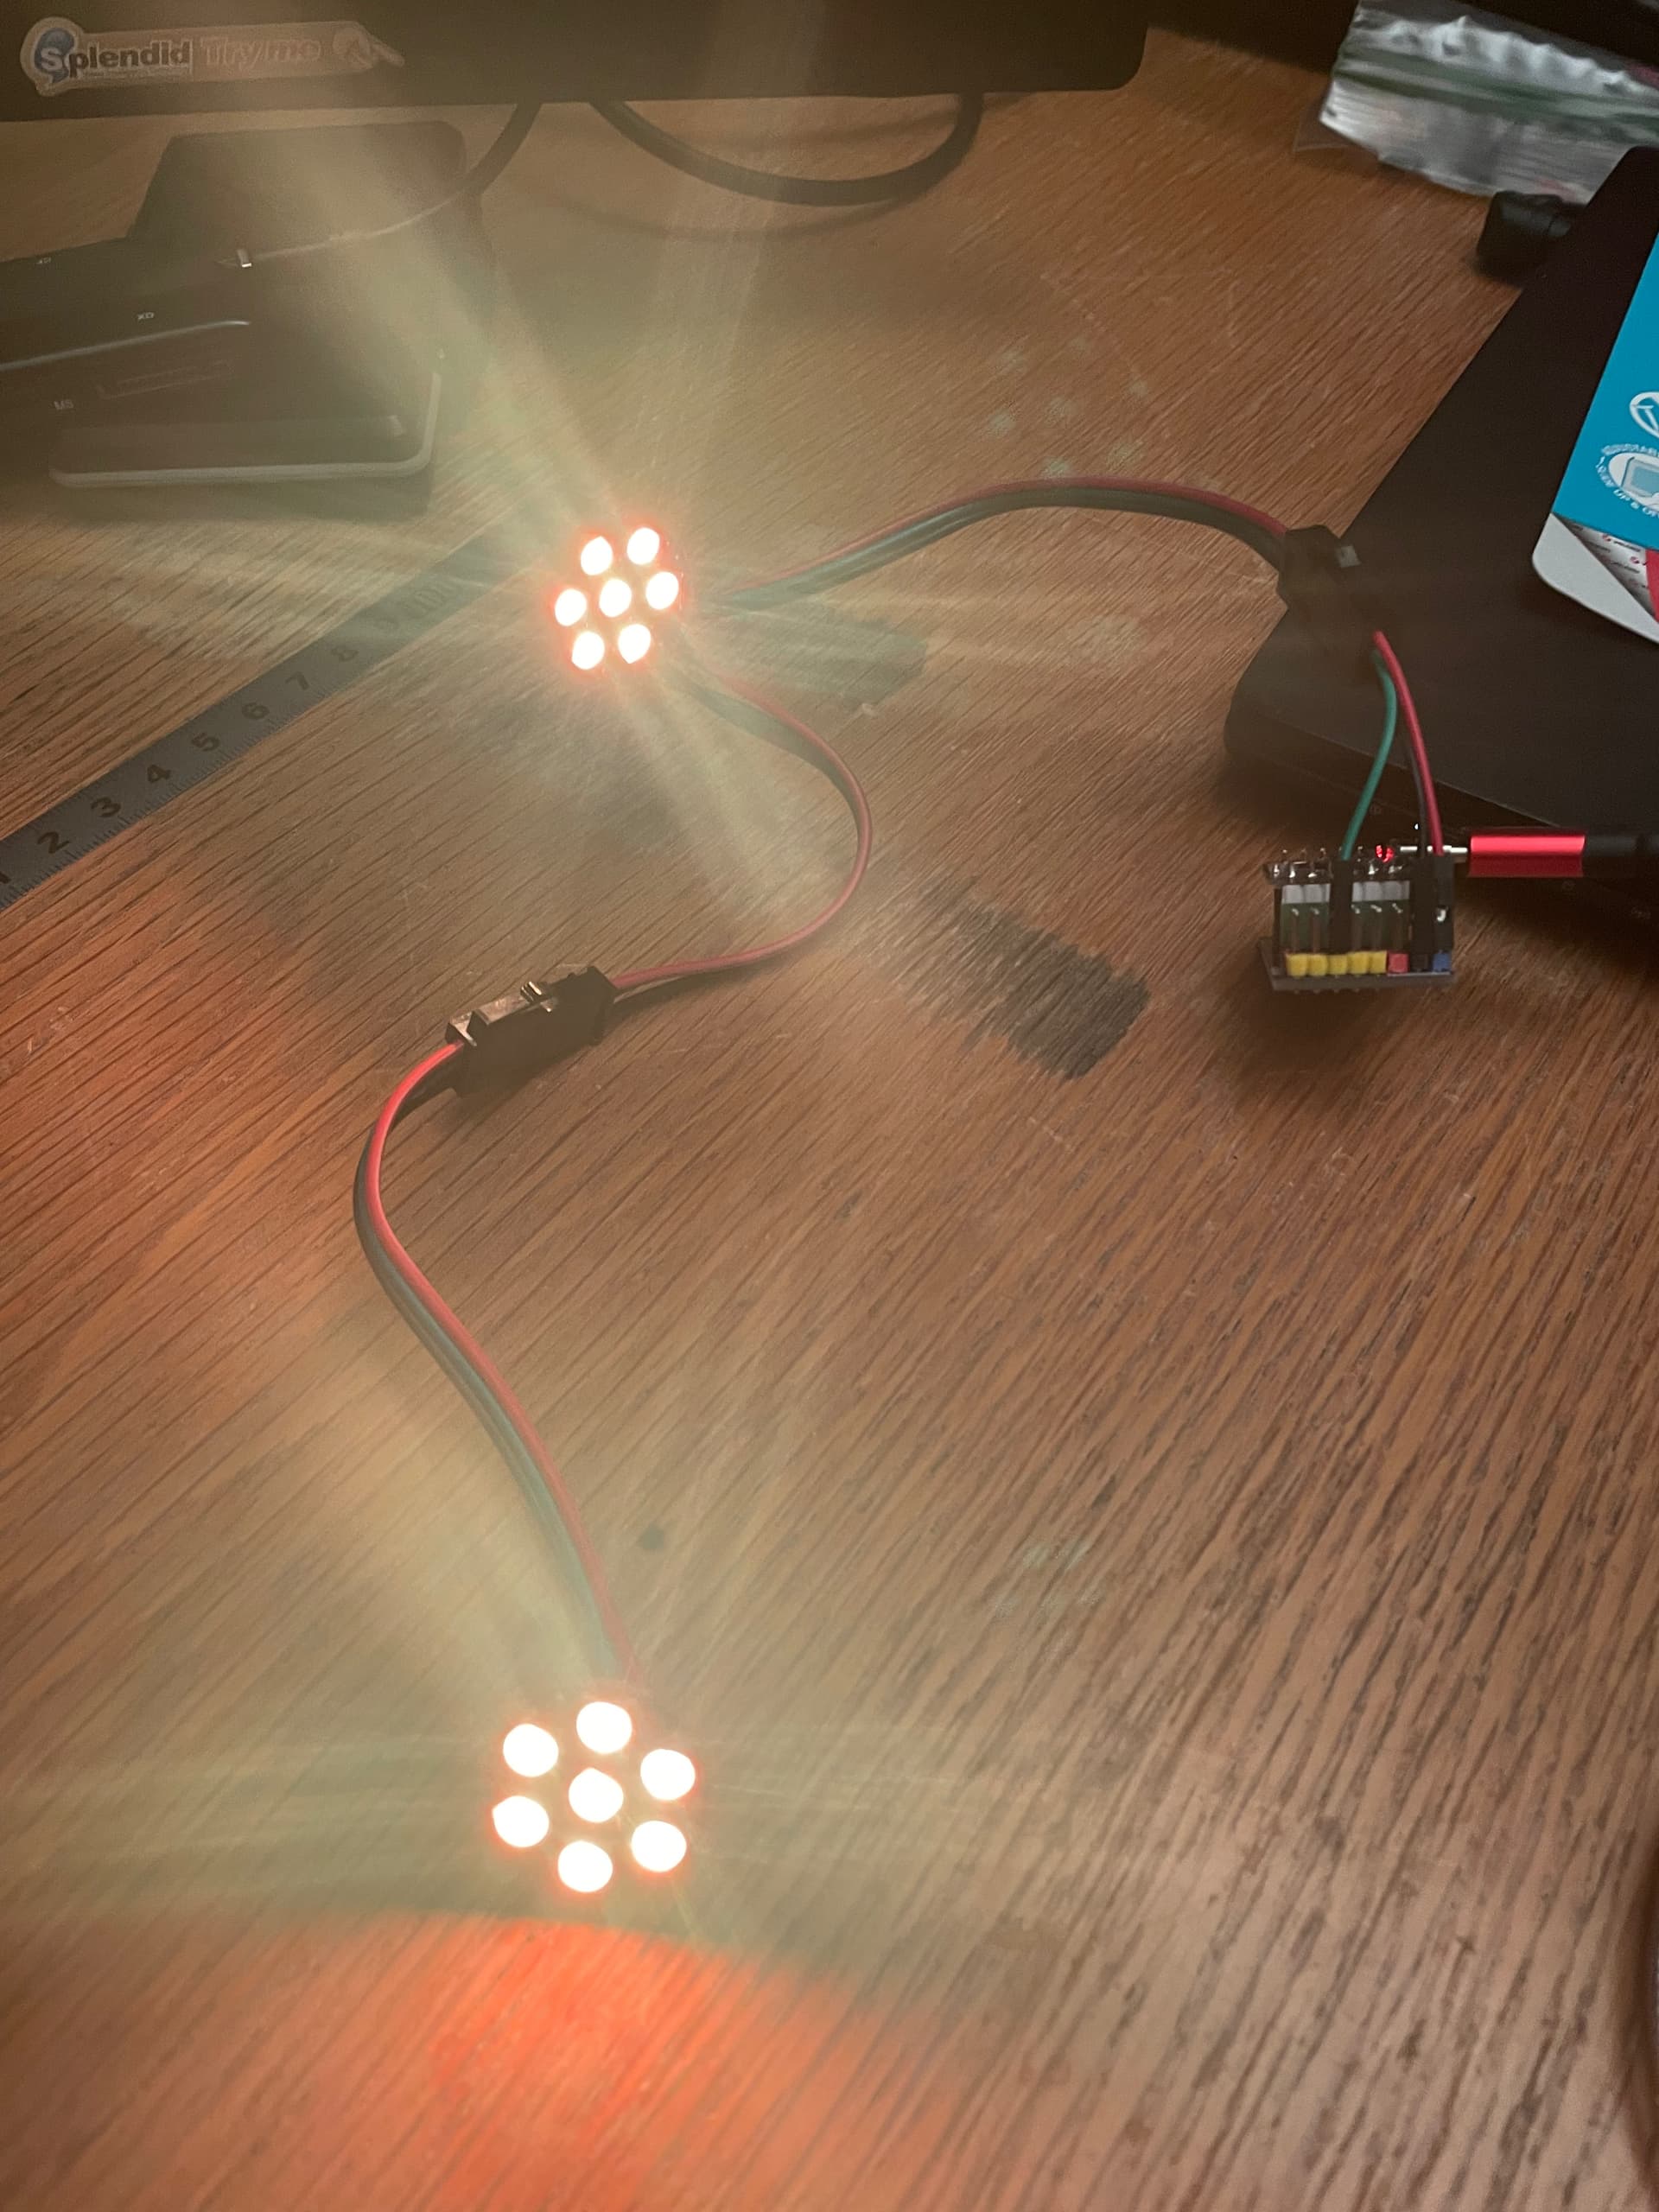
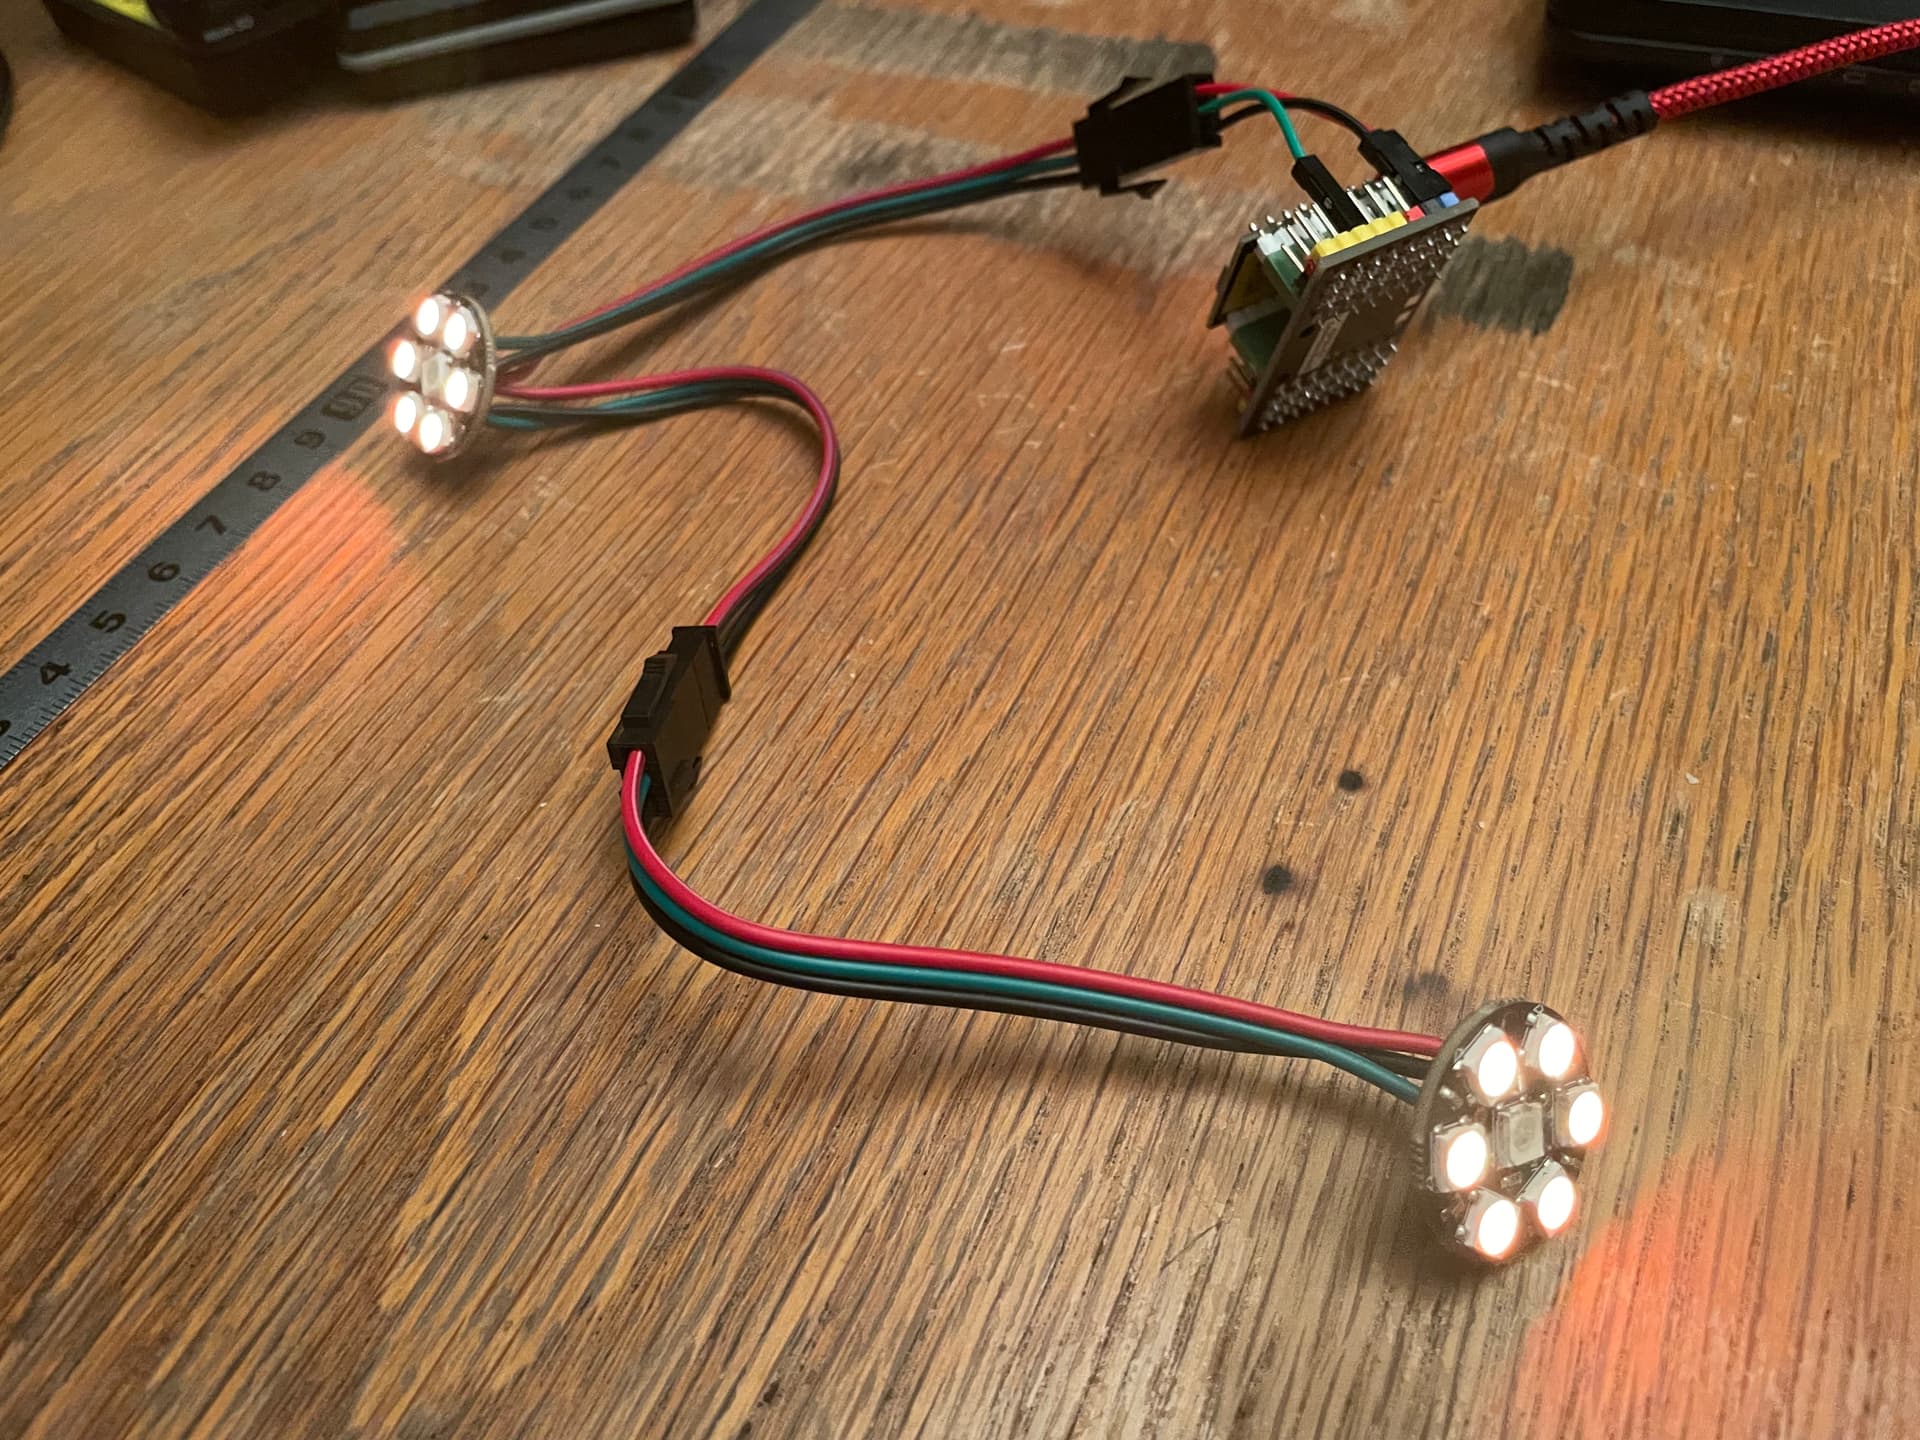
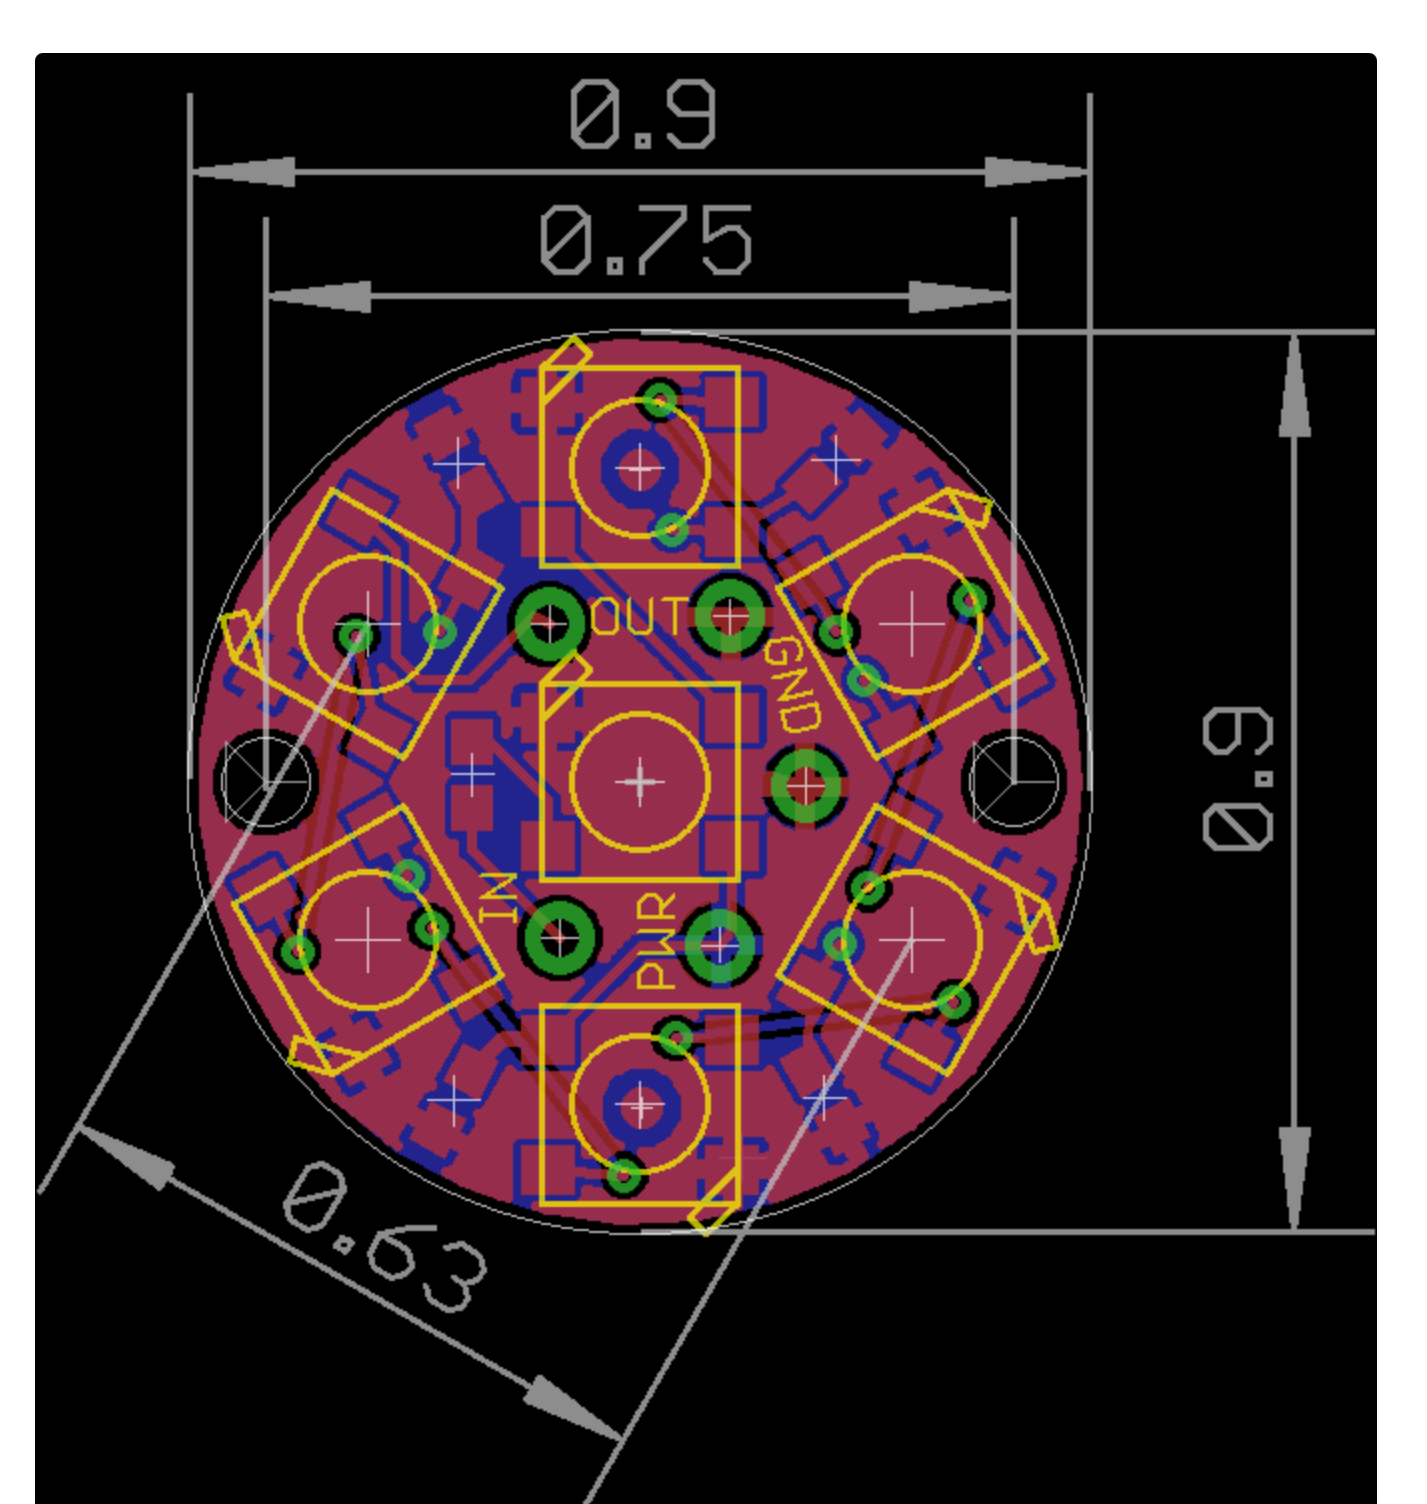
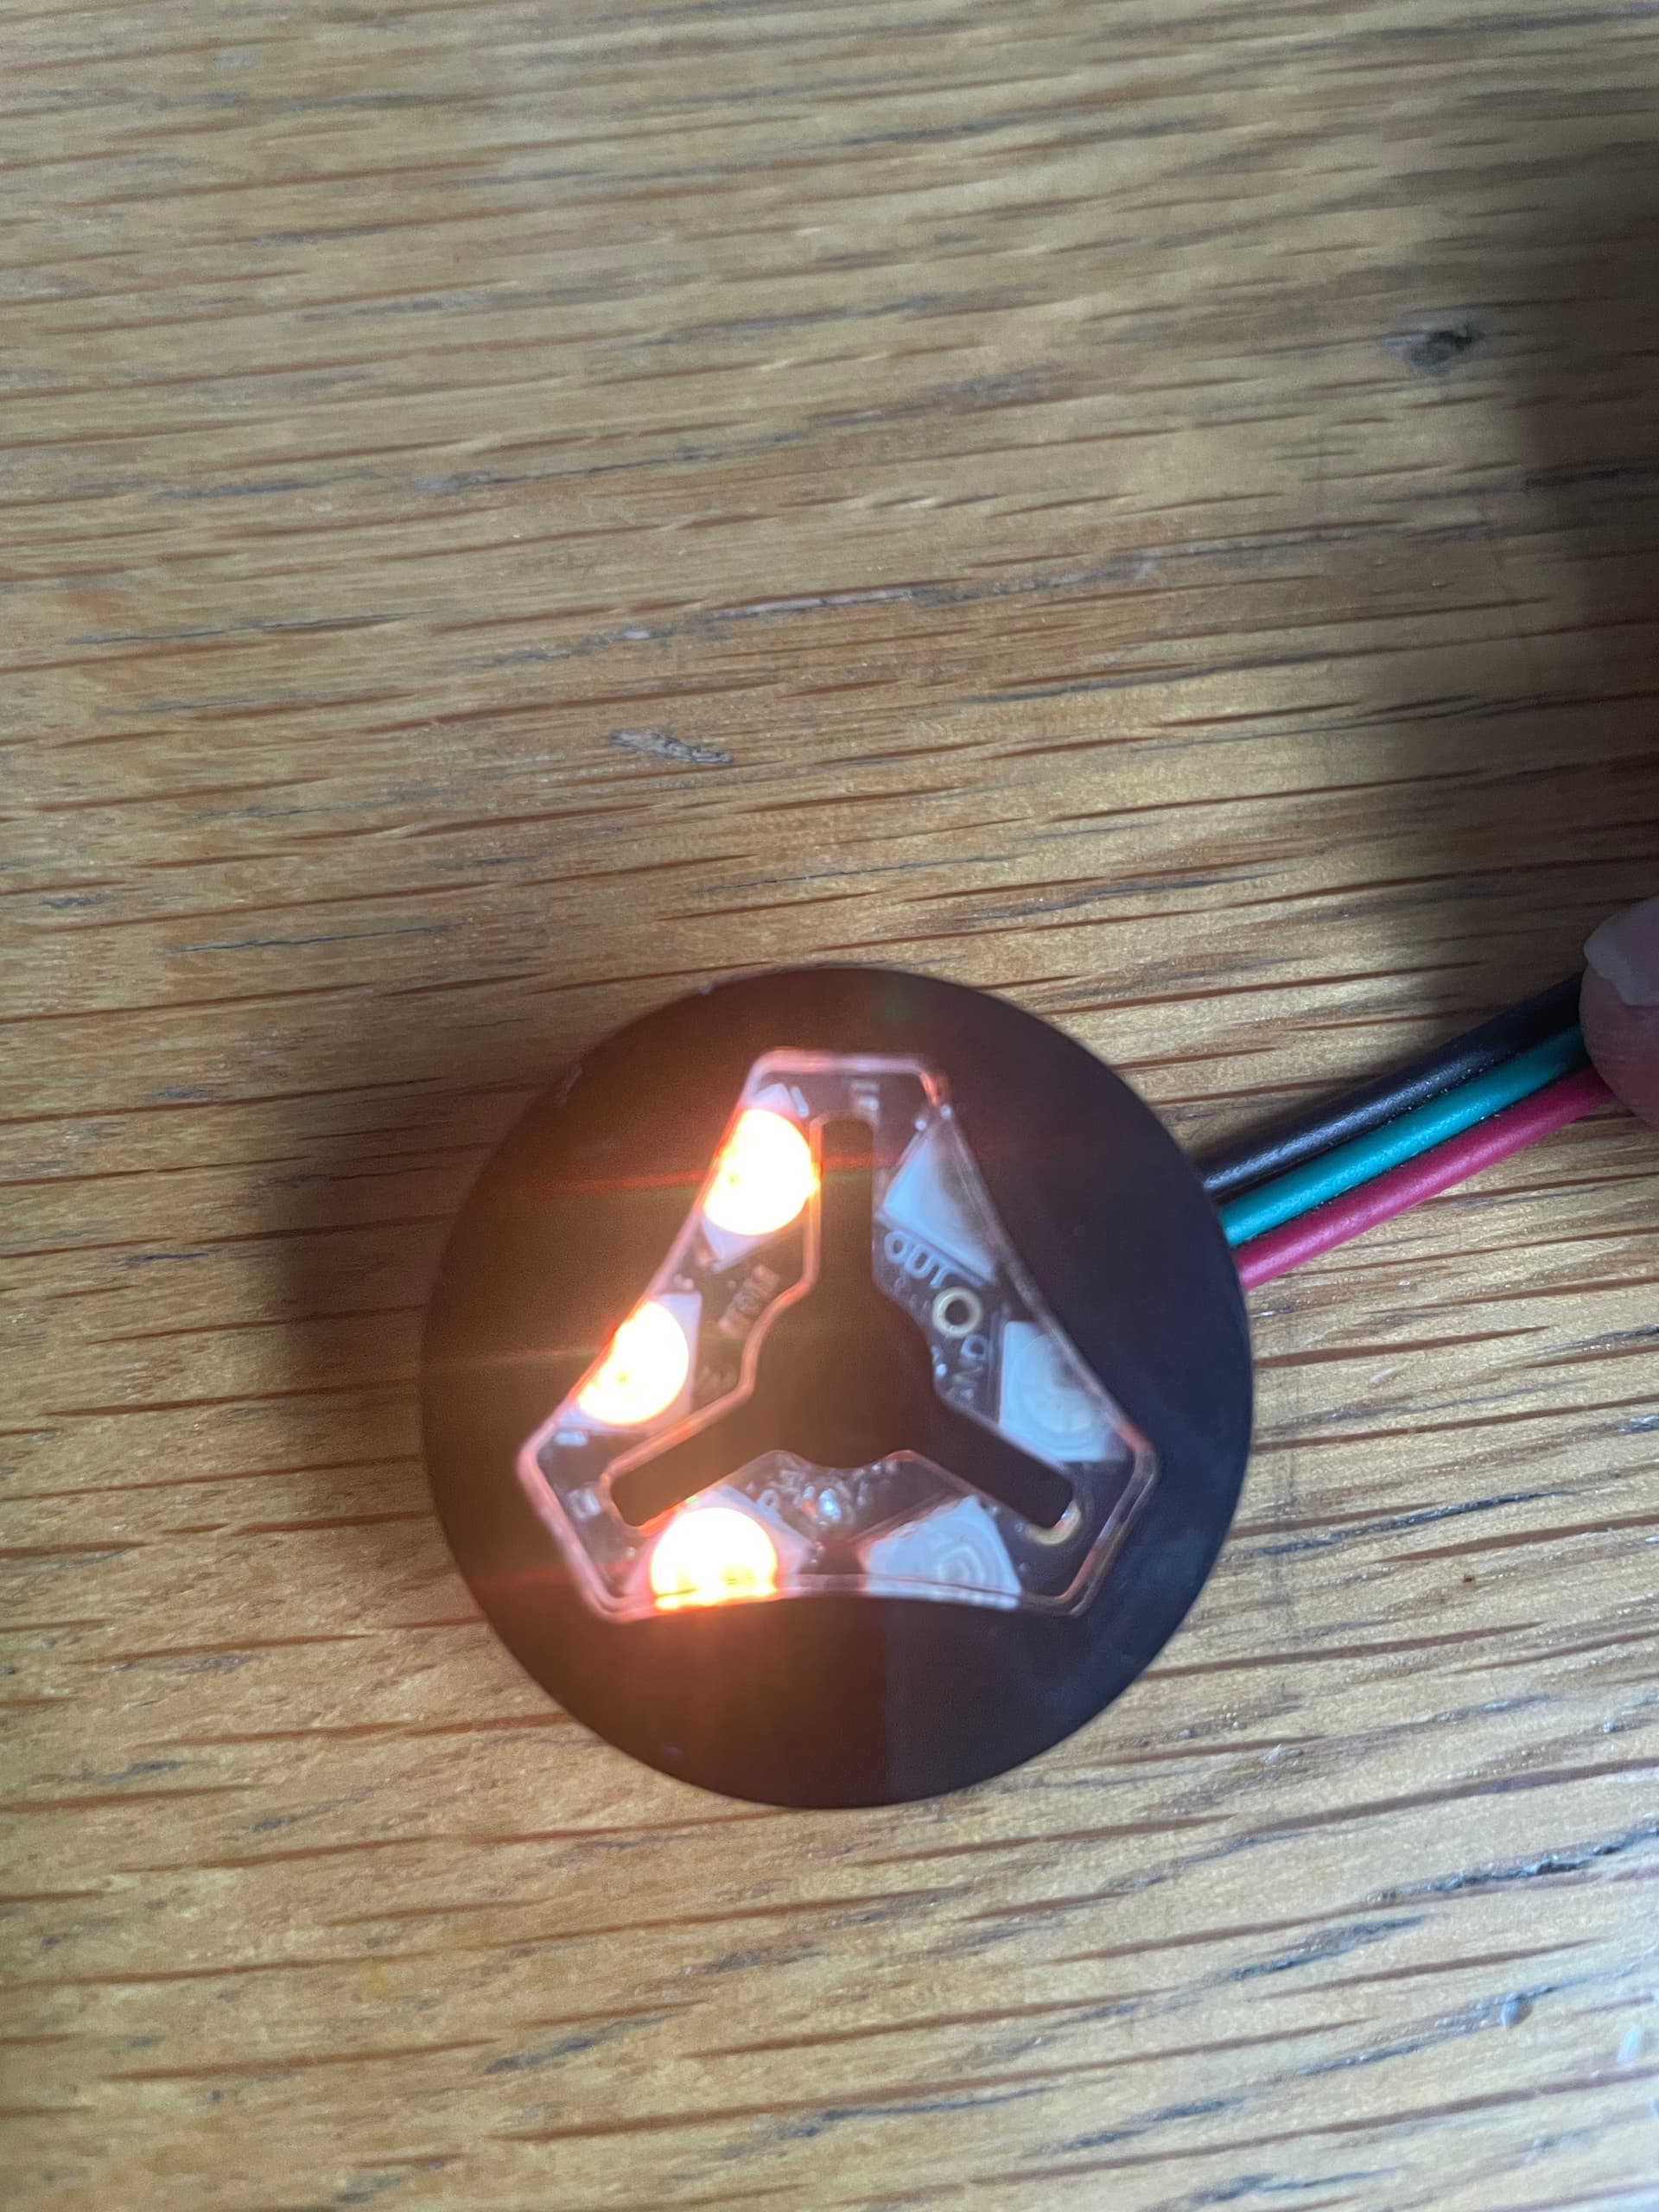
I should’ve mentioned already- the board is from adafruit so not hard to get NeoPixel Jewel - 7 x 5050 RGB LED with Integrated Drivers : ID 2226 : Adafruit Industries, Unique & fun DIY electronics and kits
Hot glue would probably be okay - those LEDs can get pretty hot though if you’re going full brightness, not sure if it’d be enough to soften it. Only one way to find out!
1 Like
Thanks heaps for that.- no need for hot glue the screw holes are pretty clear - will size them for 3mm dia and reference this thread. Hopefully I’ll get the drawings refined after feedback from @Sam_Tritto and @Tokoloshe and get them uploaded tonight.
2 Likes
Here’s my rough thinking - the backing bit doesn’t even need to be firm - I’ve allowed 0.5 mm clearance - it can’t go anywhere once it’s in position, and it’s unlikely that the wiring load will be symmetrical so there should be enough friction to hold it in place -
Does anyone have any thoughts?
1 Like
1 Like
I think I prefer the second one but it maybe different in the tube. Maybe need to play with diffusion too
Moving the light further away will help with diffusion - currently I have 0.6mm which is only three layers and I wonder if 1mm would be better? I’d welcome any thoughts before I finalise the upload -
I think 3 layers all aligned the same way and possibly with ironing would be the way to go. You don’t want any infill
You right about backing off the light source. Did a quick test just through paper with about 10mm spacing and it looks much more blended.
1 Like
How big is it? My guess is it’ll be fine.
1 Like