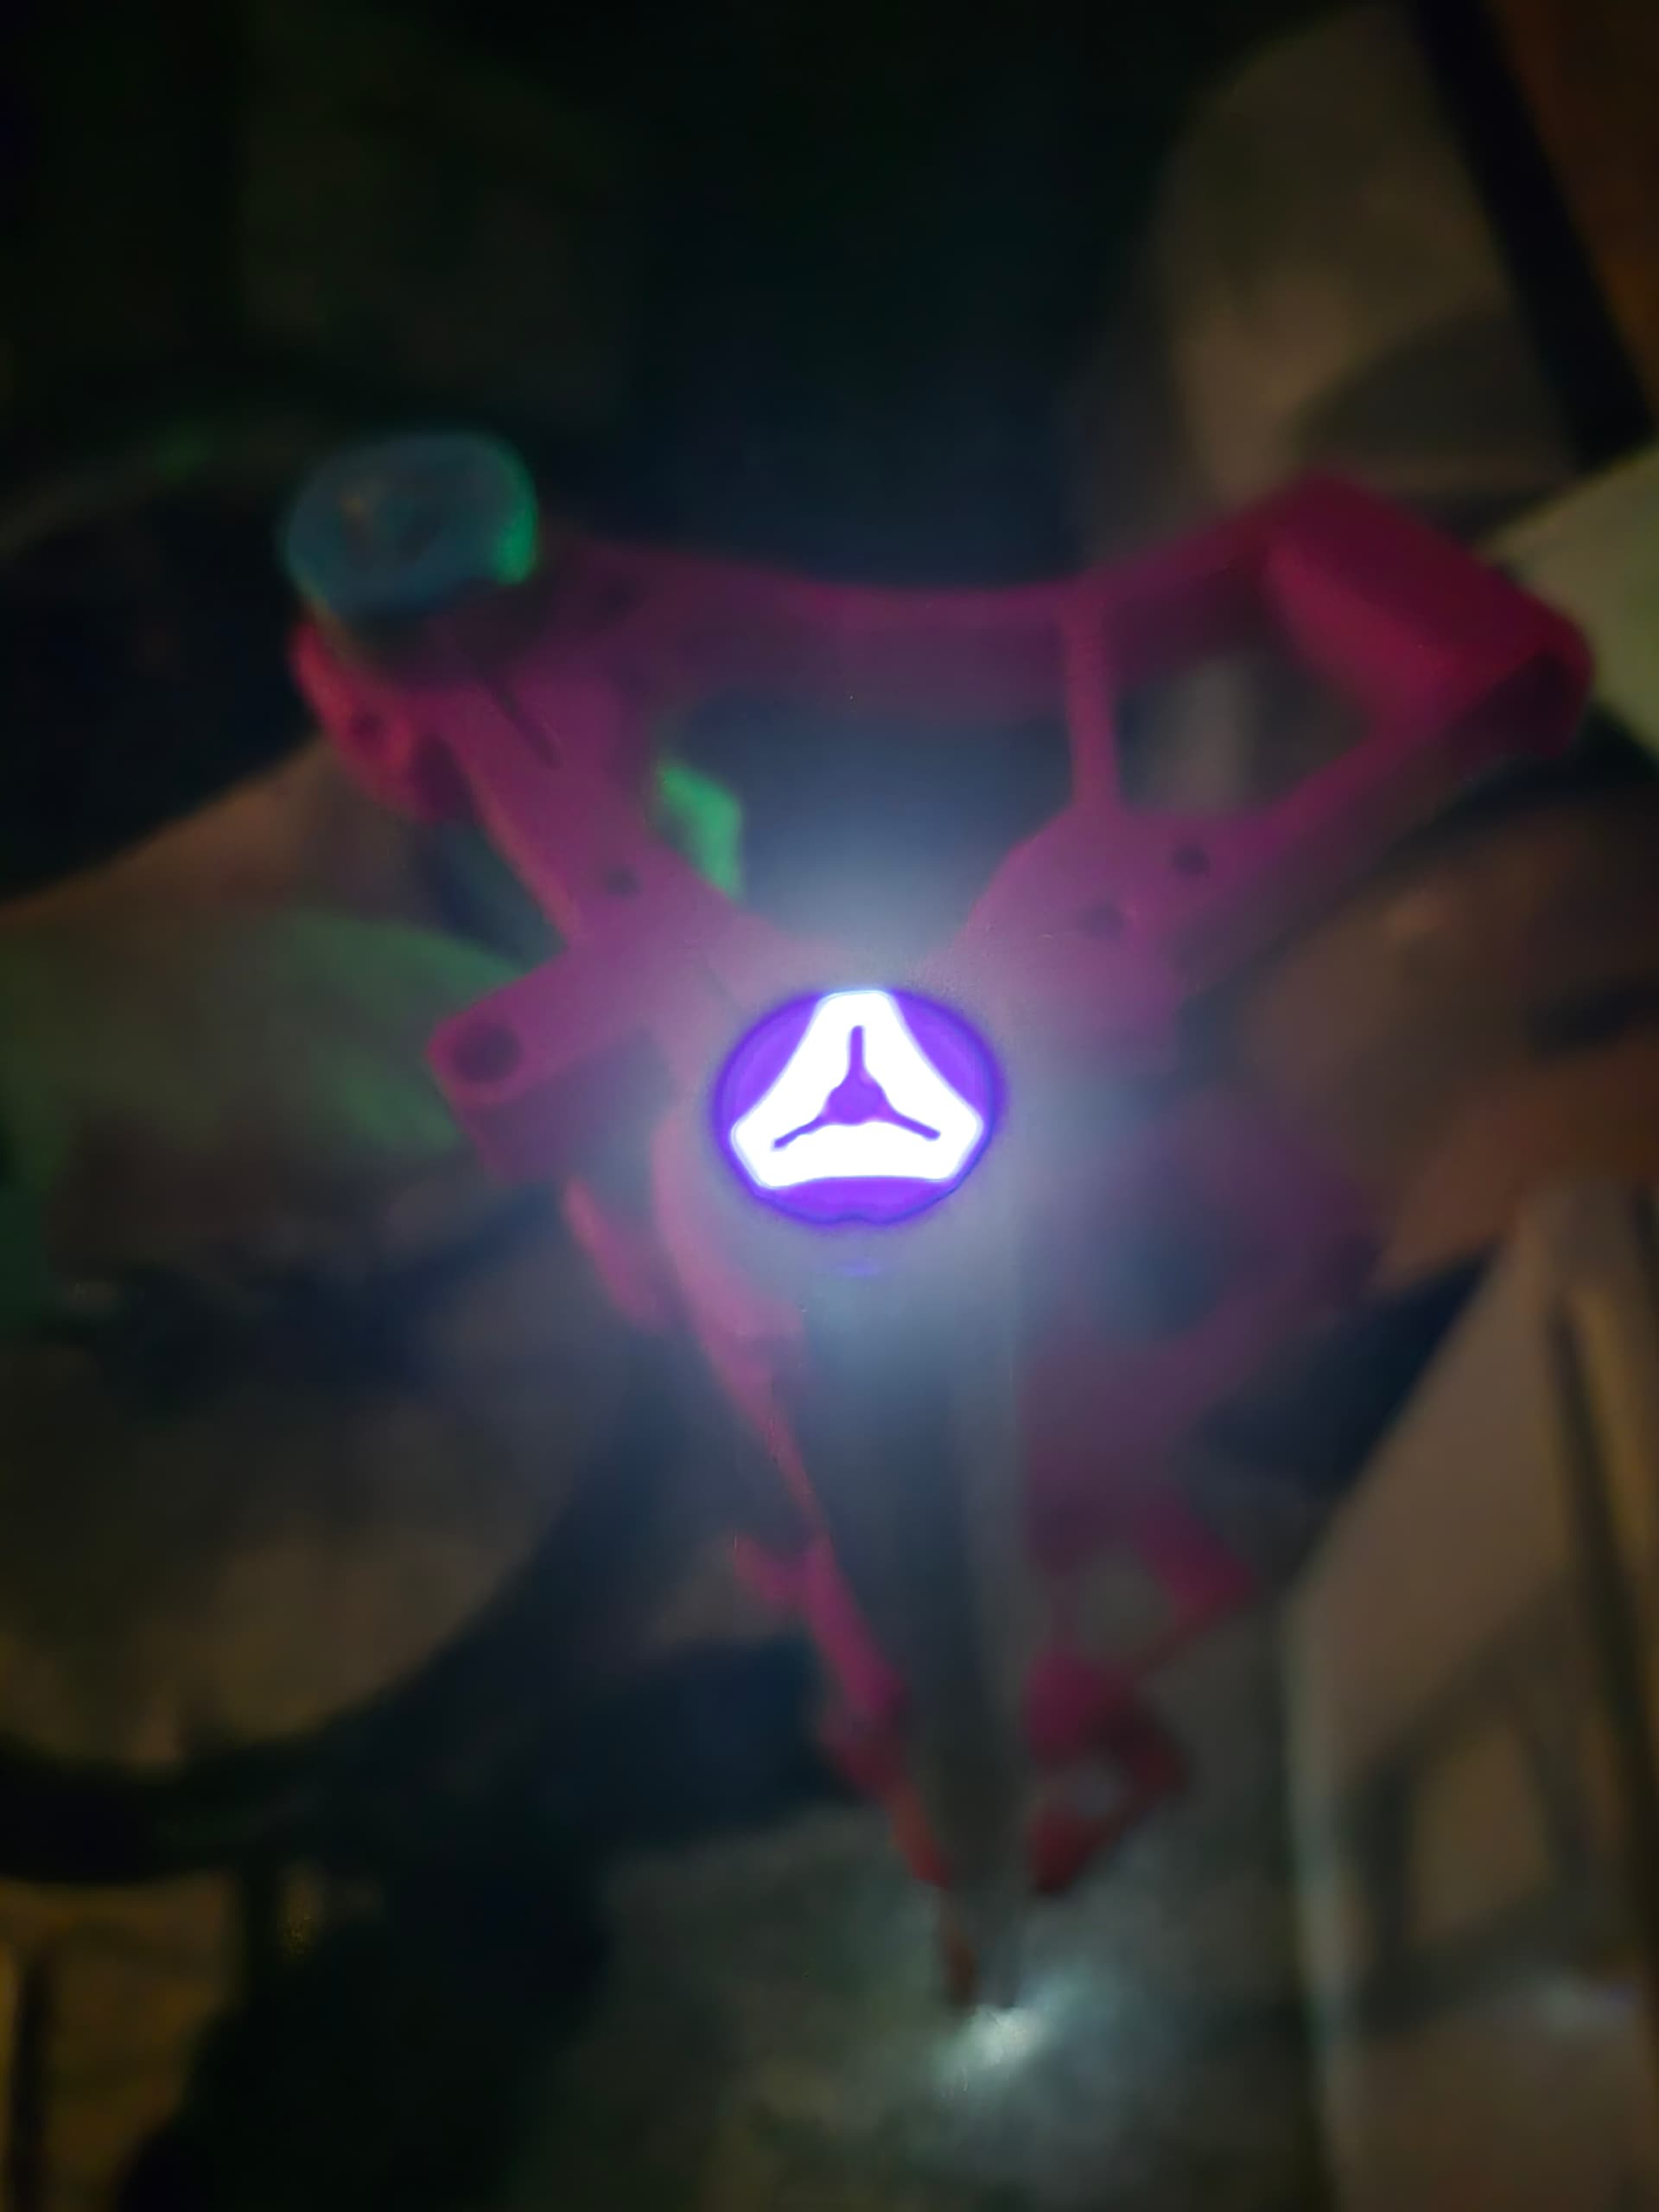
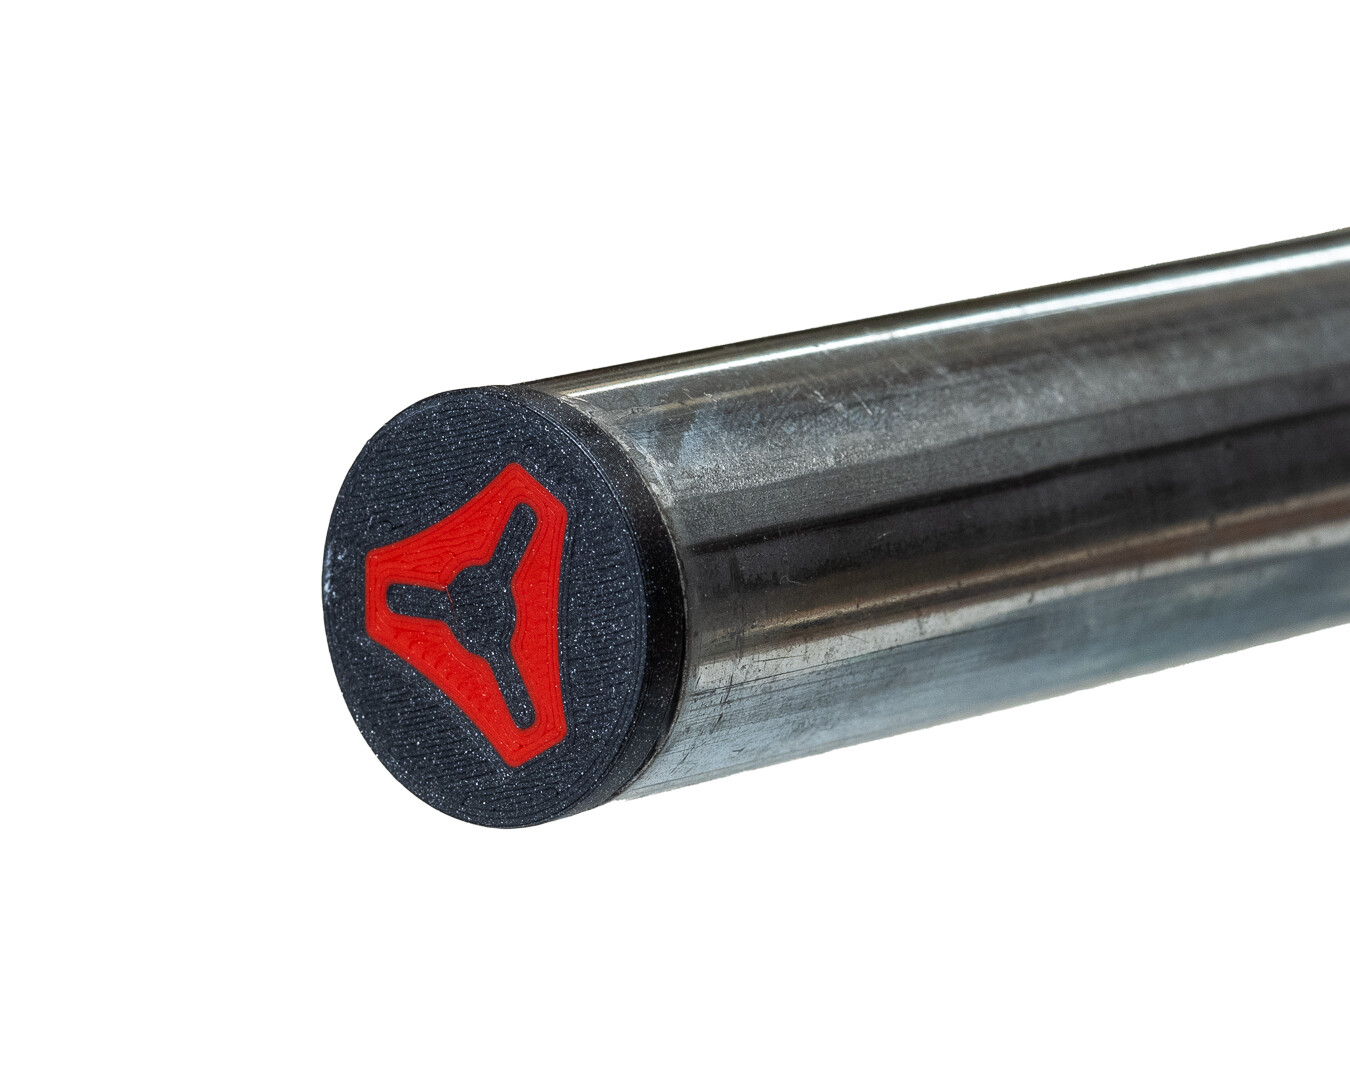
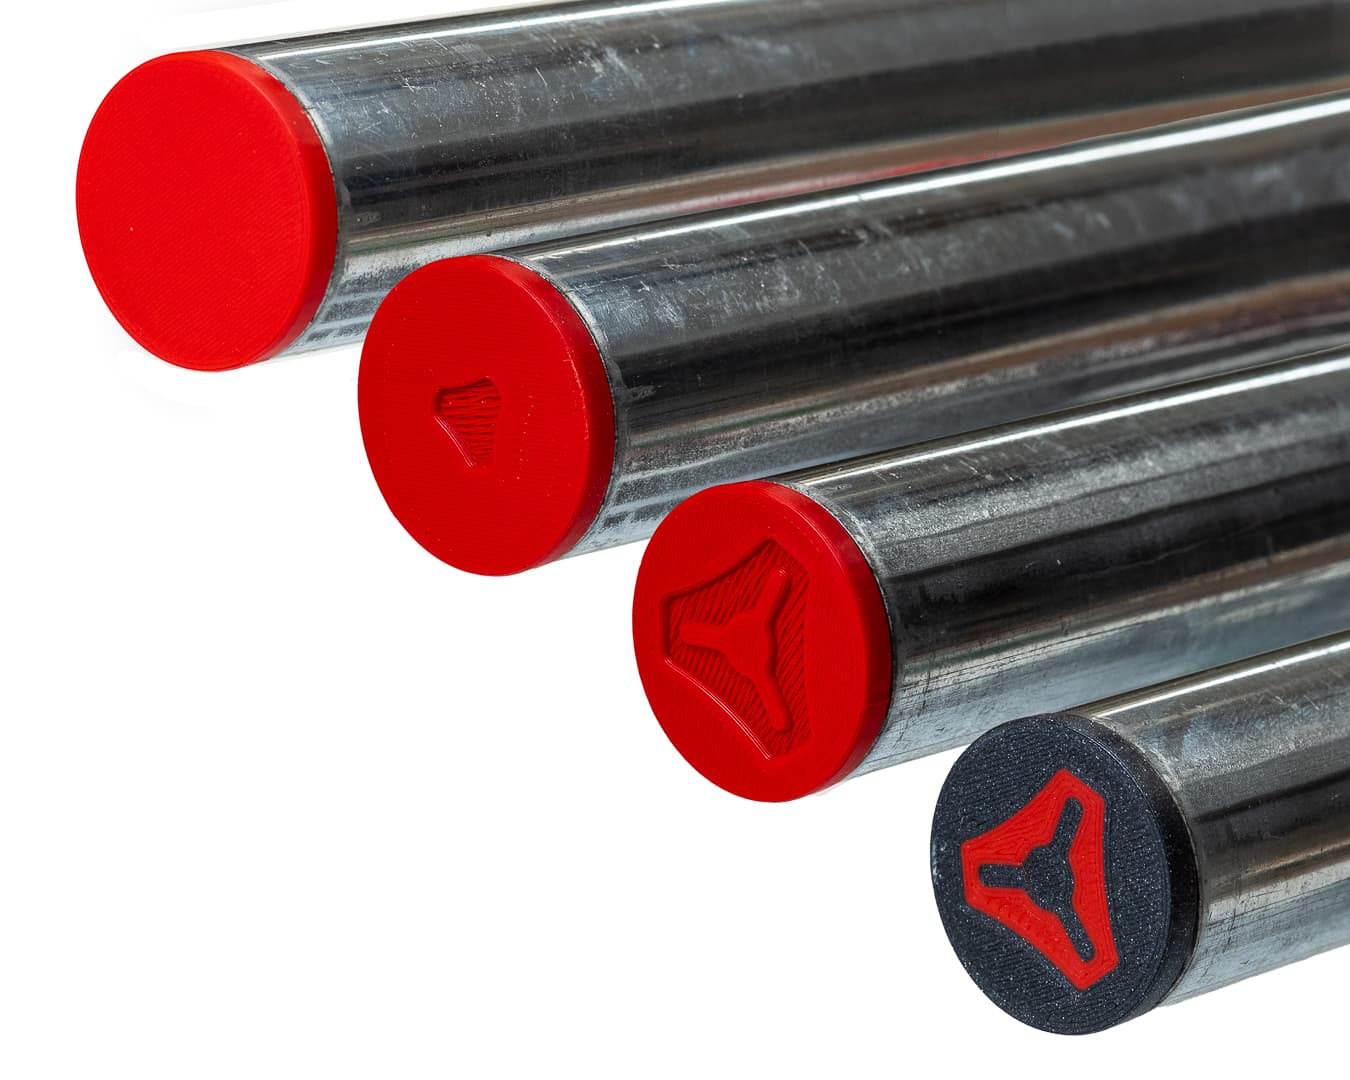
I made some caps with V1 logos for my LR2, and then for my LR3, and then I tried to make a parametric version but the logo kept breaking.
So I tried again, and gave up. I uploaded a model to Printables and it’s sat in DRAFT mode for a year. I was going to fix it and make it that special anniversary thing, but didn’t. I perservered as the next model I upload to Printables will be my 250th and for my own sentimental reasons I’d like it to be this one.
In the wee small hours of this morning I finally cracked the code, but I think I cracked with it. I will of course upload the real parametric deal when I’ve printed a few and tested them, but for now, how does the thought of projecting a V1 image on the buildings of Gotham City sound?
those of us without color changing printers, is there a 3 piece version that will interlock like a fine inlay so we can get the same effect without the same hardware?
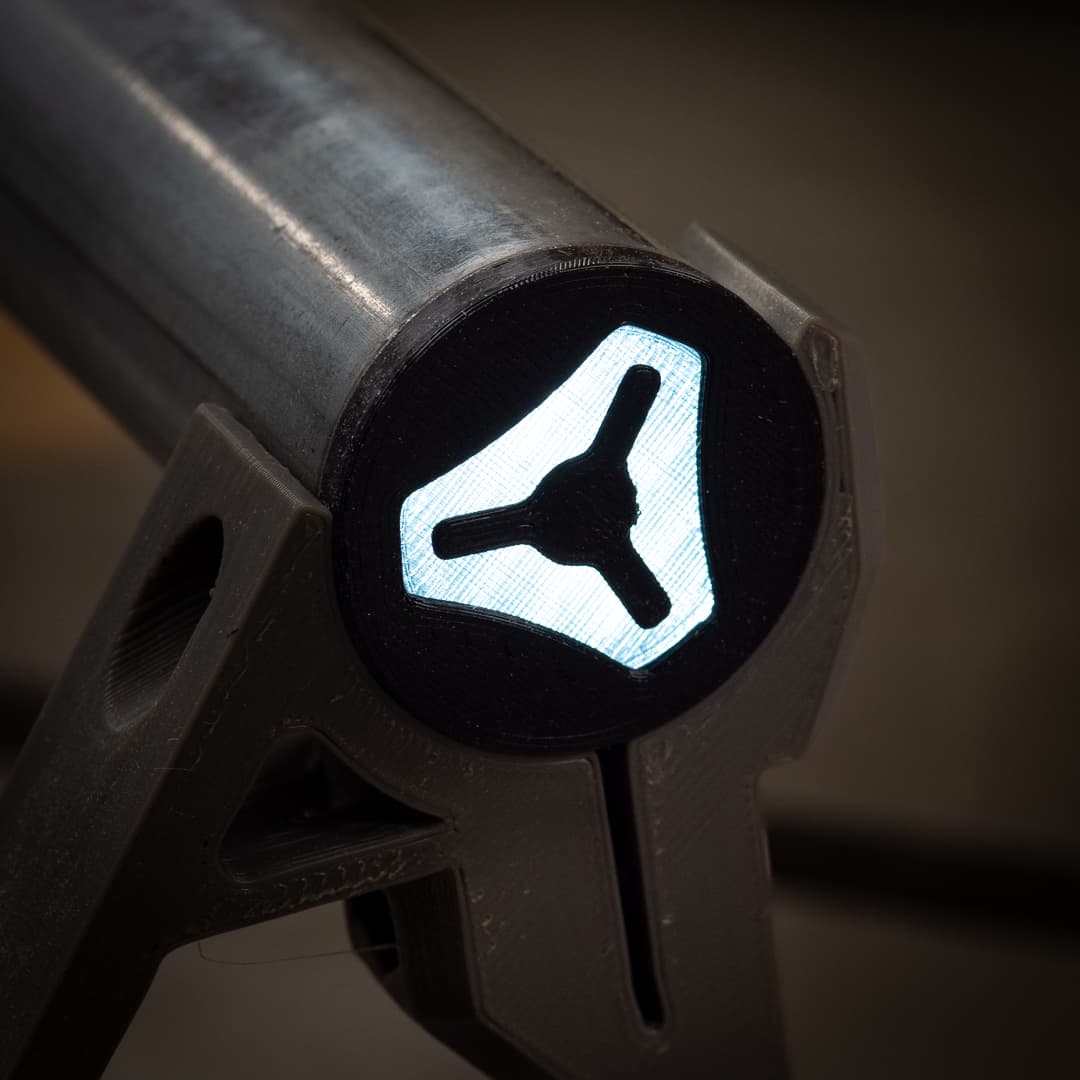
I don’t have a colour changing printer - these are in two pieces - I’ve printed the clear one with a manual colour change, and it is a press fit into the back of the other piece.
OK, I was really only having a bit of fun, but I’ll document it and get it up tomorrow - there’s a bit of explaining with the parametric version!
Cool! Watch this space, I’ve had a jam packed Saturday so far so haven’t got the upload finished, but I am also working on a version that will be MMU compatable (one piece - you paint the colours) - are you really on the Sunny Coast? I’ve spent the morning doing my bit at the Caloundra Repair Cafe!
At this stage the LR4 is on my list, but I am also emotionally attached to the LR3! Ask me again in a month or so when I’ve got up to that bench in my grand shed cleanup!
8km!! If we can have a meet up in Germany, surely 8 clicks is achievable! Drop in next time you come to the beach!
I’ll send you a DM later just to check that the model is OK for multi material printing - I’ll set the model up for that as well, but am not quite sure of the finer points.
Instead of doing stuff I need to be doing, I’m in the multi colour print when you only have one print head rabbit hole. For logs and lettering, I have set up a virtual MMU, which needs manual colour changes of course - details for Marlin based machines HERE - It worked beautifully on the MK4, and now I have set it up on the CoreOne, it’s a little fiddly but hey…
If I stop testing, I’ll get to work on uploading the parametric models shortly!
So… I have uploaded the “normal” logo models and the two colour one as I have been able to print that.
The clear model for non mmu is ready to go, and @Sam_Tritto has kindly taken on the role of test bunny for me, since he has proper multi colour capability. Hopefully if all goes well, we’ll have this version on Printables rather soon!
What you’re suggesting is make a small hole in the underside of the top rail big enough to run wiring to a RGB LED to each endcap controlled by ESP32 WLED with macros to change the colour from your FluidNC UI?
 and for my own sentimental reasons I’d like it to be this one.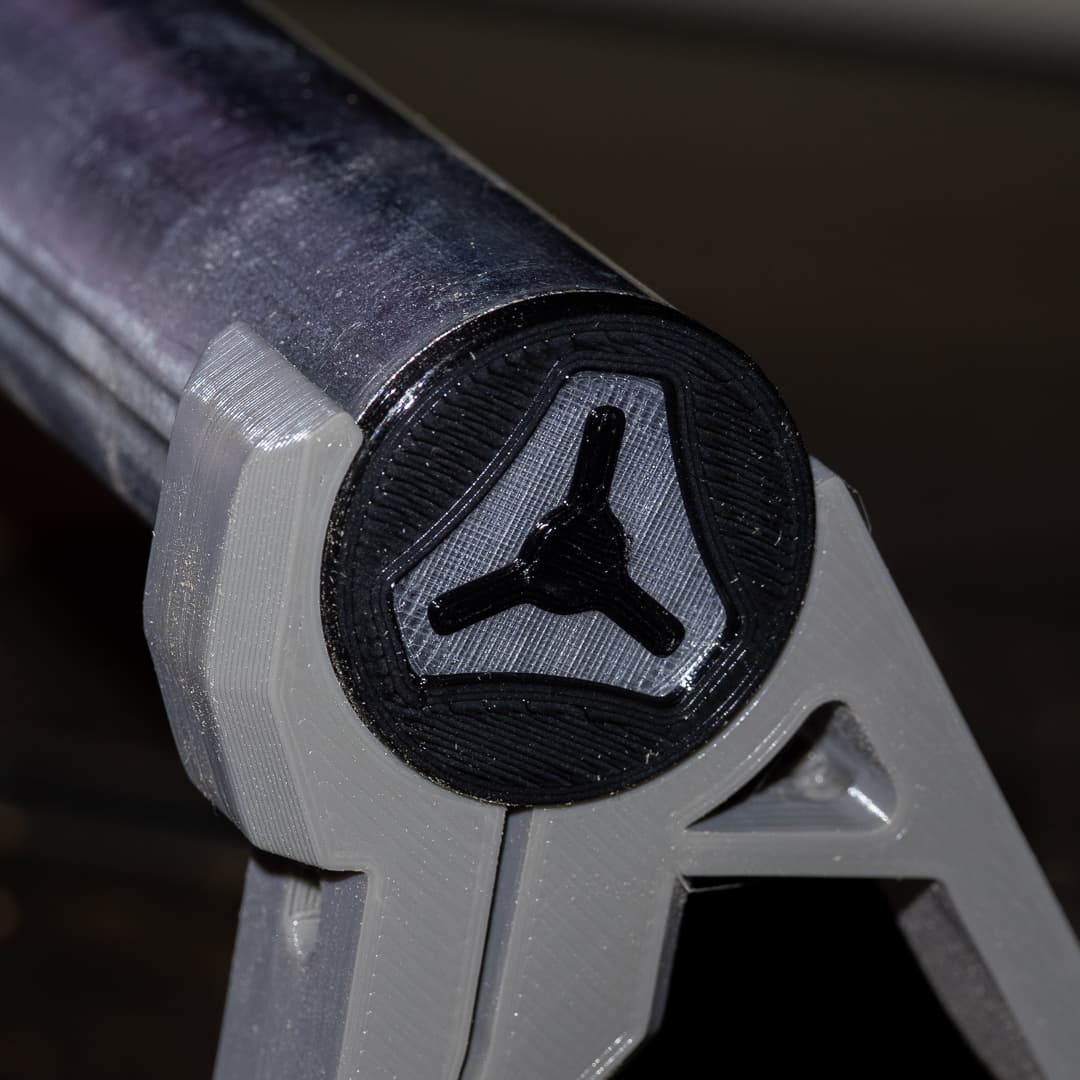

 ), we still have options…
 Ask me again in a month or so when I’ve got up to that bench in my grand shed cleanup!


 On it’s way. I really don’t want to upload till I know it’s working OK.