So I’ve read literally every single post in this thread since it started. Doesn’t seem that there are any big issues. Pretty safe to go ahead and start printing?
Plan is to build a brand new Primo and then cannibalize the Burly for a full sheet LowRider.
I had a pretty upsetting failure on the core, though it turns out it was actually just bad filament. (and I was able to get a refund, luckily). My machine is about 80% assembled now, but since I had to use what filament I had laying around, not with a fully consistent color scheme.
It’s there a Chinese spindle attachment out yet? I started to work on one using the DeWalt as a guide (measurements and etc), but just checking if it’s already out.
I’m trying to make it so I can easily change the diameter for the different powered spindles.
Chinese companies tend to have no issues copying listings, descriptions, etc wholesale. I once had a product copied like that and they even left my company name and contact in the description.
On the bright side, amazon will let you return anything so if the roll turns out bad 4/5 of the way through you’ll have no trouble returning it.
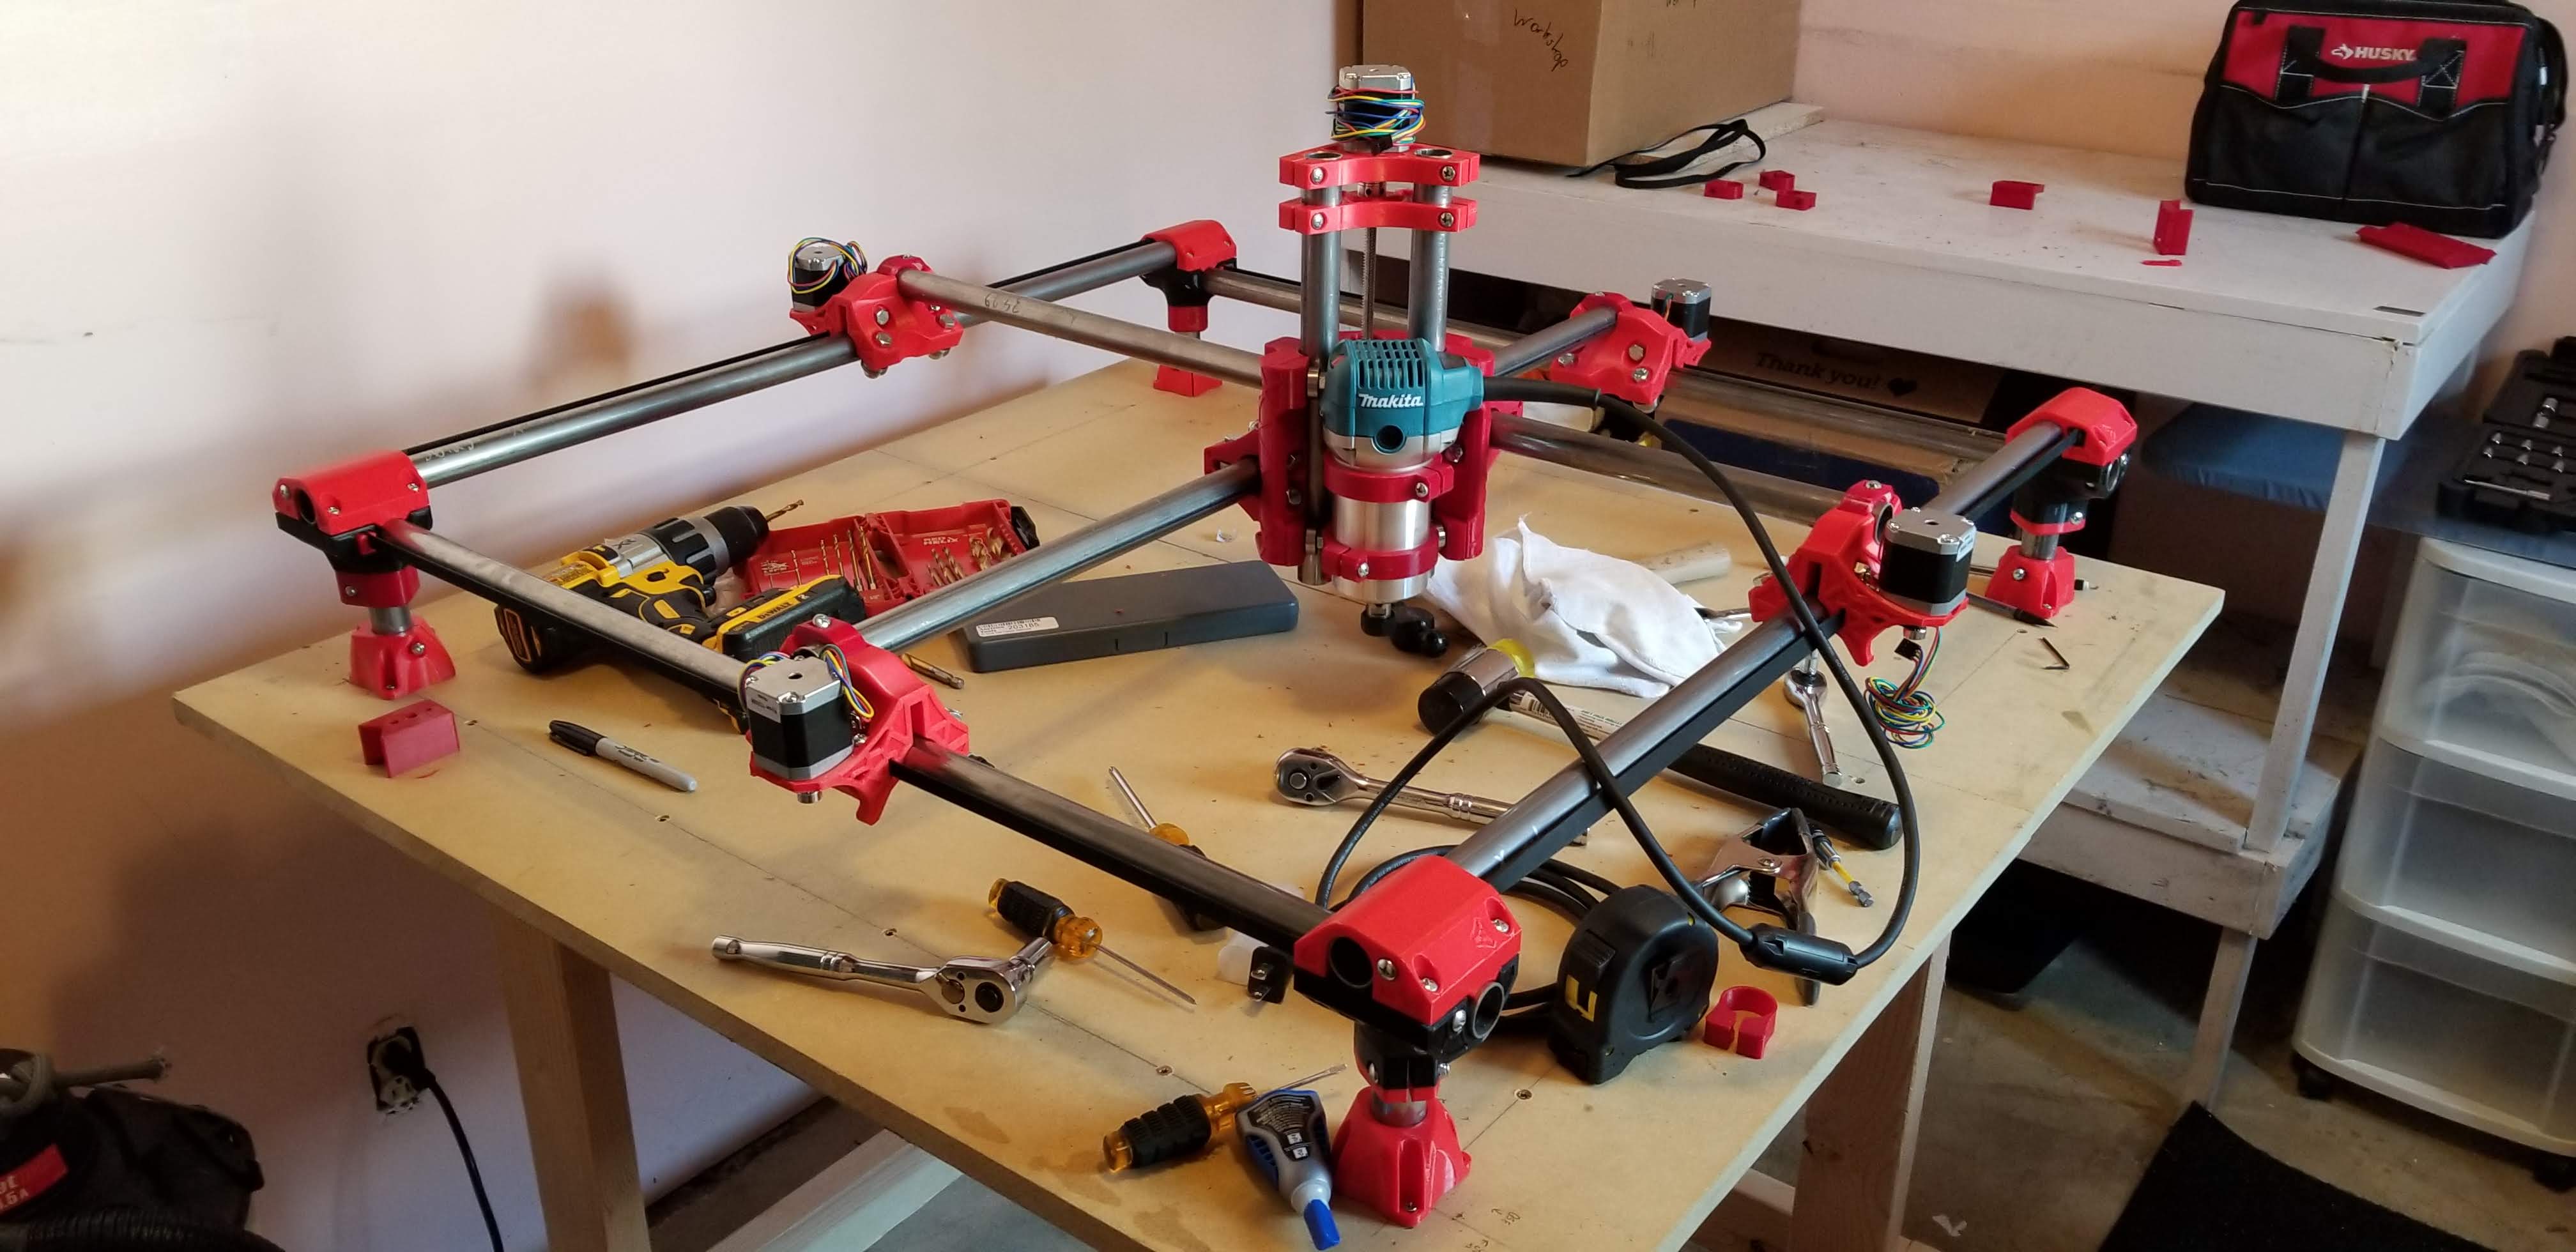
My build thus far, now just have to do wiring and software:
A lessons learned during assembly, in no particular order (feel free to correct me on any of this if I’m giving bad advice):
The holes my printer printed were super tight. Every screw and bolt needed to be threaded through them, although for most this could be done by hand. This made adjusting tensions with bolts a fair bit harder than it should have, I ended up needing to ream out a lot of the holes in order to be able to slide the bolts through, so the only grabbing force would be the nuts. this was especially important for any bolts you would need to adjust when squaring the machine.
Related to the first, it was quite difficult to get the nuts seated (there were a couple places I just couldn’t), but I found that by putting one of the nuts on a screw backwards I could get them to go into the holes straight.
If you are having trouble centering the core and it doesn’t react to your tightening the bolts on it, try going back and adjusting the trucks. I needed to do that for my X axis.
don’t be afraid to make marks on your table when measuring. Its part of a cnc machine, it just adds to the charm if you have distances scribbled next to different axis.
Any time you are squaring the trucks or the core I found it best to find a line on your part (like the edge of a corner) you can look at, place your tape measure against it, and slowly extend it, pushing the truck, until you have a round number. Much easier to compare how far off one side of an axis is when you are seeing how much under a nice number like 350 it is, rather than comparing against an arbitrary number.
Put on some good music while working on this, its been a really fun project so far, but you will need to be patient (especially when squaring).
As for wiring I have some pictures of how I ran my wires and have not made a page of it but the actual wiring is kinda on each boards page. Not really sure how I should approach this.
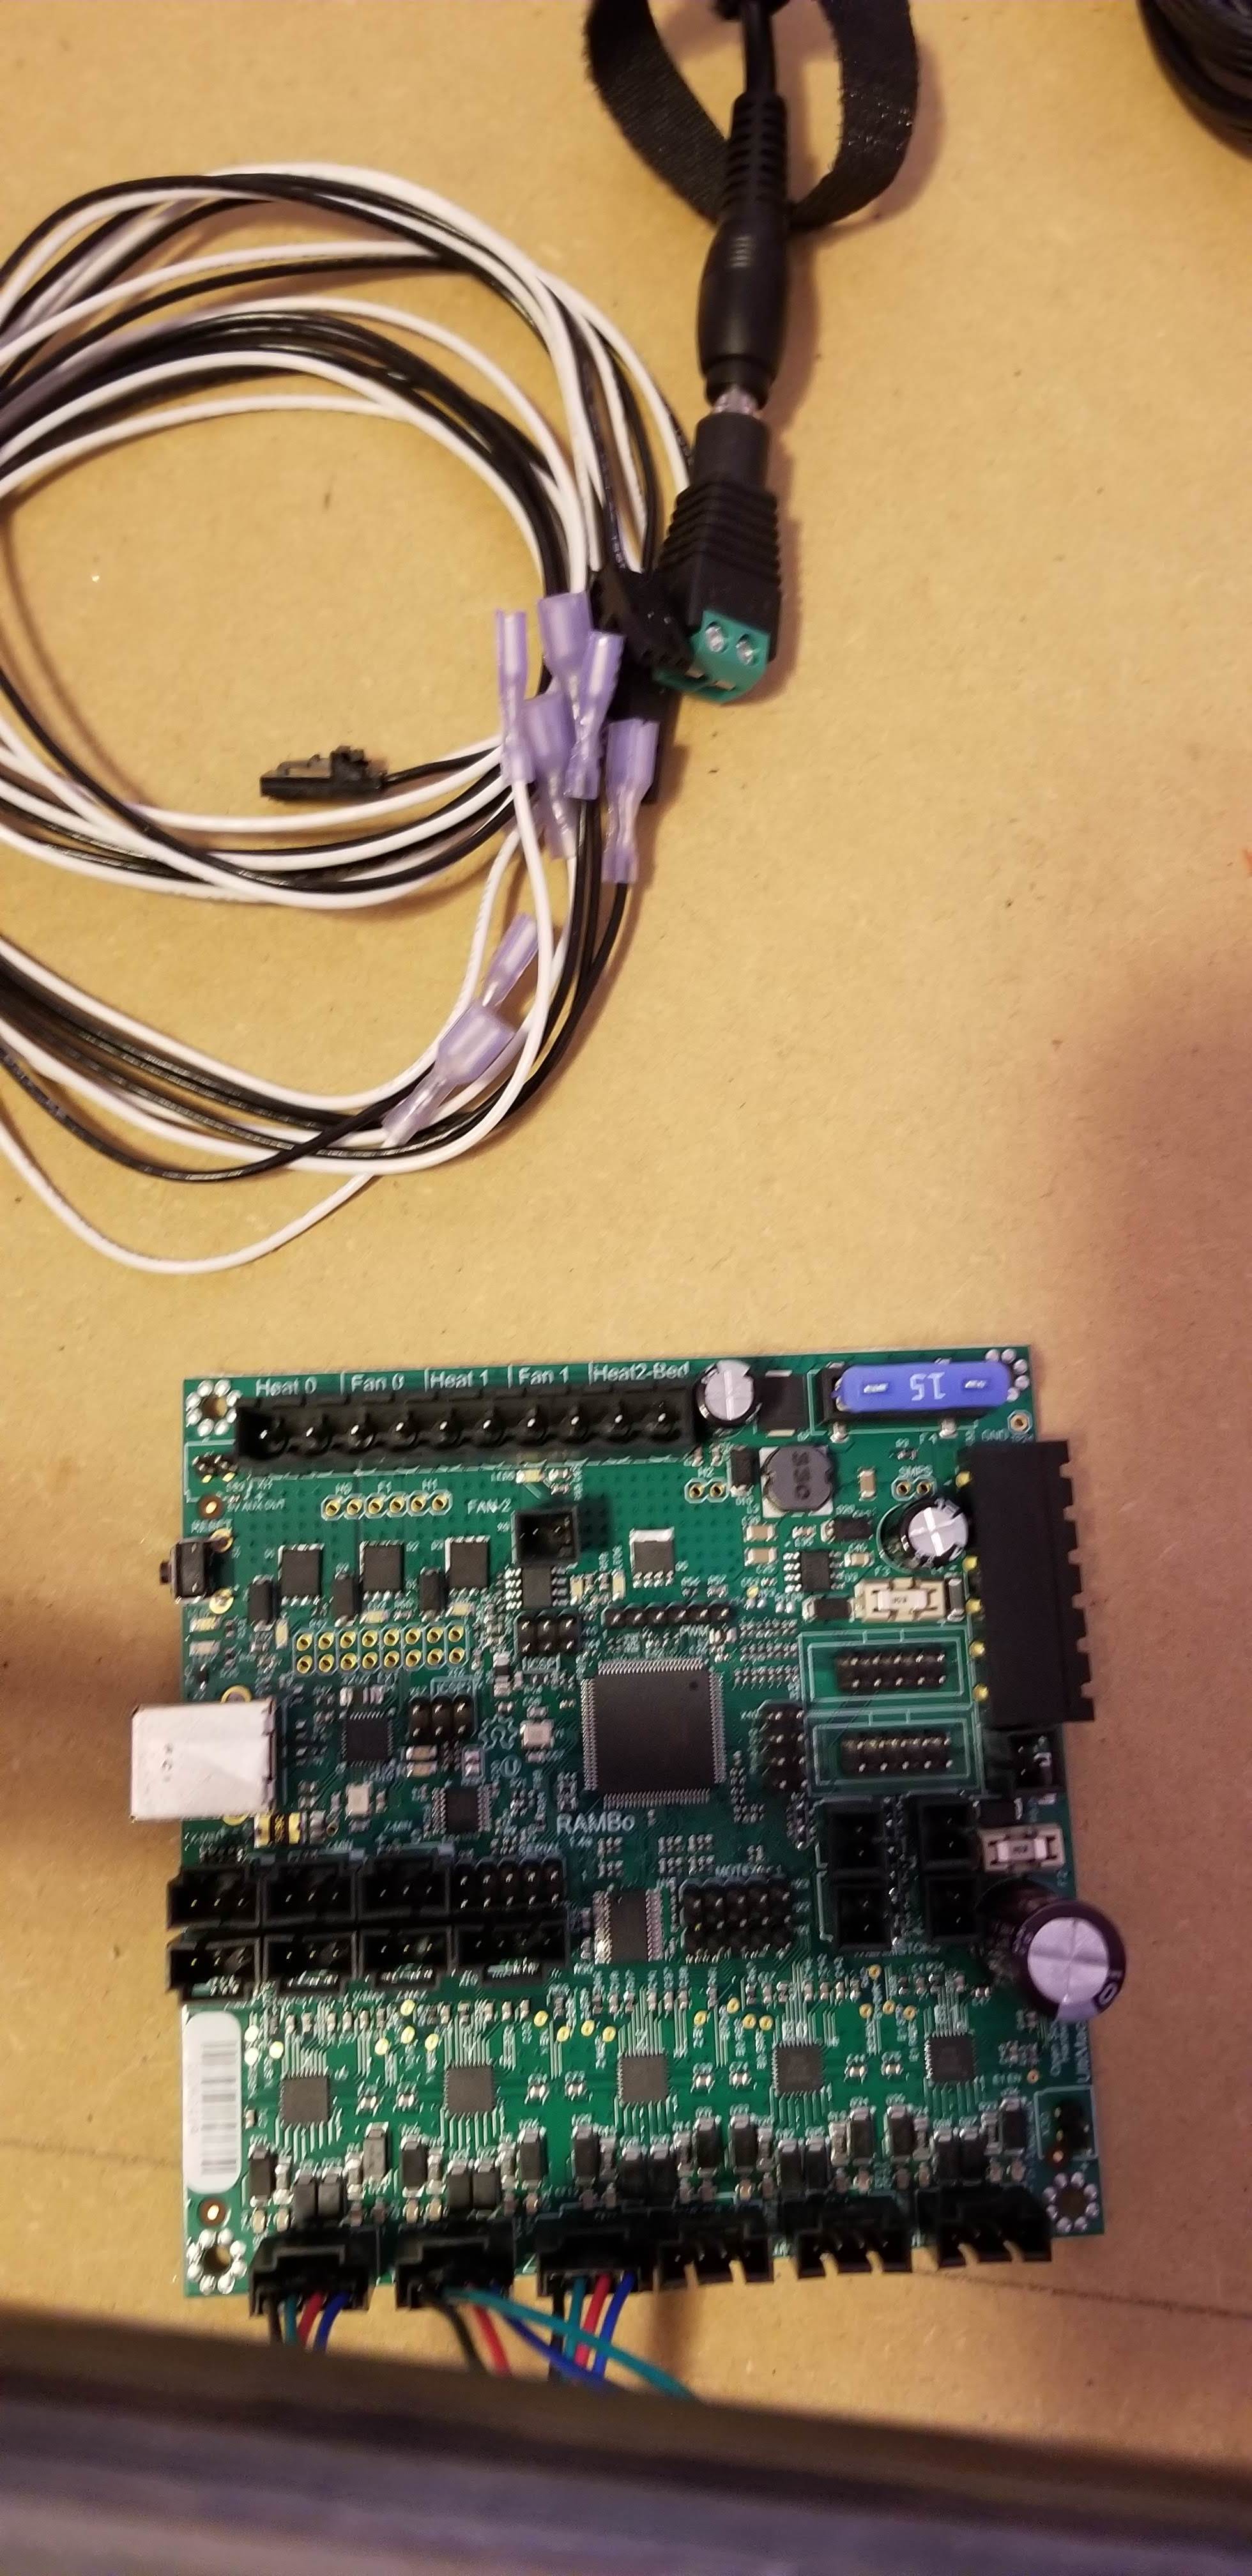
Alright, I’m afraid I’m a bit lost on how to connect to power. I might be missing something obvious, but I can’t see a way to connect from the power supply to the board with the wires given, especially since there aren’t any screw terminals like in the Rambo board Here. These are the wires I have
There are some plugs that go into the power ports. They have screw terminals in them. You don’t need that barrel adapter, you can just cut off the barrel and wire it straight into those plugs.
So there is, I had missed it when I looked through the supplies. I do think I’ll try and use the barrel adapter, I’ll just salvage some wire from a junk adapter I have in my wire drawer.
Or one big video focusing on your kit from start to finish ( finish being first cut). I think it would also increases new builders confidence to take the dive if they can watch someone build it from start to finish.