New member with a Lowrider 4

Hello everybody,

I´m very happy to join your community and hobby! For several years i sat on the idea of building a MPCNC, I even bought some 1m stainless steel tubes already, that are now waiting for some good use in the future… With a a 52 year old house just bought and a “Bob the Builder” attitude many other topics hat to wait…

Later I bought very annouying Ender 3 3d-printer, followde by a “just working fine” Bambulab P1S. That printer kept me busy printing decoration, useful stuff, and then some… When I remembered the MPCNC idea, I was stuck there again! Now my 3d printer would finally print the MPCNC parts…

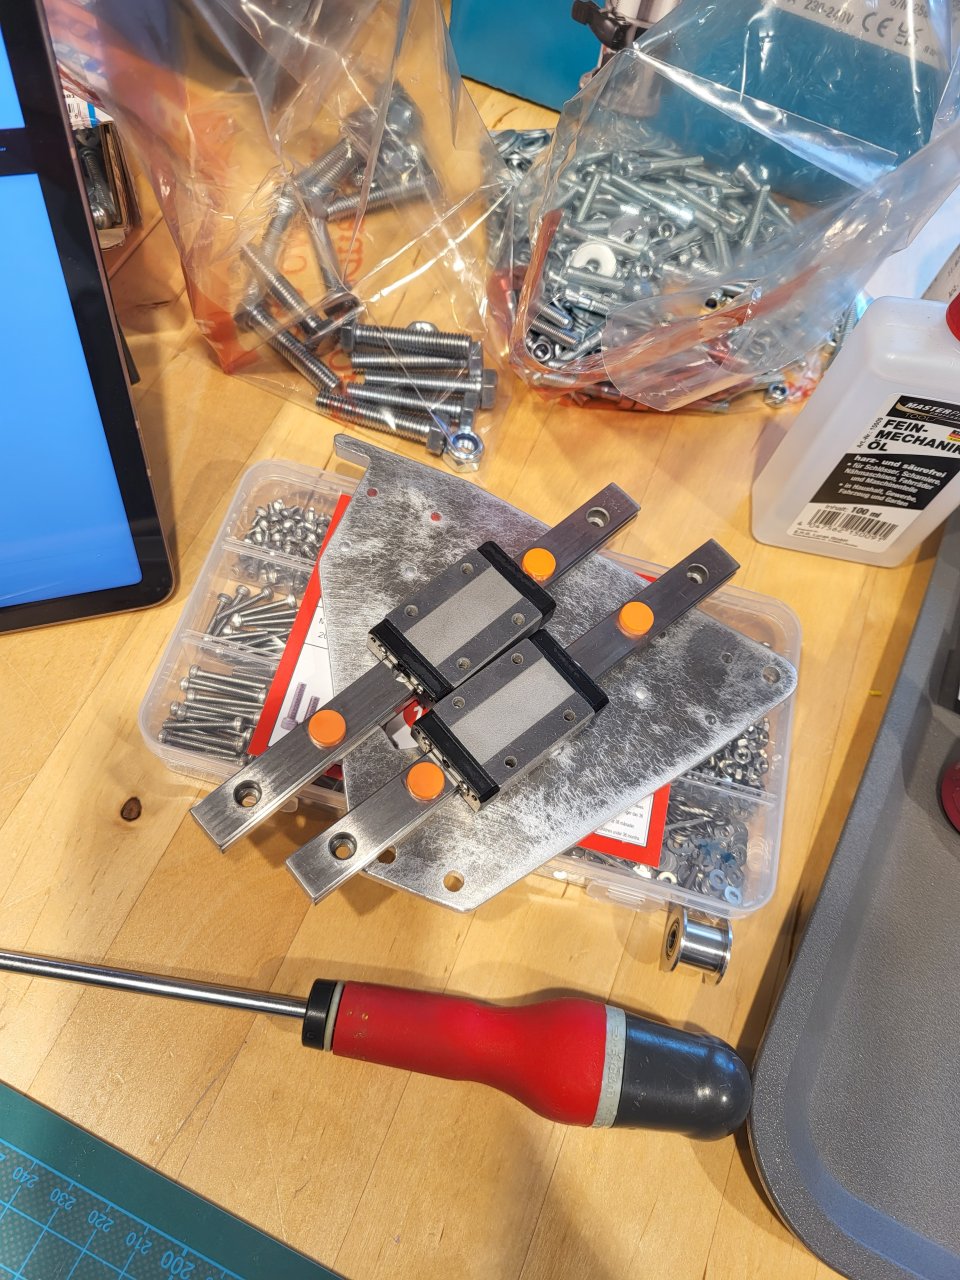
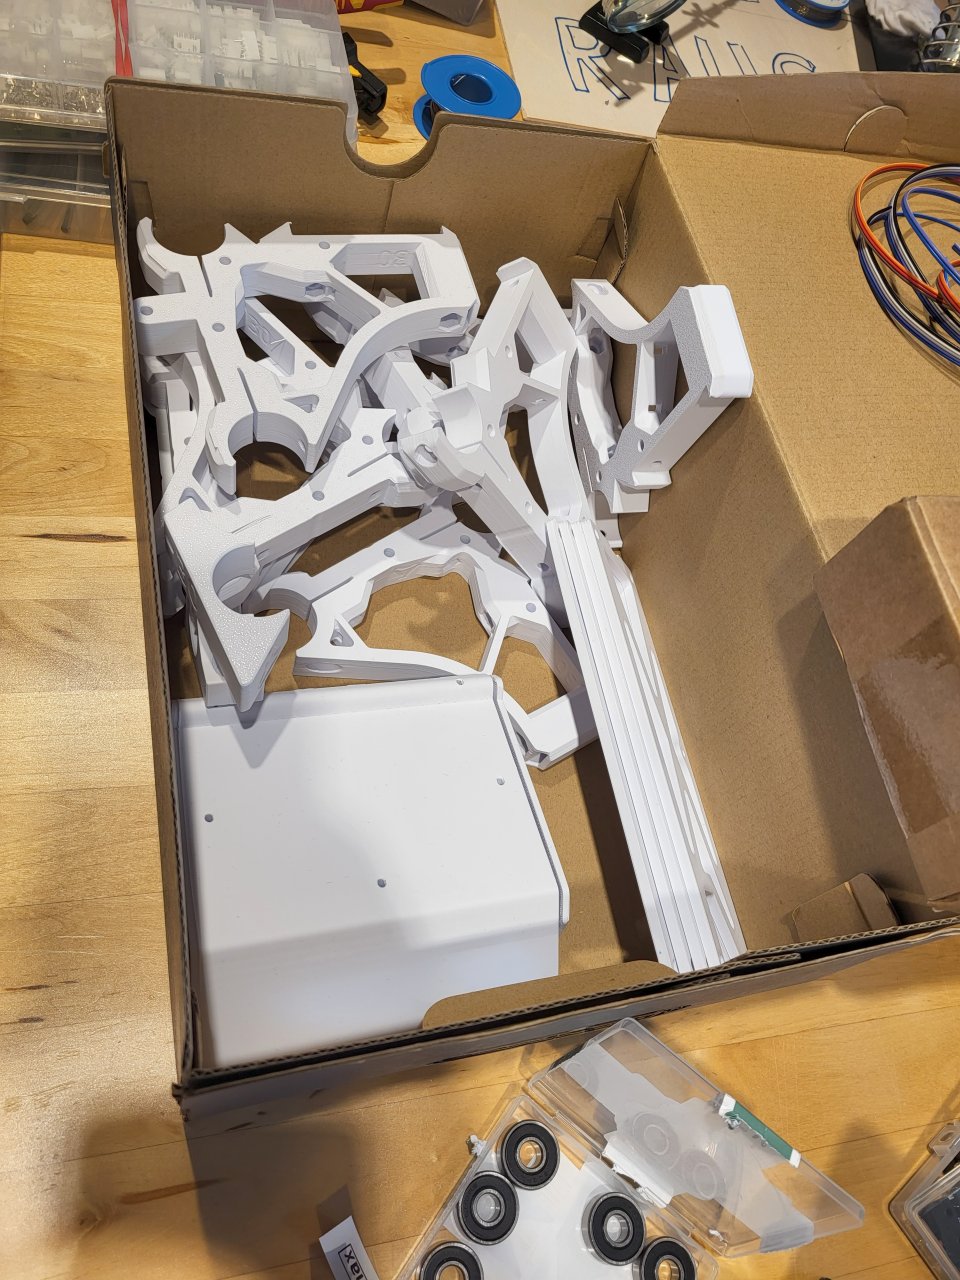
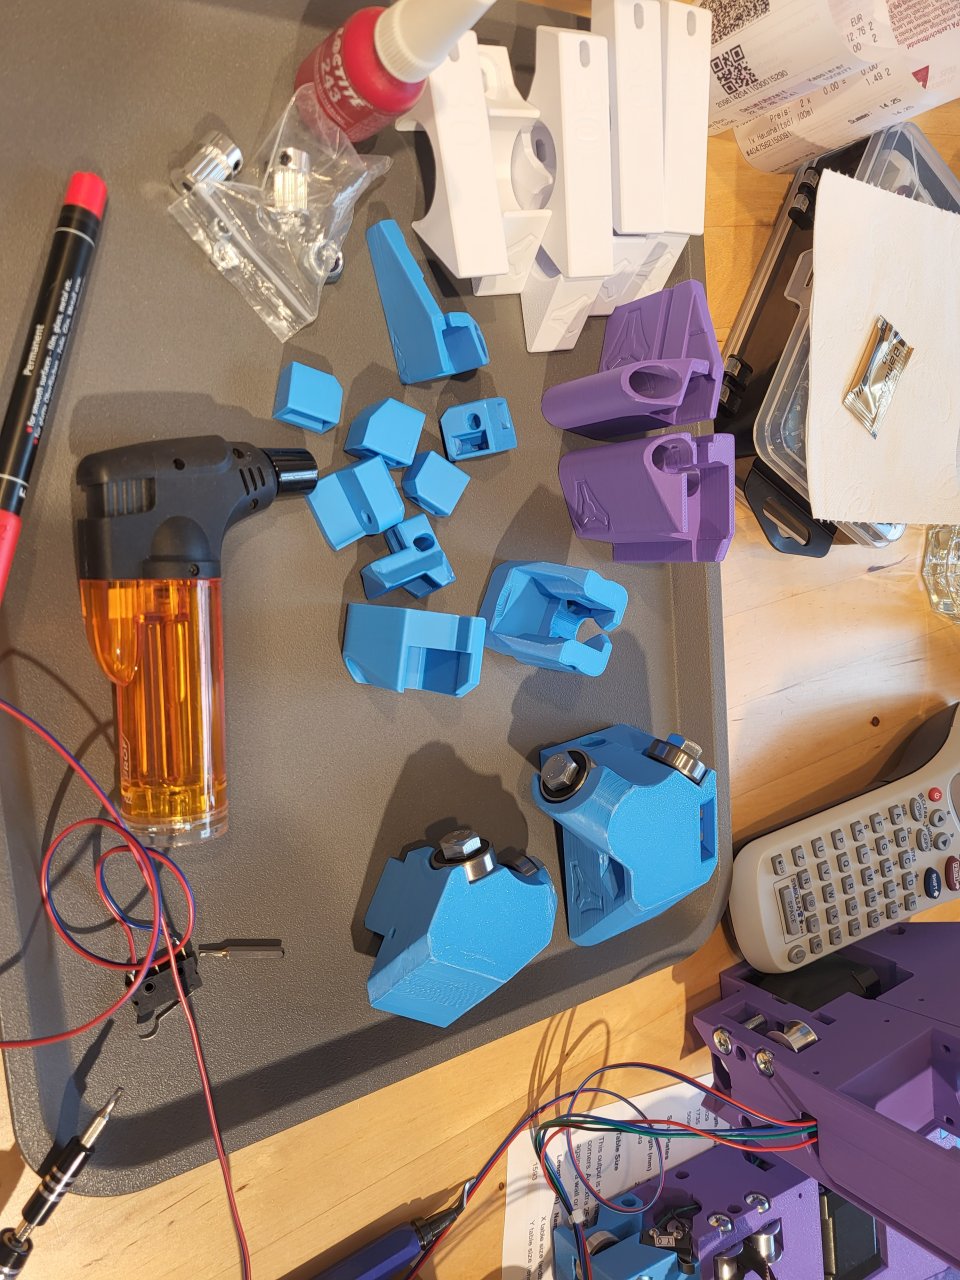
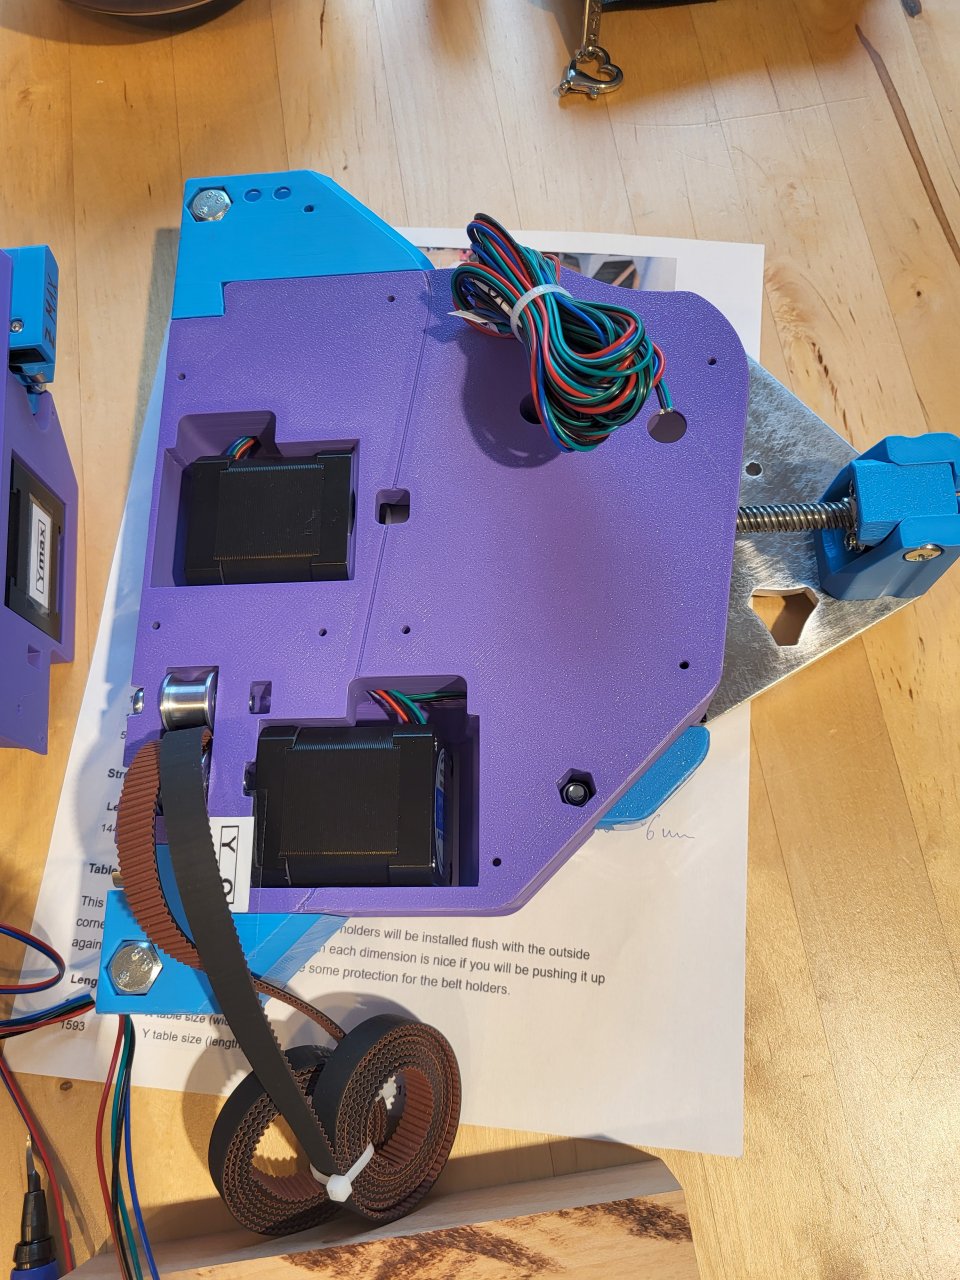
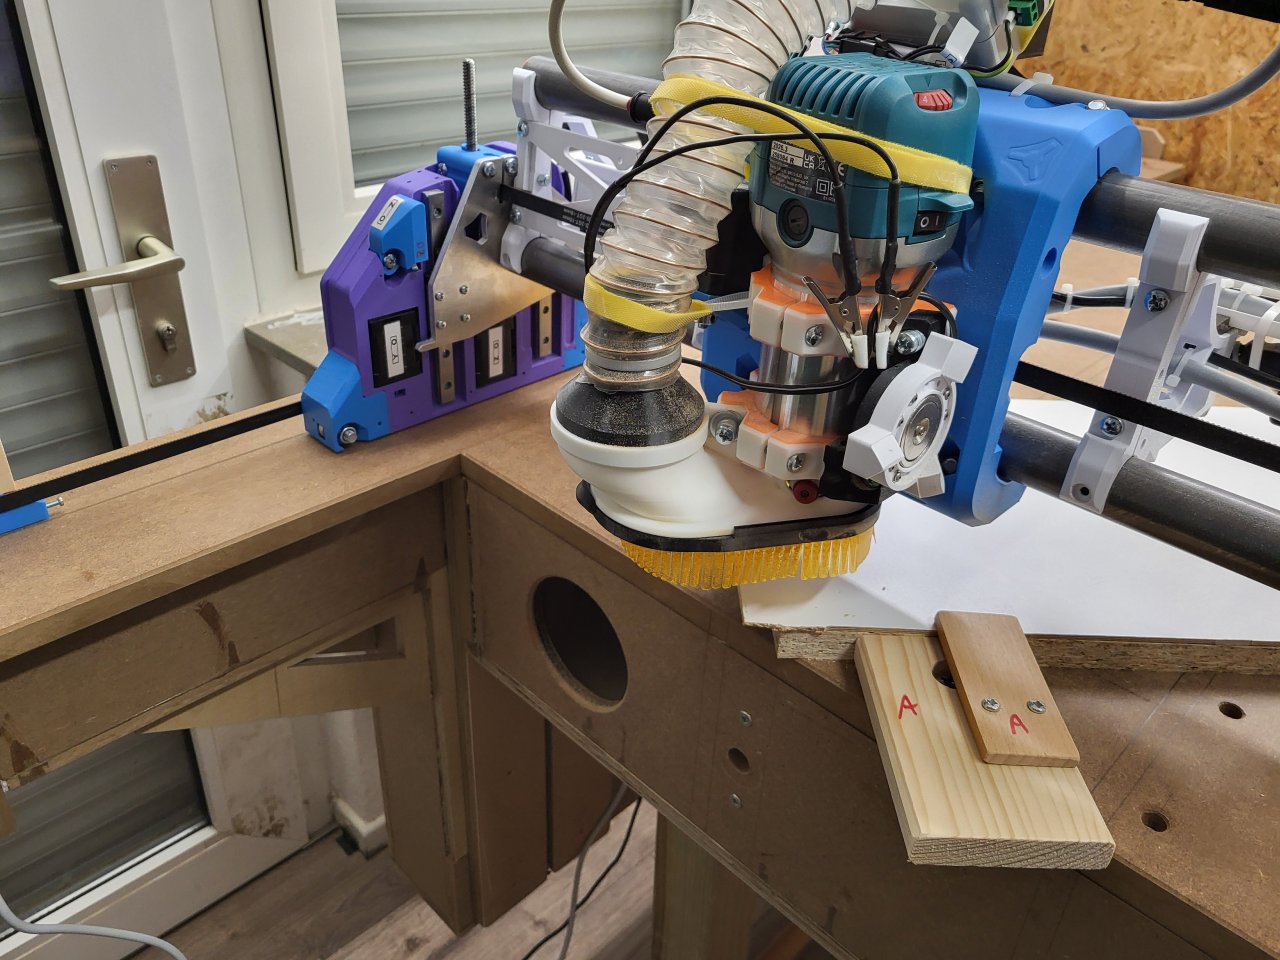
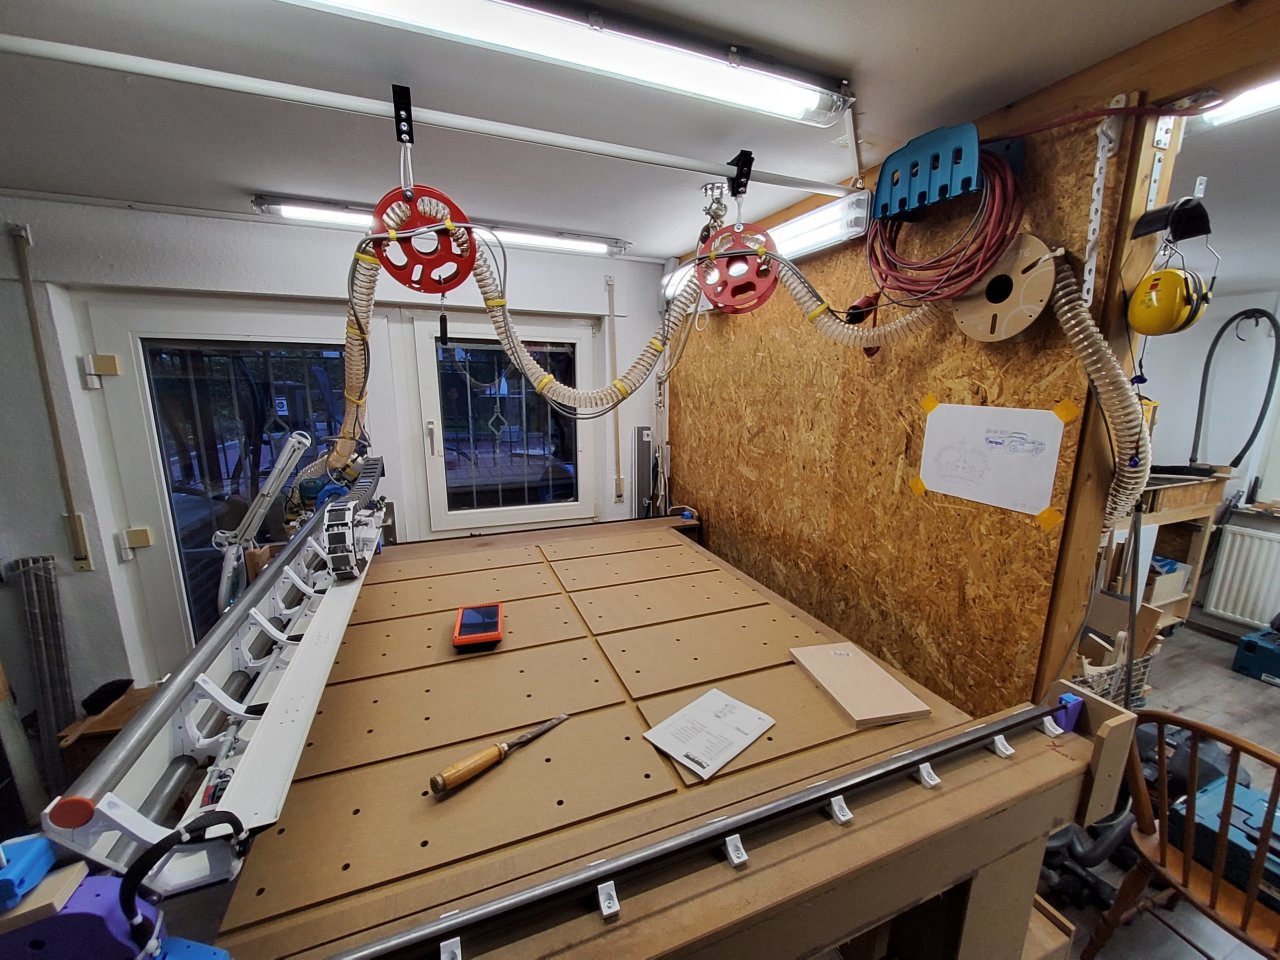
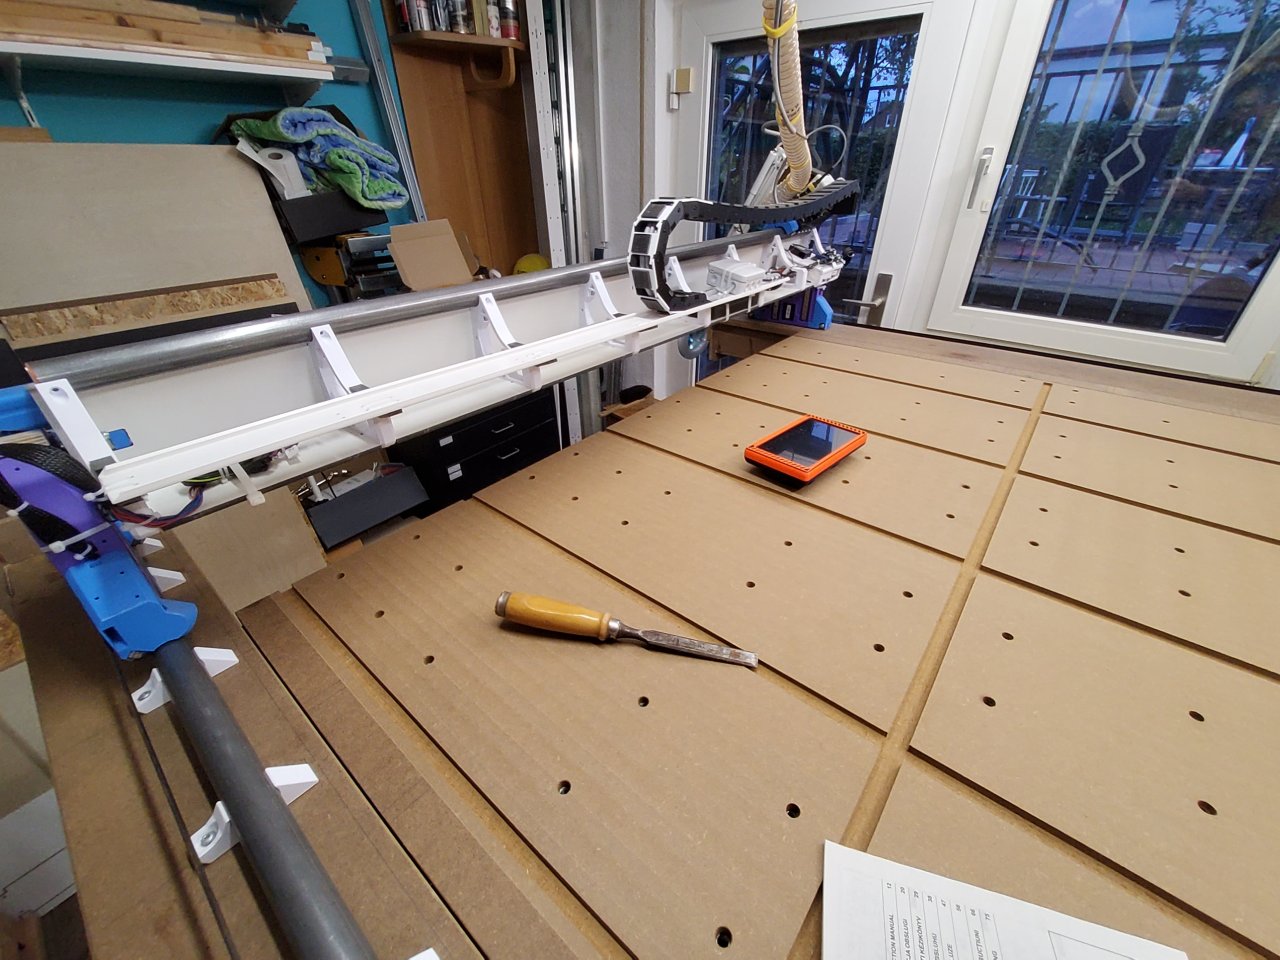
After much reading about MPCNC Primo and Low RIder as well, and thinking about my typical work (furniture and decoration larger than 50x50 cm² I decided to go for a Lowrider instead of MPCNC. Said an done, ordered all neccessary parts including some aluminium XZ plates from my German neighbour HaWiWe. My BambuLab PS1 worked hard to to print alle the parts, for which I chose the violett and baby blue PLA I bought long ago but never found any good use for.

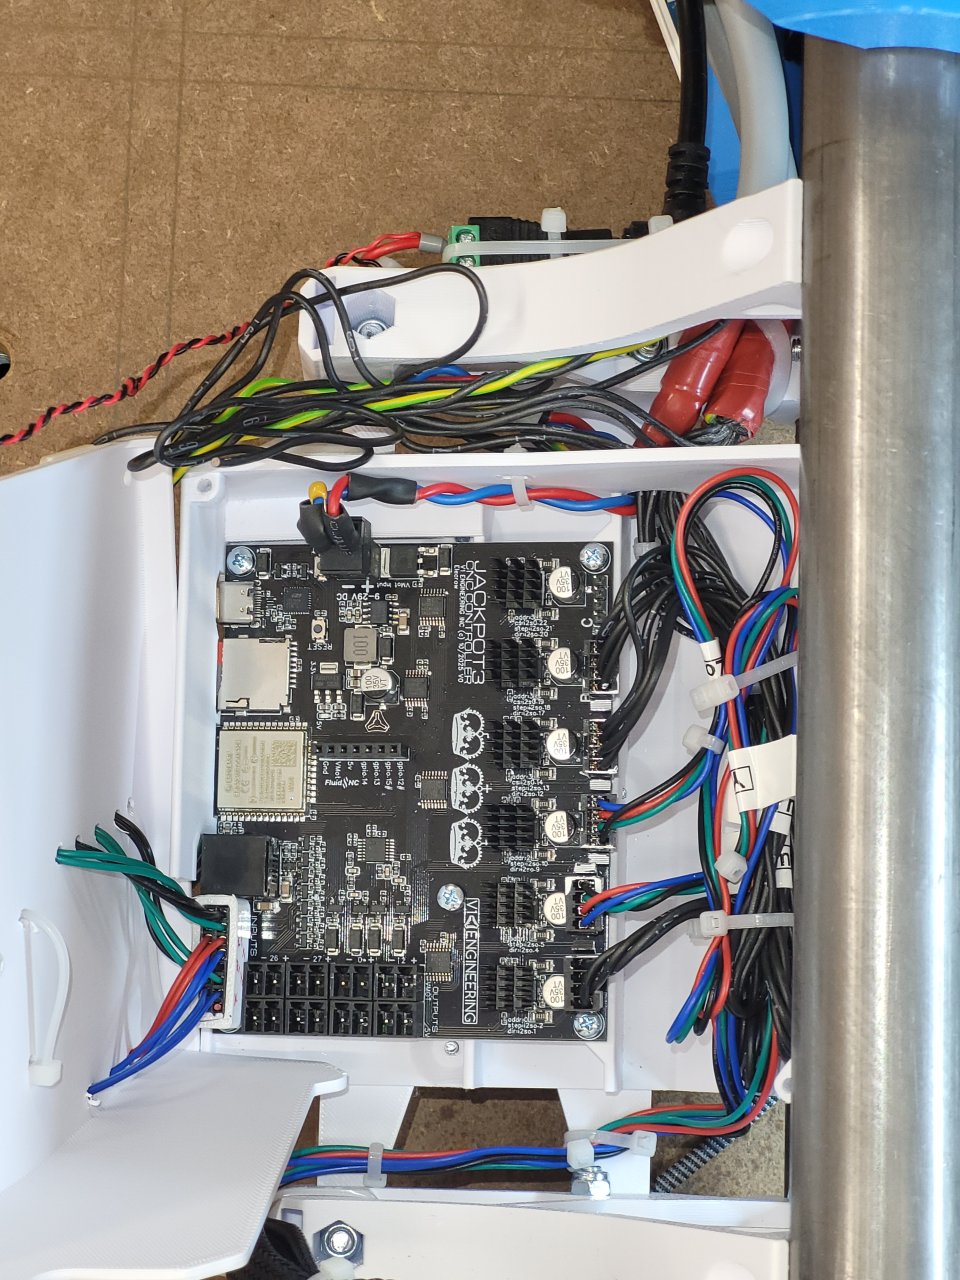
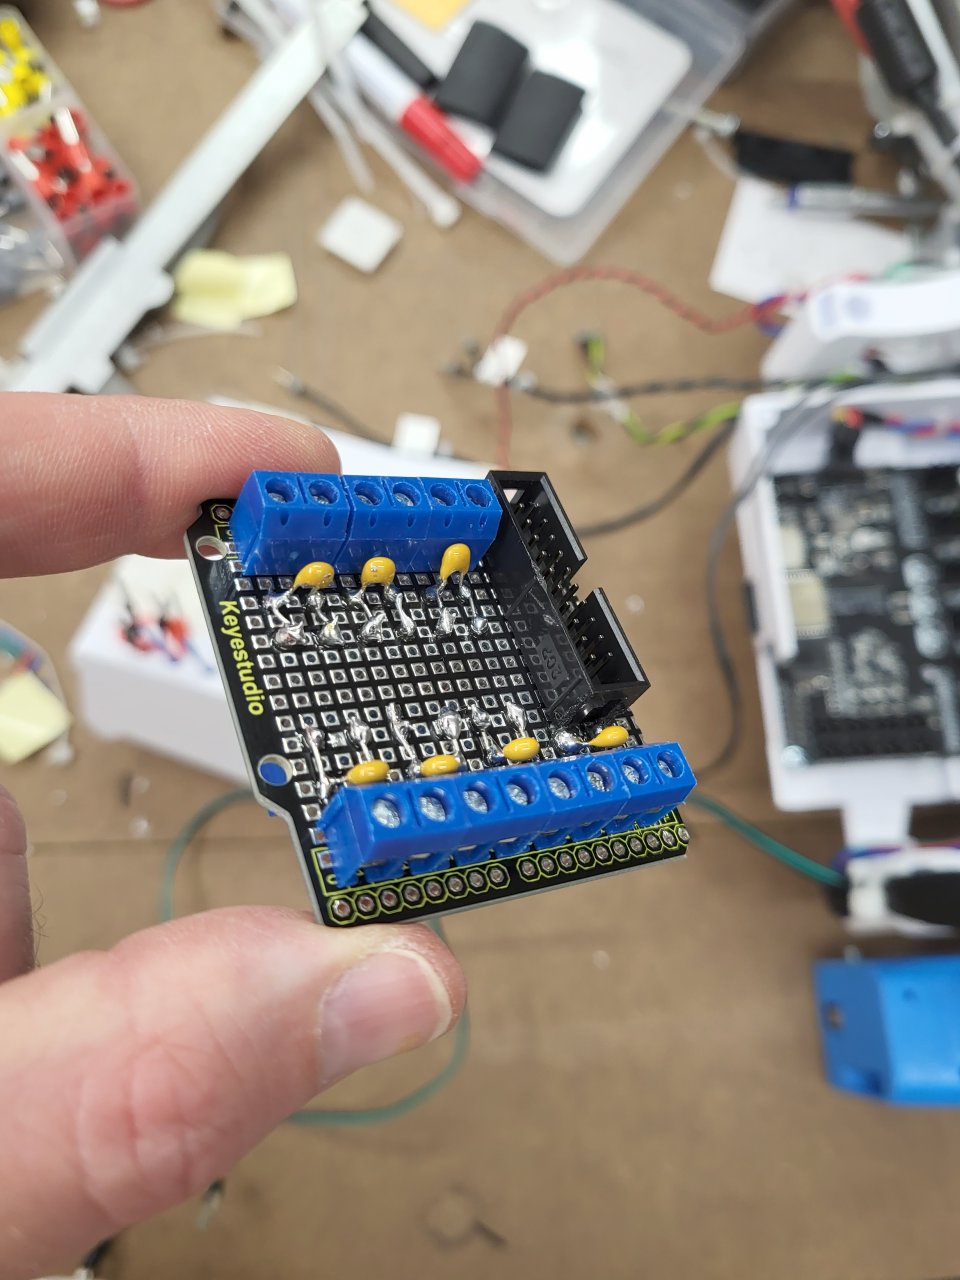
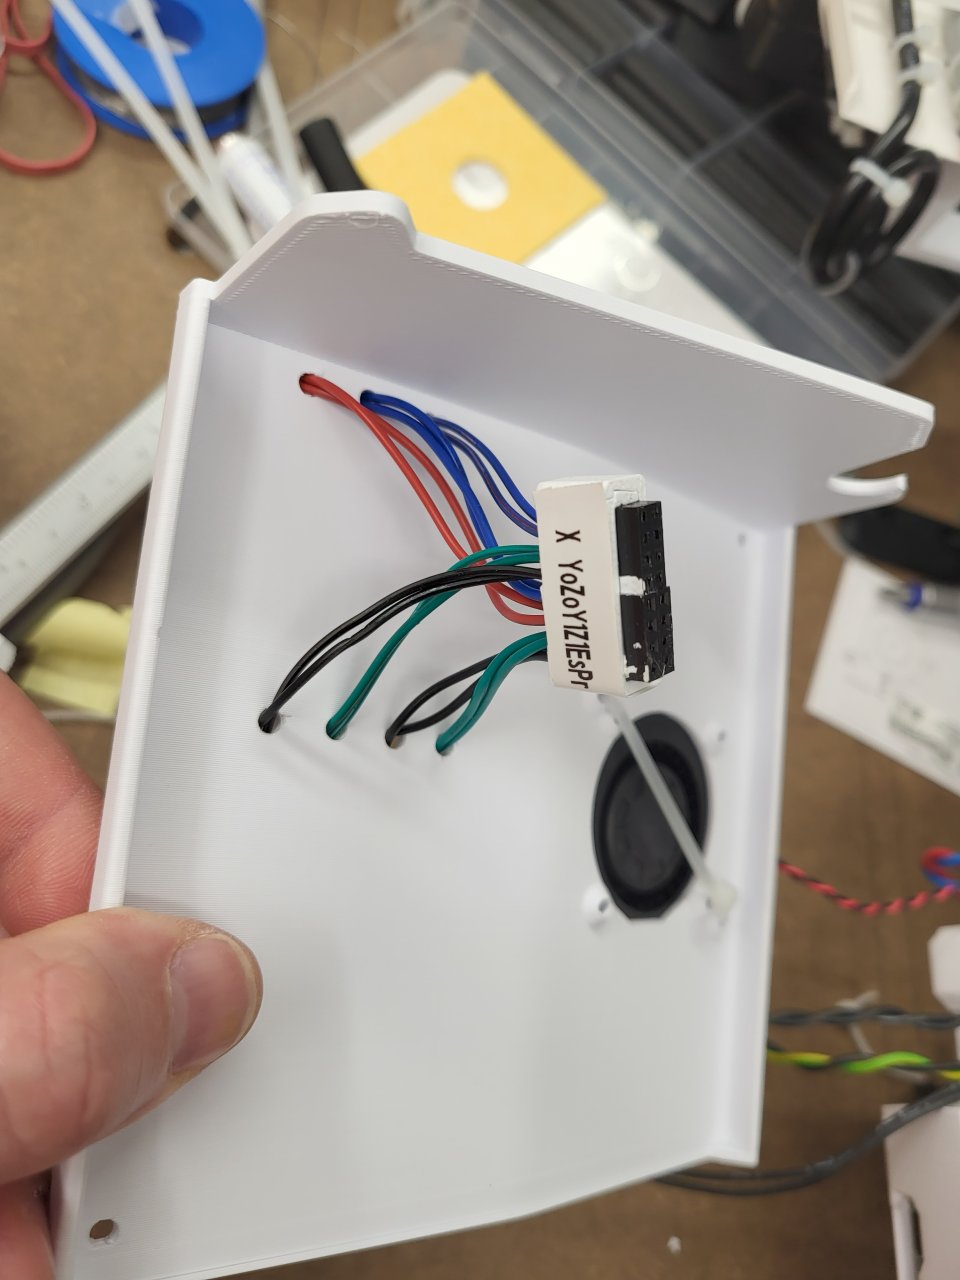
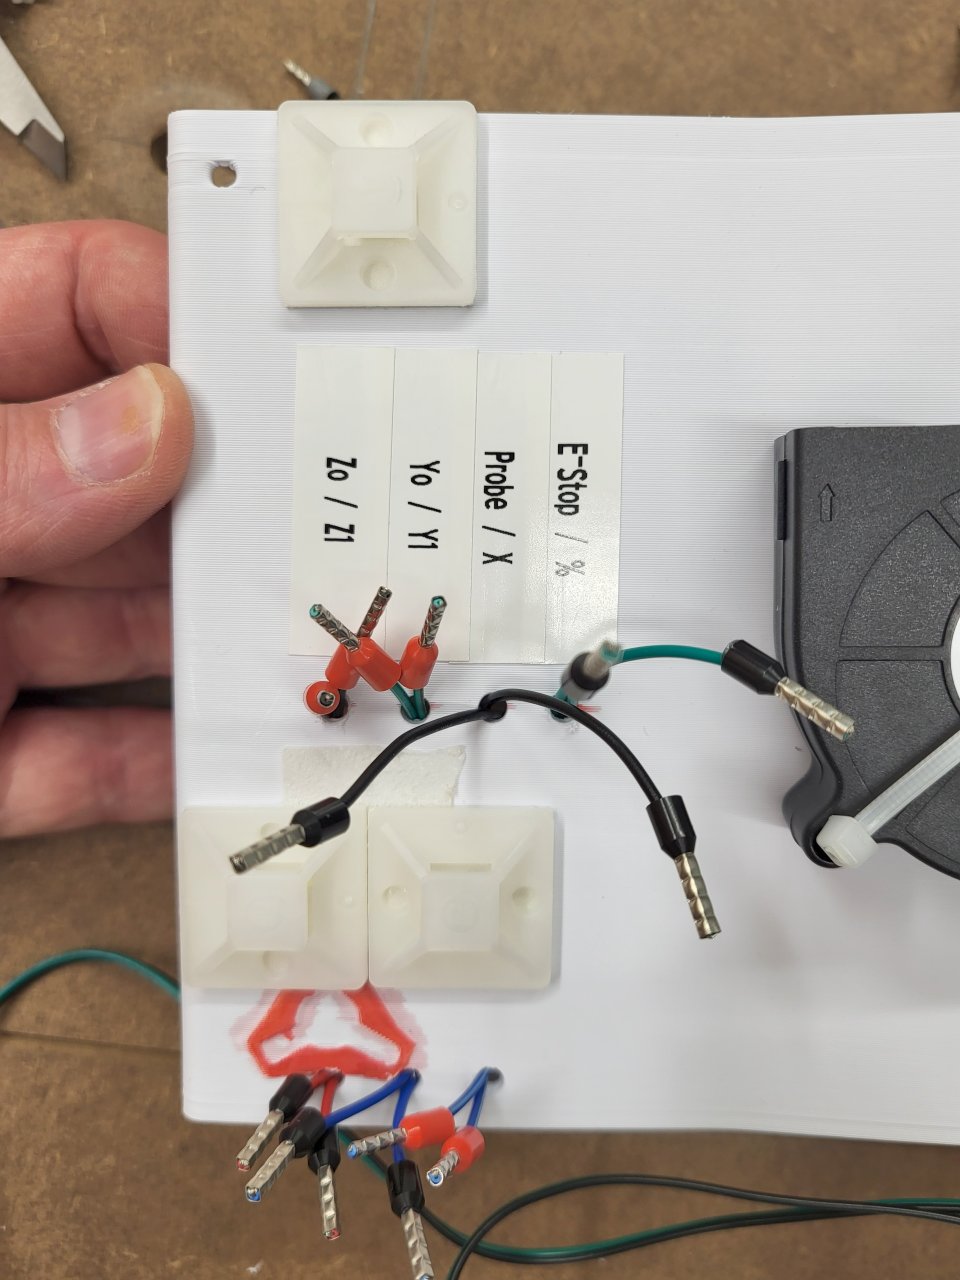
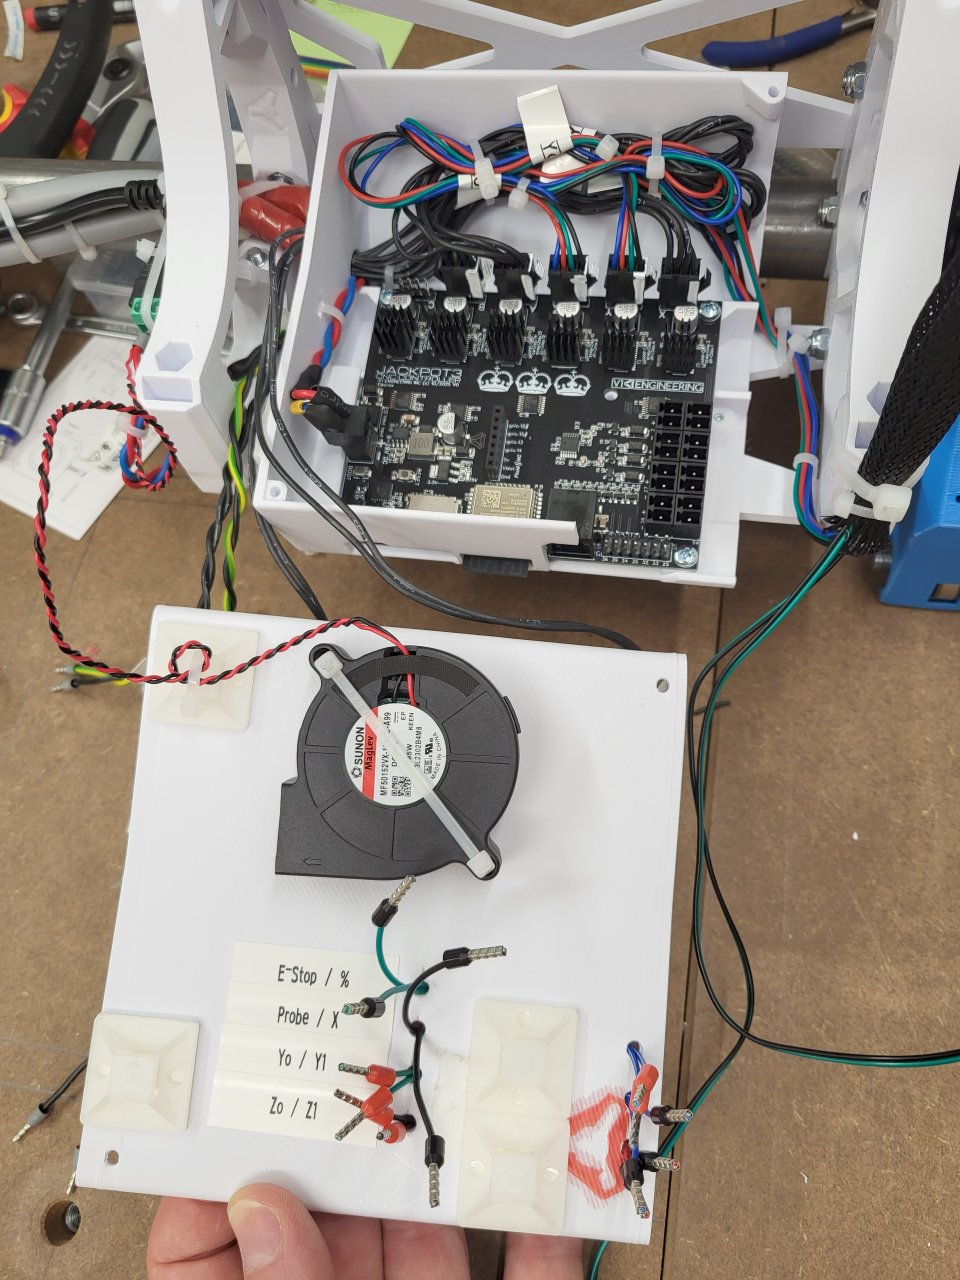
I kinda like my hobby machines/tools neat and tidy, so I spend hours routing the cables, but the result looks very to my liking. Most annoying part during the build was connecting the switches to the Jackpot3 board, don´t know why it gave me such a hard time, I from now on hate Dupont connectors to the bones.

I decided to attach a emergency push button to the safety door function, works well for me, and I made it flexible in use: either mounted to the table or “take with you” when i move the router closer to some position.

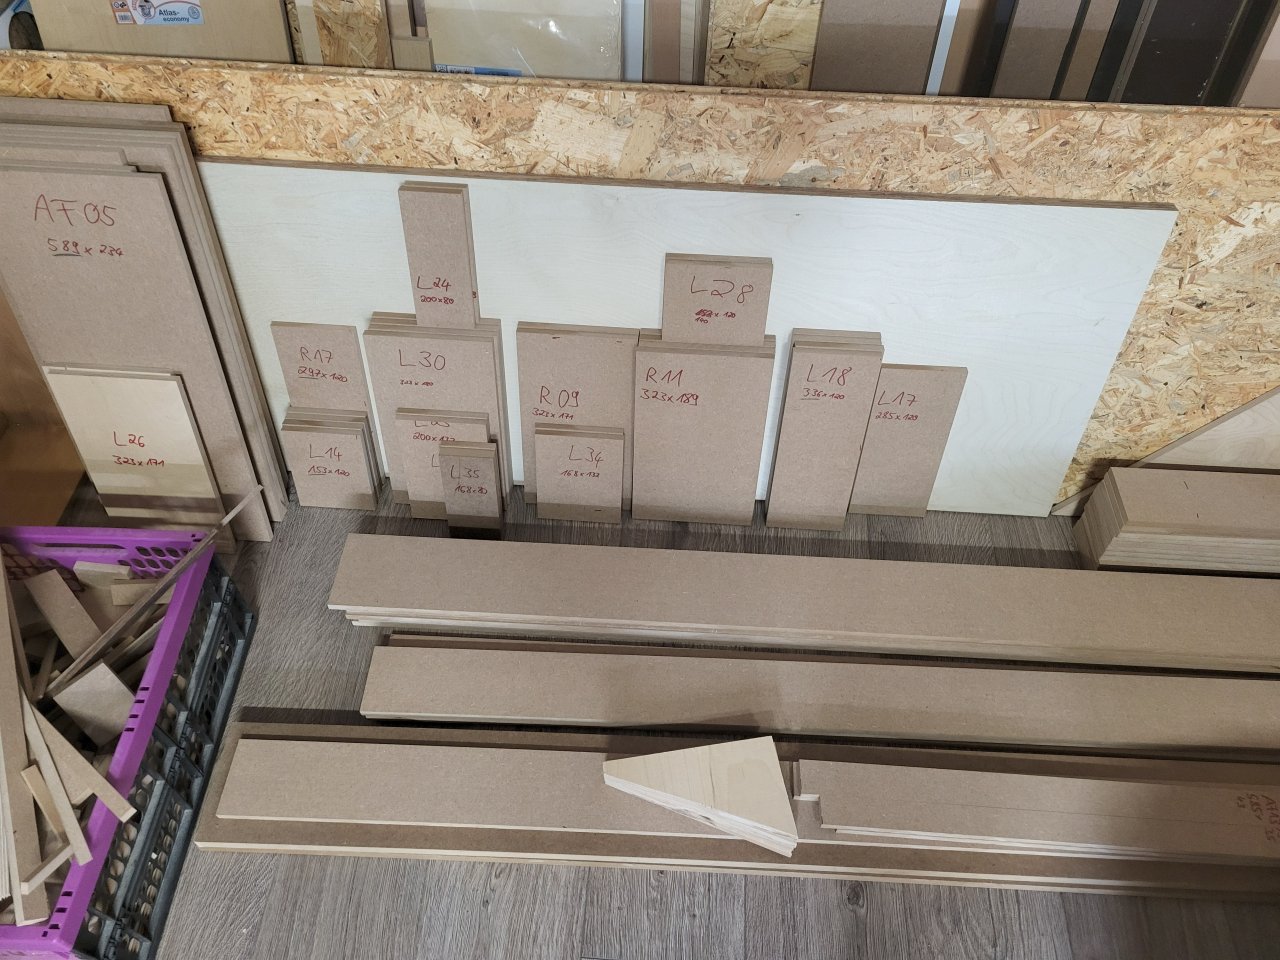
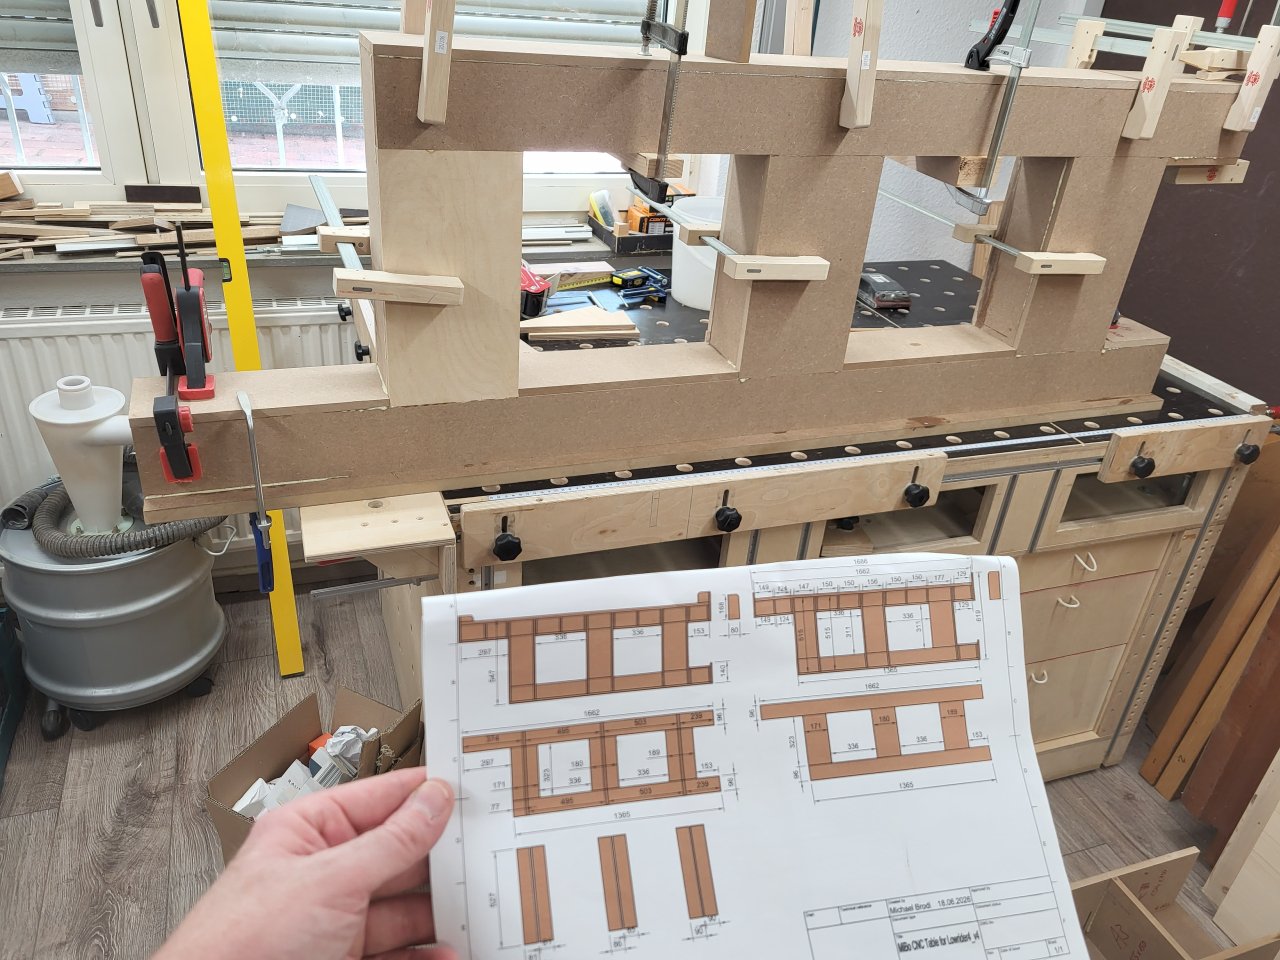
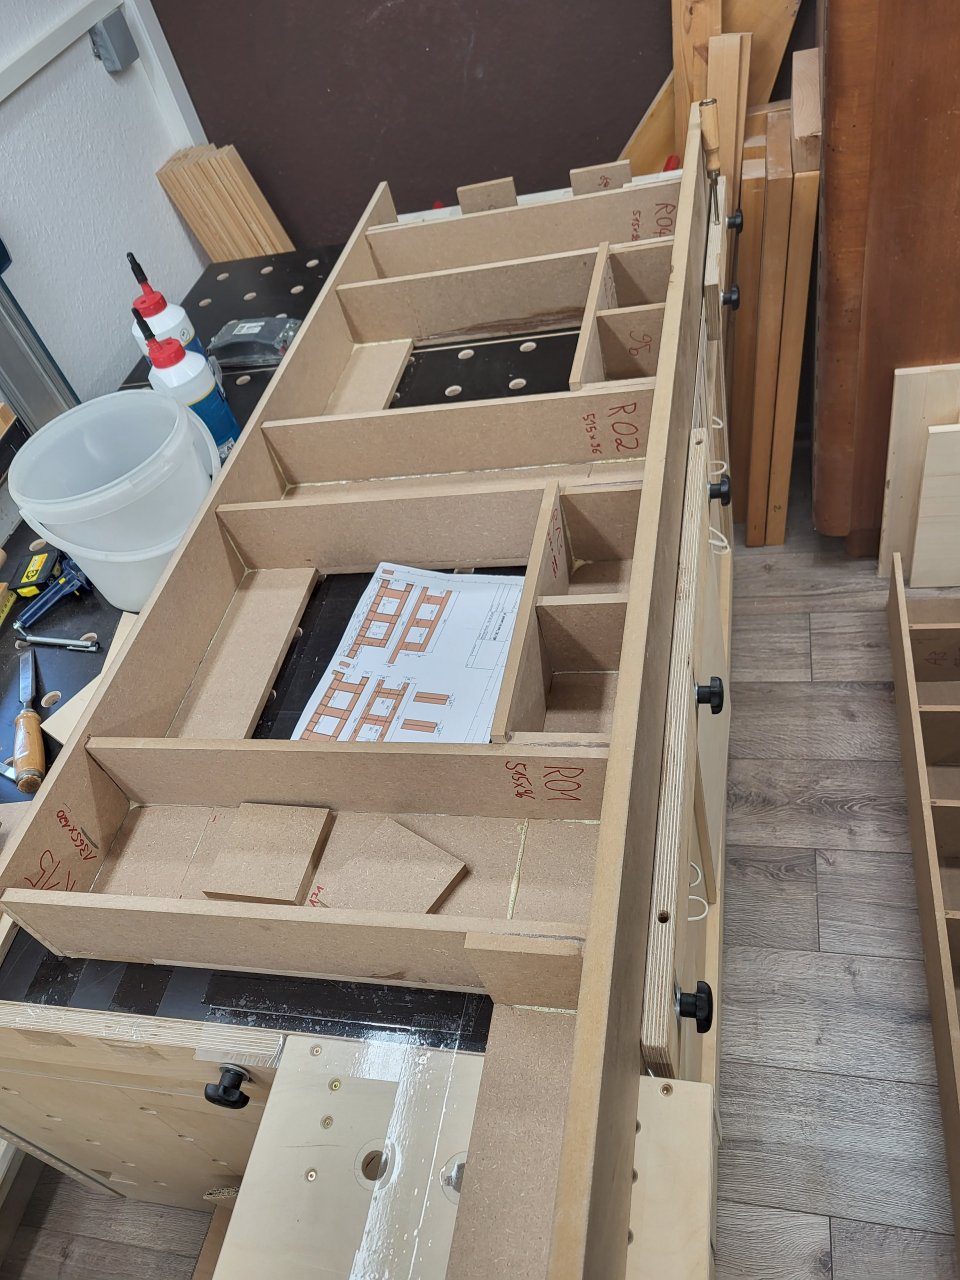
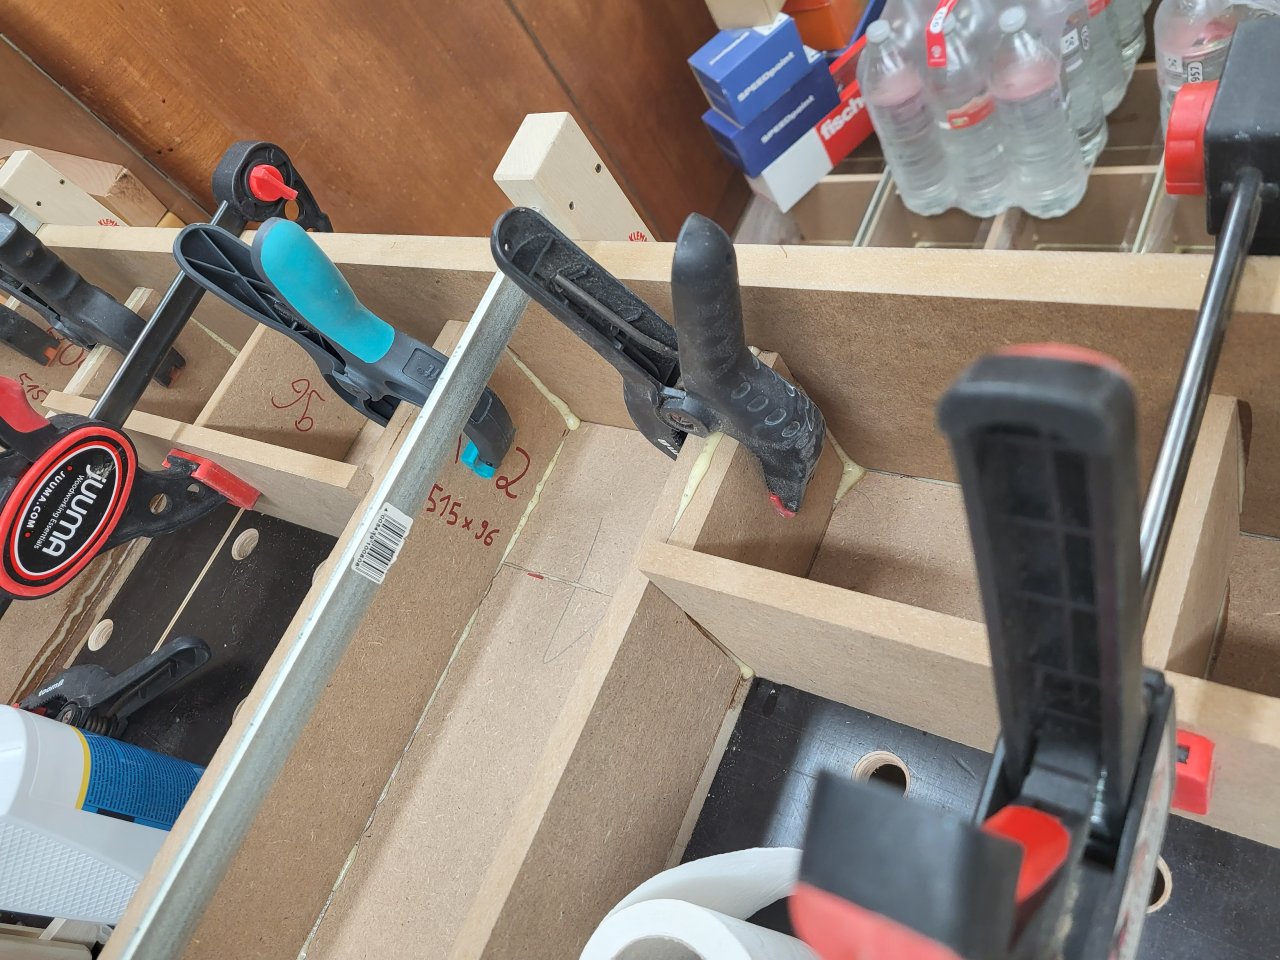
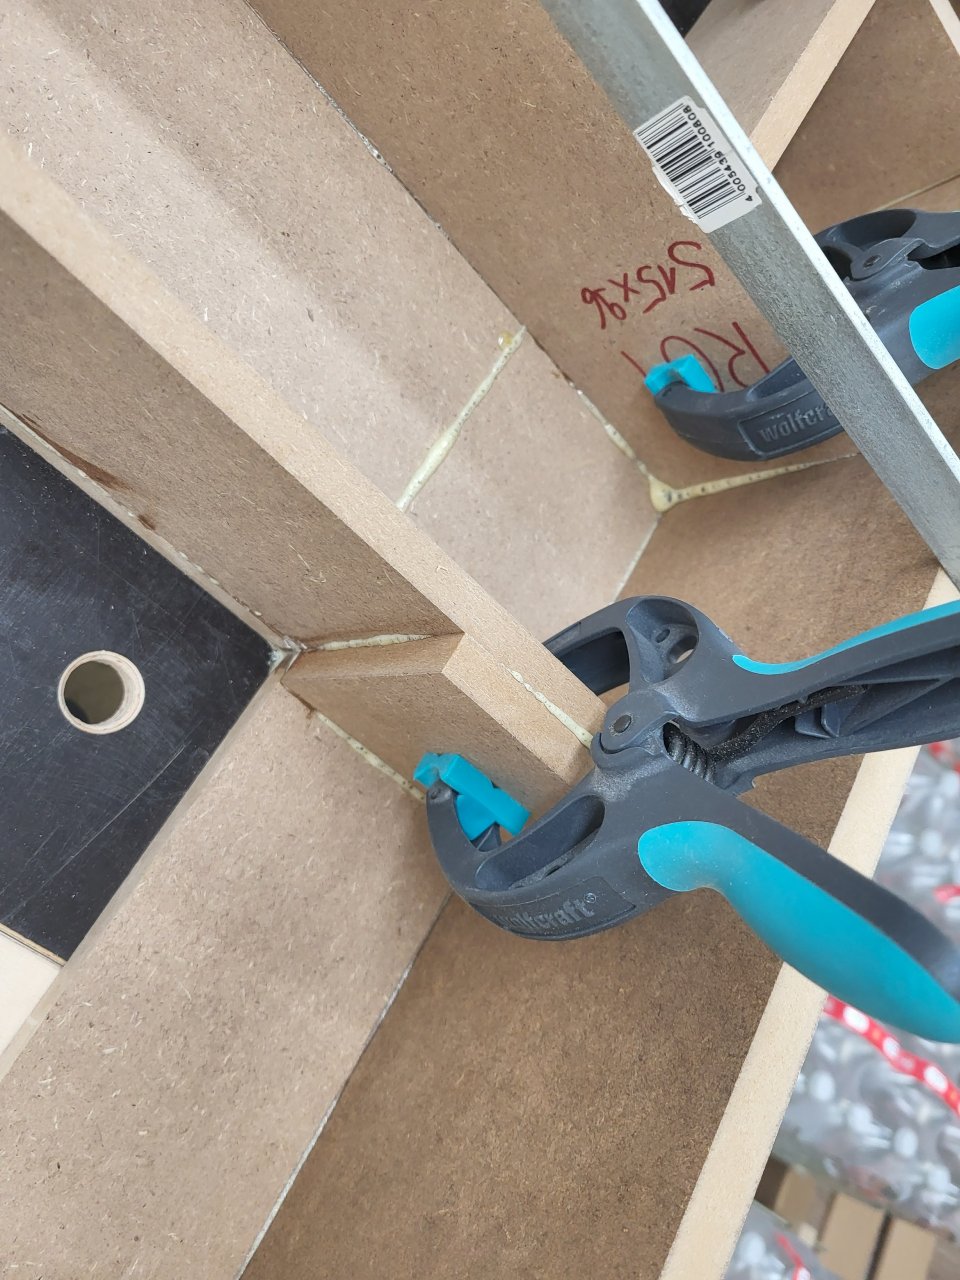
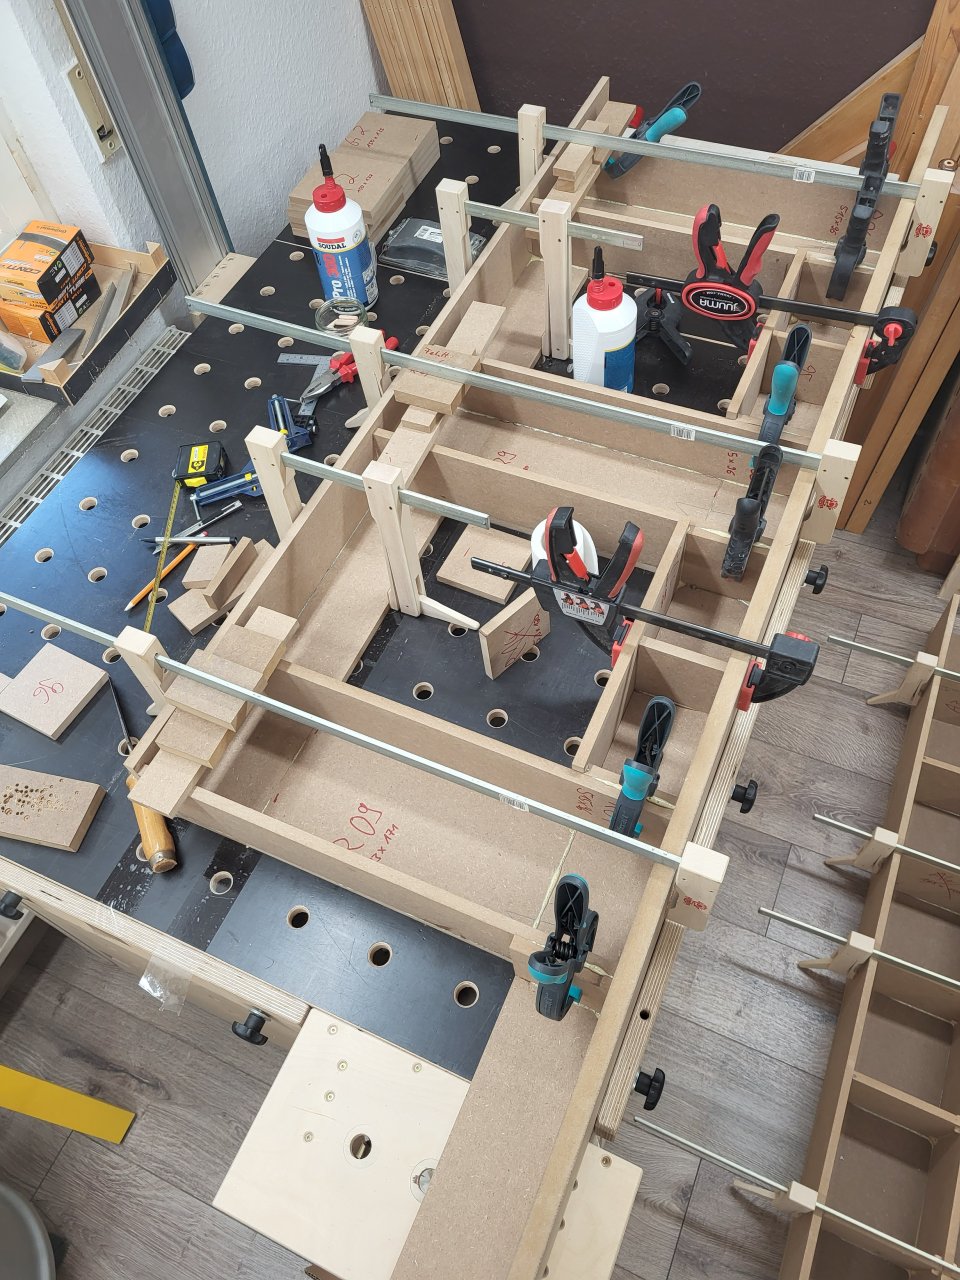
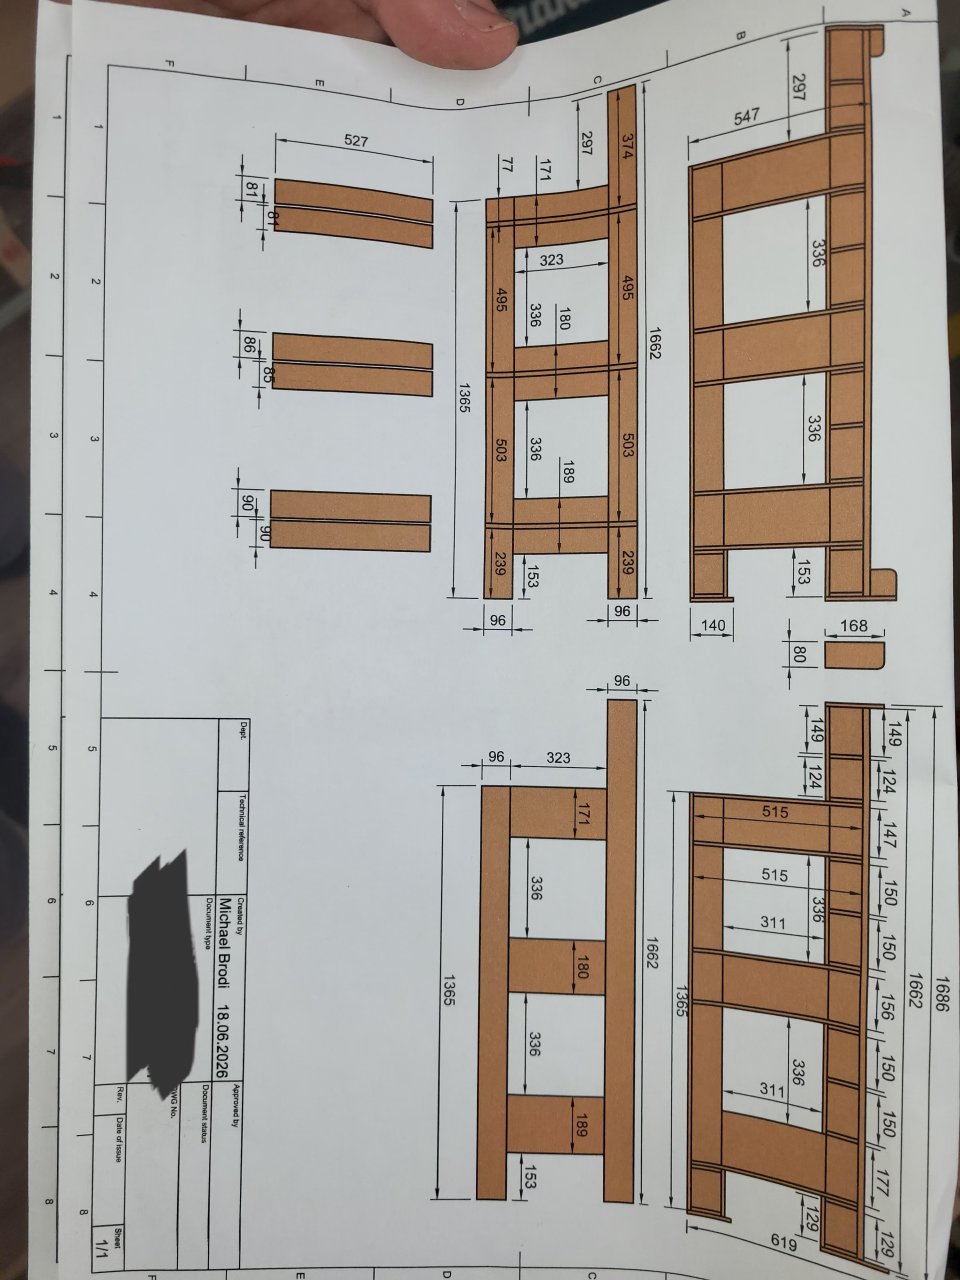
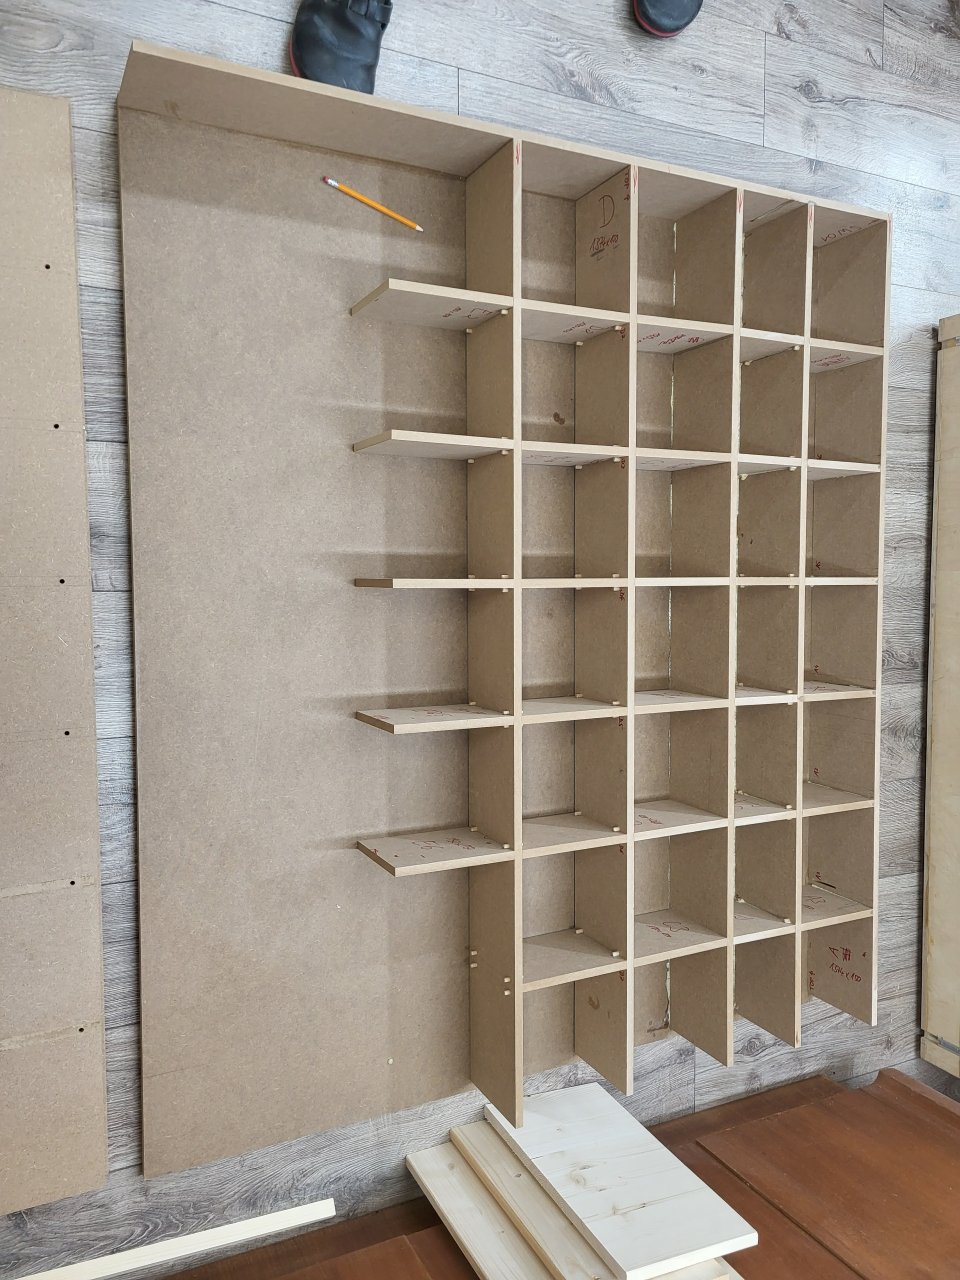
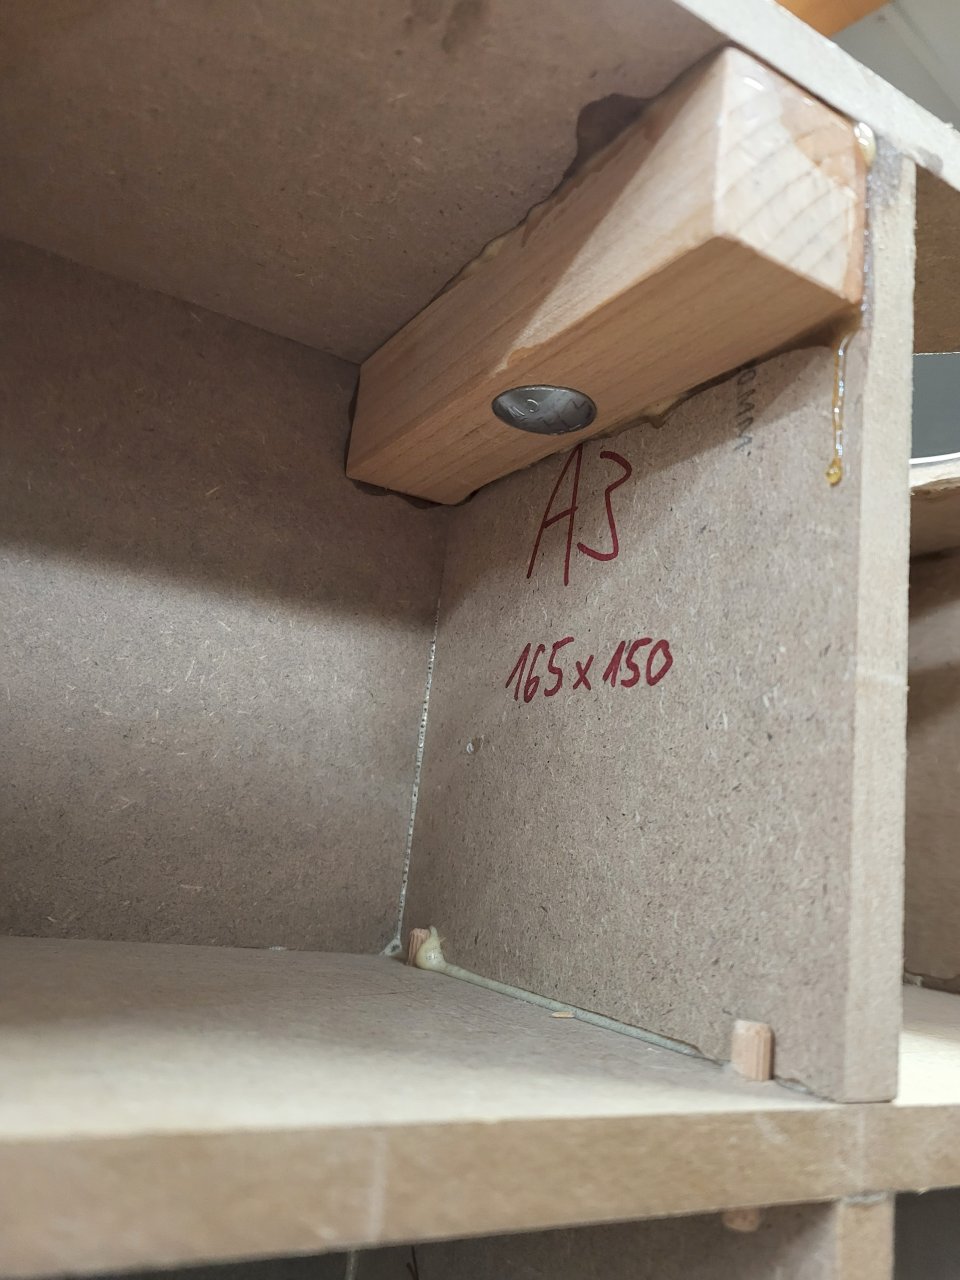
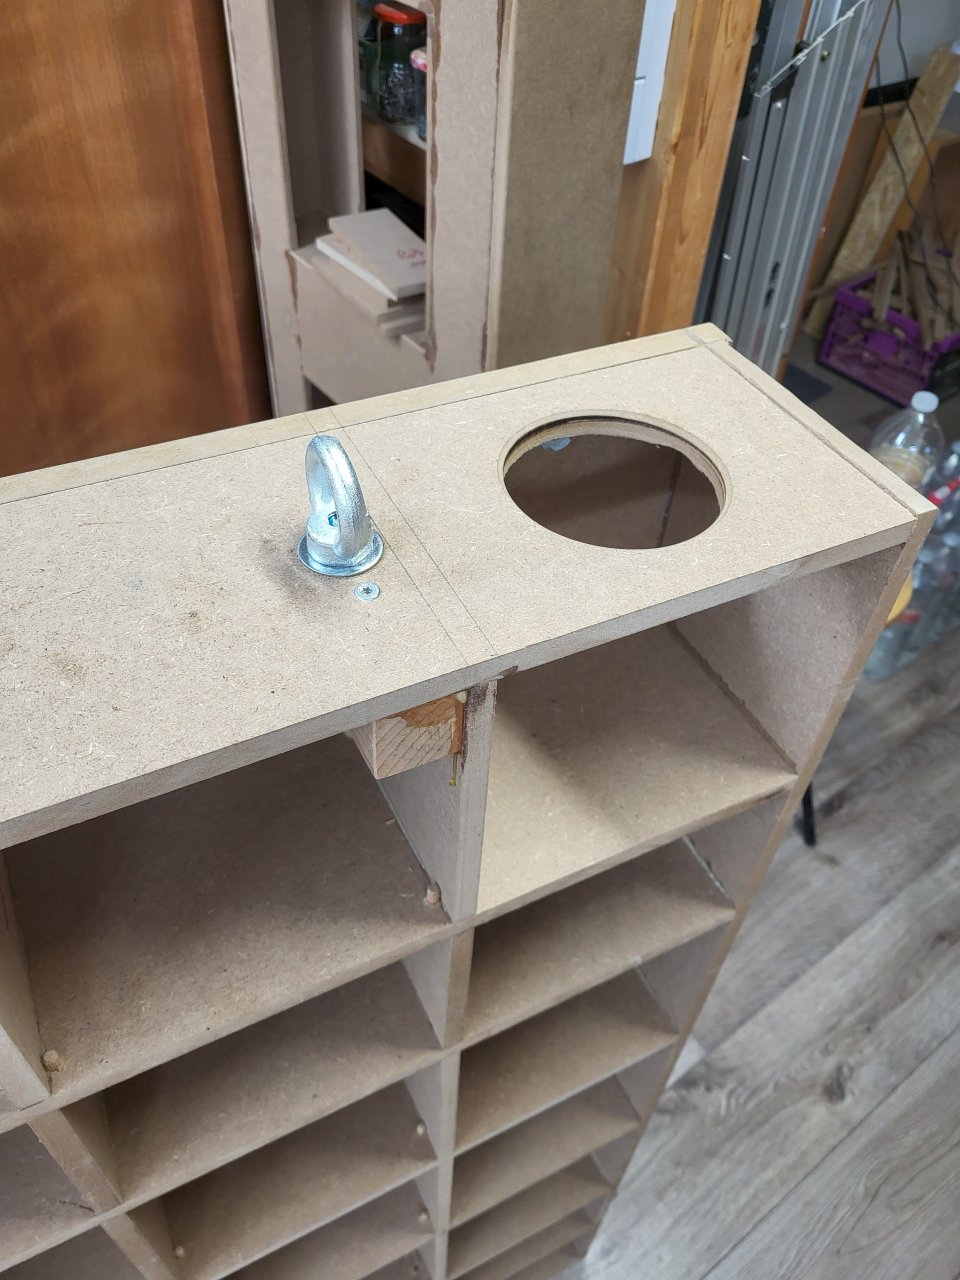
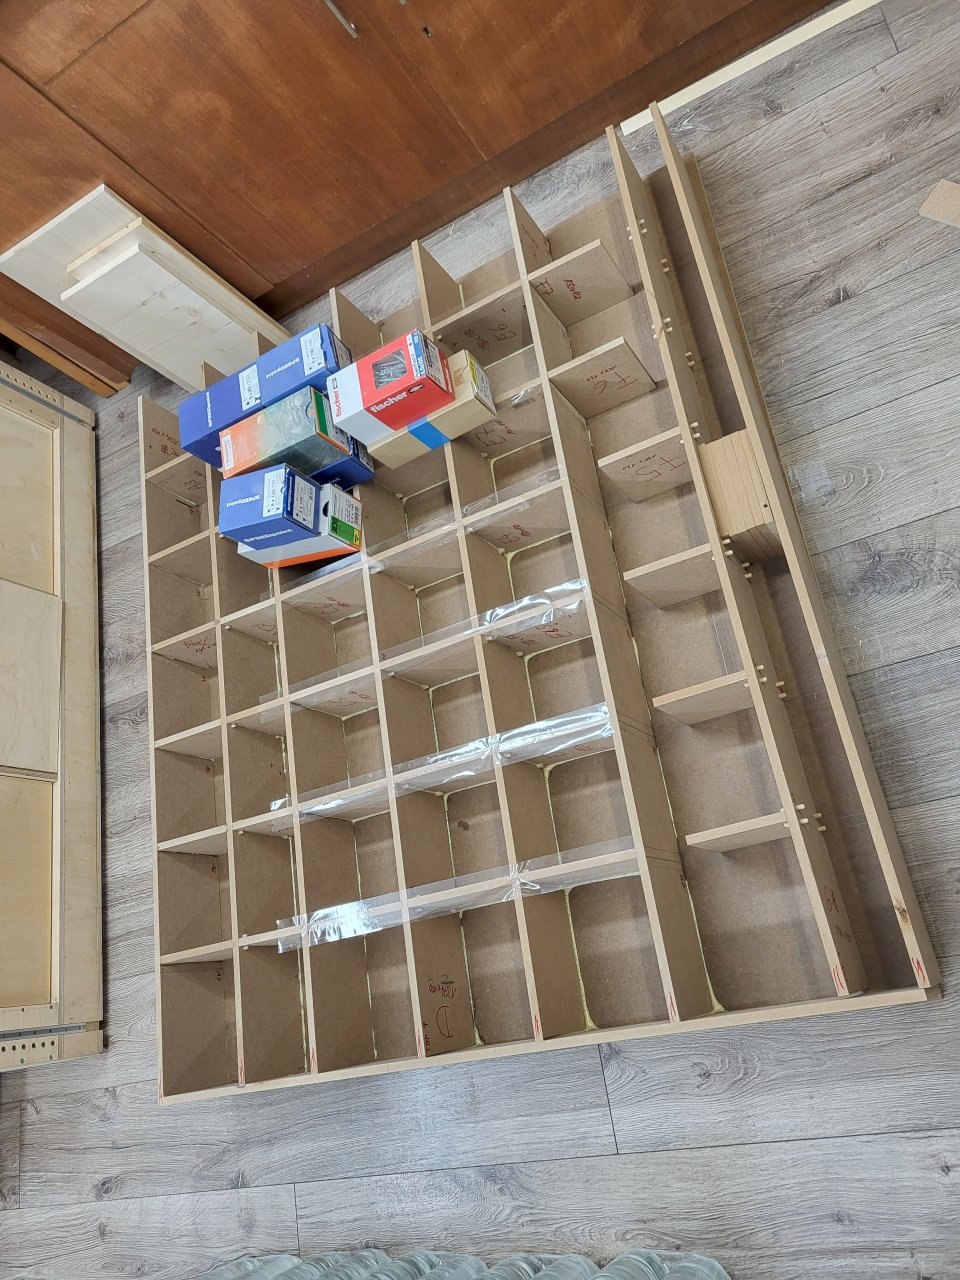
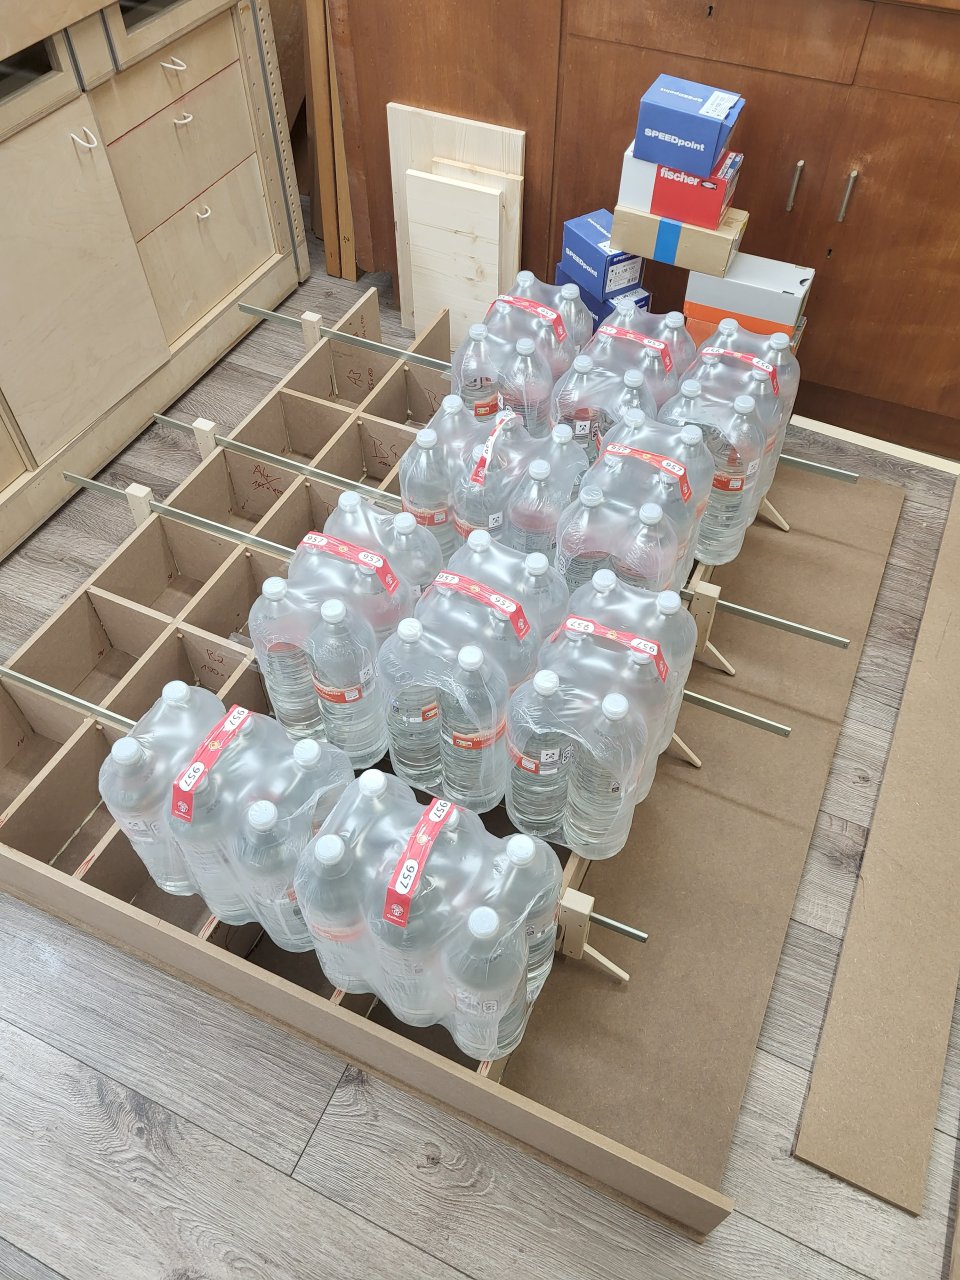
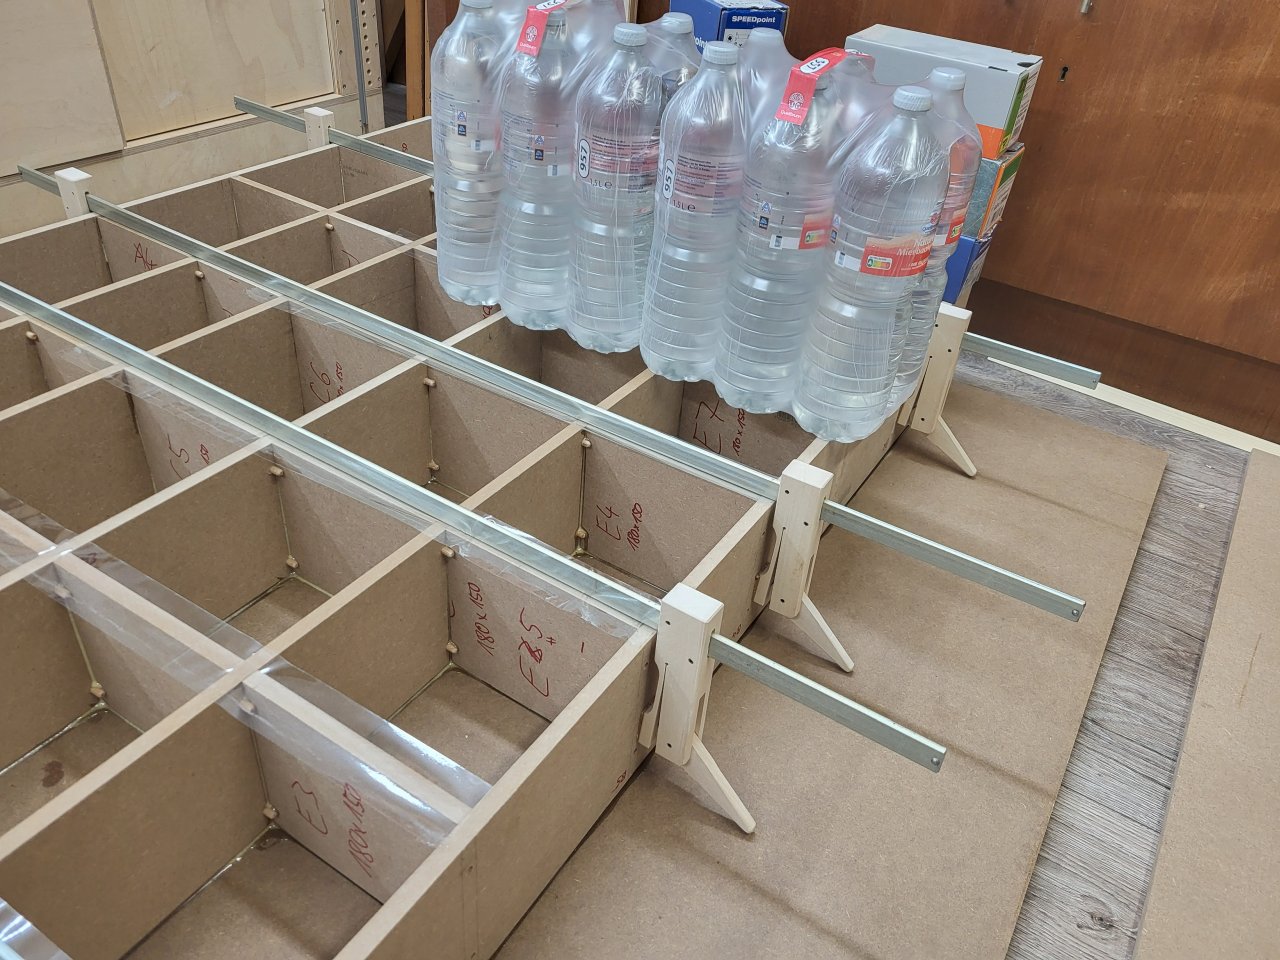
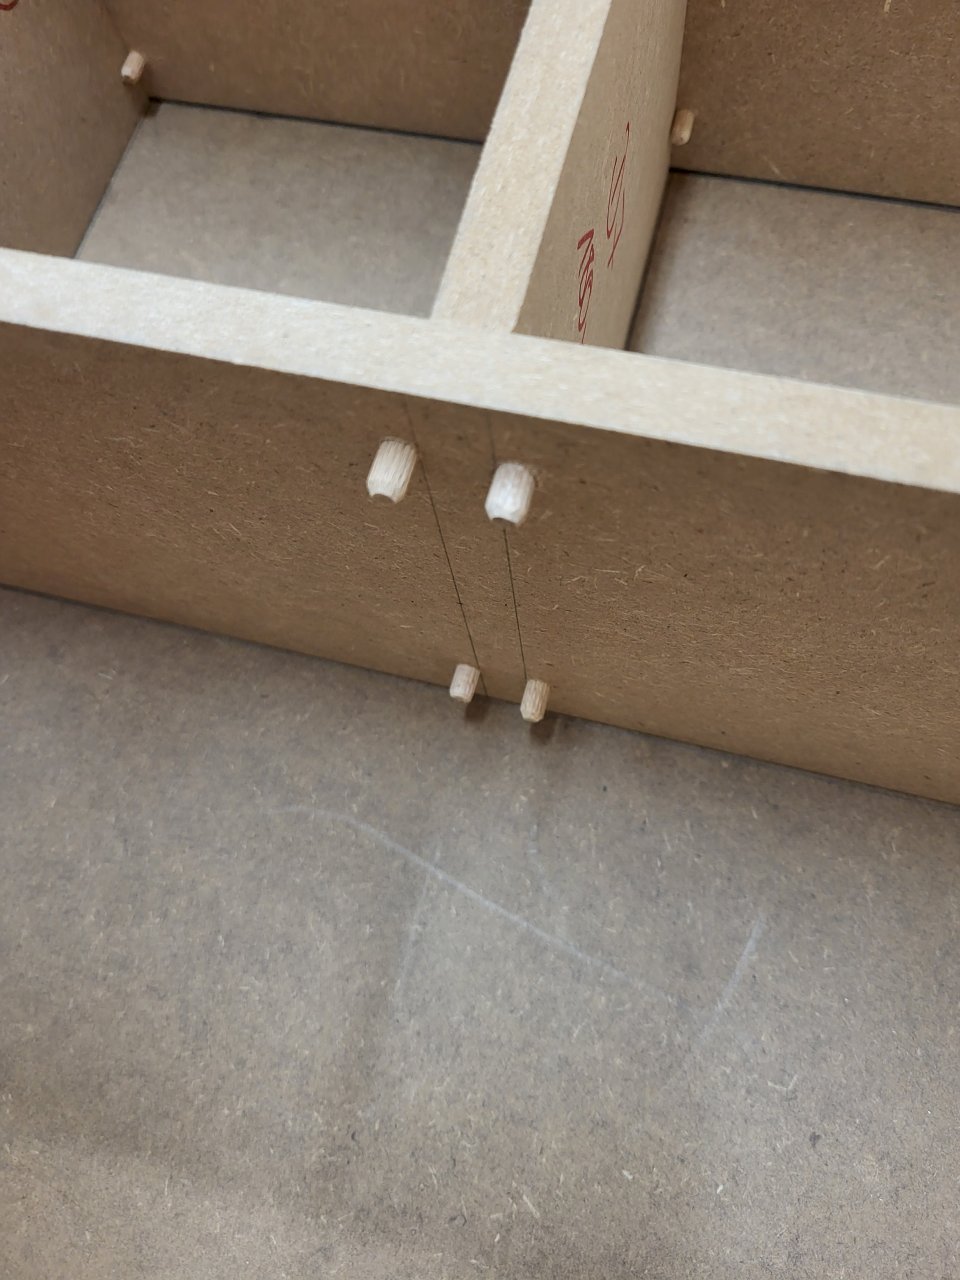
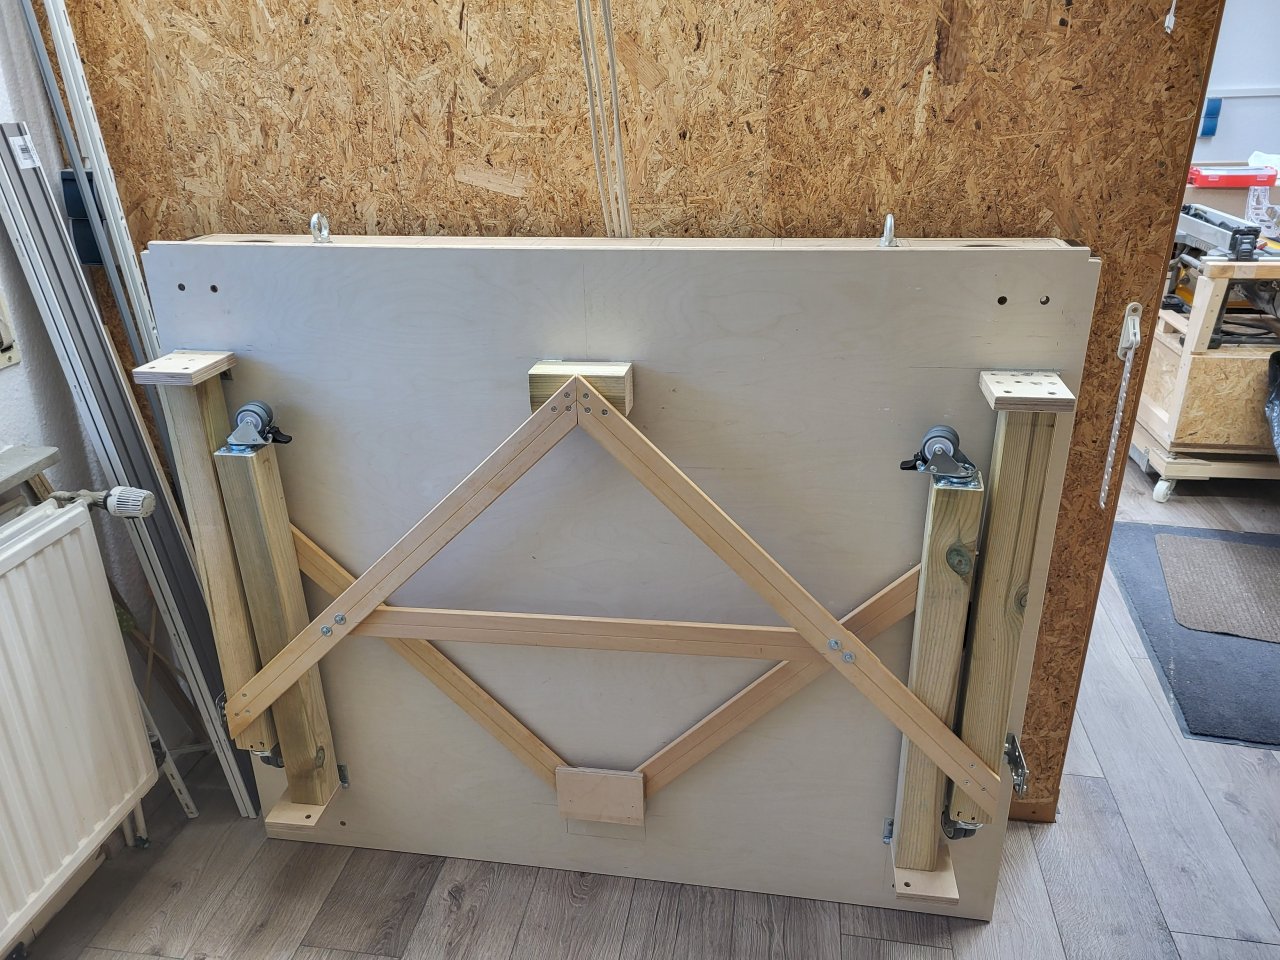
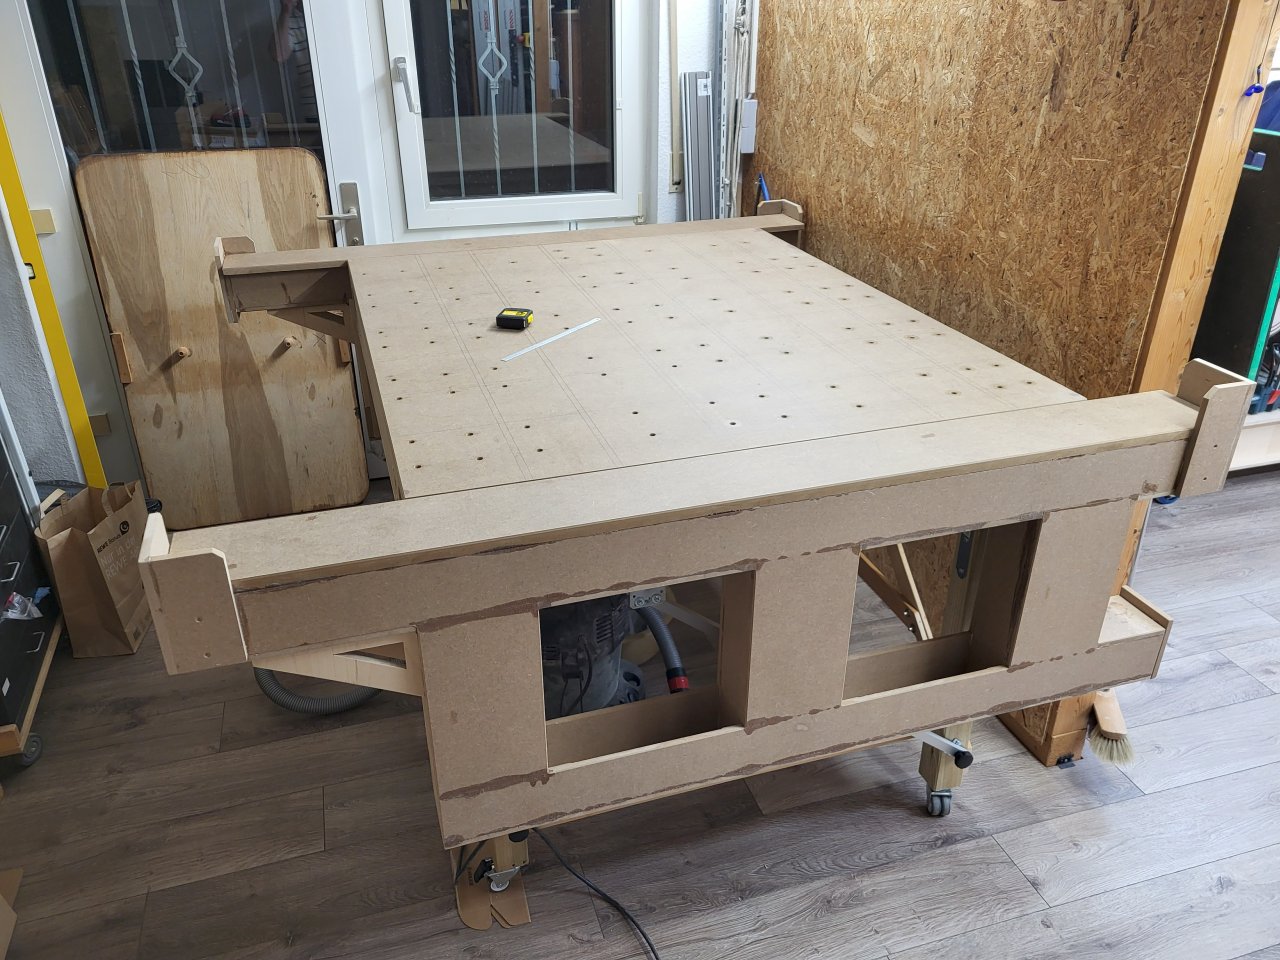
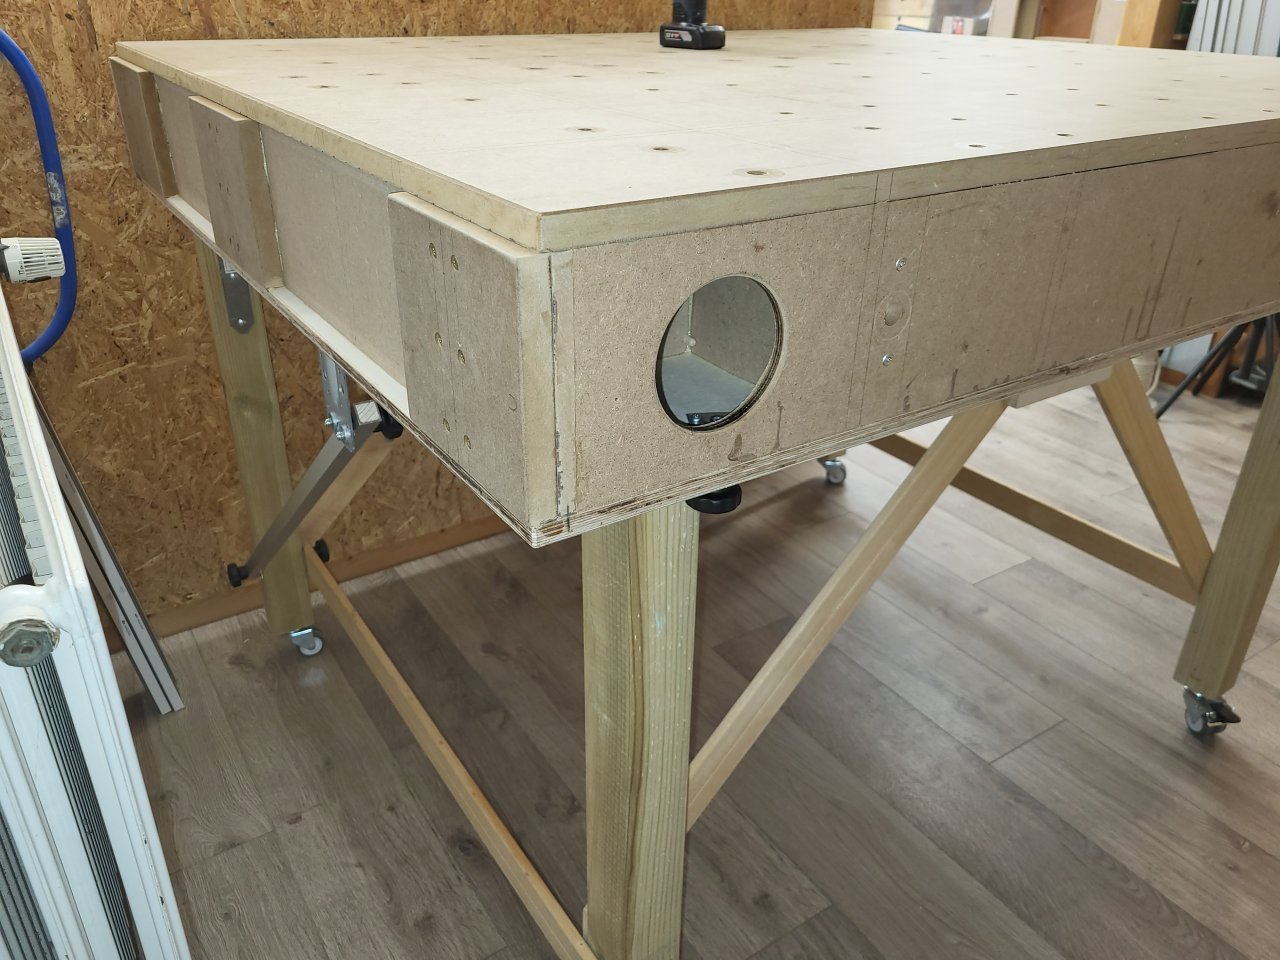
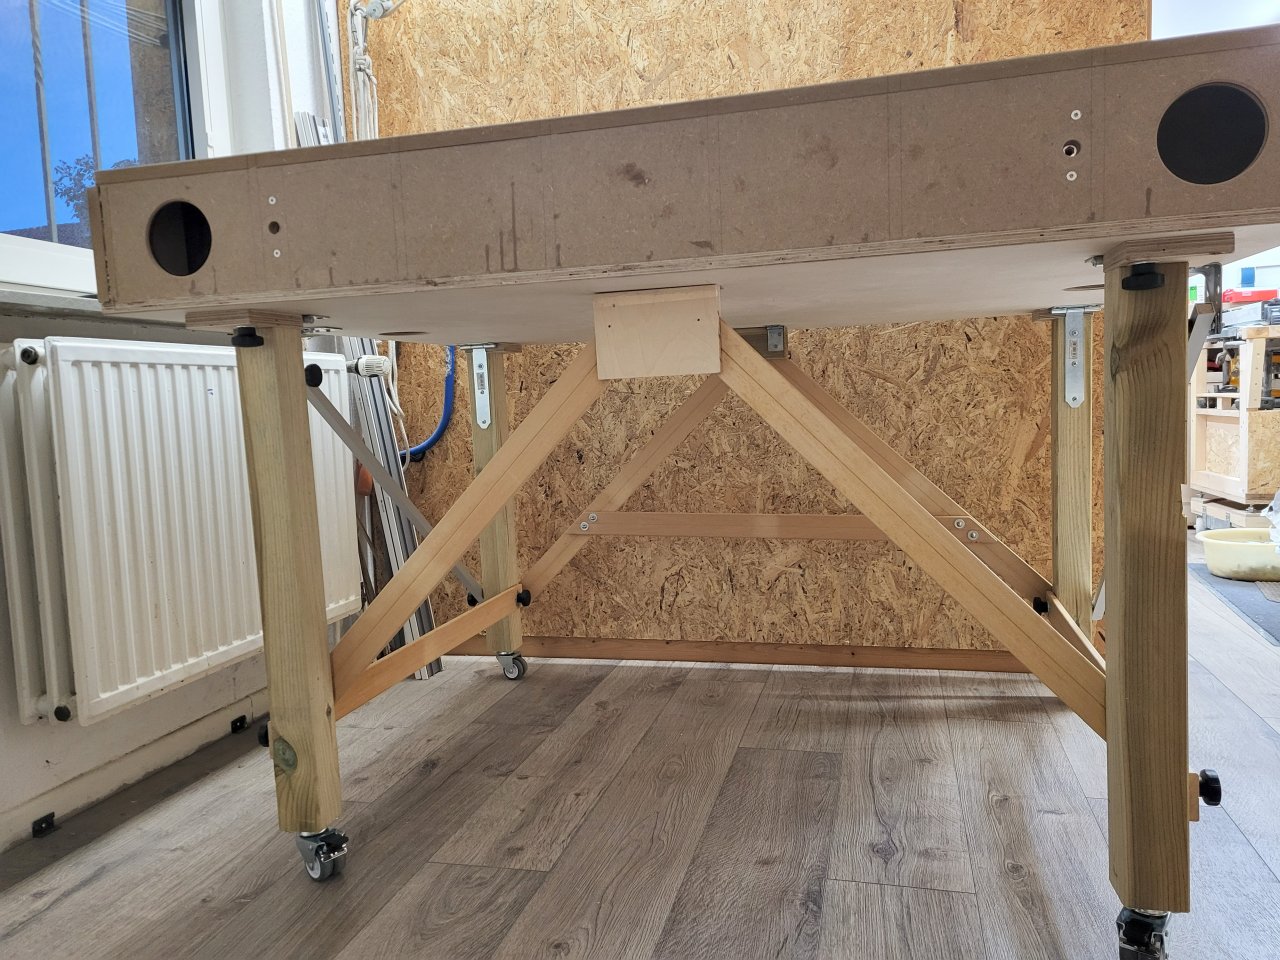
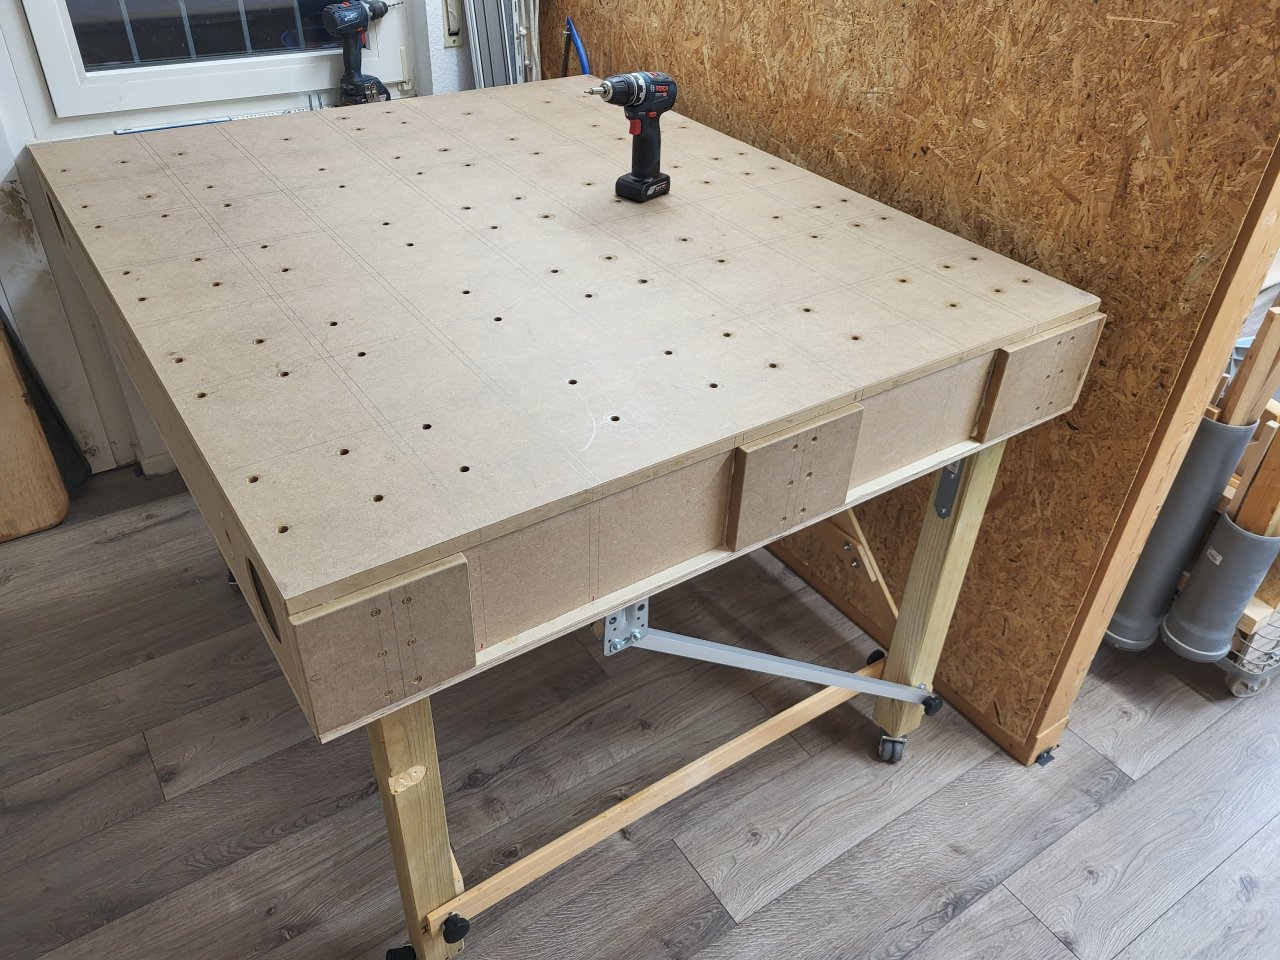
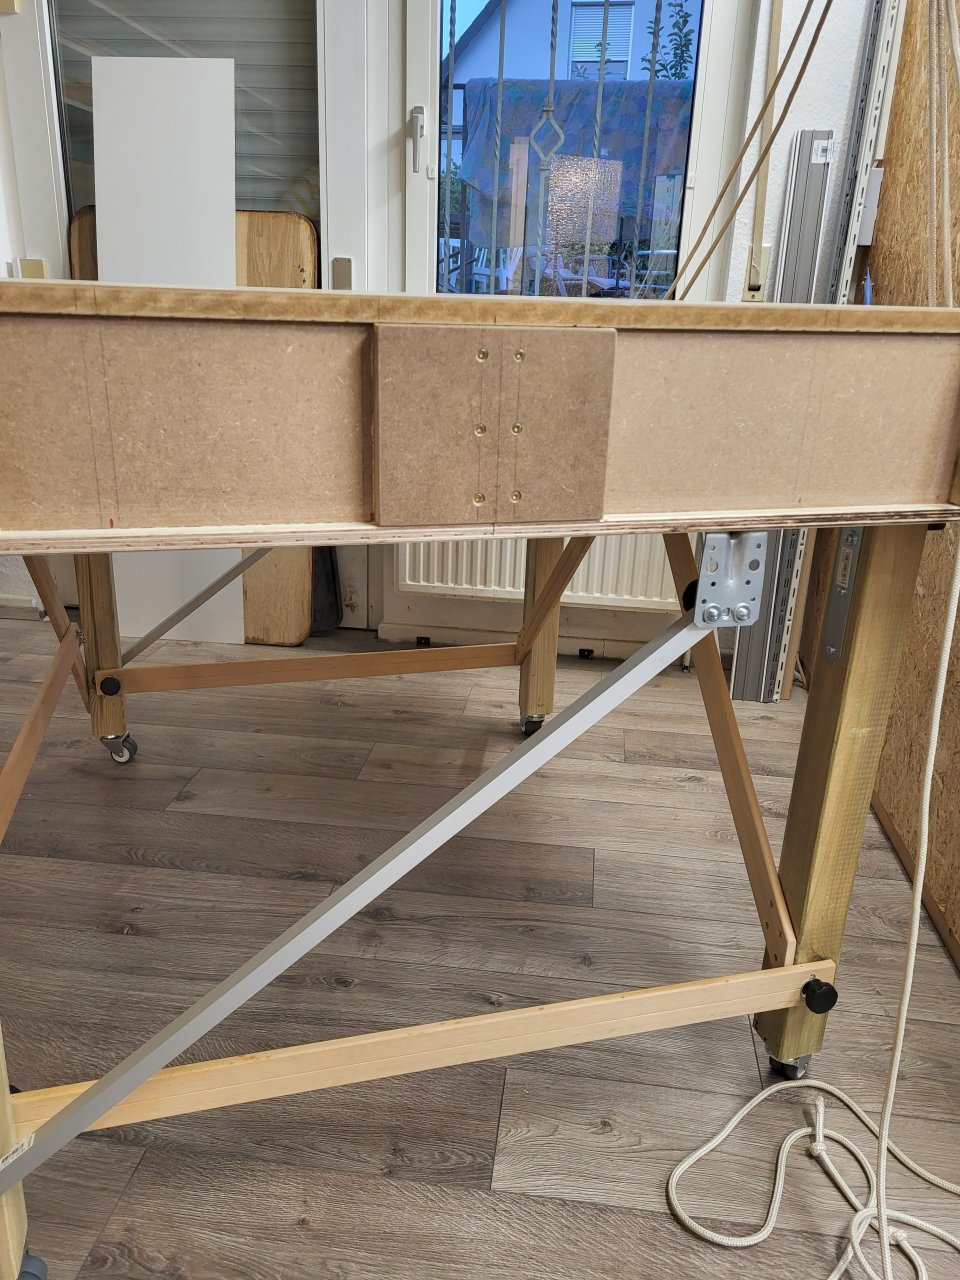
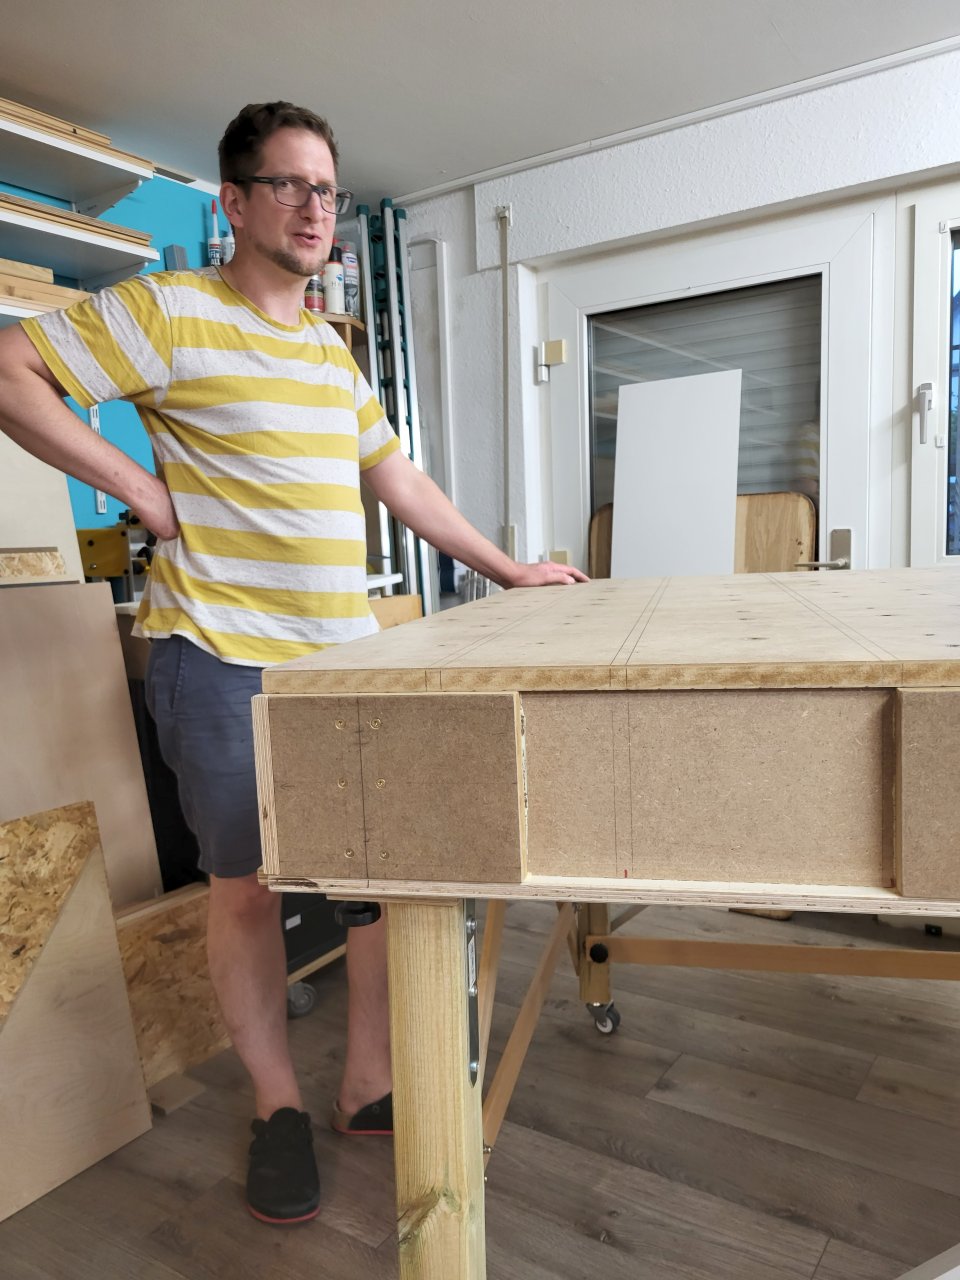
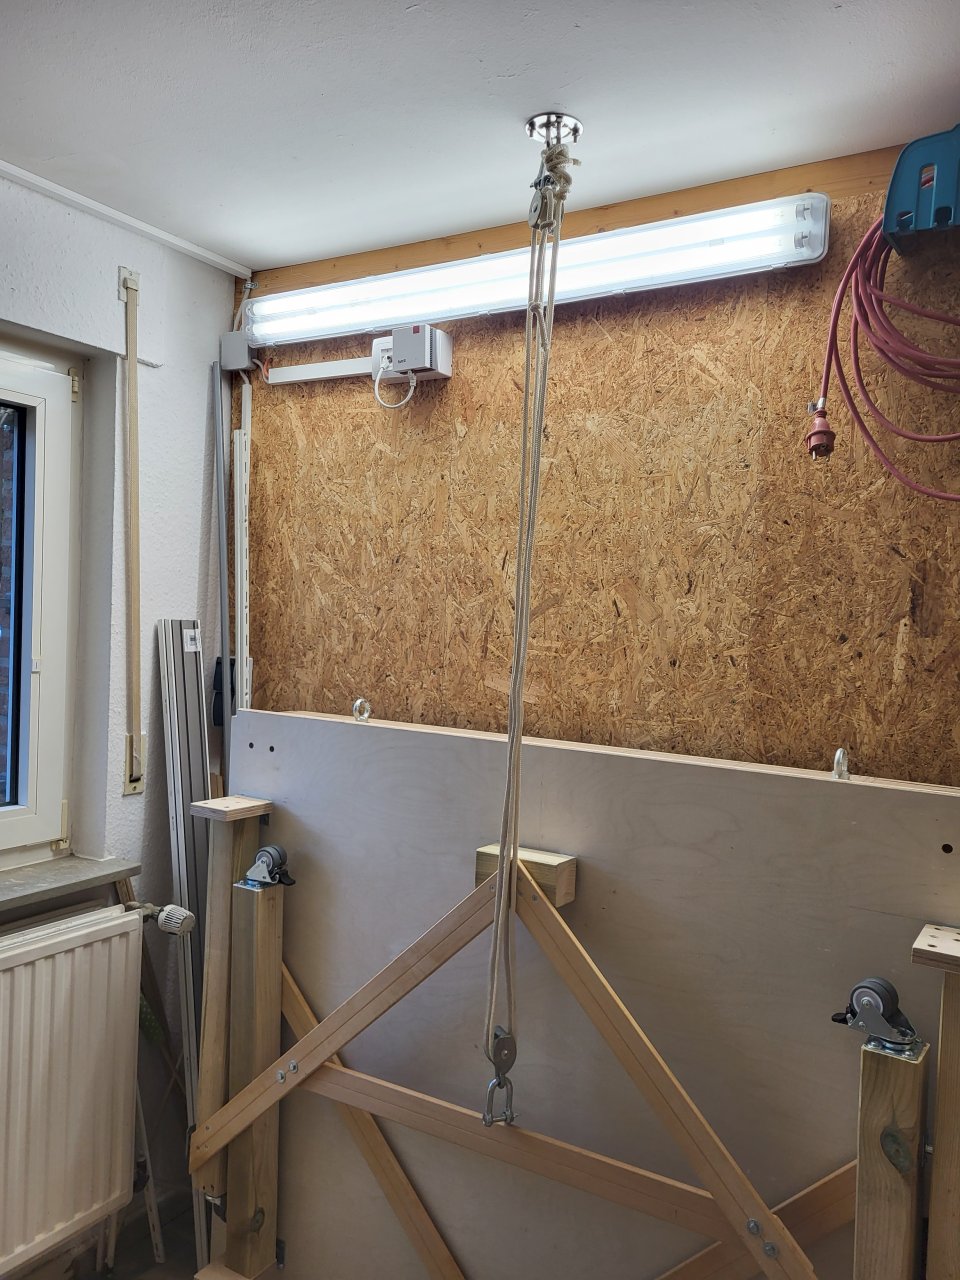
I jumped head first into the rabbit hole and build an overly complicated, height adjustable and take apart/stow away cnc table that I will showcase in a later posting. And right now I have some Z axis depth problem, that will be my number 3 posting I guess…

Well, enough talking, thanks Ryan and everybody else involved for creating this nice hobby project and creating this welcoming atmosphere around here.

Greetings from northern Germany!
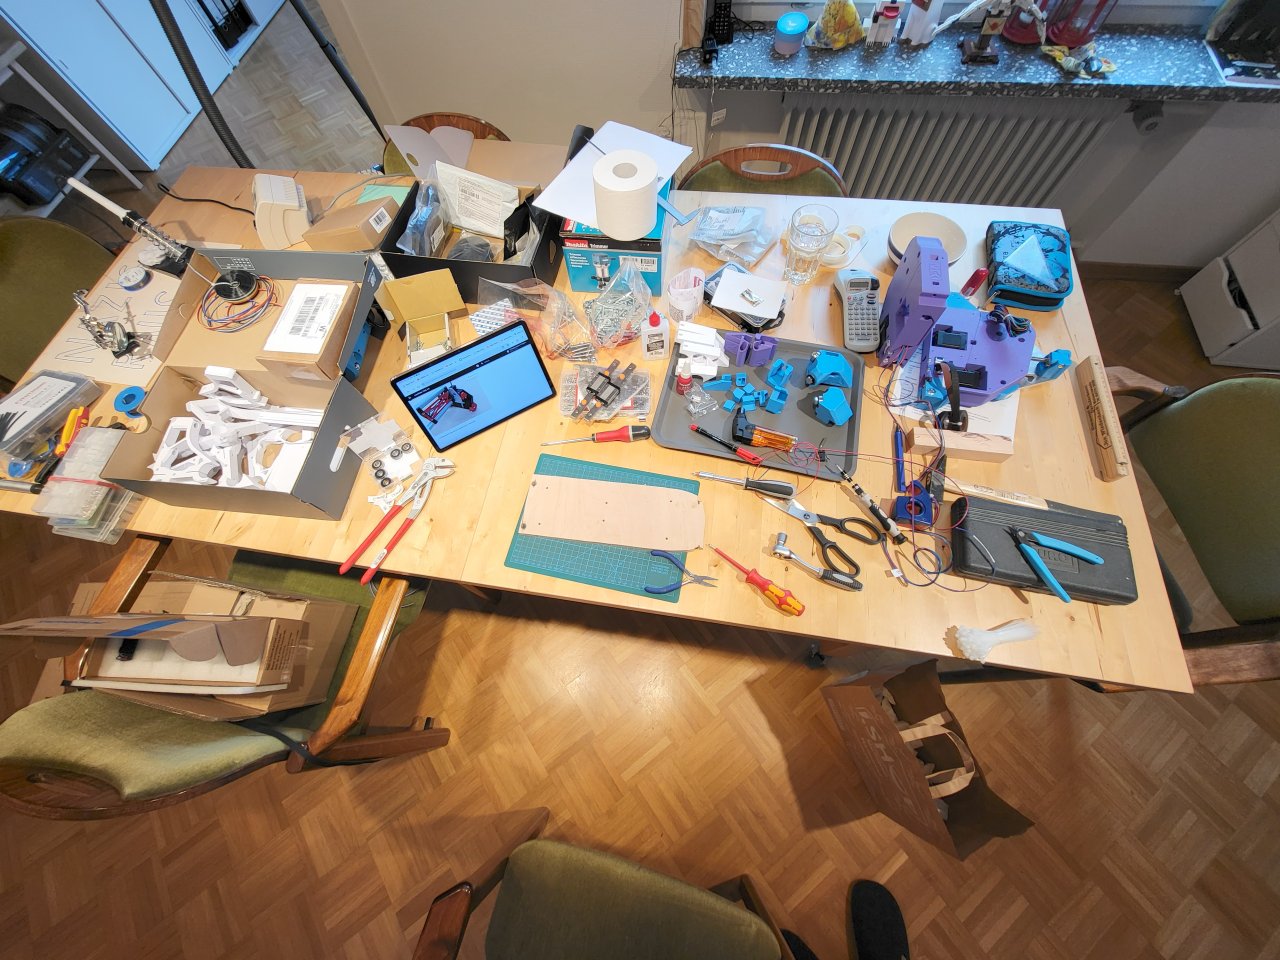
Pictures of my LR4 build… P.S. I did not yet give it a name, suggestions are welcome ; )

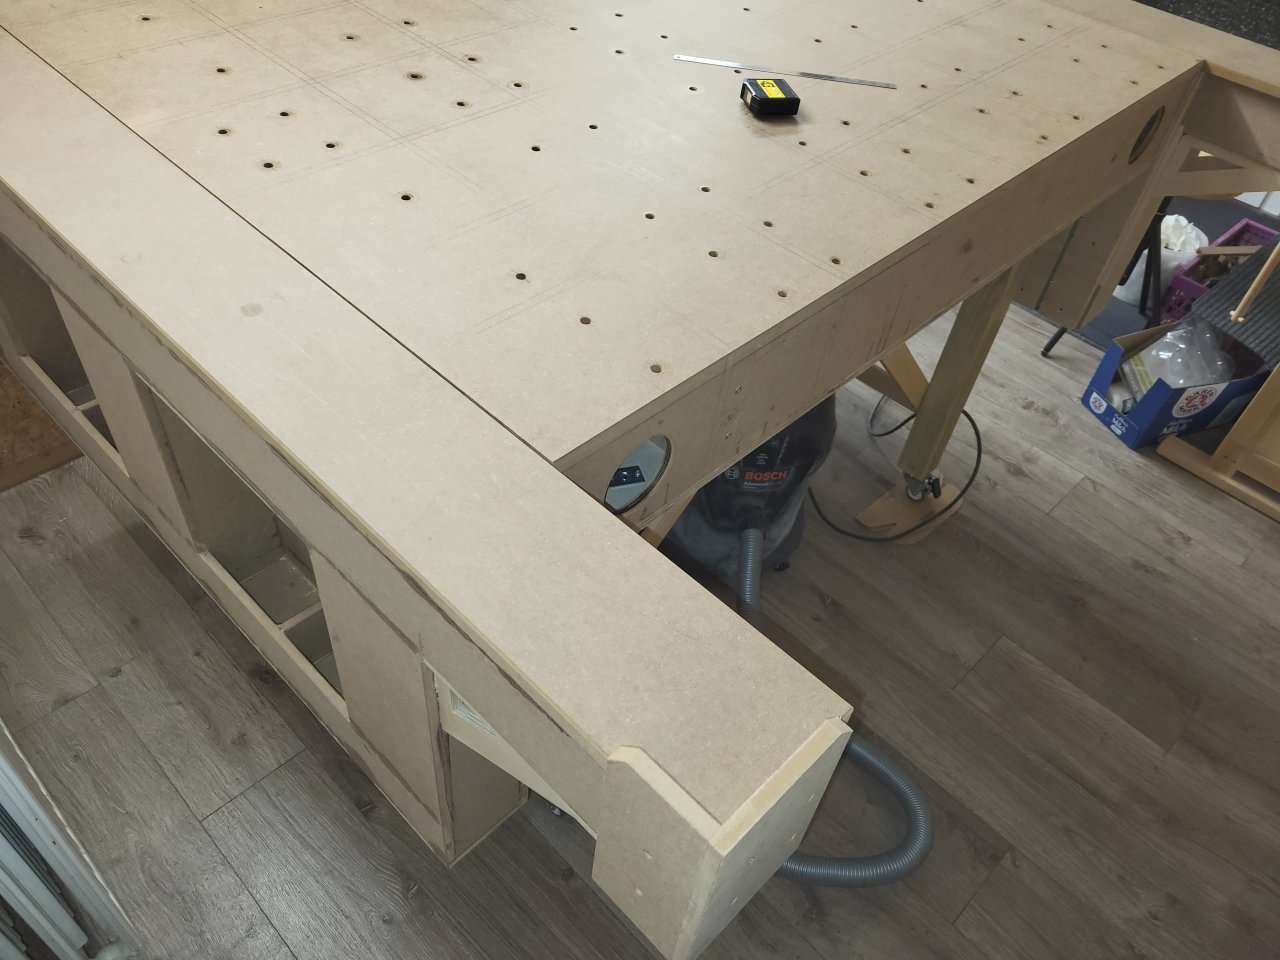
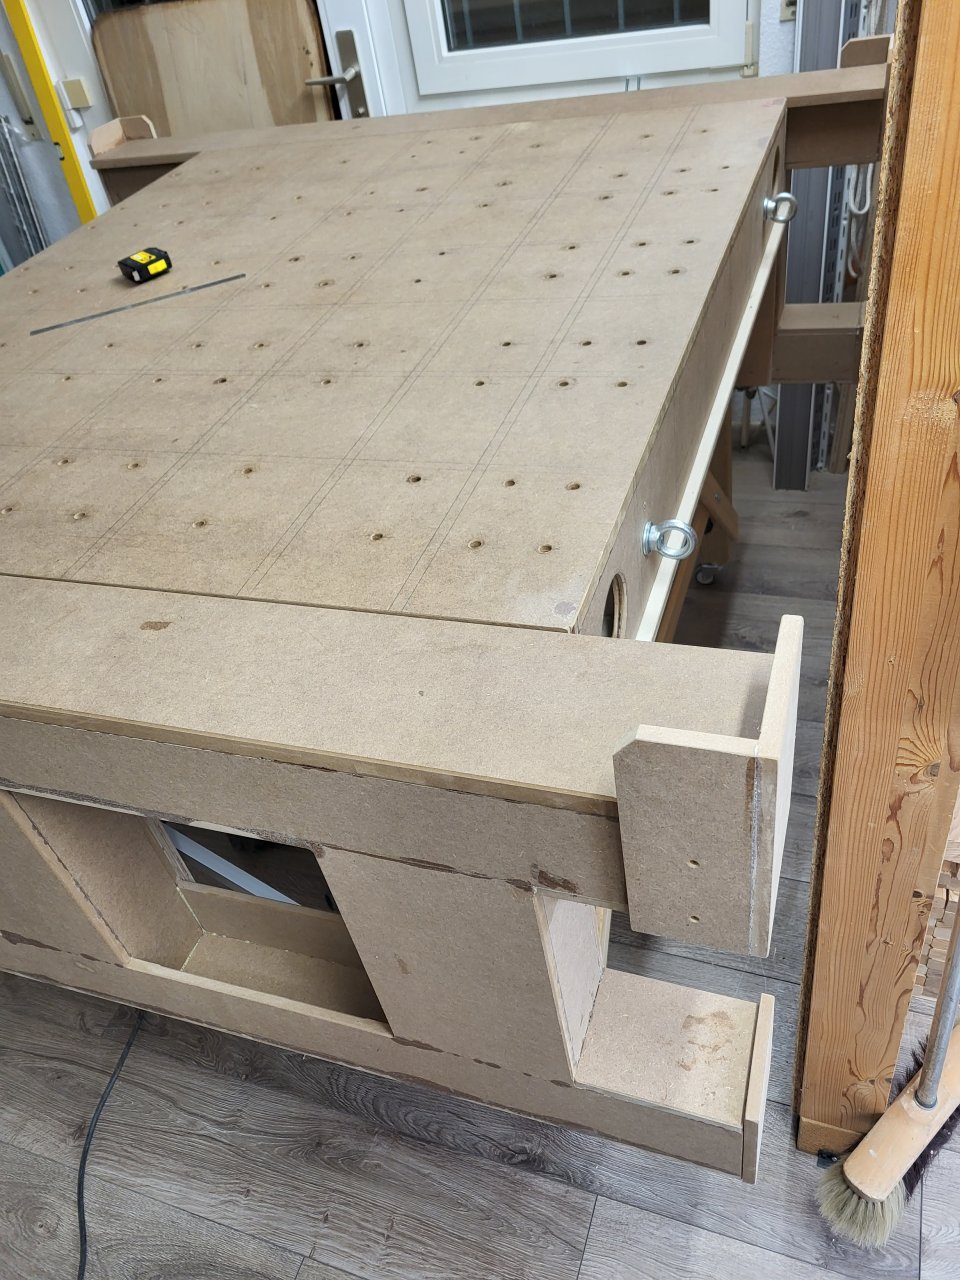
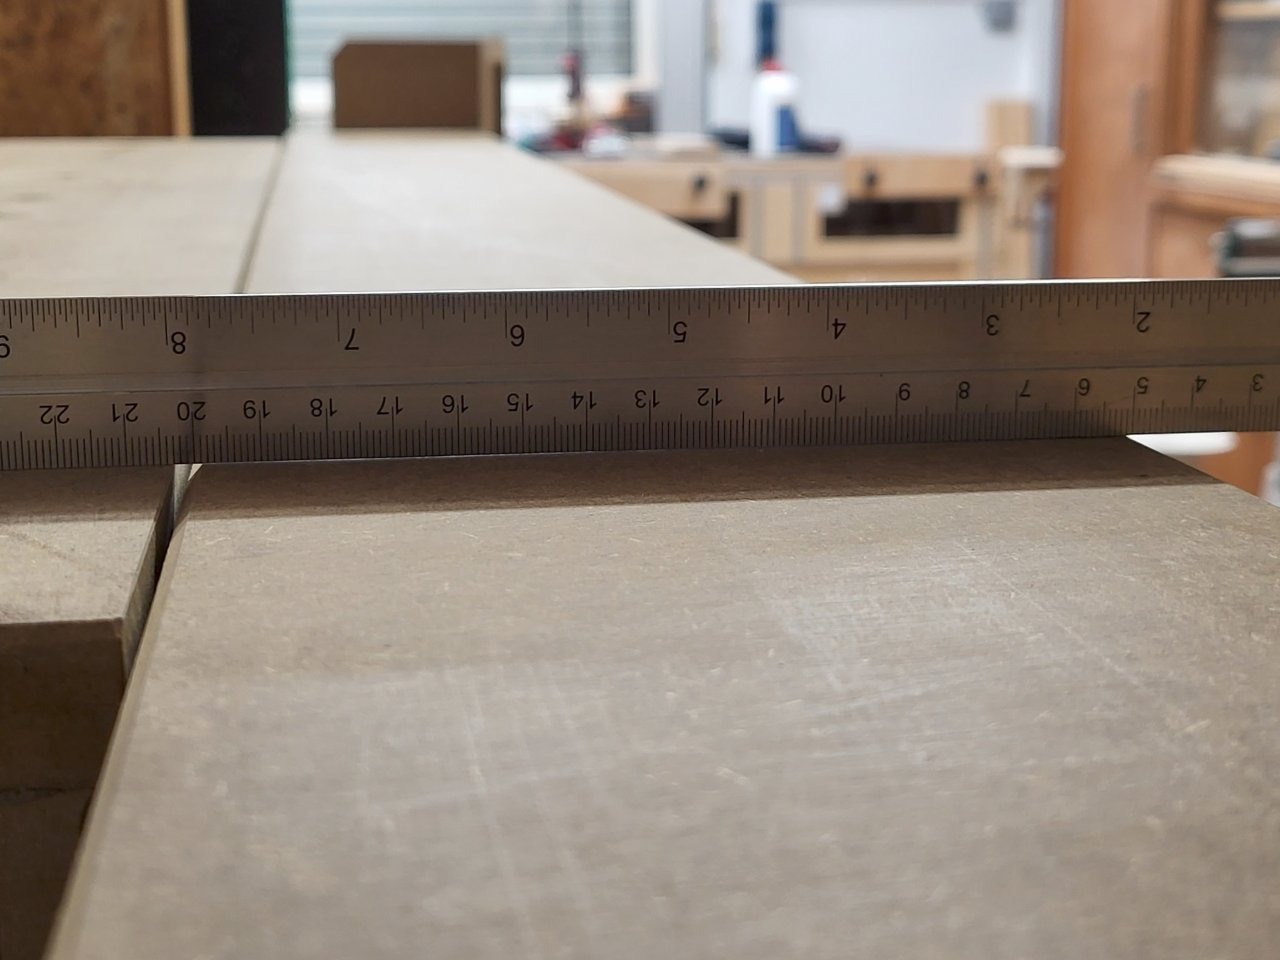
And finally my cnc table, with height adjustment, if I want to mill on bigger material , or use a 4th (rotating) axis for the workpiece… The “Y extensions” are meant to allow me to clamp a workpiece to the front of the table and mill on the workpiece side facing upwards. (e.g. https://www.youtube.com/watch?v=RcsLYTHdpPc)

Maybe I will later add an angled milling clamping device (e.g. https://www.youtube.com/watch?v=6UAAN5vNGys)… Or maybe I just overthought and overengineered it… could well be ; ) It gave me some sleepless nights at least..

Welcome to the family. I heard that HaWiWe isn’t only a really reliable dealer but also really handsome and smart. :grinning_face_with_smiling_eyes:

That’s been on my list forever as well! Really cool!

Thanks… It helps during construction of the gantry a lot, as you can work from underneath the gantry (like a car mechanic stand in the “ditch” (?) of the repair shop working at the car)…

A good salesperson, obviously, too

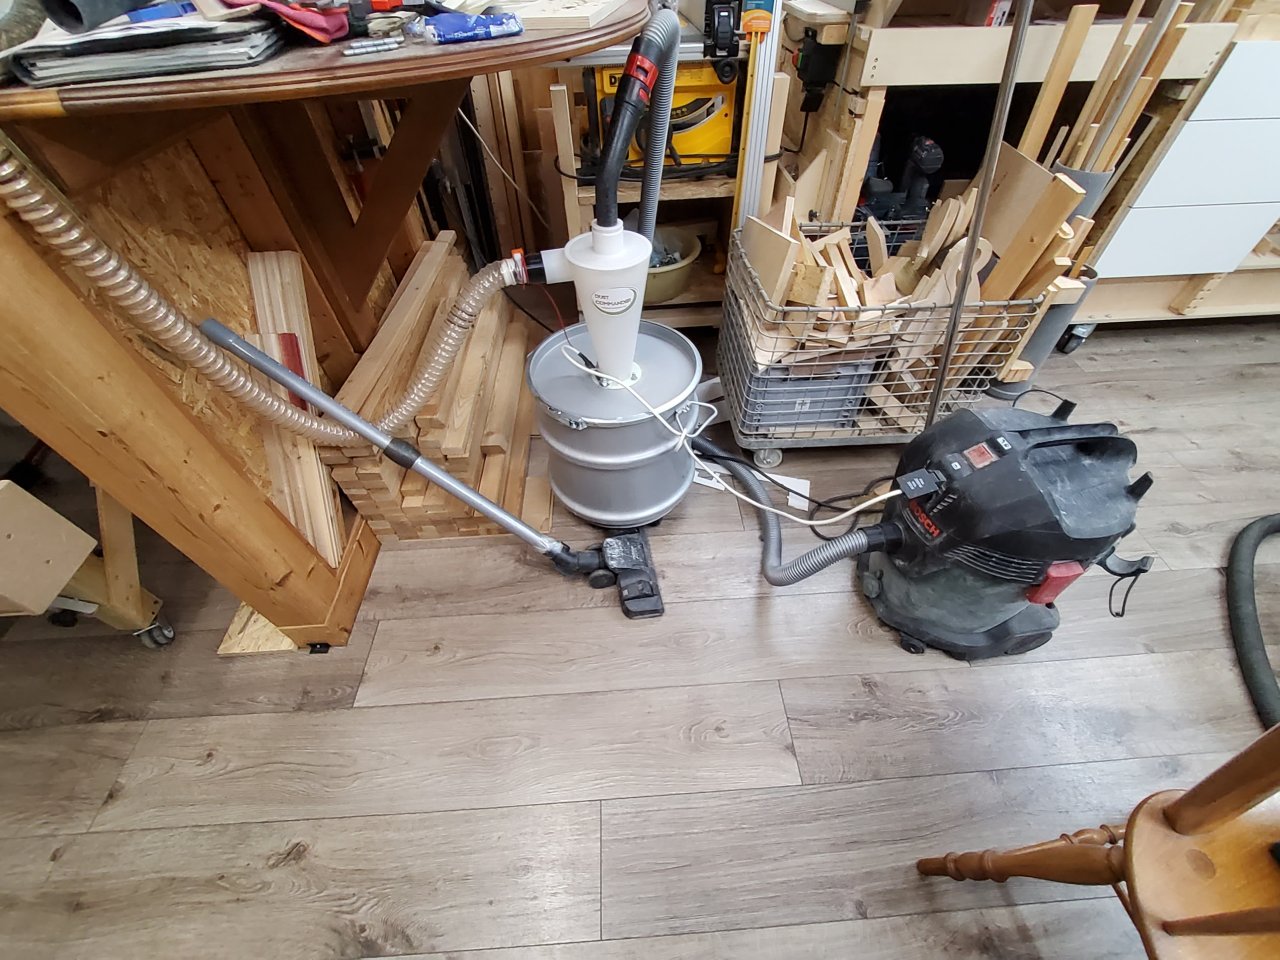
I forgot my dust sucking system with my trusted Dust Commander… I used the LR4 one time intentionally plus one more time unintentionally without the vacuum..boy, what a mess… MDF is shitty stuff!

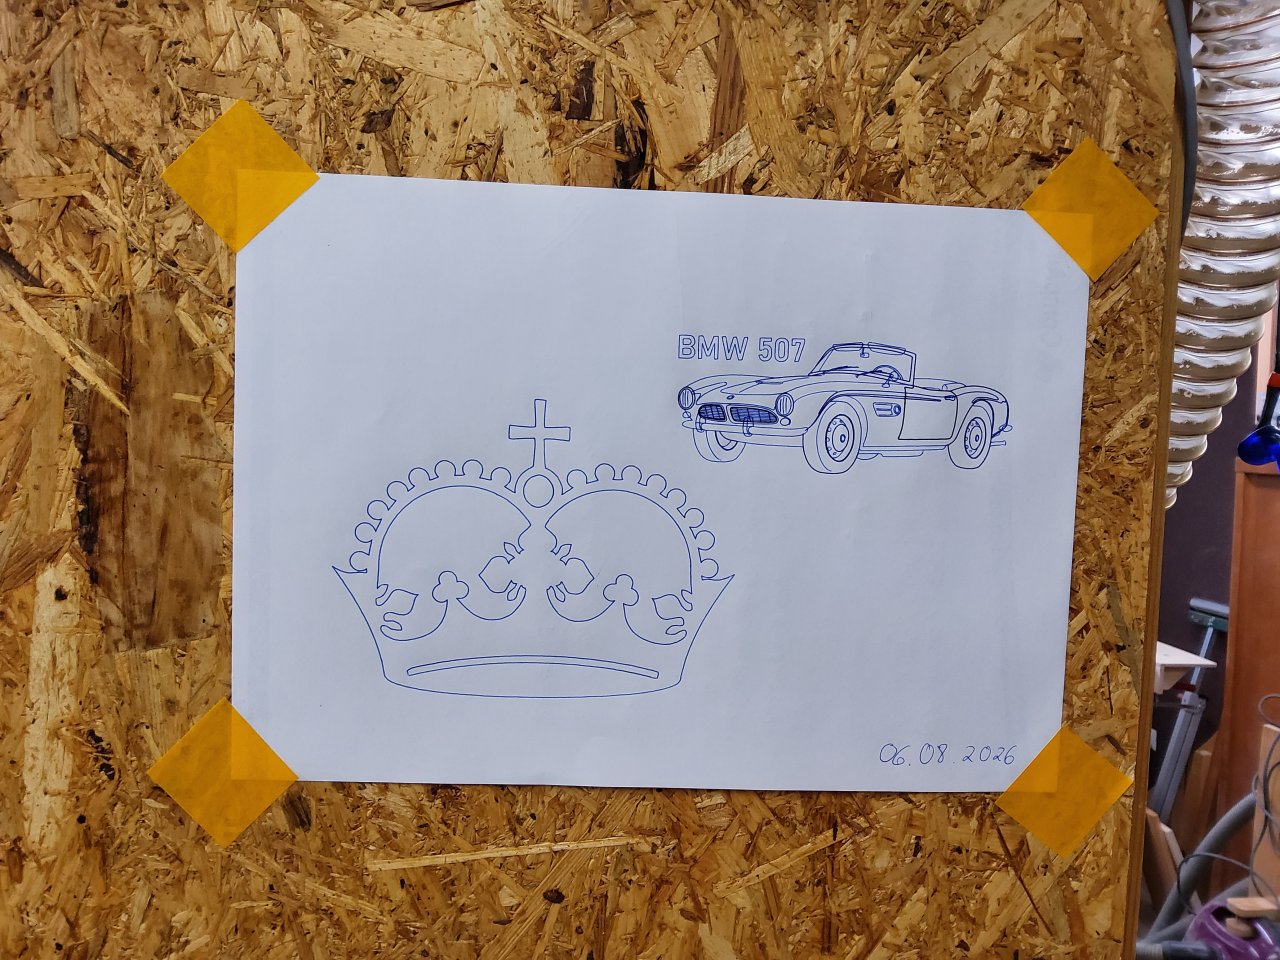
And my first crown and right after that my first Bimmer : )

That is a good looking build, you seem to really have thought it through with the table, dust collection and cable management.

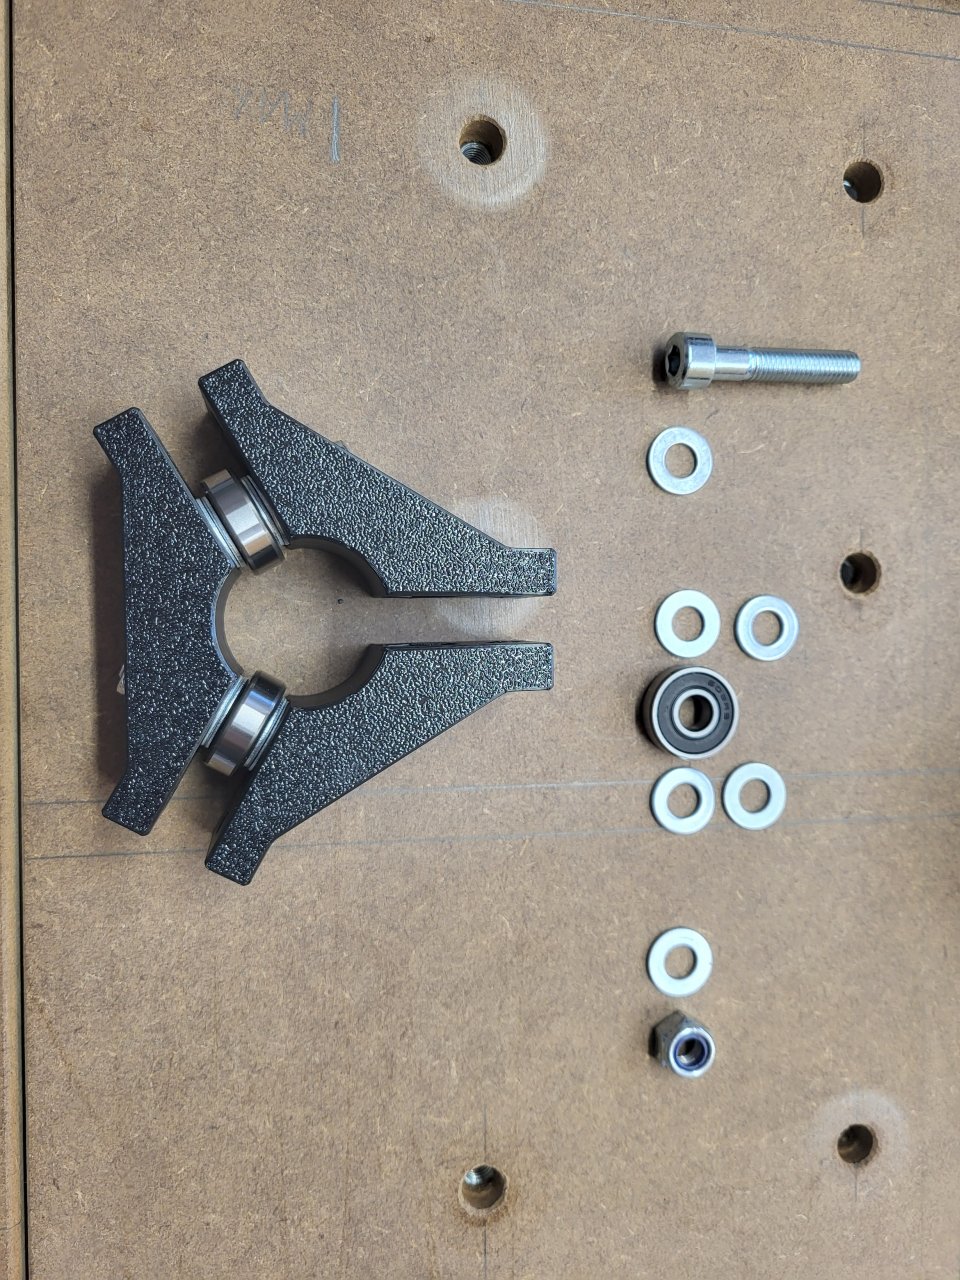
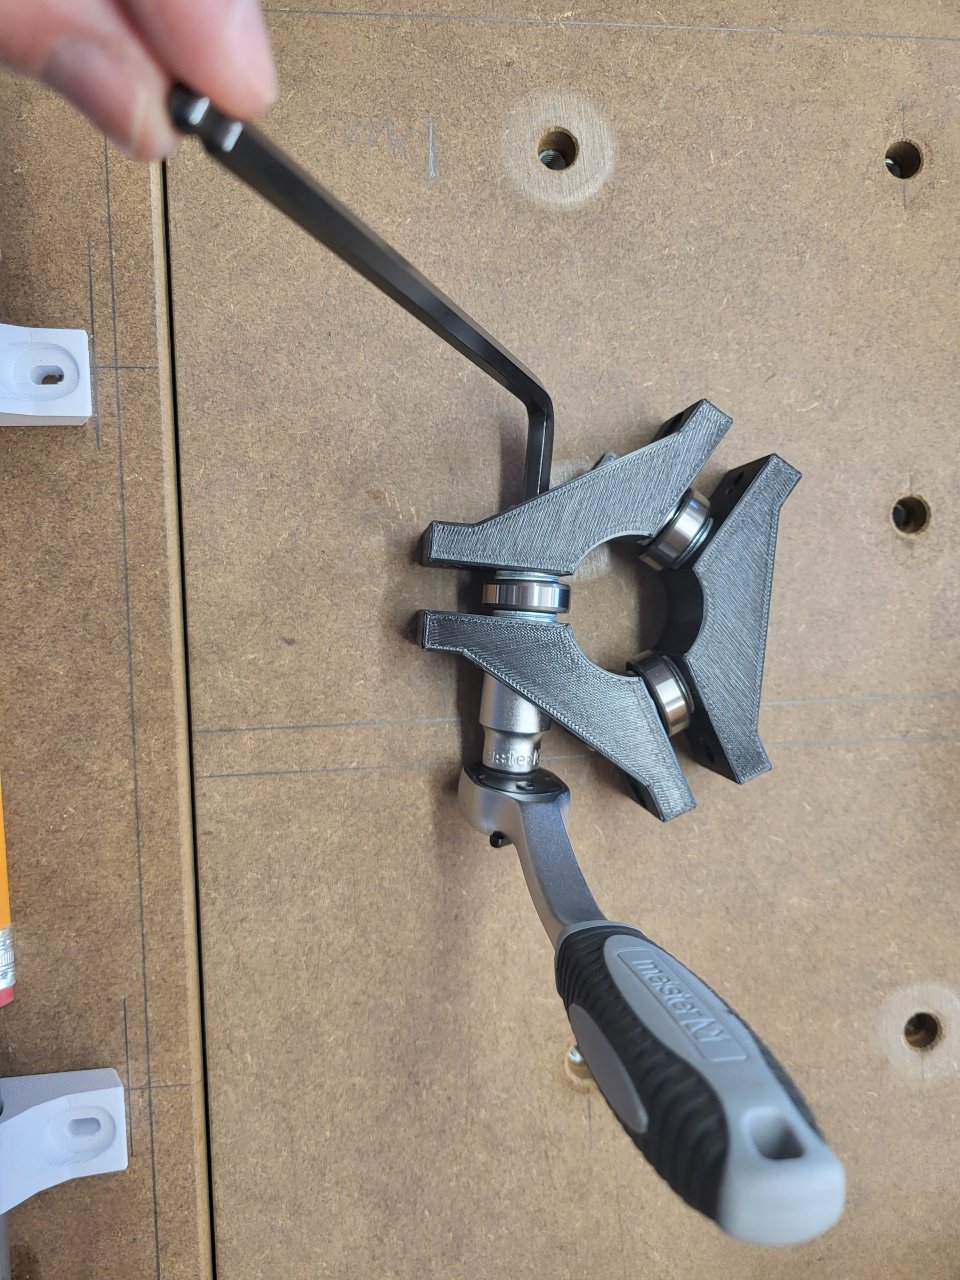
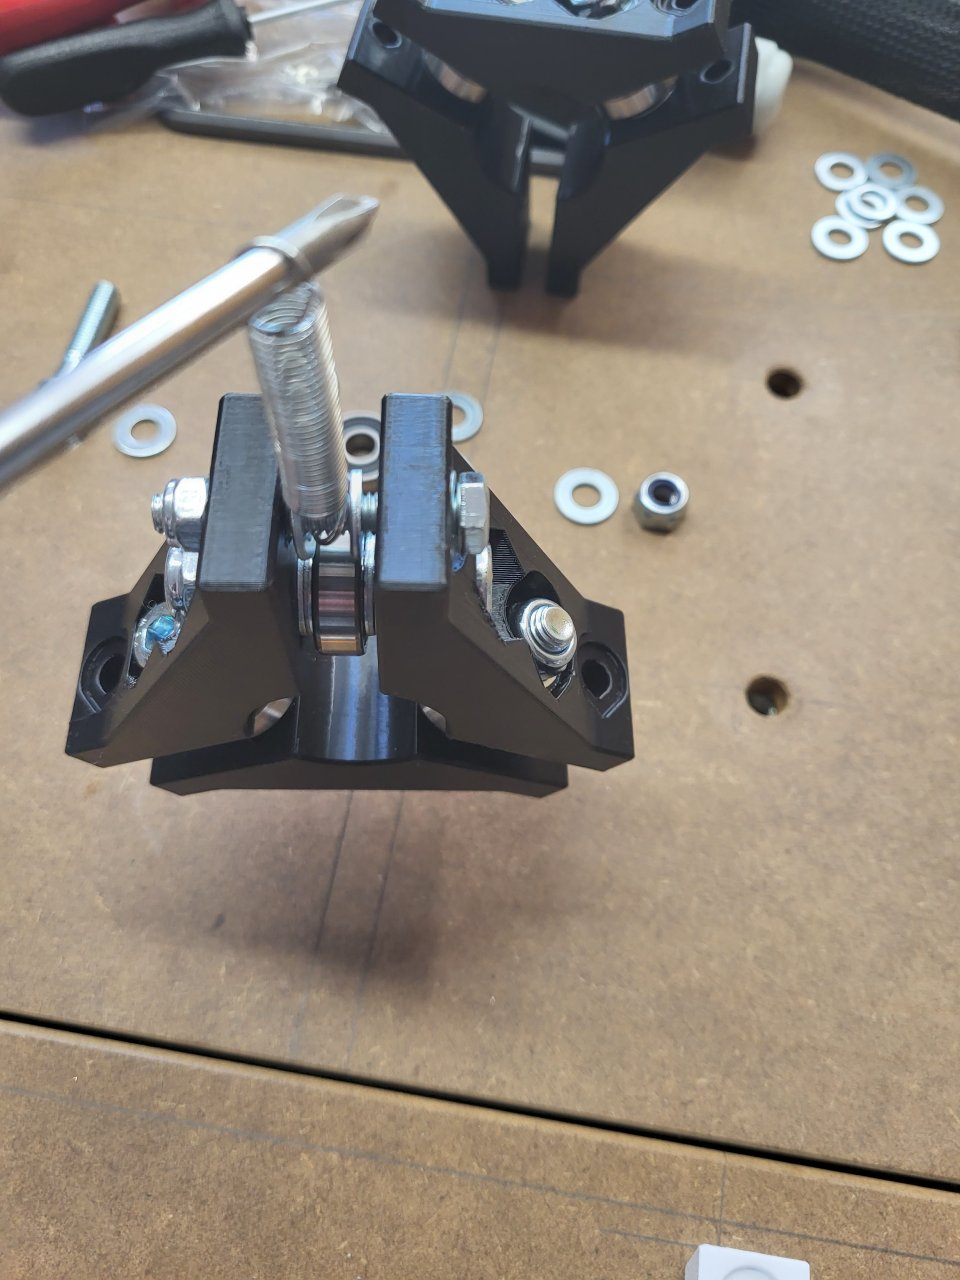
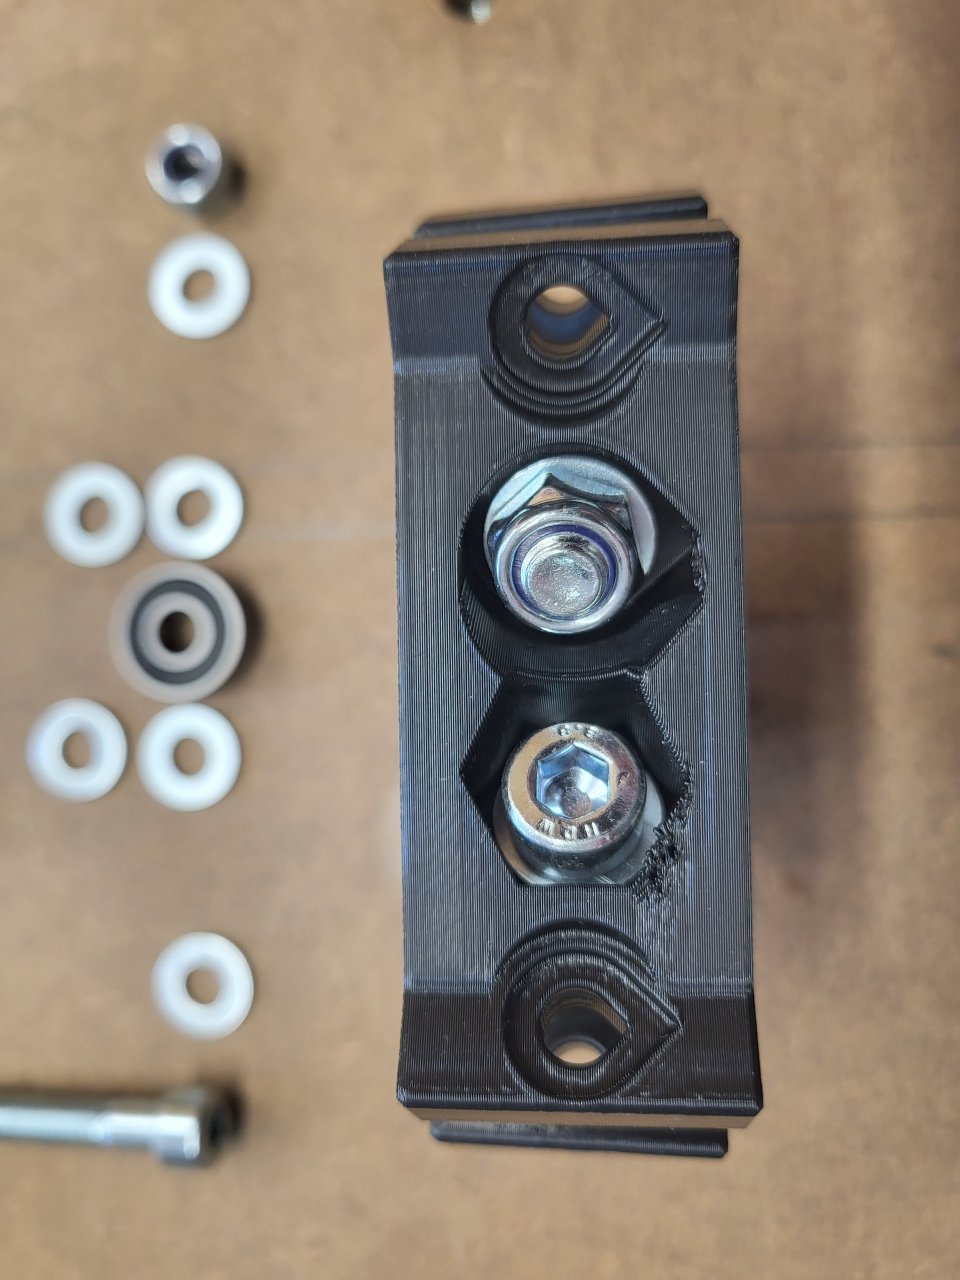
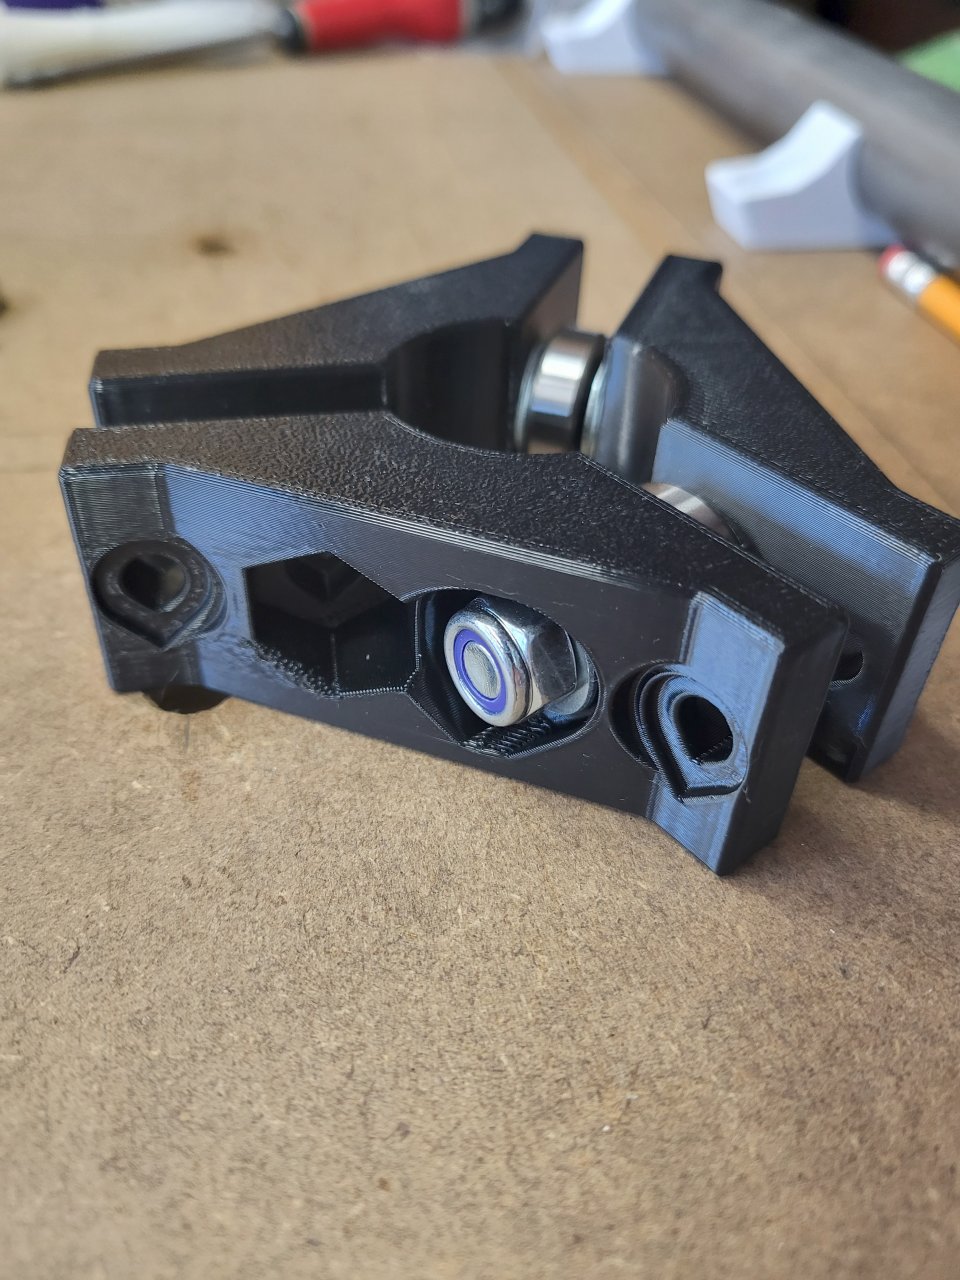
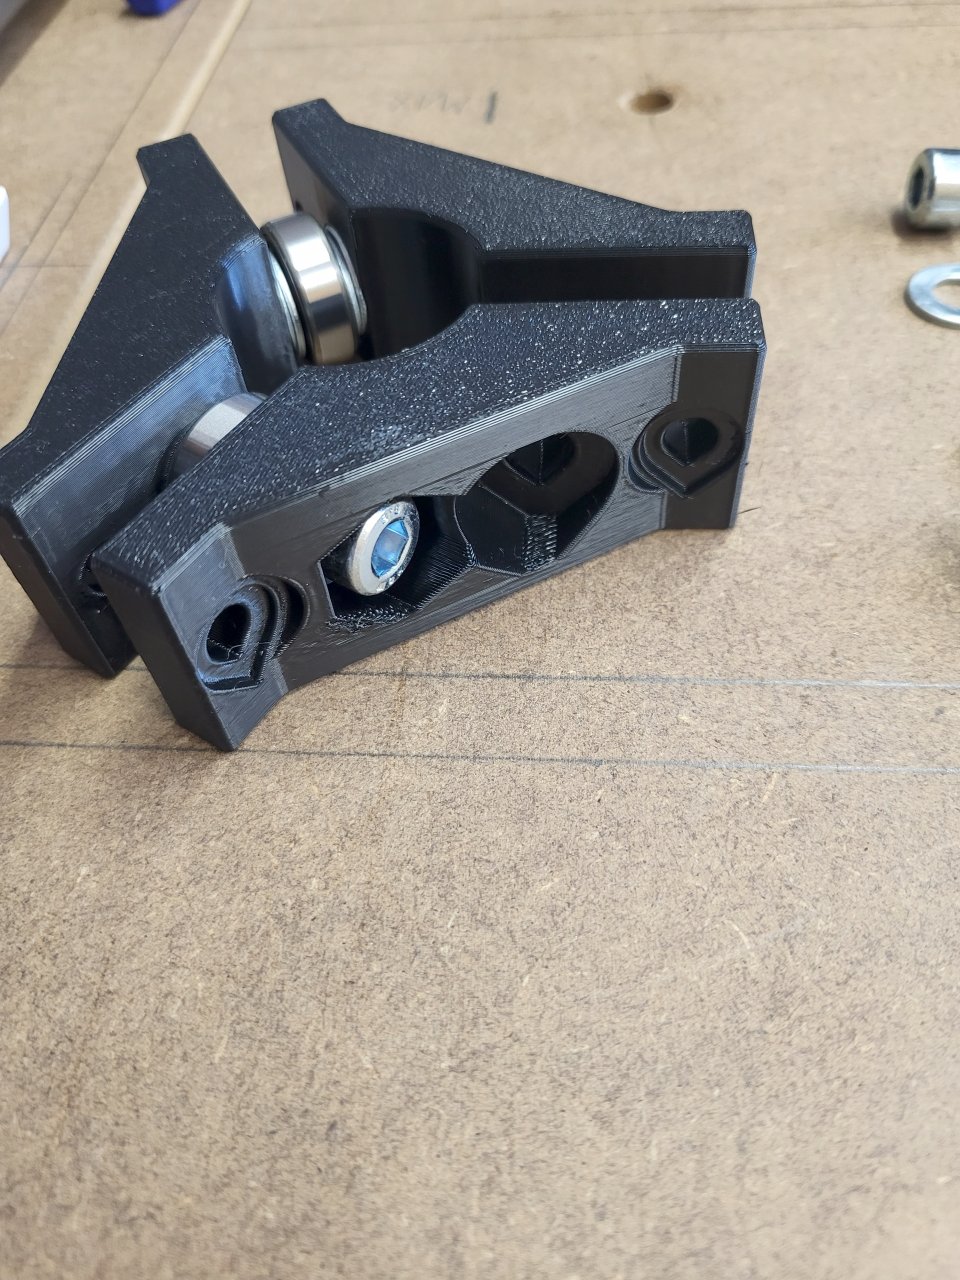
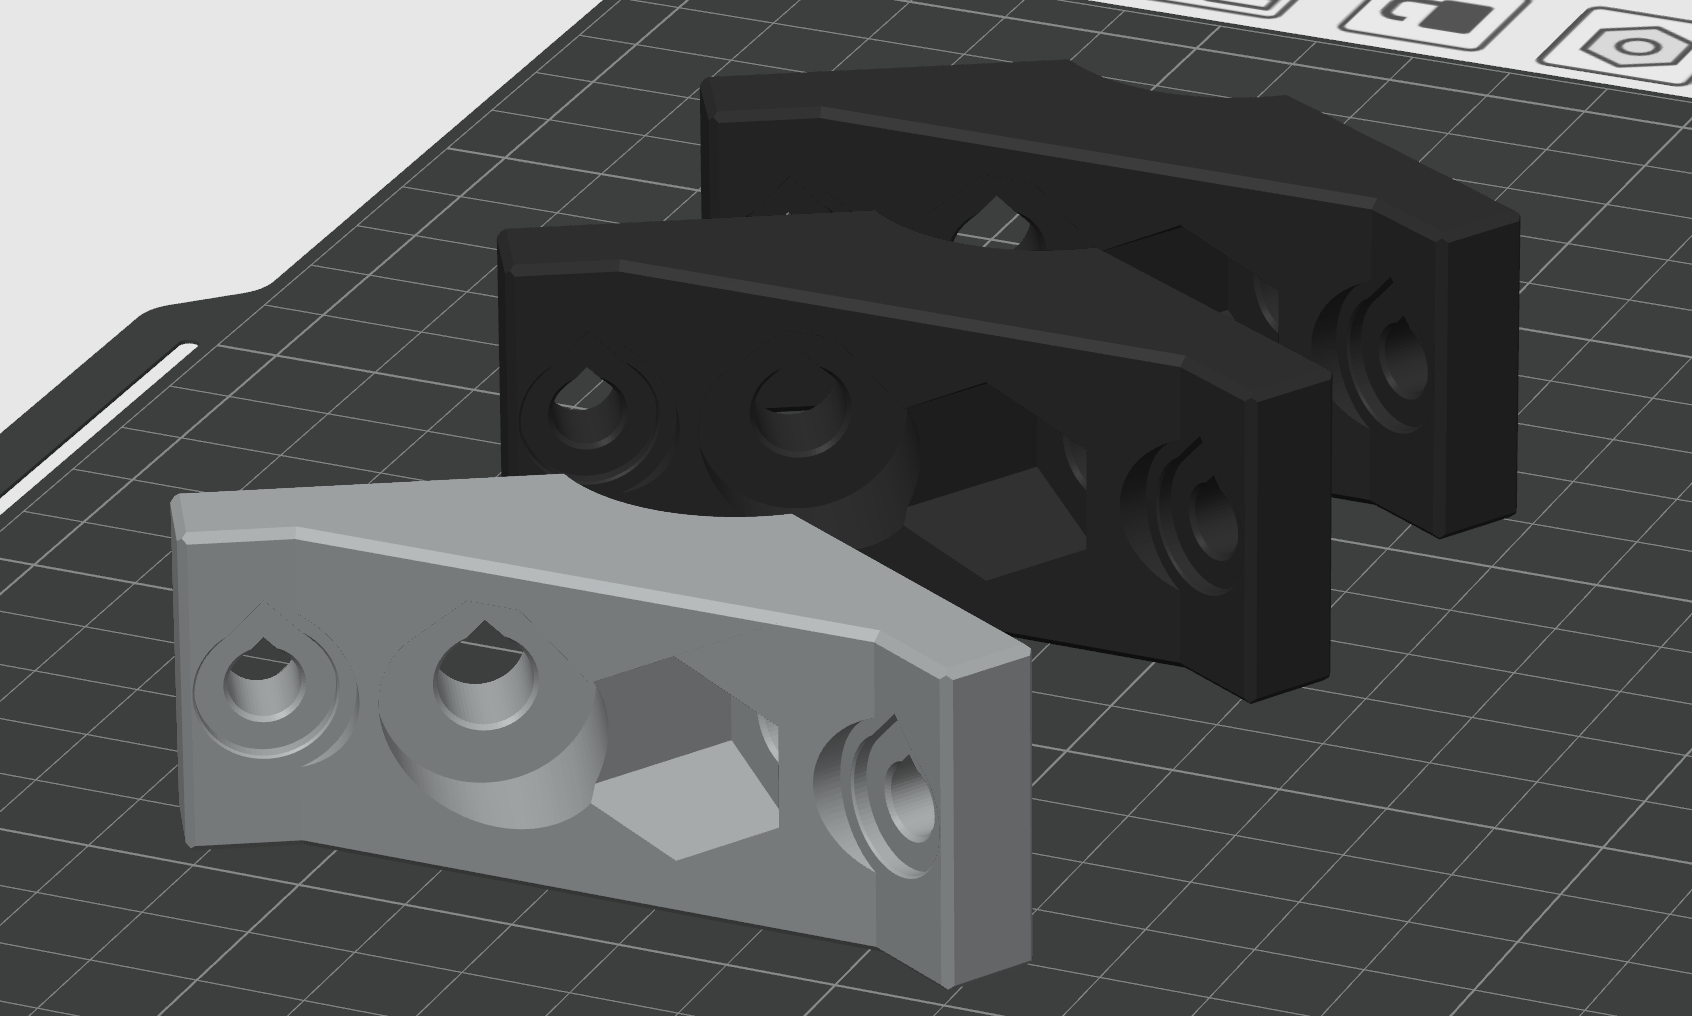
Is the black bearing roller your own design?

Beautiful build! Welcome to the V1 community forums.

I’ll be looking forward to seeing more of your build and the projects you do with your machine.

Thanks Waimera… yes, that´s my design, because I could not find the right design online…

I hope so, too : ) But first I kindly ask thes community for some troubleshooting support:

(removed a double posting.. original posting was temporarily hidden for moderation check)

OK, it is not me getting old… it was Akismet hiding that post for spam fighting… because of the youtube links I guess… sorry for double posting, if the first post about the table shows up again, I will clean up, promise…

Looks great! What diameter is your design for?

I have printed another design that uses 4 608 bearings but I haven’t tried it in real life yet.

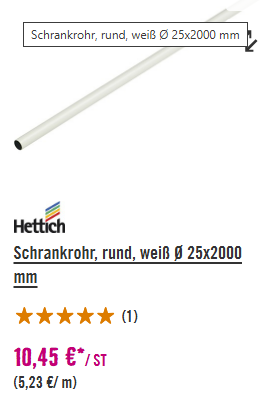
it uses 3x 608 bearing for 25mm painted

wardrobe rail (cheapest strong piping i could find at the local hardware store) →

Ok. I have lots of 25 mm steel pipe that I bought.

If you want to share your design I would like to try it!

bearing-bracket.zip (1.1 MB)

No support needed, print orientation like shown (“raindrop” style holes with pointing side updwards - that way no support is needed). I included the fusion file, if you want to change the 6 sided (hex) hole for the nut to the proper size - I failed at that part.

When you put three bearing brackets together, use m8 washers to keep the right distance- two sides you can tighten, one should be used to adjust the final diameter between the bearings… not too tight, “just snug” one would say, otherwise it wont roll well at all…

That is a fancy table, I love it!

I will keep an eye on your posts, akismet will learn if I keep allowing them.