I built a Primo several years ago. Went quite well, got my feet wet and got me hungry for more. Now I am going for a full sheet low rider. I didn’t do a build log on my Primo build, but I have come to realize I really enjoy browsing the forums so I thought I better add to the content rather than just take!
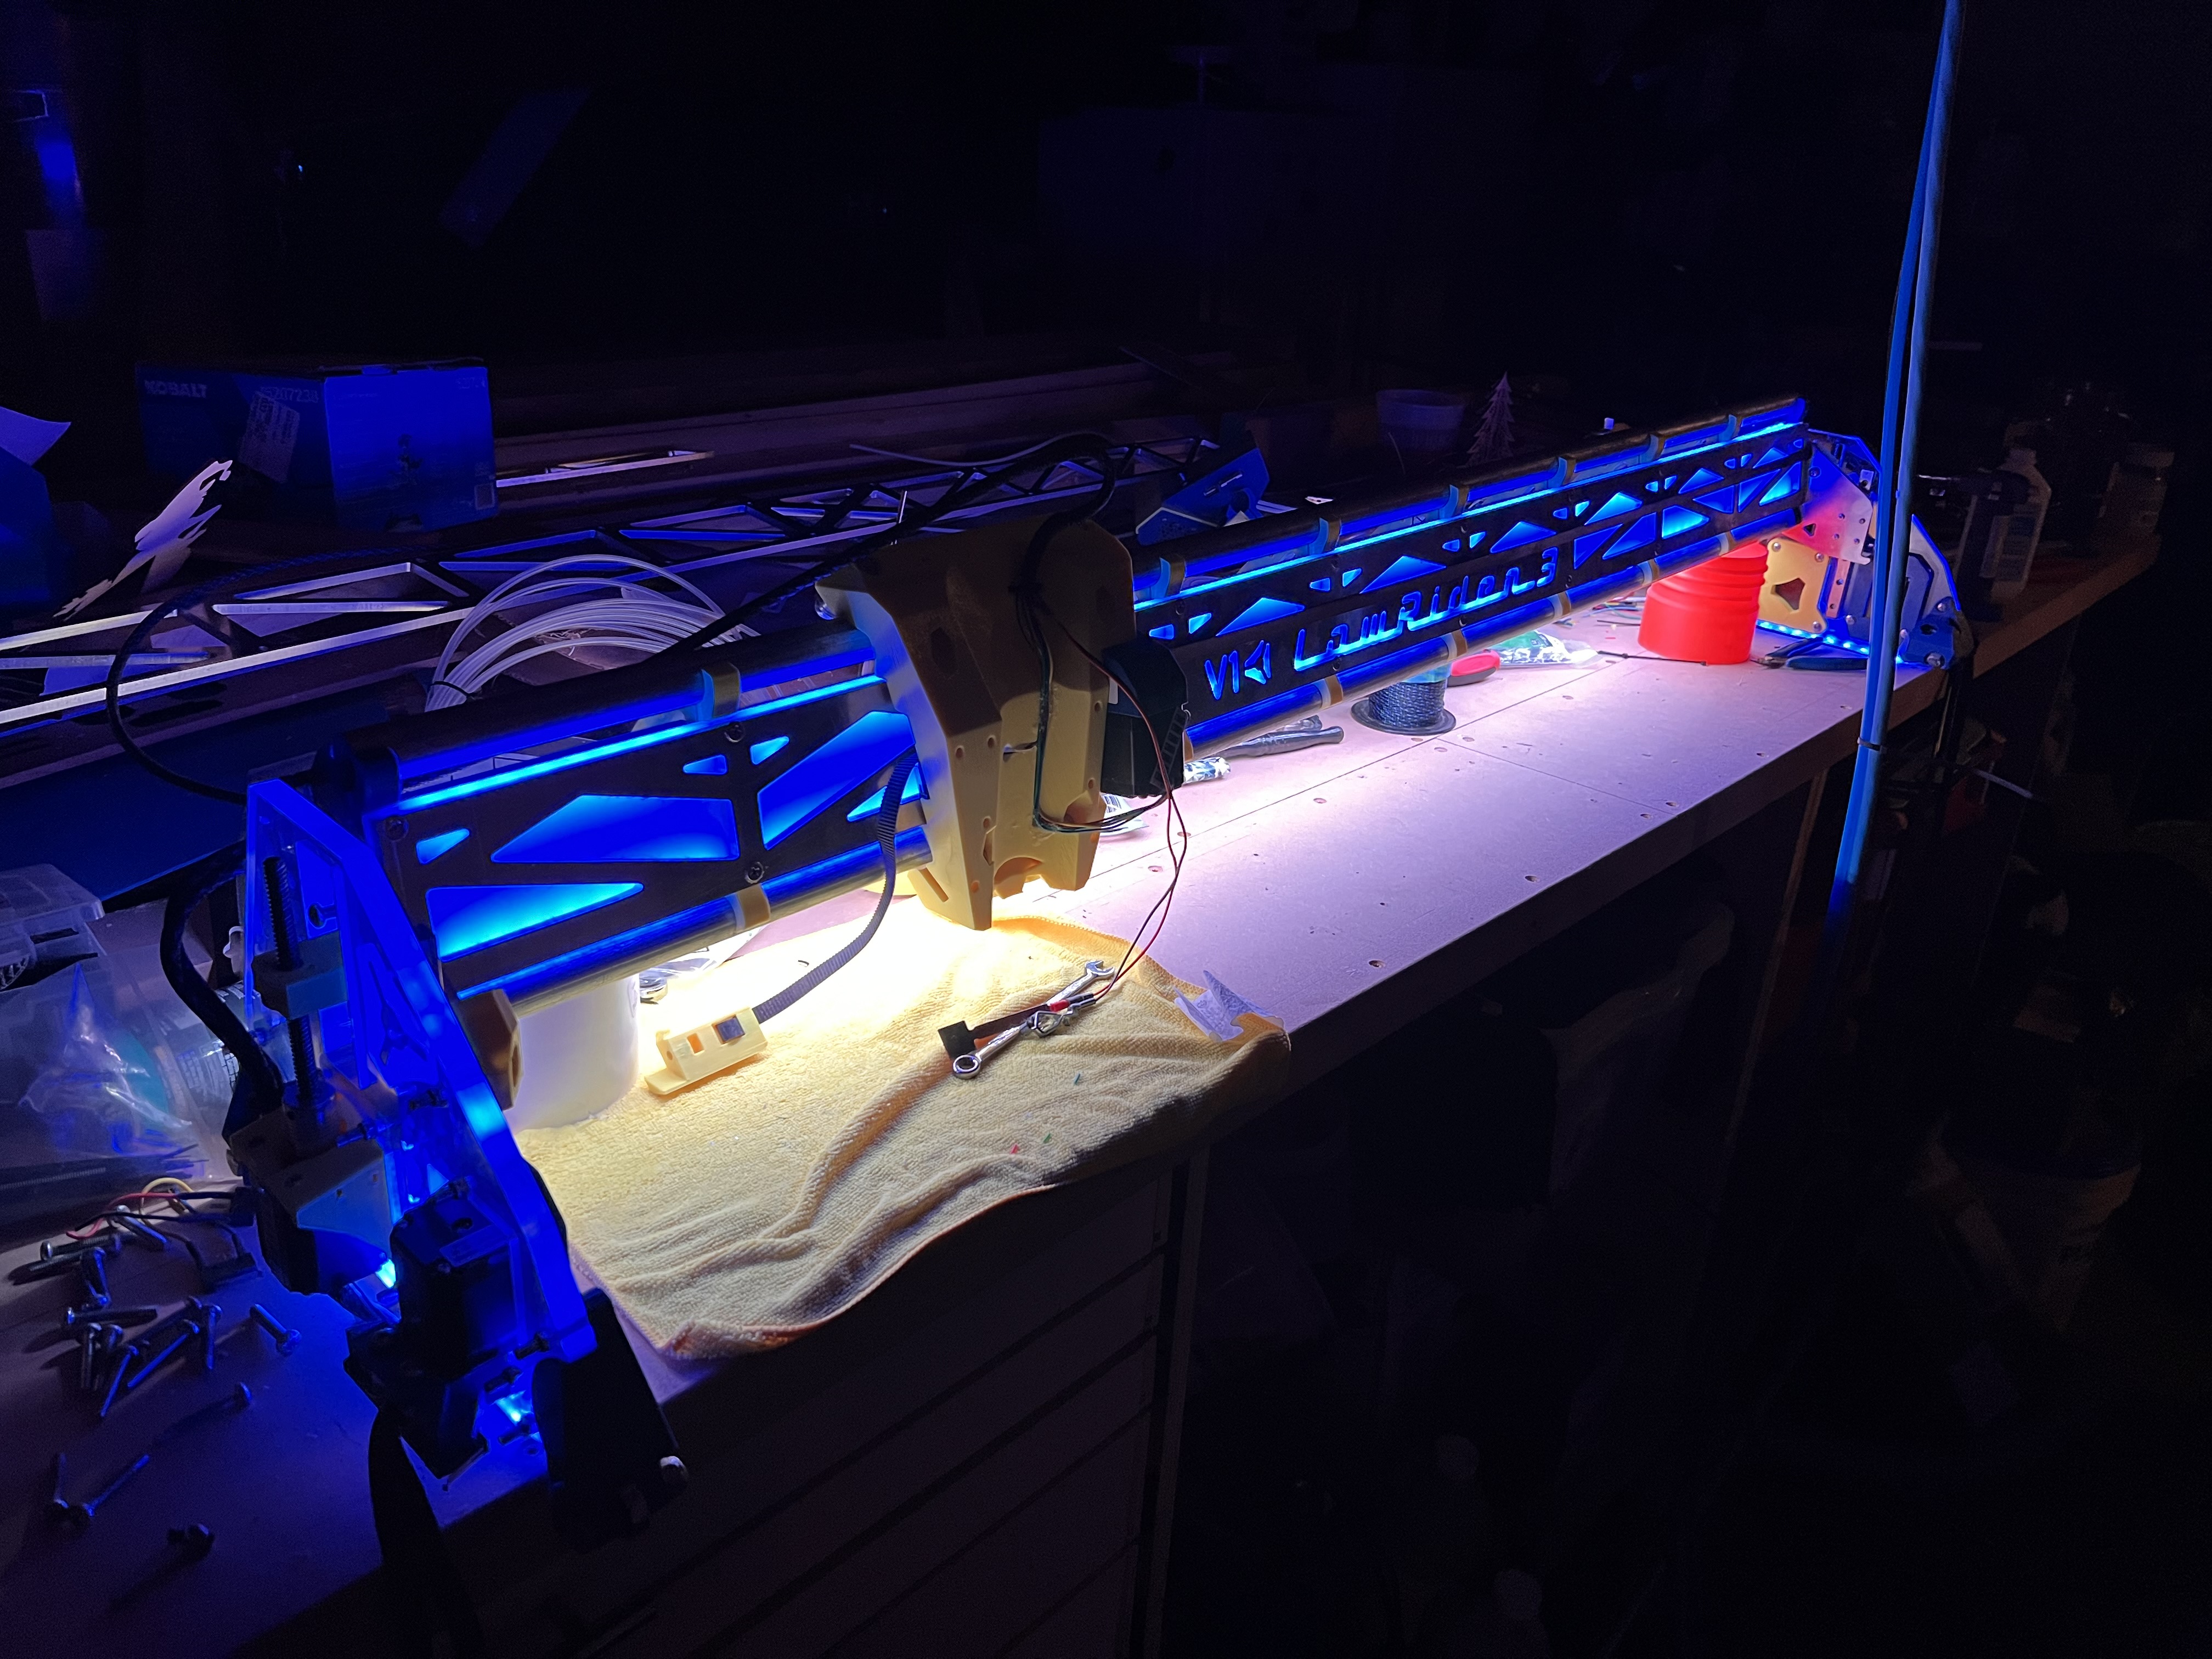
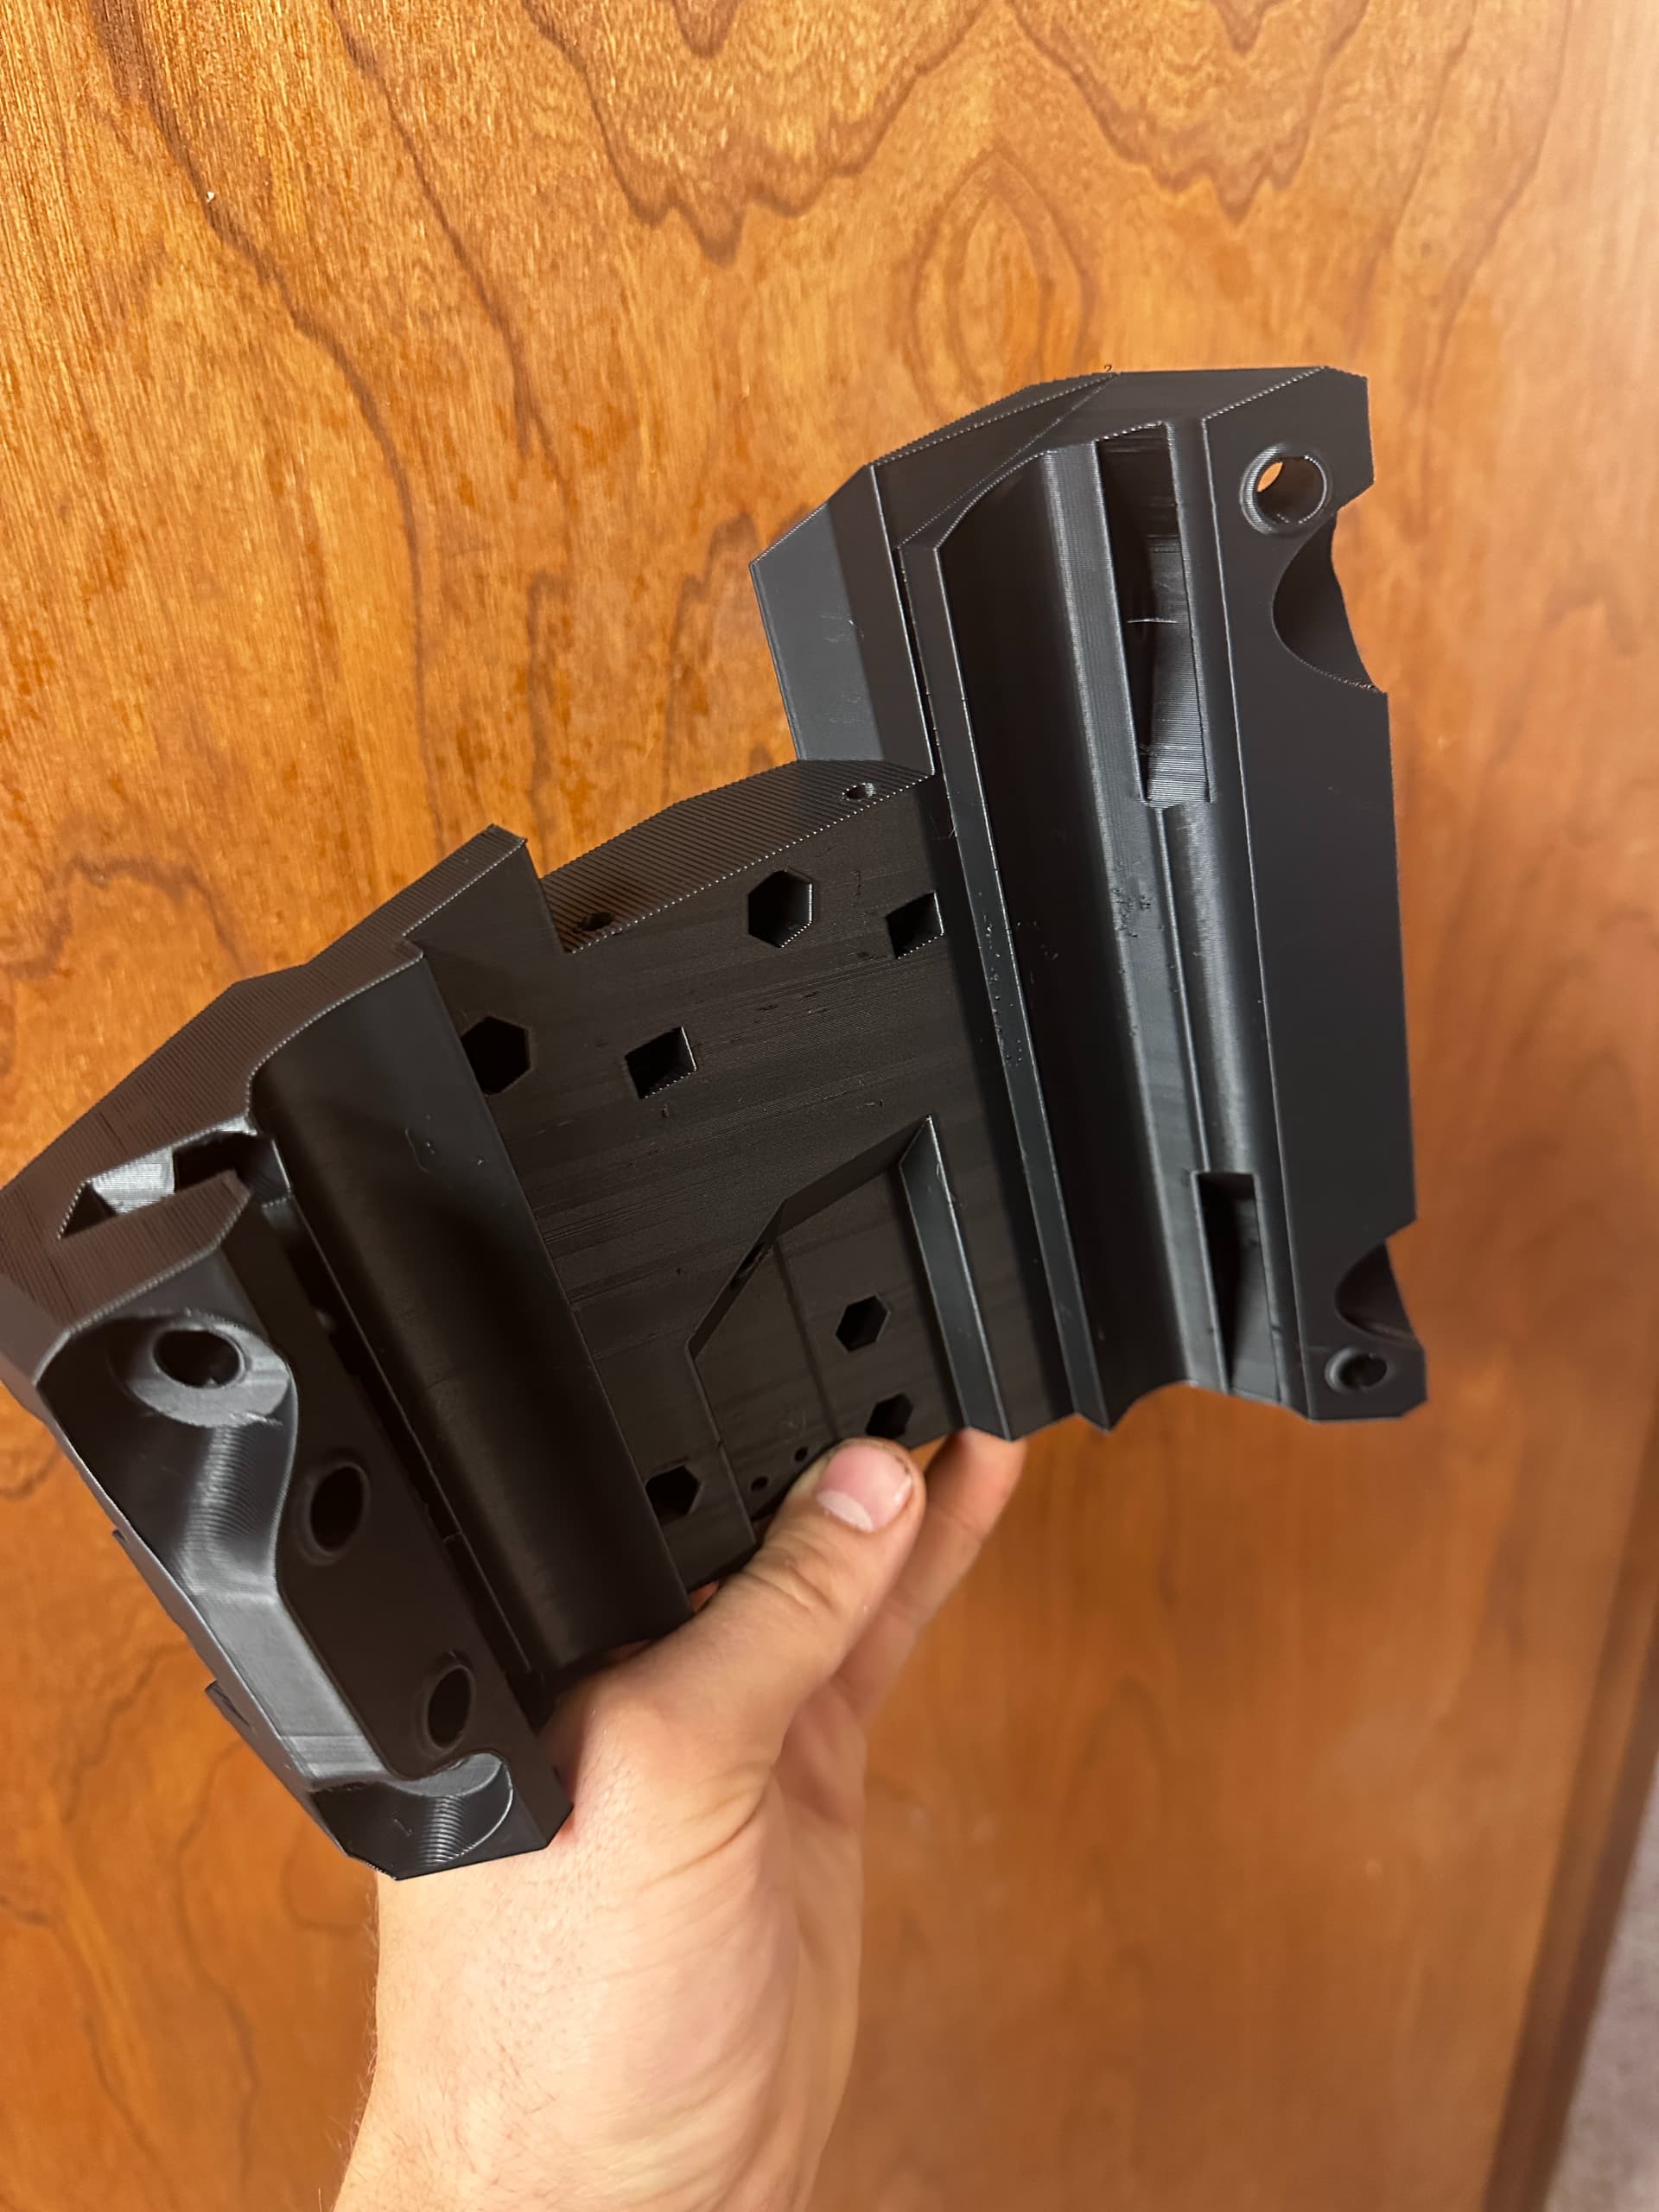
I did go a little lazy on the color scheme. Its all black. Crazy. I know. I am going to add some some parts in an orange to give it some flair I think though. Although this Sunlu Matte Black is quickly one of my favorite colors to print with. Some parts are done. Just started the core. Hopefully all goes well tonight.
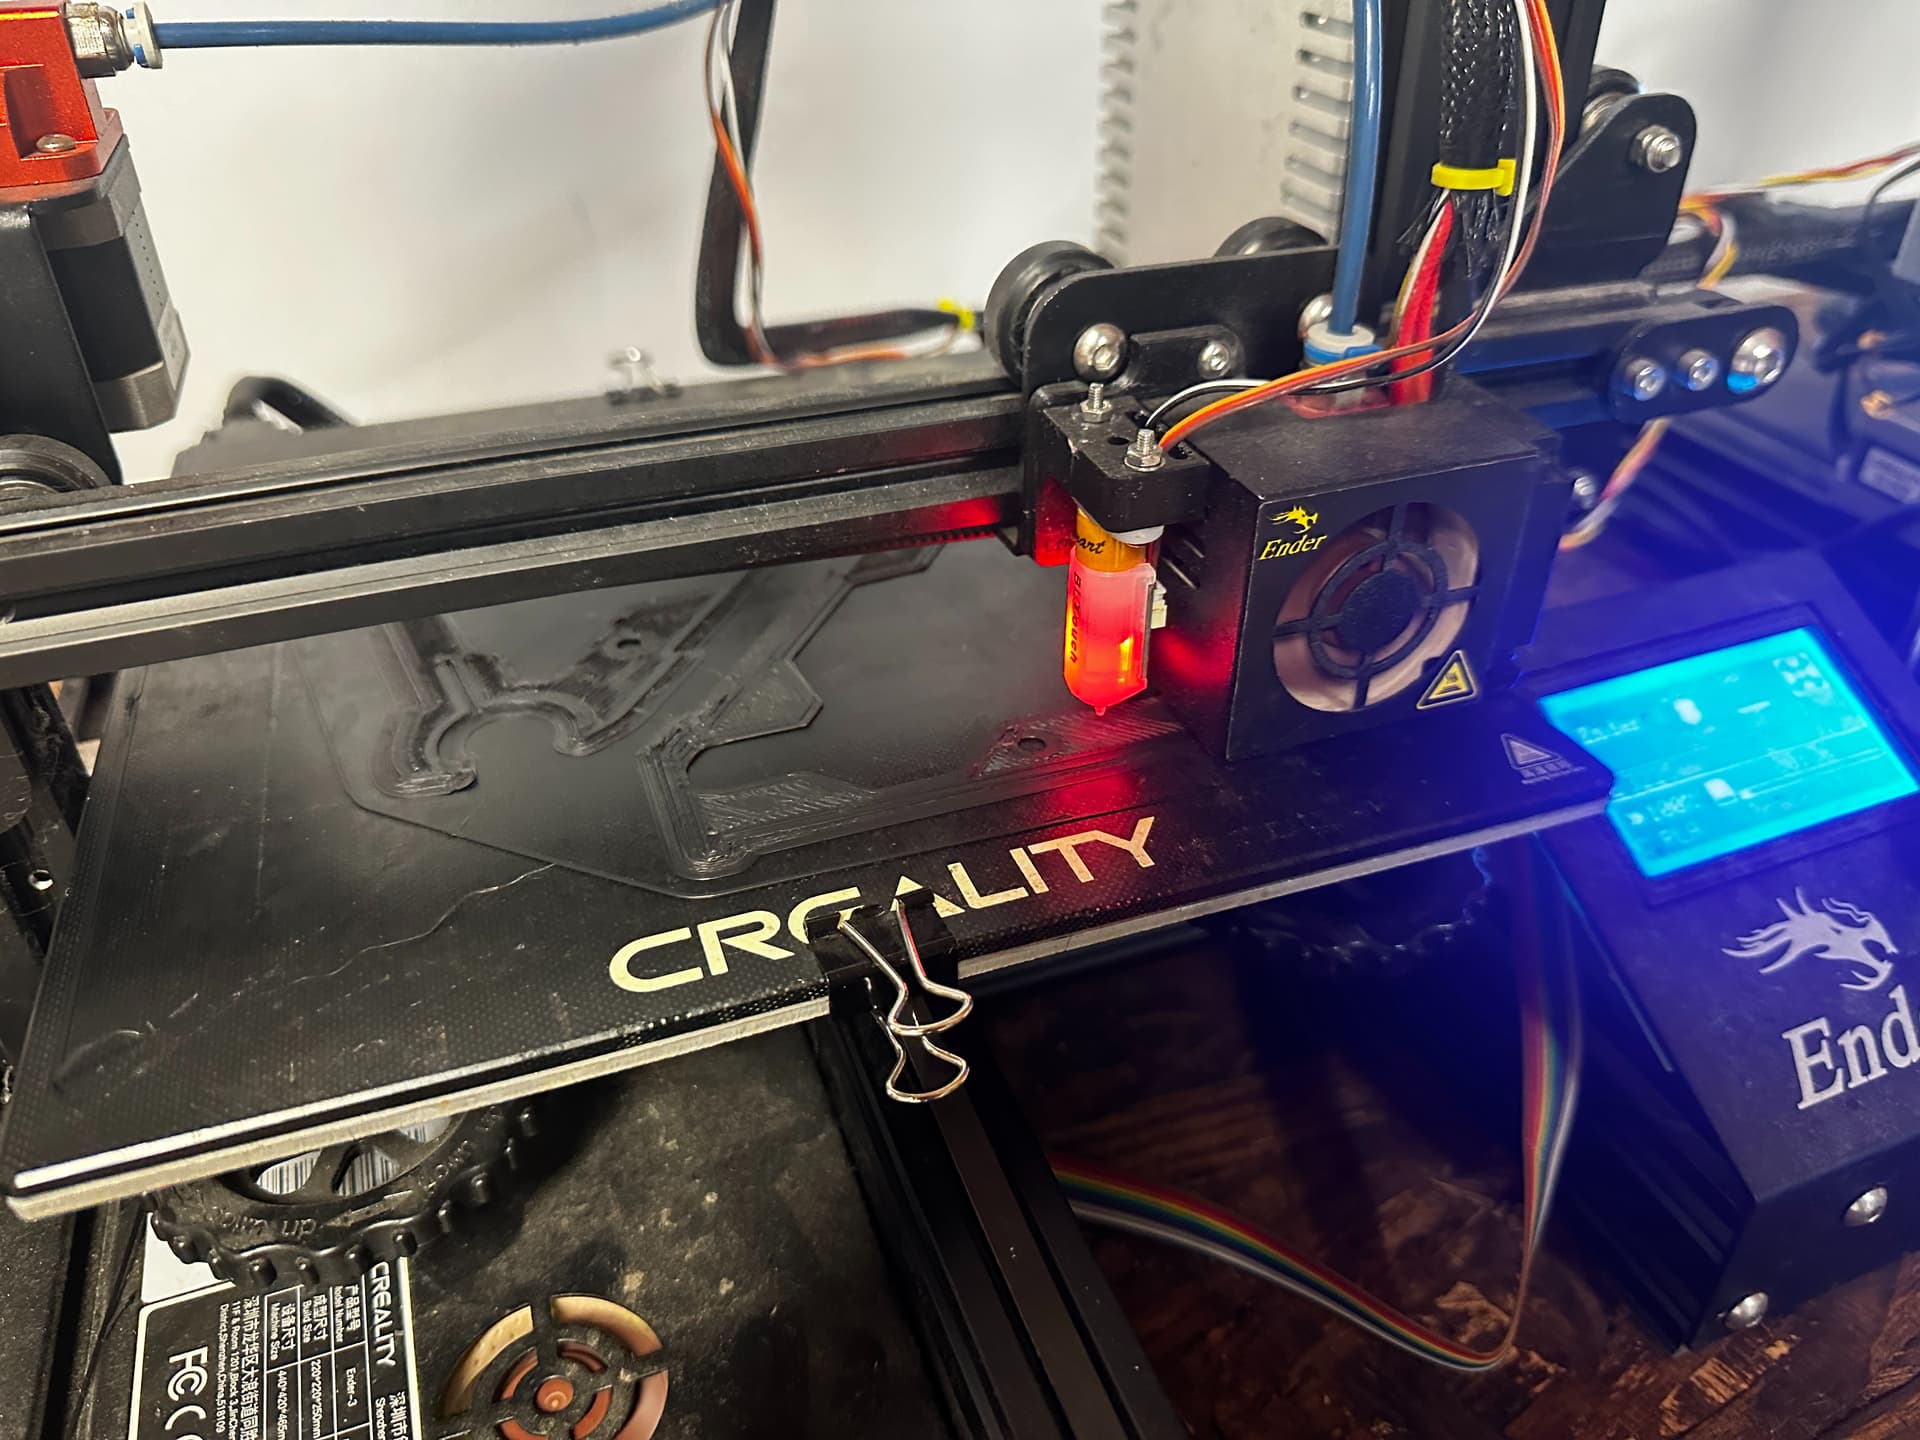
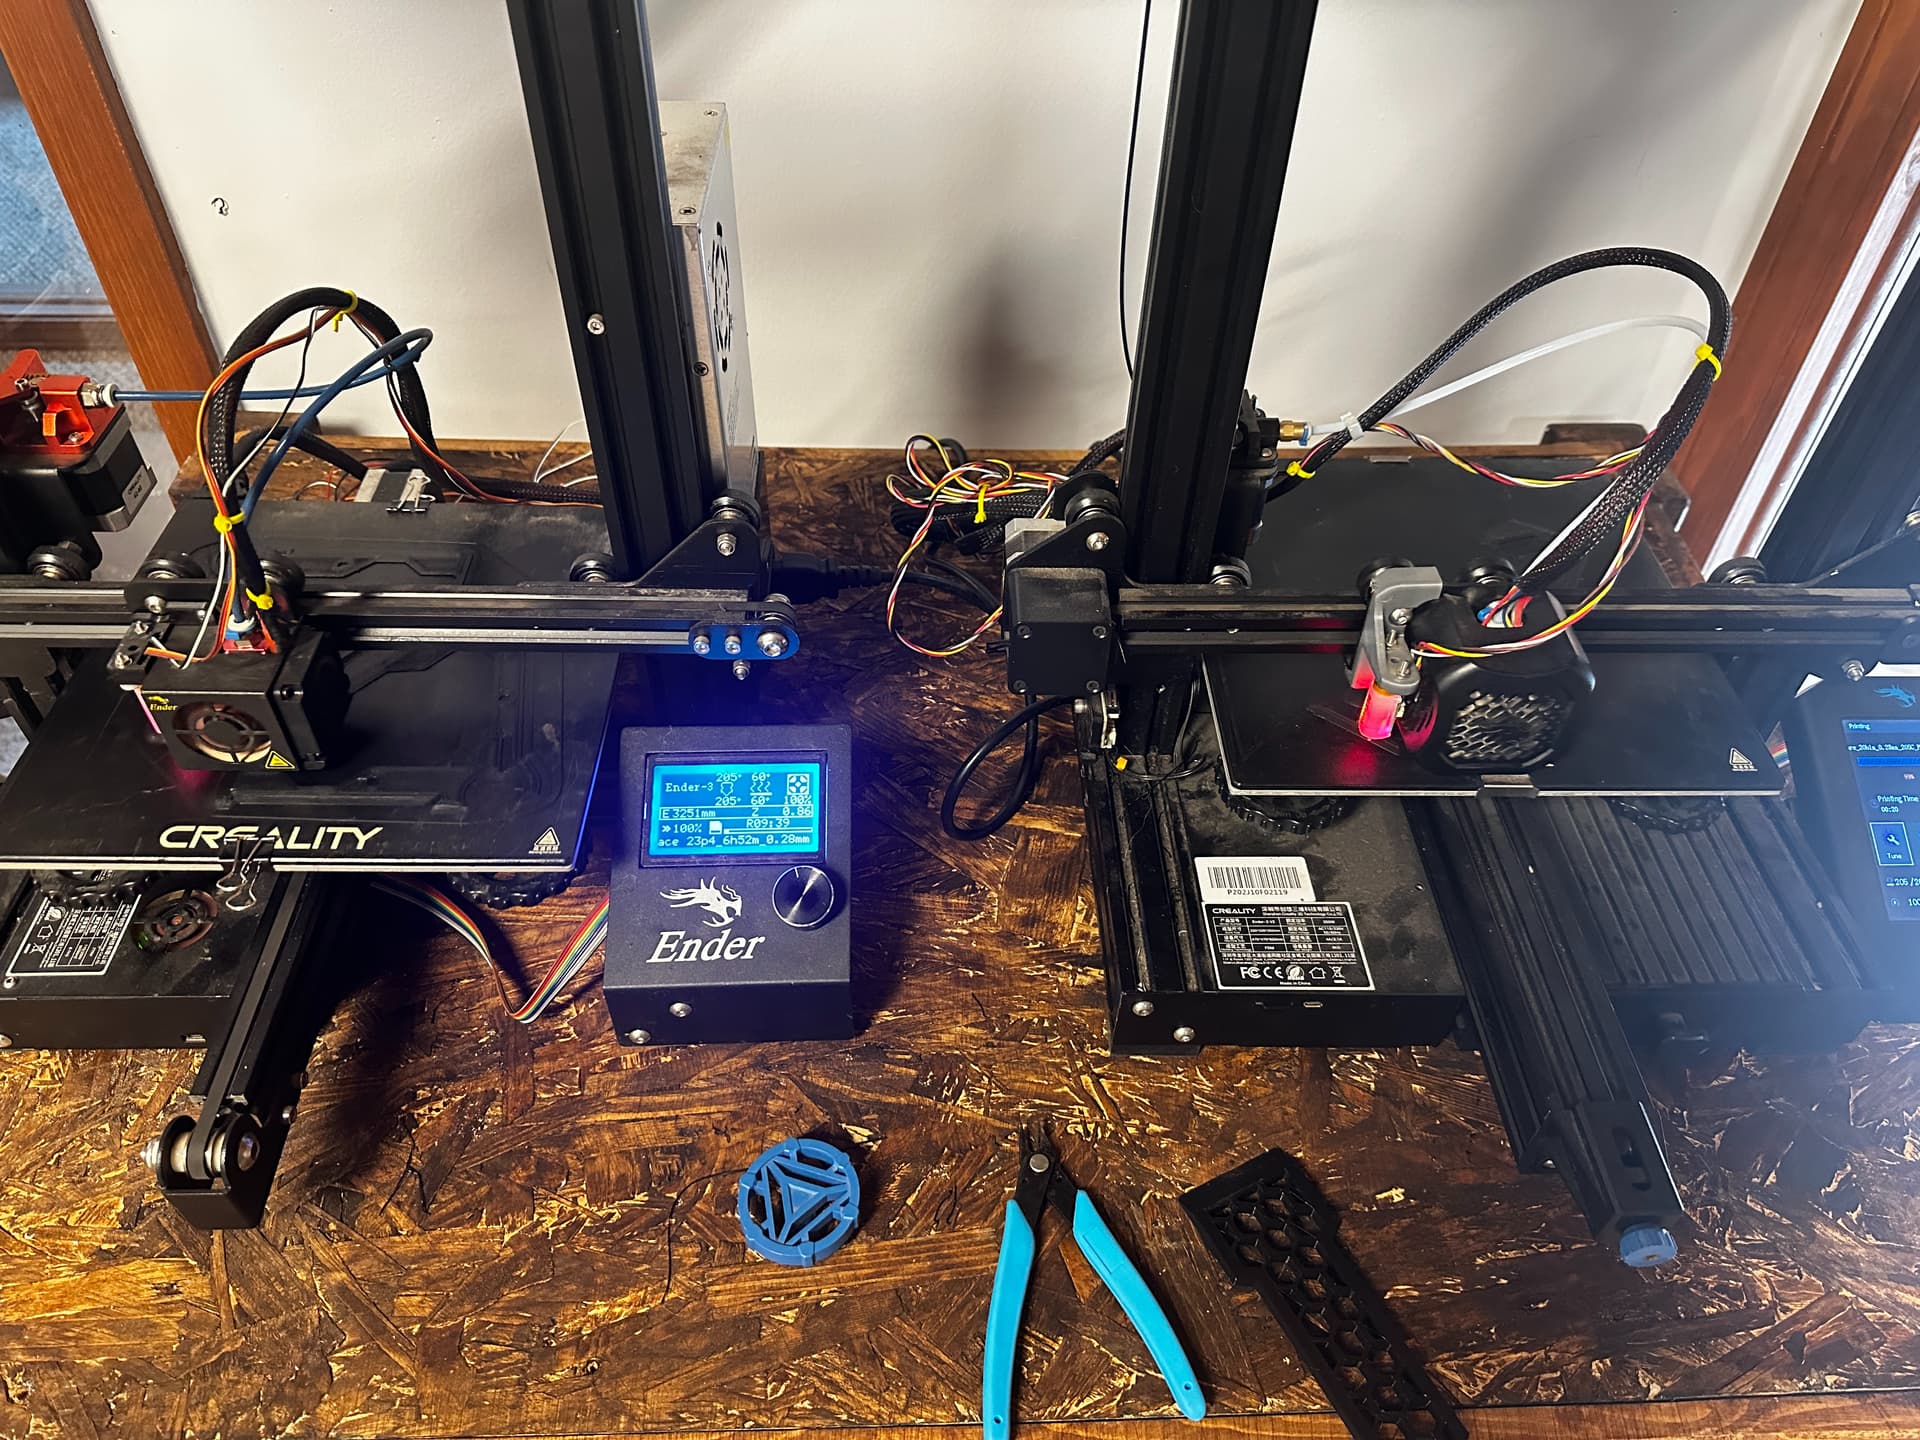
Somehow I am still doing all of the printing on Ender 3’s. Im hoping to upgrade those in the very near future. I have proven to myself I will be printing for a long long time to come so I think its valid to upgrade at this point. Not sure what to do with my Enders though. Sell? Voron upgrade? Something completely off the wall?
You should see mine right now. Going with the “get it done” mindset. Using a bunch of scrap colors to reprint some things that broke. One day I’ll have the nack to make it fancy!
Ok since you have the jackpot you’ll have to grab another esp32 and run WLED to control your LEDs. That’s how I have it on both my machines. Works really well. Also hoping to integrate some button presses by gcode to activate presets in WLED so we can still control things
I am all about it! I just panicked cause I thought I screwed up. I had been going back and forth about which to get, adding and deleting and so I thought I just mashed checkout and didn’t check. Crisis averted!
I think having LEDs on the gantry pointing down towards the workpiece is just a plain duh. It’ll make monitoring so much easier. I dont know why I didn’t think of that.
I pull 5v power from the jackpot to run the second esp32 but that’s it for now. Soon I hope to have an output from the jackpot to the esp32 for button presses to change presets.
You could also power the second ESP32 with a buck converter if you’re using a 12/24V switching power supply instead of a power brick to power your Jackpot. I have a 12V power supply, so I am following this: https://www.youtube.com/watch?v=zbhdH-qSANc. The only difference is that my converter plugs into the micro USB port of the WLED ESP32 instead of connecting to pins.
You know how much extra time you just cost me? Hahahaha
Side note. How have the acrylic YZ plates been treating you? I have a laser so I can cut those on that and it looks pretty dope. They look thicker than 1/2" though? Mind if I ask what they cost that thick?
They are 1/2”. I wish I could have laser cut them but currently only have a diode laser (CO2 in the planning stages lol). So mine were cut on the LR3. I’m running them in both of my machines and they work great. I had them on my old LR2 as well. Got it from Amazon and was able to get both plates out of one piece
I mean for an Ender 3V2 that I have had for years, its hard to argue. I’ve still convinced myself I’m allowed to upgrade but shesh. One shot, over night, looking pretty good if you ask me.