Sorry just got back last night, yes those were my settings.
1 Like
Agree. I prefer to drill holes where I can to screw down the waste parts, but I’d rather try to hold it down with a long screwdriver s the cut finishes than to clean that junk up.
On anything softer than aluminum, I can usually get by with removing the leadout or, worst case, relying on a downcut or compression mill to keep the waste from jumping around.
1 Like
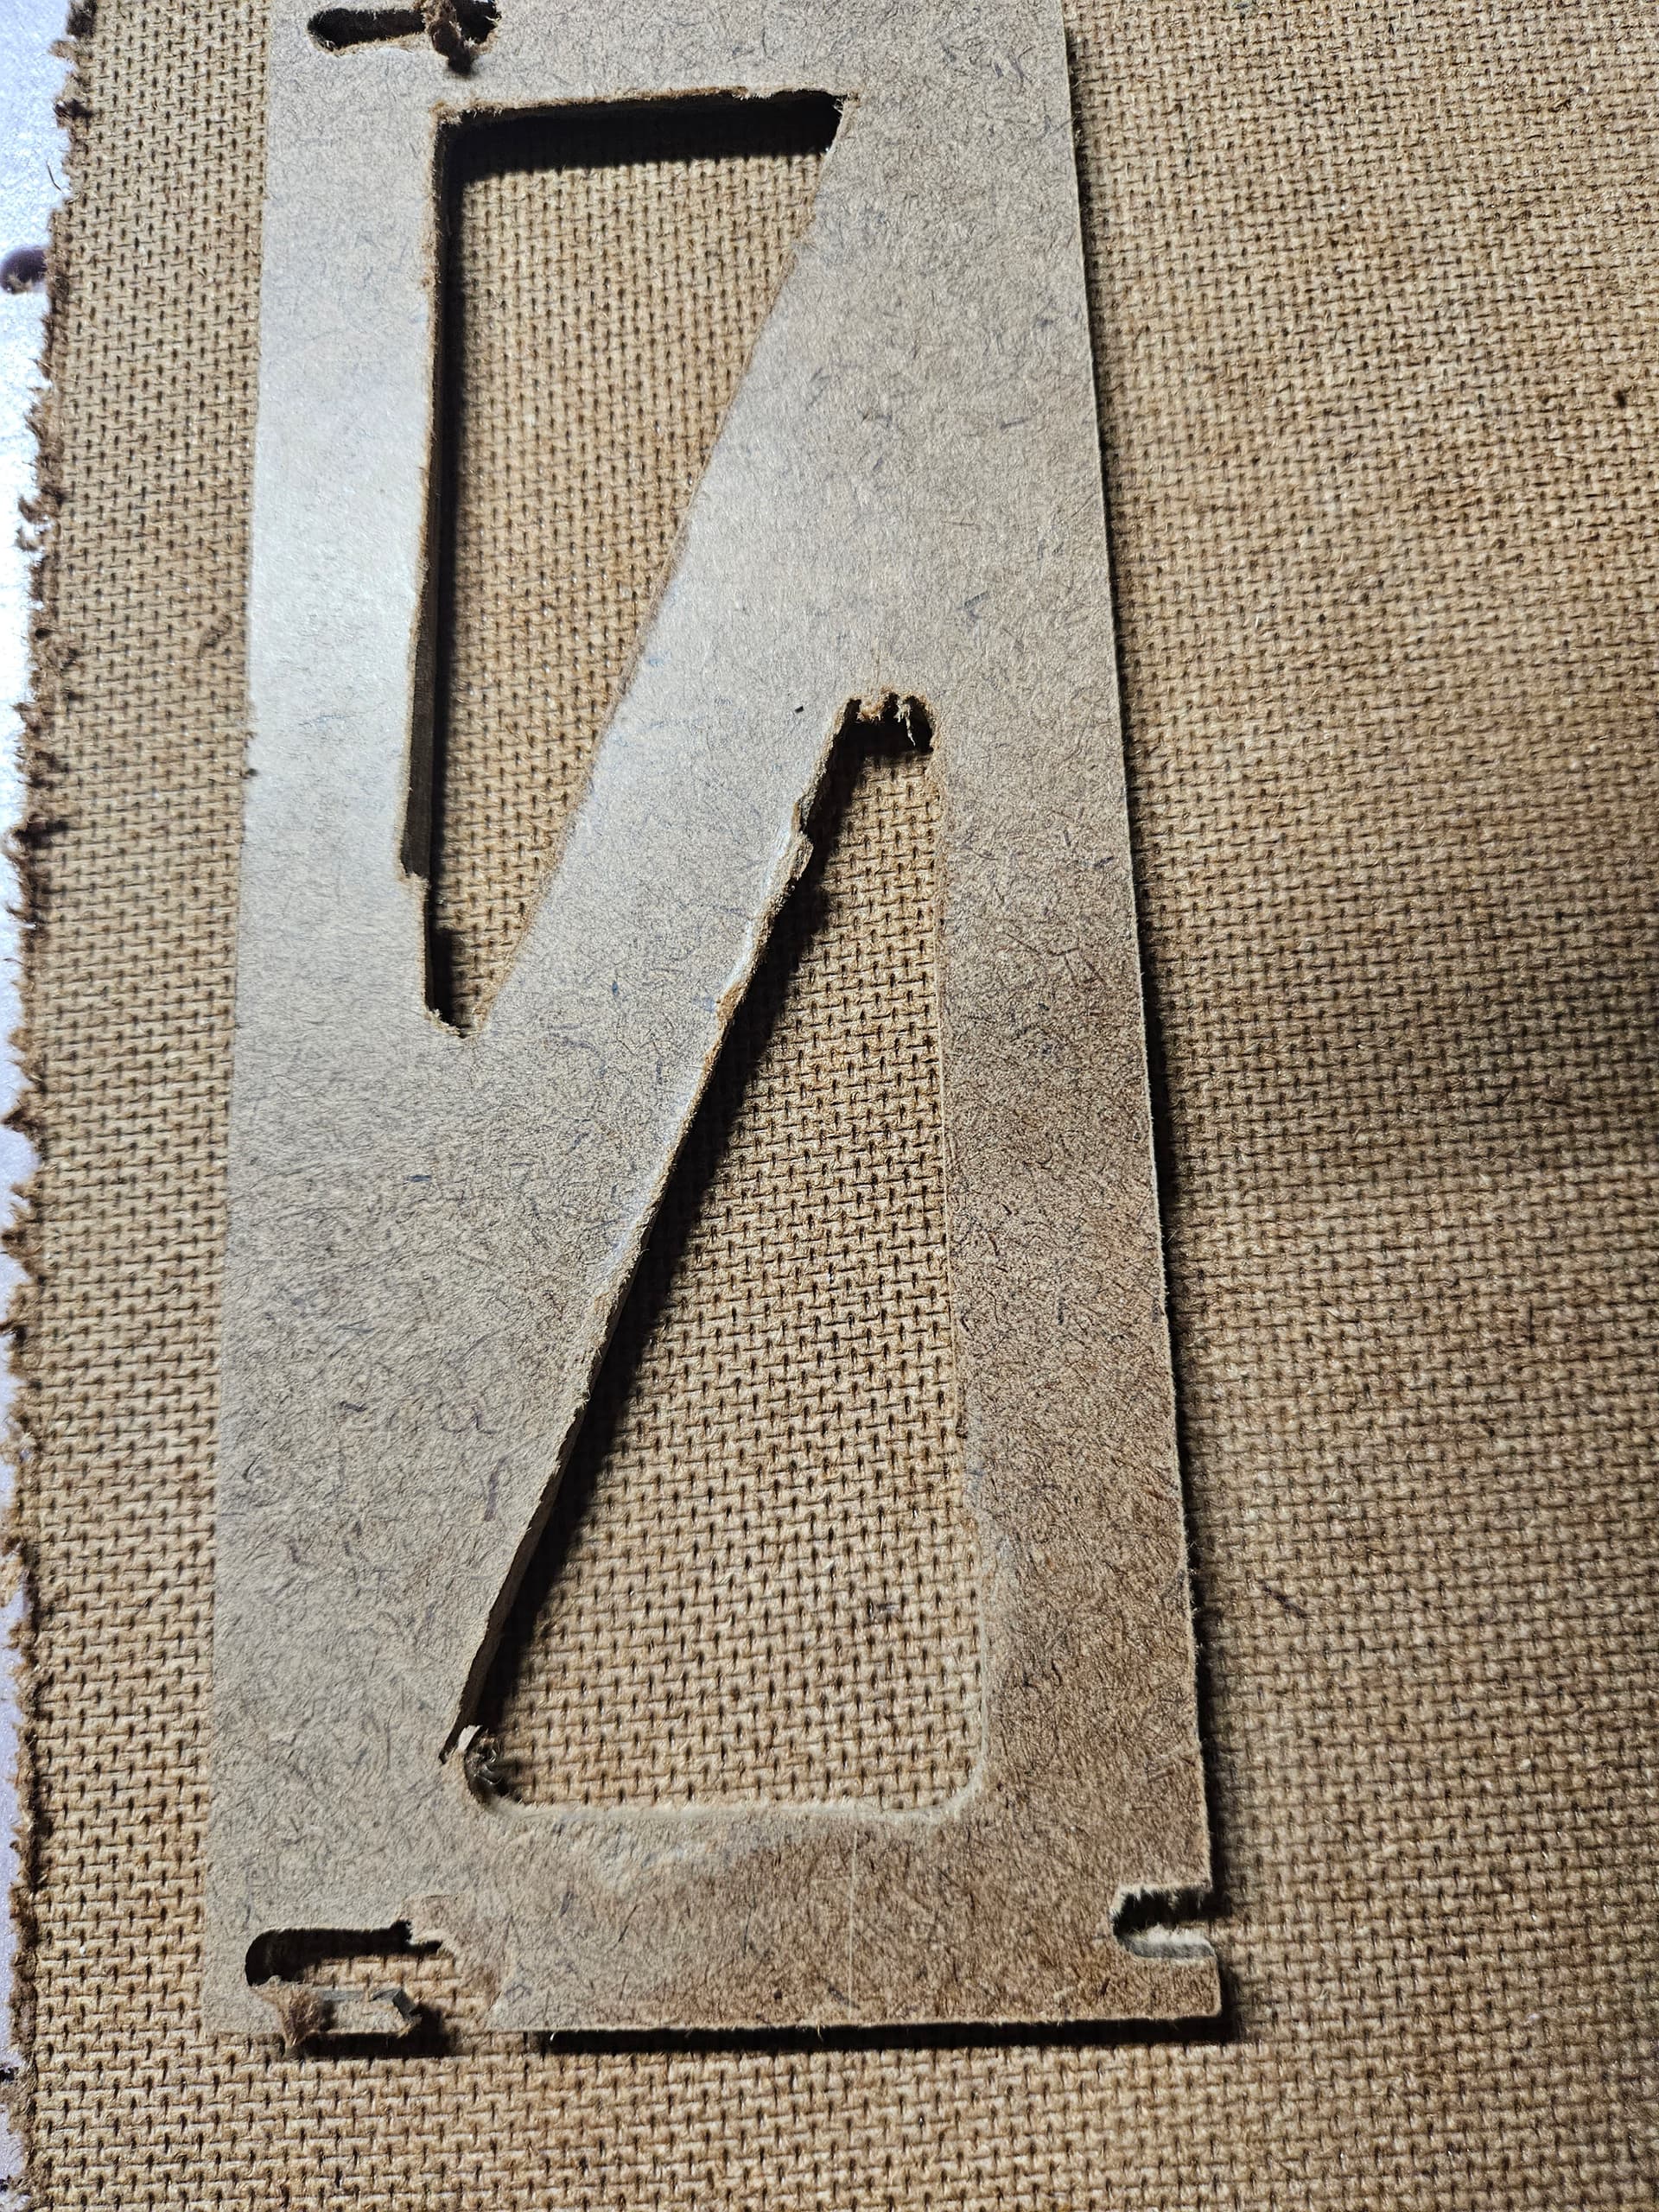
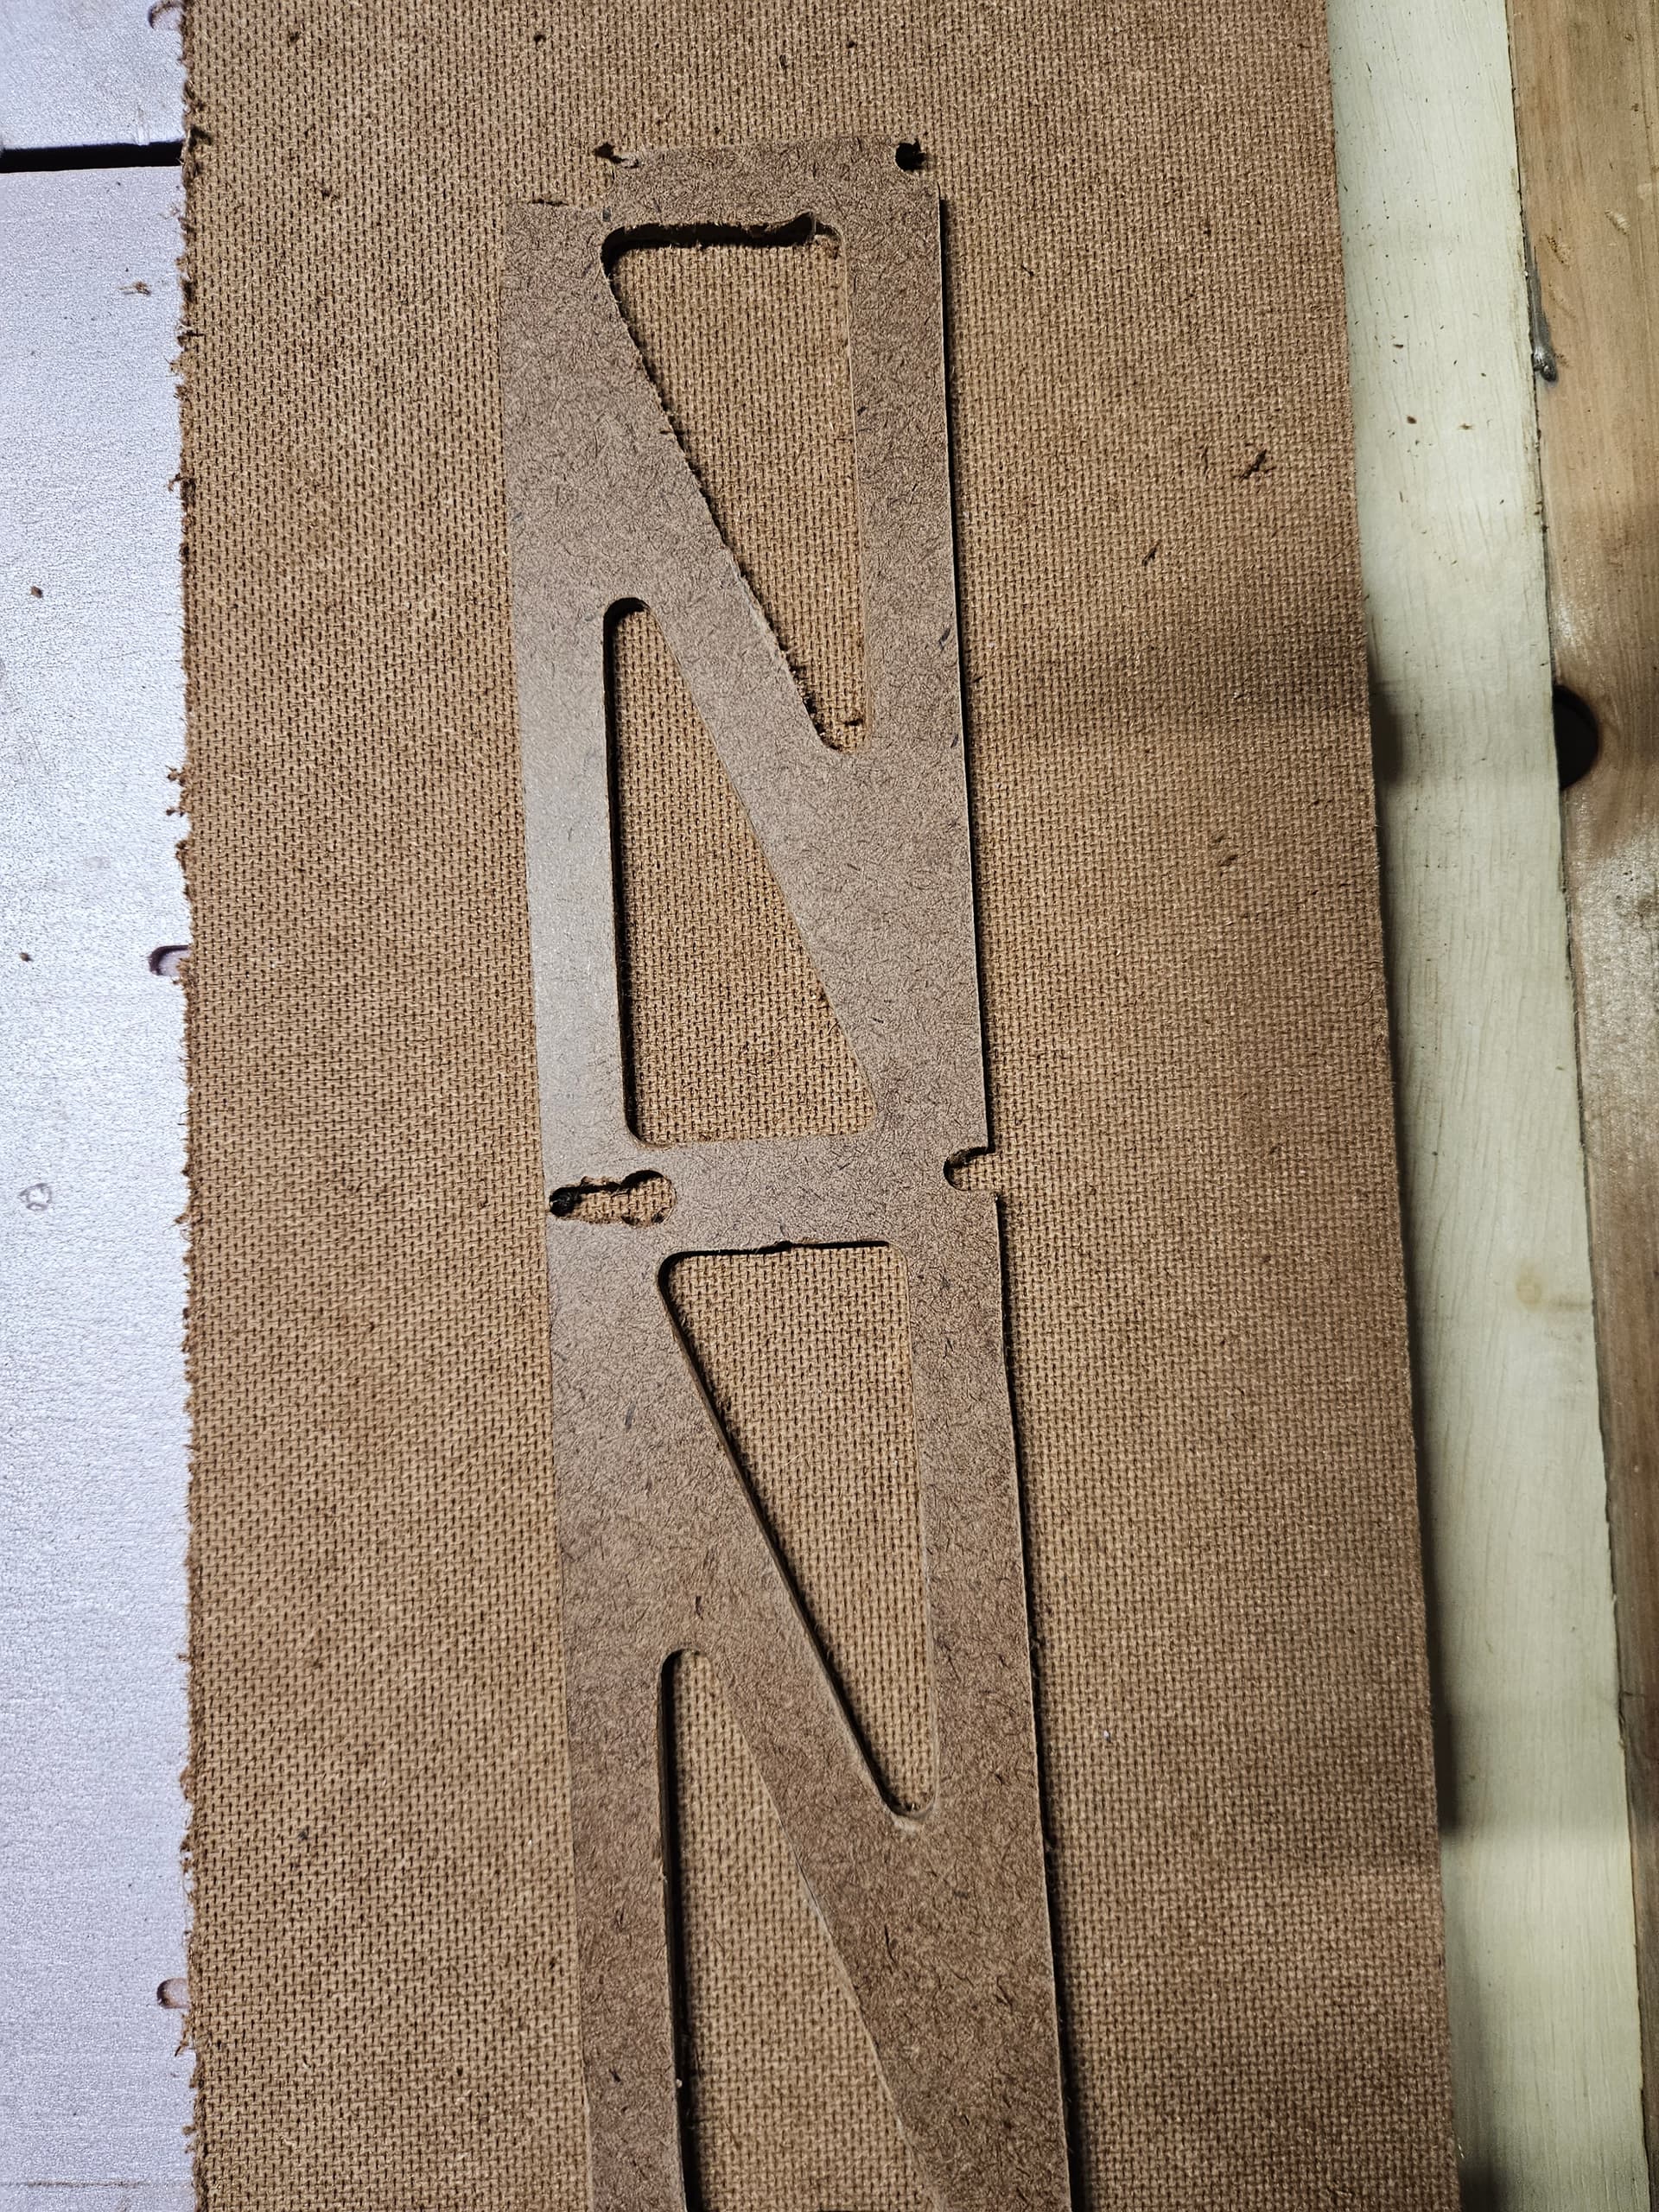
Thanks for all the help guys. Was able to pretty much get one of the struts cut had some tear outs on the ends and as I don’t have my spoilboard setup yet cut didn’t go all the way through, but overall satisfied just some fine tuning and will be good to go. Been a slow process for me but by July once everything settles hoping to have time to be in the shop and grinding out projects. Have some great ideas and can’t wait to share.


1 Like
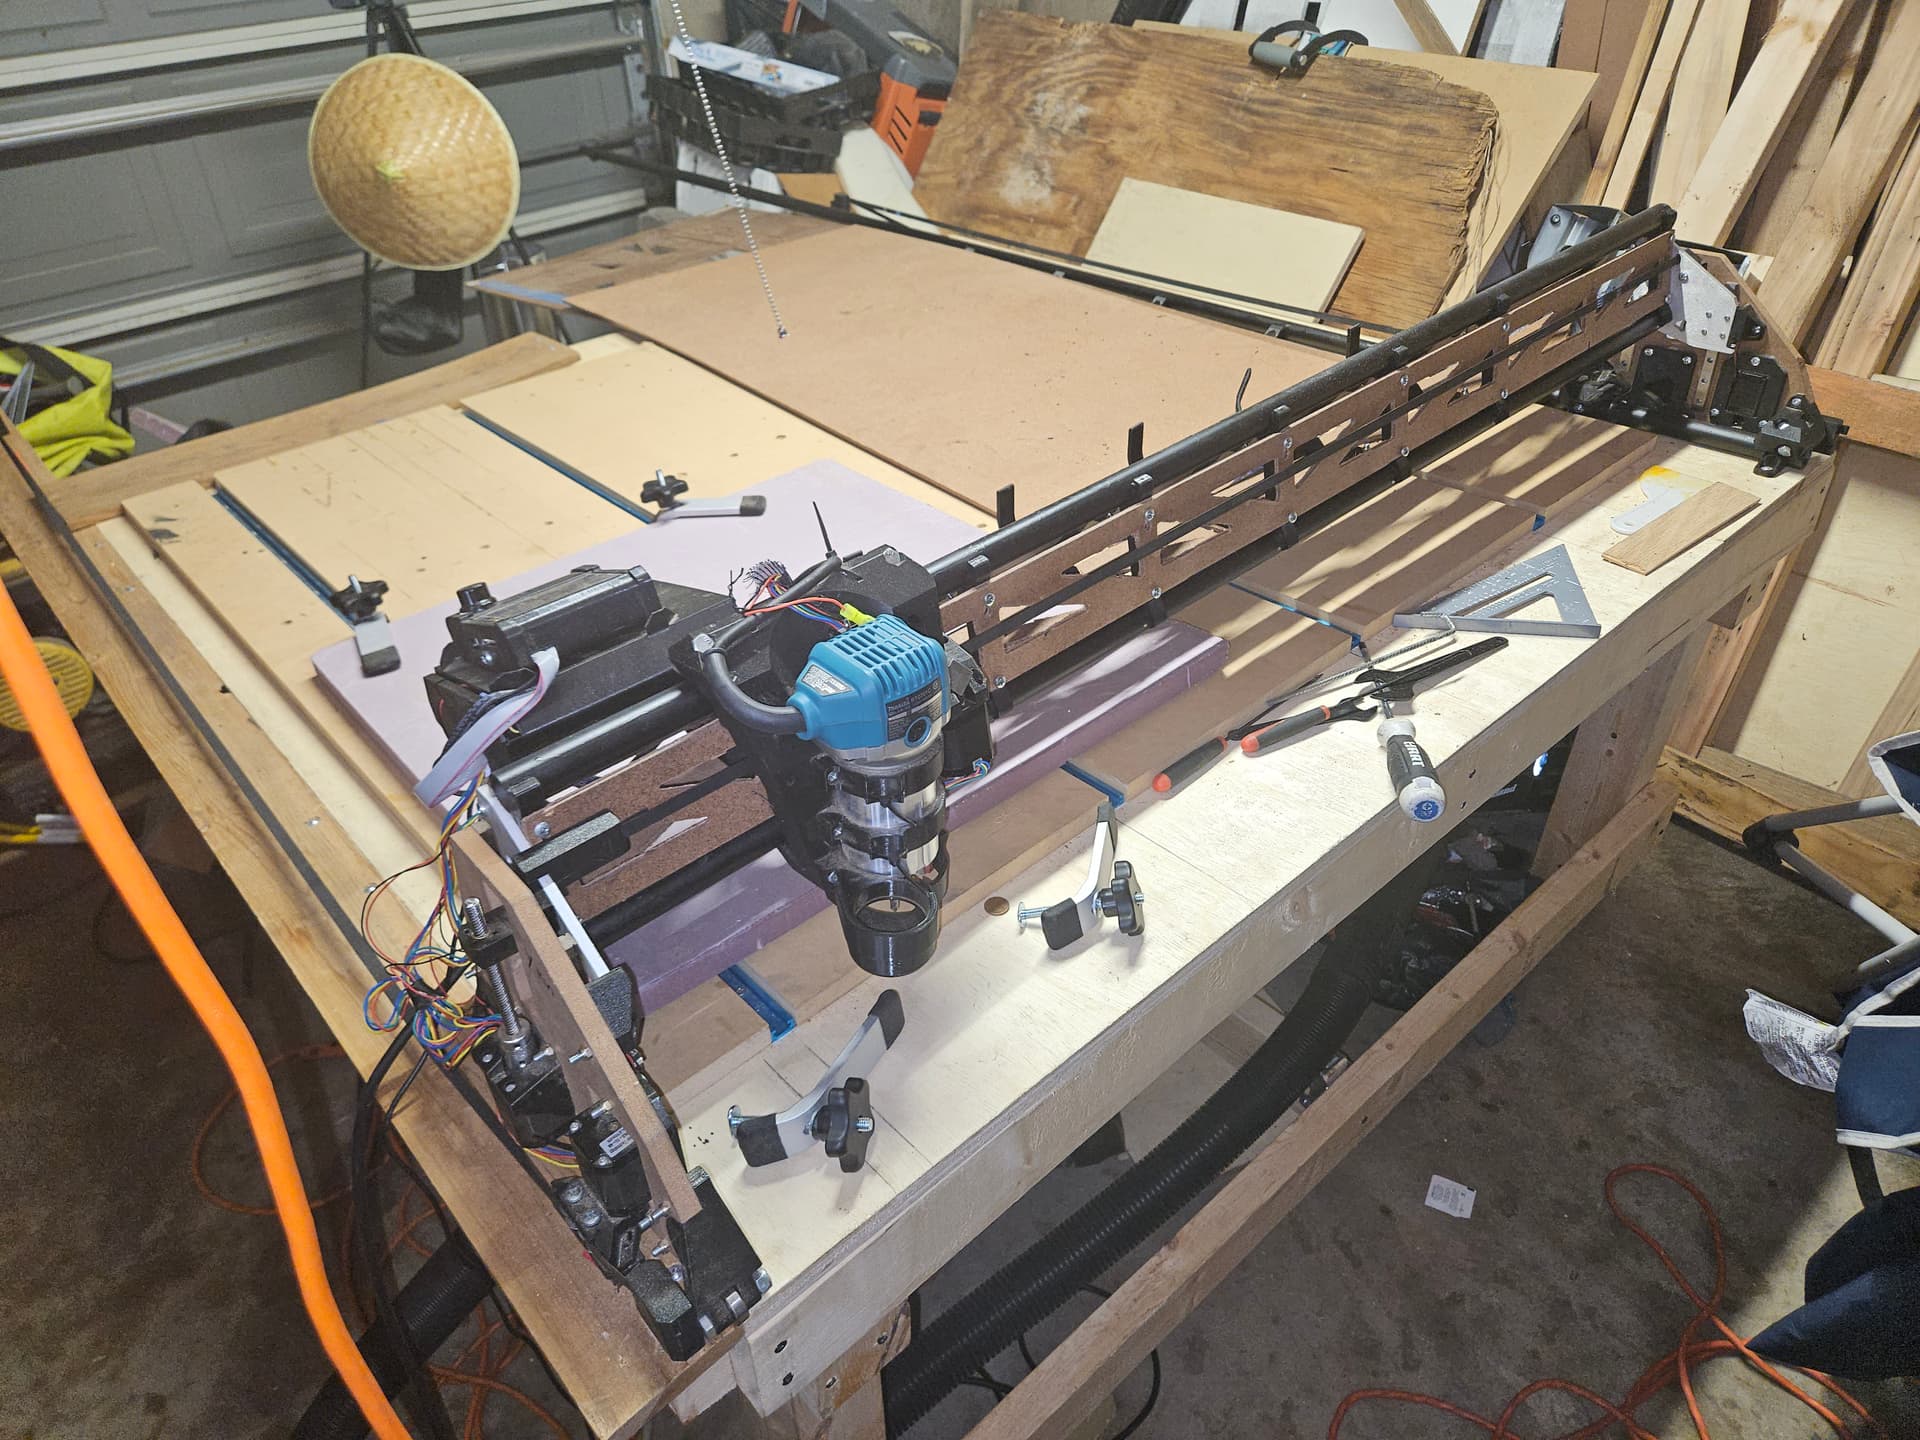
So update struts plates are cut. Also went back and painted my rails to avoid rust. New dust hose comes in tomorrow. Haven’t did any successful cuts as of yet. Mainly due to heat in Tx with it being 100+°F and currently no air in my garage so just got a portable ac unit and currently working to install that when i get the parts. Also have been playing around with designs and prepping cuts. For anyone using Carveco i reached out to them to edit the machine file format to include the start gcode if you have a touchplate from @vicious1. Was forgetting to add that when doing some test cuts and thought why not reach out to them. Anyone interested can email me @richard.williams398@yahoo.com and will send you the file as not sure how/if i can attach it here. Hope everyone is doing well.
6 Likes
Looking good!!
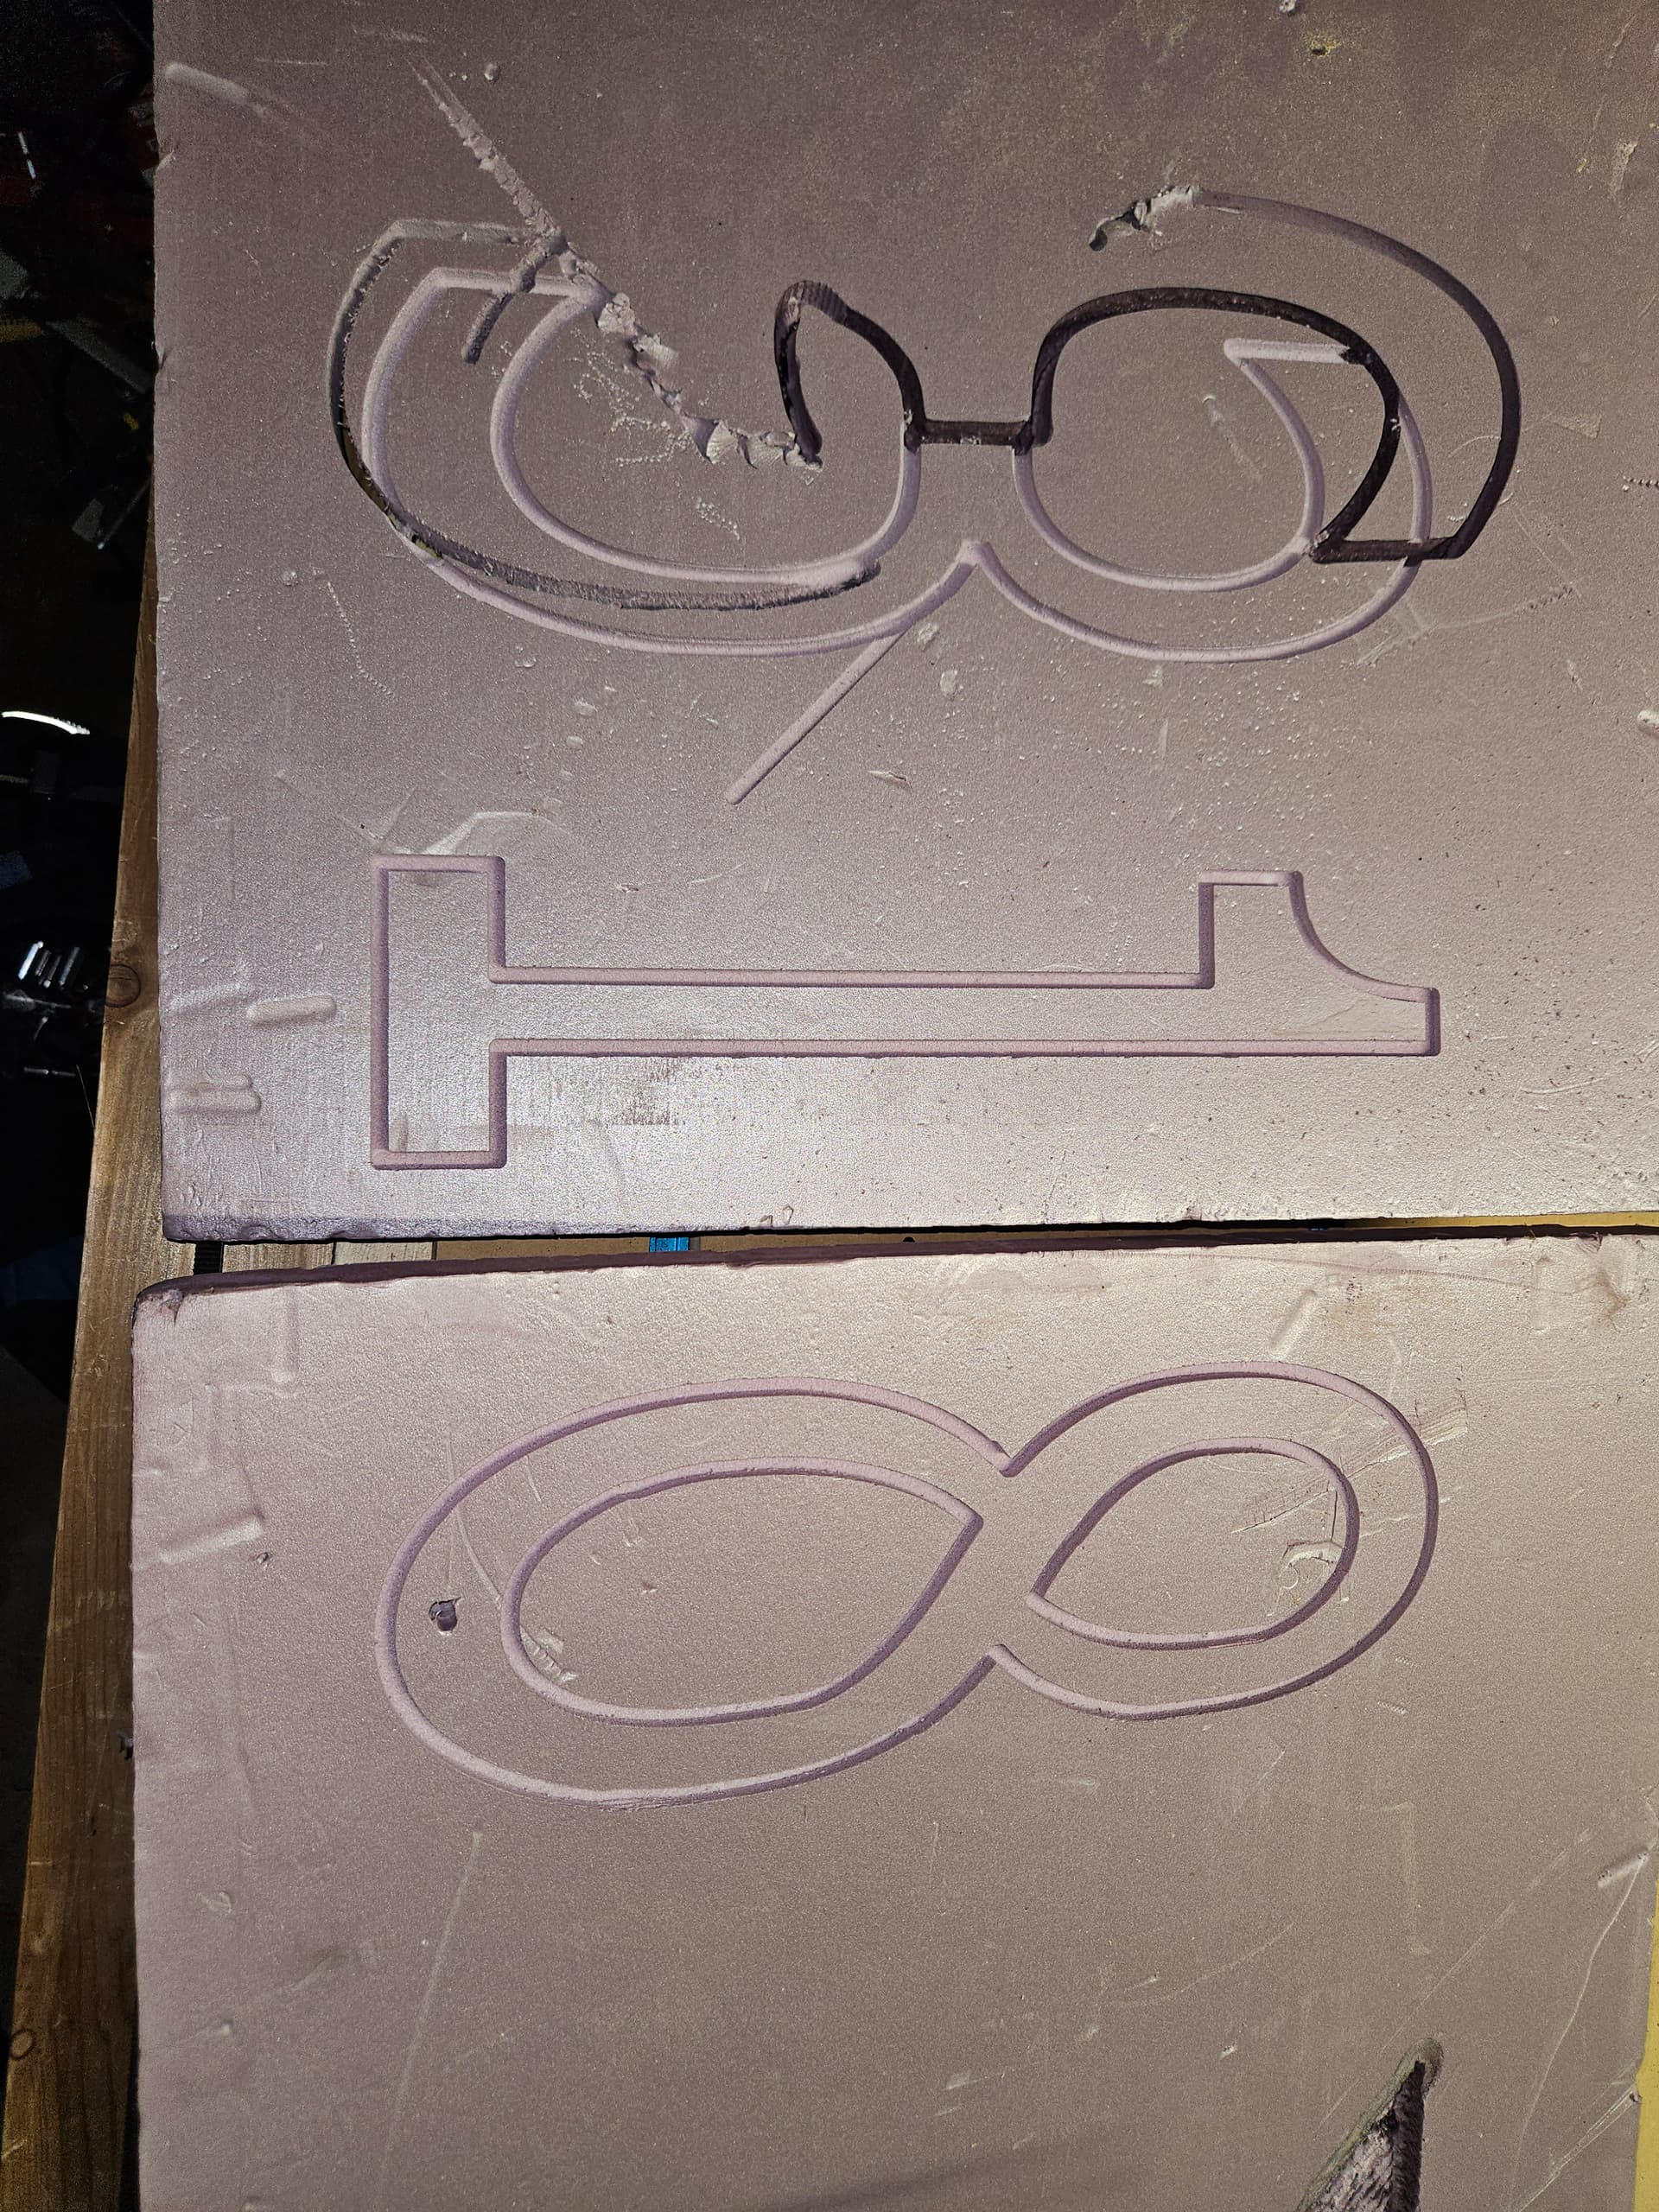
So said screw the heat late yesterday and decided to do some test cuts on foam. After reassembly z axis is cutting too deep. Sure this has happened before can someone direct me to a thread to resolve this? Thanks.
For further context, cut set for ¼ in and cutting all the way through the 1 in foam into the spoil board as well. Not sure if I overlooked something being tighten properly but everything seems to be in order.
Two things come to mind: You might either have the wrong leadscrew or your steps are configured wrong.
1 Like
I’m thinking like @Tokoloshe, I wish I could remember a thread that had this in it, that I could point you at.
I thought I remembered someone recommending to tell the machine to move a set distance, and measure the actual movement, to ensure it’s an actual machine issue, and not a CAM issue. (Hope I’m saying that correctly). Of course that’s me making the assumption this is with gcode other than the crown.
2 Likes
You might have also just forgotten to set your zero point at the start of the job.
Home the Z axis and tell it to move down 10mm and see how far it goes.
3 Likes
Lead screws are correct. So maybe steps configured wrong. Typically using the starting g-code (below) from the milling basics. But will still test this. Also found some nuts to be loose on the struts so tightened those.
“G92 X0 Y0 ; Set Current position to 0 on the X and Y axes.
M0 Attach probe ; Pause to connect touchplate
G38.2 Z0 ; Probe down to touchplate
G92 Z0.5 ; Set new Z position to thickness of touchplate
G1 Z2 F900 ; Lift off touchplate
M0 Remove probe ; Pause and wait for touchplate removal”
1 Like
So long hot day in the garage. Believe problem to be solved. So steps were one issue, silly me only edited stepover but did not edit step down. Also screws came loose that was holding the brass on the lead screws. Not sure if that’s caused by me familiarizing myself with the z home to many times when adjusting microswitches and they became loose but think I am officially up and running. (Knock on wood)
4 Likes
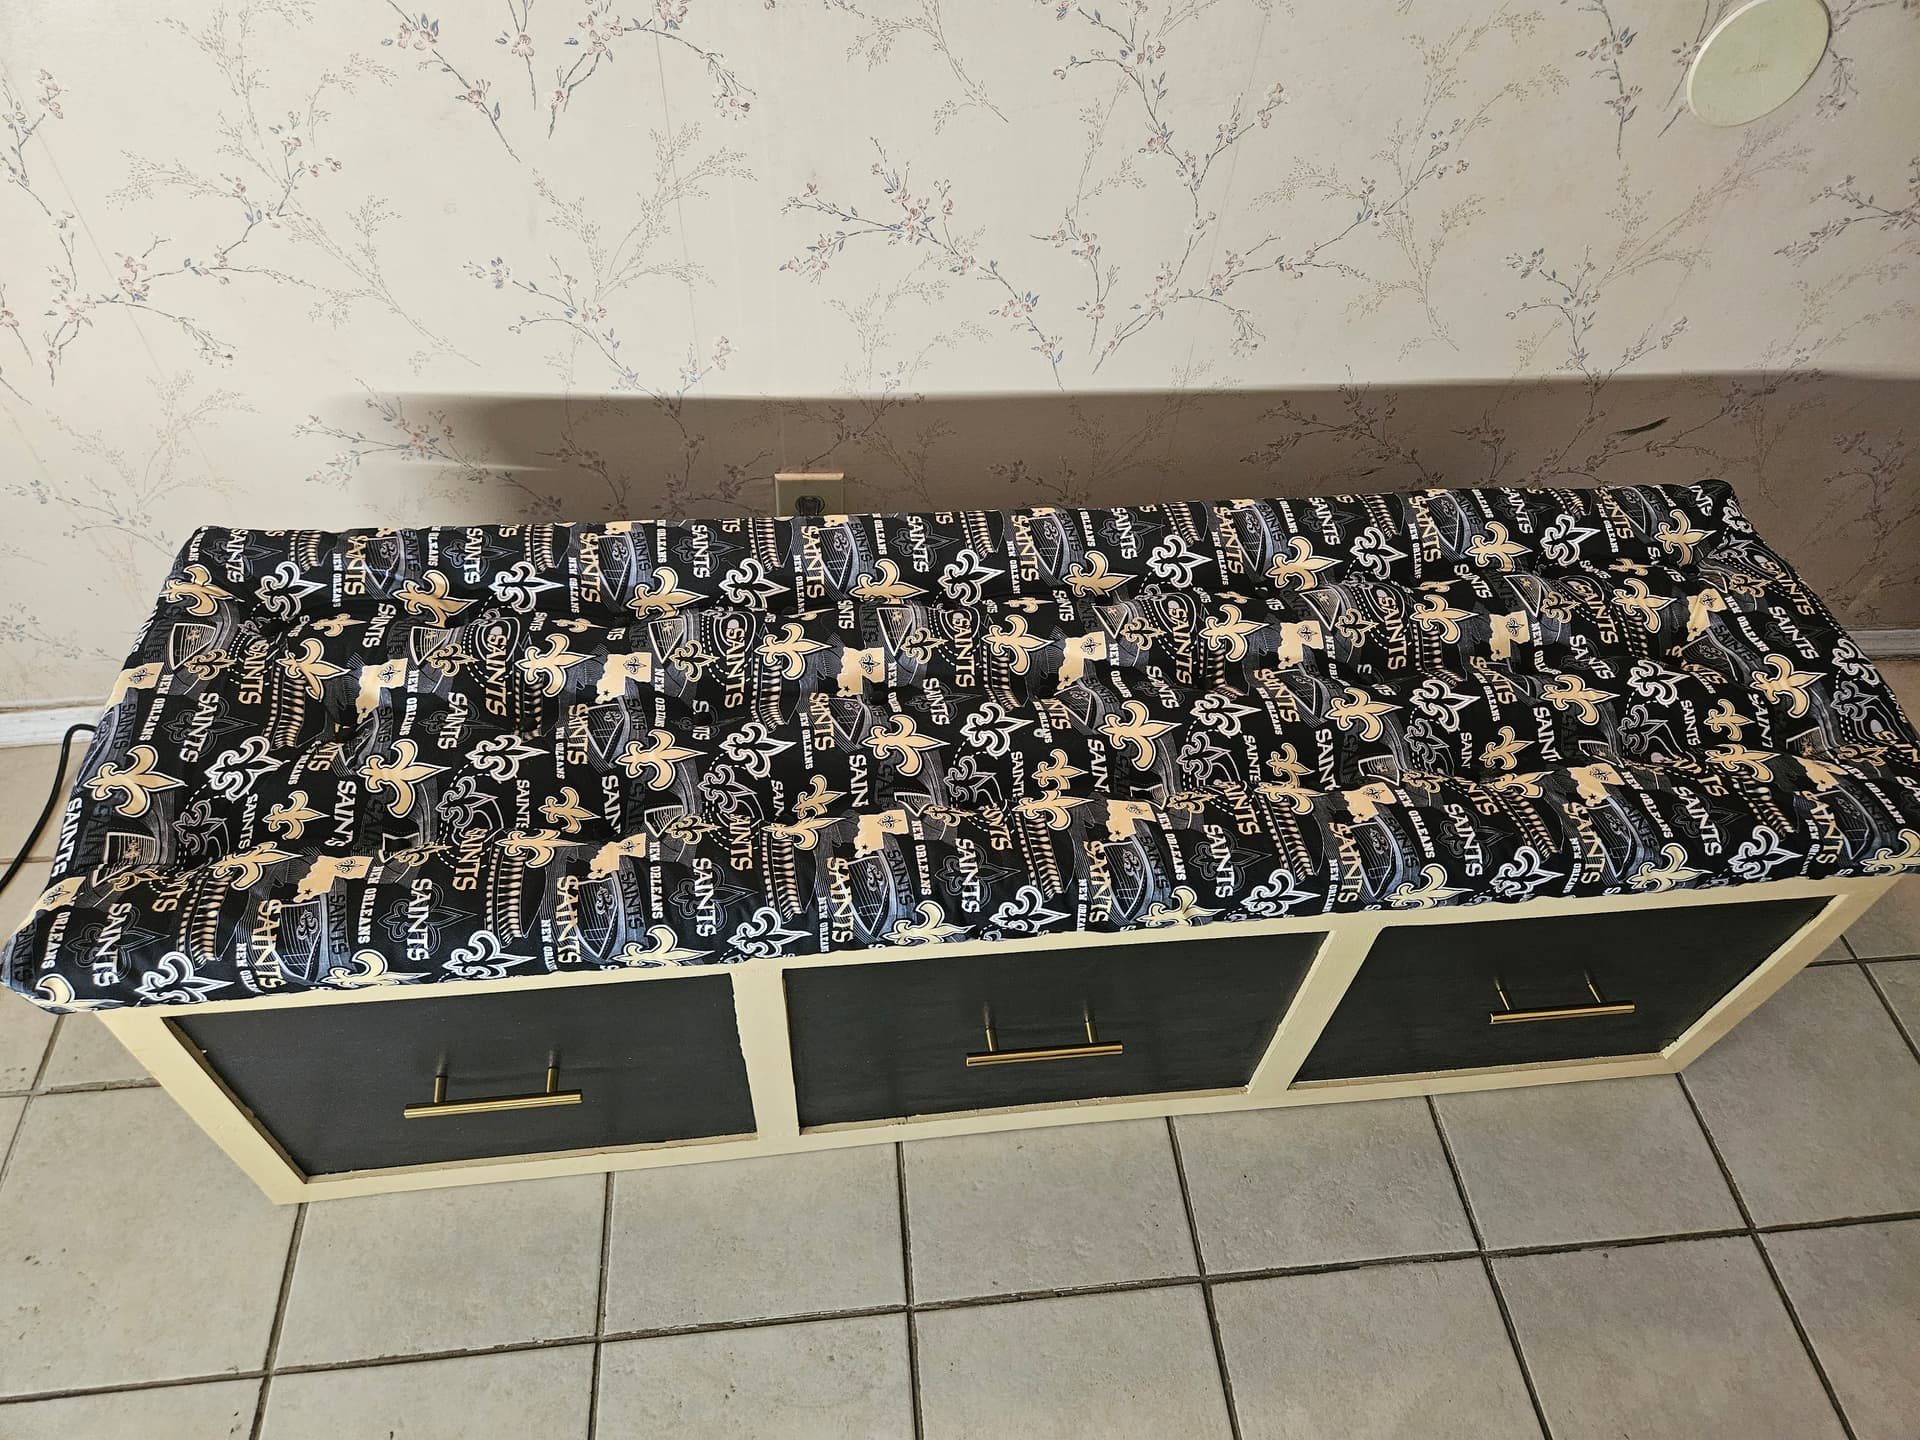
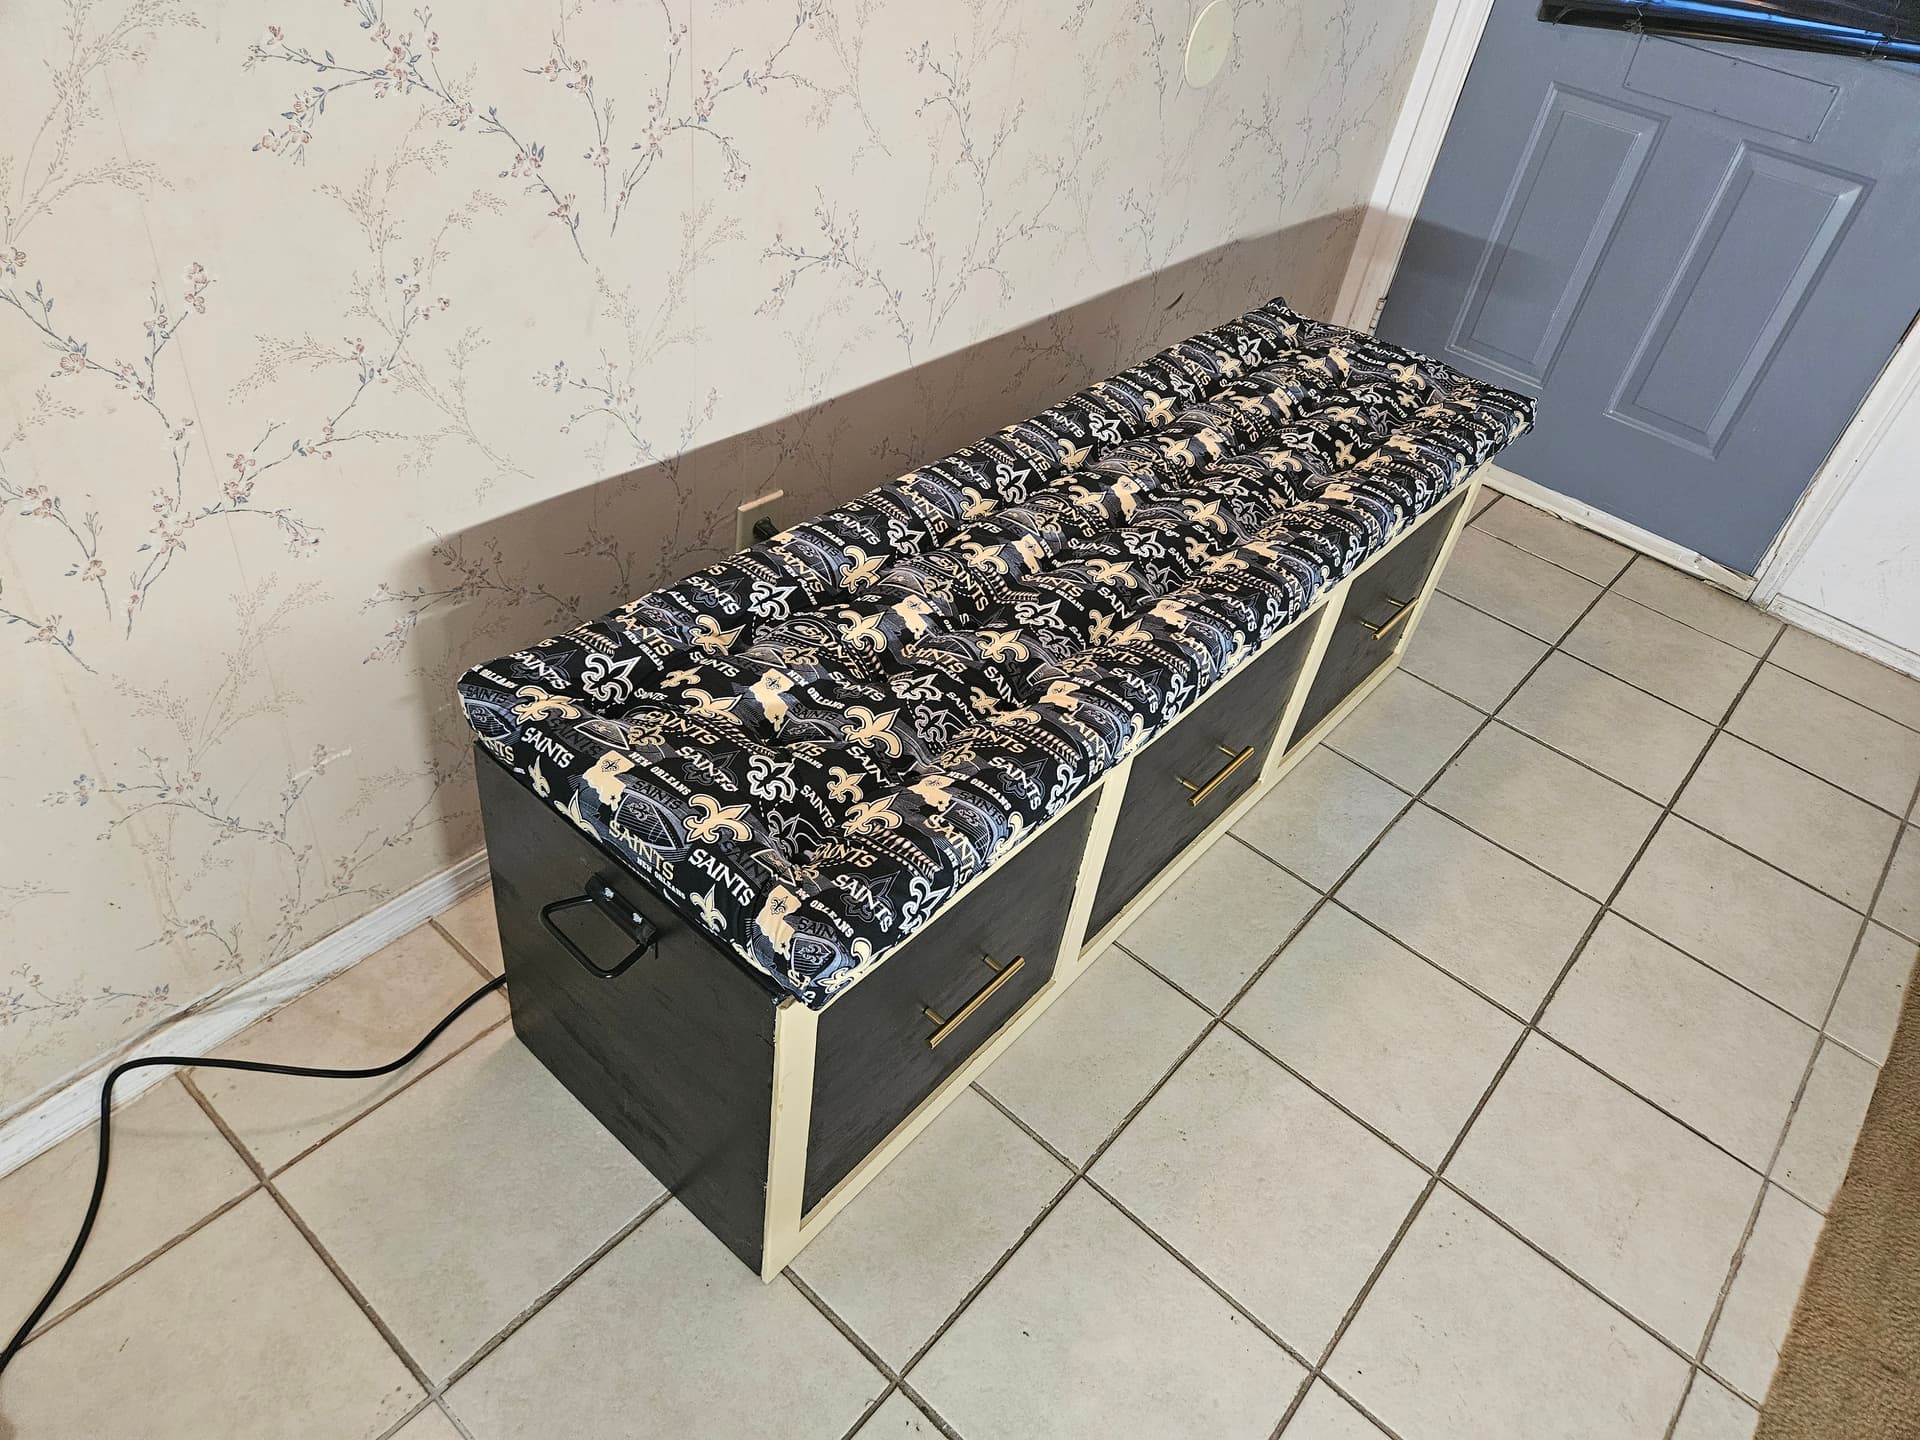
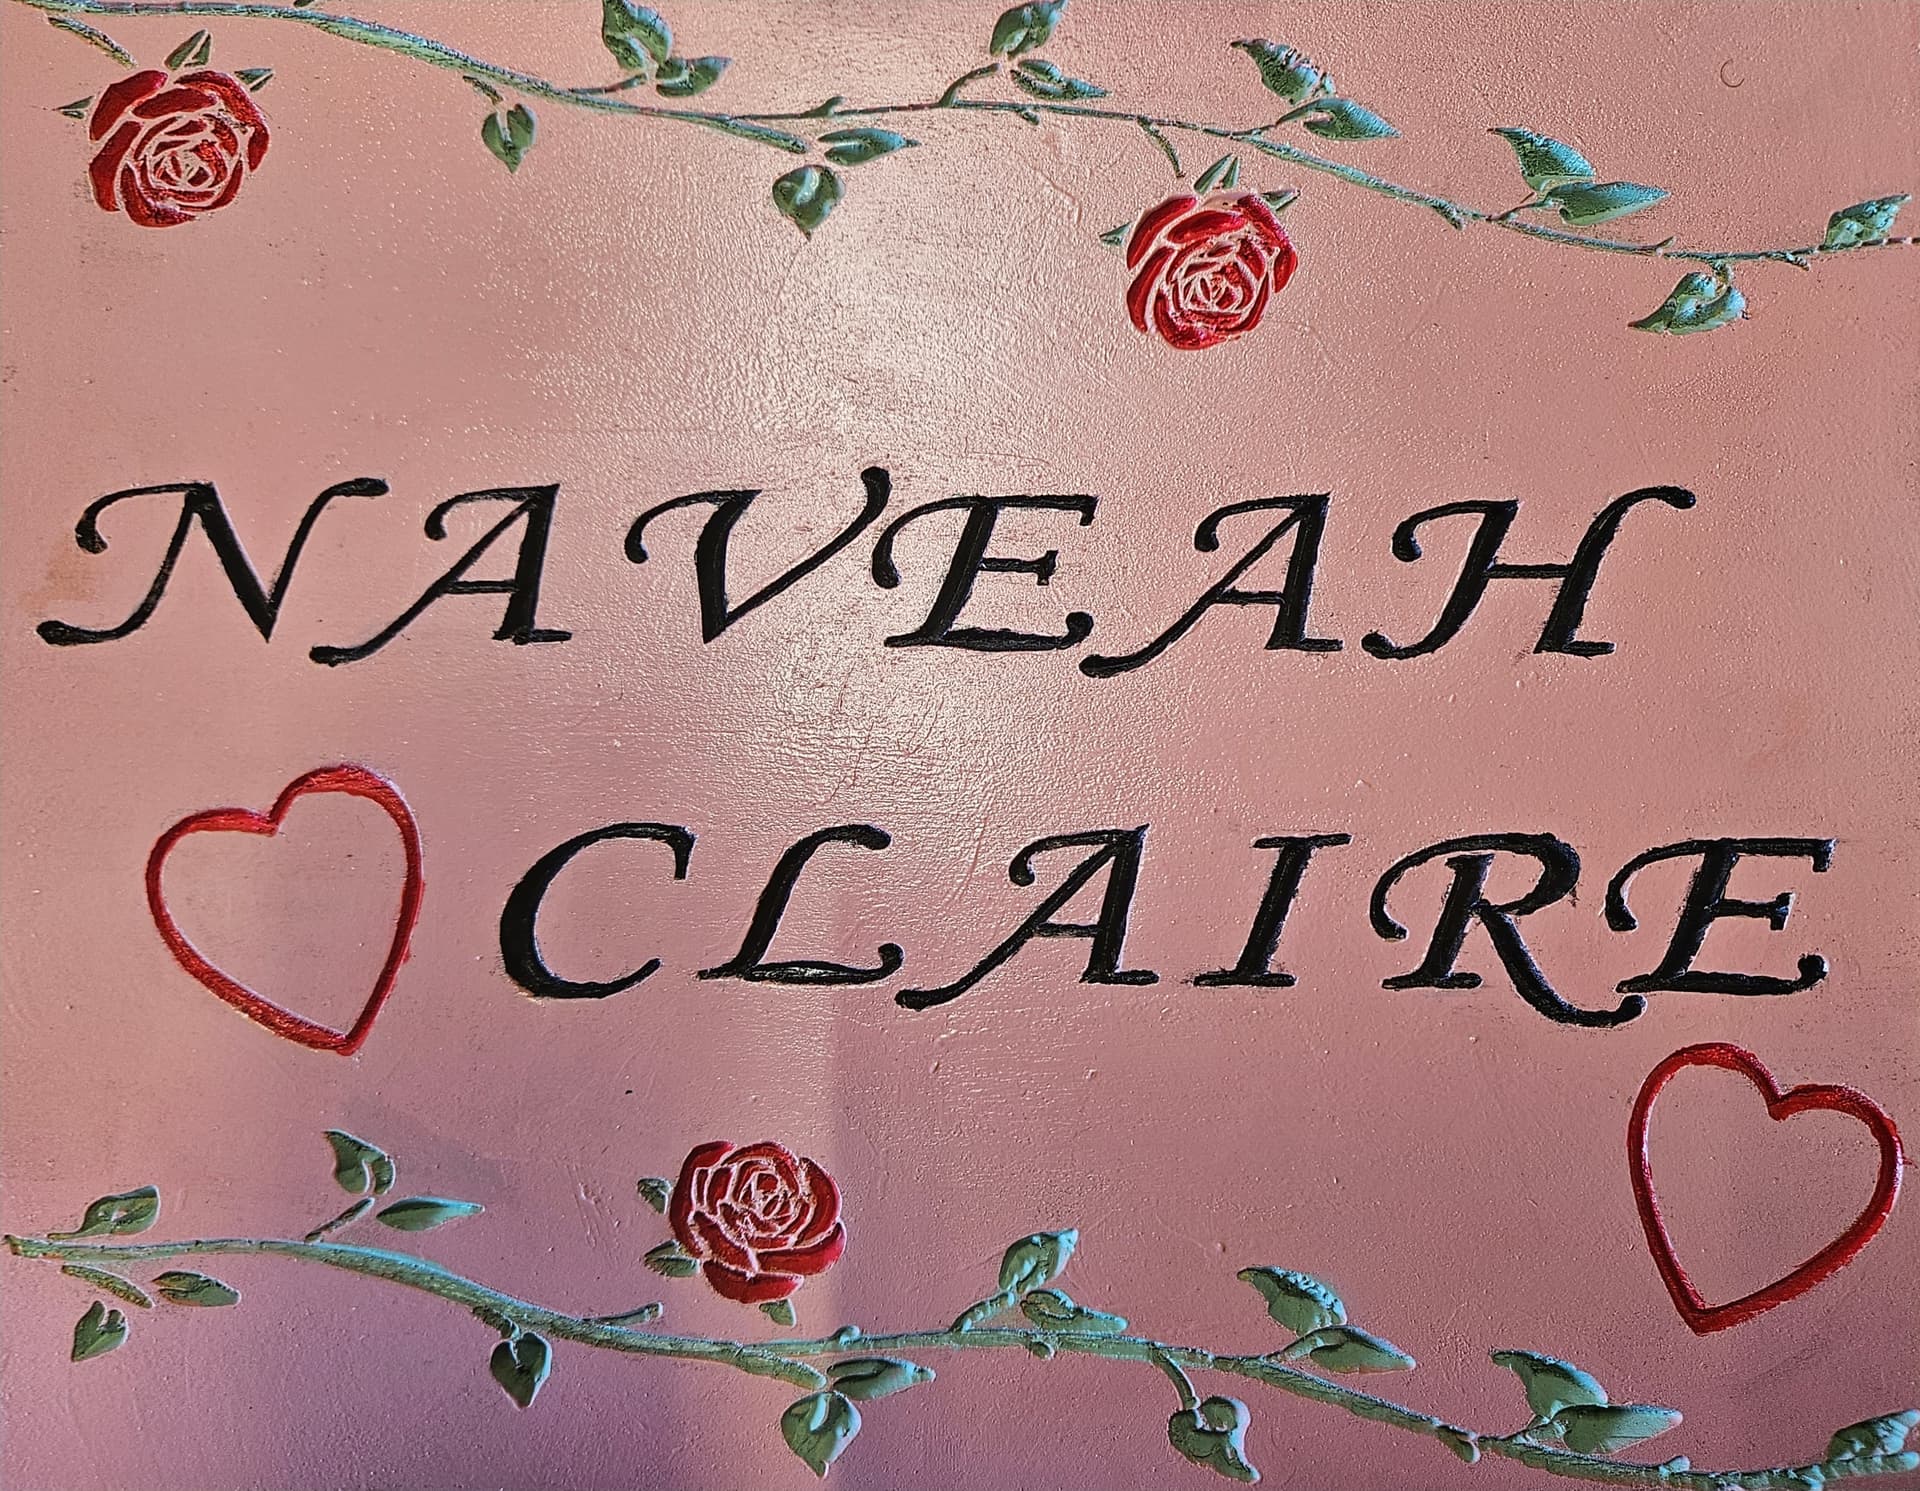
Ignore the multiple failed attempts on the number 3. The 1 and the 8 came out exactly as planned. 1st client slash friend of my mom is wanting 318 to hang in her shop. We’re all from Louisiana so Saints themes stuff also made her a flip top storage bench. I can make boxes and i can tell the machine to be accurate. Think the woodworking journey starting off pretty good ![]()
![]()
![]() .
.


9 Likes
Nice.
So previously when i would paused a job from the TFT it would return to home until i resumed the cut. That function has suddenly stopped. Does anyone know how to fix this?
So appears just have to reset TFT and will start back working but wonder what causes this.
Nothing should have changed if you did not reflash any firmware.
I don’t usually hit pause so I am not sure of the default behavior. If you want to change it for the TFT it is in the config file you can easily edit and “reflash” it.
1 Like
Question.
I was having trouble with my safe z height settings and after investigation with Carveco Support realized it is due to my jobs being set in imperial but gcode being in metric.
If i change to using imperial gcode will the cnc internally convert it to metric to complete the job or will it not operate properly?
Gcode can be set to imperial.
There is usually a G21 code in the startup, which sets the firmware up to expect units in mm. G20 sets the code to expect units in inches. It doesn’t accept fractions of course, it needs them in decimal. I think steps per unit convert automatically, but since Inhave never used inch units for either CNC or 3D printing, I can’t swear by that. It should just accept inch units for the individual job from my understanding.
You should be able to set up your jobs in inches, set a reasonable clearance, in inches, and just make sure the G20 code is near the end of your start code.
1 Like
Wassup everyone. Has if been a month since my last post. So bit of an update things have been going well for the most part. Had to disassemble my x axis to apply some loctite as apparently missed that section.
Also ran into the problem of the skr pro not detecting the limit switches all the time. It’s only on one side of my z axis as I’ve seen so far and may or maynot be ignoring it for now but I did find the thread on adding resistors to fix it at least. Will get to it eventually.
Looking through thread posts for modifications or improvement/upgrades I can plan for the future (bit restricted on not having access to a 3d printer). Hoping someone has made a thread or if there is a grouped section with all recommended modifications/improvements that would be nice.
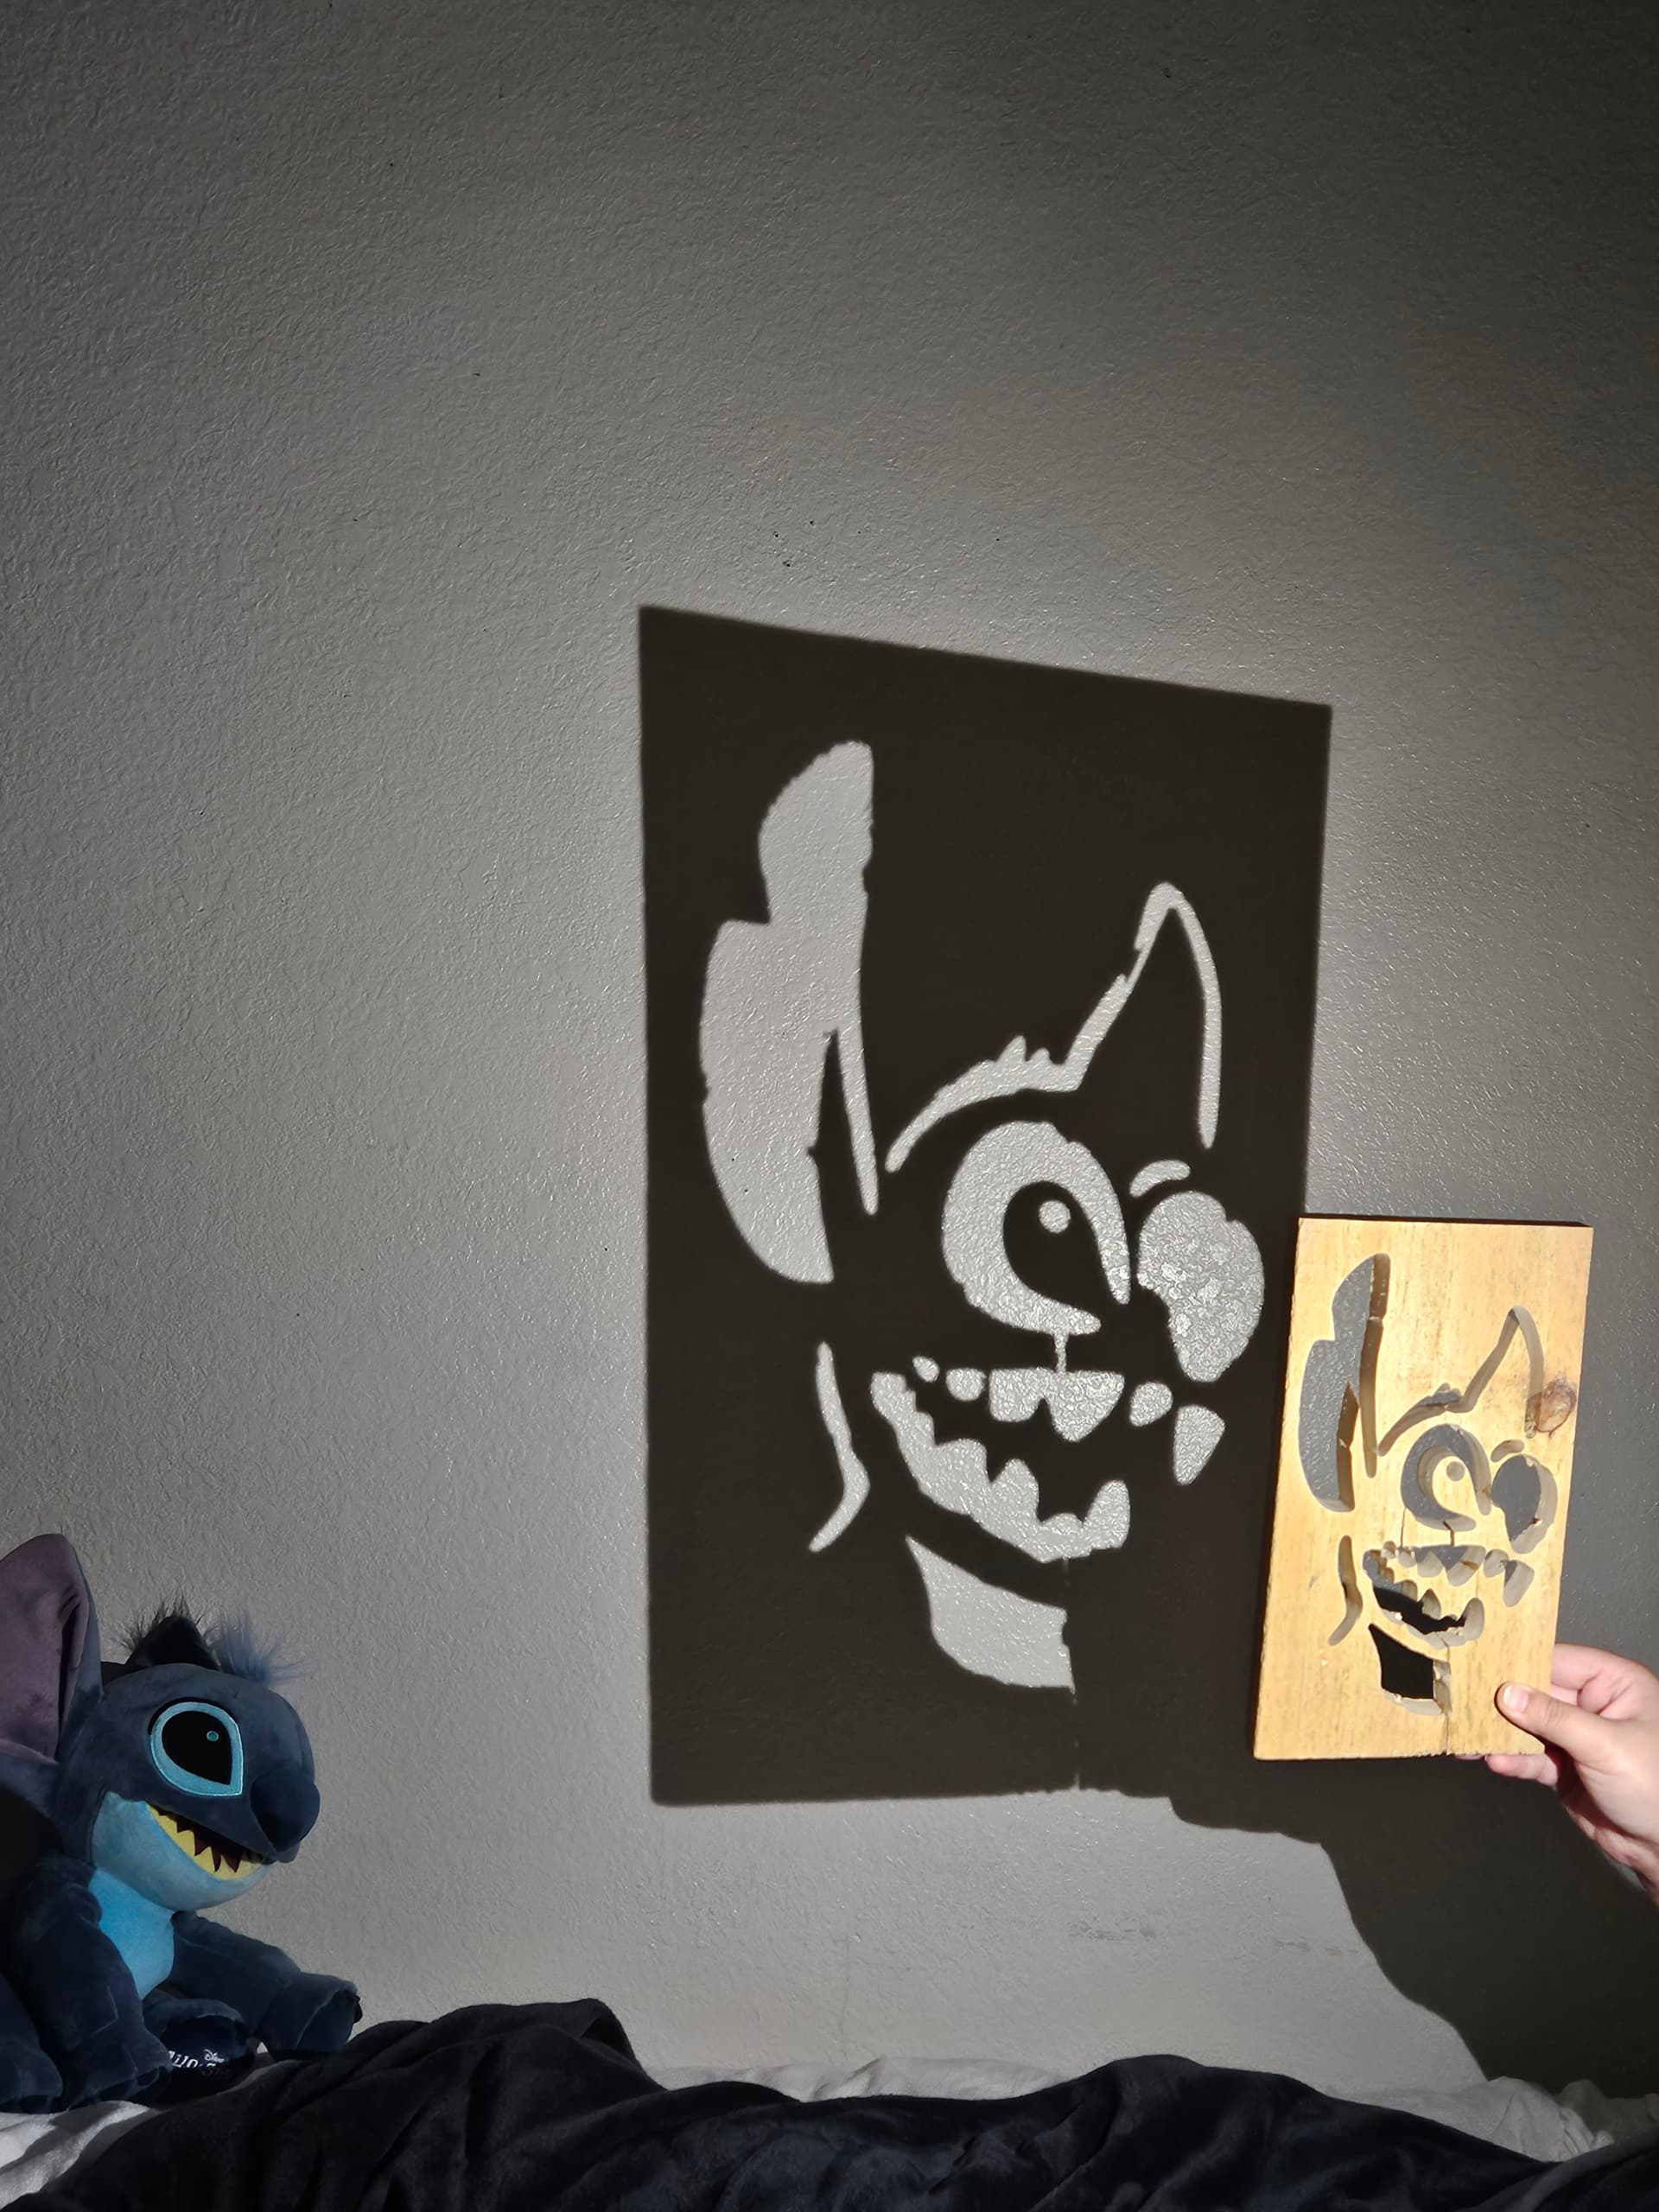
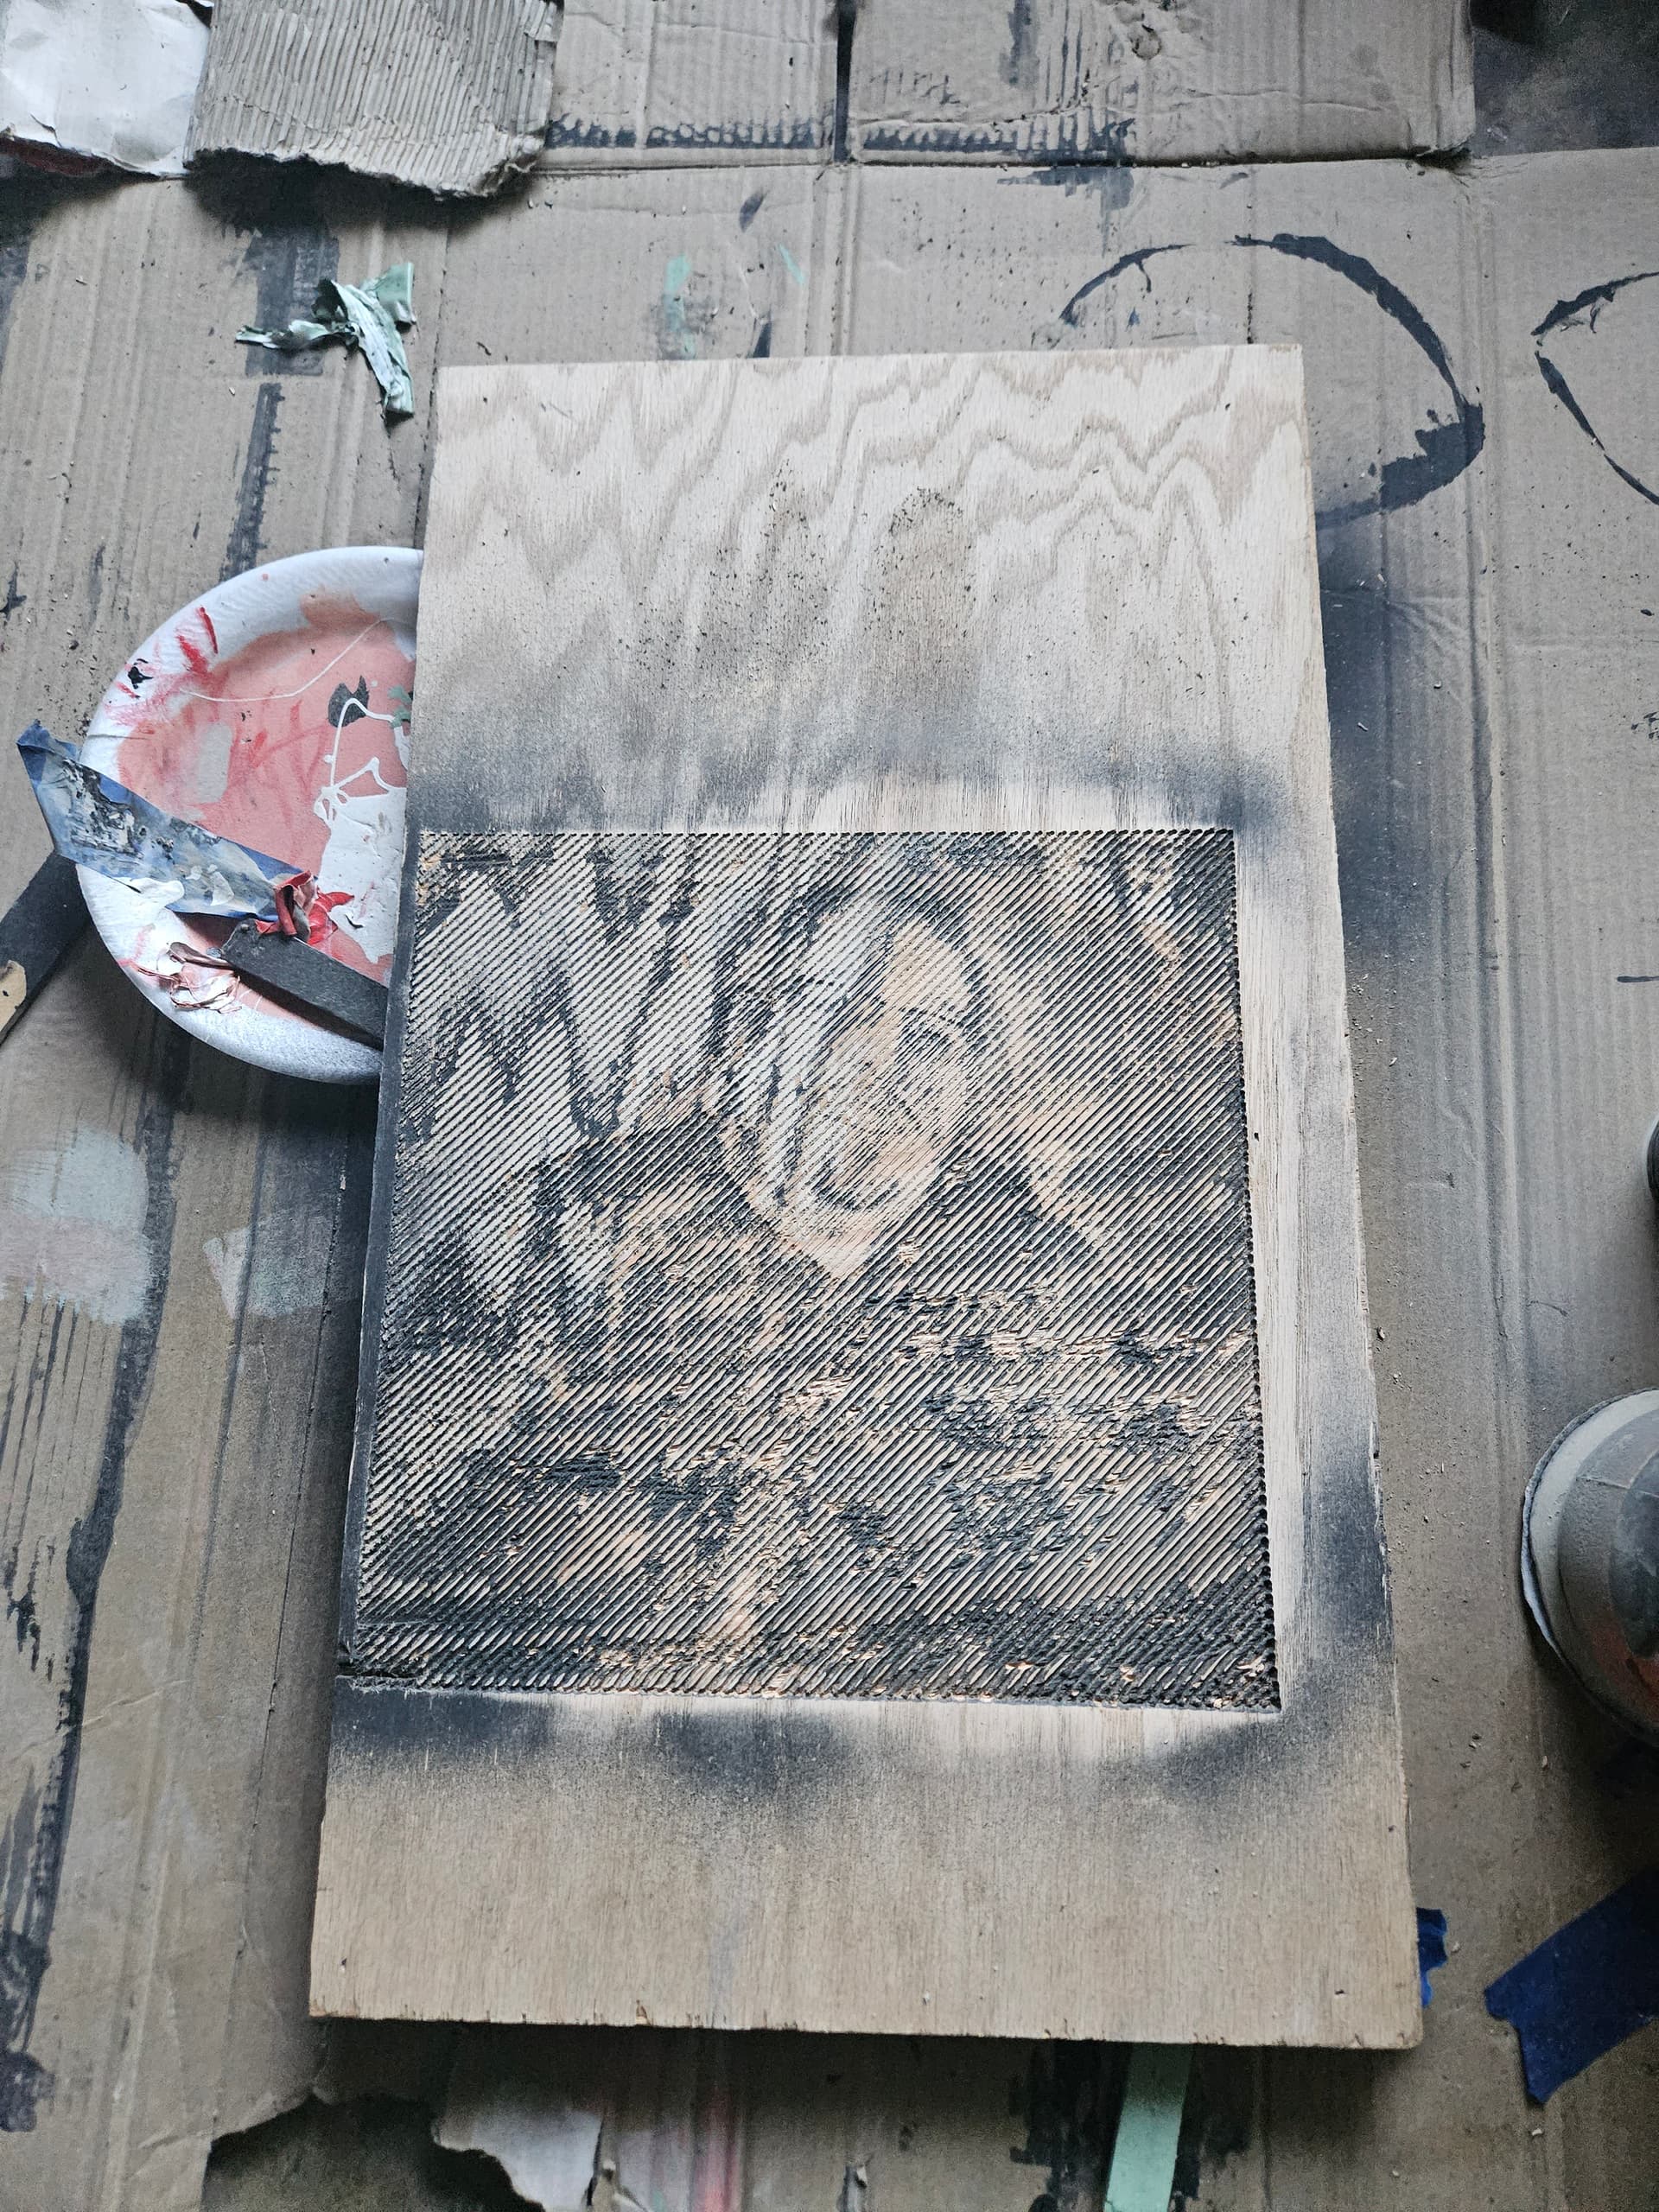
I have done some additional projects since my previous post. Nothing major just a custom sign, jack-o-latern, and photo vcarve(in progress). I have been a bit timid or overwhelmed. Lack of knowledge and fear of messing up equates to that. But I am pushing through it.
7 Likes
That photo vcarve is cool! Never tried to do that before
1 Like
I like the shadow caster. I just got this tiny flashlight and now I think I need to make one of those. Could be a fun decoration.
1 Like