You are looking for the variables X_BED_SIZE and Y_BED_SIZE in the Configuration.h file in Marlin.
Honestly, though, I just push my machine towards the home corner before homing it anyway. I like to have a feel for the rolling resistance of the machine, it lets me feel if there are mechanical issues before starting things up. With gthe motors unpowered, it moves quite easily by hand, and I know what it should feel like.
Thanks, but wouldn’t that make the machine to have issues while its working on a big job if it have to come backwards and stops? Or it will only happen when its homing?
This is only a homing issue. Thge bed size is used for that, and if soft stops are enabled (And in V1 firmware they are not.) V1 firmware will not stop the router from going places that it really should not, so the onus is on you while you are doing your CAM and setting up the job to make sure that it fits in the addressable area.If you need something else in the firmware that requires a recompile, then fix it then, but I probably wouldn’t worry about it for now.
I’m not familiar with those. Which firmware did you start with? It’s very possible our firmware compile with those warnings and still made it to the releases page, in which case, it is fine (or we would have seen problems by now). If you didn’t start with firmware from marlinbuilder releases, then maybe it is something new (in bugfix, for example).
Sometimes warnings only show up once (if that file doesn’t need to compile, it won’t, so it won’t recreate the warning). Warning should be deterministic. They shouldn’t show up on some computers and not others.
It worked fine i guess. Flashed it, ran some movement commands and thats it. (It homed back the y axis as it should now. Tomorrow will do some proper testing
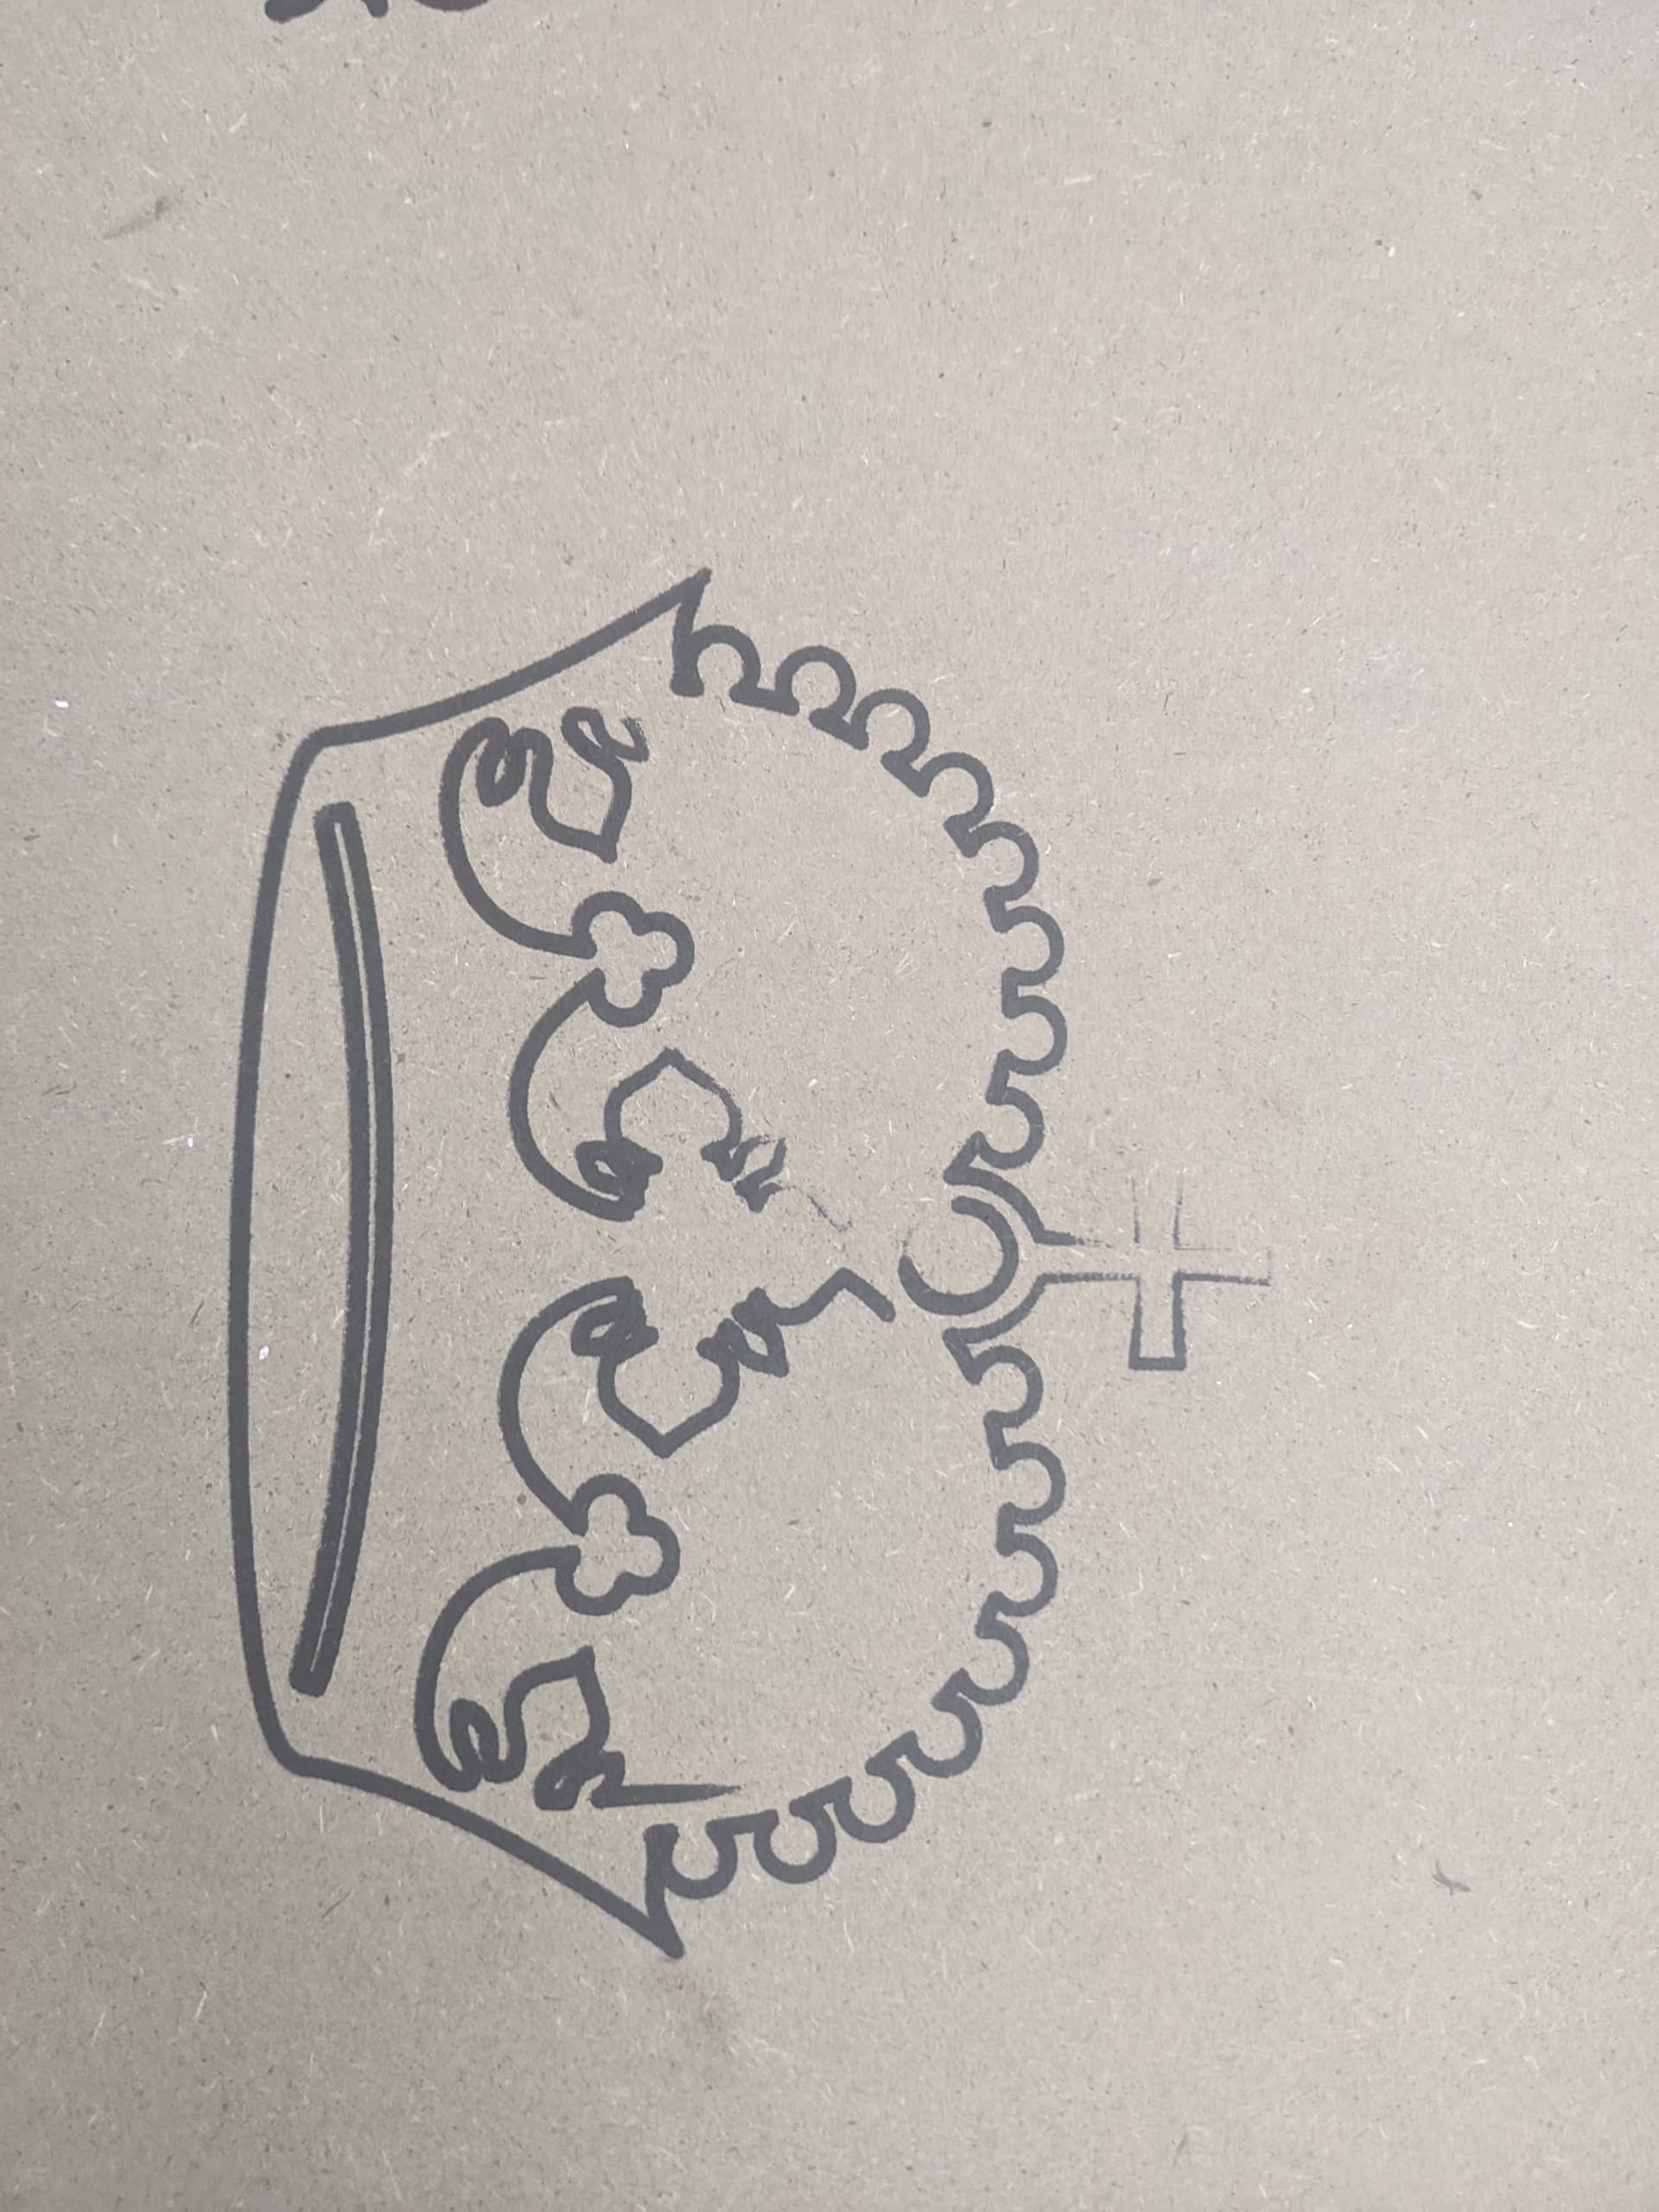
Tested all the movement i trow at it flawlessly. There is a point where the z tubes hits the table at 2200mm± but thats an easy fix. Finally made a new pen holder but my sharpie was still moving like crazy
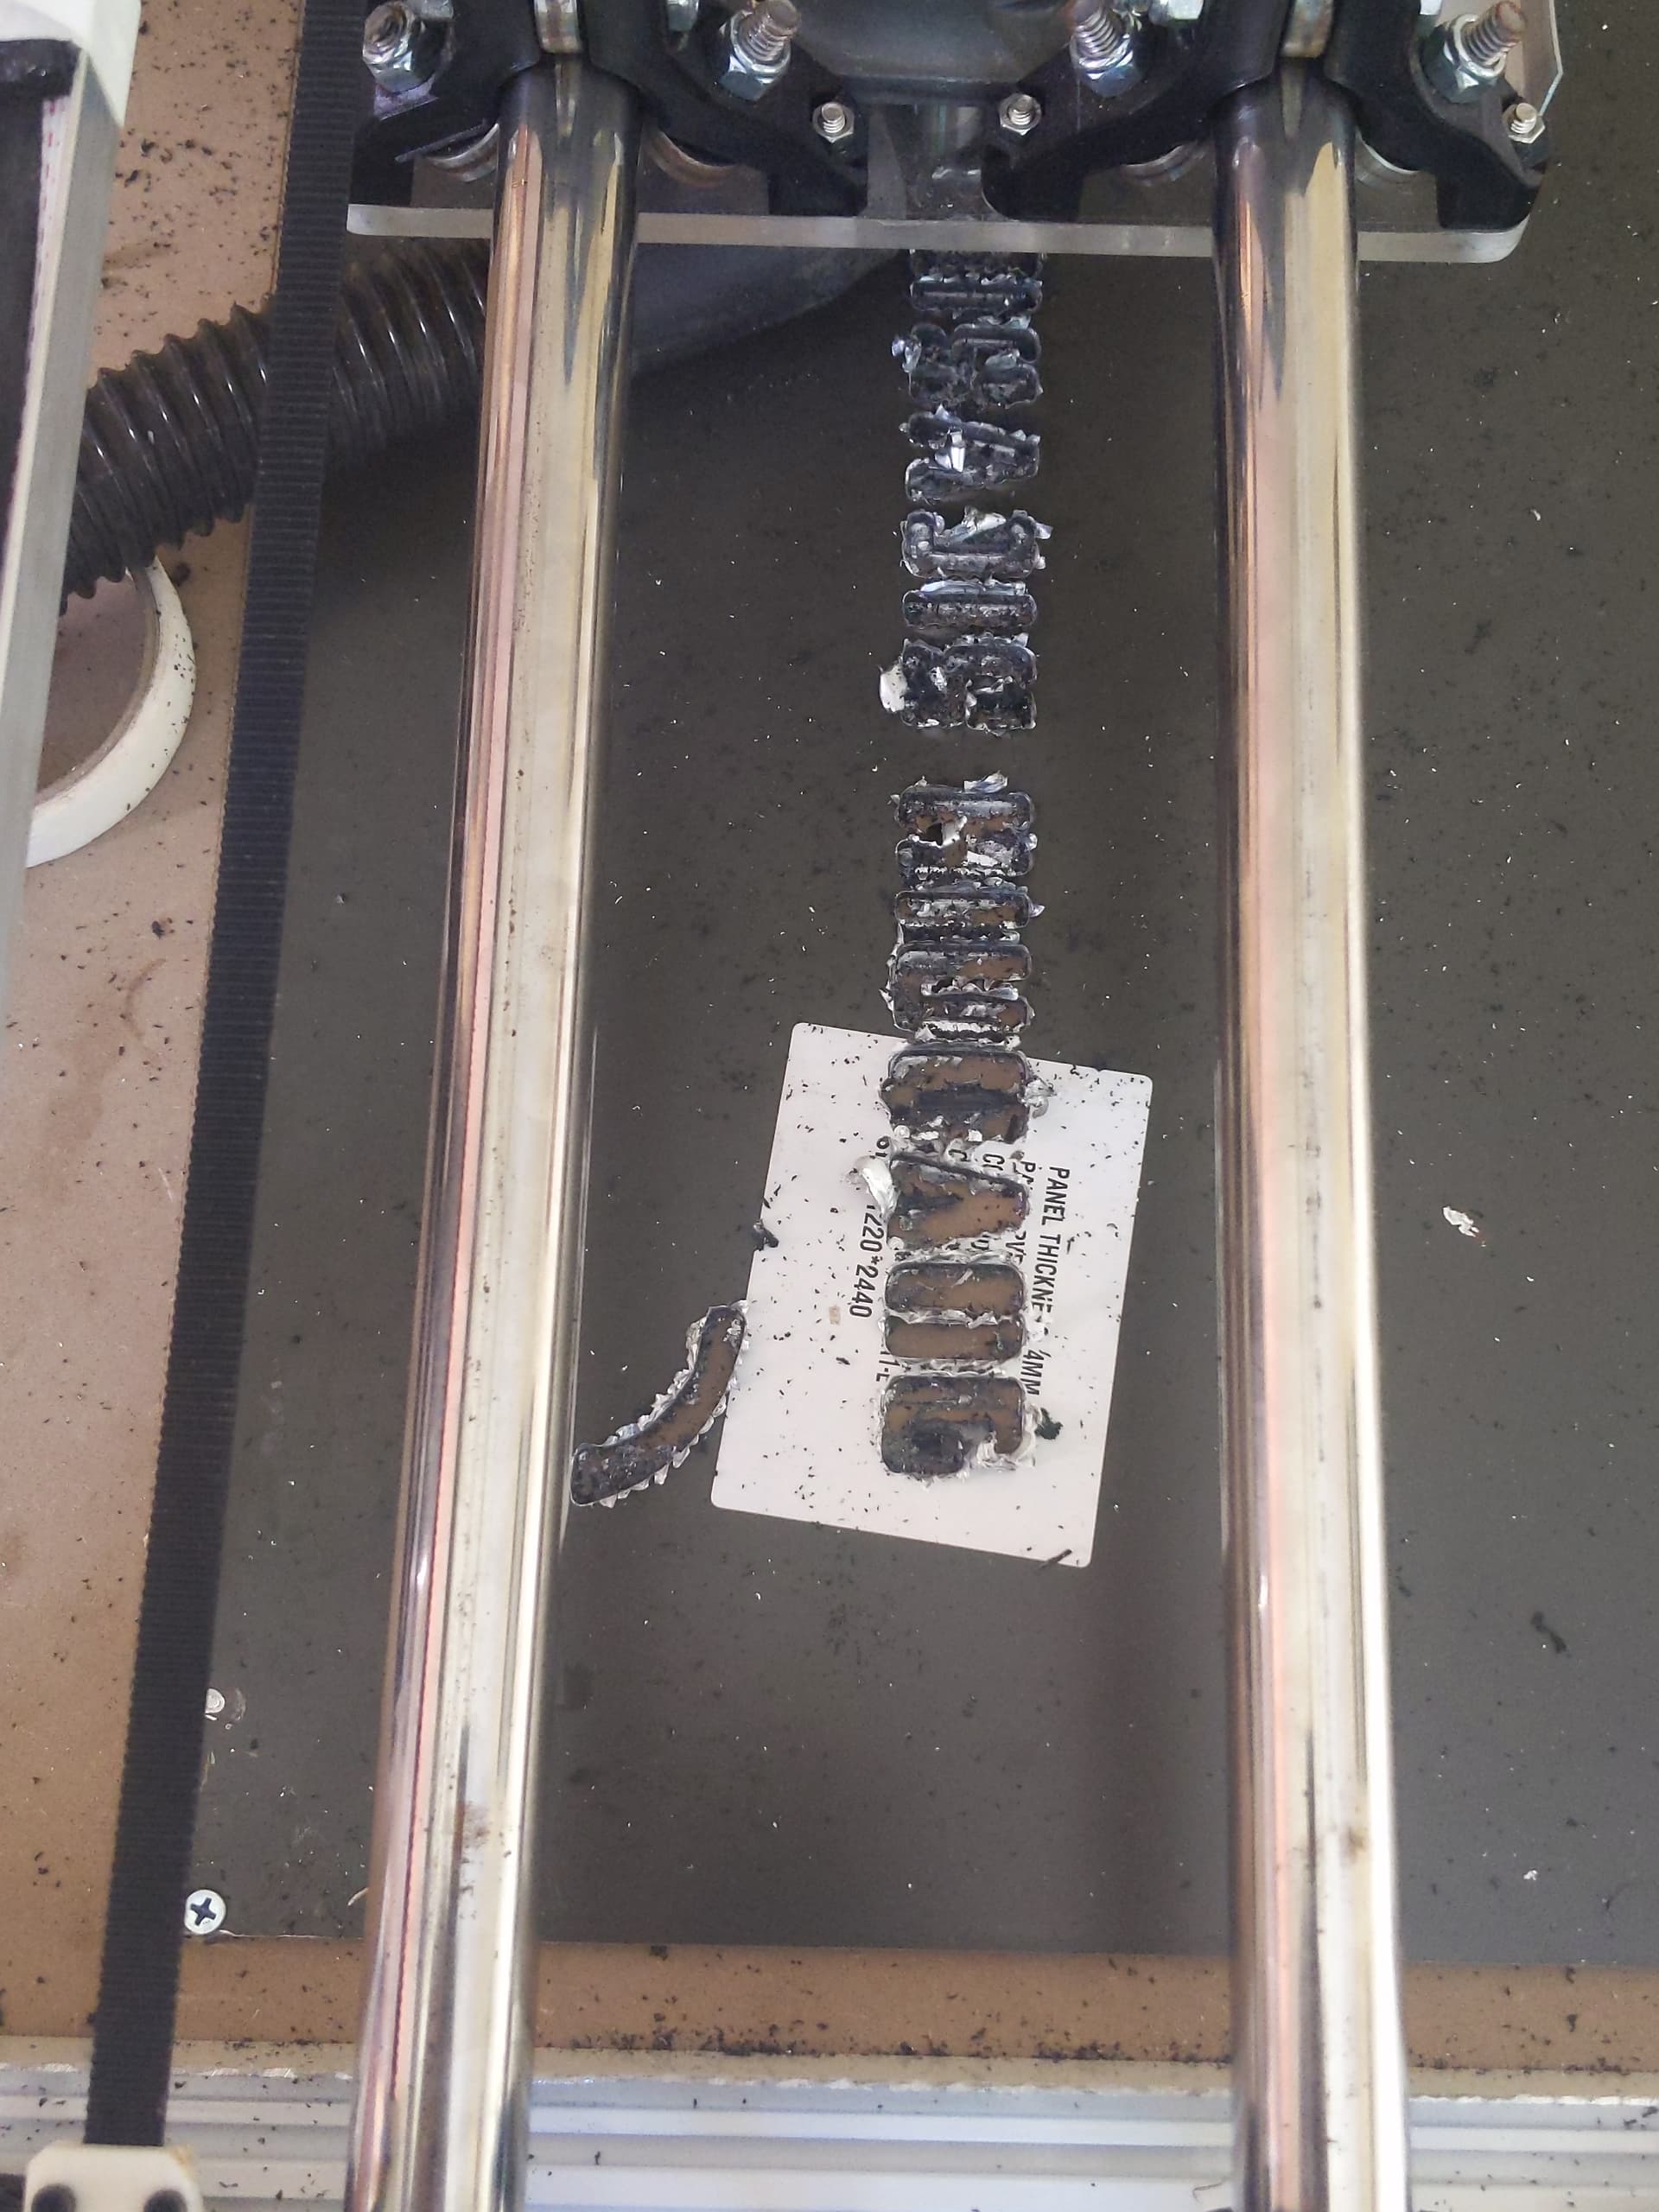
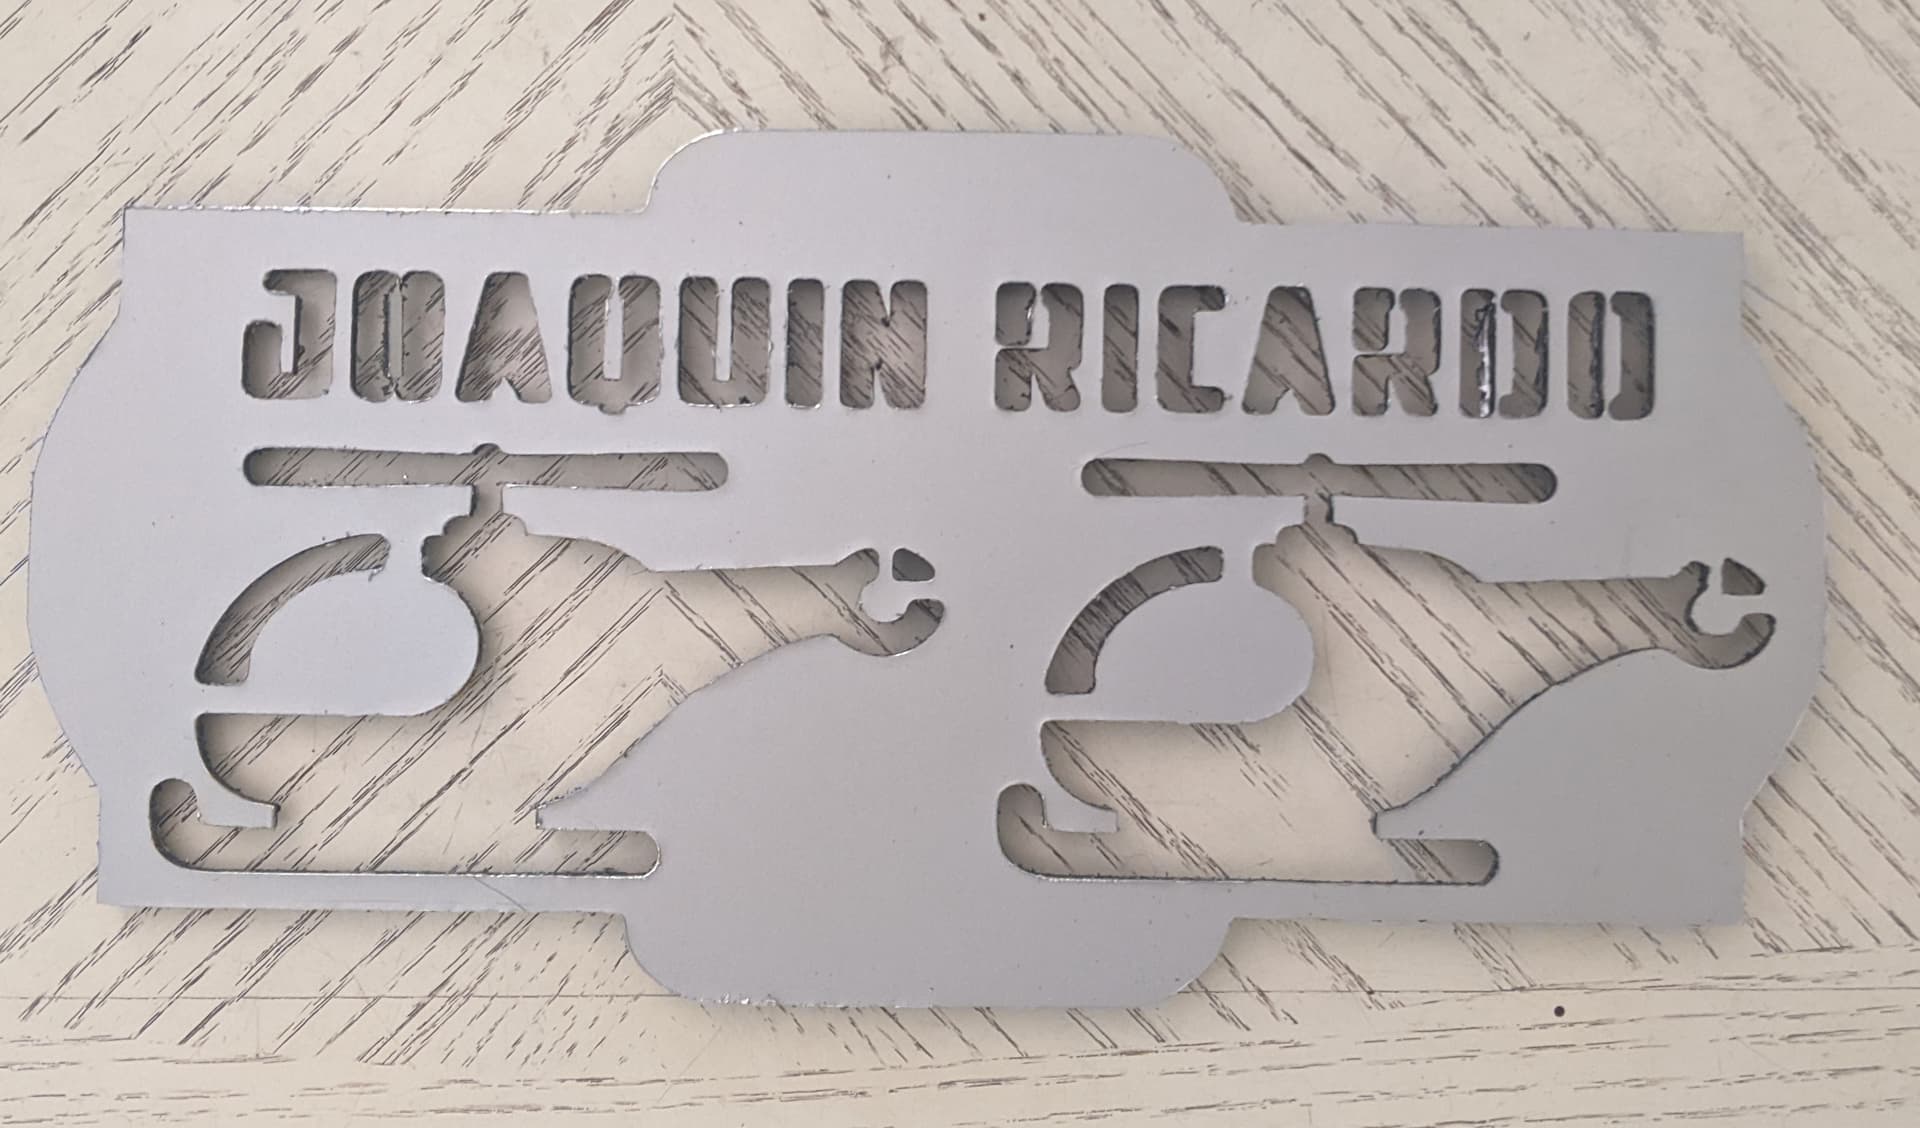
Oh it is. I used an up cut bit from the back. As i said i have A LOT of cleanning to do. But the cut was perfect. I was so conservative with the plunge and only used a 4.2mm deep cut to cut that (4mm) aluminum composite next one will be 4.5 deep into
Yeah, after taking the time to really clean it up ended perfect. Now going to try making it a little slower to see if i can achieve less rough back borders.
Also wanted to ask: how is supposed to be used the z probe?