Some additional bits of info on this as I’ve worked through it.
New Y Drive orientation - direction change
Since the Y motor gets rotated so it’s facing the opposite direction, its wiring had to be reversed where it connects to the mainboard (in my case an SKR Pro 1.2), or else it would be moving in the wrong direction. Easy change.
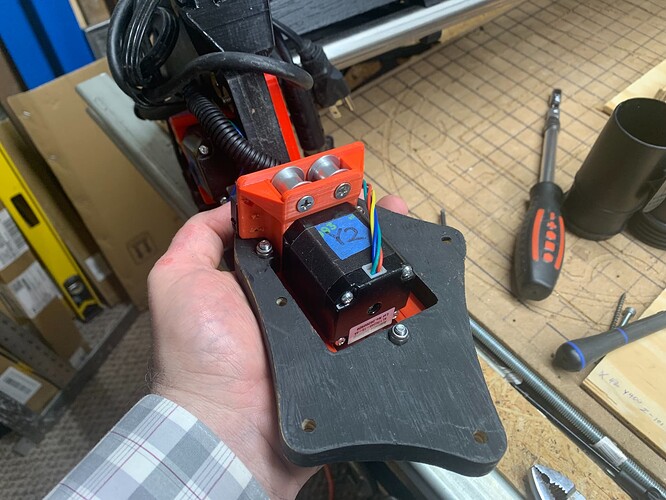
New Y Drive Motor Mount
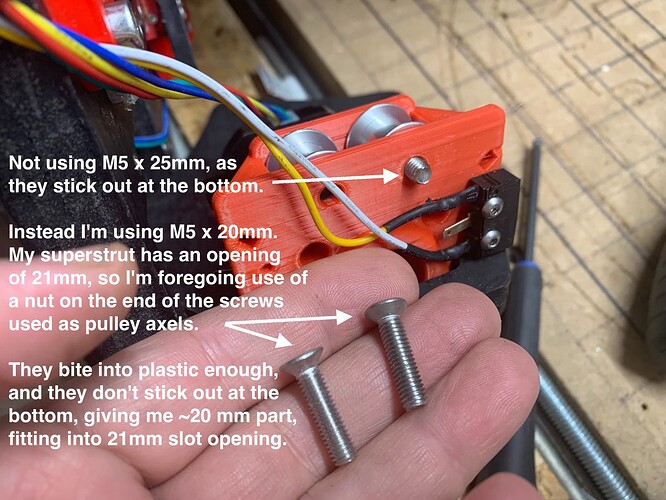
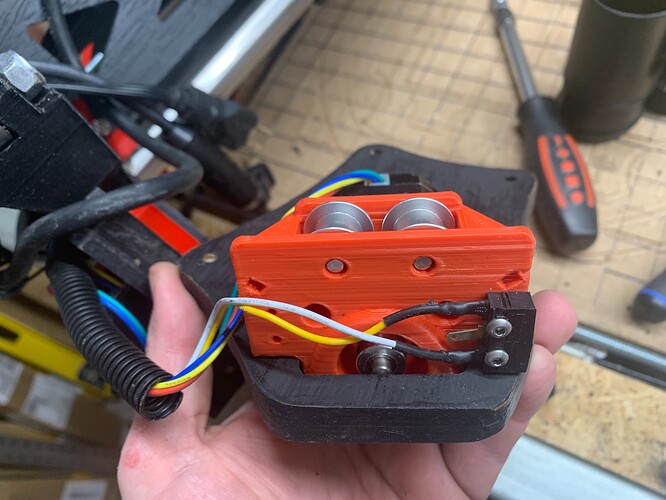
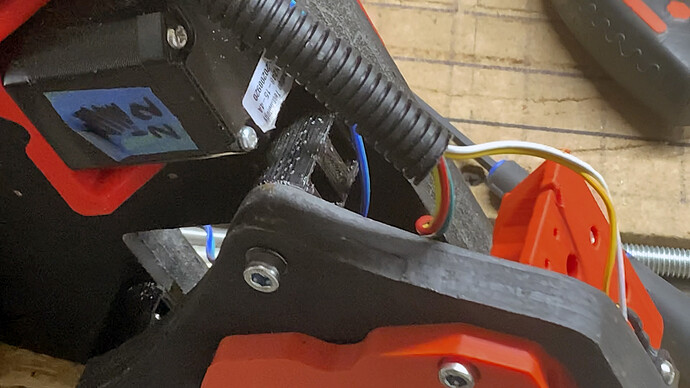
This image with labels, shows info on my new remix of the Y drive motor mount, revised so its “business end” is only approximately 20 mm tall, including any protruding hardware, which is crucial because my superstrut’s slot opening is only 21 mm tall.
This pic shows that the M5 x 20mm tapered bore screws do not protrude. No extra stick out was key.
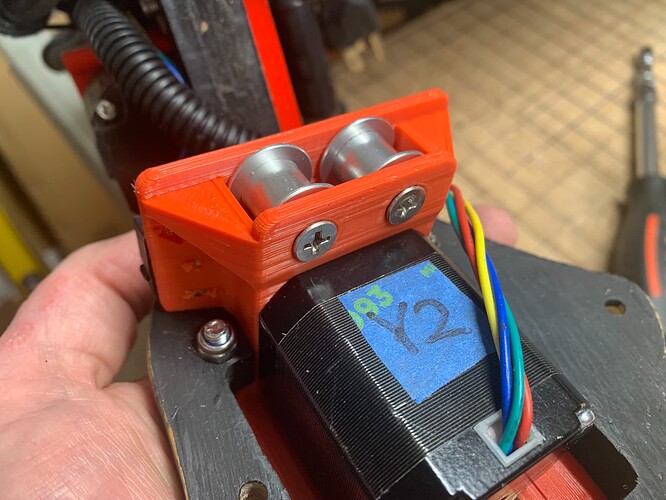
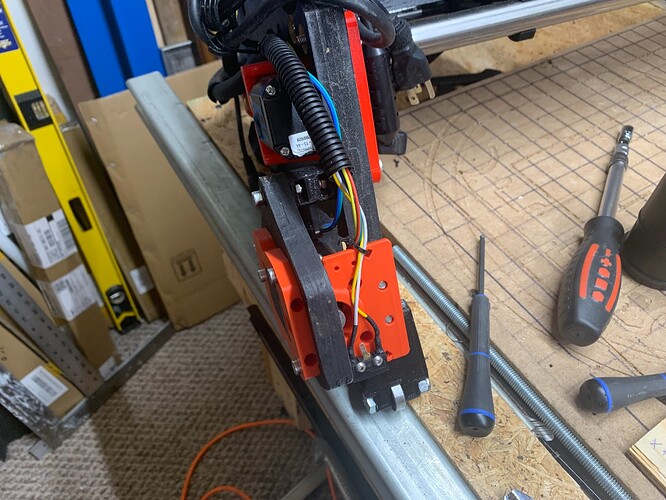
This is another view of the “business end” of my new remix of the Y drive motor mount, showing that the tapered head screws are almost flush due to the counter bore allowance of the holes in the design. The part’s height here is crucial.
Stand-offs: switched to printed (sourcing issue workaround)
I could not seem to source coupling nuts (hex bar) at the right length and thread size, so I designed printed standoffs that have nut capture slots for M5 nylock nuts, and used two nuts and two M5 screws per stand-off (coming from “outside” on both sides) to secure the secondary Y plate to the stock YZ plate. They are oriented for printing so that maximum strength is in the direction where it’s needed.
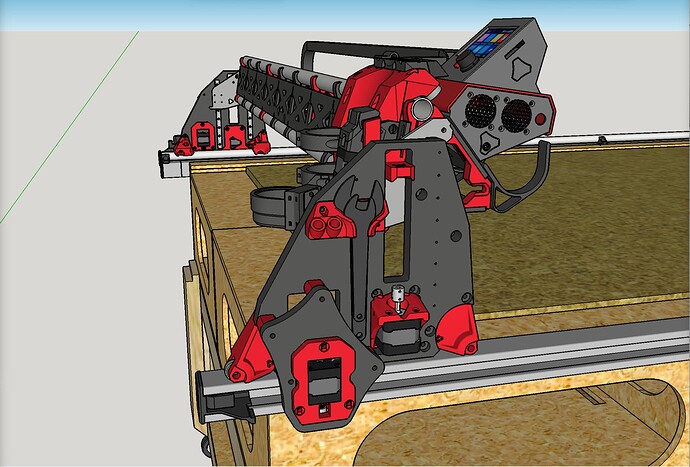
This view is while the LowRider is “flipped over” somewhat, looking at the bottom of it so to speak. All the standoffs are installed on stock YZ plate, and the secondary Y plate is installed onto them. There are four of them.
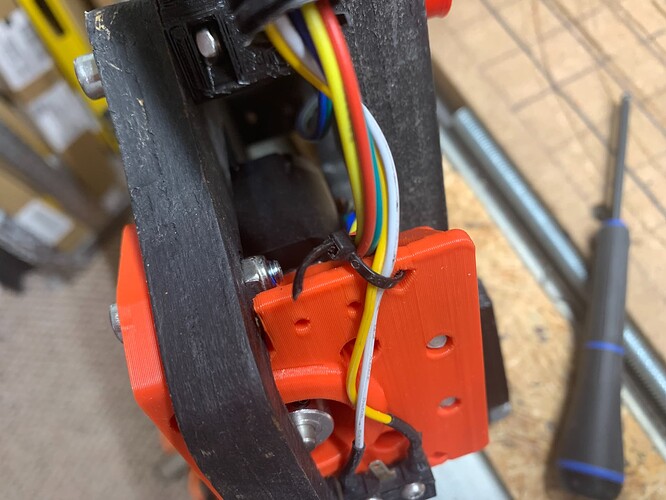
Making use of zip tie port on new Y drive motor mount.
As of now I have the system setup and working. I’m tweaking the belt tension system so it’s homing end stop is located square to the other side, which is not being modified in this way, as I only need the belt out of the way on this loading side of the table, and doing this mod on both Y sides would mean the gantry could only be removed and reinstalled by “sliding” it out of the ends of the superstruts. As it is I can insert the mod’d side into the superstrut and then lower the other onto the Y rail.
More soon.
