i had a couple of small bubbles that were quite deep but generally none. i blow torched the top and knocked most out.
the actually annoying thing about that piece was it really looked a lot prettier with the glassy resin on top. but if i want to do a full coat it would mean making a cast. no sanding though i guess 
not really the most fun thing to work with but the results are really nice
1 Like
I think you could bring back the Glossy look if you got a few cans of High Gloss spray. A couple of light coats, and then a “medium” coat to bring back that shine. No casts to build. Might need to do some light wet sanding and then a compound rub and polish, but I think it may be “do-able”! I know you are in Aussie land, so not sure what you can get your hands on down under.
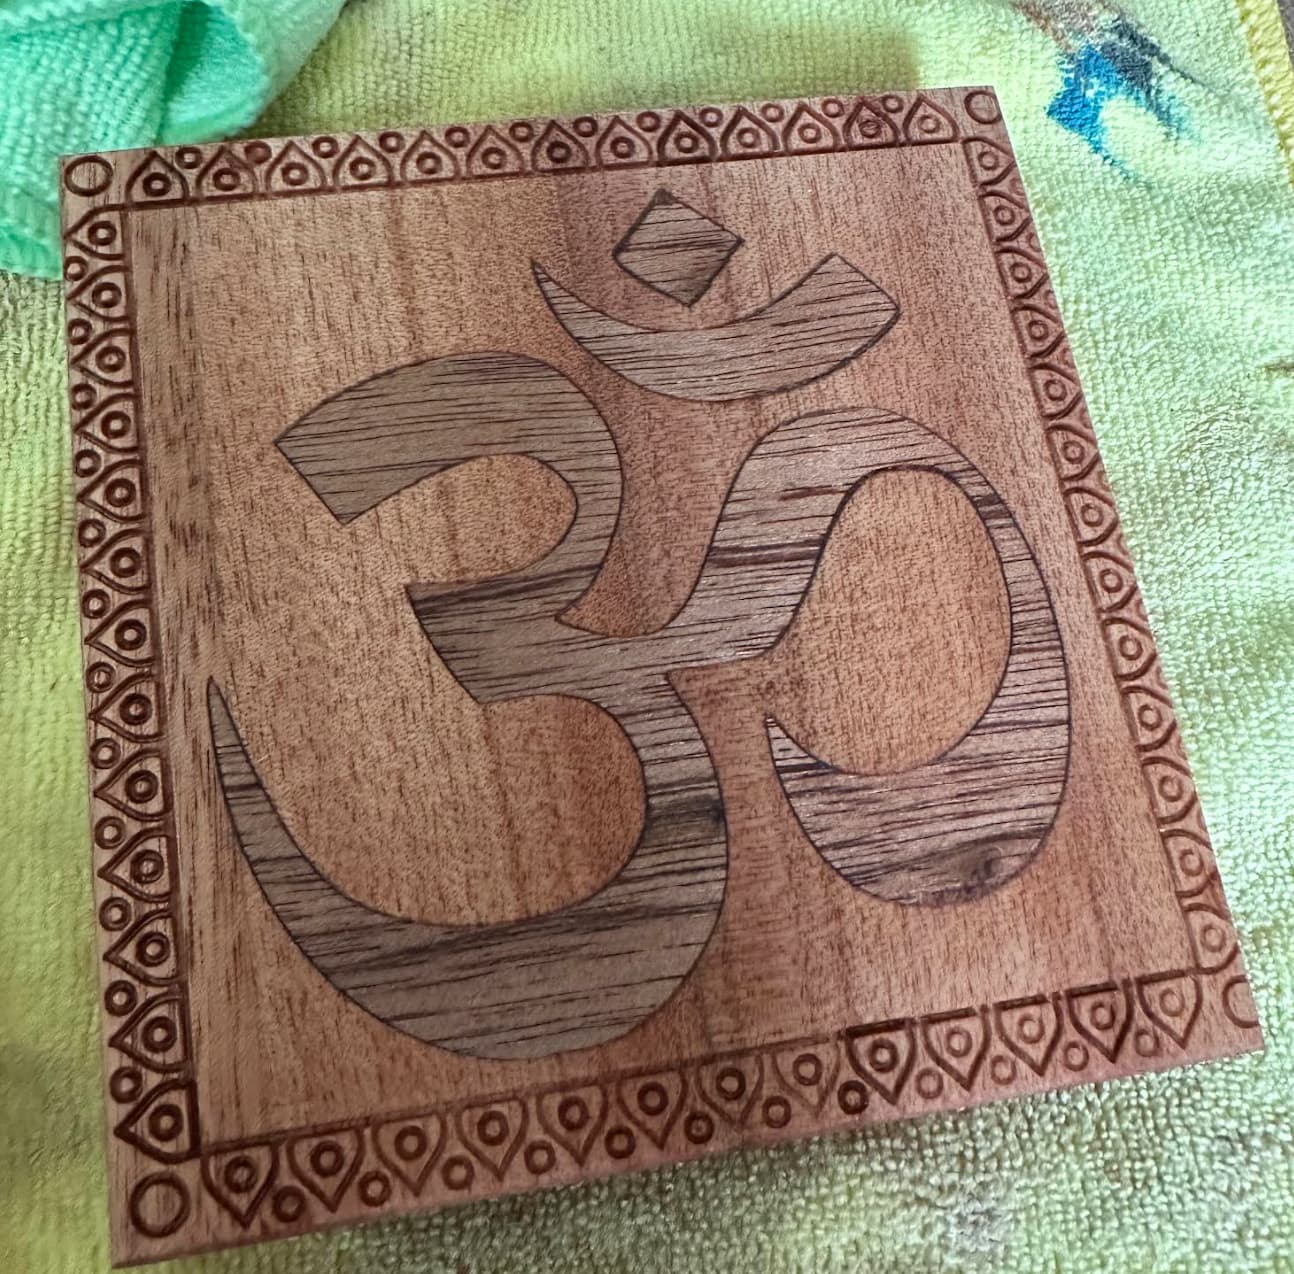
finished the inlay that has been sitting around for a month while I made xmas presents.
i used fine buffing oil to seal it. I think it came up really nice
4 Likes
Looks great. Did you leave a little gap below the inlay for glue? Then it might be even more precise the next time. But inlays are hard, I know that from my own experience… 
1 Like
Yes there was a gap, but the inlay was quite tricky. The edges weren’t actually too noticeable until the oil coat, then they stood out quite a lot. When I did the inlay it was really hard to get an accurate fit, even though I used one of the guides for measurements I still had a lot more material above the face than I would have liked. In fact the remainder of the inlay is probably only 1.5mm thick, but still has a gap below.
That being said I was pretty happy with this as a first effort. If this is what the ‘practice’ carves turn into they should be even better once I get the technique down pat
2 Likes
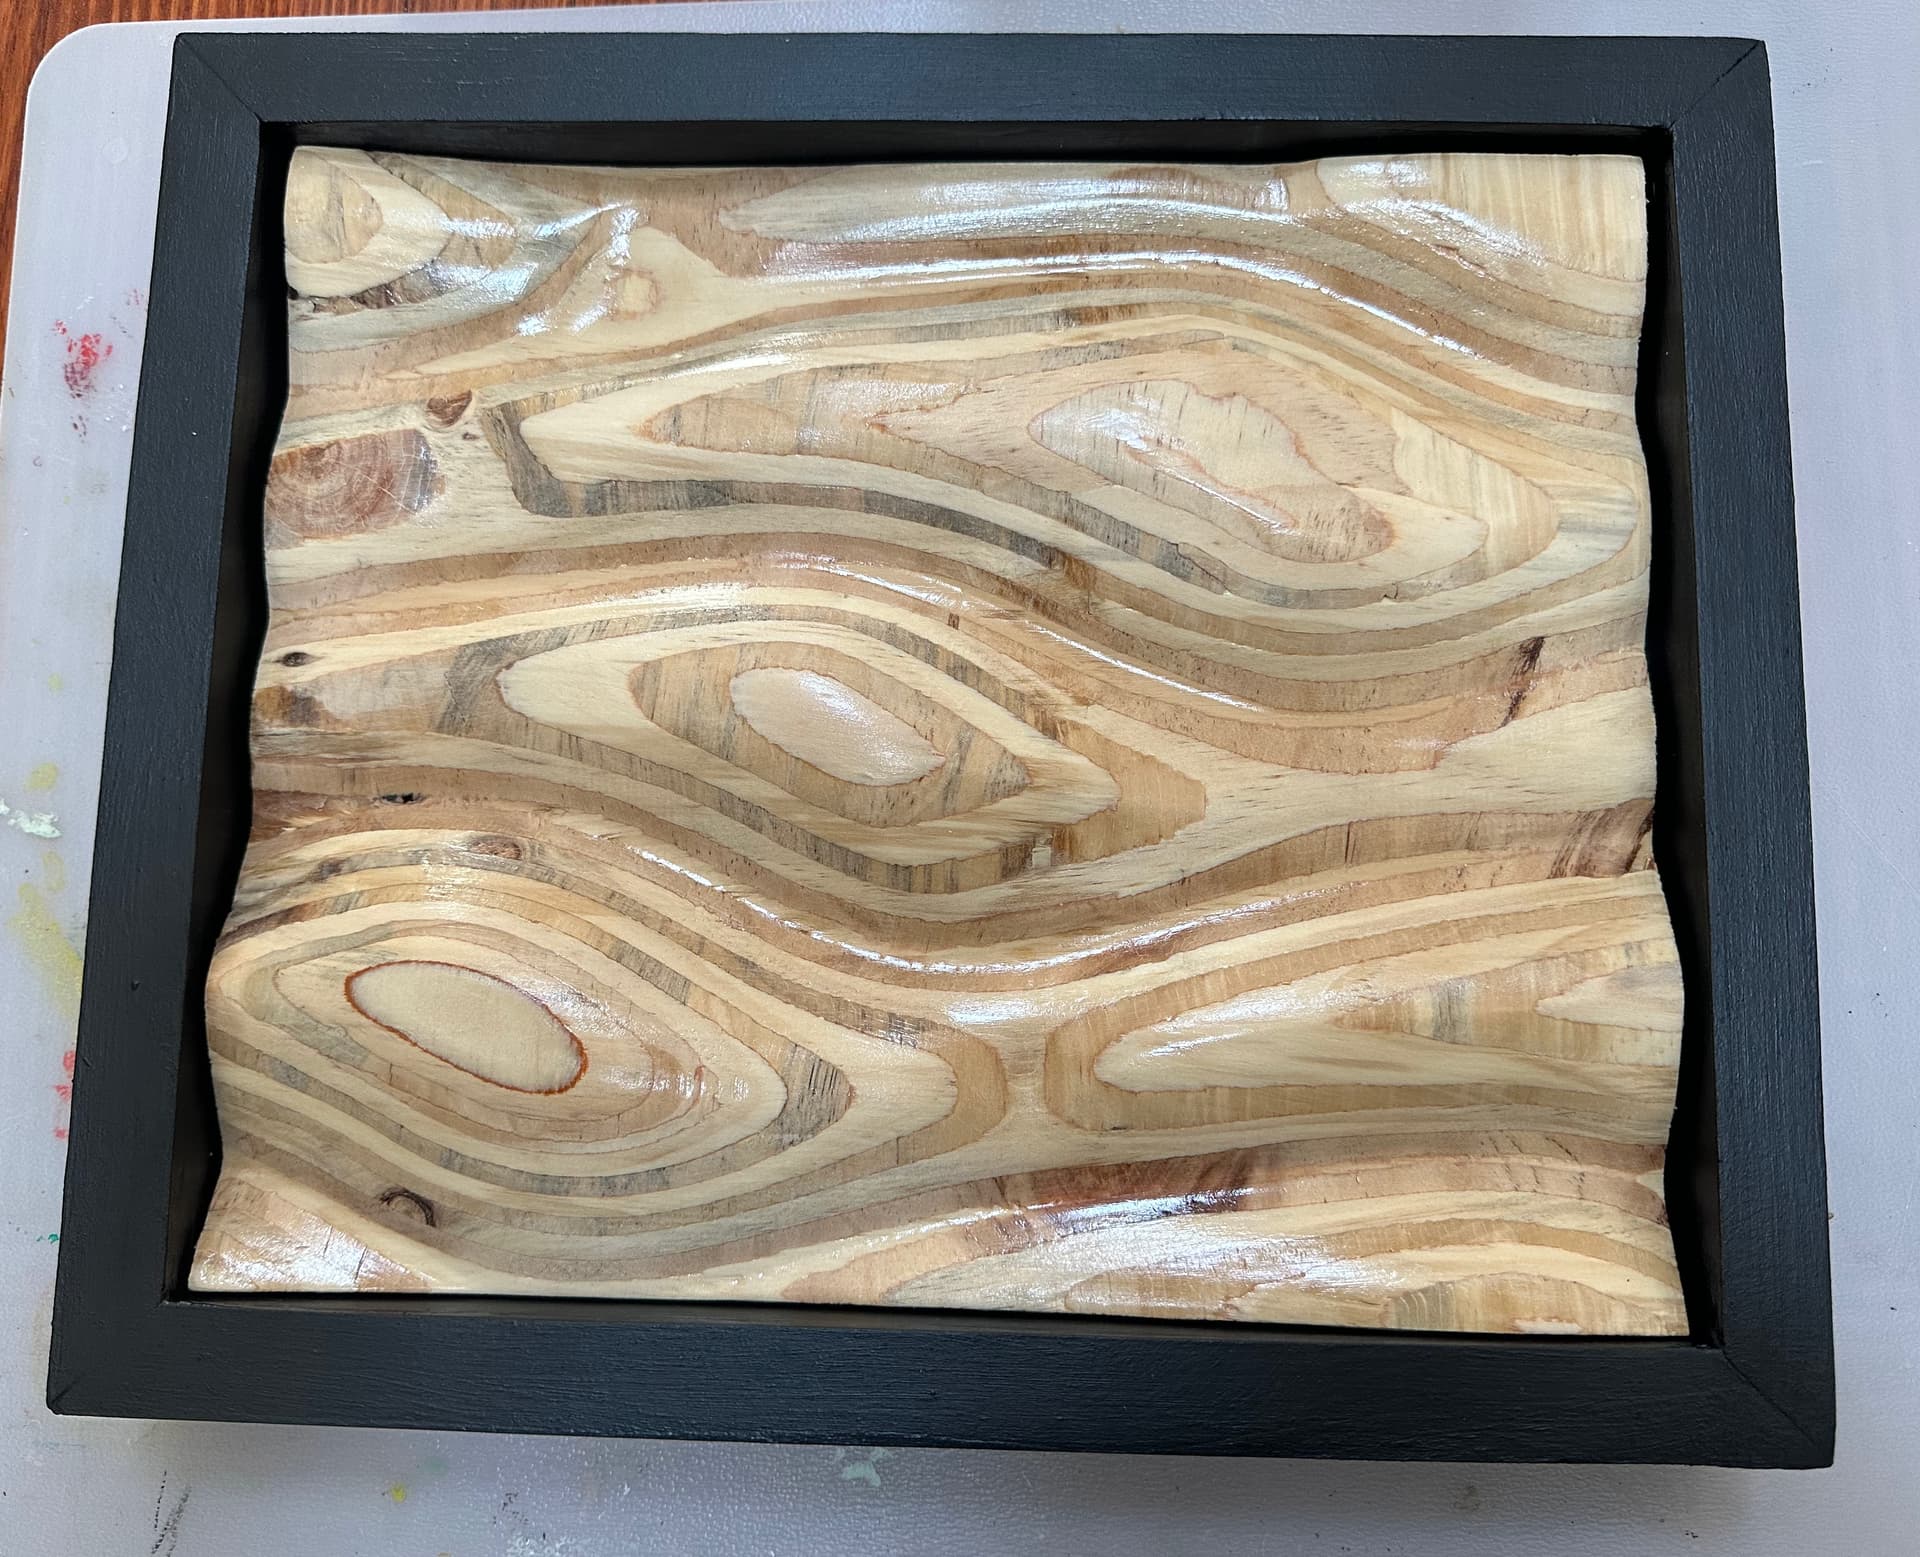
3d carve of plywood. Spent way too much time making a frame.
I have a huge stack of 3cm plywood left over (it was cheap at bunnings) so am going to make a few more of these for friends. I have the process pretty much down pat now and can make random patterns for them very quickly.
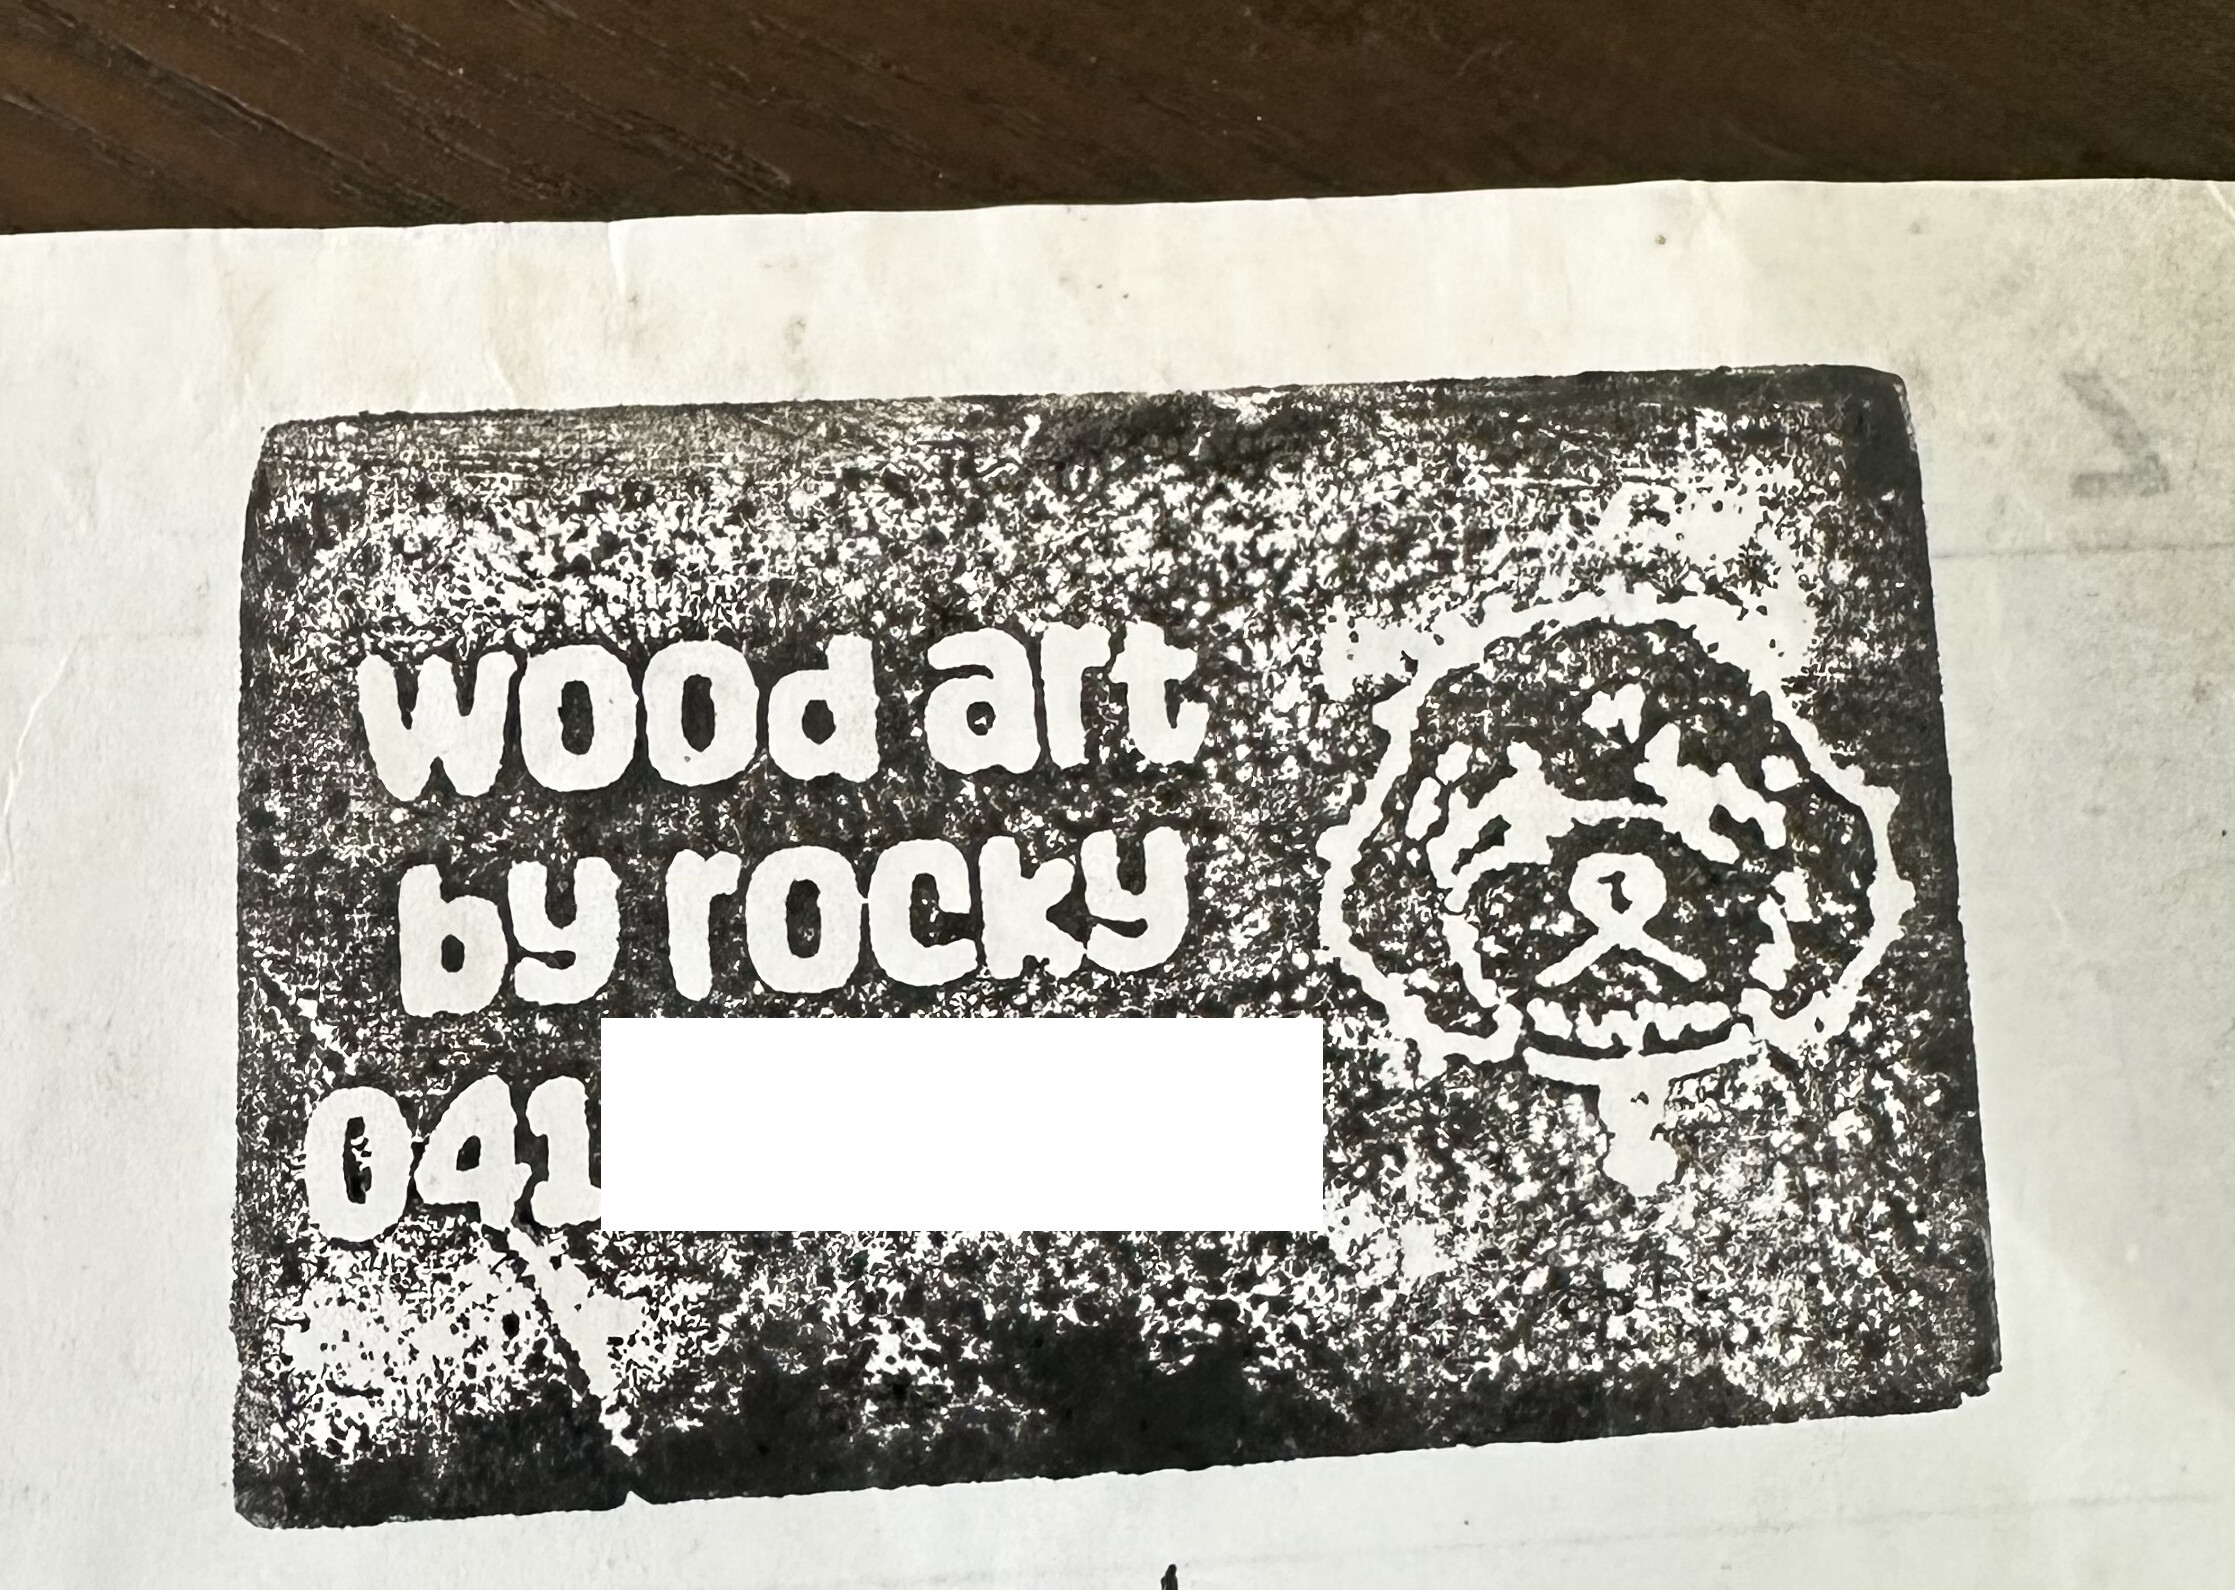
I also made a little stamp to put on the back. This is a test run I did on some carving rubber I got from spotlight, but I’m going to redo the inverse on wood and see if I can get it cleaner. Rocky is my dog ![]()
9 Likes
That’s pretty cool. What CAD software are you using to generate the waves?
1 Like
Waves are done by making a height map using gimp. Anything black & white can be used as a height map and conveniently some of the filters work great in black & white. I used the sinusoidal filter.
I’m going to keep playing around with the filters to make loads more awesome stuff, there are filters to do halftoning/newsprint that I want to try soon.
4 Likes
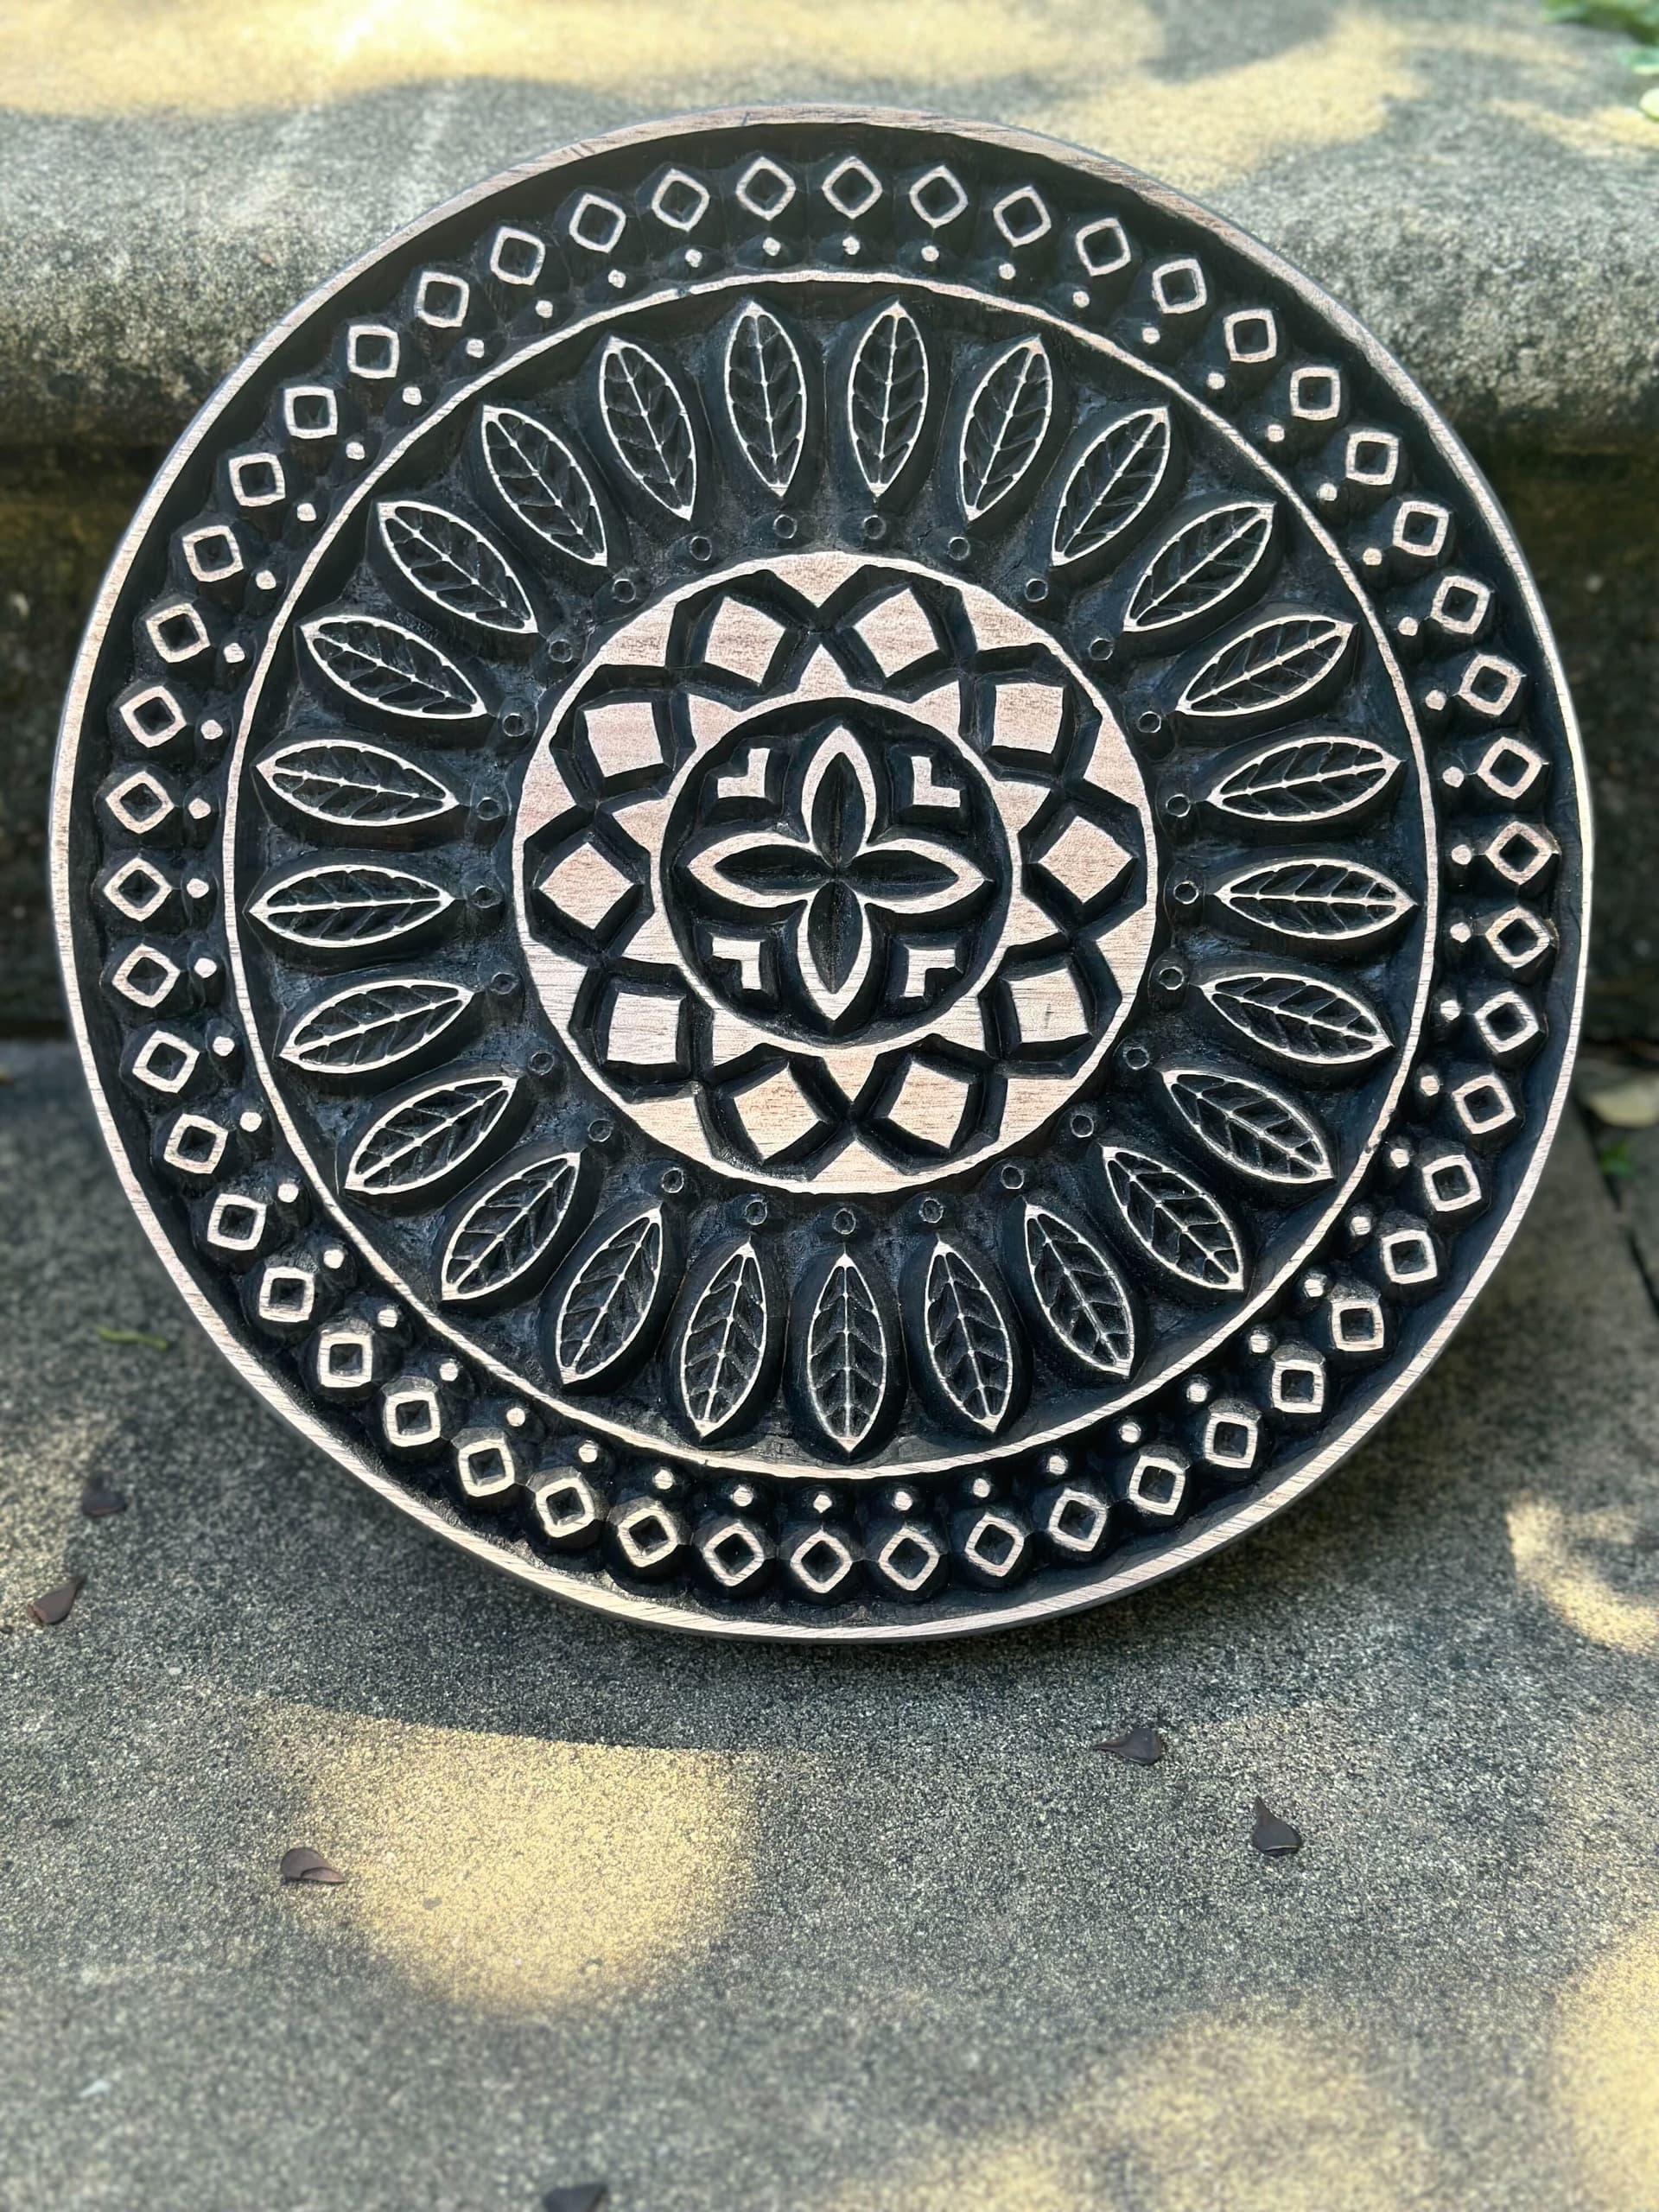
I made a mandala ![]()
straight off the machine:
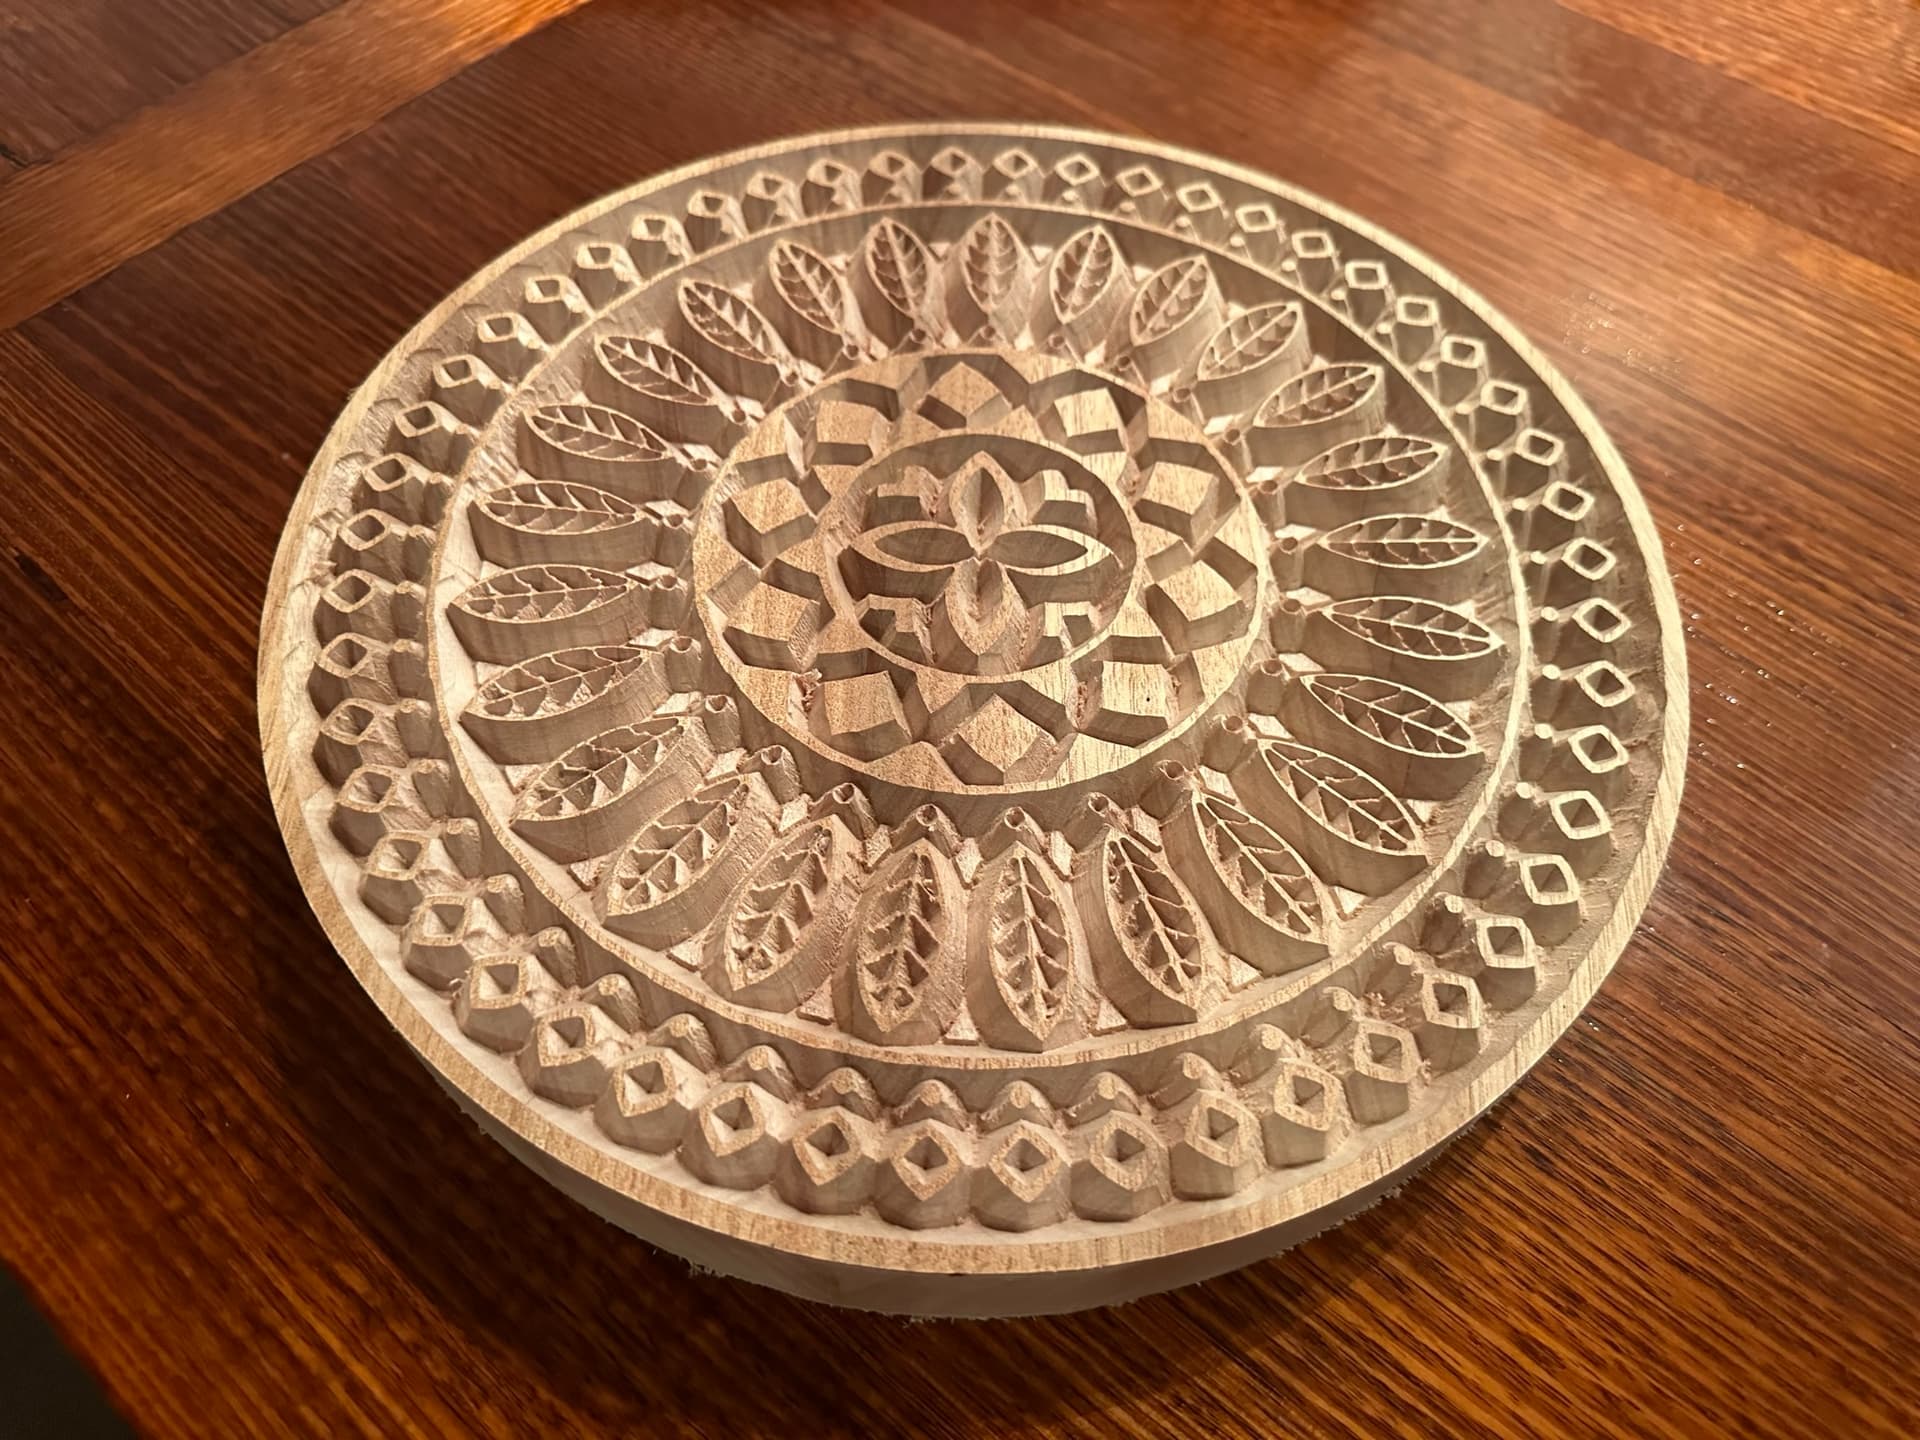
little tidy up and then finished with japan brown and sanded back on the raised areas. i pre prepped the top of the wood to hopefully resist some of the stain on the top.
8 Likes
Can I move this to a new thread so I can add them to the gallery please?
sure mate or i can just make a new thread over there somewhere?
1 Like
Heck yeah, Things You've Made - V1 Engineering Forum
2 Likes
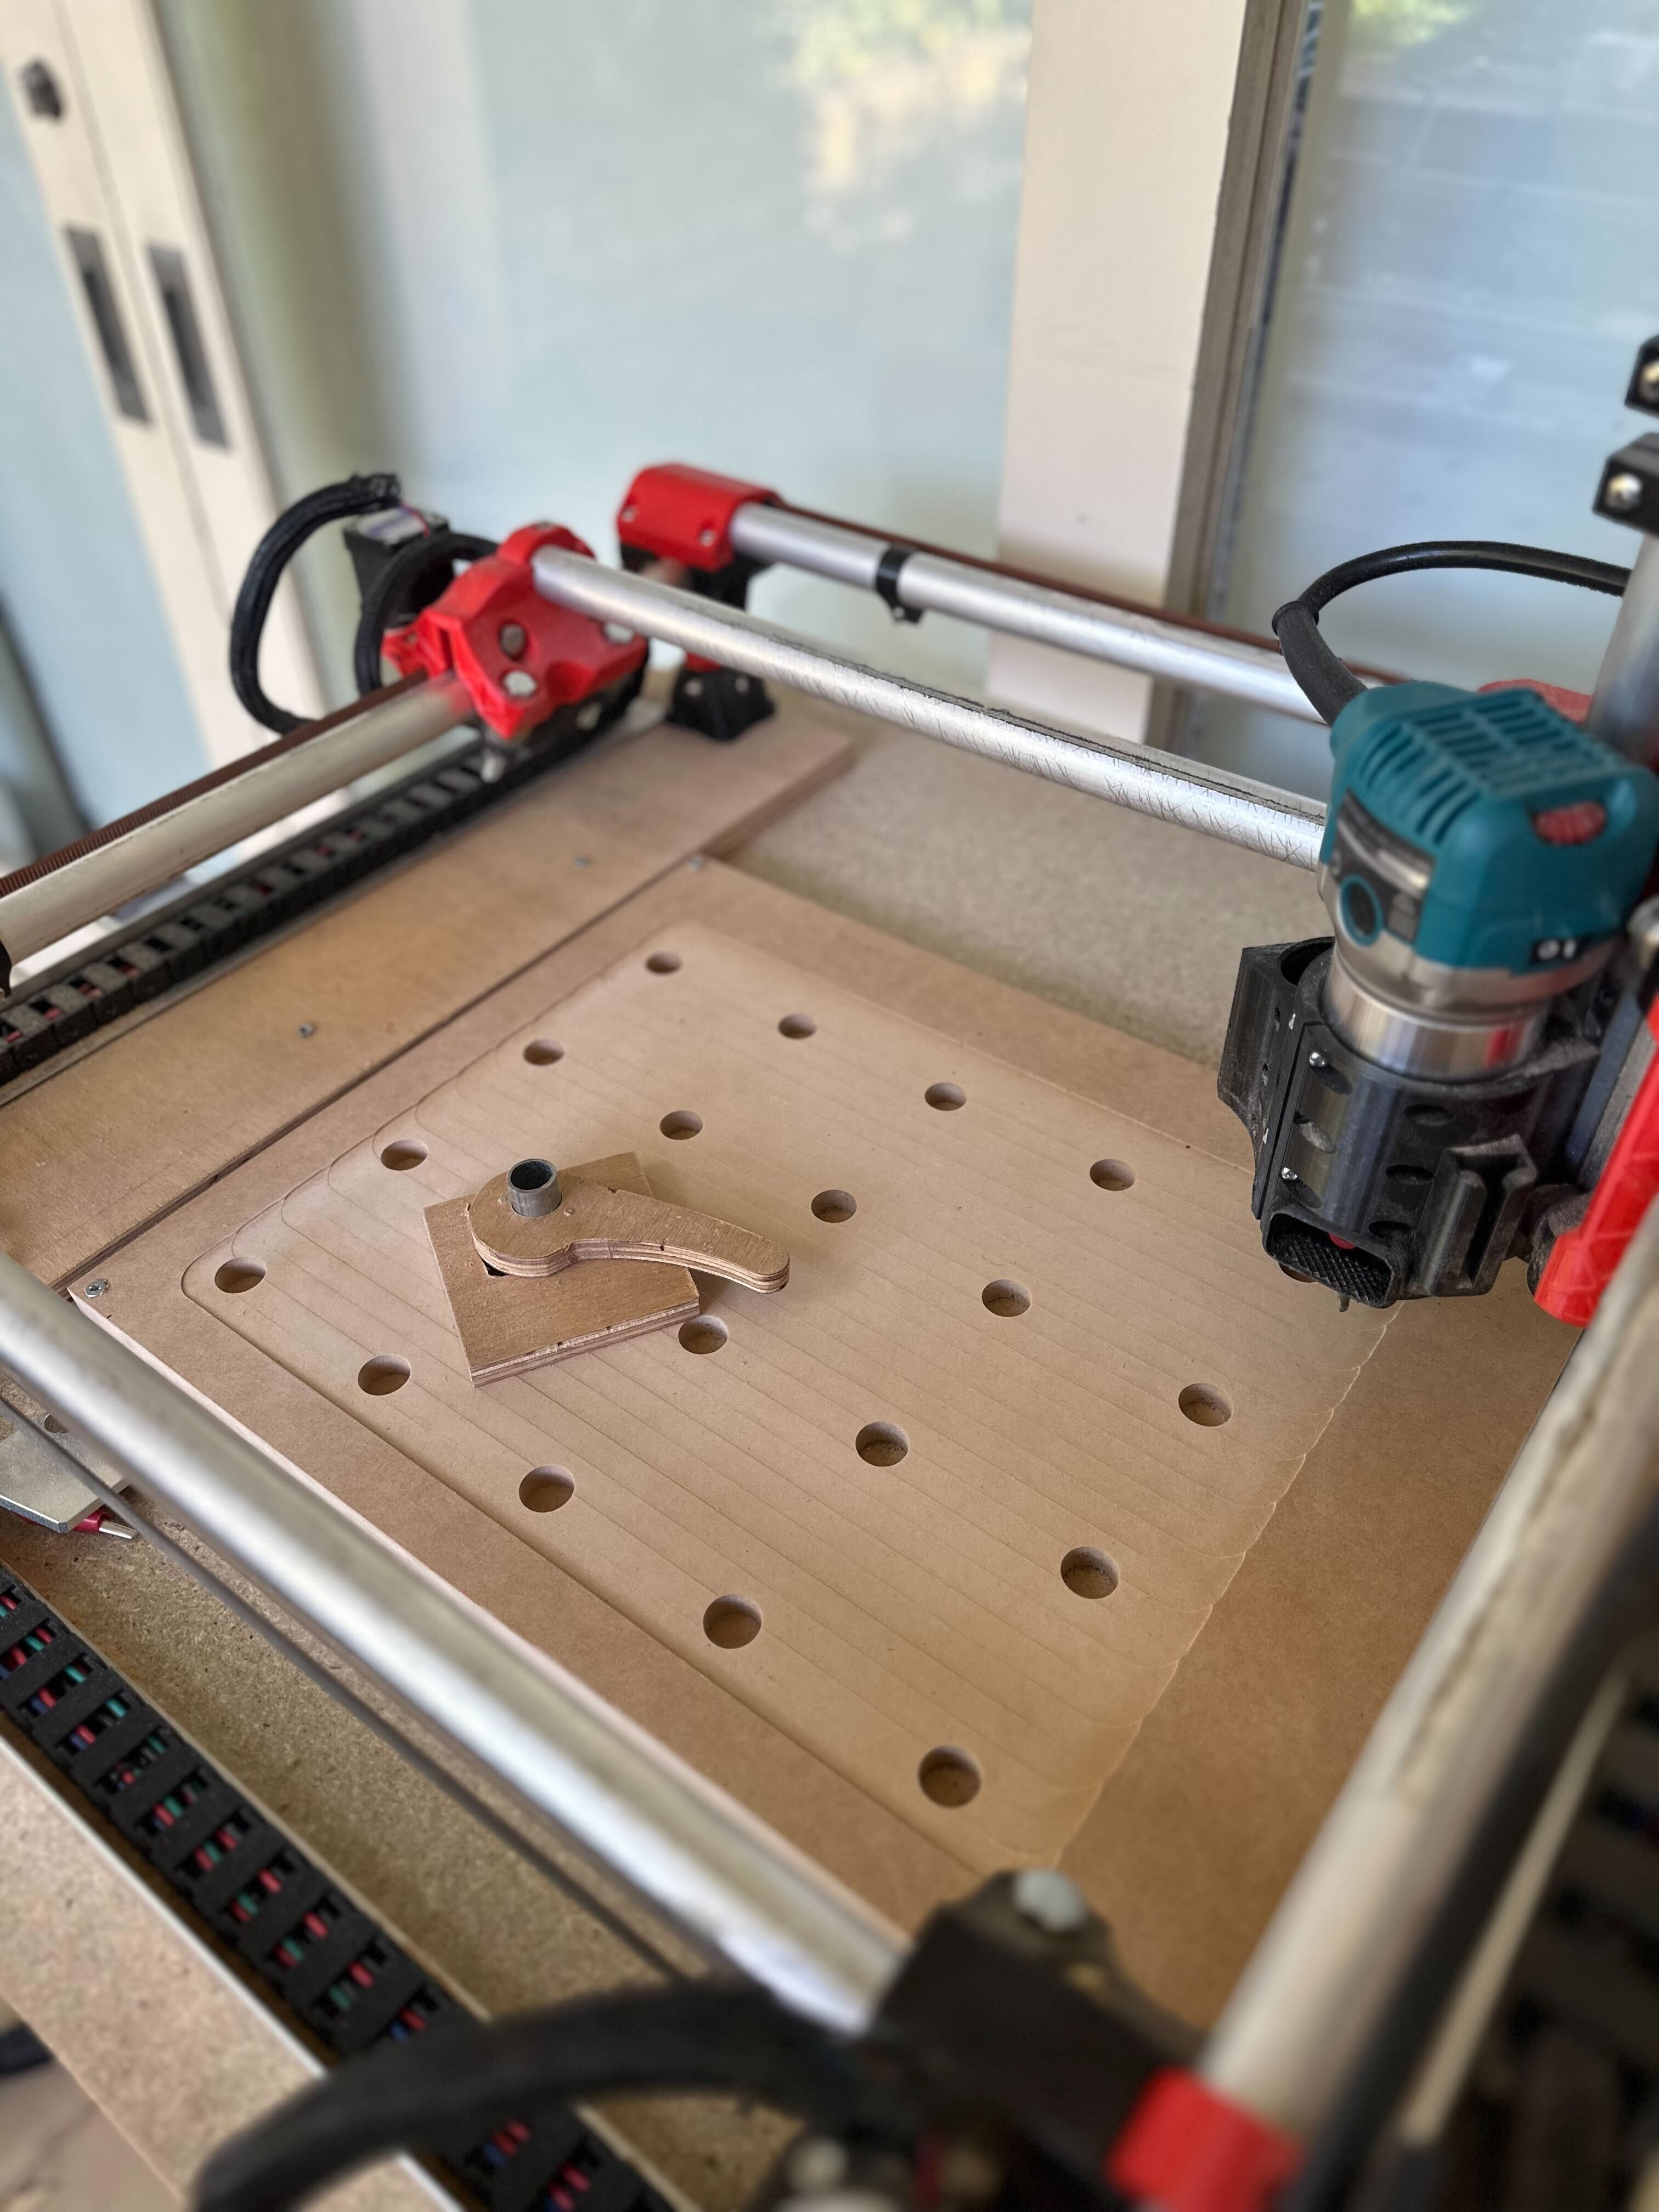
More build stuff going on too. I’m on spoil board #3 now. I’ve decided to go with metal pipe dogs and 19mm dog holes, and I’m running with the clamps from this guy How to make the Ultimate Worktable Clamps - YouTube
I really dont like the look and design of these clamps but they work amazing and I haven’t got enough time (with all the projects coming) to revise them.
So today I’ve replaced the spoil board and just need to run a resurface and cut out the dog holes. I also want to make an L shape dog mounted edge for instant squaring.
In the pipeline (basically my head) I have some ideas to try for wood+resin drink coasters.
2 Likes
Do you have a picture of your spoil board?
2 Likes
Looks good!
Has anyone tried this for the lowrider v3? I am thinking that this could be used on the corners?
You can use it everywhere?
Generally I suggest to not have your spoilboard bigger than your working area though, because you create a “valley” after planing and can’t overlap bigger stock.
hehe and don’t get committed to it either ![]() that’s my third mostly because i’ve been messing with the hole sizes. small ones it’s fine but might get a bit old redoing it if you have a big rig. that’s max on mine and yeah larger stock on mine is a challenge however you slice the problem. that spoil board is actually different material to the wood used for leg mounts so it’s slightly lower again too.
that’s my third mostly because i’ve been messing with the hole sizes. small ones it’s fine but might get a bit old redoing it if you have a big rig. that’s max on mine and yeah larger stock on mine is a challenge however you slice the problem. that spoil board is actually different material to the wood used for leg mounts so it’s slightly lower again too.
1 Like
Some wiring upgrades on the way. Plan is to actually box mount the electronics properly and have the connectors via the side of the box. This is because I had a few loose cable incidents, and after frying my previous board I don’t want to take any chances.
20/20 hindsight I would have gotten these guys from AliExpress to do the whole cabling end to end. Even though it was worth learning, I would have saved a lot of money (and many many hours) having custom wiring harnesses made. Mostly because I was buying wiring in less than optimal volumes, plus multiple kits and crimping tools for crimping the different end connector styles, soldering stuff etc.

Do you have a link (out of curiosity)? Thanks.