Has your supervisor on the left sign off on the changes?
4 Likes
Another Australian here. I have just started printing the parts. Thanks for all the information. Ill refer back to this post to get my build complete
2 Likes
Welcome OBI call out if I can help with anything.
Looking forward to seeing your build.
Yeah mate yell out. Between me and @Melcour we’ve probably hit all the snags multiple times 
What I would say is if you’re impatient start working on ordering the belts/boards/motors/pulleys etc. Aliexpress was pretty fast for me but it’s going to be painful at this time of year. Everything else I could pretty much source locally.
Second that advice.
Ebay was my go to and didn’t have any dramas.
First test carve this evening - I flipped the spoil board over and re-levelled it.
I found out that UGS doesn’t really like talking to these Duet 2 boards. Its a pity because I really liked the gcode viewer, it was handy to triple check that I had my dimensions correct and correct z heights before I started destroying things.
In the end I used UGS to visualise and check everything but uploaded the gcode straight into RepRap and played it from there. Worked a charm even though I was a little puckery when I started it.
I also got the z probe functioning again and I think I found out the cause of some of my other pocketing errors that had been bugging me. I’m pretty sure it’s the xyz probe macro adjusting for the tool diameter, and I didn’t change it when I switched to a smaller diameter tool. I’ve built a set of macros for every diameter tool I have now so I’ll hopefully get to try a pocket again tomorrow and see if it fixes things.
2 Likes
Thanks for sharing your build and info. Its been great to follow. I’ve been wanting to build an esp32 based CNC for ages but I might save it for a printer or something because after reading this I’m set on dual endstops. Planning to switch from LR2 (with no end stops) to a Primo.
By the way, check out kingdom3d.com.au for eSun
1 Like
Will do mate. Slowly printing the parts. Ordered everything else in need (hopefully)
2 Likes
Spoil board redone with new dog holes, a lot more than last time.
Doing an inlay carve for the first time.
Male:
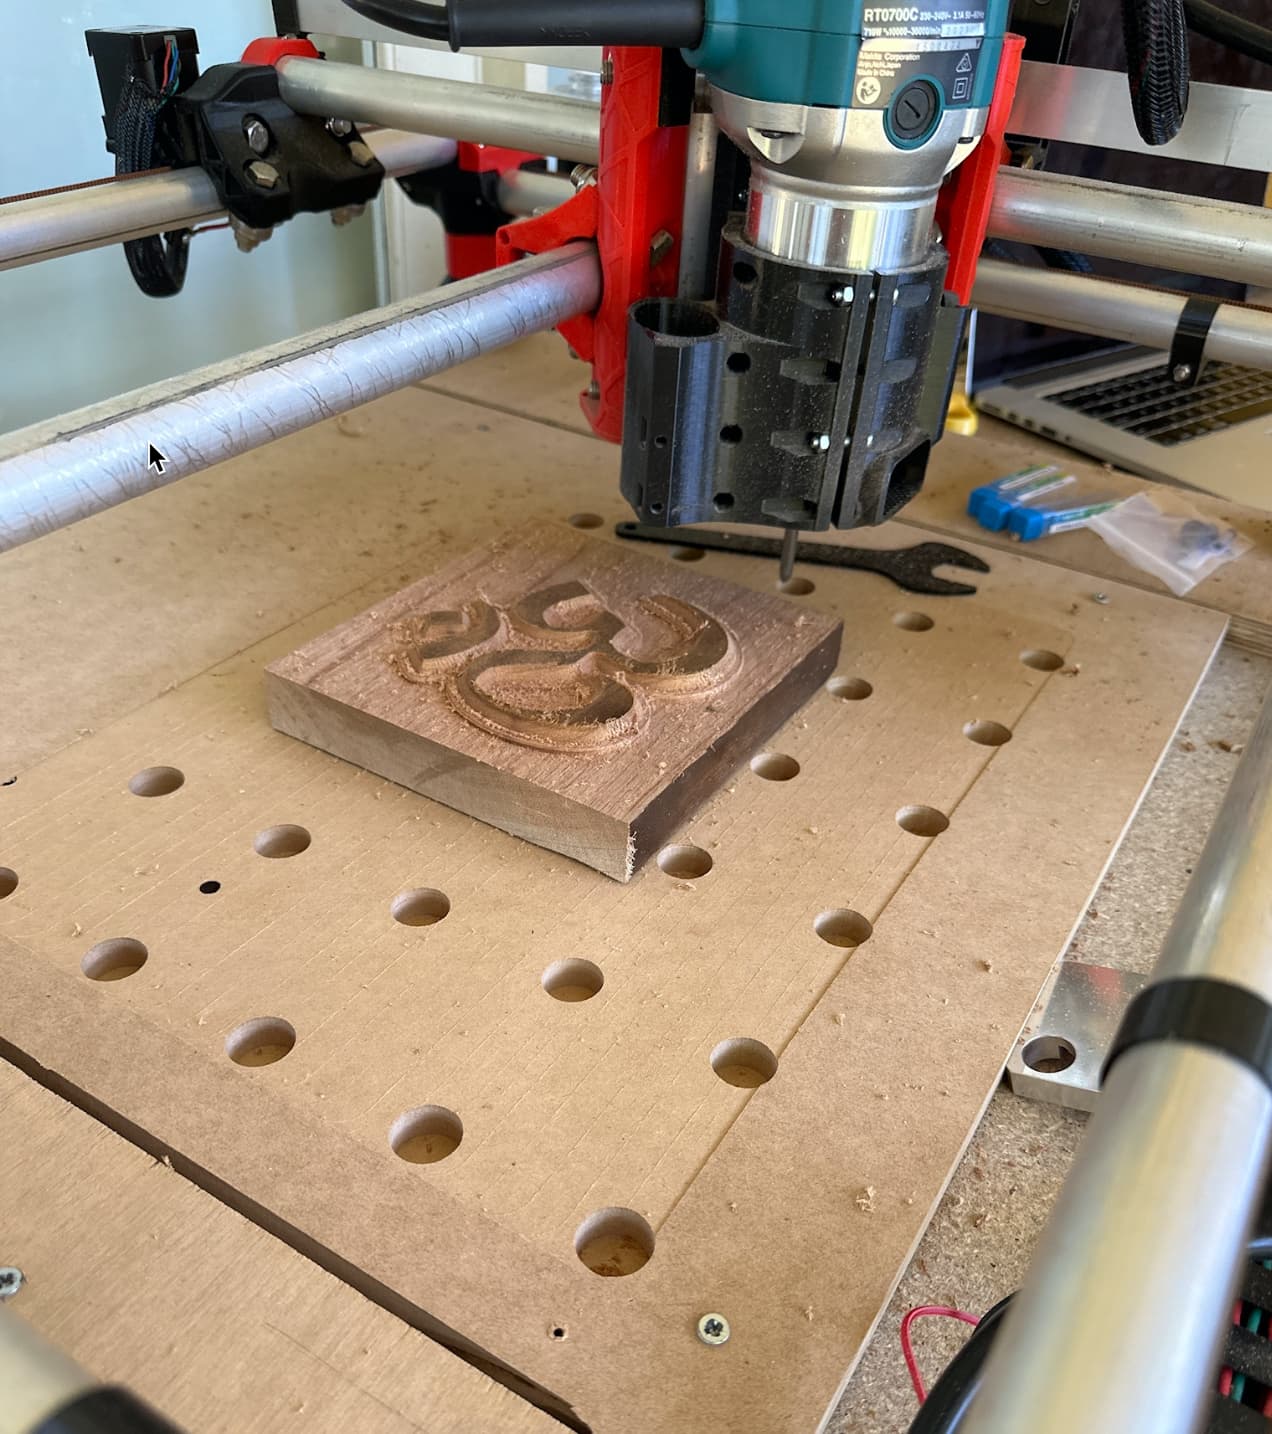
Female:

5 Likes
I got the base and tubing from bunnings and the bolts and nuts from a local specialist store I could drive to. I used Ebay for the bearings. That got me enough to have a moving machine while waiting for the electronics and gears and stuff.
I was pretty impatient but it paid off because I didn’t end up rushing things. I think the only big gotcha for me was to cut out the space for the spoil board once I had the base mounted. It was a pita to cut it out after.
I think if I did it again I’d go higher with the legs because I still have a lot of depth below spoil board even with the basic build.
1 Like
thanks mate. I have sourced most things. even the nuts and bolts were cheaper online. Everything is starting to arrive.
I did make a mistake and ordered the 6mm belts and pulleys. For the x drive I have just printed some spacers. Hopefully, I don`t have too much trouble with the 6mm stuff.
i can’t think why it wouldn’t work if you have the matching pulleys and idlers but you will have to pick a side and lift it up with your spacers. it will fit the slots on the trucks and legs but they are designed specifically for the 10mm. i’m also assuming you have the correct tooth measurements on all of them otherwise you’ll have to recalculate things instead of using cut&paste configs.
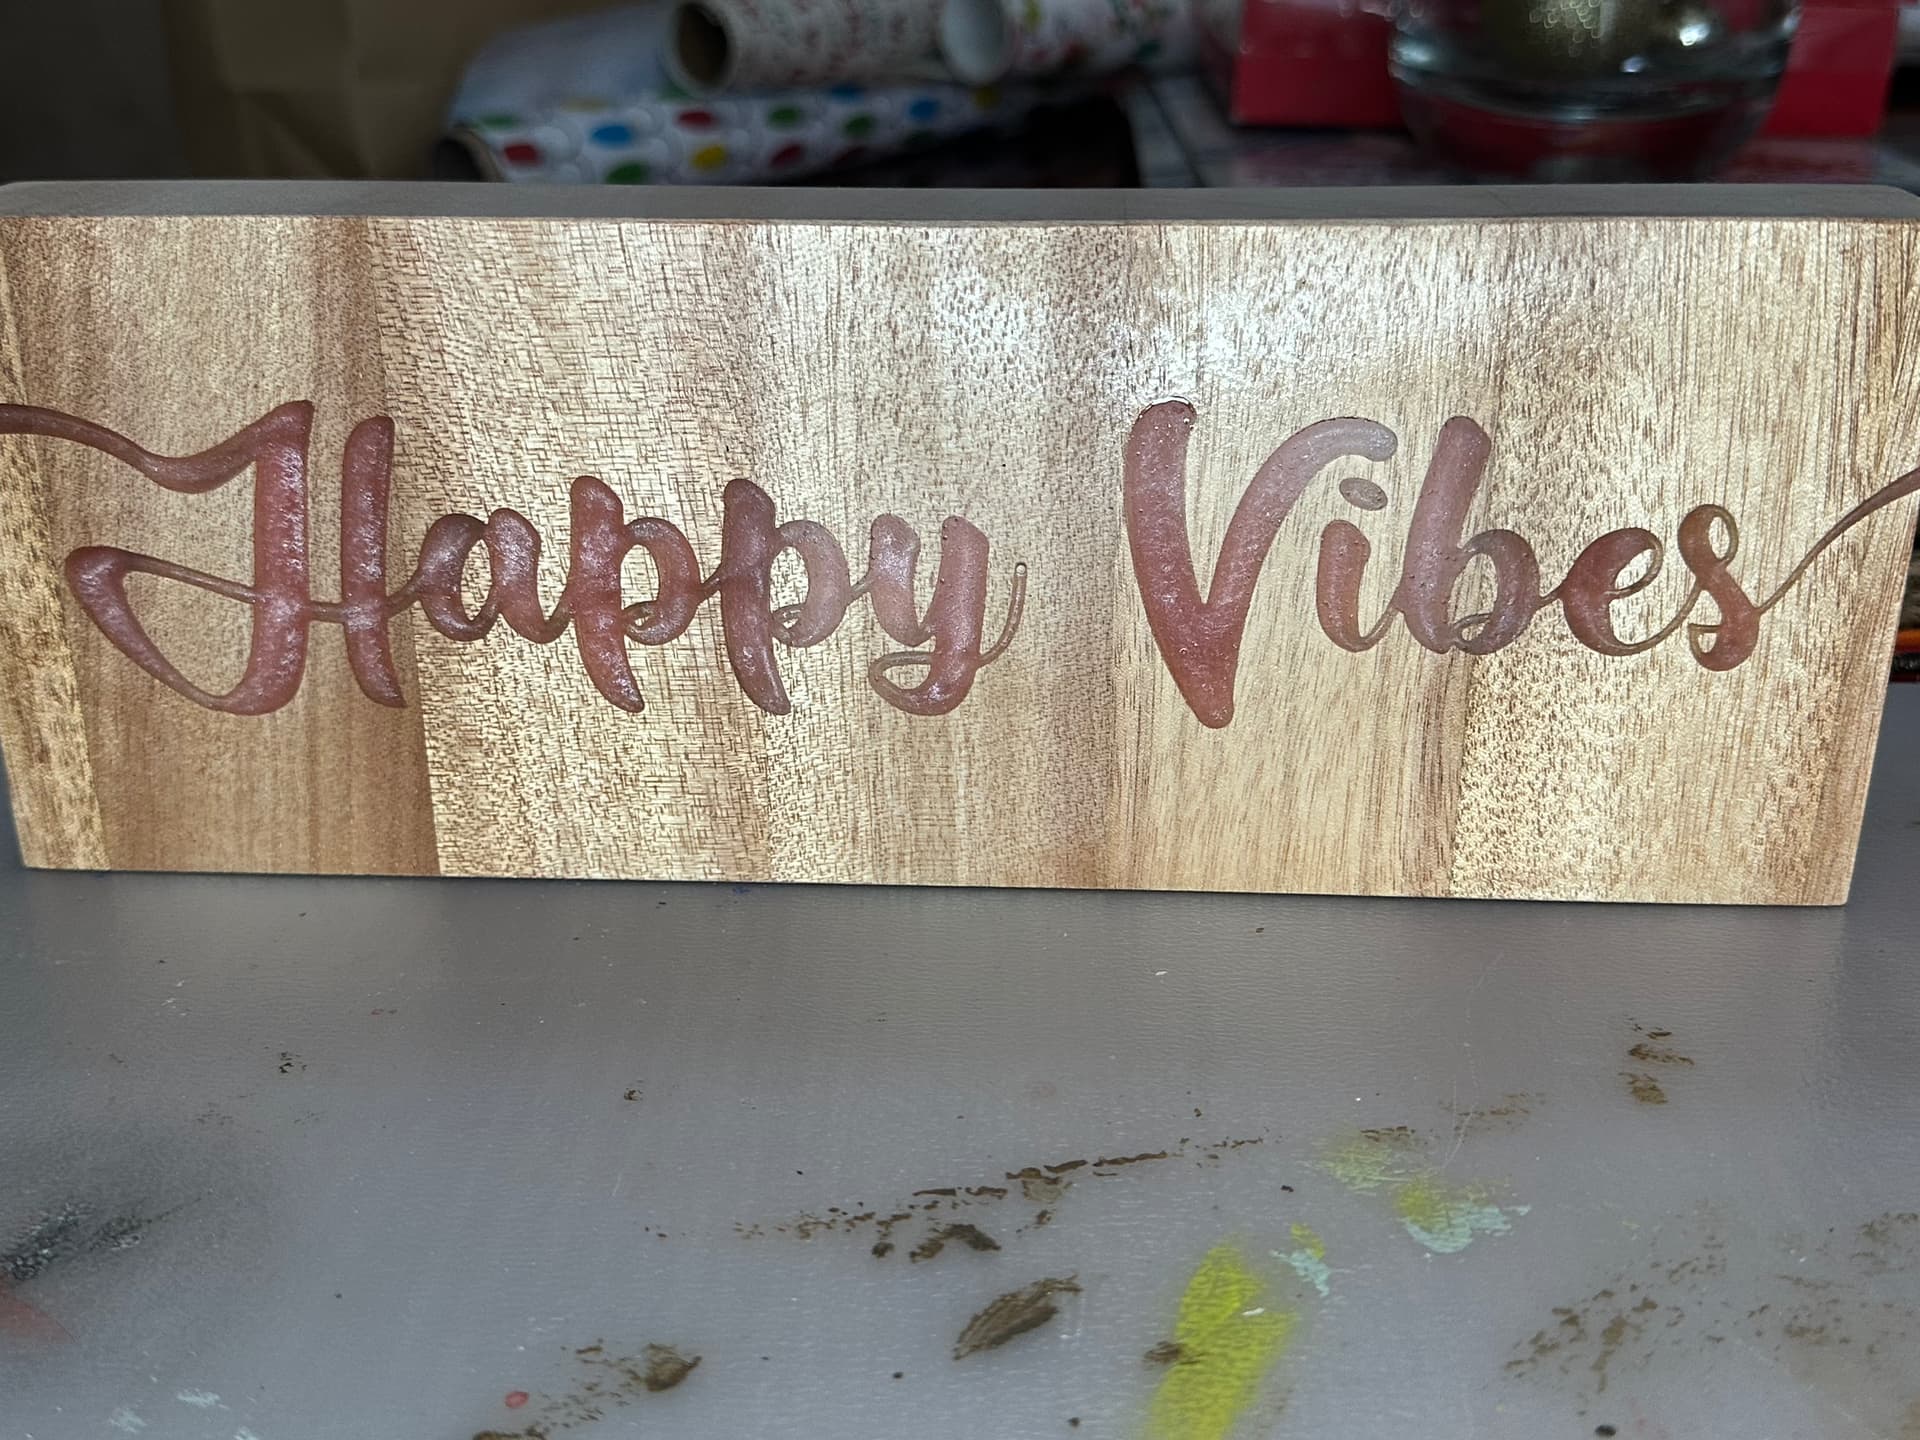
pre stain/paint first attempt at an inlay. not as neat as i would like, i think next time i’ll make the inlay much deeper as i had some chipping where it got thin. but i should be able to salvage it with sanding sealer and tlc and hoping it will come up nice with some oil.

5 Likes
Hi Gritters,
I`ve decided to build the LR3. Have reordered 10mm pulleys.
I’m still trying to decide if I wait on the other parts or just build with what I have. As for the spacers I have printed two for each pulley and used one to offset on the toothed pulley. do you think be better to set to one side still? 20221209-114048 — ImgBB

its the end of the belt id be more worried about. 8-Belts - V1 Engineering Documentation
the part the belt loops in at the end holds a 10mm belt perfectly. 6mm belt likely wont move up and down much in there at tension, but thats where i’d say youll have alignment issues if you dont pick the one side. you want the belt going exactly straight from there, otherwise youll be slightly off movement wise.
ok thanks mate. Ill just put what i can together until the other sizes arrive


When doing resin I started milling a mm deeper and then planning the whole thing later because I could not get the bubbles out.