There is a reason we are not using the tinybee, I have one right here on my desk. I can’t think of it at the moment. It has just enough inputs for the endstops, so maybe it doesn’t have uart and you have to set the potentiometers manually? Really can’t remember.
Fluid NC is great though.
Walls are good for ultimate strength but we are concerned with rigidity in multiple directions and vibrations at once. Infill is important in these parts. Best to stick with high infills, if you want more walls add one more but I would never sacrifice infill for walls in most of these parts I designed.
That is not that easy either. But very easy to test in the hardware store. I found EMT’s rigidity is extremely high for its weight. Wall thickness is far less important than outside diameter. Wall thickness adds unnecessary weight and slows everything down. You go too thick and it will actually sag under it’s own weight.
Poly carb has a much higher ultimate strength but is not as stiff as PLA, I understand you are worried about heat resistance but in any other case PLA is significantly better.
Careful with assumptions. It is always best to ask here before you spend any money. Over the last 8 years we have tried all the shortcuts to get a better machine.
That is not that easy either. But very easy to test in the hardware store. I found EMT’s rigidity is extremely high for its weight. Wall thickness is far less important than outside diameter.
For sure, this was meant to be more in a New Zealand build context where the only options are 25mm stainless or 25.4mm steel and the only options are specialty steel suppliers that may not be local and, in my experience, won’t let you go out to the racks to see the stuff for yourself.
That said, from talking to Industrial Tube in Hamilton they seemed pretty friendly and accommodating so that’d be a way to get a feel for it, potentially.
Careful with assumptions. It is always best to ask here before you spend any money. Over the last 8 years we have tried all the shortcuts to get a better machine.
I think he was meaning the ender 3 printer mods seem like an easy way to improve the capabilities of the ender 3. They sure are (and cheap) but have their drawbacks.
I’d certainly take your recommendations as gospel over mine since you’ve had so much time with the machine. I just thought I’d provide some of the changes I made partly to see what kind of feedback I get. I was going to say whatever it takes to get your machine up and running sooner is definitely the best build you can do. Since someone who’s had more time with their machine is probably going to outperform a newbie with an inherently better machine, especially if it’s very marginally better.
I’m keen to gather more data and testing things as time goes on… I just need more time. The plan is to learn, find limits, try to measure what change will give the biggest benefit, then make the change. At some point I might re-build parts or all of the machine in openscad so you can type in your tube size and generate stl files specific to your tubing. But who knows - I’m very early in the journey and I have difficulty avoiding new projects that slow all of my other projects down.
Hey Ryan!
Thanks for the info and feedback!
As Sharft6 said, I was actually referring to the mod to the Ender3 that would allow it to print a little hotter and will look into these more in the future, but for now I’ll be sticking with PLA for my Primo build.
At the moment I’m constructing an enclosure for my printer to hopefully ensure Ithe best print quality. On that’s sorted I’ll do the advanced frame test.
Re the Tinybee, I think you are correct about it not using uart and having to set the potentiometers manually…hopefully it wont be an issue as long as I set it up correctly. Still a bit of reading to do on how to do that.
Here in NZ I’m finding it a bit harder to souce suitable cheap tubes but the others have given me some leads to instigate. Aditionally I was at an engineers the other day and was eyeing up his steel rack. When I go back I’m going to talk nice to him to see if he can help, otherwise I’ll be off to Industrial Tube in Hamilton.
My 25.4mm mild steel tubes were way over priced around $150.
I just started by asking for 25.4mm OD since I was aiming for the thickest primo build. He cut them all to sizes I can transport and then told me the price. He said it’s their most expensive product not because it’s a rare alloy, but because the manufacturing process for this one is very precise. I’ve bought plenty of steel from him previously which was much cheaper. I didn’t ask for something else after that point because he already cut them and I figure precision probably can’t hurt for a CNC machine.
In hindsight though I’d probably ask if he has either 25mm or preferably 25.4mm OD. Since .4mm probably doesn’t make enough difference to justify the price. Those Hamilton ones sound great.
My dad also noted a comment from one of the guys there that the Hamilton place have a bunch of hygienic 304 in 1.6mm wall that gets scrapped due to the welds not being visibly perfect. It’s an end-of-line check so it has still been mechanically straightened and meets all the OD accuracy/strength requirements, it’s just a blemish that isn’t acceptable for passing a hygiene inspection. I suspect that having a friendly chat explaining what you’re trying to do and then coyly asking if they’ve got anything suitable just might walk you out of there with something pretty good for not much more than a beer money.
The tubes really are such a weird sticking point here. I literally can’t imagine wandering into the equivalent of a Bunnings and walking out with the rails for an CNC router. That’s wild.
Still, at least there’s a 25.4mm option, now. That’s an immense difference in availability. Steelandtube.co.nz goes from 1-2 options in heavy-wall hydraulic steel to ~10 different options in bare mild steel, galv and stainless.
Have contacted Industrial Tube in Hamilton for some pricing and they advised their downgrade stainless tube is only $3.34 more expensive per metre compared to the standard mild steel tube.
The quote they supplied was to precision cut & deburr each piece… and that got fairly pricey!
By using the most excellent calculator, I’ve reduced the size of my machine down slightly and now I can make it from a single 6m long tube. I’ve asked them to give me a new quote to rough cut a 6m length into three 2m lengths (to fit in the car) so hopefully that’ll be much cheaper. I have a mate who is a retired engineer and he has a garage full of tools and machines, so I’m confident I can get it cut cleanly to size.
My new machine size will have a workspace of 520 x 600, to fit on my 810 x 900 table. Outer edges of feet are 790 x 879 (so about 10mm clearance from the edge of the table in all dimentions) with a footprint of 892 x 981 (so just over 80mm over-hang)
I think that’s a pretty good compromise!
Unfortunately Industrial Tube are closed over the weekend so I’ll have to wait for the new quote.
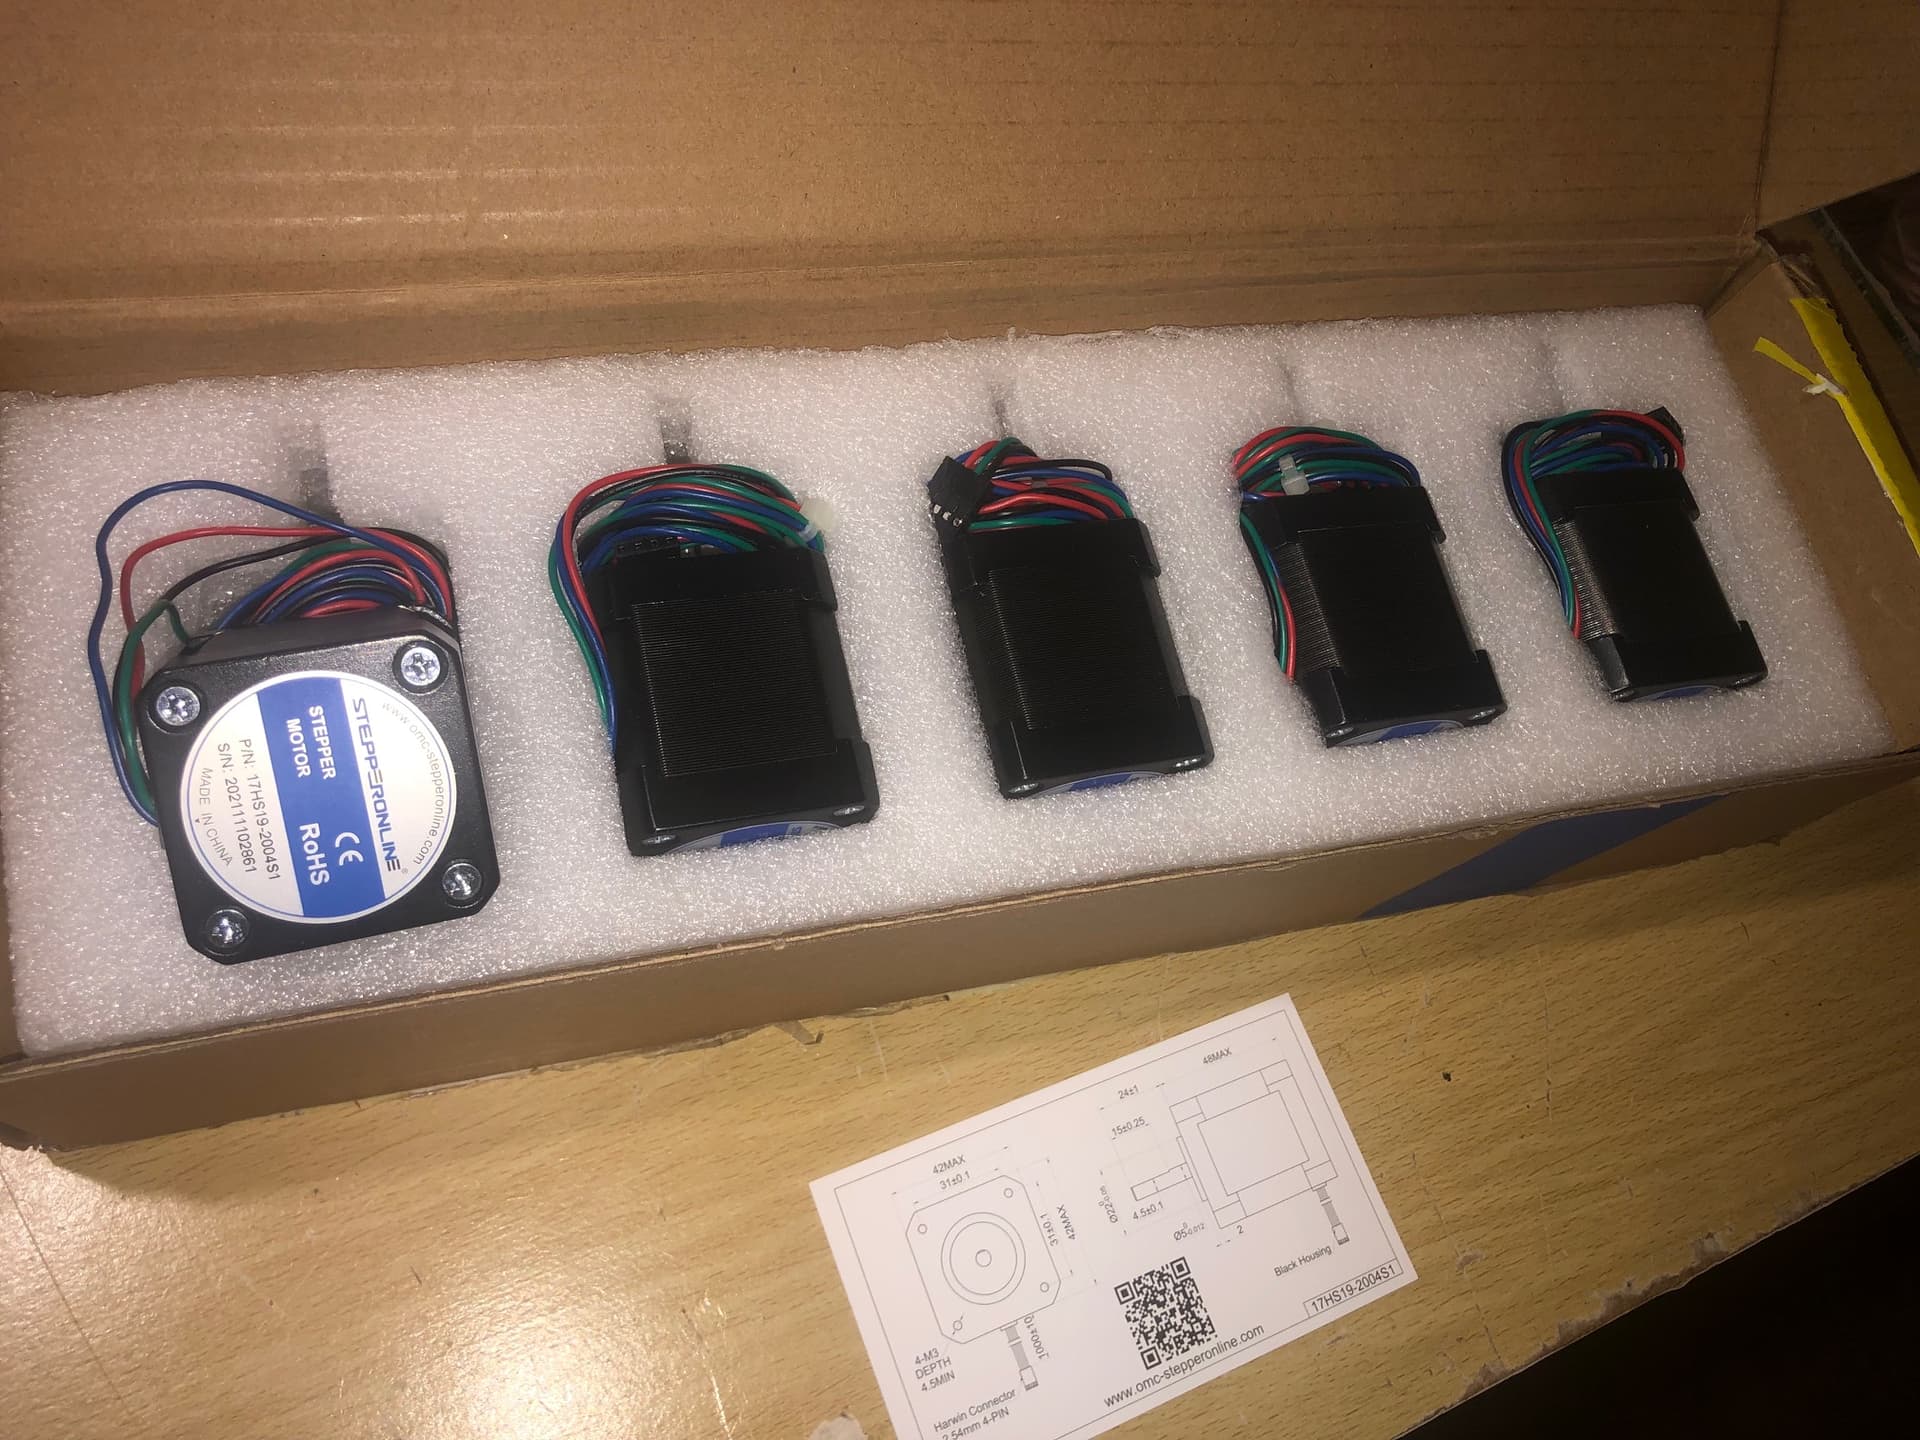
Note: You know that saying about a watched pot not boiling… same goes for watching the tracking details for stuff you’ve ordered… Still watching and waiting on my Steppers from ebay and the hardware from Aliexpress…and the postie is starting to give me weird looks as I watch him motor past!
So the price came in… it’s for ‘ARCHITECTURAL-TUBE 304L 25.4×2.0mm’ and it’s $13.34 per m + GST and freight which sound good to me!
They keep emailing me info including precision cutting which requires abut a week to do…but had said they could do rough cutting. I’ve asked them to rough cut a 6m length into 3 even lengths so I can do a pickup the next time I’m passing through (don’t know the lead time for that…hopefully zero)…I now just need to sort out payment with them which has to be done before cutting.
Once I have the tube in my hot little hands, I’ll verify the OD and can then get on with printing.
My ex-engineer mate should be able to help me cut it to size.
Awesome, glad that has worked out for you. That sounds like the same stuff that my dad is ending up with.
They have specs for the OD tolerance somewhere on the site, so I’d be reasonably confident it’ll be right for the 25.4m version of the LR3. That’s what I’ve just finished printing all the parts here for, anyway.
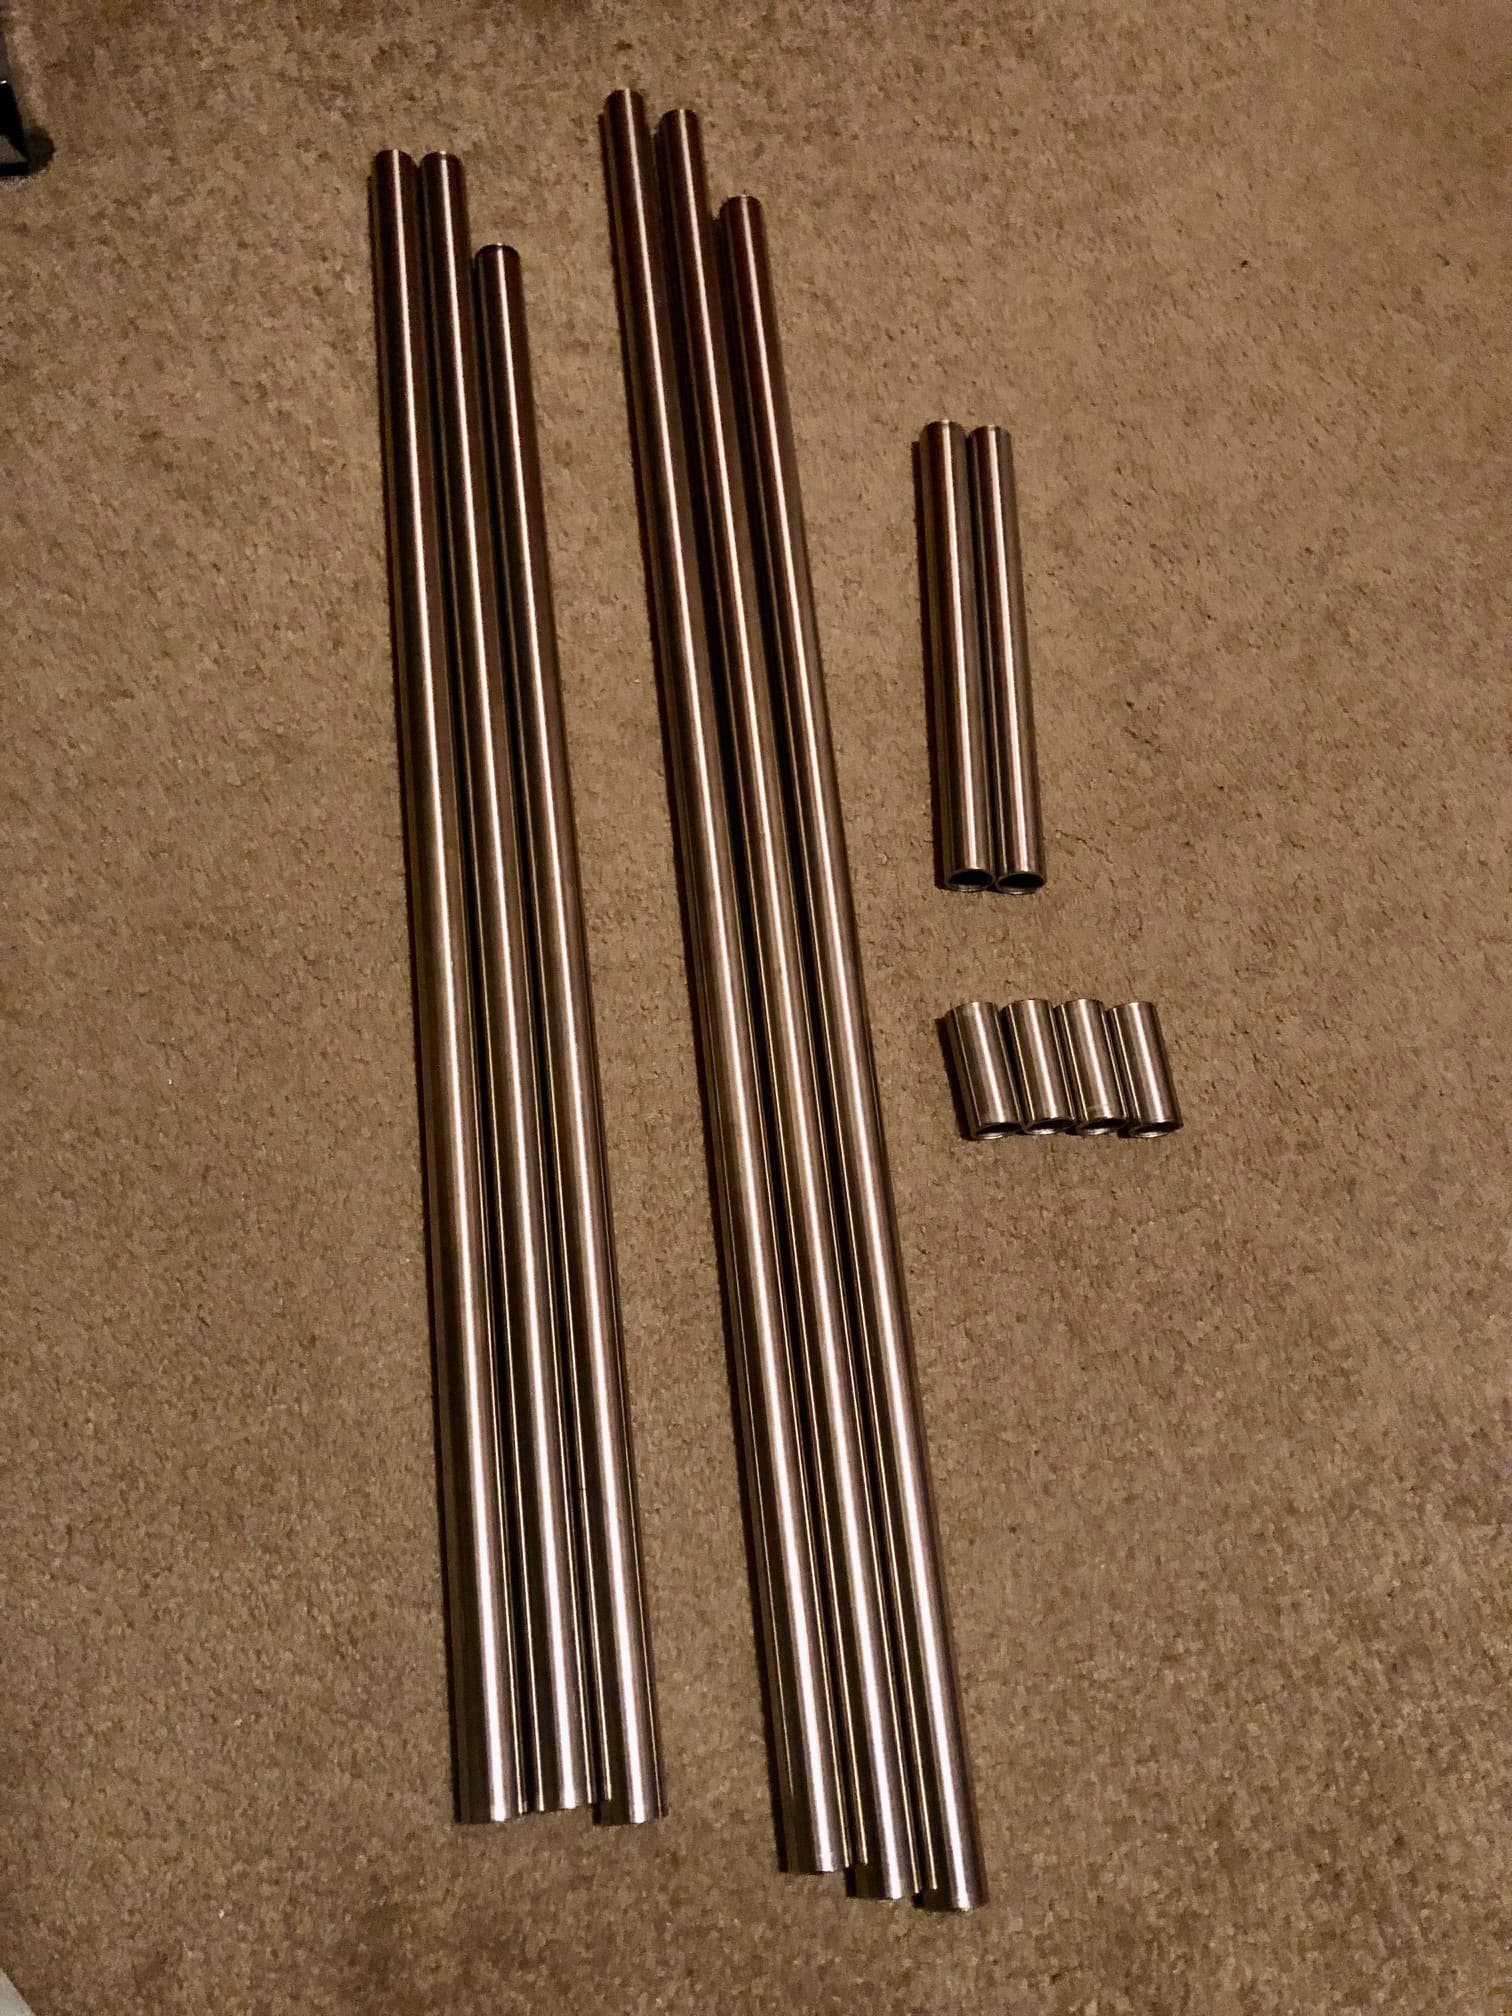
Tubing ordered and paid for, now I just have to go pick it up when its ready. (one 6m length of 25.4 OD and 2mm wall thickness rough cut into 3 x 2m lengths for $92 incl. )
More PLA filament ordered
Progress made on thermal cabinet for 3D printer today too…
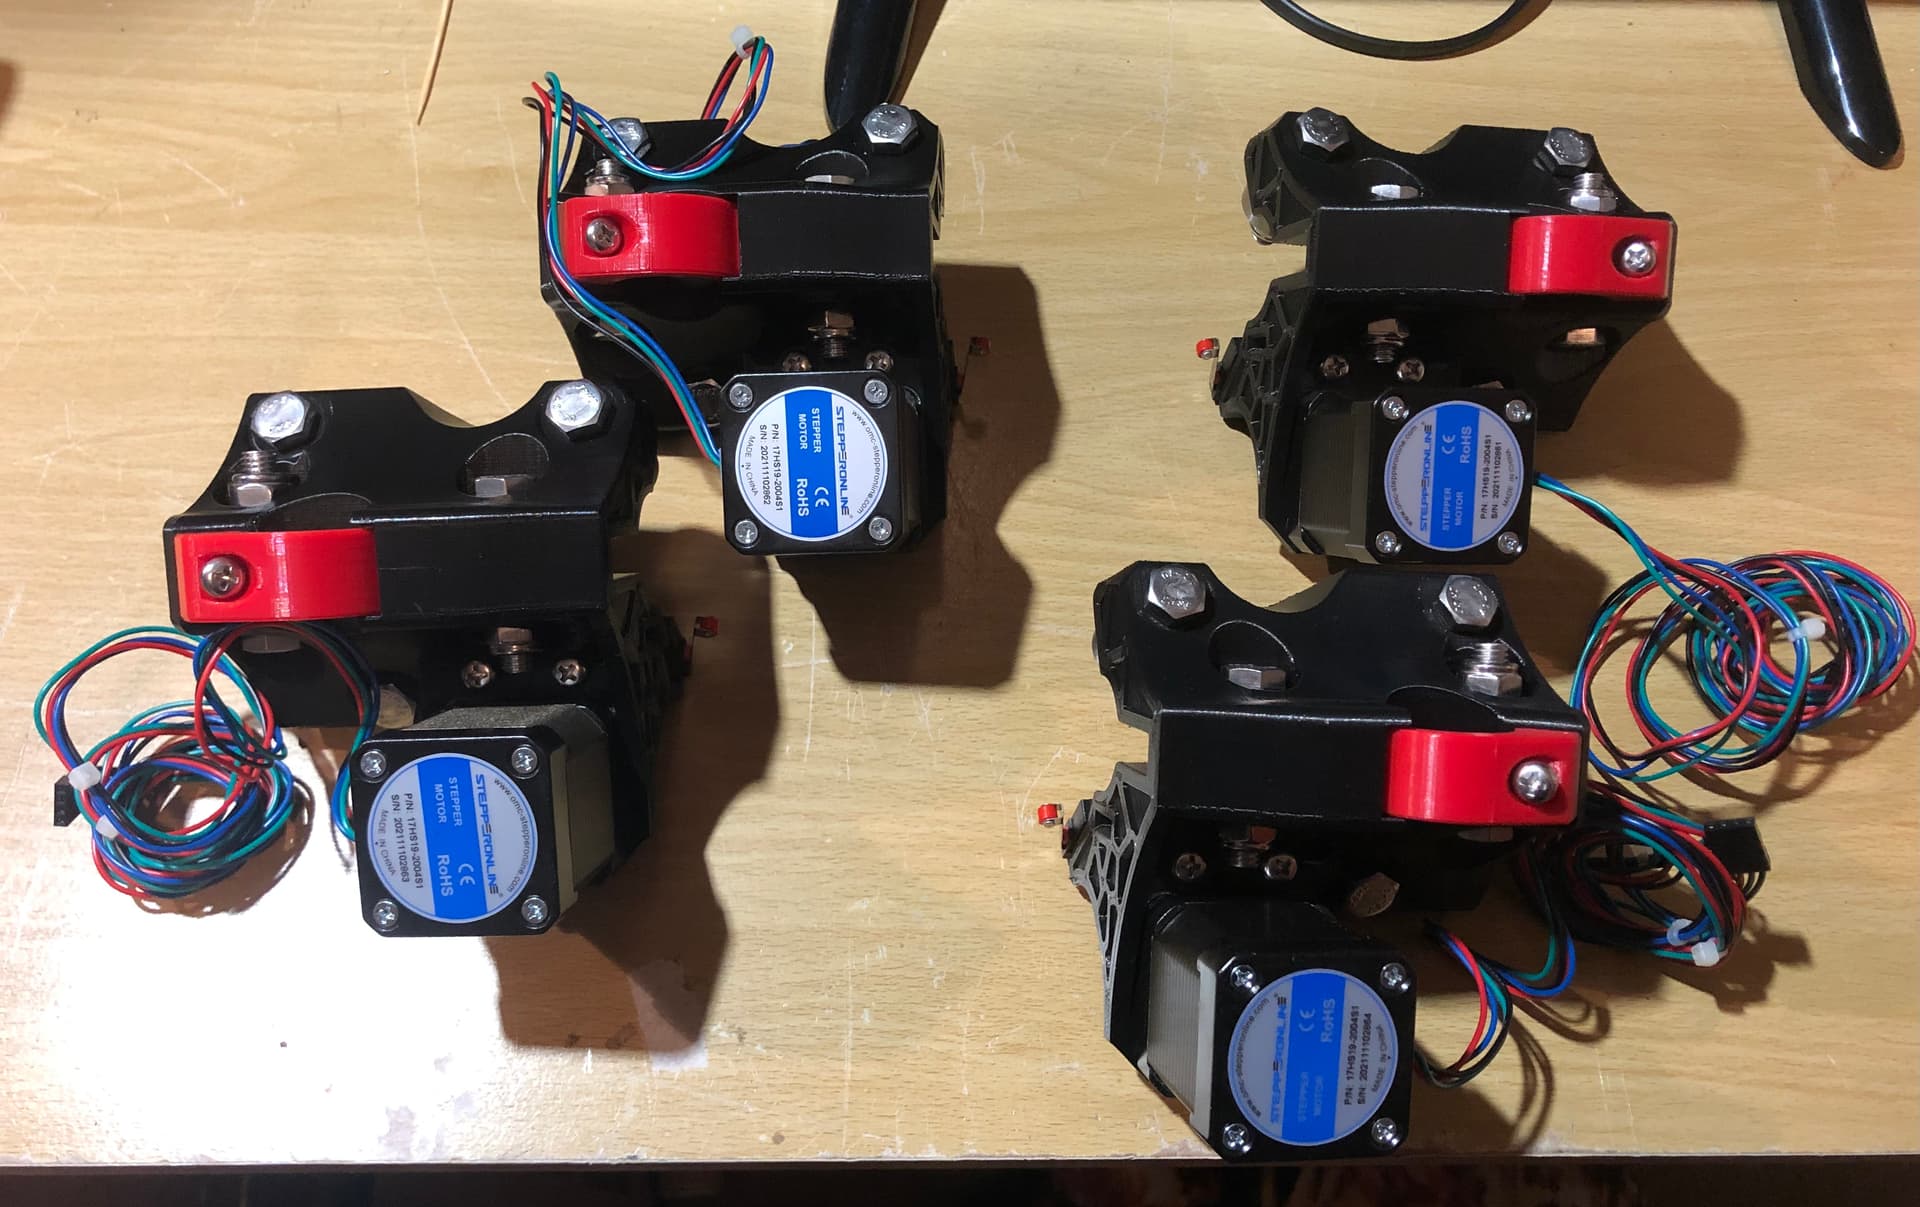
Almost ready for assembly!
Just waiting on more bearings because my last Aliexpress order for bearings got combined with the M8x40mm bolts but arrived without the bearings. (Someone had cut the package open during transit so I assume they were taken out. Grrrrrr.)
Spent yesterday getting the legs attached to my table and as square as I could. Happy with that progress…diagonals are less than a mm different (I’m pretty sure)
Unfortunately I spoke too soon. While assembling the core I found that after adding the core clamps the gantry rails were sloppy. The bearings aren’t making good contact like they do on the trucks.
I’ve done a bit of digging and it appears I’m not the only one to have this issue.
One suggestion was to tighten the tension bolt on the core clamps before tightening the 2 bolts that attach the clamps to the core. Not keen on that solution as it would over stress the clamp. Also, the tension bolt effectively squeezes the v shaped clamp closed, and as the holes in the core don’t appear to be slotted, the 2 bolts attaching the core and the core clamps would no longer line up.
I suspect part of the problem may be the bolts I’m using. The assembly instructions show bolts that have an unthreaded portion, whereas mine are threaded along the whole length. On a partially threaded bolt, the bearing would likely sit on the slightly wider smooth portion, whereas my bearings are on a slightly narrower threaded portion which introduces bit of play between the bolt and the bearing. While this doesn’t seem to be an issue for the trucks, I suspect the extra play on all 3 bearings may account for slop I’m experiencing.
I have a few options…
source some bolts that are not fully threaded and see if that is indeed the issue
see if I can make a spacer to remove the slop between the bolt and the bearing and see if that helps
see if I can modify the core clamp stl files to move the hole slightly closer towars the core and print new ones.
try the 25mm version of the core clamps (I’m using 25.4mm stainless tube) maybe the slightly smaller clamp size will help
Has anyone else experienced this issue? and are you using fully threaded or partially threaded bolts?
This is the correct fix. Works every time. It set the mount bolts correctly. Then loosen the tension bolts, insert the rails, and see if you need any tension.
Thanks Ryan, I’ll try it. (Unfortunately I’m away from home at the moment so can’t try until this weekend)
Question…the core holes didn’t appear to be slotted, so won’t squeezing the clamps closed slightly using the tension bolt mean the holes won’t line up between the core and the clamps?
ie do I need to enlarge the core holes a bit to allow some movement?
By the way… its a beautiful bit of engineering. I take my hat off to you.