New Build - Primo - New Zealand

I first got interested in the idea of building a CNC probably 9 or 10 years ago when I first came across https://buildyourcnc.com/ on the internet… but it never progressed much beyond that. Since then I’ve bought a 3D printer (Ender 3) and have been happily printing bits and pieces and helping others get into the world of 3D printing.

Recently I stumbled upon the V1 Engineering website and the MPCNC primo and lowrider units, and that got my creative juices flowing again. So, this time I decided to make the commitment, spend some $$ on hardware and make it a reality. (Haven’t told the wife yet!)

I’ve been having much internal debate on whether to go primo or lowrider, but considering I’ve had to shoe-horn all the kids stuff, plus my own junk into a single garage, I’ve decided a primo is the place to start. This should allow me to get familiar with cutting shapes and doing some 3d carving before deciding if I want to upgrade to a bigger unit.

I have a sturdy 900mm square tabletop doing nothing, so that’ll set the base size of this unit. (If and when I go larger, or upgrade to a lowrider, I can always repurpose the electronics.)

After watching some youtube videos by ‘NEWTech Creative’, I leapt in and purchased a MKS TinyBee control board with tmc2209 drivers, which I have received and loaded the FluidNC firmware on it….a bold move considering I only have a vague notion that these parts should work, and that FluidNC seems to be a suitable firmware. Note: I have an electronics background so have been programming arduino’s, esp8266 etc. microcontrollers for a while now….and have also have an esp32, so was familiar with that kind of hardware. I chose the MKS Tinybee because I liked the price and the idea of a grunty control board, and Fluidnc for the ability to control the unit over the wifi network. The tmc2209 drivers seem to be good too from the reviews I’ve seen.

I then ordered 5 x Nema17 steppers (STEPPERONLINE 59Ncm(84oz.in) 2 Amp MPN 17HS19-2004S1) from ebay, which should hopefully arrive in just over a week from now. Once my power supply arrives, I’ll wire them up to the control board and see if I can get them spinning.

The other hardware eg nut’s, bolts, bearings, belt, timing pulleys etc have all been ordered from aliexpress, (eta unknown), and today I lashed out and ordered a new Makita 6.35mm (1/4") Router RT0702C for a discounted rate of $312.57 delivered. I thought that was a pretty good deal from a local supplier. (I had thought I’d like to use a 1.5kw water cooled spindle but that’s a bit cost prohibitive at this point.)

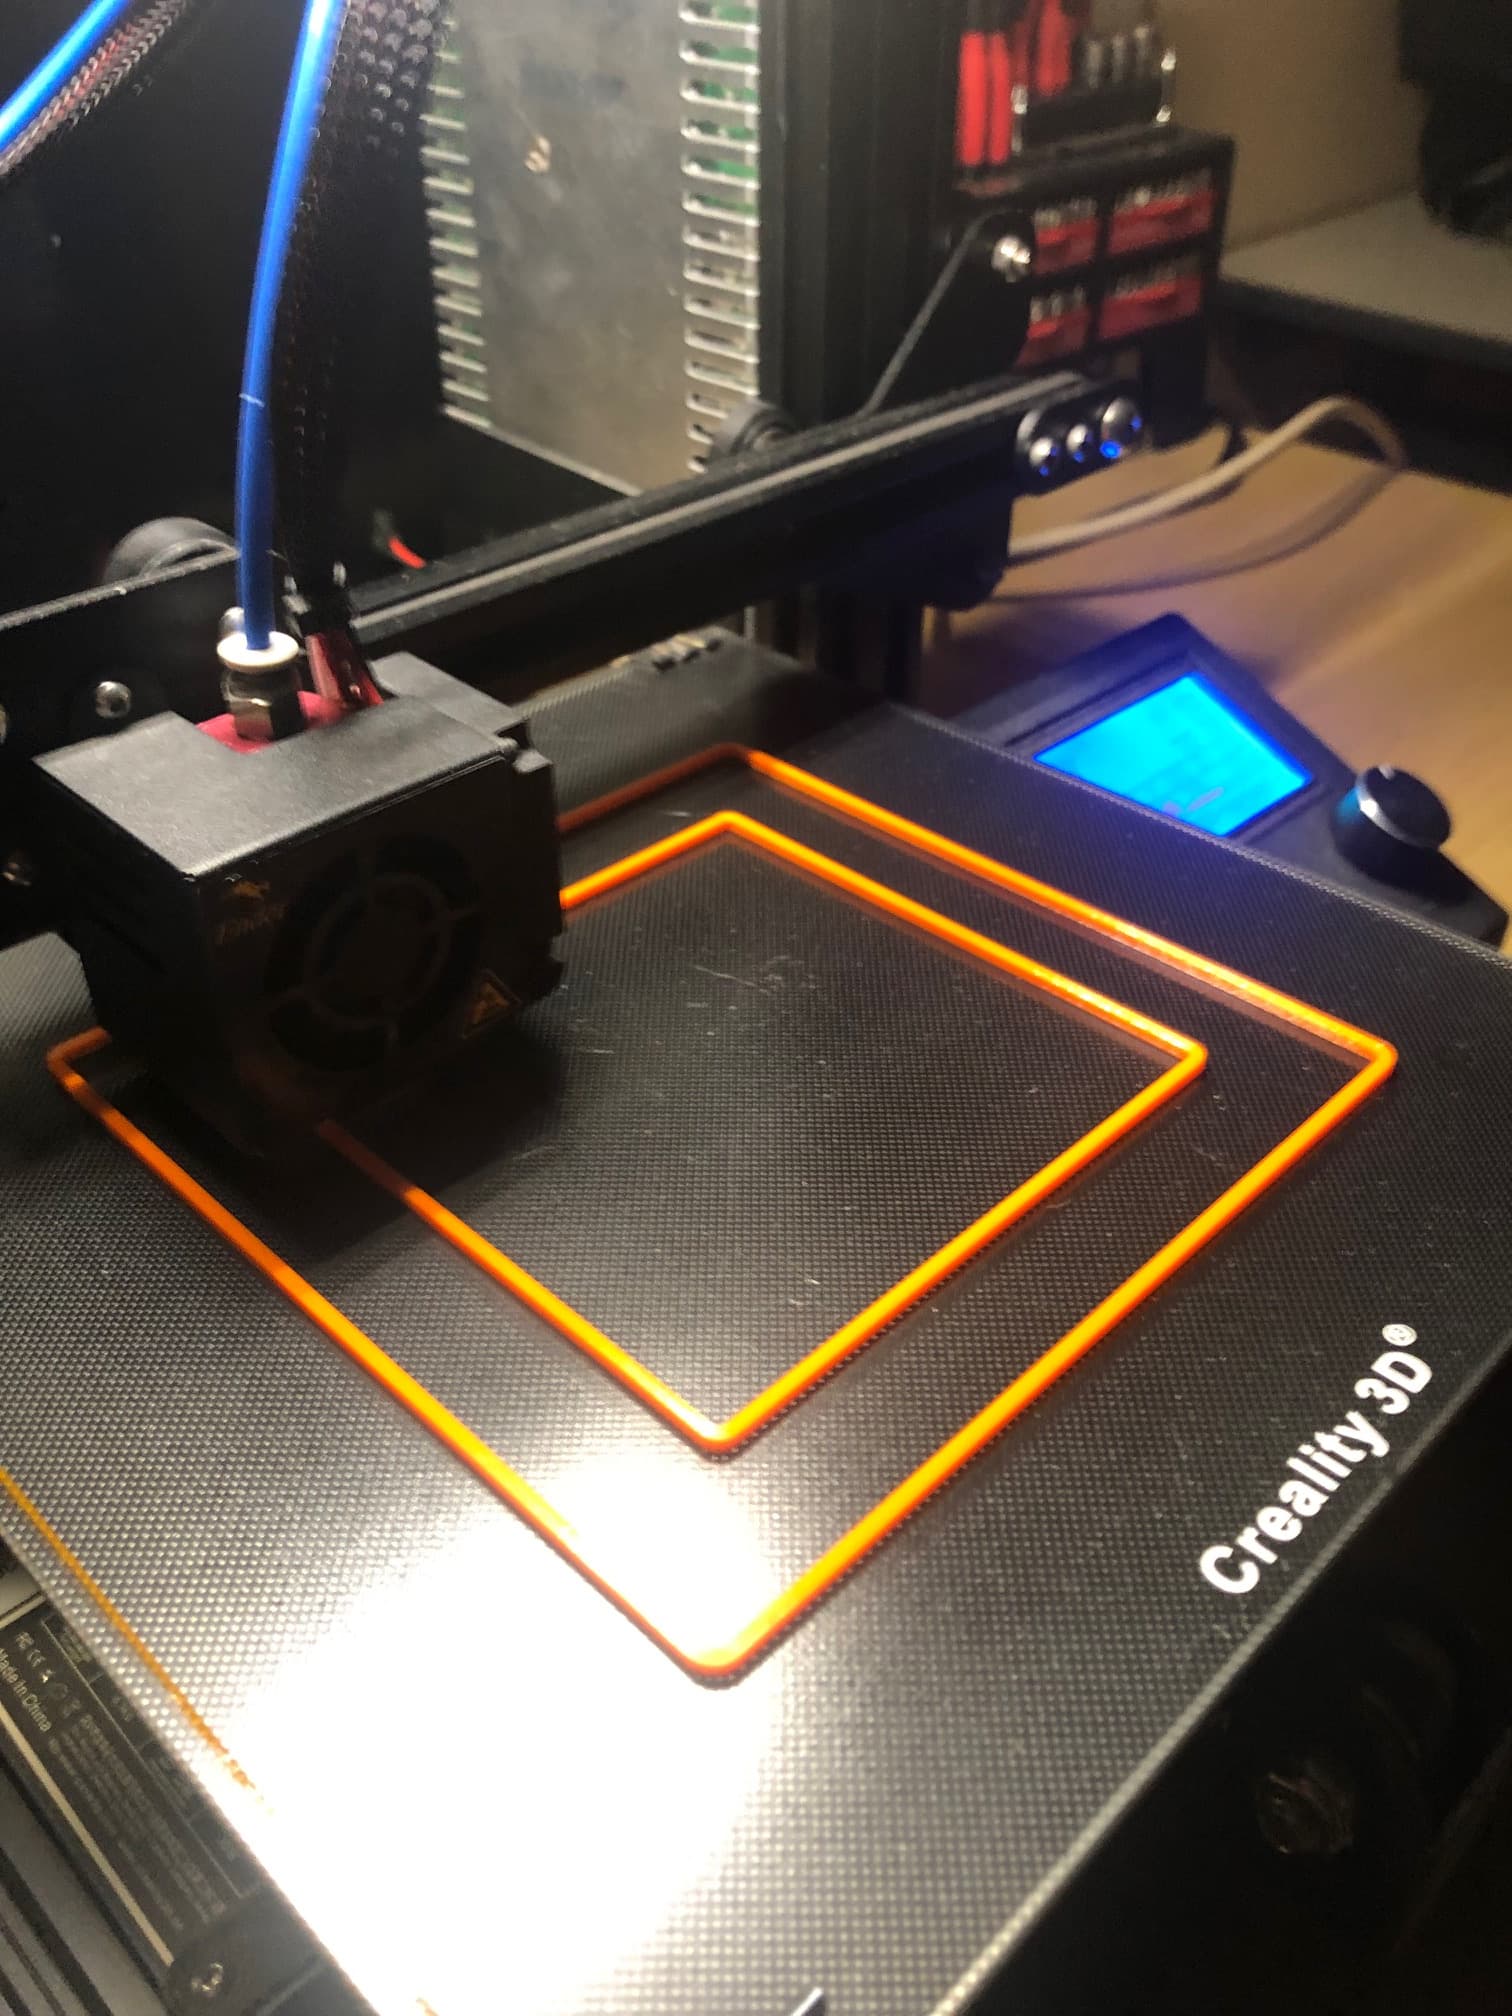
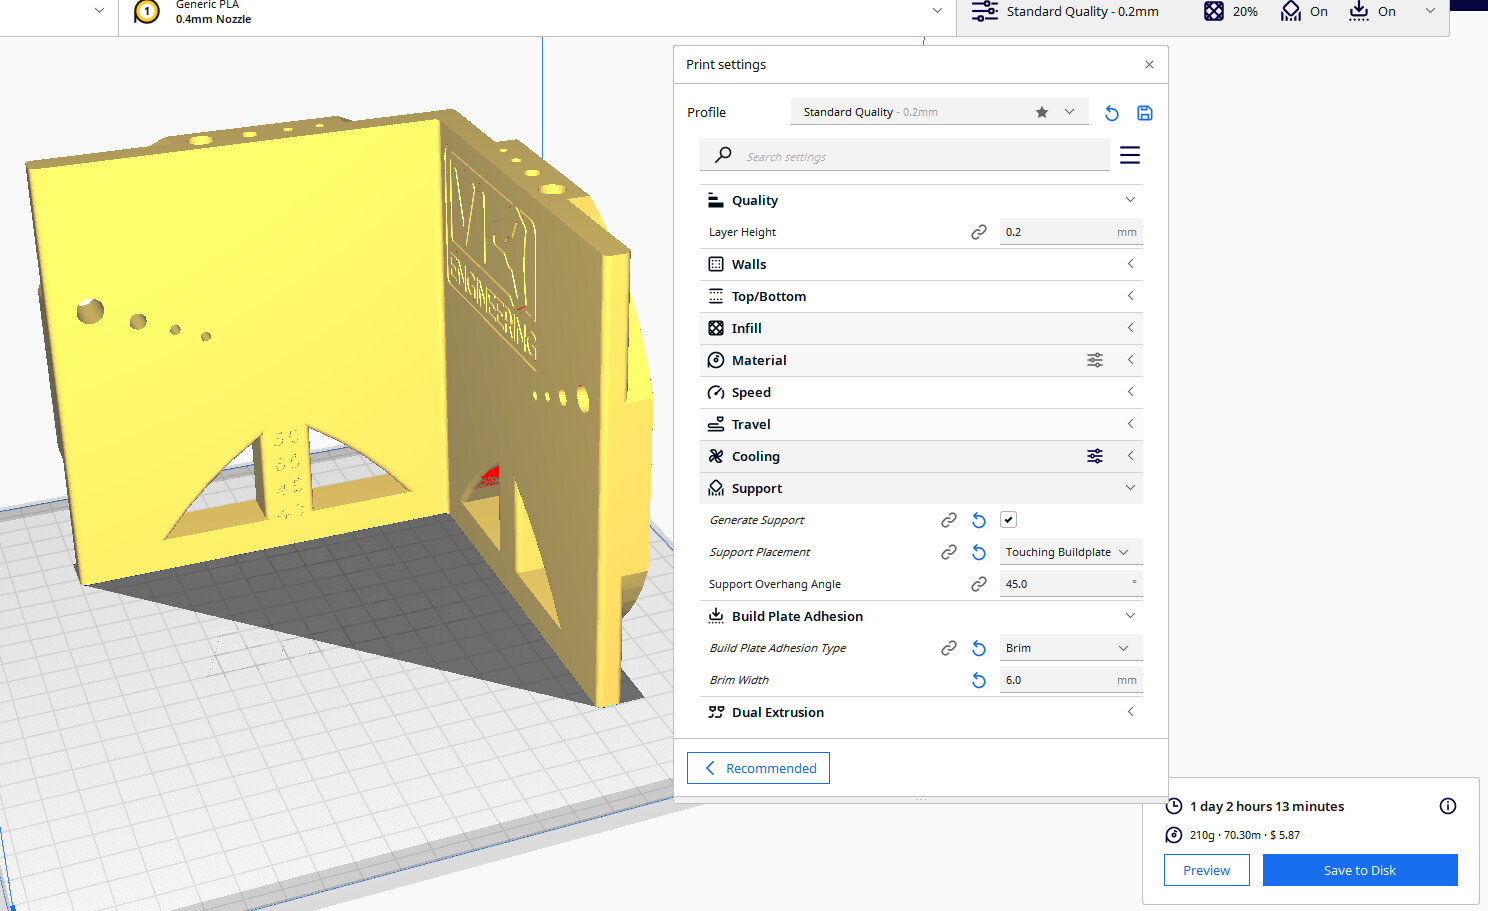
I think all I’m missing now is maybe a collet adapter, some tool bits, a spoil board, the tubes and the printed parts (which I’ve delayed printing until I’ve finalised my source for the tubes.) I am concerned that the Galvanised Steel Round Tubes 25.4 x 1.2mm x 1m at 14.28 per m from local suppliers might be too flexible, but I do see others have used them. I don’t really want to pay excessive $ for stainless if I don’t need too, and talking to an engineer, stainless is no stronger…just doesn’t rust. I’m just trying to find a reasonable source of thicker walled 25.4mm tubes, but as my table size is smallish, maybe 1.2mm wall thickness will be ok. I just need to make that decision so I can start the lifetime of printing that I need to do.

I do have access to some 20mm dia. linear rail shaft and 4 rail bearings that I thought I could use, but that would require a redesign…so maybe that’s a future thing… perhaps I should get this making dust before introducing any new hair brained ideas!

3 Likes

Oh hey and welcome. I’m from New Zealand as well and I just built a Primo about a month ago using my Ender 3. Very pleased with the result but very much just learning the ropes as well. I tried to keep my build close to stock. default size, officially supported control board. same steppers etc. It all went together more easily than any other electrical 3d printed project I have completed.

I went for 25.4mm mild steel tubes with a 2.5mm wall. Stainless should be stronger but not more stiff until you you reach the yield point. I didn’t think I would be pushing against the strength limits of mild steel which is why I went that route. But I’ve seen a post recently where Ryan claims the machine can permanently deform stainless! Dunno what the dimensions of the tubing that bent were but still.

The only changes I made were PLA-> Polycarbonate. I went for the cheapest Polycarbonate I could find which is probably mostly ABS and almost certainly less rigid than PLA. The reason I did this though is because I’m more interested in low creep over time than ultimate rigidity since I thought the long bars would be the limiting factor anyway. PLA will creep even at room temperature given enough time. Plus I’ve seen my 3d printer in the shed report ambient temperatures not far from 50c on a mild day. 50+c wouldn’t be surprising if we ever get a summer again. All of the Primo parts come out great in polycarbonate. I didn’t have a single failed print and didn’t need to resize anything.

The other thing I did differently was slice everything at the minimum recommended infill (either 45% or 70%). Then set the infill back to 20% and increase he number of walls, tops & bottoms until the weight was similar to the higher infill. (Usually around 1.6mm walls and 1.68mm tops & bottoms but not always). The reason I did this is because structures with more material near the outside are generally stronger for the same mass. Plus infill prints quicker by default which means it probably doesn’t do much for layer adhesion. So I have nice beefy walls for that layer adhesion plus the normal advantage of exoskeletons.

Oh, and lastly I 3D printed my shaft coupler because the ali express one never arrived. the 3d printed one seems to work alright so I’ll just keep using it. Self-centering tapered-thread Z-axis coupling [v2] by loco - Thingiverse

I went for the makita RT0702C as well for about $315 delivered and a Chinese power cable + adapter. So you did well at $312. I’m running one of those expensive 1/8" collets designed for the makita to keep runout low. You could use a cheap er11 1/8" collet but the runout will be large and inconsistent every time you loosen and tighten the nut.

I see you also ordered your nuts and bolts from ali express. It’s crazy how expensive retail nuts and bolts are over here aye!

1 Like

Another kiwi here. For nuts and bolts, try theboltholder.co.nz. That’s what I’ve been using personally and for work recently. They have a really good selection, ship super quick and their listed prices on the website are cheaper than on account at the previous place we were using.

I know the pain of trying to find the right tube size. I’m using 25mm aluminium because I built mine back before there was a 25.4mm version. Steelandtube.co.nz have 25.4mm galv mild steel in I think 1.6mm wall for ~$80 or so for a length which isn’t too bad. I wouldn’t worry too much about rigidity to begin with. I think everything thicker than ~1.1mm wall is stiffer than EMT, assuming the same material. It took me quite a few years to get my first one finished so I’d strongly encourage the path of aiming for ‘good enough’ and then optimising later. I can pocket aluminium without drama with my floppy noodle aluminium shafts.

@Sharft6 I think that comment about deforming stainless was some ~0.6mm wall shower curtain railing that deformed under the bearing load.

I just checked again, 5.5m length of 25.4mm x 1.6mm of galv steel ERW, $73.50 excl from steelandtube.co.nz. That’s

There’s also Industrial Tube in Hamilton that will apparently do a 5.5m length of 25.4mm x 2mm mild steel, rolled and welded for $63 excl + freight.

That’d be enough to do a 580mm x 400mm x 100mm working area Primo.

Where do you get the cutting tools from? I’m waiting an indefinite amount of time for replacements after snapping mine.

I’ve got a pretty random assortment. I’ve bought bits from Ryan before that are my ‘good ones’. A bunch from AliExpress that seem OK at first but just kinda go crappy quickly, but were also the ones I was using to test stuff. I went from a crap 500W spindle to a Makita router so I’ve been using 1/4" spiral bits for handheld routing from AliExpress that have lasted ok and I have a couple of CMT ones coming from Taylor Toolworks that I hope will be a bit better.

I’d say my MPCNC probably has low double-digit run hours on it, though. I built it without a clear plan in mind for what I’d use it for. Mostly I’ve used it for milling holes for connectors/fans in electrical enclosures or aluminium panels. Getting a laser cutter at work a couple of years ago meant that I’ve ended up doing a lot of ‘manual CNC’ stuff by cutting router templates out on the laser cutter and then just manually routing them out.

1 Like

Great info! Thanks for the pointers. I live in West Harbour and actually 3rd axis lives a few doors down from me which has been very handy….unfortunately he’s shutting down the business so selling his stock off. I’ve not printed with polycarbonate, so would have to check it’s print temperatures. My Ender 3 might not have enough puff if it needs a high temperature.

Thanks for the info Jono! I often get to Hamilton (and other parts of the country) with work so I might be able to pick some up and save the freight. 2mm walls should be nice and rigid :grimacing:

1 Like

the 3rd axis polycarbonate prints quite cool suggesting it’s not pure. I printed mine at 250c but the filament is rated as low as 235c. So I reckon you could get away with 240c on the stock ender 3. If you want to upgrade, these are the only two components I bought.
for higher heat:
https://www.aliexpress.com/item/1005004707403170.html
for abrasion resistance:
https://www.aliexpress.com/item/4000262579777.html

One thing to note with the upgrades above is it dramatically reduces the window of printable temperature and especially retraction settings. I pretty much have to use linear advance but I’ve grown to love it.

Other than that I use a large cardboard skippy box as the enclosure.

Those mods seem to be a pretty simple way to improve the capabilities! But I thought by adding the better heatbreak it allowed you go to the higher temperatures because you are protecting the PTFE tubing from getting too hot…so why does this reduce your window of printable temperature and retraction settings. There must be a way to then set the upper limit higher in the firmware I guess.

I’ve always just printed with a stock standard 0.4 tip and not experimented with other sizes. I probably should and also tune the machine…I have a link somewhere to a website that goes throu all the steps…I’ll have to go find it again.
[edit] Found it… https://teachingtechyt.github.io/index.html
What size tip do you print with?

I’m thinking I should look at upgrading my stock control board because the machine is quite noisy and my son has just moved back home and into the room next to my office/workshop. Wondered if changing the control board will improve print quality any or will it only effect the noise of the machine. Mine is the original ender 3, but a mate got a 3 pro and it was soooo much quieter and printed so much cleaner than mine.

the ptfe tubing is great at insulating the filament until it reaches the heater block. the metal heat break allows you to print hotter but now I have to worry about heat creep from the block, further up the heat break which can gum up the filament path. The one I linked claims to be bi-metalic which means they supposedly make the thin/break part out of a less thermally conductive alloy while the upper part that interfaces with the heatsink is a more conductive alloy. This is meant to create more harsh transition from cool to hot and avoid heat creep. In reality though, it came from aliexpress and was cheap as chips So it’s probably a single piece alloy which doesn’t do anything well. You can buy a really expensive one from slice engineering which is supposed to work great. But the ol chinese one works well enough for me.

the ender 3 came out with 3 control boards. v1.1.4, v4.2.2, v4.2.7
Both the v1.1.4 and v4.2.2 use loud stepper drivers while the v4.2.7 board uses silent ones.
The v1.1.4 board is the only 8bit one which may be limiting in what marlin features you can enable.
In which way would you like the quality to improve? I’d probably start by checking your esteps are correct. (not looking up someone else’s numbers, use a ruler to find yours)

While we’re talking about printers, when you start printing bits they recommend printing out test pieces to make sure your machine is accurate enough to print the mpcnc. My ender 3 passed the basic test but not the advanced one (xz and yz measurements were 0.7mm out instead of the recommended <0.6mm). At the time I couldn’t be bothered disasemmbling my ender 3 to try and get an extra 0.1mm of accuracy. So I just left it and as far as I can tell, it made no difference. I would say most of the accuracy comes from placing the legs on the table not the printer accuracy.

I also just use 0.4 and never tried anything else. I find most people in 3d printing more obsessed with speed which I always found odd. Just hit the start button and come back to it the next day?

I’m still printing with a Mendel90, which is pretty slow. When it comes to printing things designed by others then I agree, hit print, walk away, come back later. Reliability is much more important than speed.
If it’s something that I’m designing and iterating on then having a bit more speed sure is nice. I find myself leaning on the laser cutter a lot more than the 3D printer for that reason.

A colleague just recently bought a Bambu Labs X1 Carbon that seems pretty awesome, so that’s now on the list of potential new toys…

Hey Sharft6,
My mate decided to sell his ender 3 pro that he’d bought to try getting his grandson away from gaming and into something more tangible, so I organised him to sell it to my brother who had seen mine and wanted one. We did a test print to make sure it was all good and I realised it’s prints were really smooth and crisp. And that the machine didn’t sing like mine does. Was tempted to swap them, but conscience wouldn’t let me. :cry:

Yea I’d imagine gifted 3d printers would very rarely get used. You have to really want it.

I have to admit, I’m very much a “close enough is good enough” kind of guy so it’s quite difficult for me to imagine something more crisp than a standard ender 3. Unless you’re trying to print a very skinny very tall piece that’s wobbling all over the place. That’s the only time I’ve noticed decent accuracy issues.

So I’m curious, is it easy to tell the difference between the pro and normal? Would the difference be visible in a photo? Or do you have to hold it up against the light on the right angle so when you move it, you see the reflection move across the surface?

Personally I quite like the dot matrix printer sound of the steppers and it’s a shame the cardboard enclosure reduces that. It’s also a shame the MPCNC doesn’t make that sound at all but eh, the router is rowdy enough.

Re difference between pro and normal, probably a closeup picture would show what I felt to be a crisper print. I’m not complaining about my standard machine, its just that he had printed a gear about 40mm dia and 10mm thick and it made me go “wow!”. I think the flat surfaces were very smooth and all the teeth had really sharp edges. I might see if I can get my brother to take a good photo and emai it to me.

Re your cardboard enclosure, I was thinking about making something out of scrap wood and corflute and maybe glue foil on the inside… moving the power supply to outside the box won’t be a problem but what do you do about the control board. If this is left inside the box, you’ll be flowing warm air throughit making it run hot. Has that been a problem for you? I thought I’d have to make a box where the cooler air could be passed through the control board enclosure, and that’s kinda tricky.

Started printing the basic frame test…

The advanced frame test will take over 24 hours!
It’s not clear if it should be rinted with or without supports though… any ideas?

I suspect the entire point is to print it without supports and that will show how the holes turn out etc.

What settings are you printing that with? For calibration purposes, I normally just go with single wall, 5% rectilinear infill or something like that. That’s probably not the best representation of how the holes turn out, but it should be fine for figuring out square/plumb and dimensional accuracy.

I thought the same re turning the supports off.

Currently Cura set for 2 walls and 20% infil but I’ll try changing it to single wall and 5% as you suggest and see what that does.

I went for 1 wall and 10% or 15% infill but probably doesn’t matter. Name of the game is save filament. I found it quite good printing one wall because it was my second time printing polycarbonate (basic test was first) and it gave me a better idea of what the layer adhesion is like one line on top of another instead of walls squished together hiding inconsistencies.

I don’t have any ventilation in my enclosure. I assume the bottom is the coldest area since heat rises and the box is literally just an upside down box so the seal at the bottom is far from perfect. It never crossed my mind to consider the control board temp. I’ve run over 2kg of abs through the printer with 0% fan no issue. Then over 2kg of polycarbonate inside enclosure with fan. A little polypropylene as well. One oddity with the ender 3 is the control board fan doesn’t run unless the part cooling fan is running. So 0% part cooling is also 0% control board cooling. Doesn’t make practical sense but I guess it was a cost saving thing and or oversight with no consequence as far as I know.

Linear advance can help make sharp corners more crispy. Ironing can also be used to make flat tops more flat, although I’ve never tried it. As for why the ender 3 pro looks better than the ender 3 standard presumably without the above features, I can’t answer that. Maybe different filament or belt tension. Or maybe the ender 3 pro is just better somehow.

1 Like