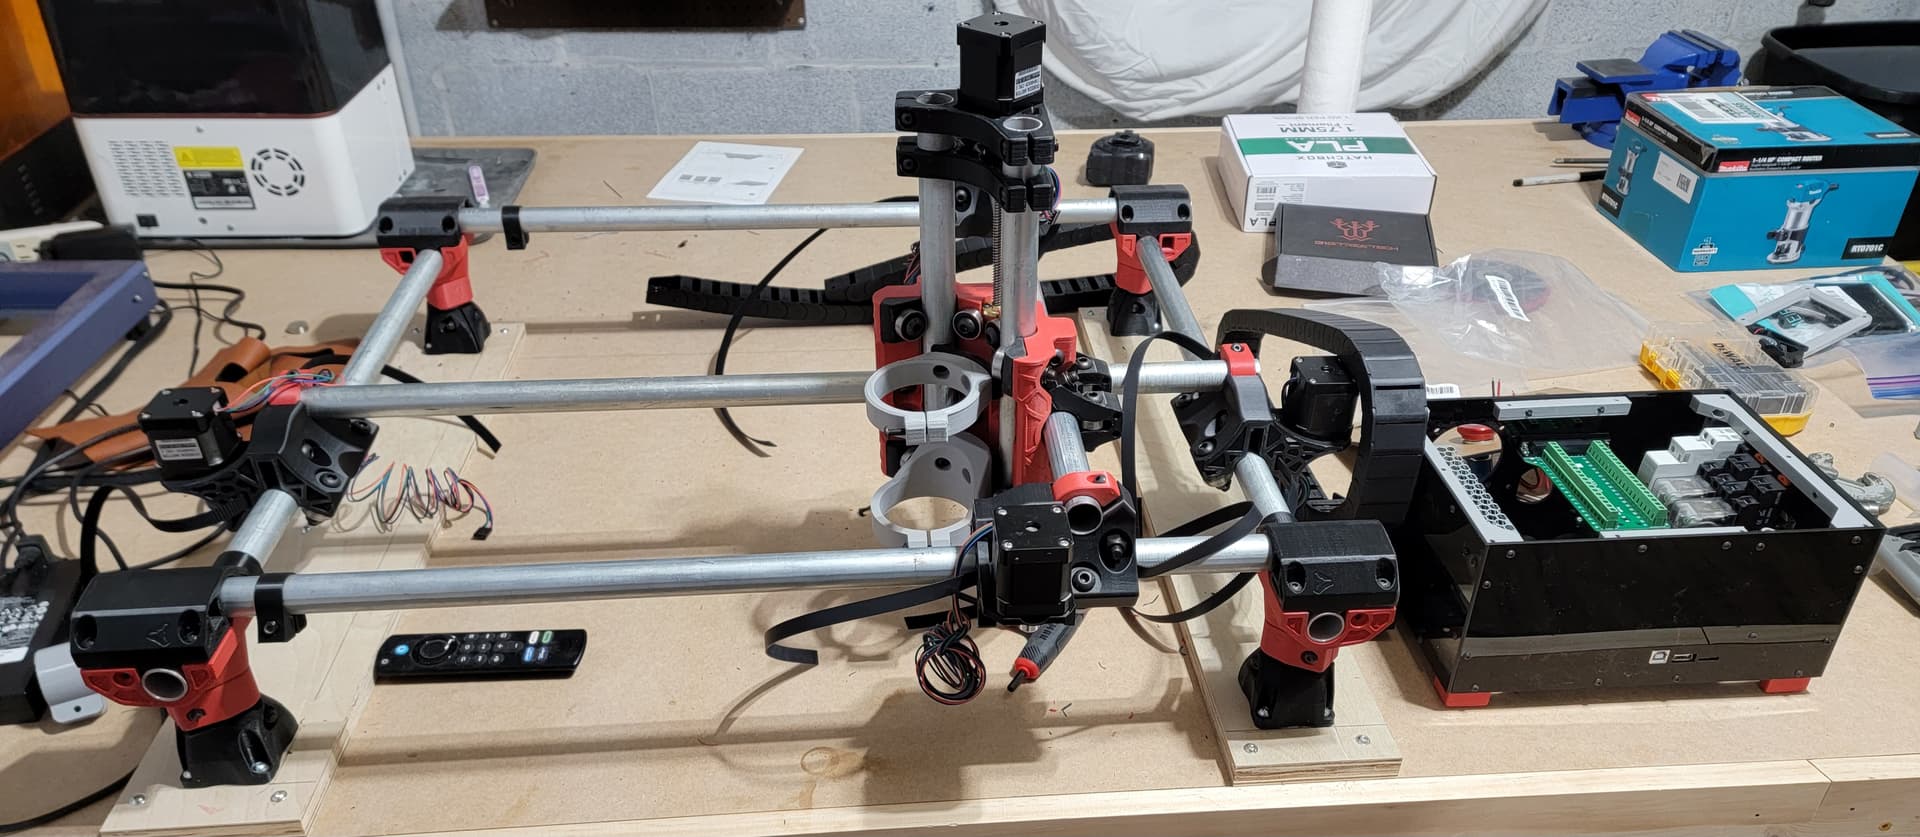
Been a lurker for years and finally decided to take the plunge. Over the holidays, I printed out the parts for the Primo. I am also working on my own version of the control box.
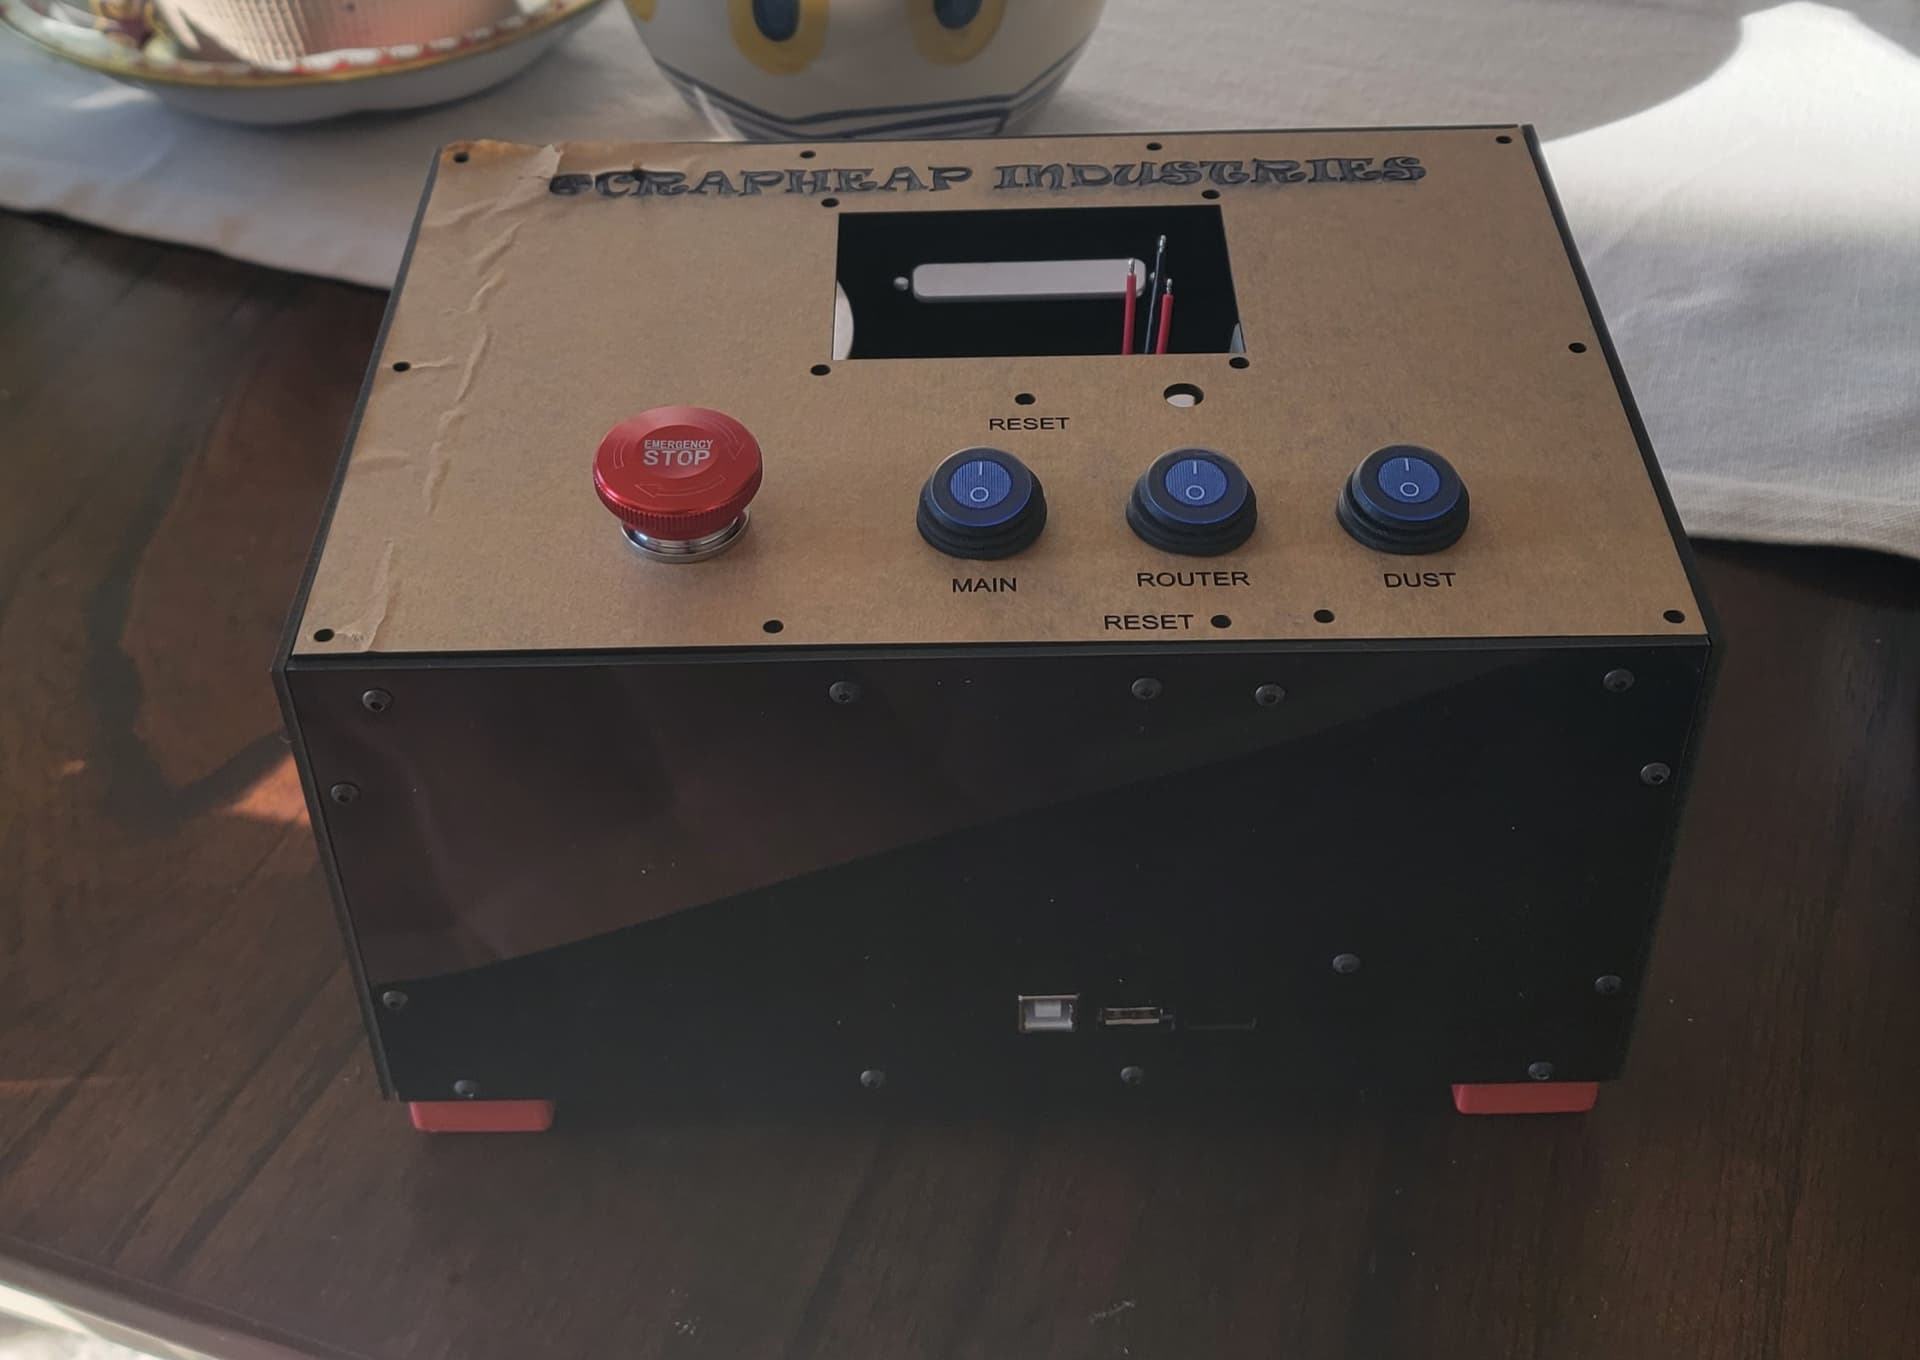
Goal is to control the Primo, be able to turn the Dust Collection and Router on and off from the board and have an E-Stop.
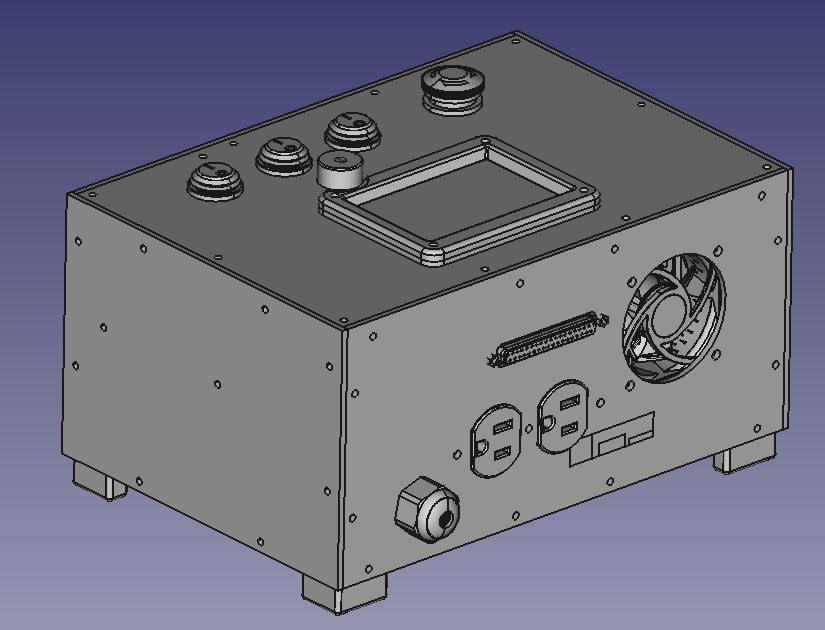
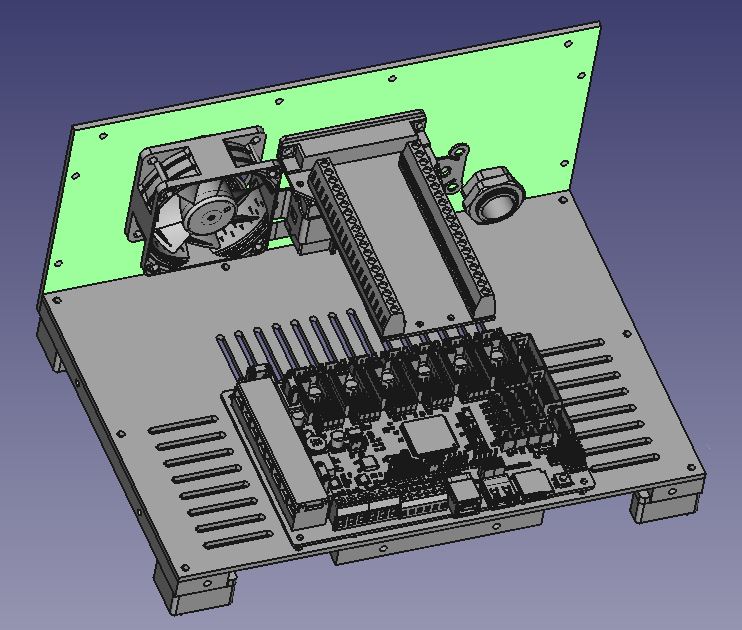
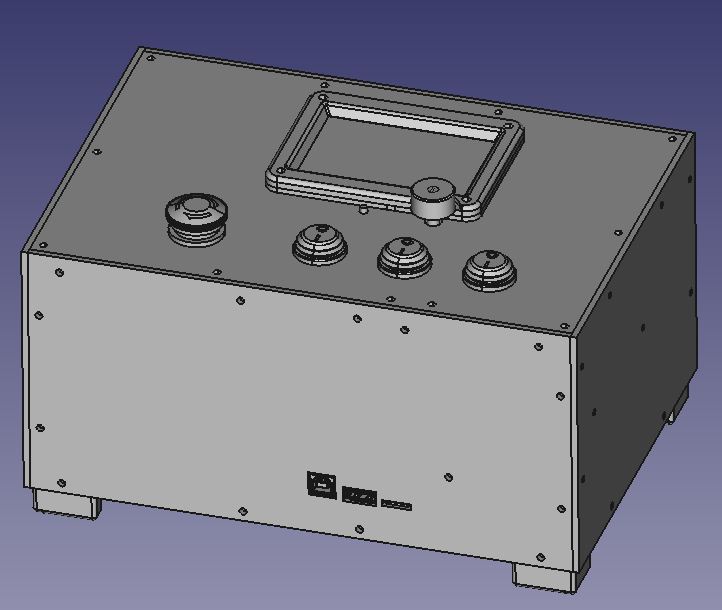
I have laser cut the acrylic sheets for the box and printed the connection pieces. (I do not like the tabs and slots you see on laser cut boxes).
Anyway, as I progress, I will post progress. I ask that if anyone sees anything that will cause me issues later, please let me know.
@ScrapheapInd welcome to the madness! That looks like a fun size. I’m thinking about shrinking mine down similar to that and building a LR3 for larger stuff.
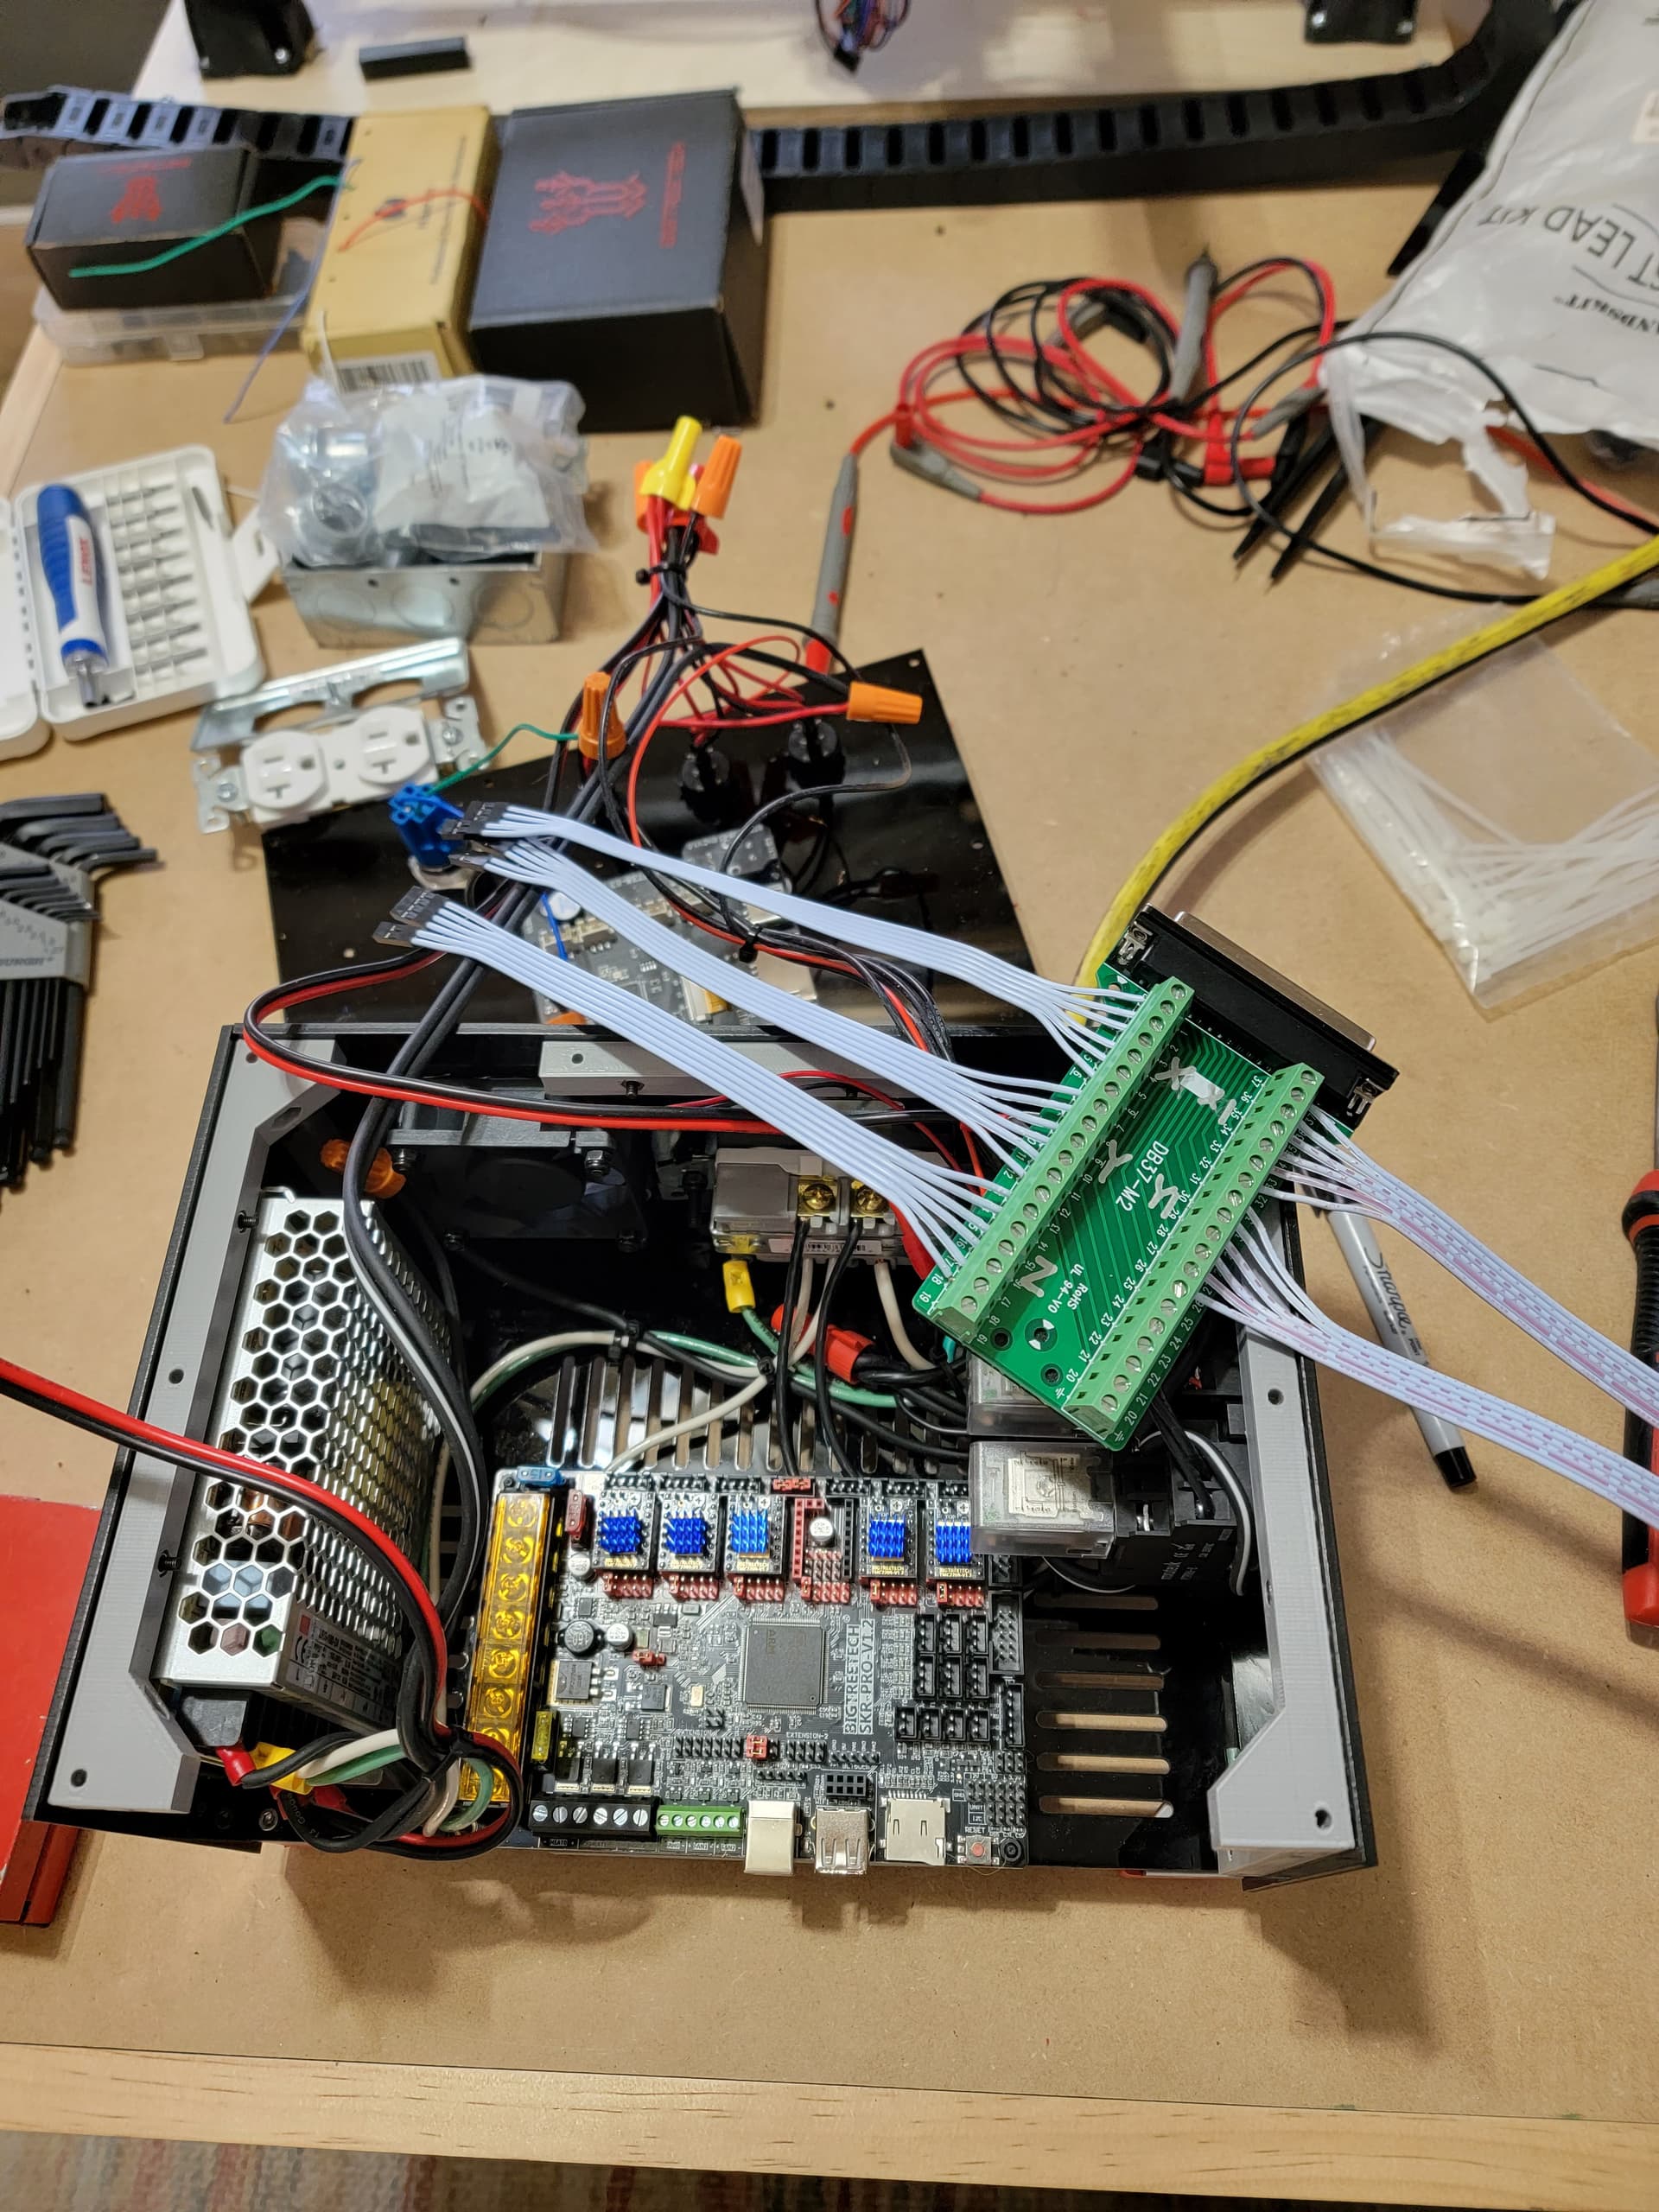
So it looks like you’re using a DB37 for all your cables coming into the box. I guess you’re going to have an octopus cable going to the machine? I’d like to see how that turns out when you’re done.
I figured this was a good start and if I wanted to go bigger, I have room on the bench.
I am using the 37 pin connector. I am still working on cable management and how I want that to work. I do plan on using drag chain. I will post more as I go along. I will need to get the power to the router, so I am worried about interference.
End Stop screws arrived, so those are installed.
Everything is squared.
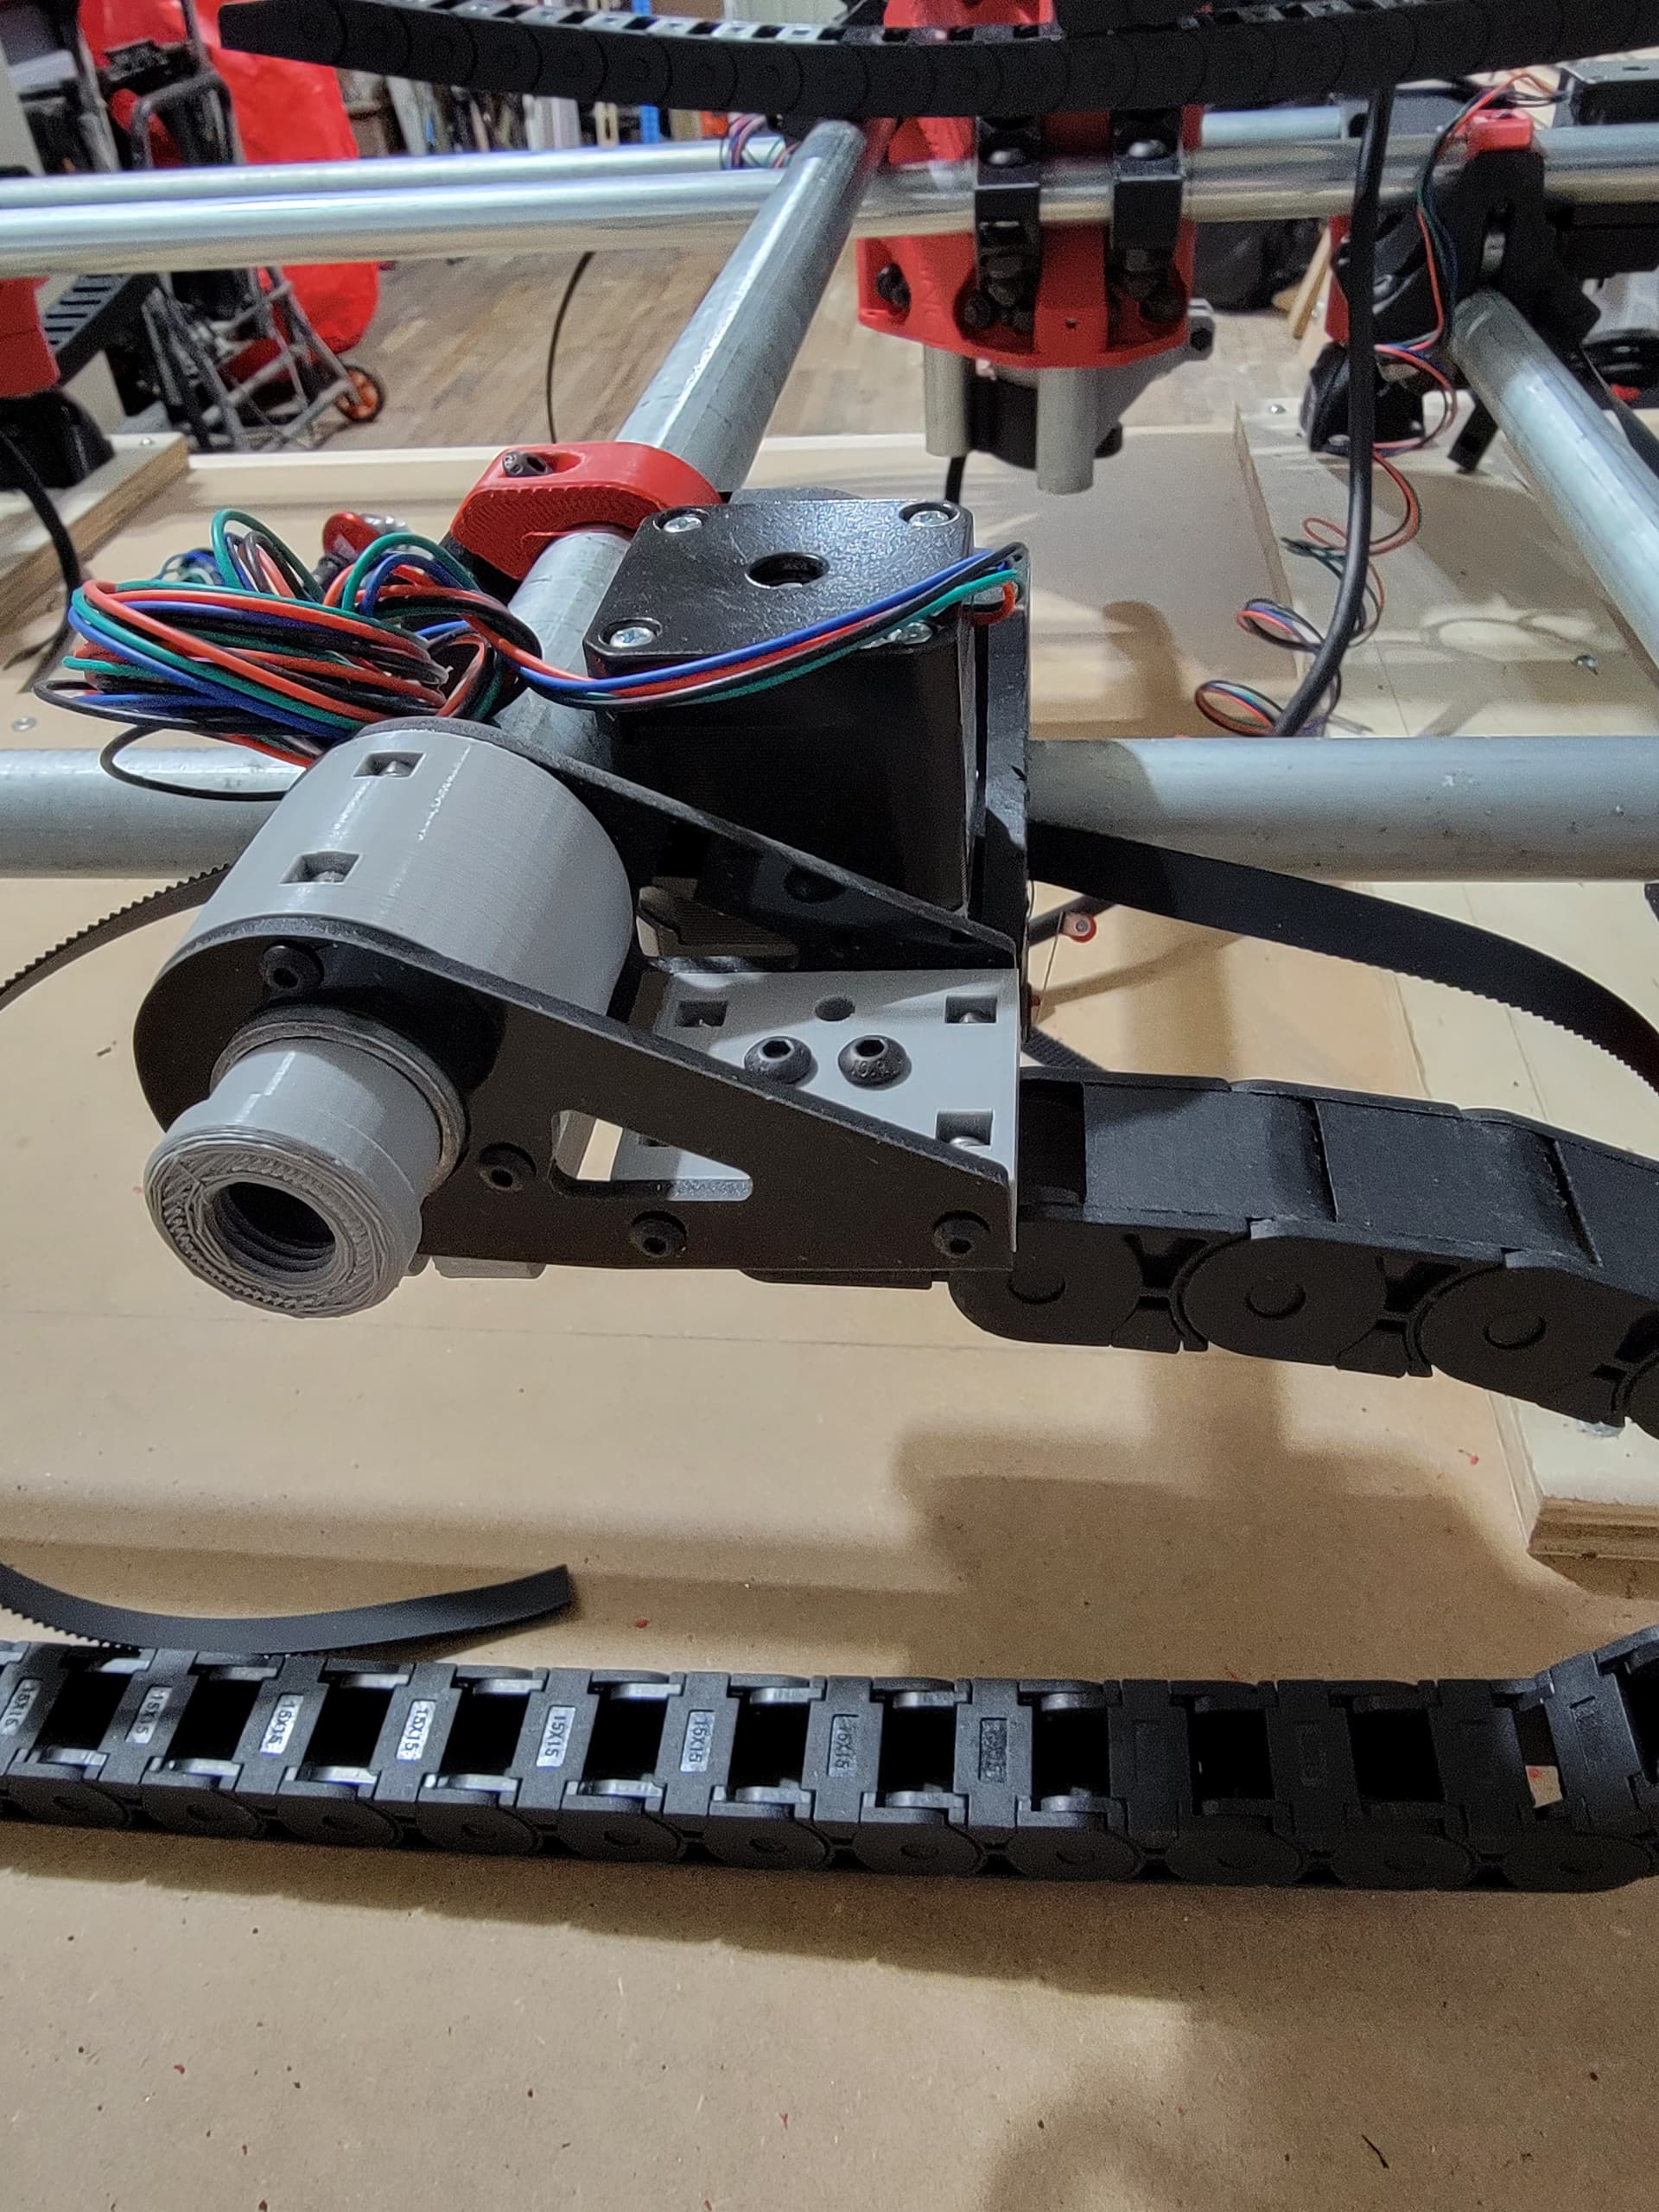
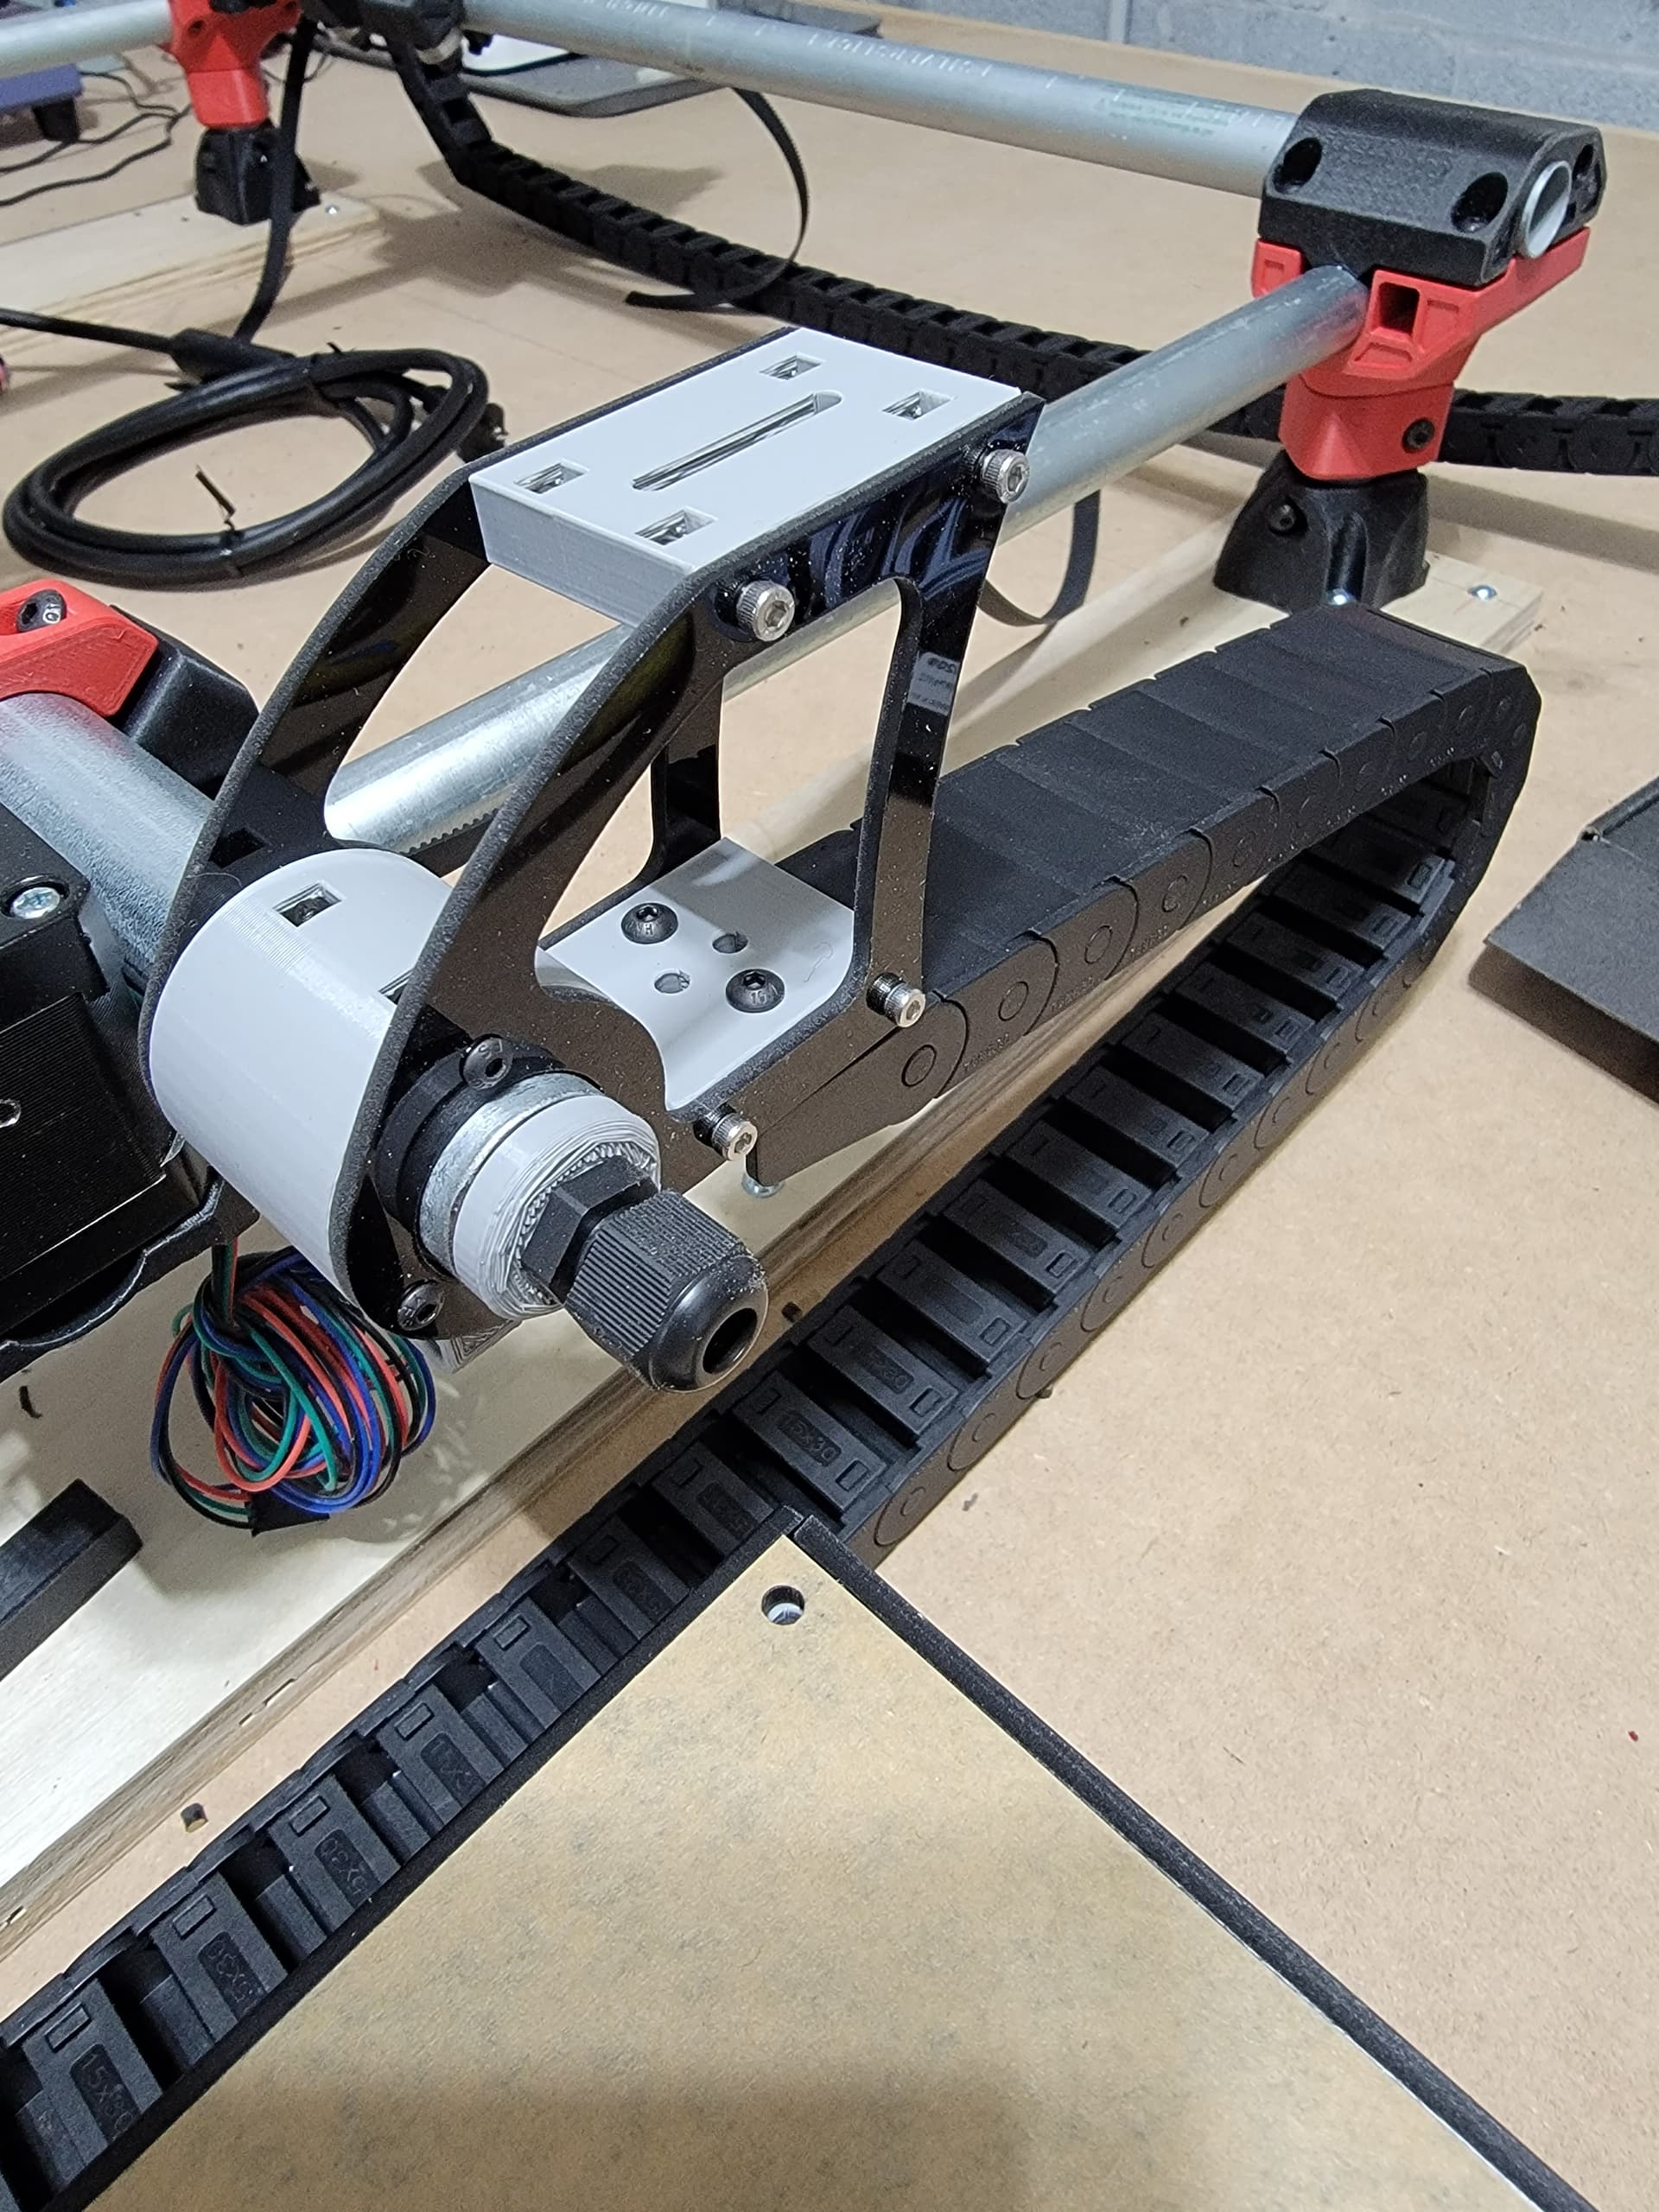
Worked out the design for my drag chain. I will add it to Thingiverse if anyone would like to use it. But, I am still waiting on the aluminum to deliver (tomorrow) and will post it all as soon as I get that installed.
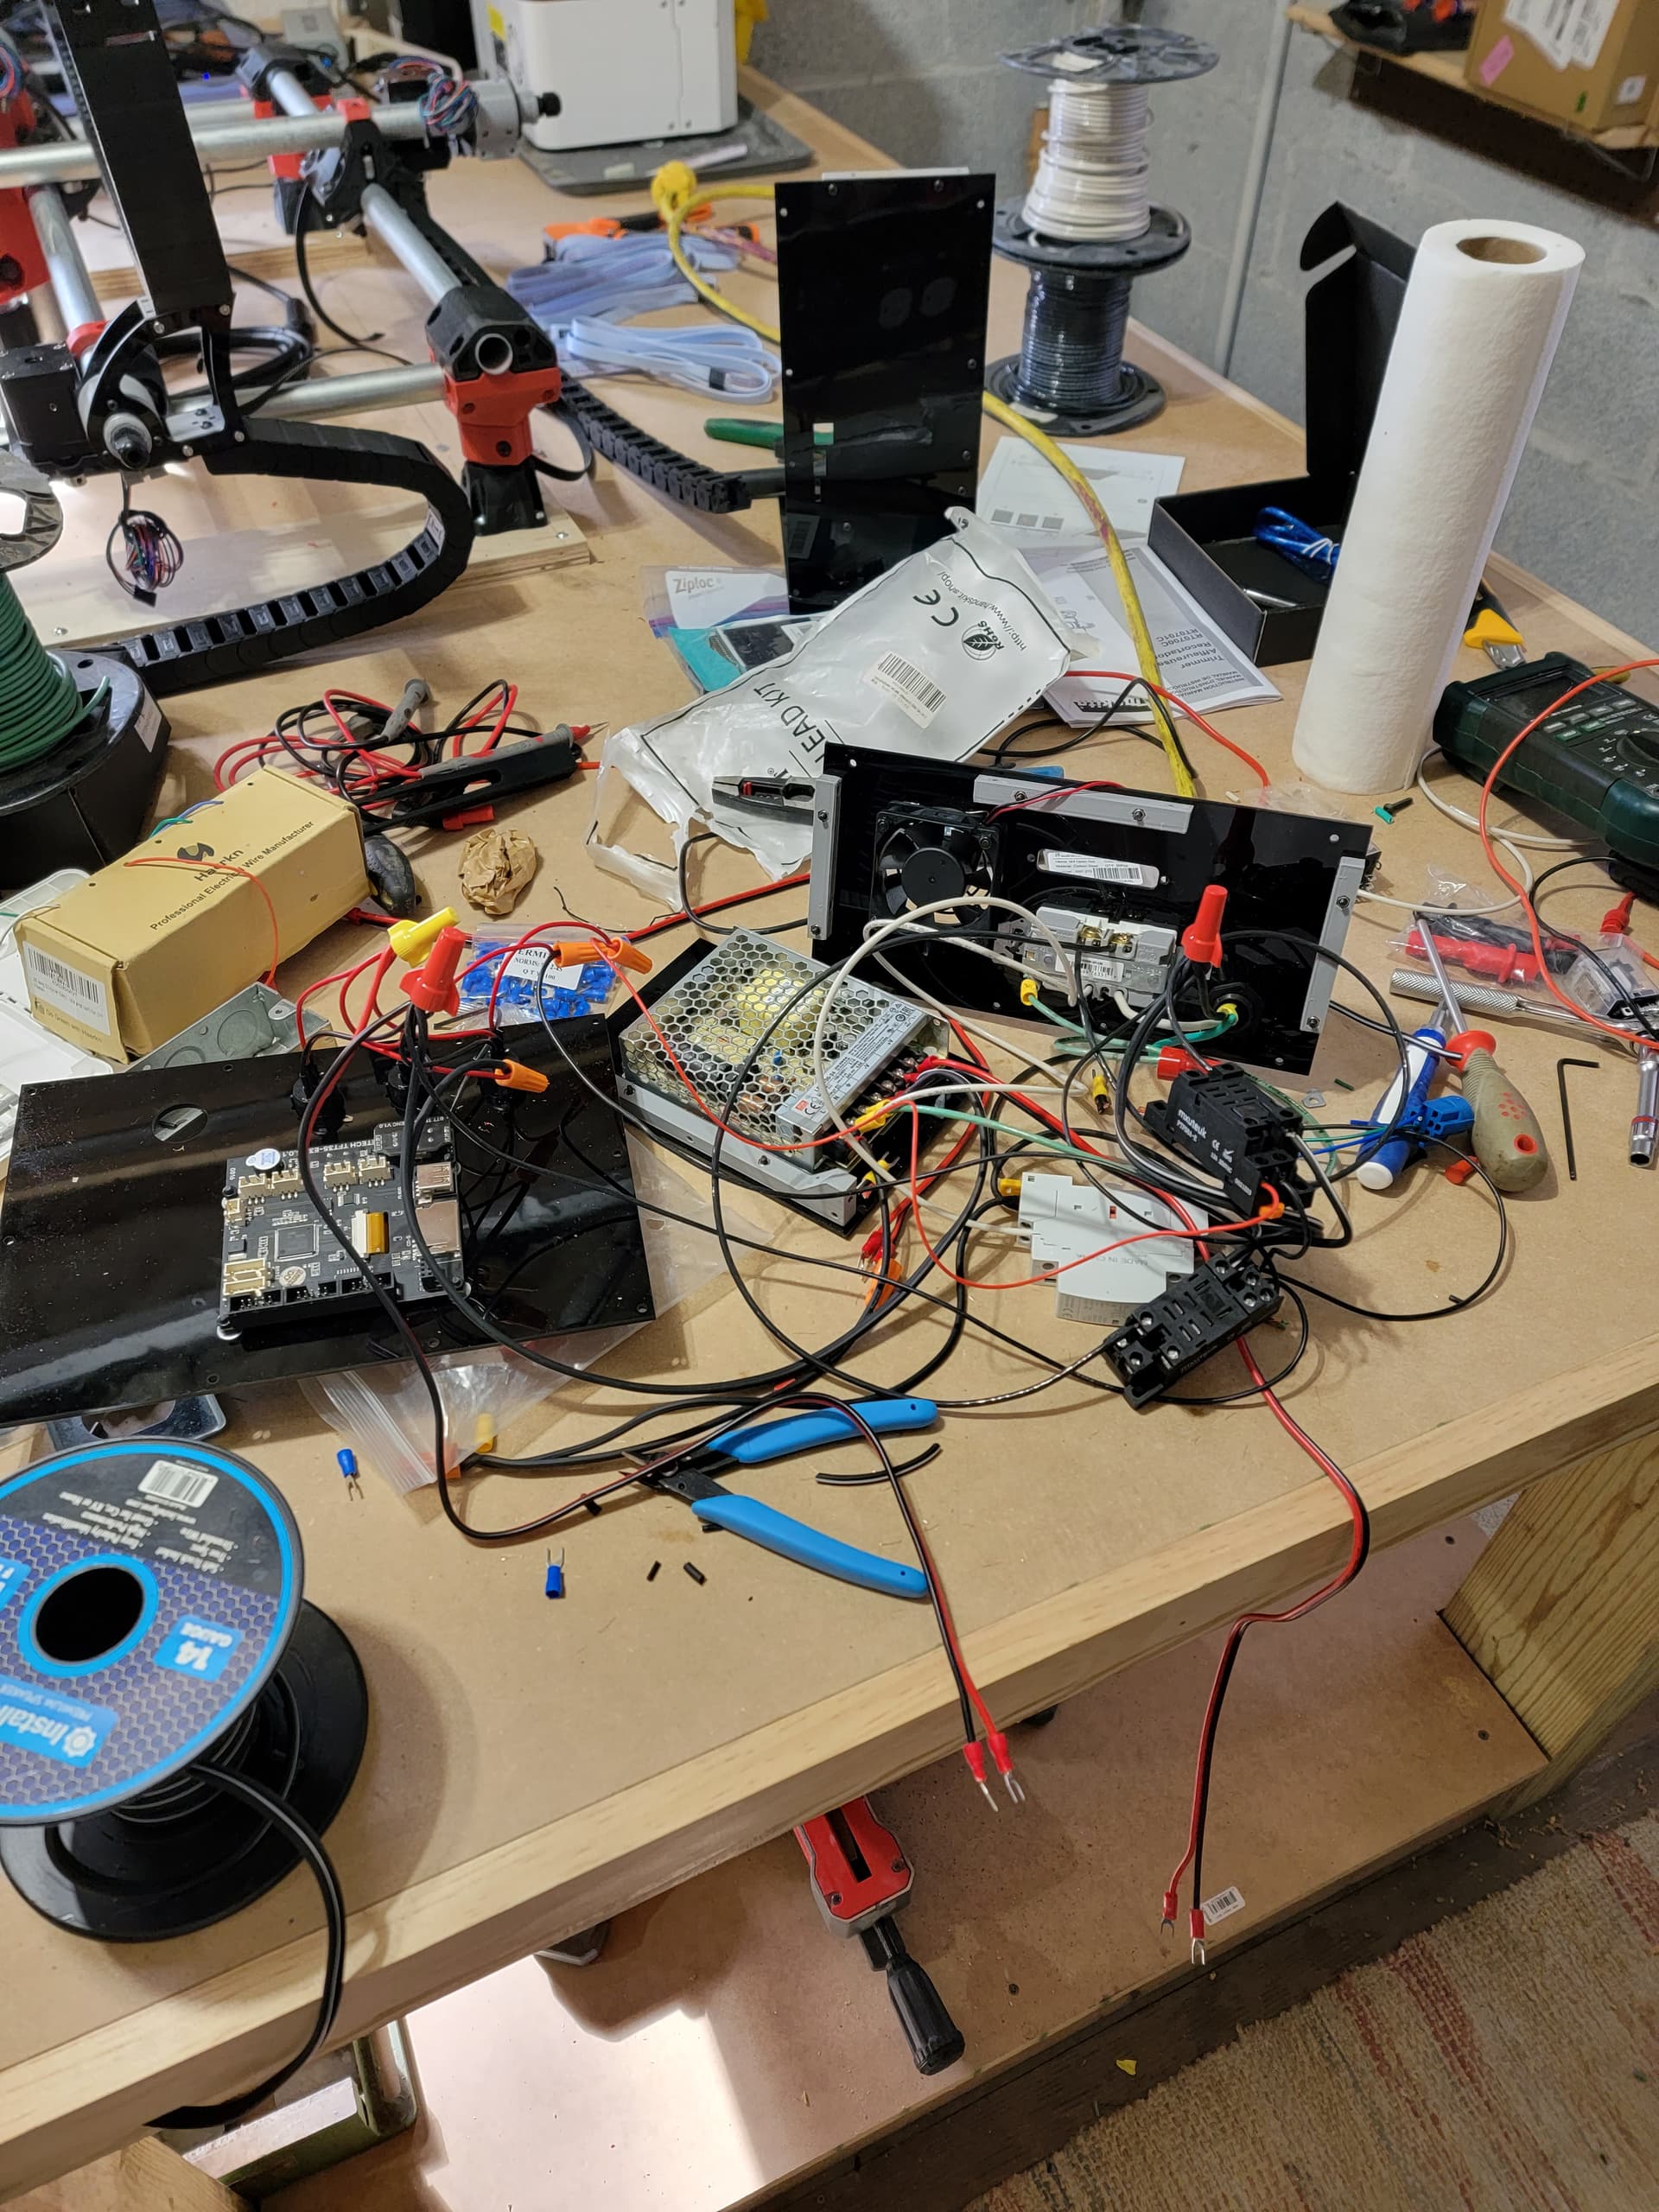
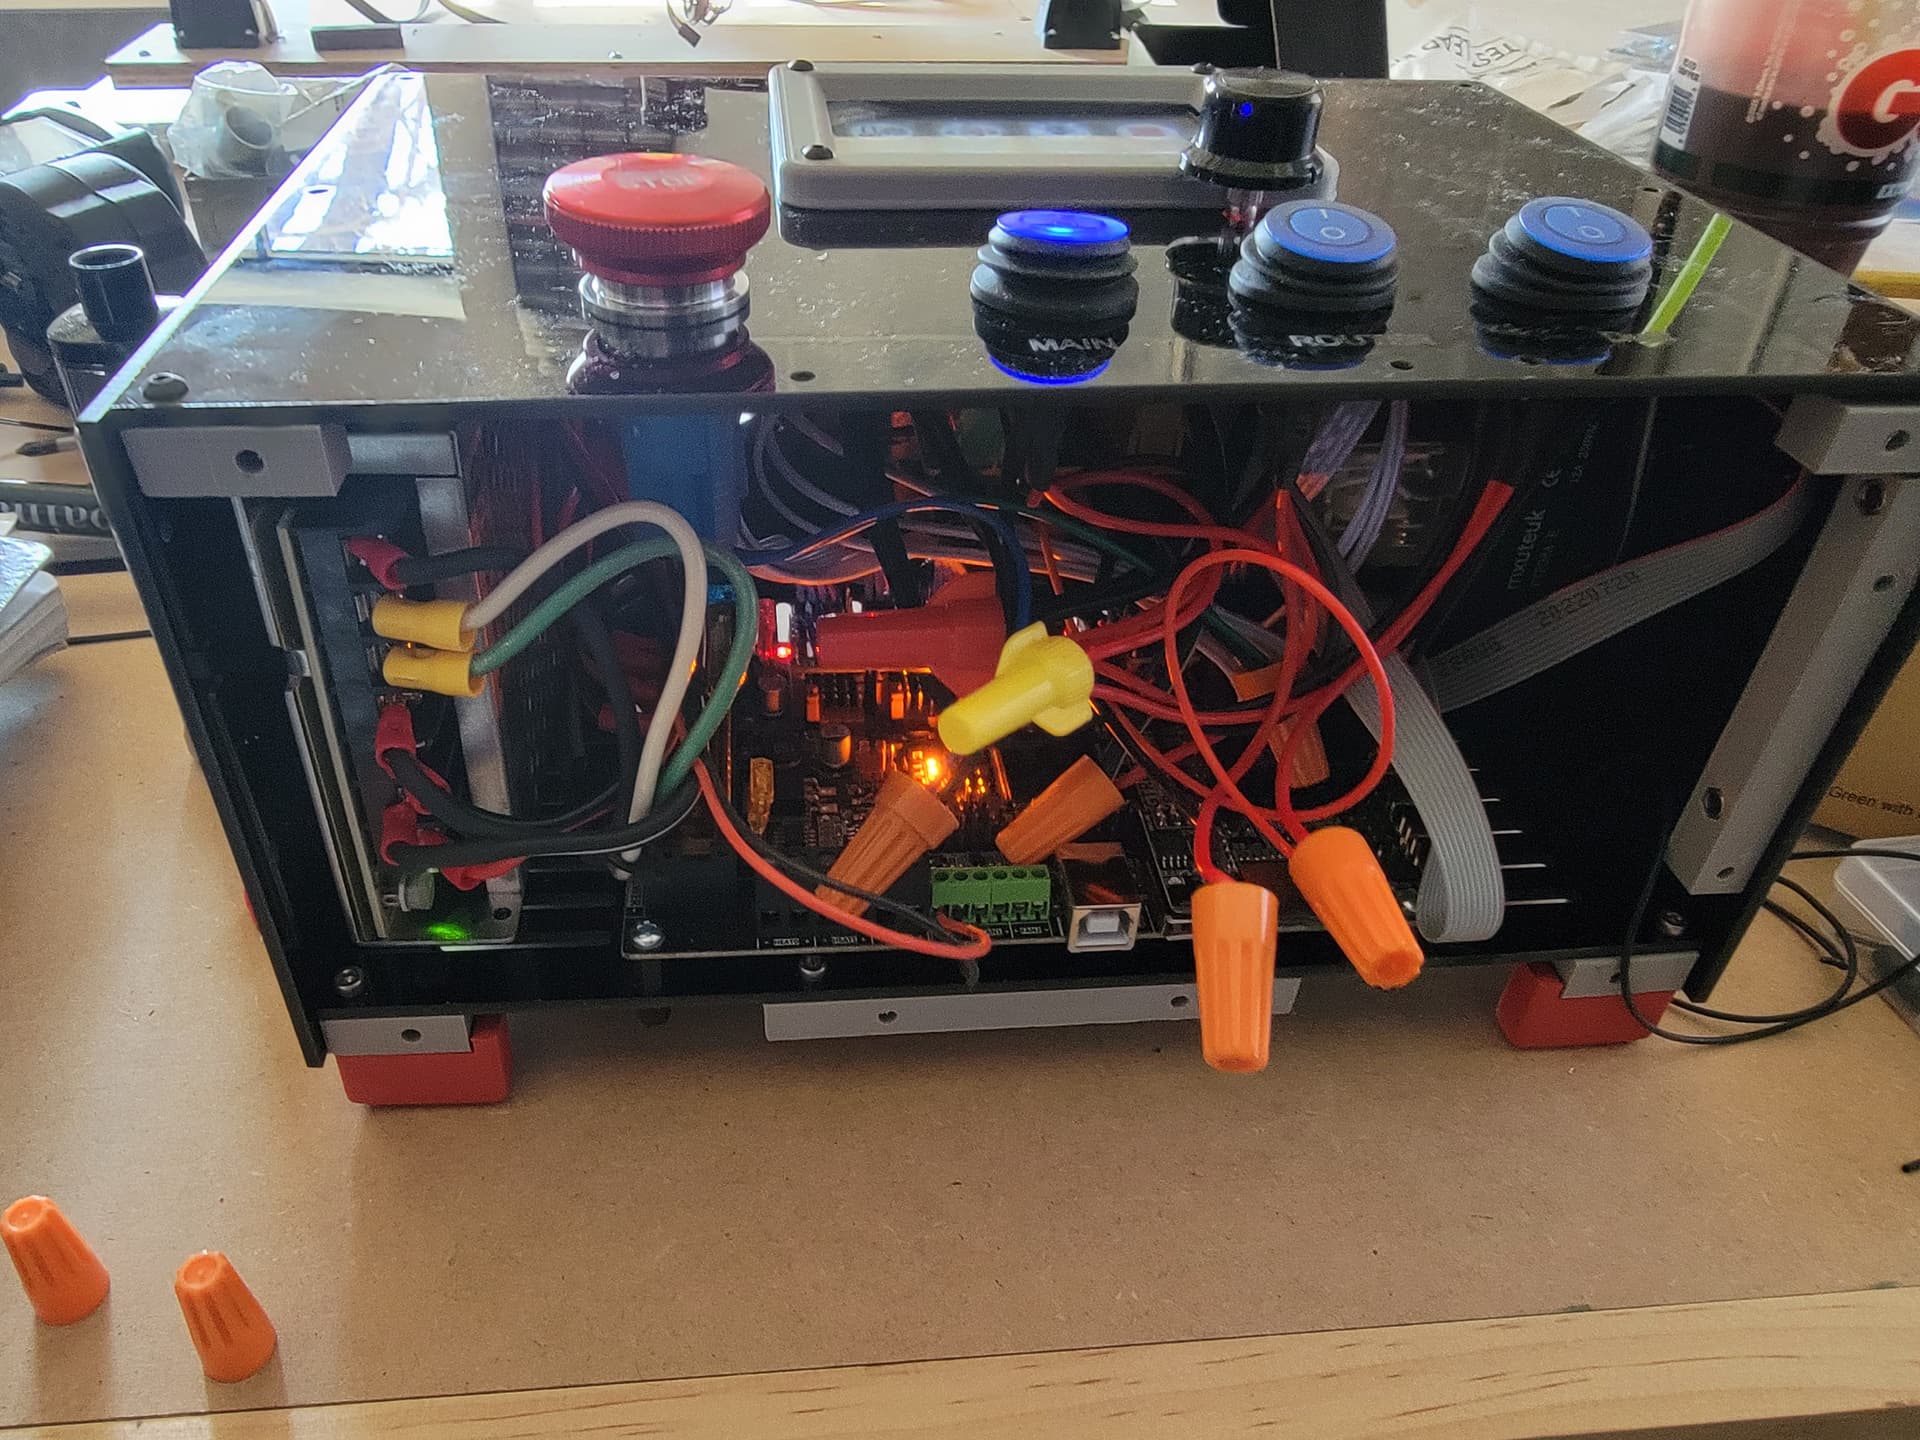
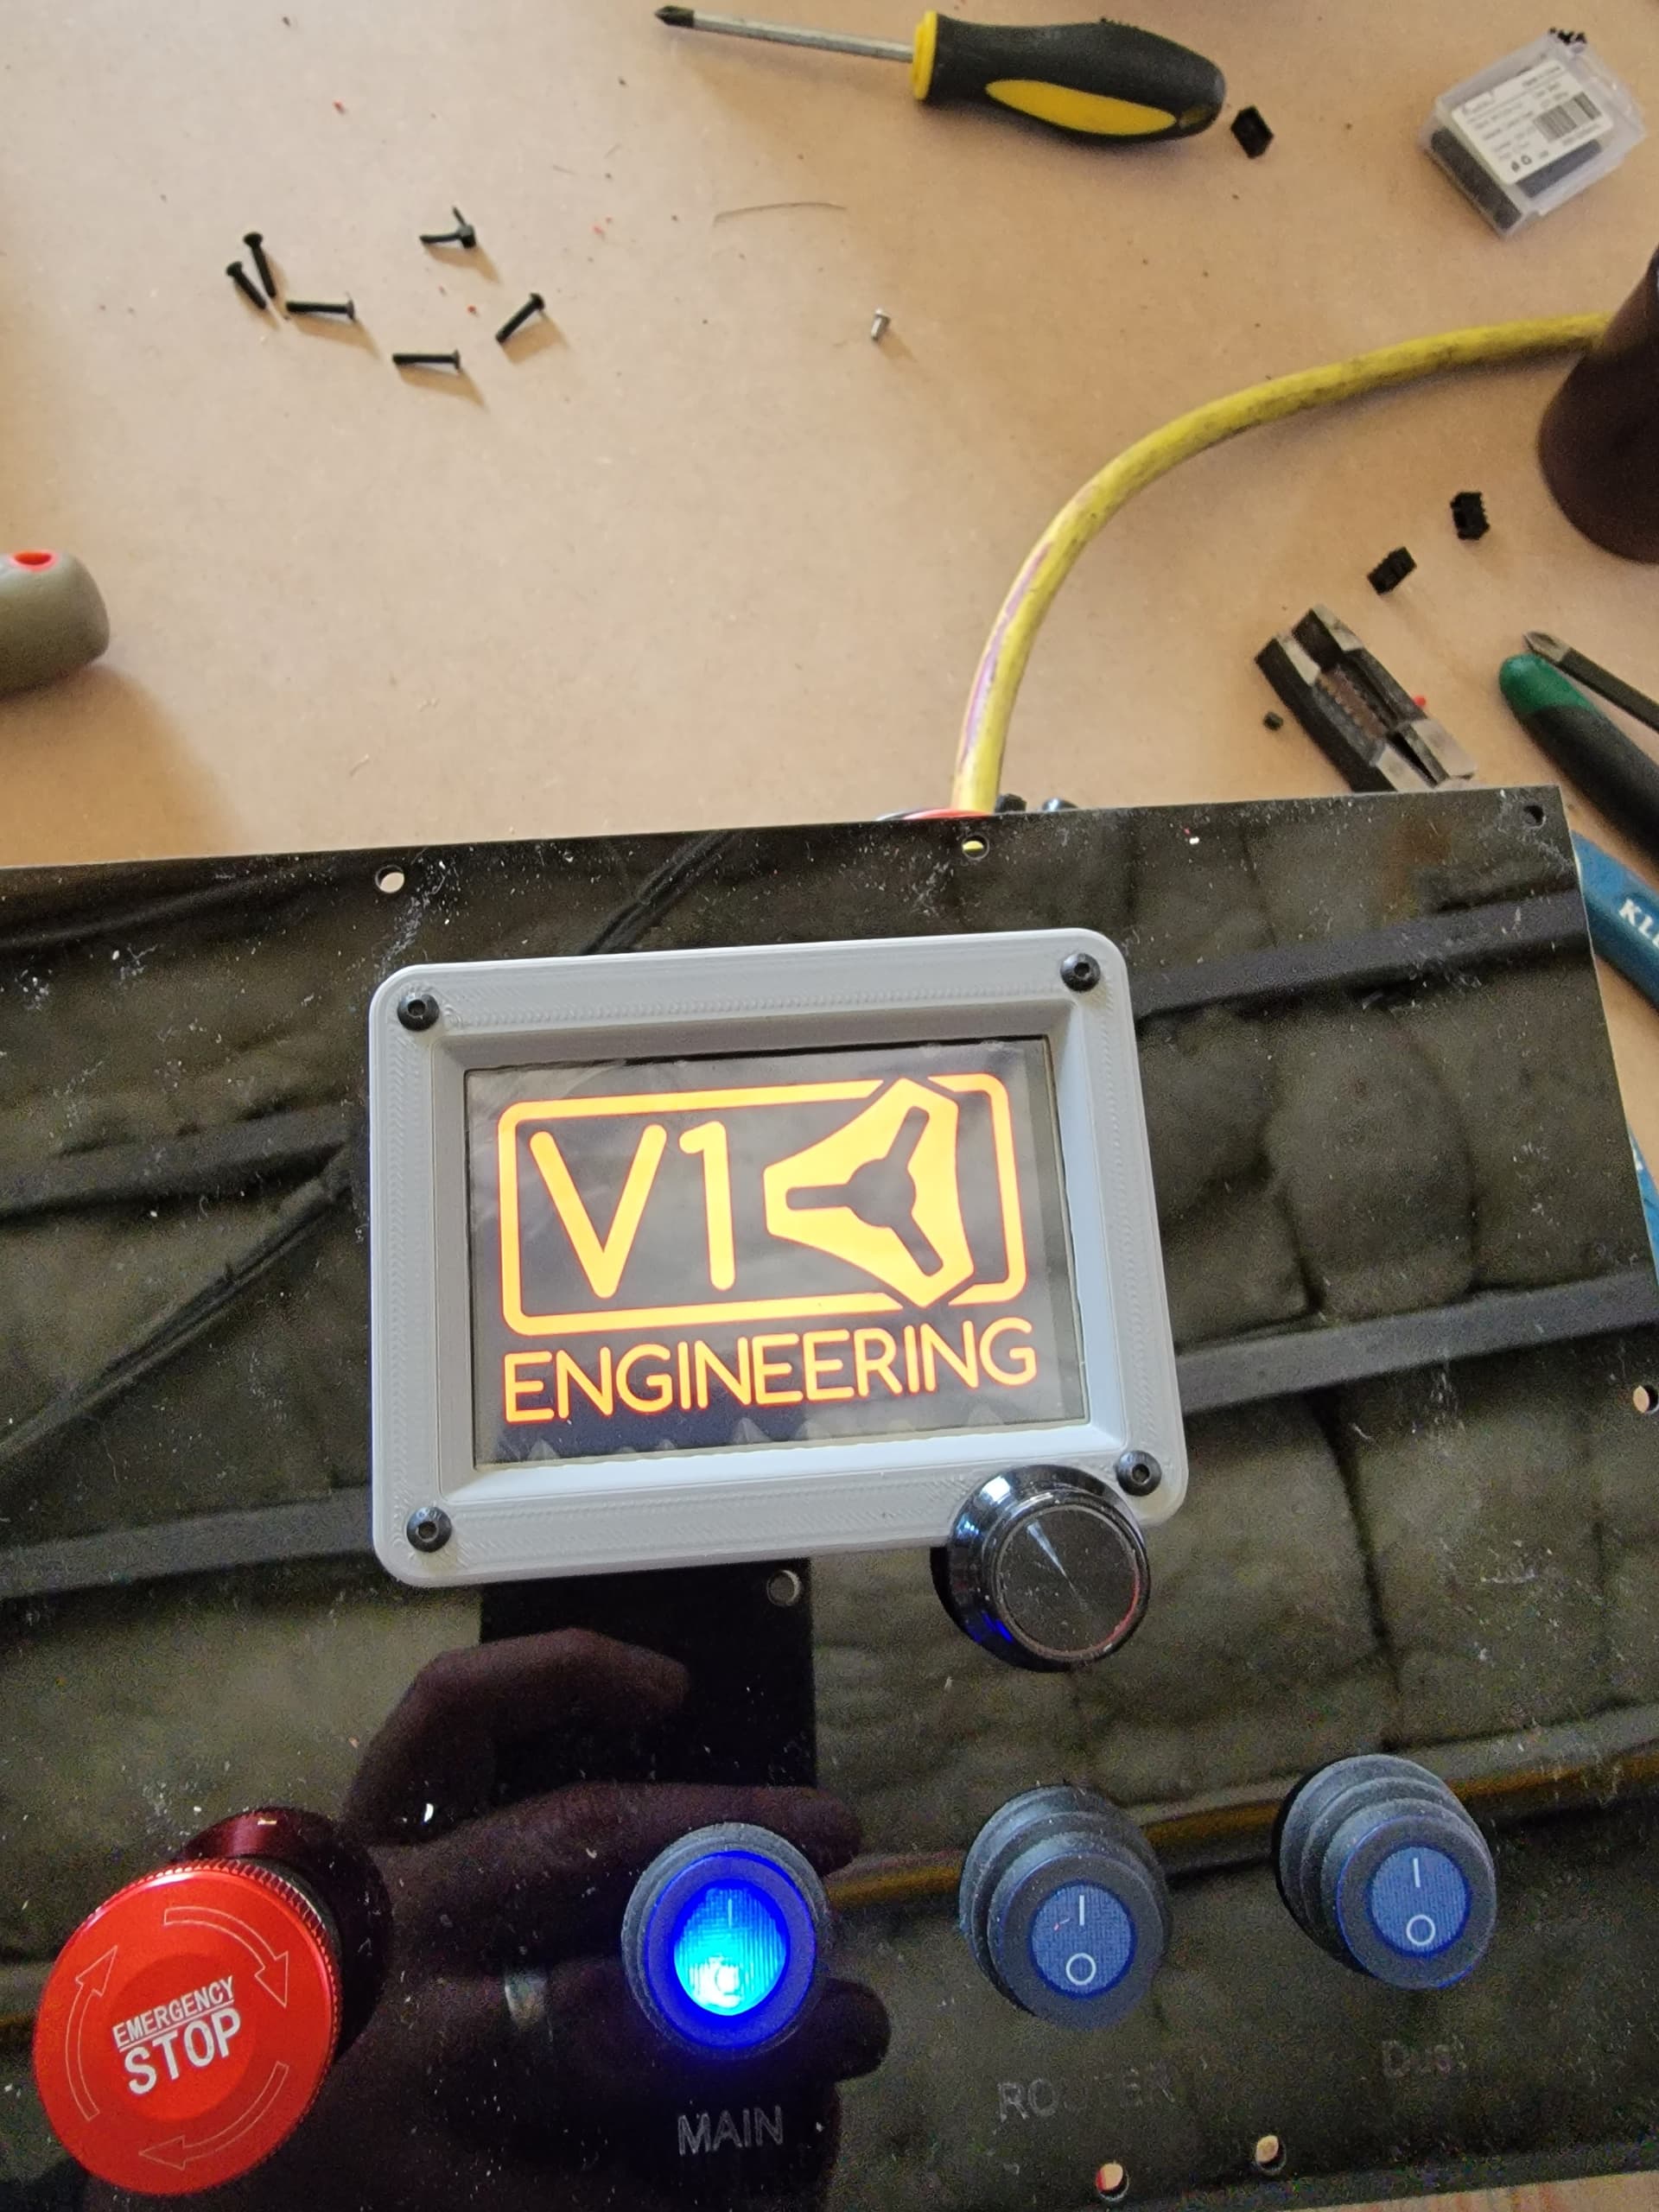
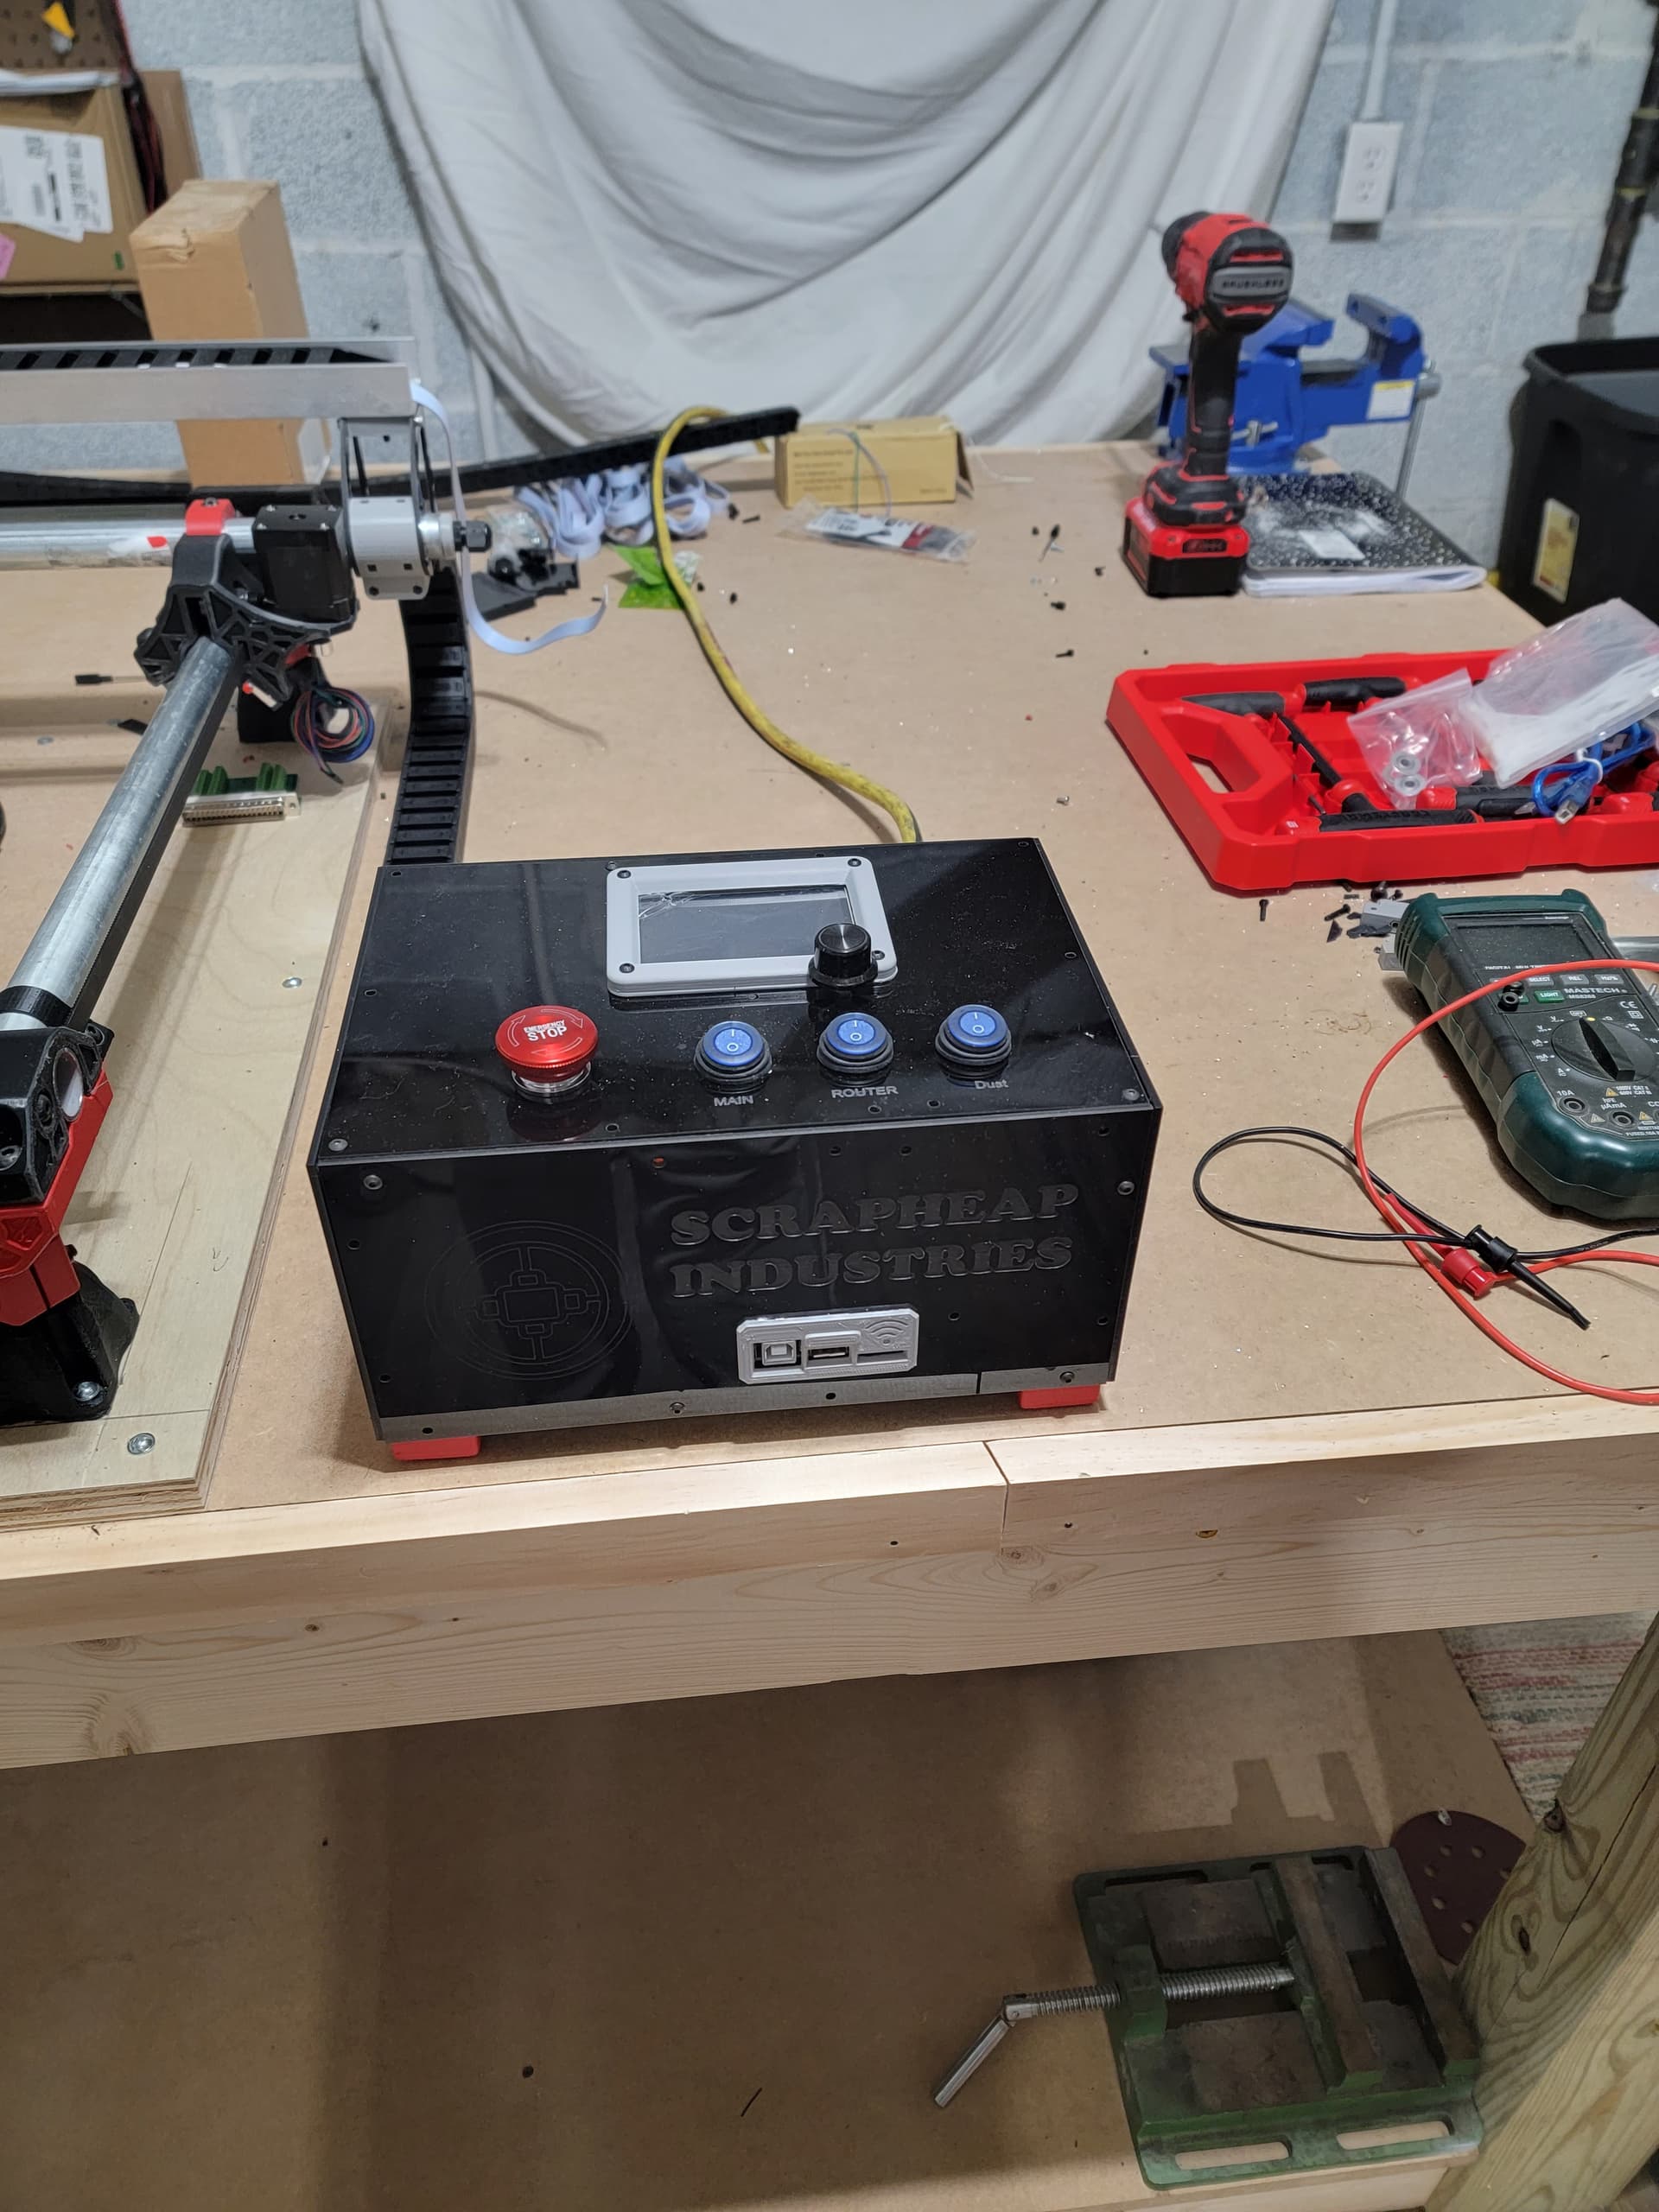
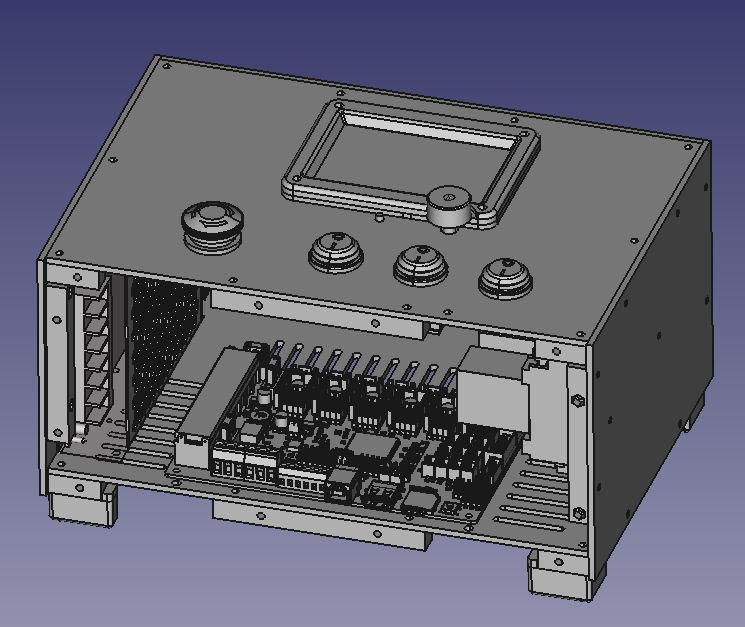
Well, the control box works. Tons of wiring done. I’m going to recut the front to accomodate the ESP board.
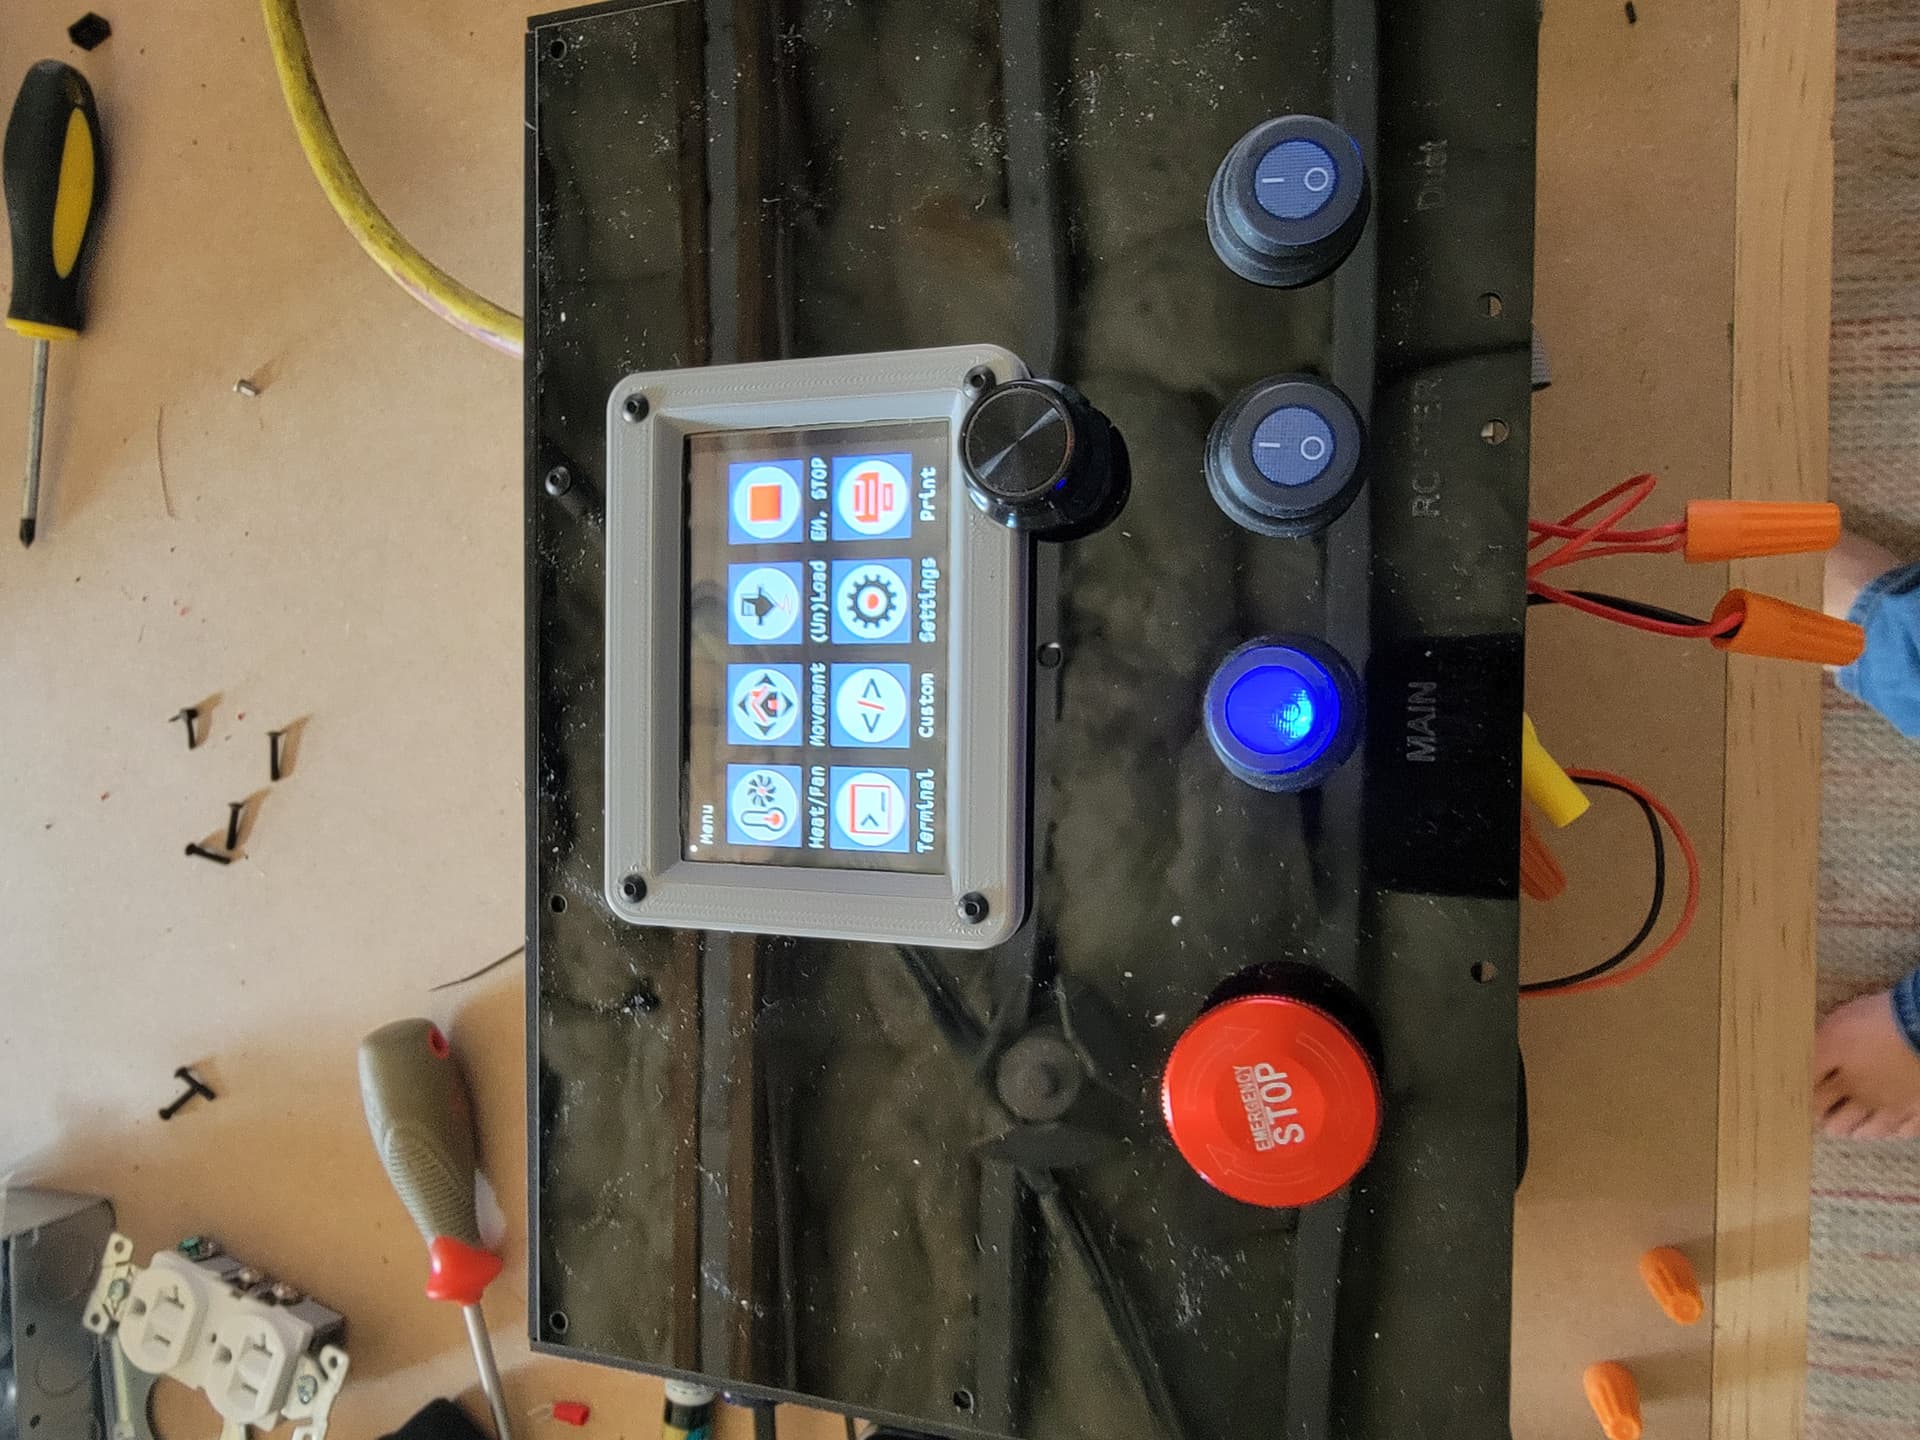
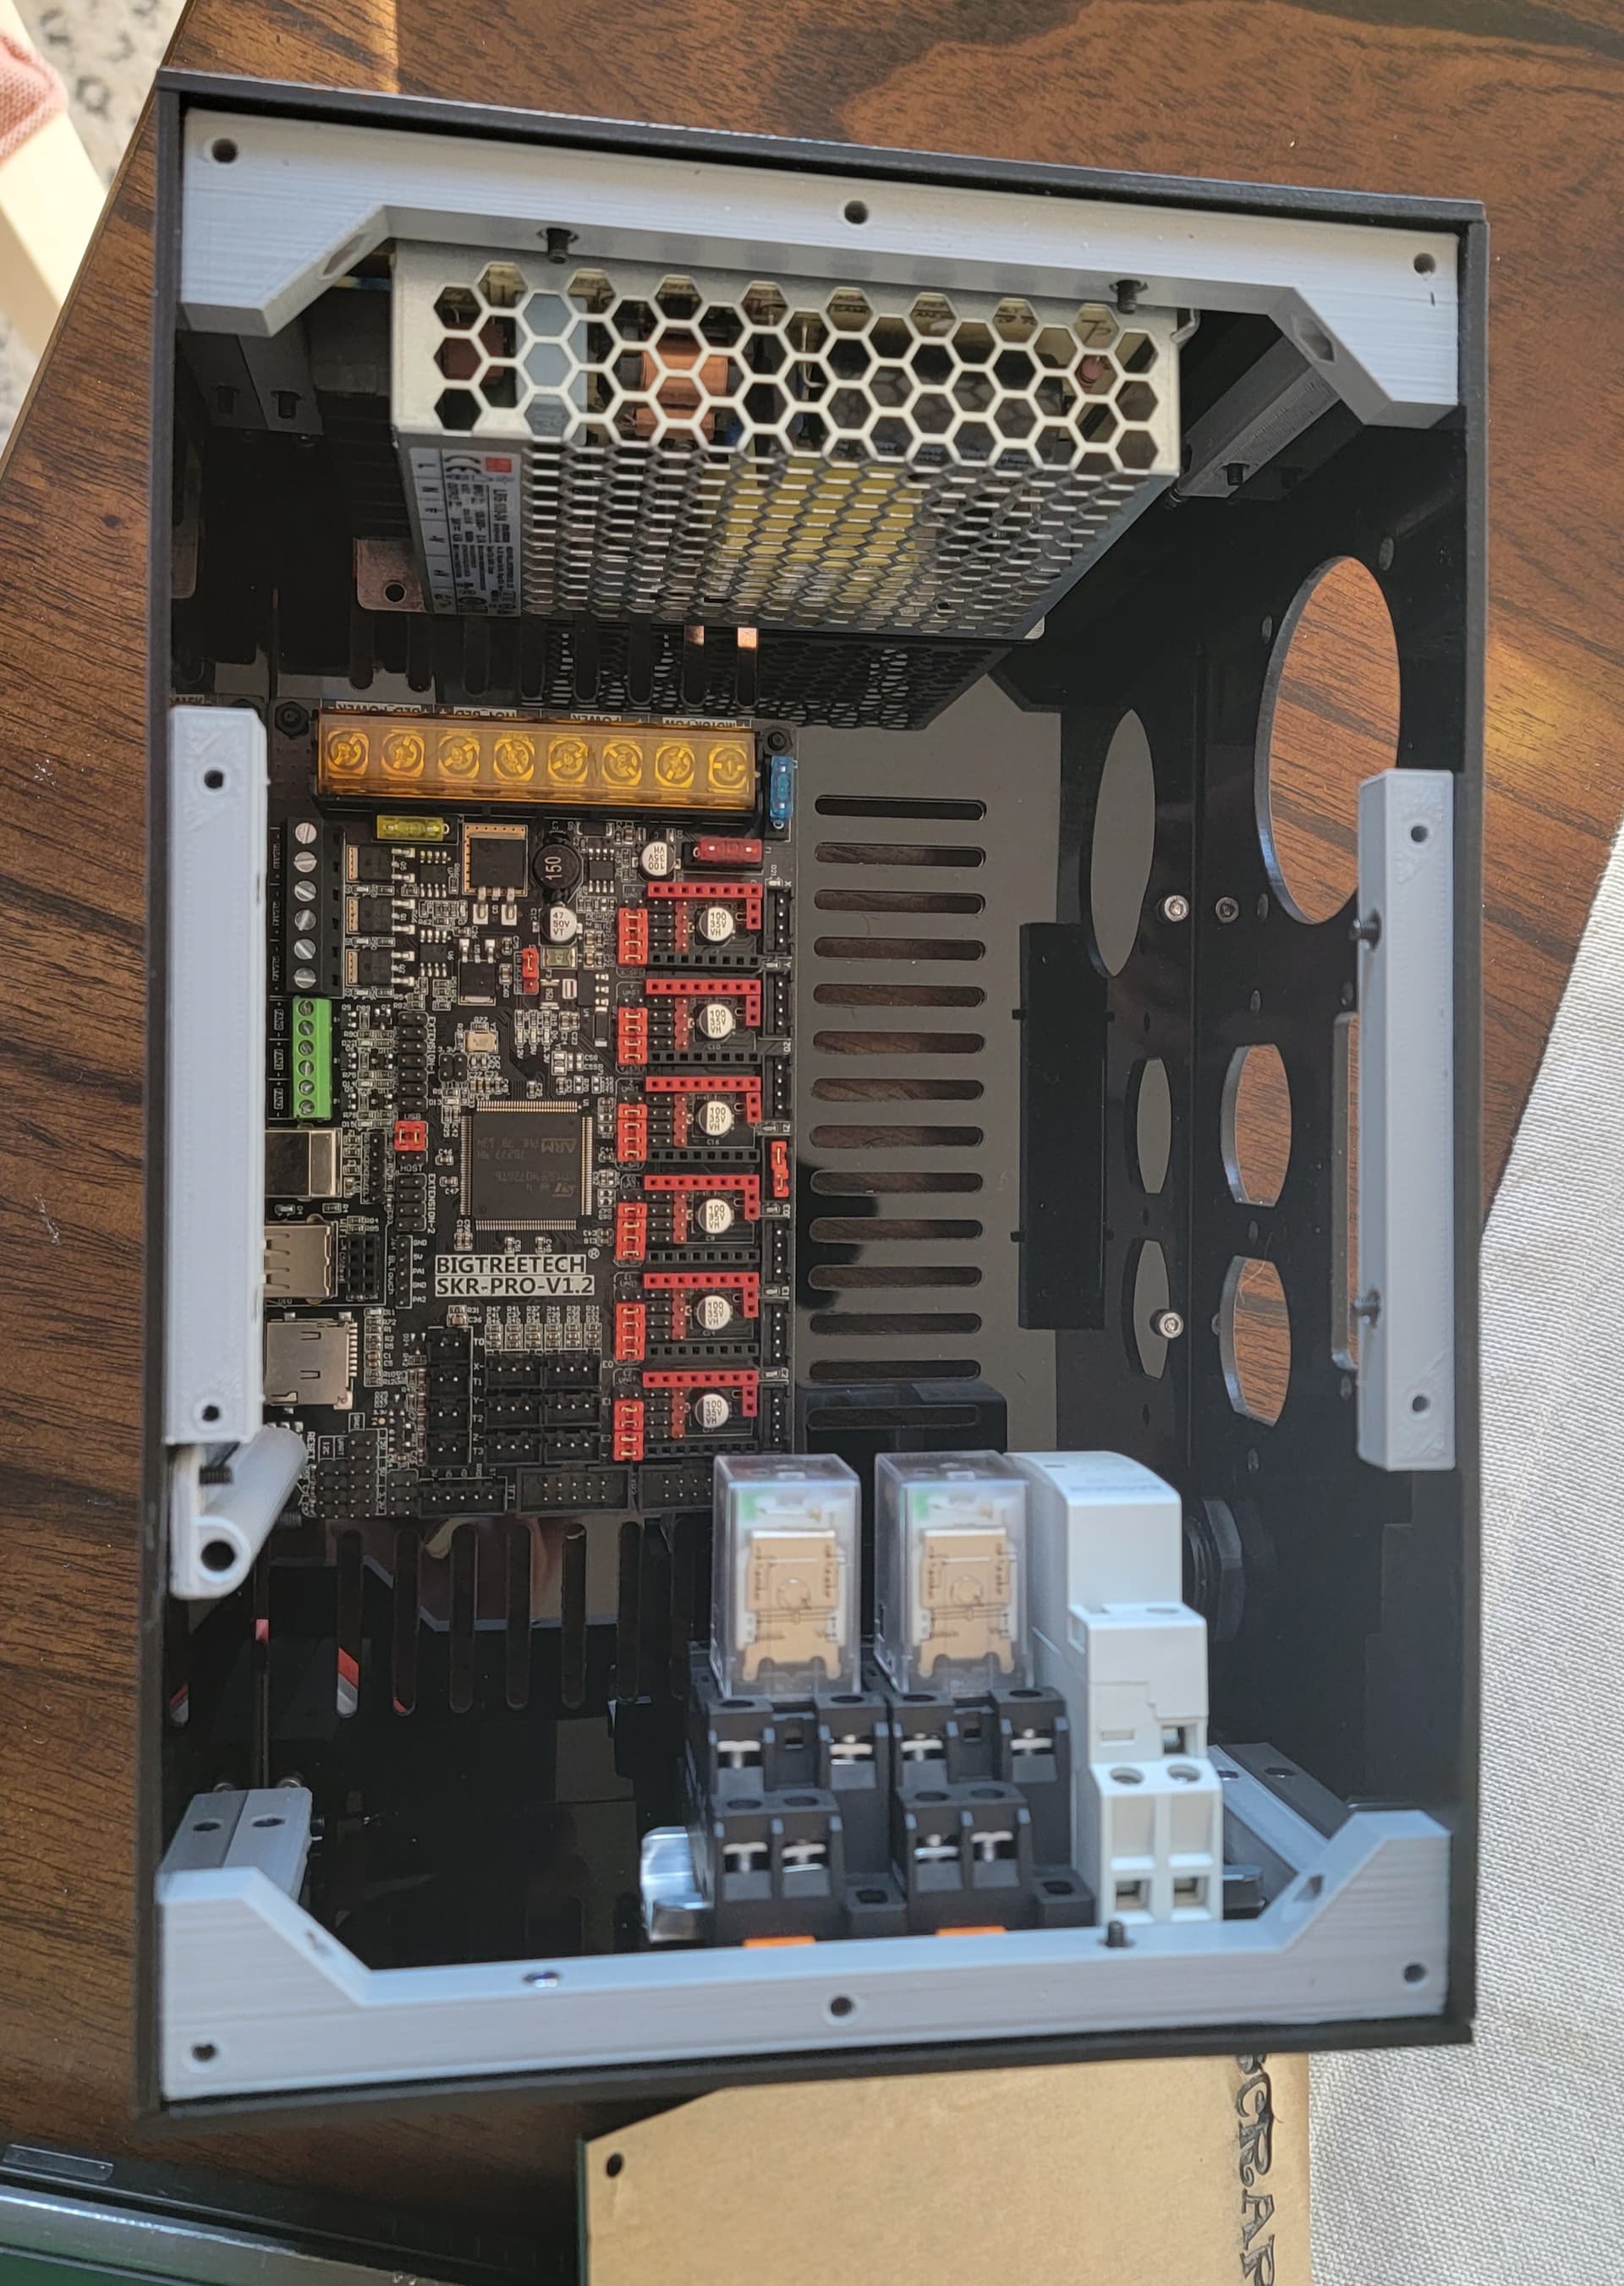
Not sure why the oriented it this way, but whatever.
Box works as follows
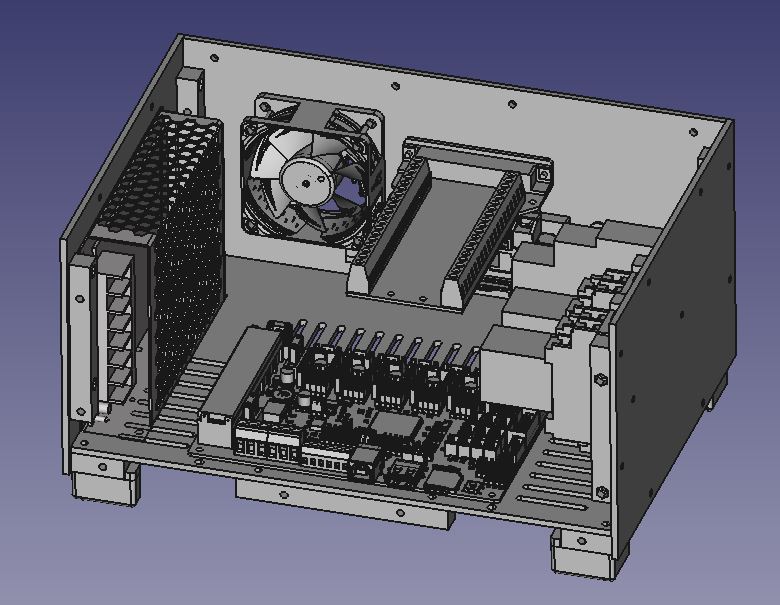
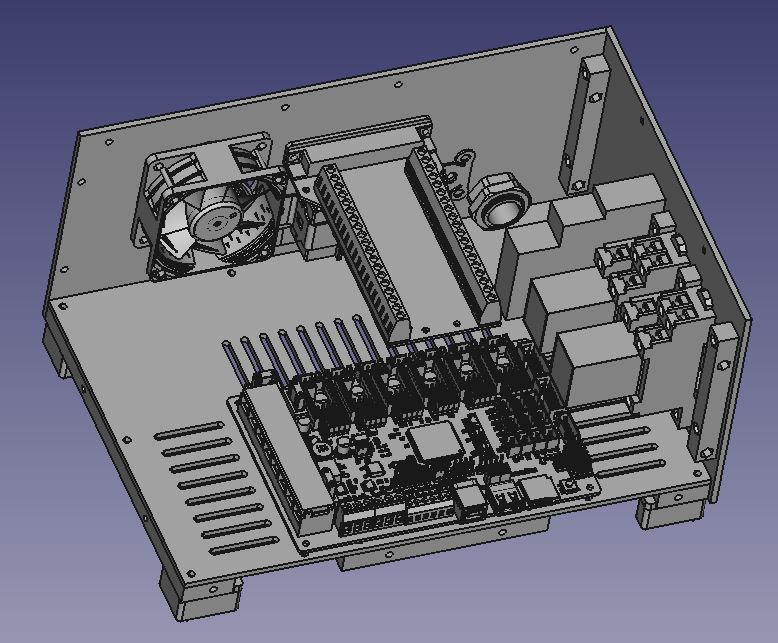
Estop drives a 20a contactor.
24v PS drives the board and switches to the 10a relays for the router and future dust collection.
Steppers and stops are wired to the 37 pin connector. Had to use a heat gun to mold the wires. They are pvc coated and stiff as a board.
As far as I know (when this question occurred the last time) there is quite a bit about printers in the menu since it is Marlin-based. It’s mostly without function though I believe.
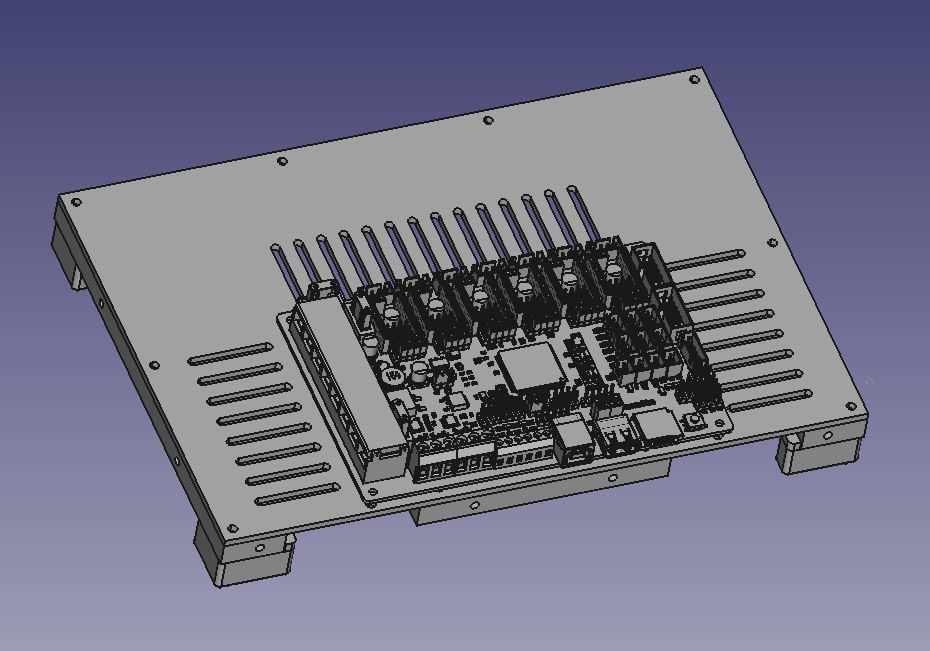
I’m still trying to figure out what I want to do with the electronics. I printed a couple of enclosures I found online, but not loving those.
I may just go simple and mount the boards and SS relay to a piece of plywood and make a simple frame and lid. Really want to get my MPCNC cutting. Been over two weeks since I got a perfect crown drawn…need to make some chips!
Simple sounds like the smart move to me. Am almost finished making an enclosure… The problem is, I’ve been almost finished for a few days… I refuse to let common sense, or Fusion 360 win.
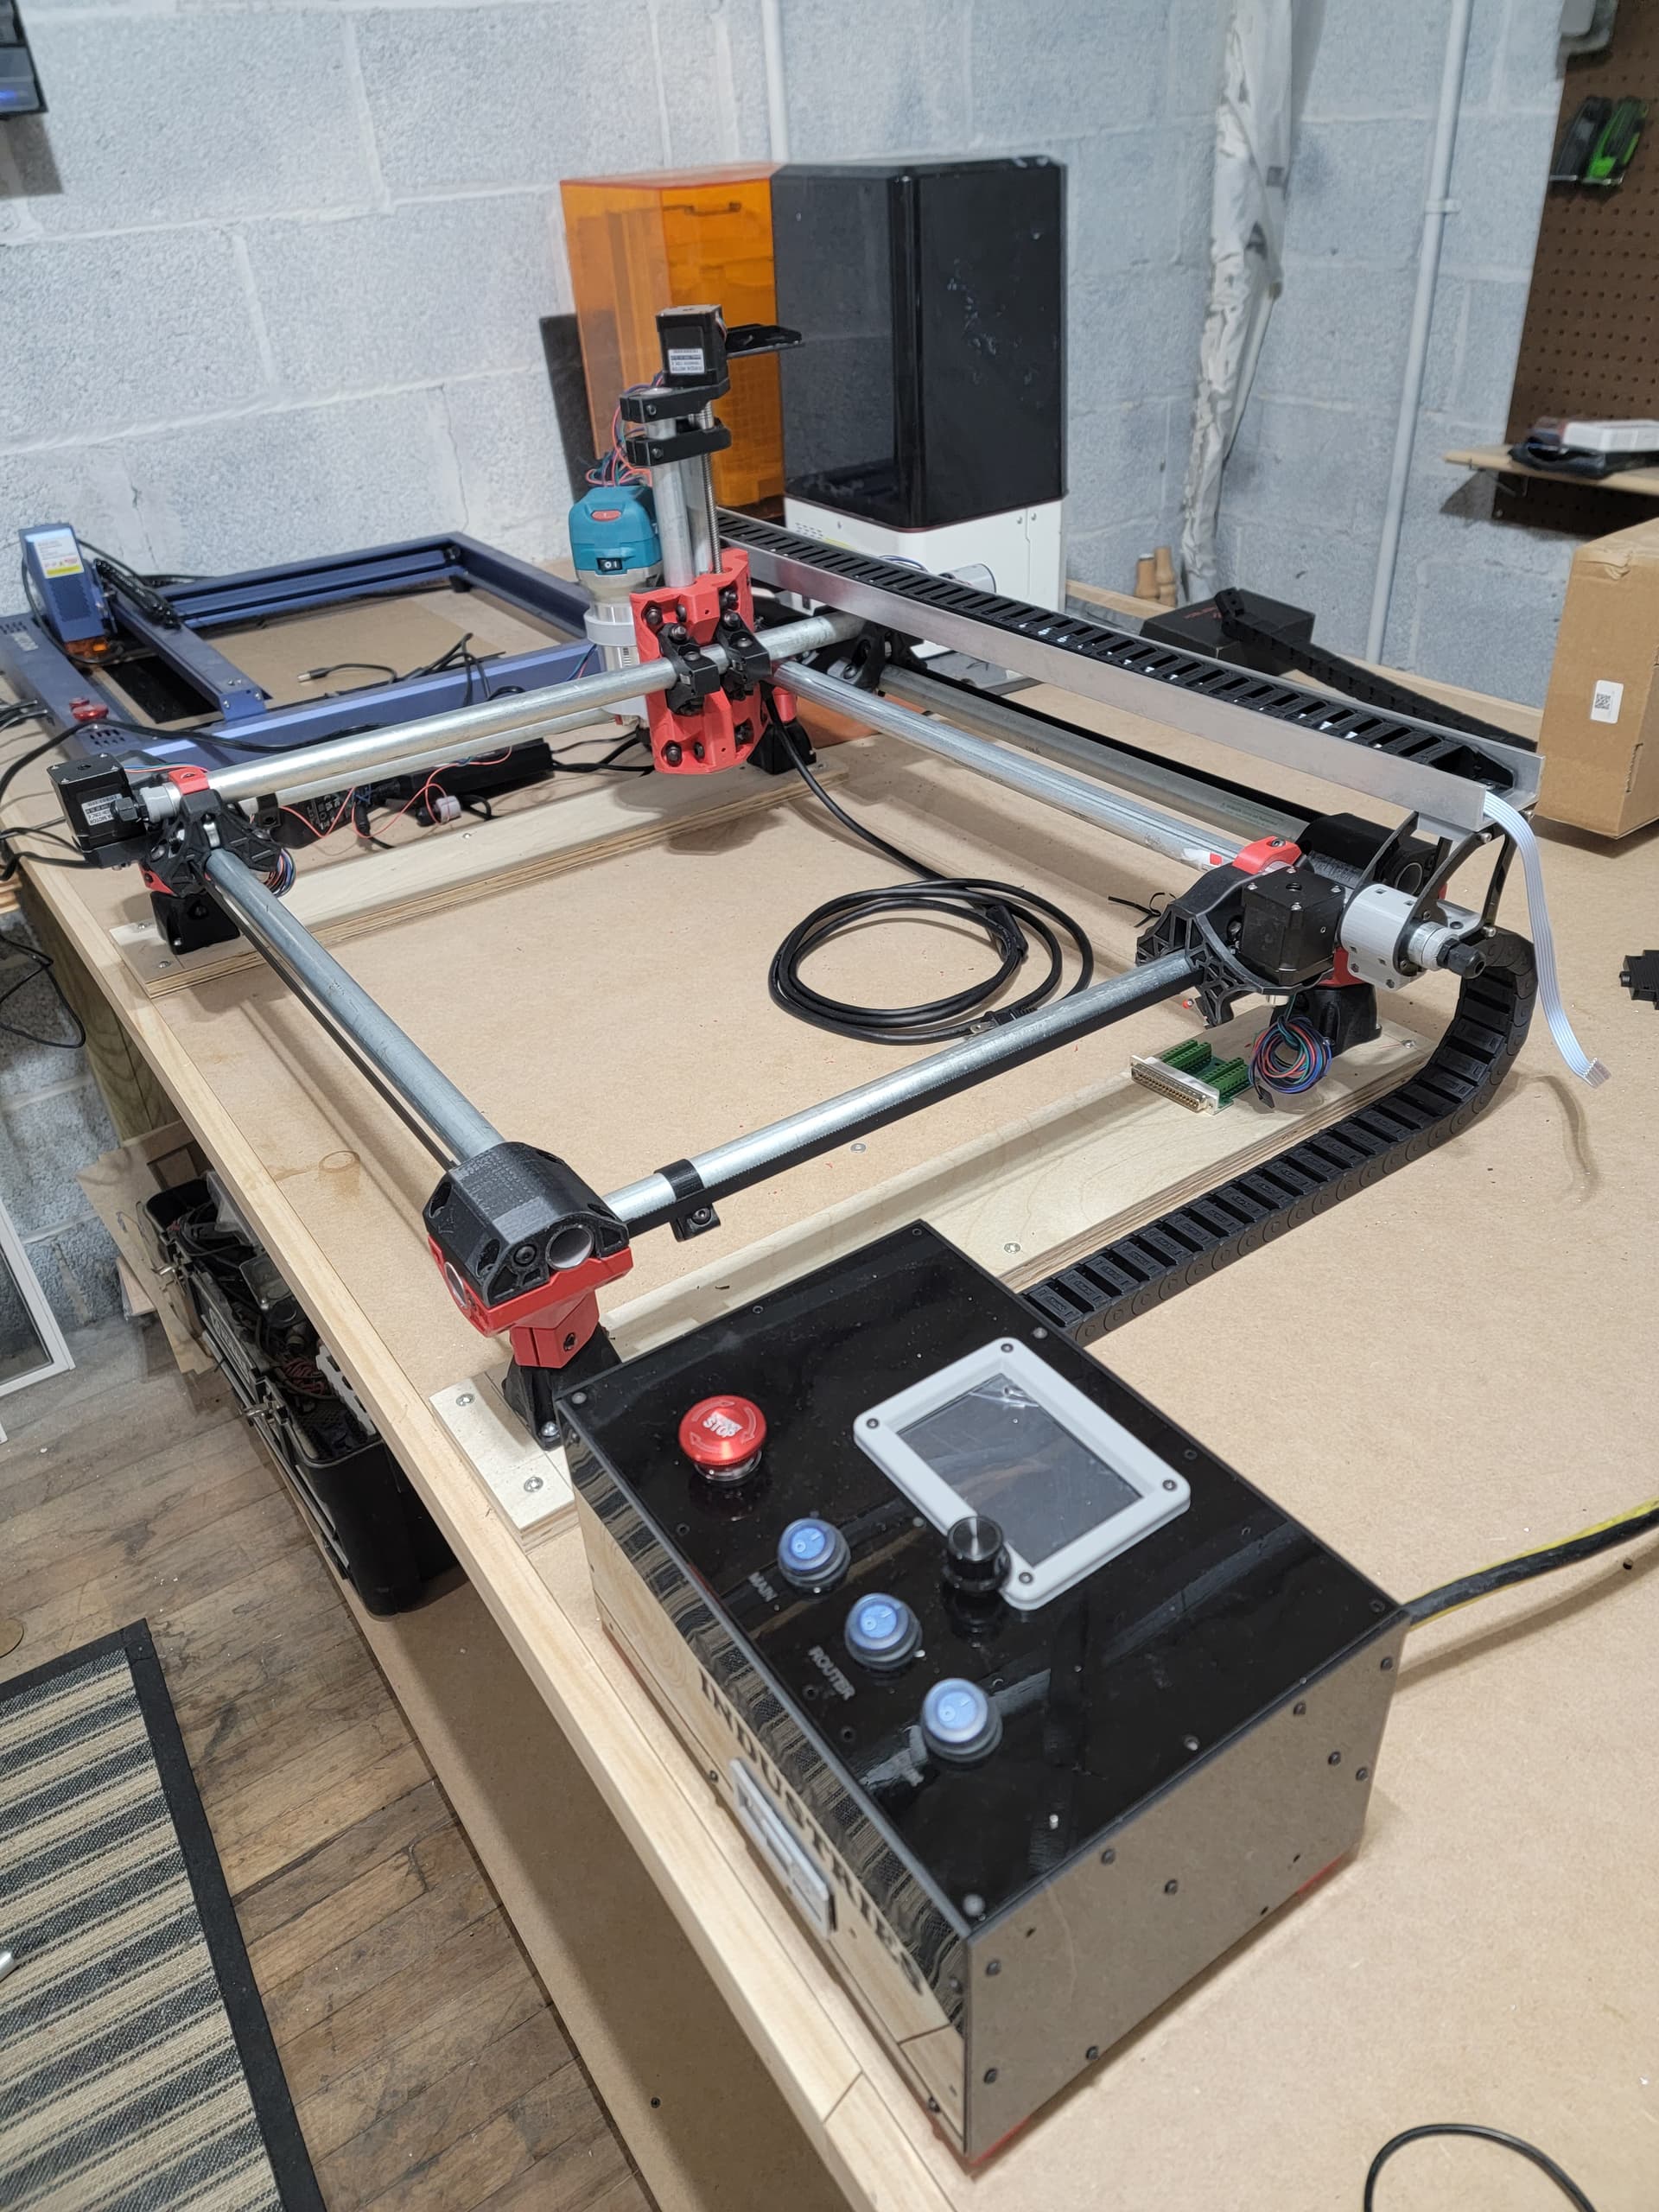
Minor progress. Waiting on a hardware replenish to finish drag chains, but belts are done, box is done except programming the ESP Wifi. Z and Y drag chain installed. X is being stretched and flattened in the background. Now i have to wire up the steppers and stops.
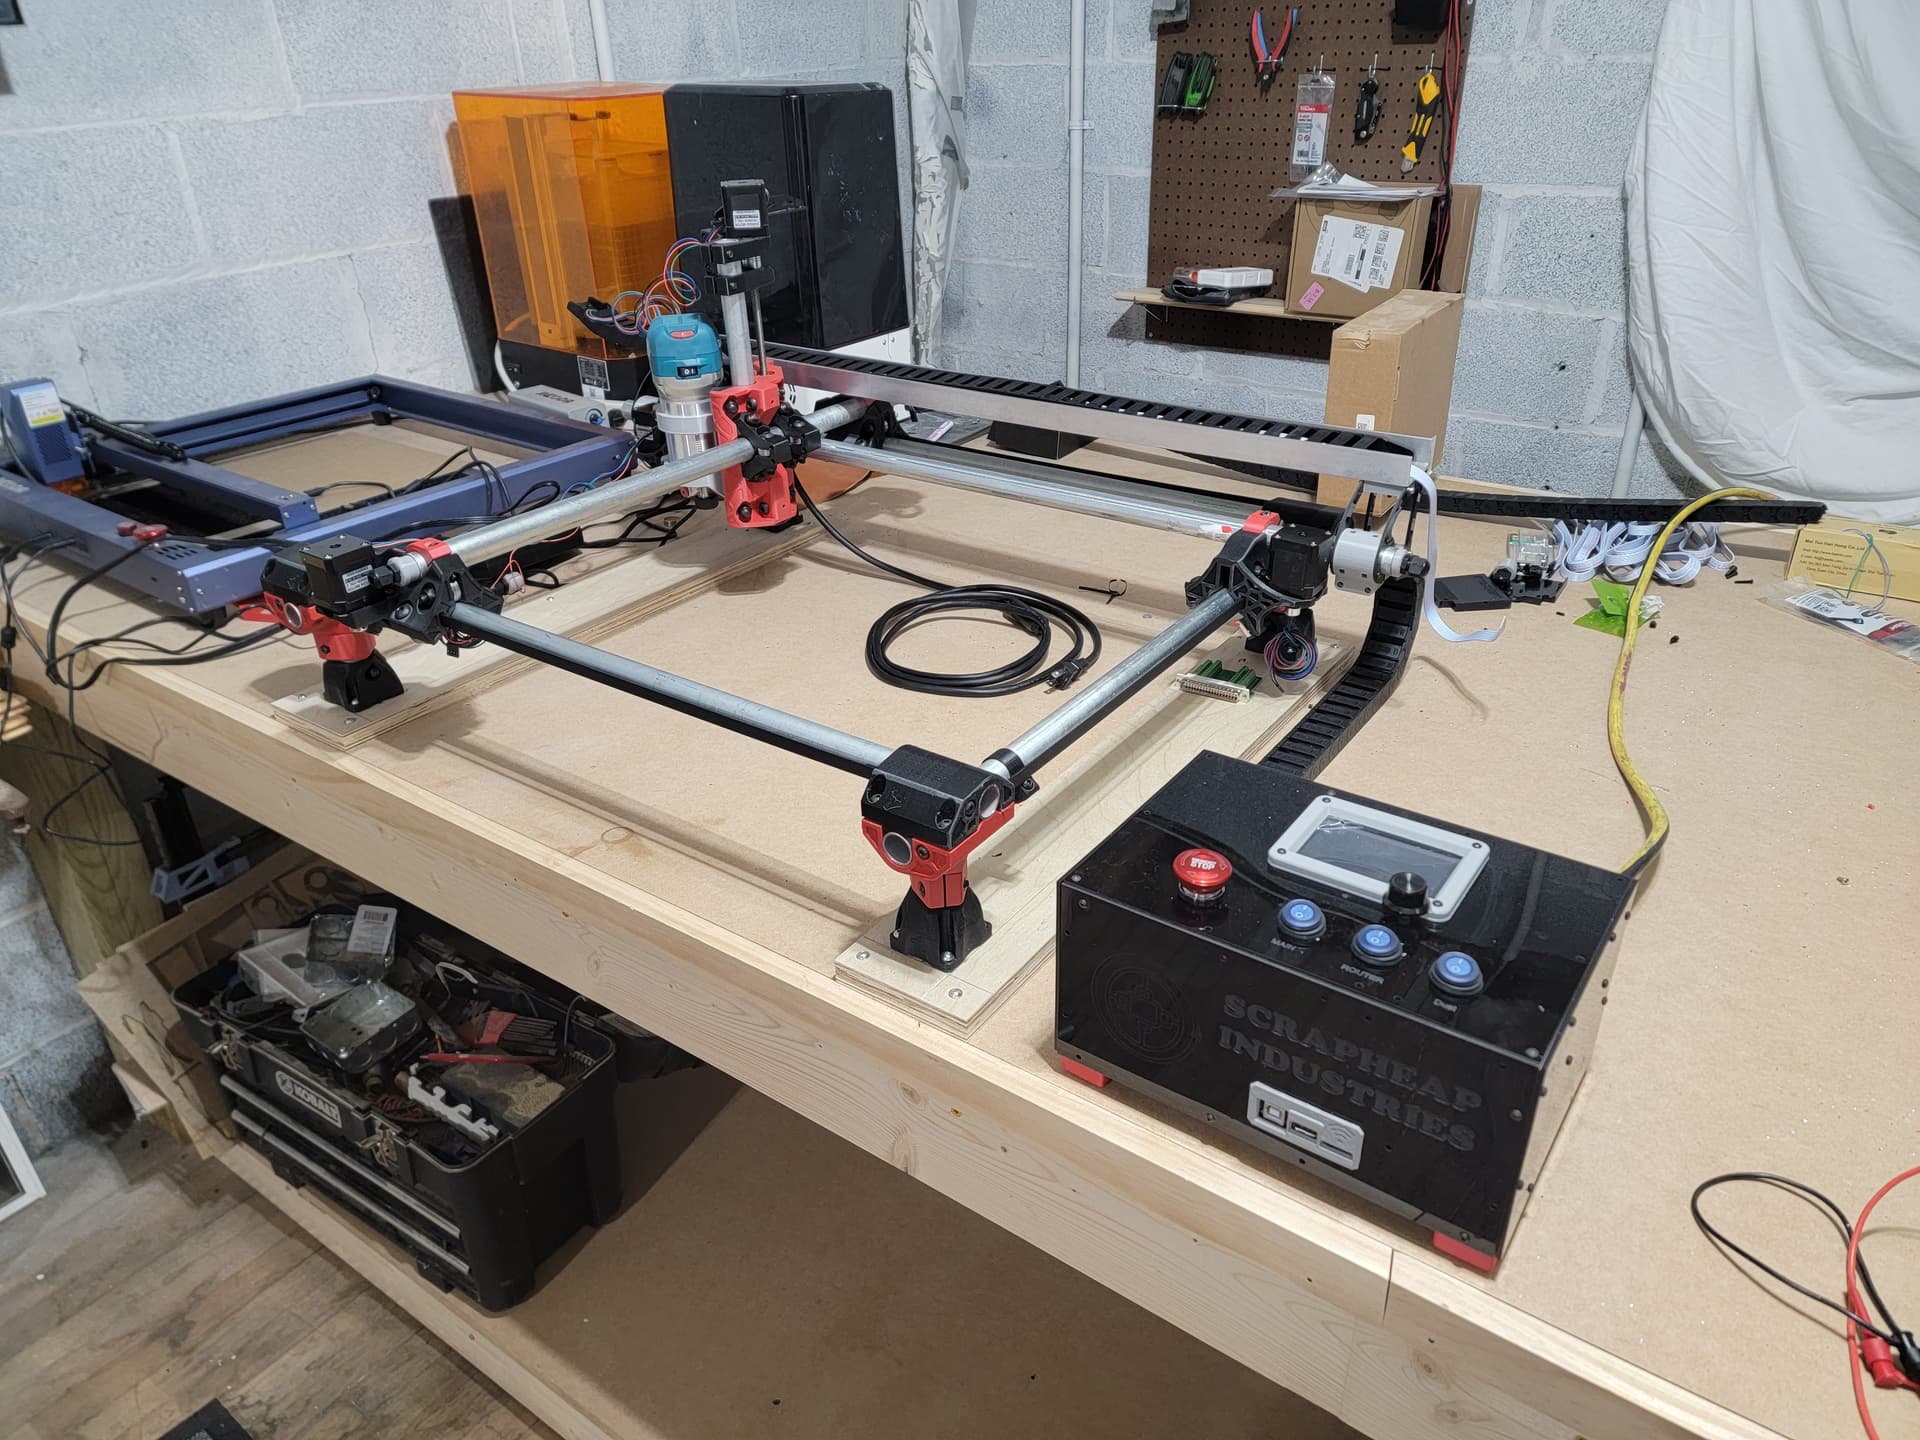
Well, here she is. If yall see something janky, please let me know. Going to draw a crown now.
Wiring was all from scratch, 20awg silicone with those crimps. I made the wiring harness extension to handle the bundle of wires going into the box. I also used this for the out to the z probe plug. Made up the pendant and it seems to work as its supposed to.
Router power is in the box as well. So will dust collection.
Bout as good as im gonna do as far as cable management, but it seems to be okay and doesnt look like a birdsnest.
Let me know. And thank you all so much for your support and advice
 That looks like a fun size. I’m thinking about shrinking mine down similar to that and building a LR3 for larger stuff.