Cool little side note.
If you are too lazy to walk to the shop and get a real one the temp braces can be used as a square to make sure the braces are straight and square. I know I know this is temporary until the final braces go on but if you dont start square no way to finish square.


3 Likes
Core installed. Hint the core slides on from either side. I didnt really see anything in the assembly instructions about how to get the core on so I took the bottom bearings off installed the core and put them back on. It may be there I just didnt see it and looked more than twice for specific instructions on how to install it. Found out how it goes on when I lifted the beam to check some screws and the daggum thing slid right off. Well Ill be a son of a gun!!

3 Likes

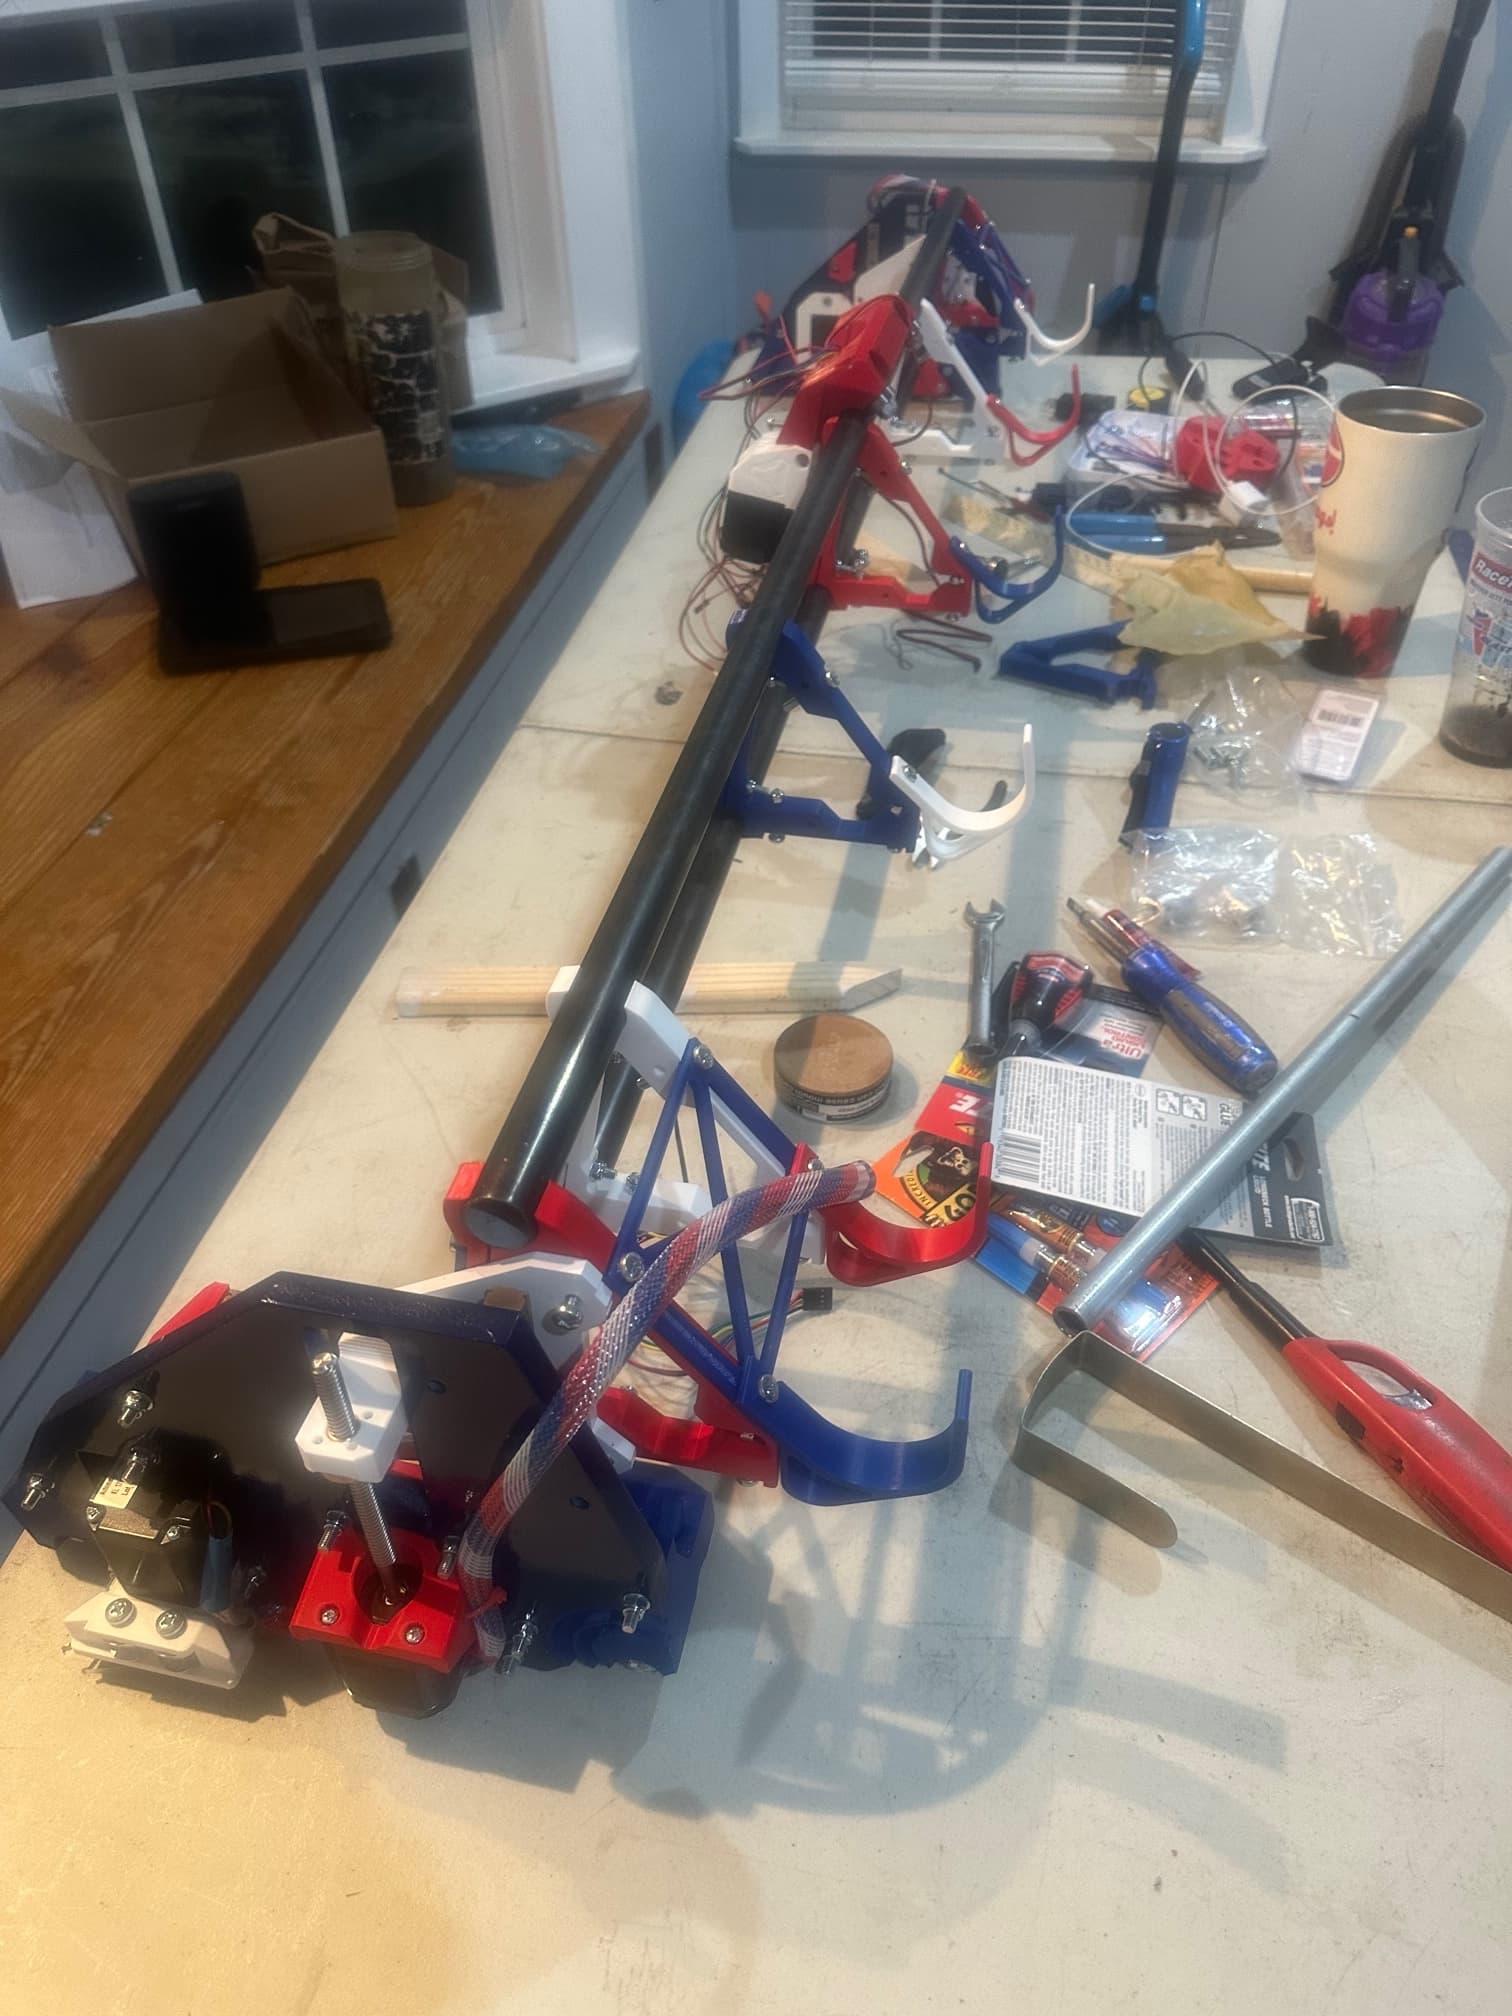

Side assemblies installed, but not tightened yet. Enough for tonight. will tighten and continue later.
Getting really nervous about the point I am at. The final wiring and installing electronics scares me to death, never tackled this in depth control boards and such but here we go. Get ready Jeff and Ryan and who ever else will listen. I feel a lot of leaning on your shoulders coming in the very near future!!
1 Like
You can only do that with the beam off of the XZ plates. Once you bolt the beam in, those bottom 2 bearings are the way to remove/install the core.
Just in case you (like me) let one of the M5 nuts thst hold the tool mount fall out of the core, and can’t get past the strut plate to put it back.
Yep you are correct but in the assembly instructions it really doesn’t elaborate except to say install the core. It does talk about not overtightening the bearings and I still dont know what that is all about it doesn’t seem to make a difference when I put the two bottom close bearings back on. Course I really didn’t go cranking on them to see but it slides smooth, not clicking and doesn’t catch on the braces. Now i will have to be extra careful when I install the tool mount not to let the nuts fall out.
Well just found a problem I left a brace out should have been a total of 8. I know the assembly instructions say to not “snap” the braces in but does this create a problem if I only need to add one? Or should I just do it right and pull off a side assembly, end brace, temp strut support and add it? @vicious1, @jeffeb3
What finish did you use on your rail tubes? How well do you think the finish will hold up under long term use with the rollers riding on them? Asking because I would love to do this on my build, but worried about durability.
No problem.
Hi Bartman, the simple answer is I used gun blue. I really wanted a finish on the pipes but paint would 1. alter the thickness of the pipe. 2. scratch and look horrible after long term use. Thought about powder coat but that would also alter the thickness and my oven is not big enough. The gun blue is a metal dye so to speak and does not add to the thickness and if used right is extremely durable. I researched the oil that it needs to last and my findings are that if the right oil is used and just enough to get the job done it should not be a problem. AND I have many PLA parts on my AR’s that come in contact with and some are even coated by proximity with no problems at all as of now, some have been in use for over three years.
Sorry to get so long winded.
2 Likes
PROCESS I USED. I am sure this will start a debate but I think it the right path and product for me.
“Show me sand the pipe”
- dry sanded the pipes with 150 grit sandpaper. this was the most time consuming to get to bare smooth metal. Straight up and down pipes
- dry sanded with 220 grit sandpaper. Just enough to get the heavy scratches out. Straight up and down pipes.
- wet sanded with 320 grit sandpaper. Not much needed here about four passes mixed with spinning the pipe as I sanded.
- 000 steel wool. doesnt take long here either just enough to get somewhat of a shine and light polish look.
“Show me paint the pipe”
For the OSHA folks… This is a chemical reaction not a paint. Use proper safety measures gloves, mask, eye protection… Ya big dummy. Oh and do not drink or let your pets drink it. - Applied the bluing agent with round cotton craft applicator. You can use cotton balls terry cloth or even paper towel doesn’t matter really. One important fact here is do not work out of the bottle pour it in a container and work out of that or you will destroy the unused part.
It took two bottles for me to do two 55 inch pipes. - cure for 30 seconds and wipe with soaking wet terry cloth towel. This stops the process. then wipe dry with a separate cloth.
- Wait 4-5 minutes and repeat entire process. It took me three times to get it were I wanted it.
It may not look great here but when you finish the next steps it will. - dry again and wait about thirty minutes. Heavily coat with oil and let sit overnight this cures the bluing agent and makes it last a long time. I used conventional S.A.E. 30. Here is where the discussion will begin… Do not use synthetic or silicone based oils they will affect PLA. 95 percent of the oil will be removed in the next step.
- Next day wipe with acetone until oil is removed. Let dry, takes about a minute.
Finished.
I plan on using a very very light coat of old fashioned 3-1 oil after final assembly just on the exposed areas of the pipes but may not even need that.

3 Likes
Cool, thanks for the info.
Have you seen anything like this in red? I’ve seen some solvent dye that claims to be ok for Stainless Steel, but I’m skeptical.
1 Like
Wait What?? where have you seen red? dammit.
That looks cool, but those solvent dyes are NOT the same thing as blueing. I’d be afraid that they would not provide any sort of protection for the metal whatsoever, whereas the blueing that Adam applied protects the metal, and prevents corrosion. They even tout that you can apply any clear coat you want over them. I took that to imply that you probably should clear coat them to protect them…
1 Like
I tend to agree a dye would not absorb into the metal, and from what I have found in the past is if they recommend clear coating even casually then it needs top coated. BUT what a cool concept and product. I will have to get some and find out what it is all about. The super blue is a chemical etching product that actually reacts with the metal causing the blue or really black color. It has worked well for me in the past on other projects that I am into and been around for many many years. @Bartman if you try please let me know how it turns out because it would definitely look good.
1 Like
My rails are stainless steel, so corrosion protection isn’t really an issue. Durability would be the main concern, and I seriously question whether this would hold up on the rails (with or without a clear coat)
From what I read, it seems that the clear coat makes the colors pop a lot more. The protection they refer to is more to protect the color layer, more than the metal (I think).
Yes, this was why I was skeptical about using it for the rails. Without a clear coat the color would probably wear off with use, and with a clear coat, the clear coat would very likely wear off/chip, and possibly gum up the rollers.
However this product MIGHT be useful for doing the Struts, XZ Plates and YZ Plates. I was planning to use aluminum for those, and having them as a cherry red with a shiny clear coat may be pretty flash!
There’s a photo section on the website where customers have posted their finished projects, and I must say I’m pretty impressed with some of the stuff posted there. I definitely don’t have the creativity or the artistry that some of the folks there have, but I might be able to tart up my LR3 and get it looking shiny!
1 Like
That would look bad ass! Where is the photo section I cant find it?
The chipping of the paint and just wearing down from normal use is also what pushed me away from the paint along with changing of the overall dimension. Not sure if that would have been a factor or not. But having paint coming off around bearings that ride on the surface and even getting into the bearings is not a good plan in my book anyway. That was all of my research and planning that I mentioned in my first post. I had to have some sort of color on the pipes though just in my nature.
Link is at the bottom of the “Product Description” section (just above “You might like…”)
So I am about to begin the wiring and installation of the tft and control board and have been going through the install instructions over and over. Very new to and nervous about this end of the build. ANYWAY I had watched a video on youtube where a guy used a calculator keypad to remotely move or adjust the machine without having to be at the touchscreen and thought well that’s cool so I bought one. Now I can not find the video. Has anybody used something like this and will it work with the SKR Pro 1.2 and TFT e3 V3. It is bluetooth and came with a usb plug in bluetooth adapter. Any input would be much appreciated.

@vicious1, @DougJoseph, @SupraGuy
1 Like
No, I don’t think that is an option. At least not an easy option.
3 Likes