1 Like
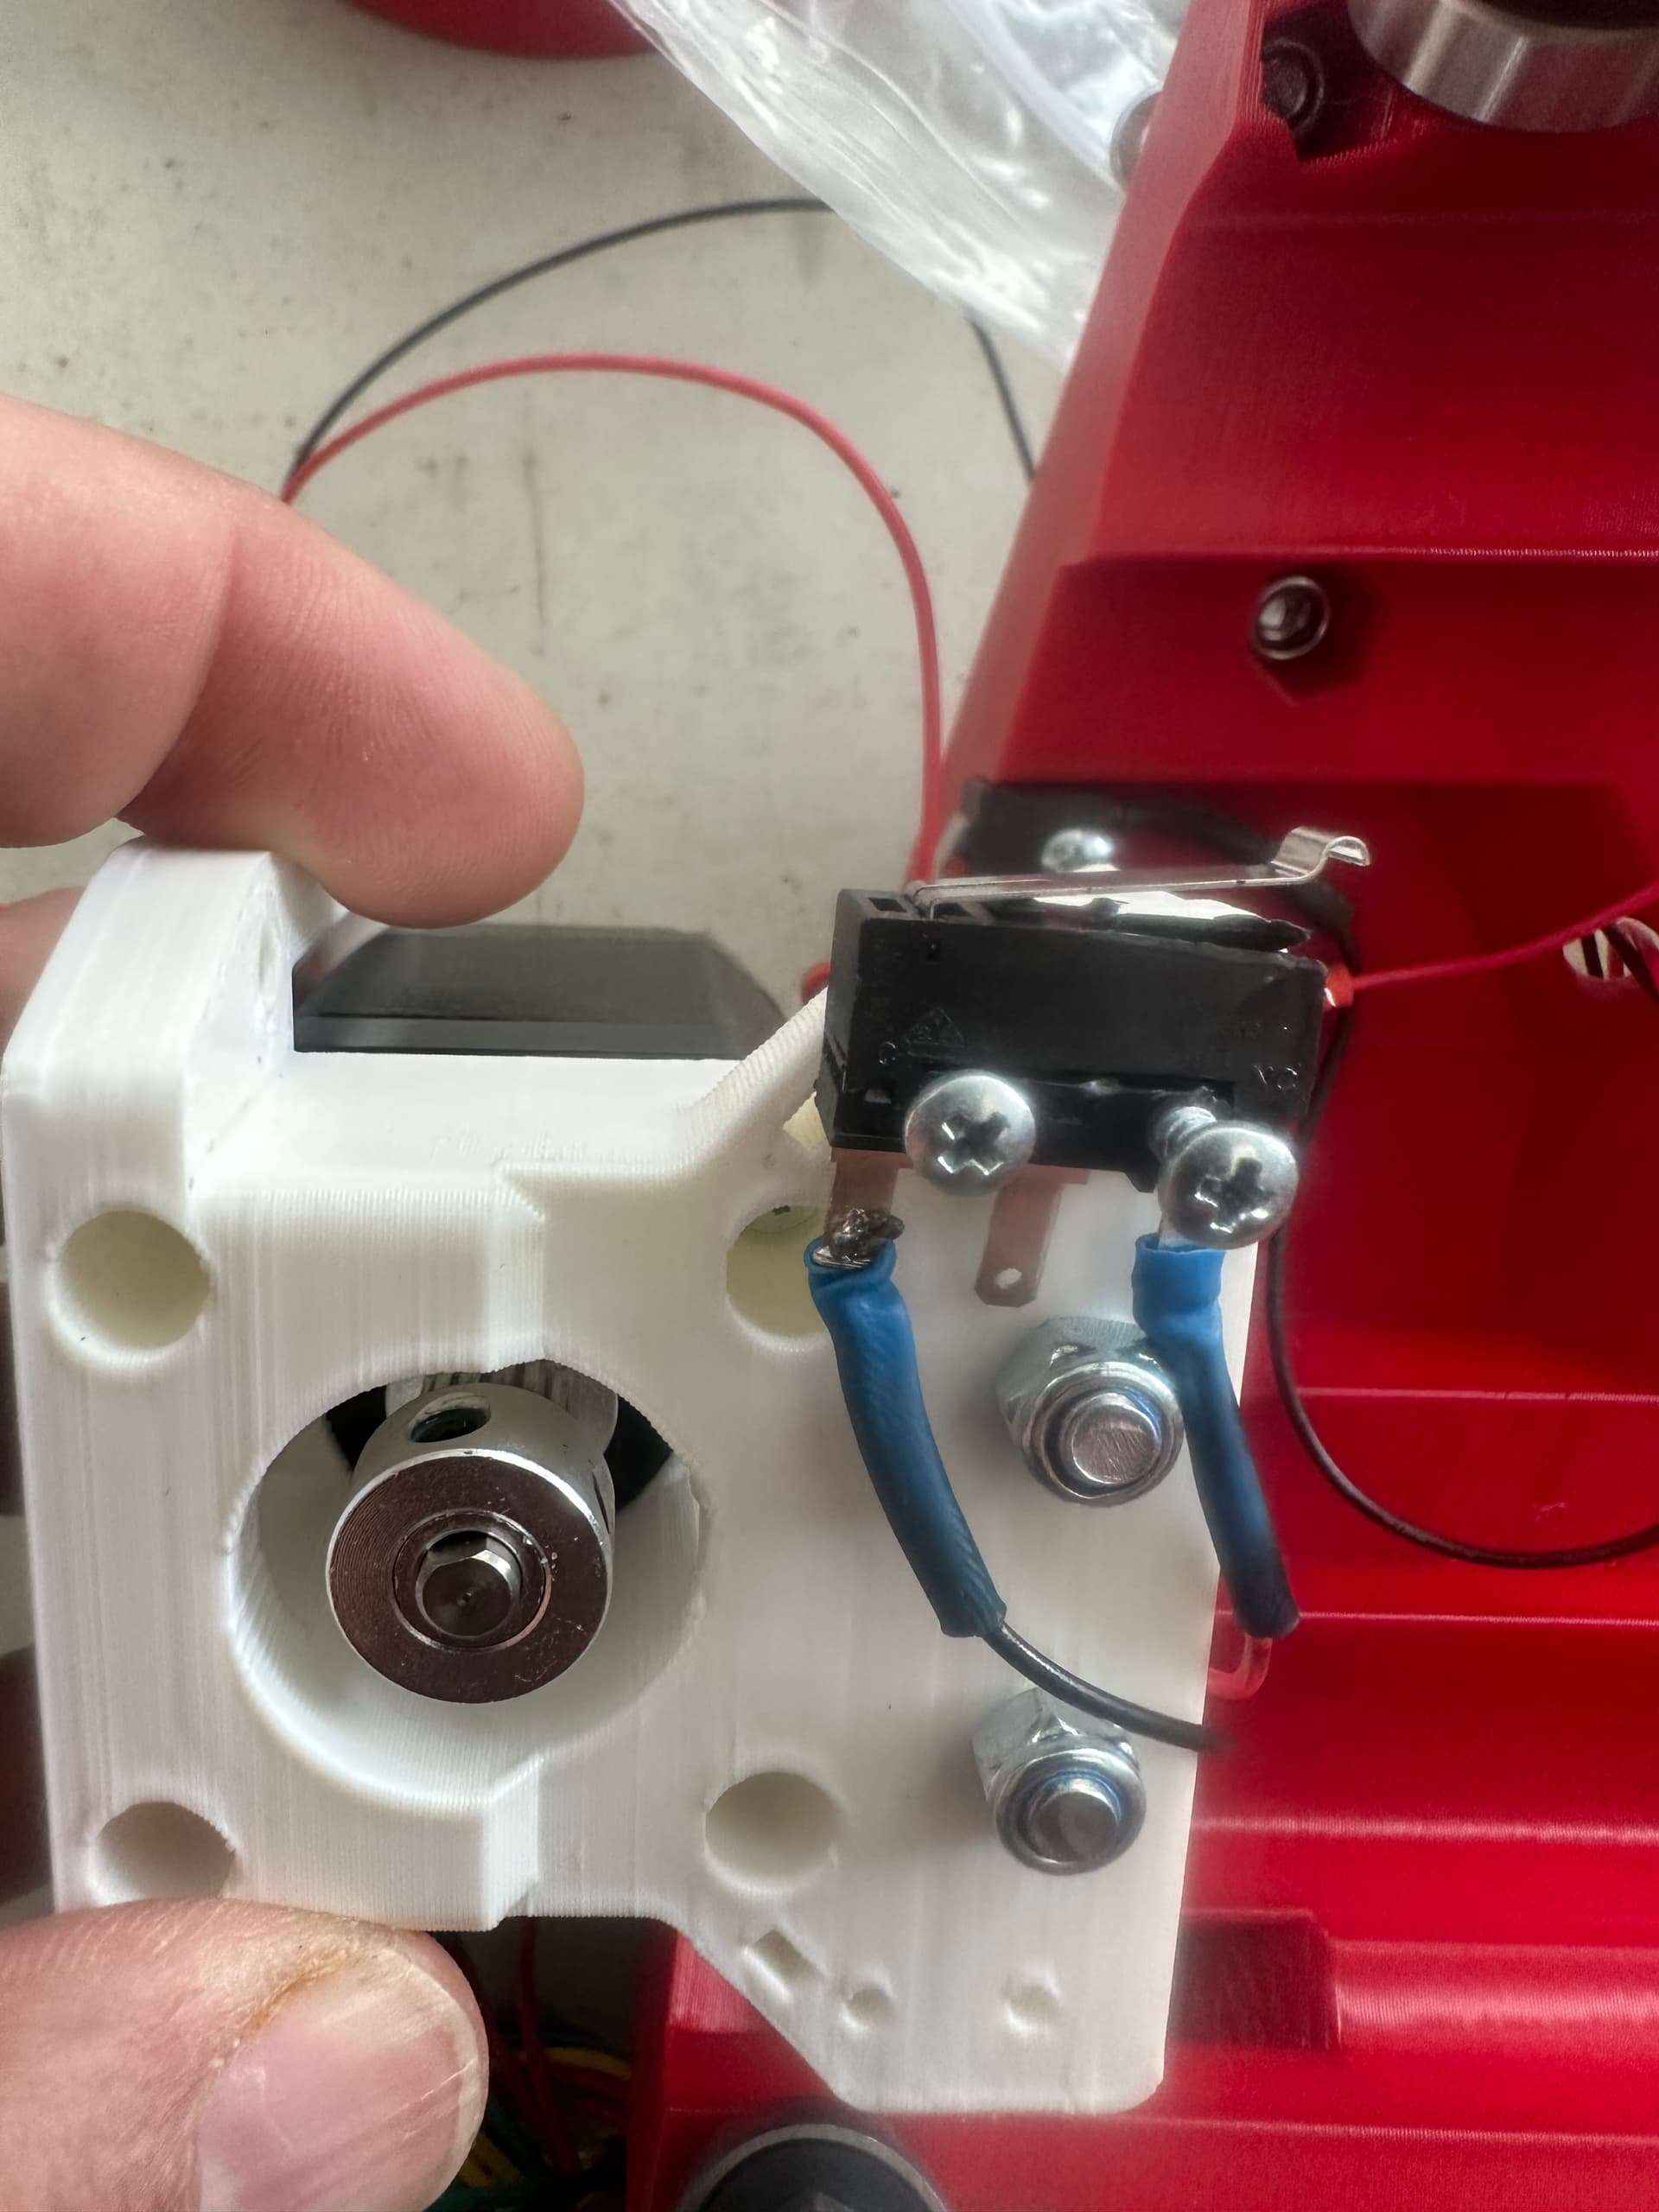

The screws for the switches should be M2.5. (They should be too small to fit into the stepper motors.)
Indeed, I was showing my goof up and what it does, in hopes it may benefit someone else and make me think things through a little better maybe.
2 Likes
I would pause on the jackpot and get it working with the screen. You can always do the wifi upgrade later. There isn’t anything wrong with the skr. Just focus on the build and checkout for now. Once you have a crown, you can think about a jackpot.
2 Likes
Thanks Jeff. I am hoping to be able to put my hands back on it by Friday and see how much I can get done through the weekend.
1 Like
Hi Jeff, I tried looking through the forum but couldn’t find the actual answer I am looking for AND not sure how to start a new post (new to forums). My question to you or anyone who knows the answer is…
Do I have to use the limit switch without the roller or can I use the roller one where it shows the little arm without it? That sounds a little confusing hope it makes sense.
I messed up a few of my limit switches but have extra ones with the roller on them and want to keep moving forward with the build.
Thanks for your help in advance
I have some with rollers, Ryan’s instructions use both. ![]()
2 Likes
AWESOME thank you for that. Not even sure why I have them but they are in my kit I bought over a year ago so who knows. I just ordered more from the site but showing not to deliver until Tuesday.
3 Likes
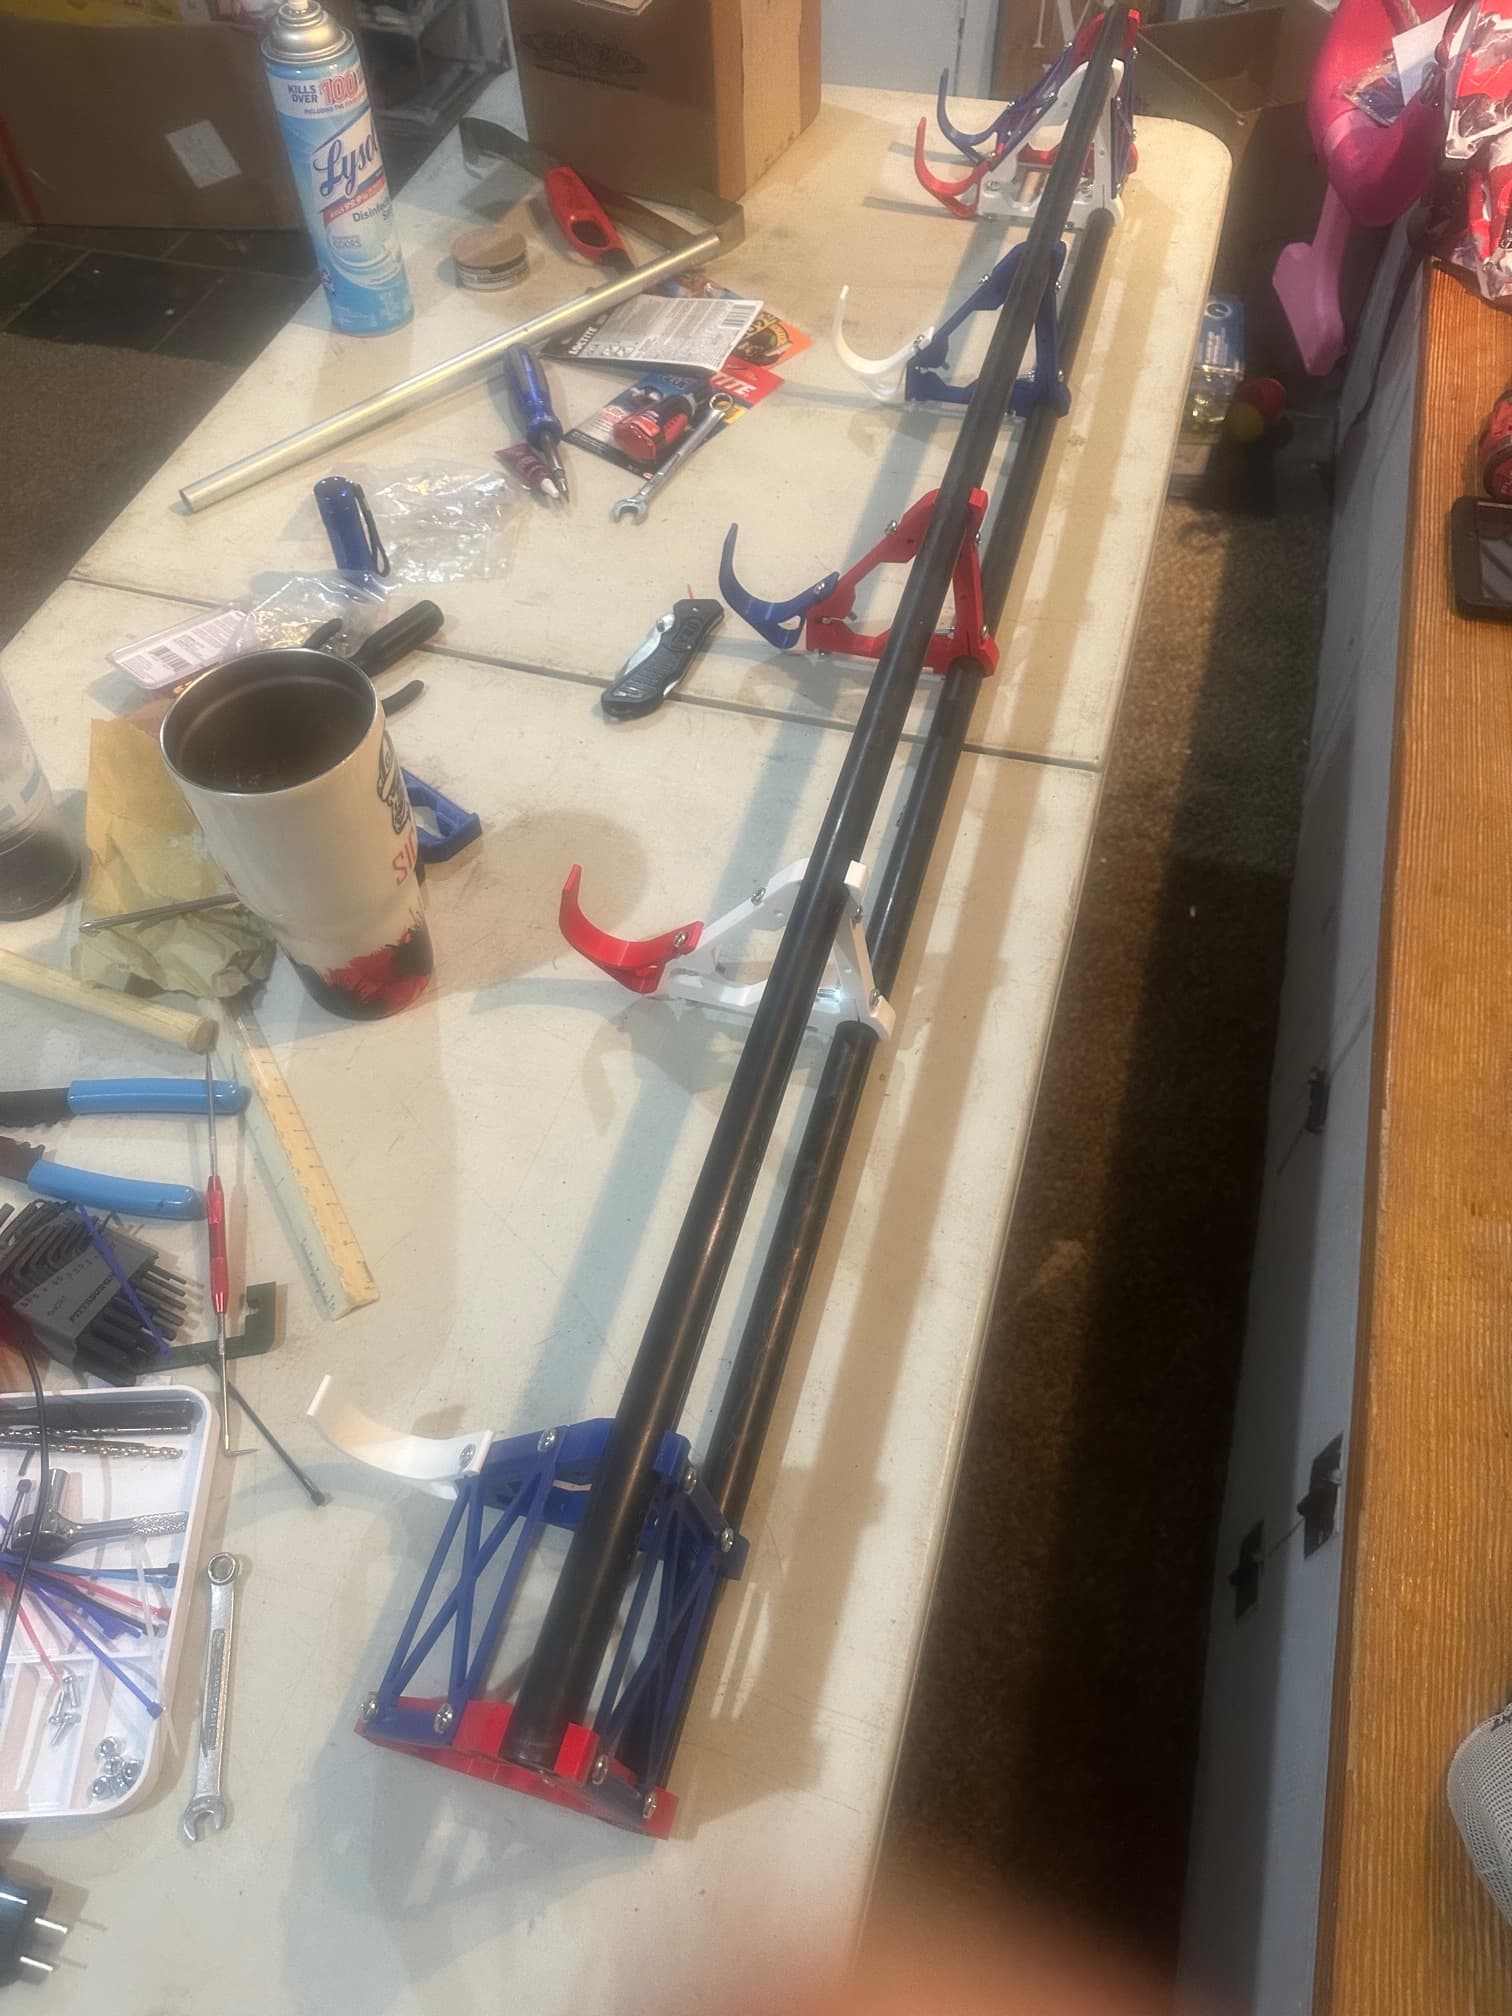
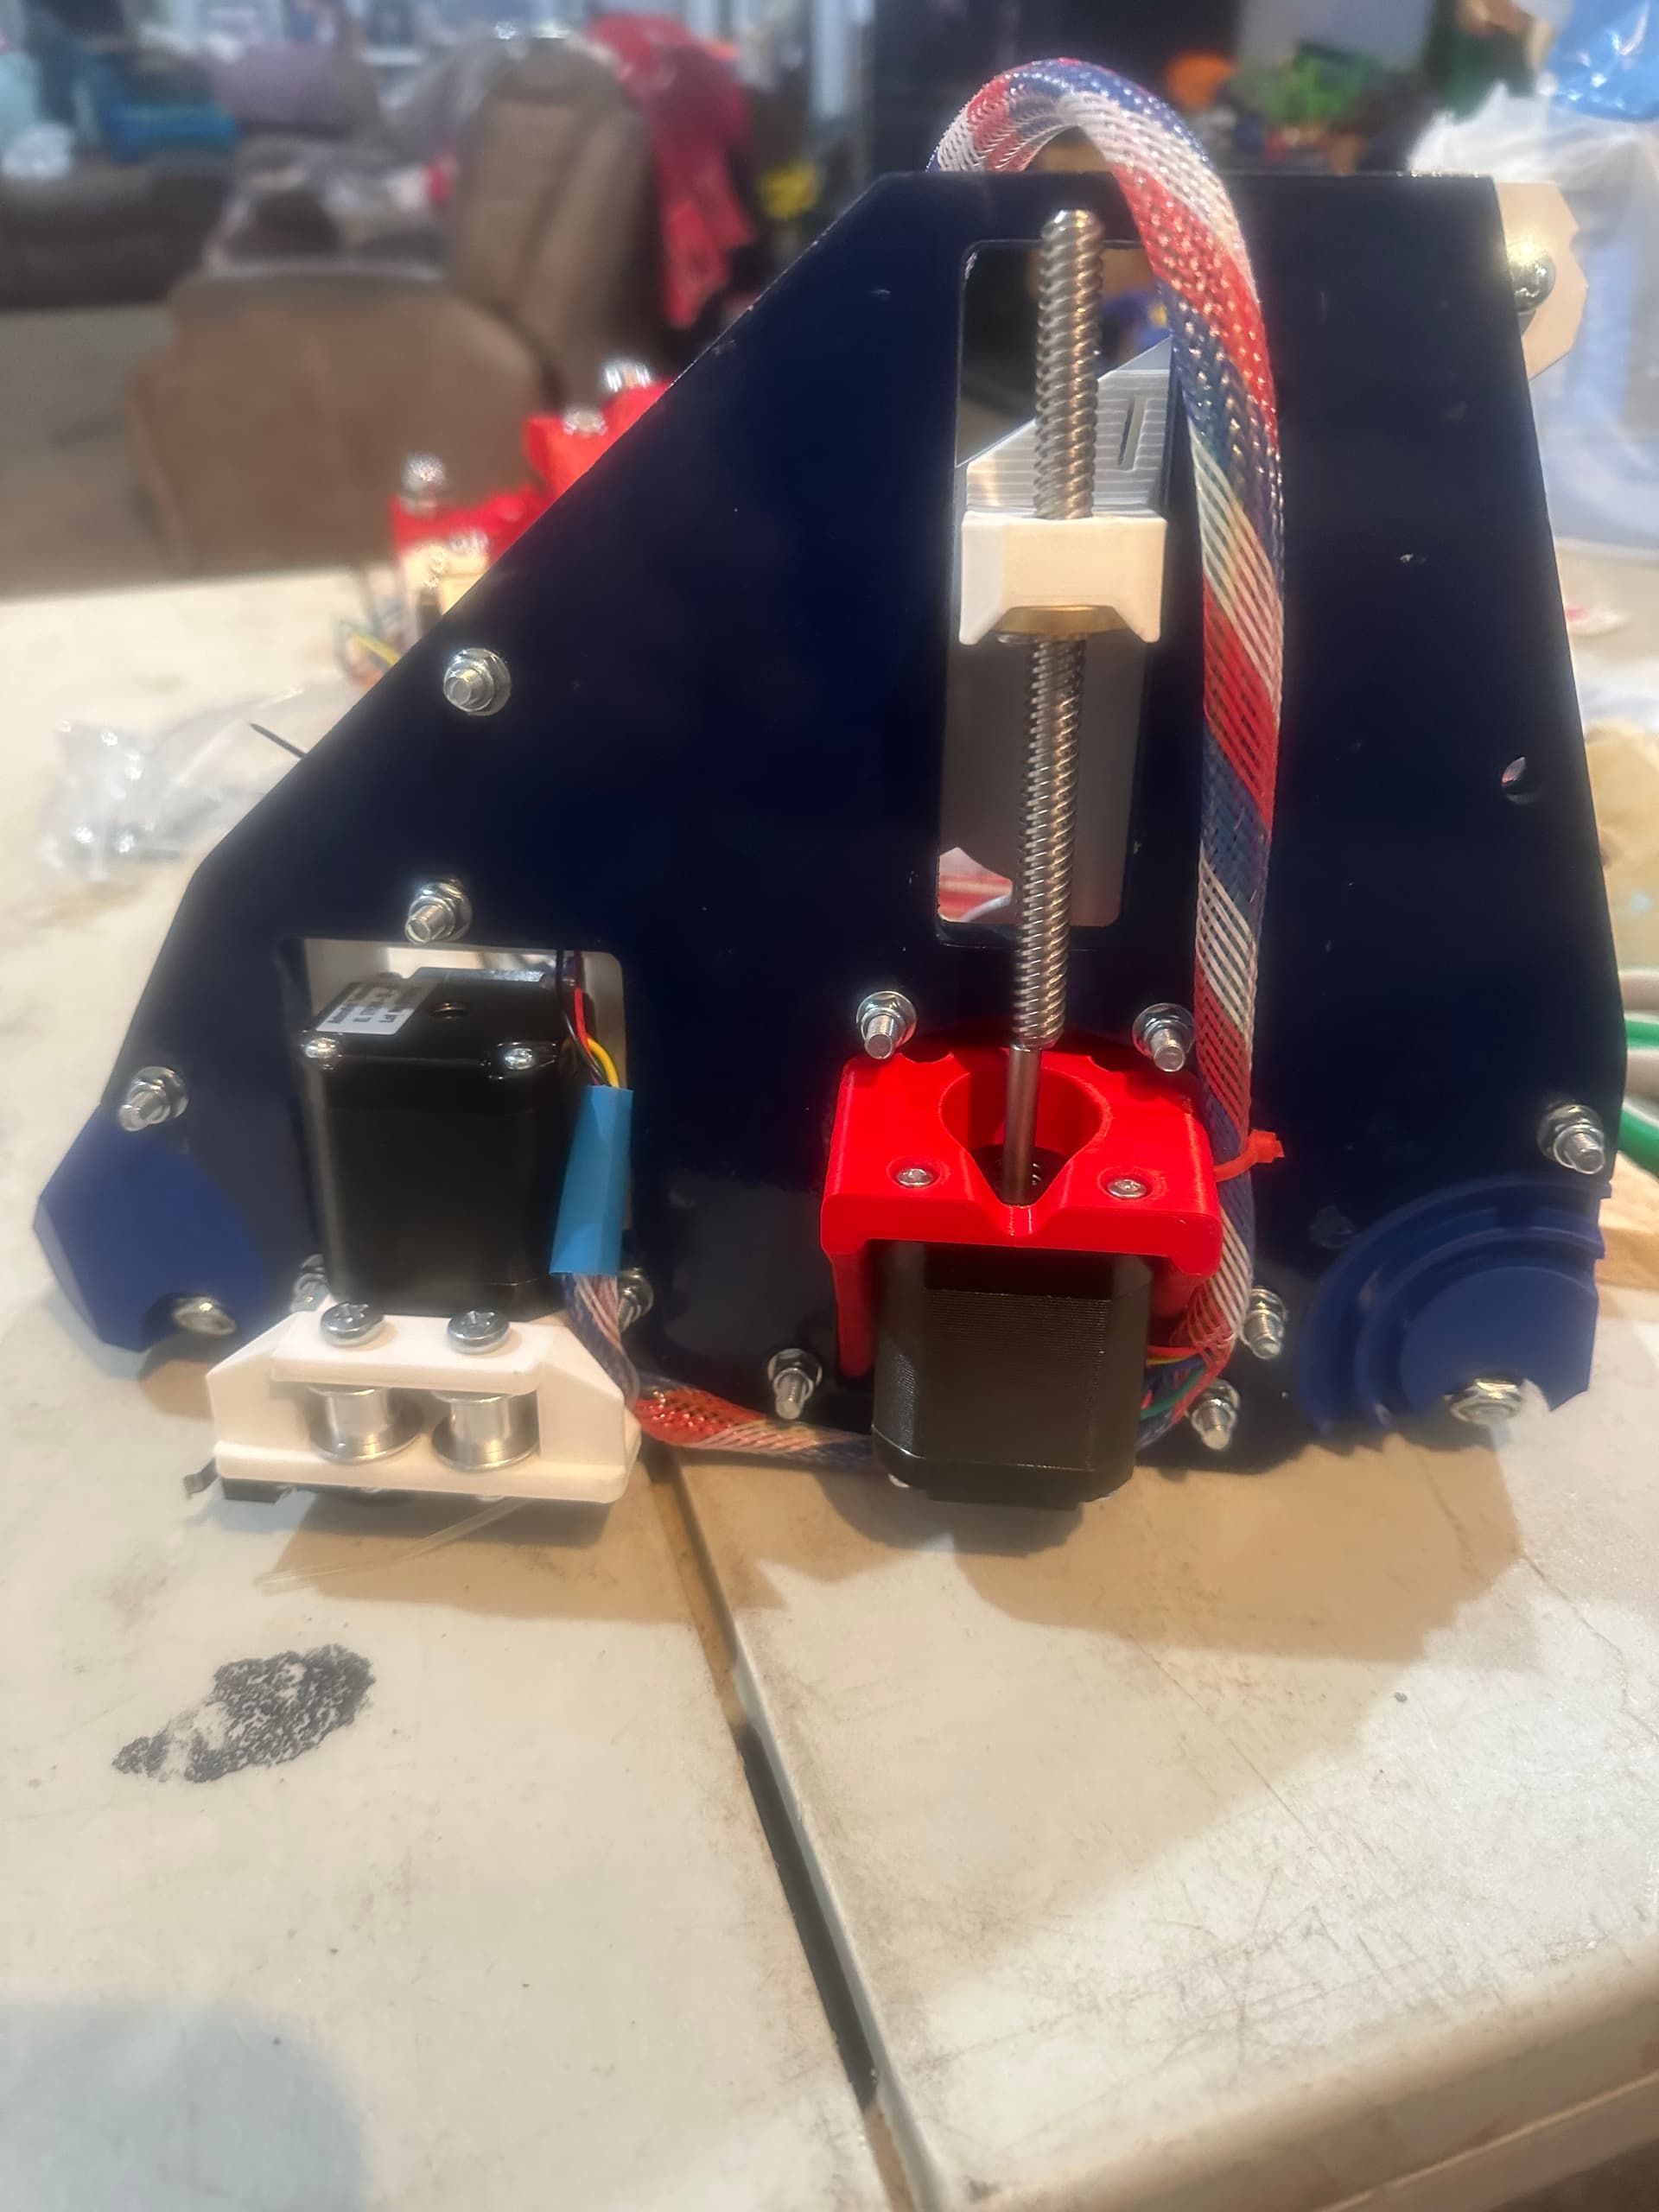
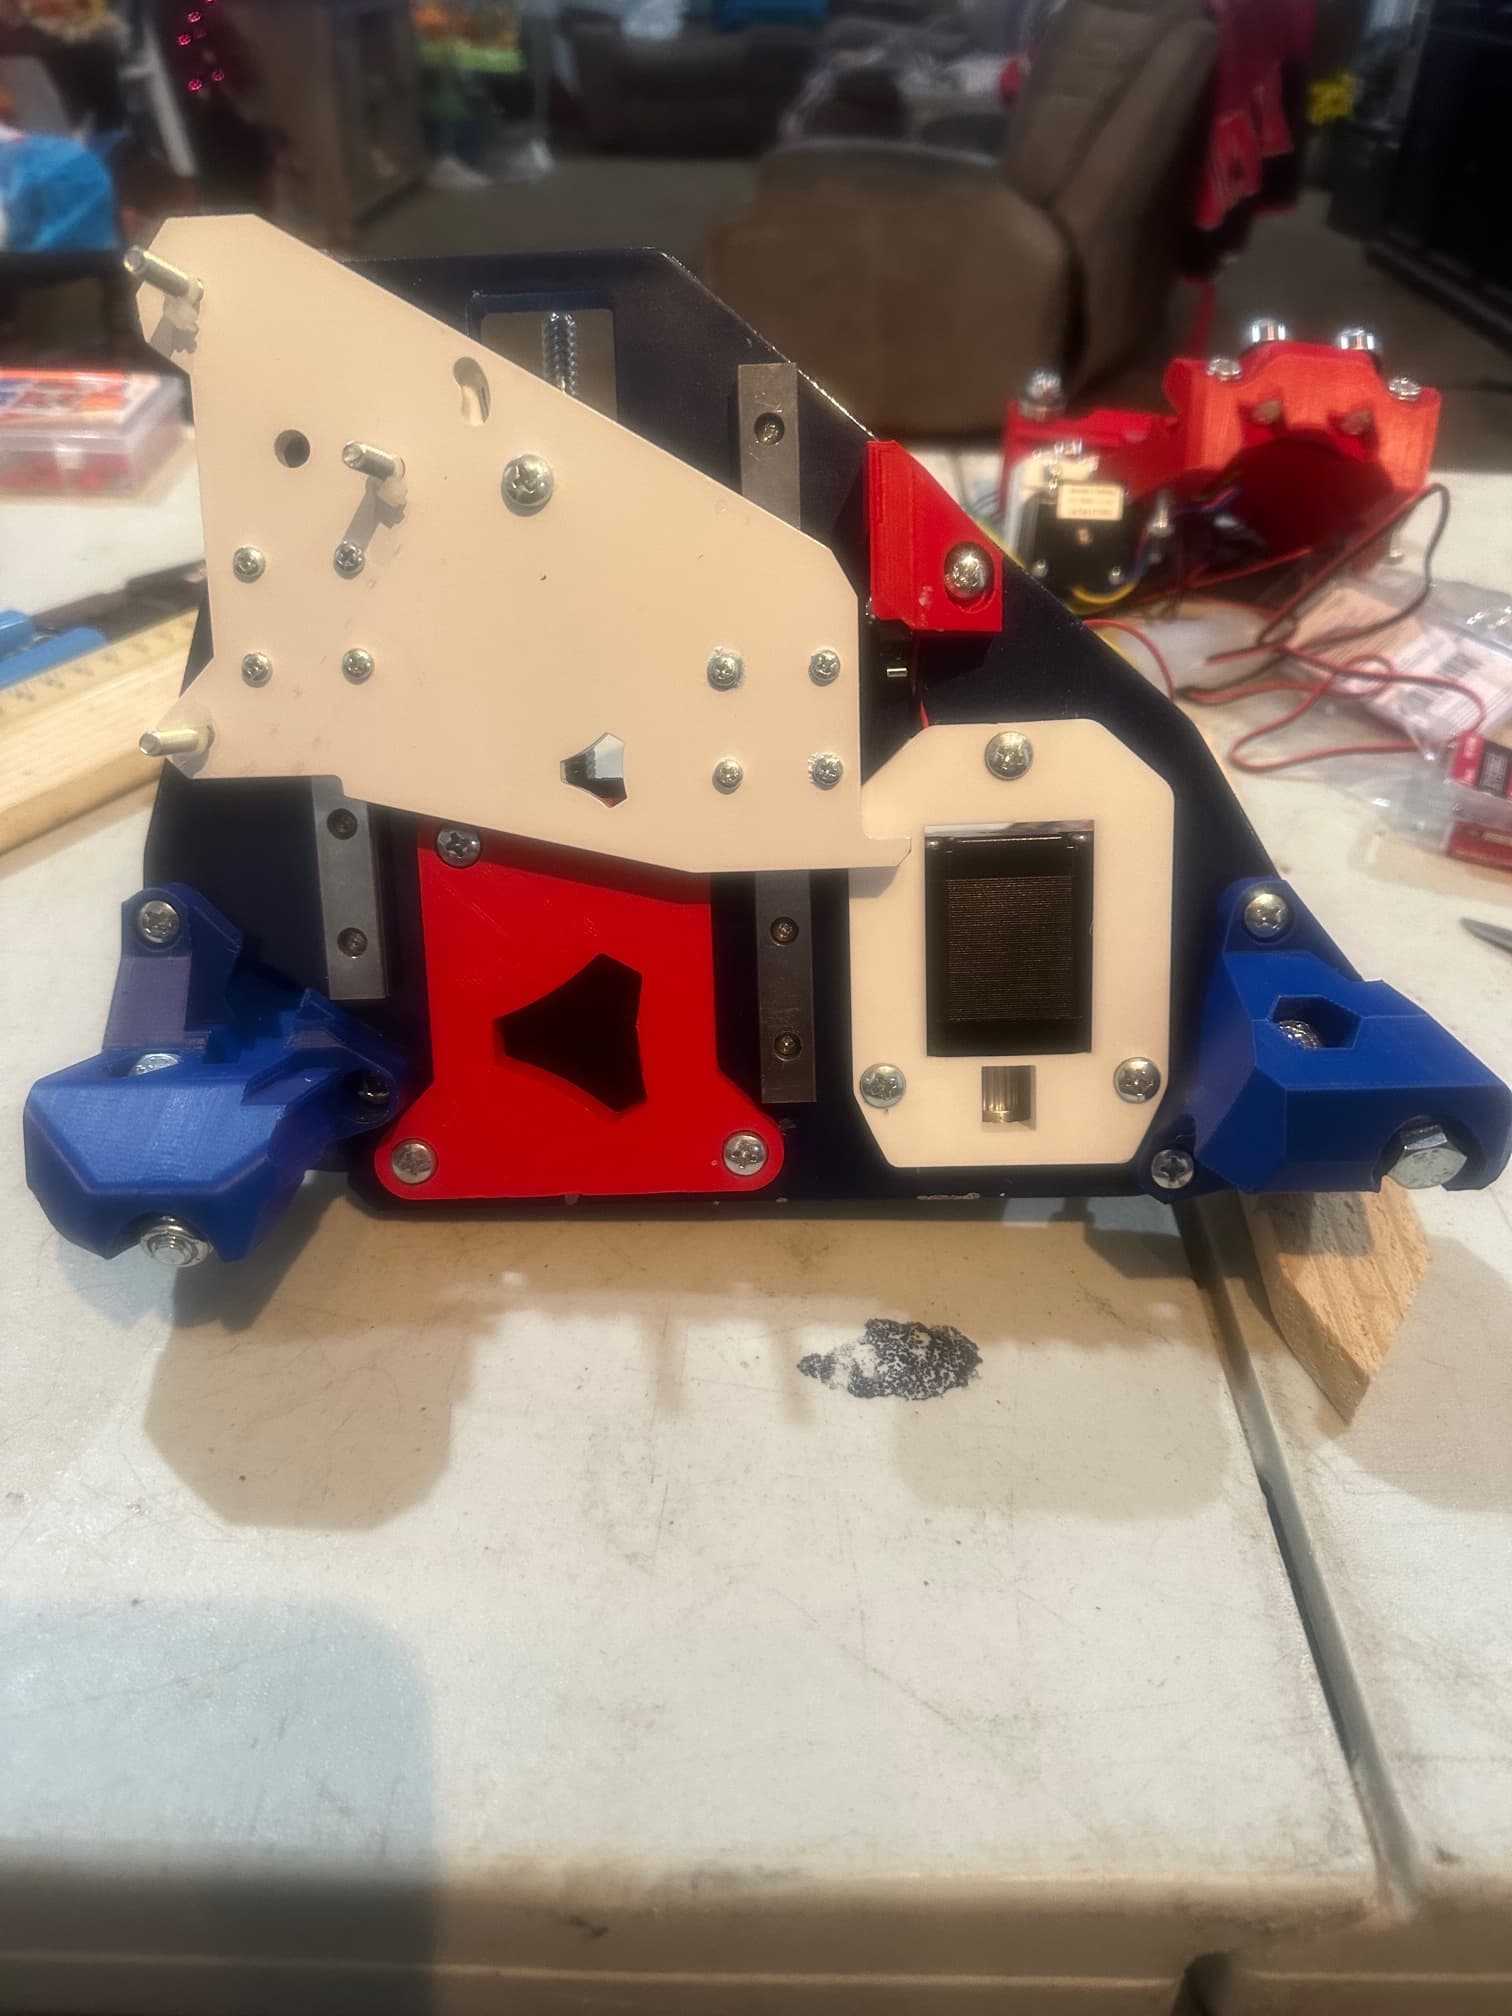
PROGRESS!!
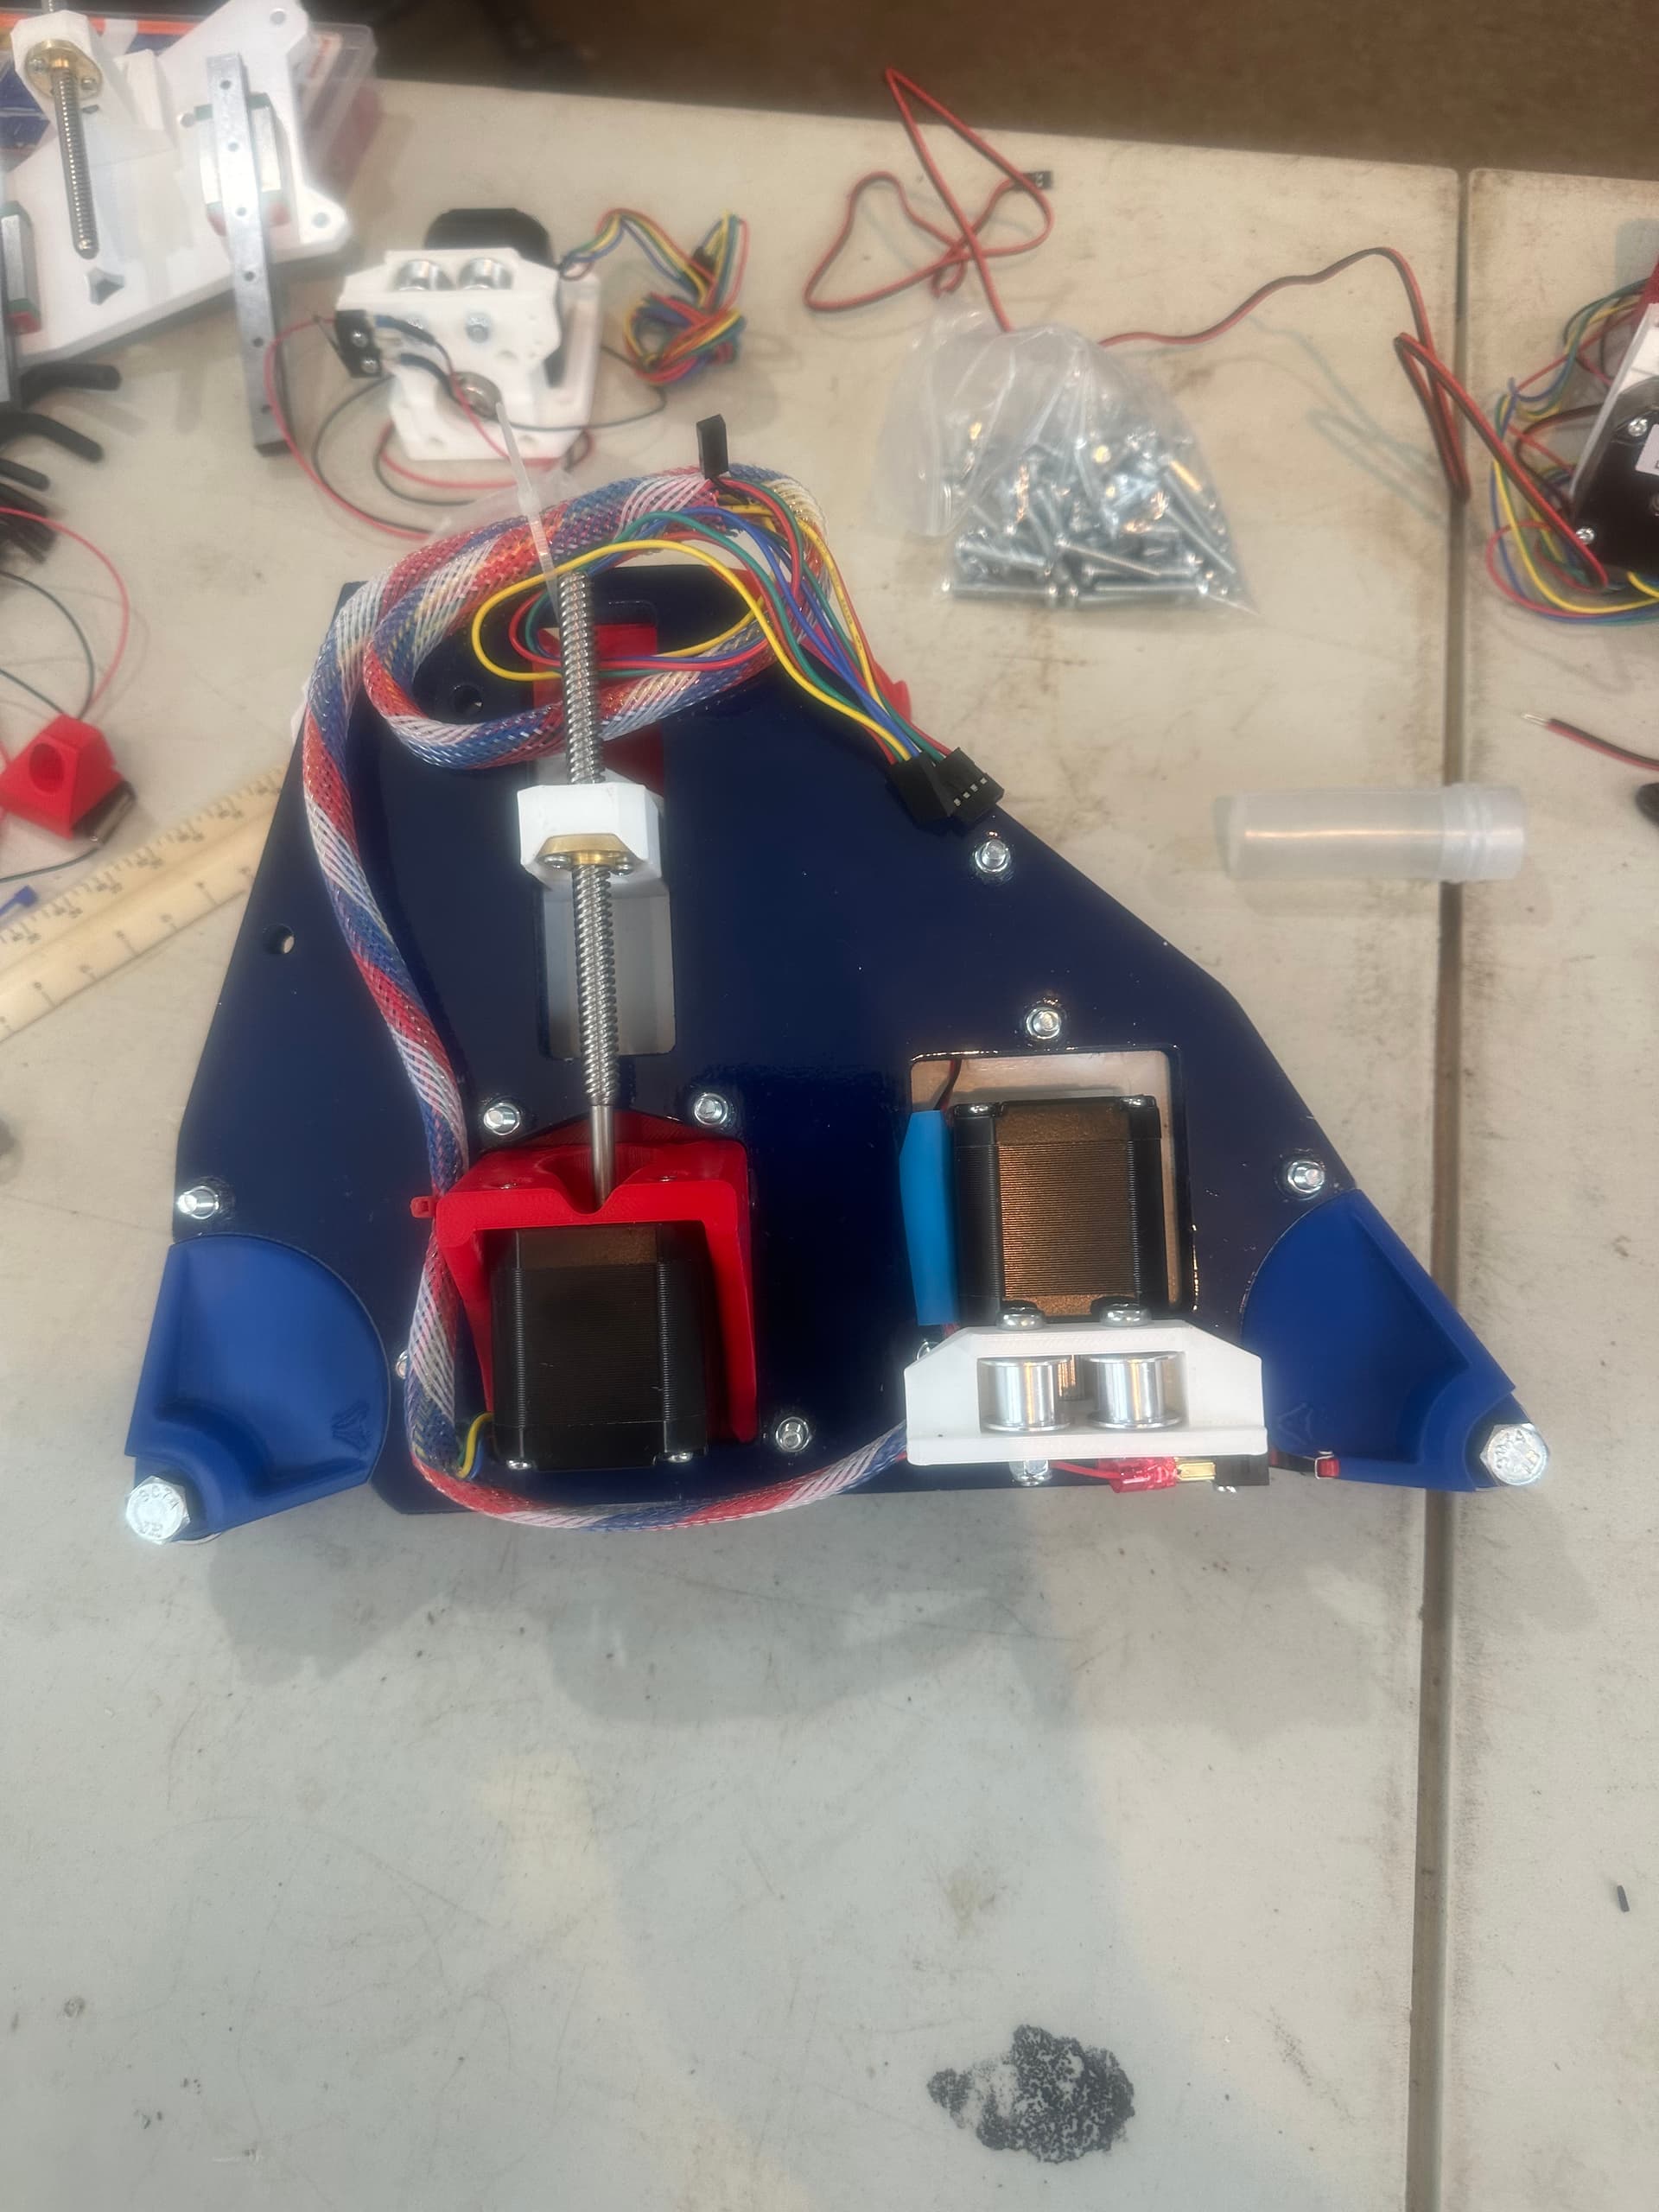
First set of side assemblies completed, yes making noises as you move them around is actually satisfying and it makes your wife really wonder if the thread locker is getting to you.
On the serious side for you experienced builders did I get this right so far?
3 Likes
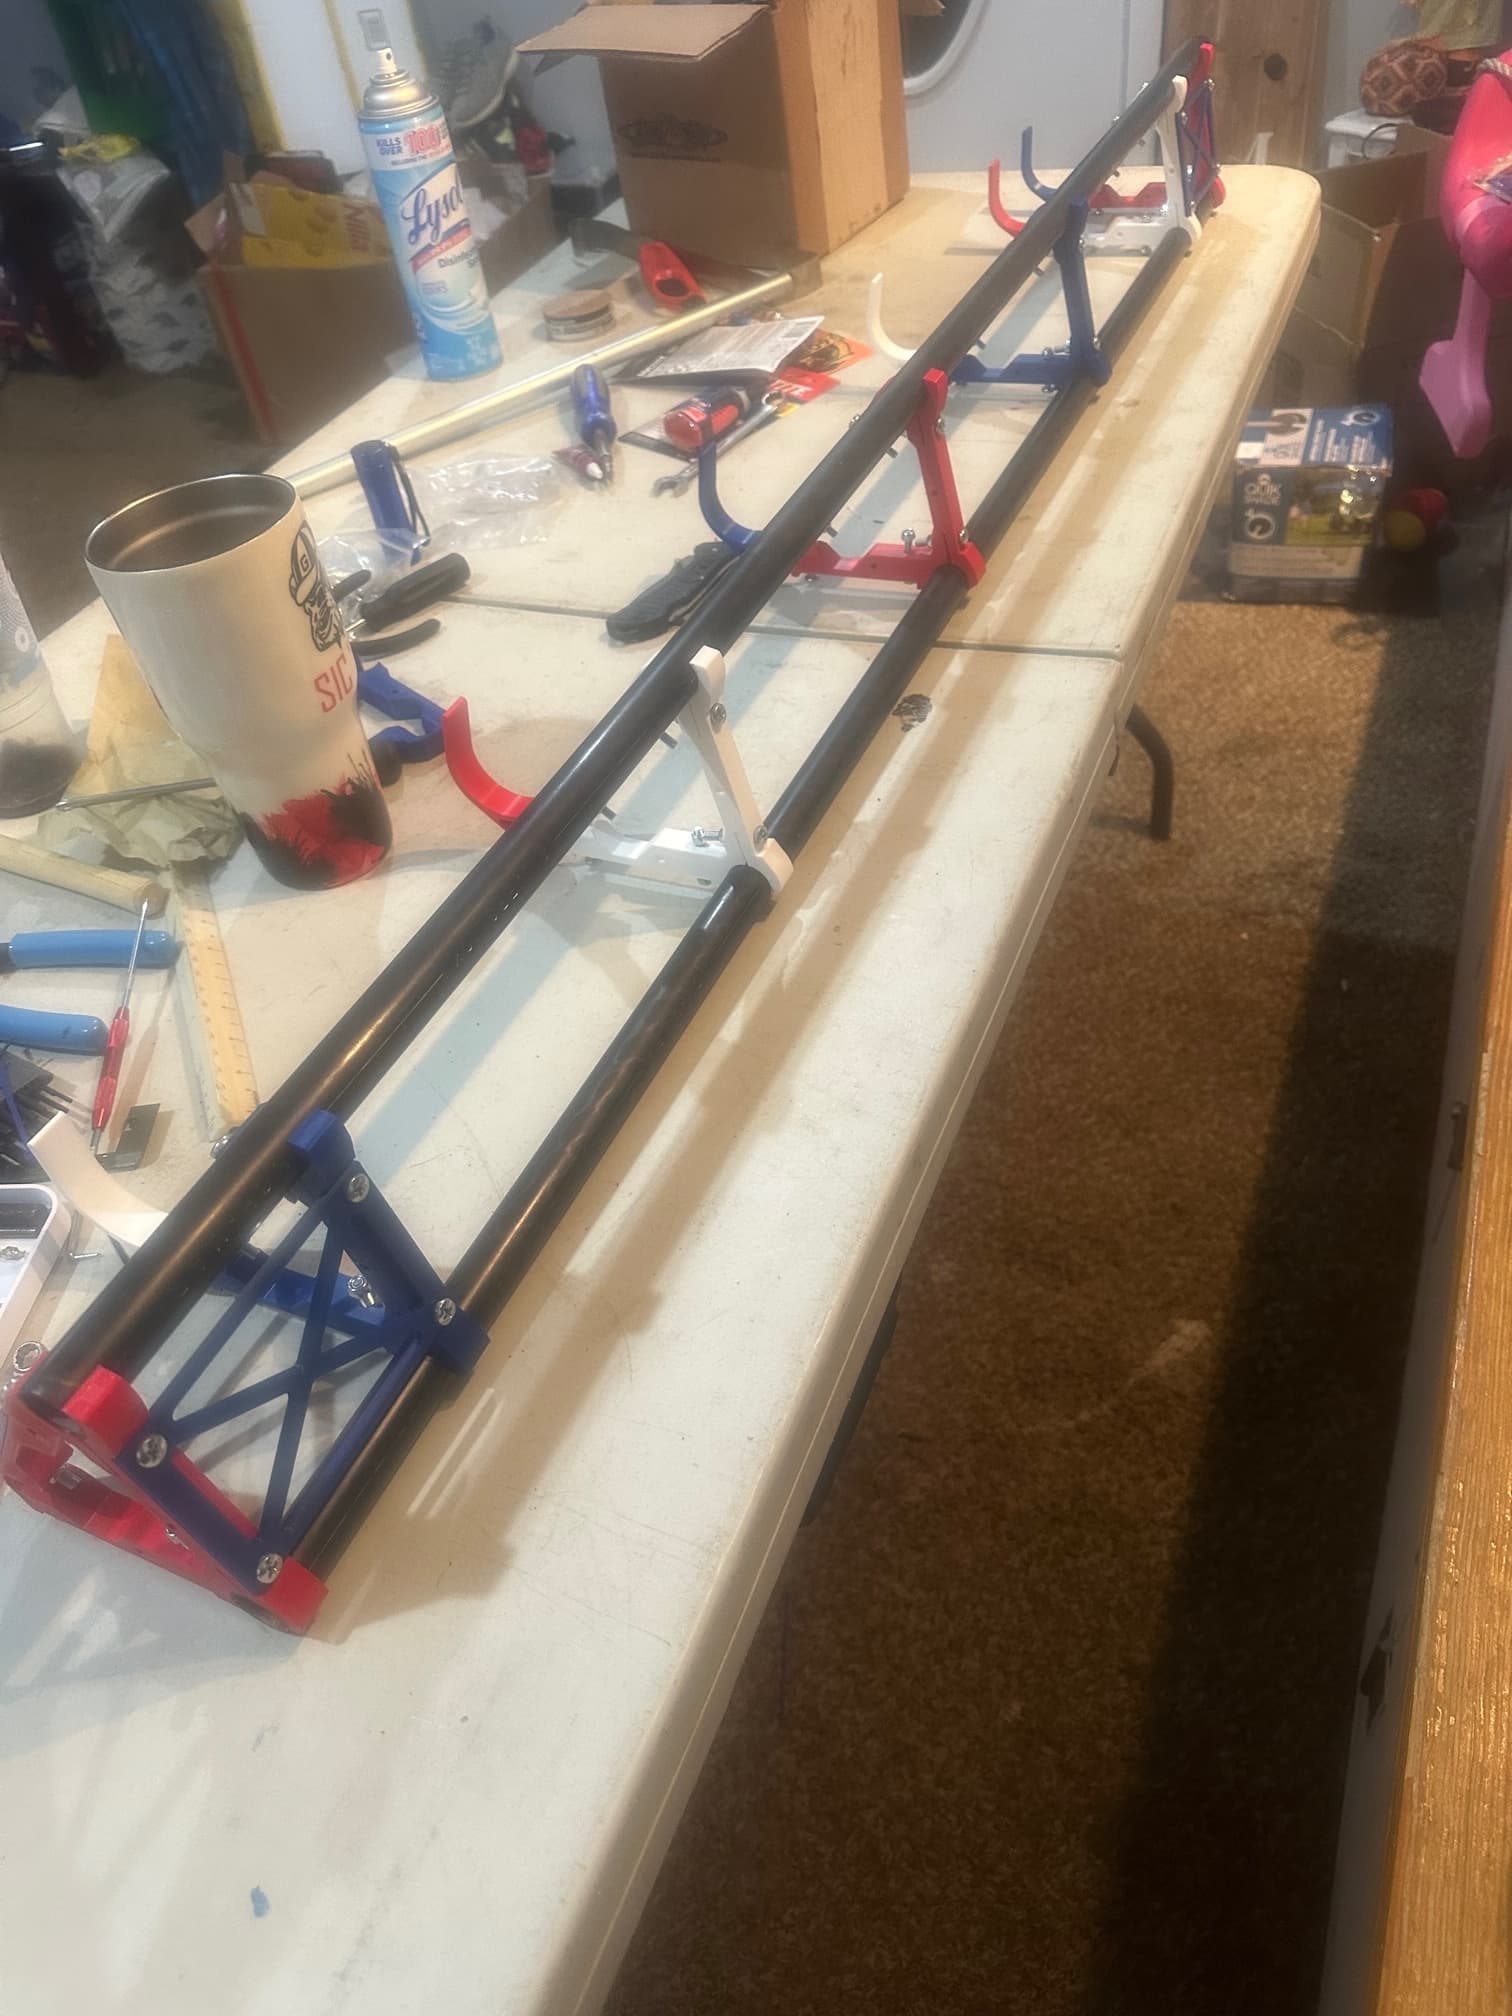
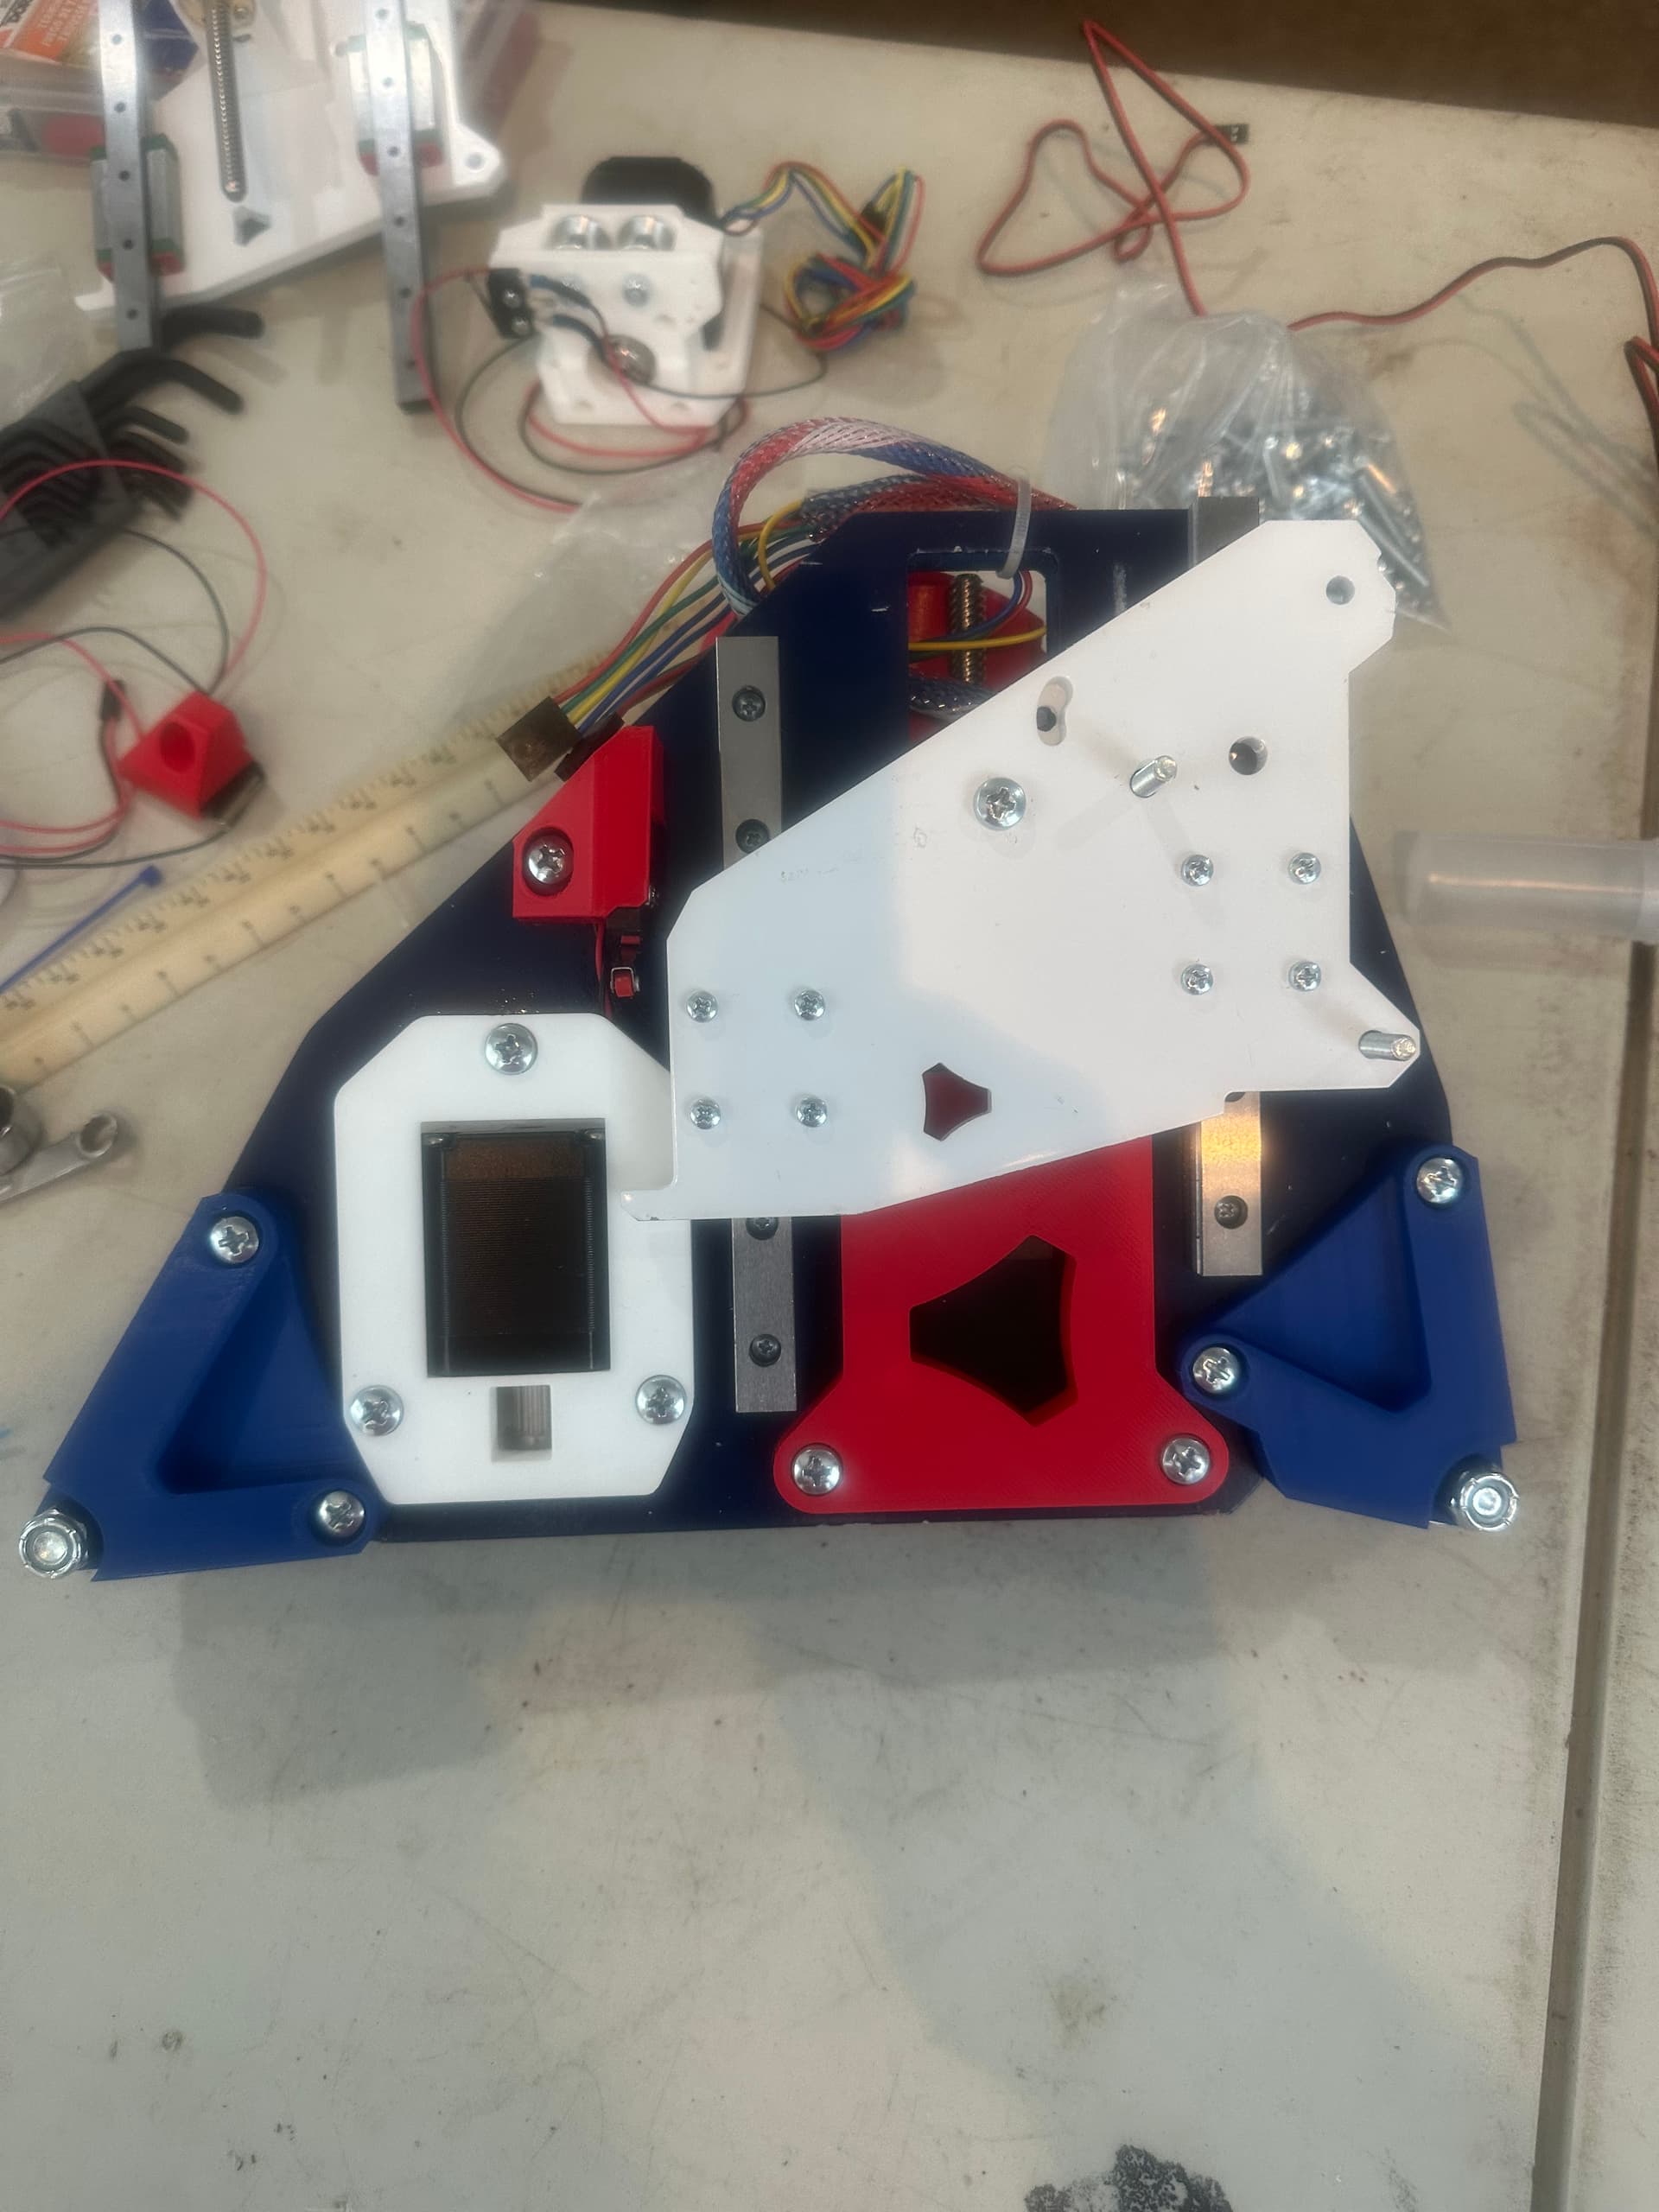
Second set of side assemblies.
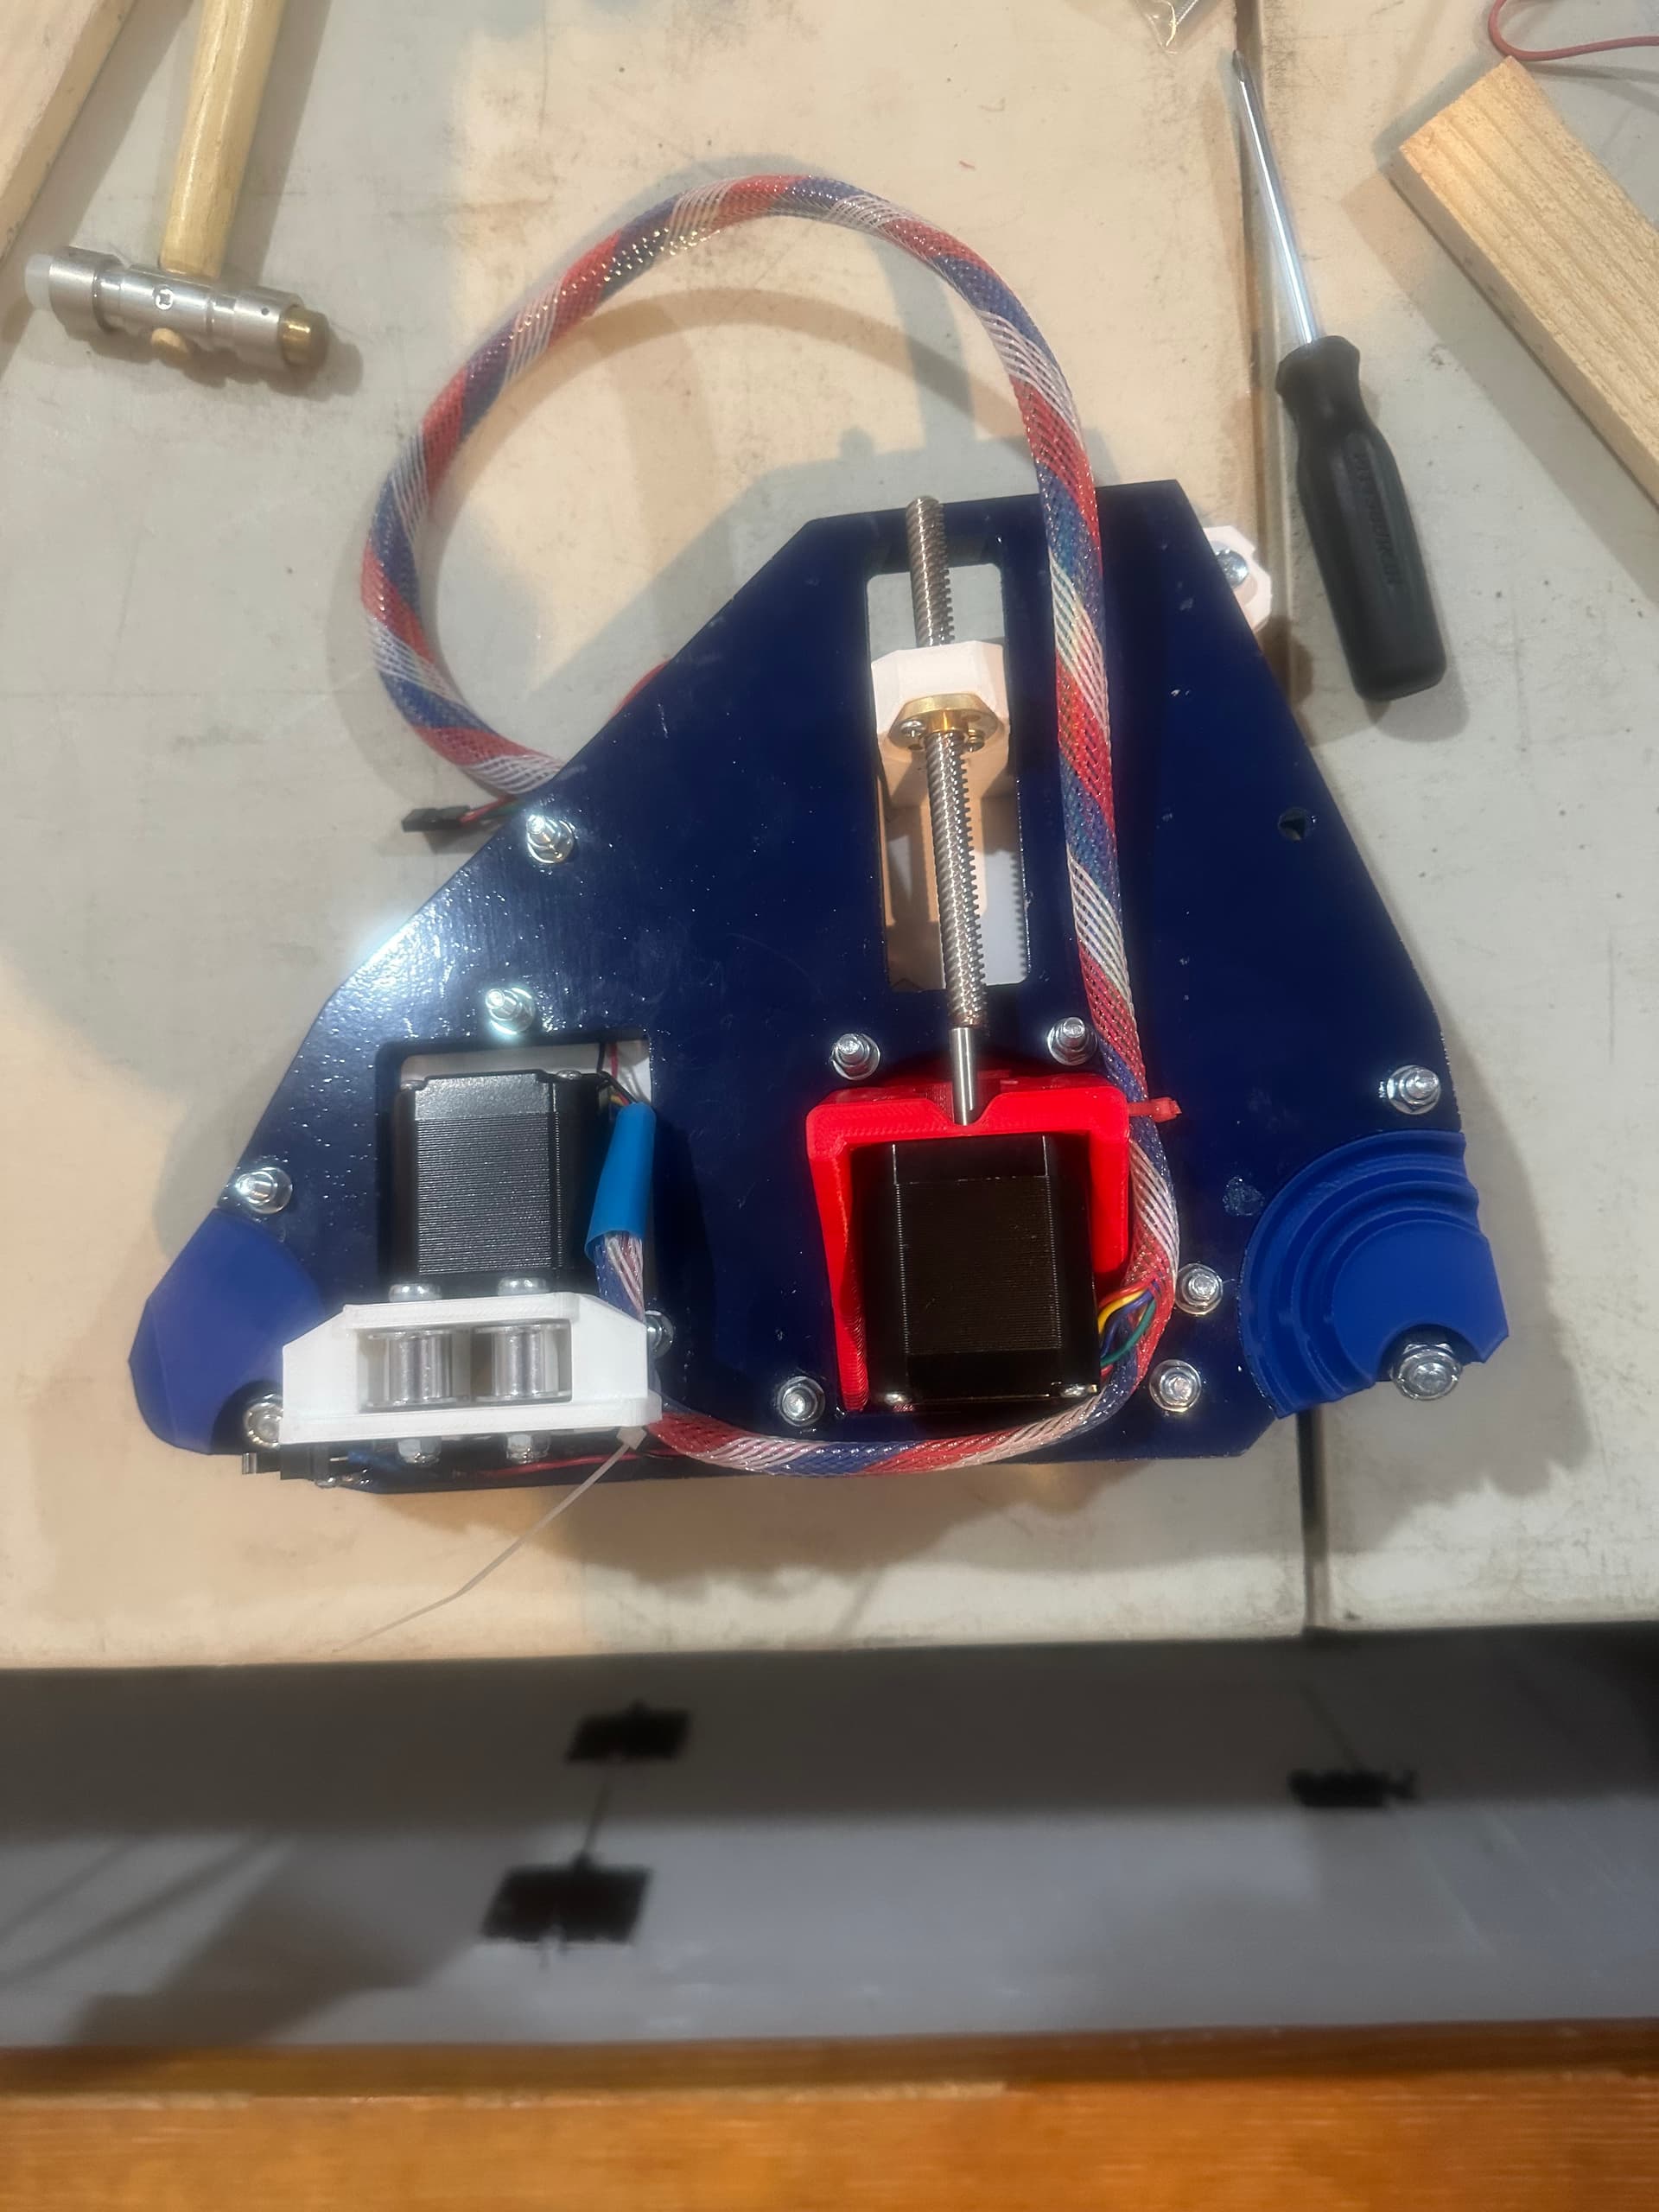
QUESTION: the rail rollers seem to high. I cant really get a good angled look in the assembly guide or photos to see if they are correct. I will be looking into this in depth tonight just to satisfy myself. Mainly watching videos from people with the machine in action in hopes to get a glimpse of them.
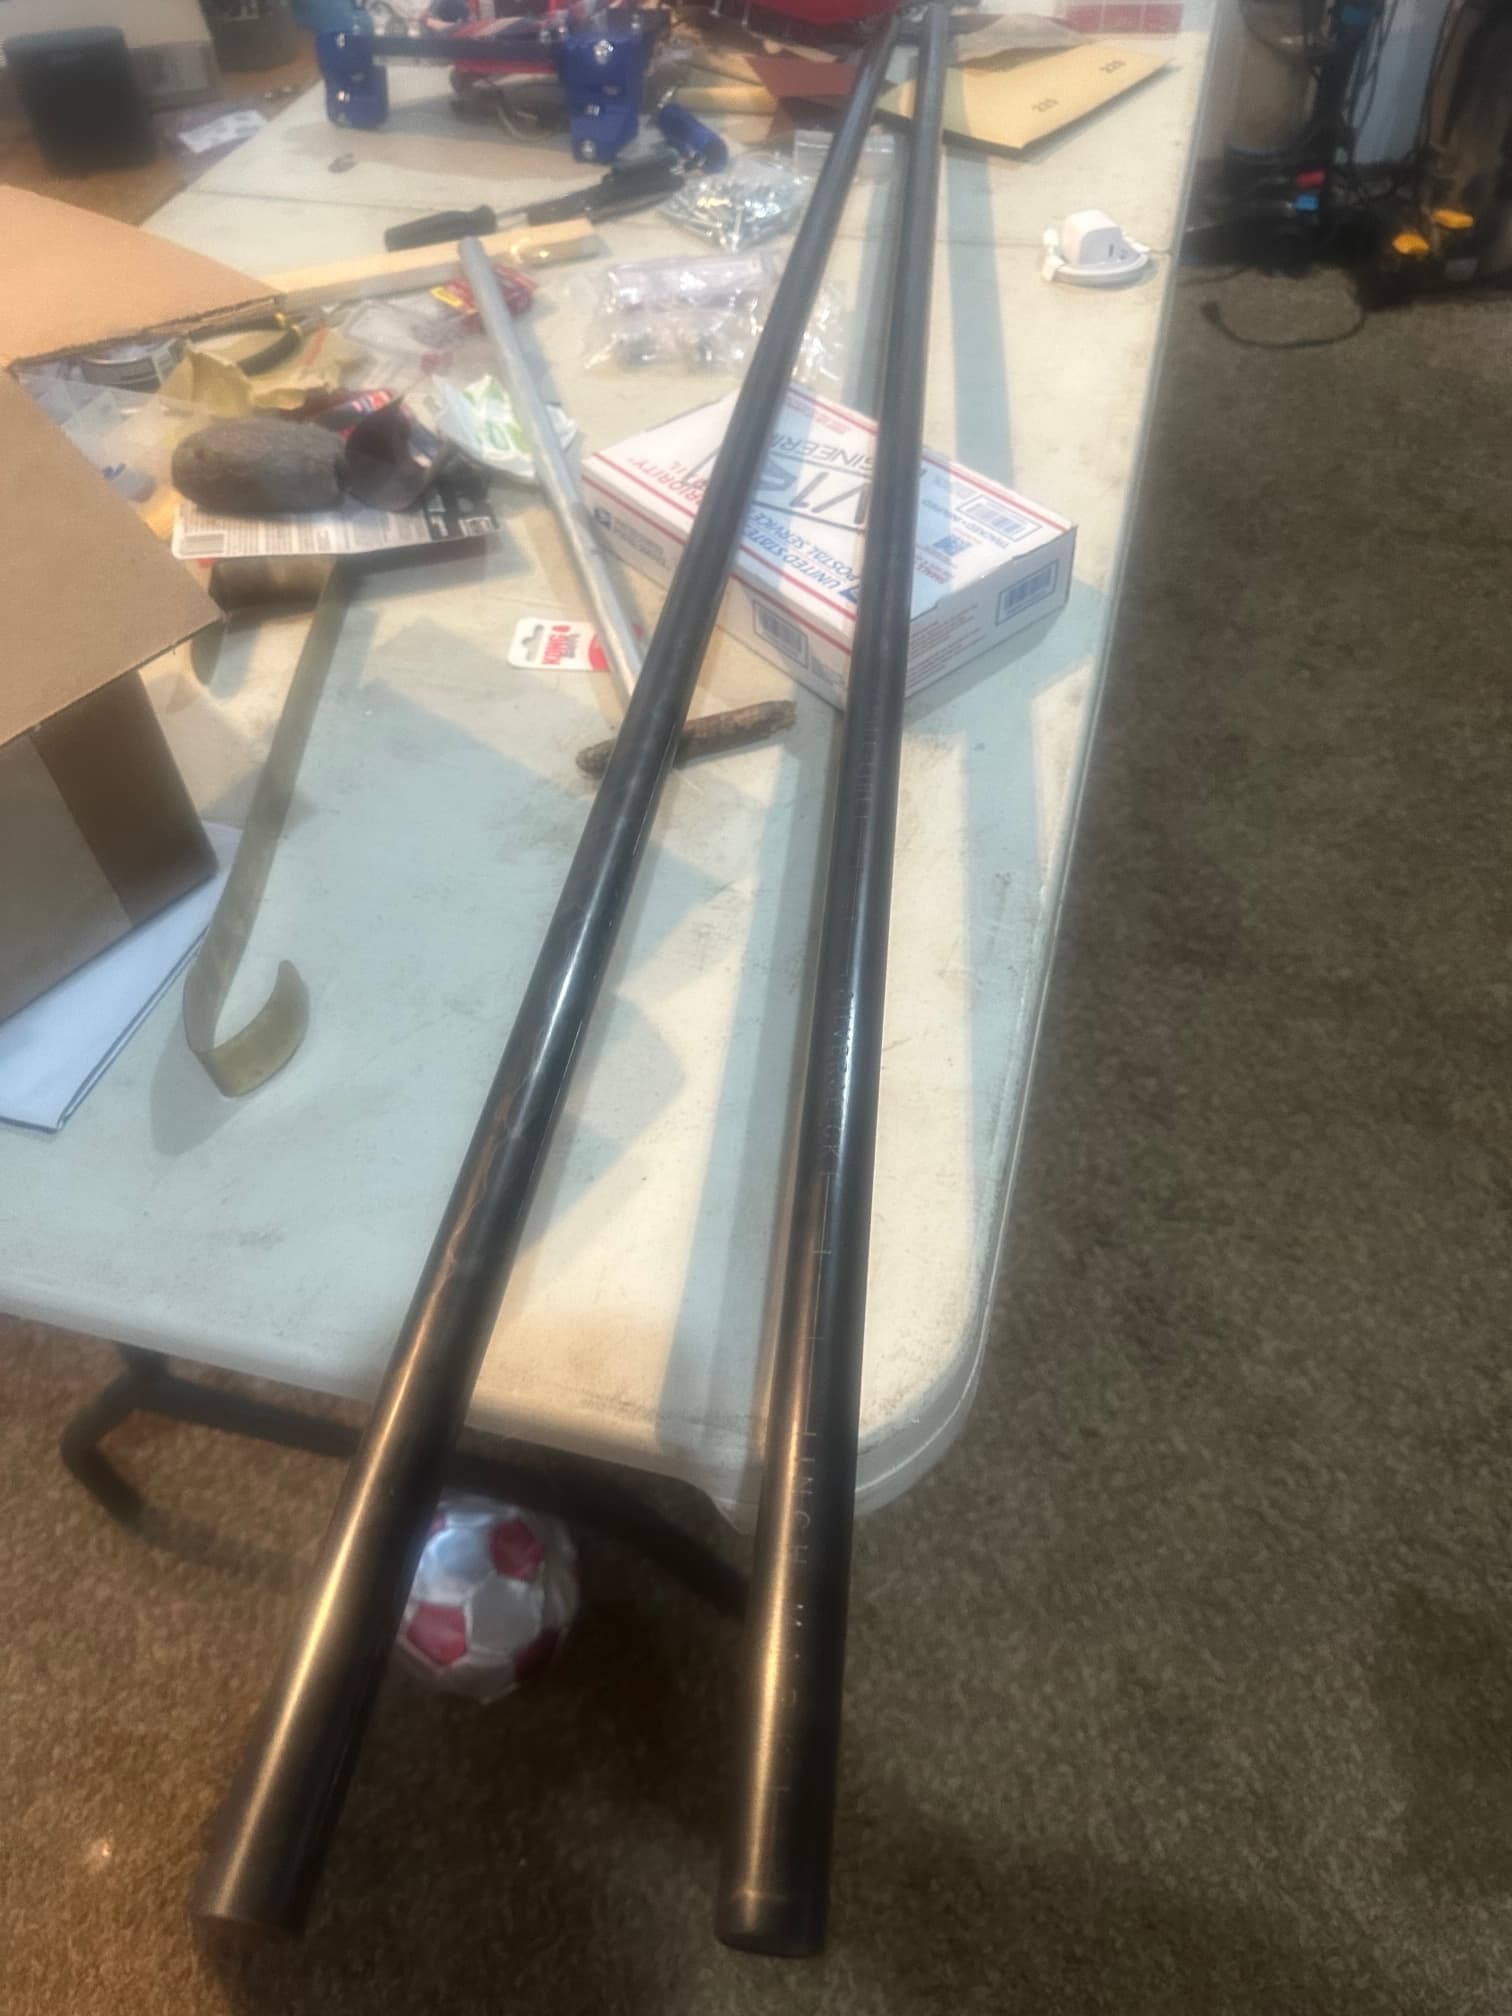
Looking forward to cutting and prepping tubes in the morning and then starting the gantry!
3 Likes
Interesting… I don’t think we’ve seen a Gundam build before… ![]()
![]() :mecha:
:mecha:
1 Like
Looks good to me.
1 Like
Try setting it onto a section of your Y rail.
Yeah I have not got to that part yet still clearing the shop to accommodate a table this size so I dont have that set up yet. I decided that tomorrow I am going to cut a short section and set it across a couple of the rail blocks and then I will be able to visualize it and kind of move it around even
1 Like
Don’t forget to make the appropriate motor noises (even if your wife is questioning your sanity)!
1 Like
YEP DID THAT. I think that is what triggered her to look at me that way
2 Likes
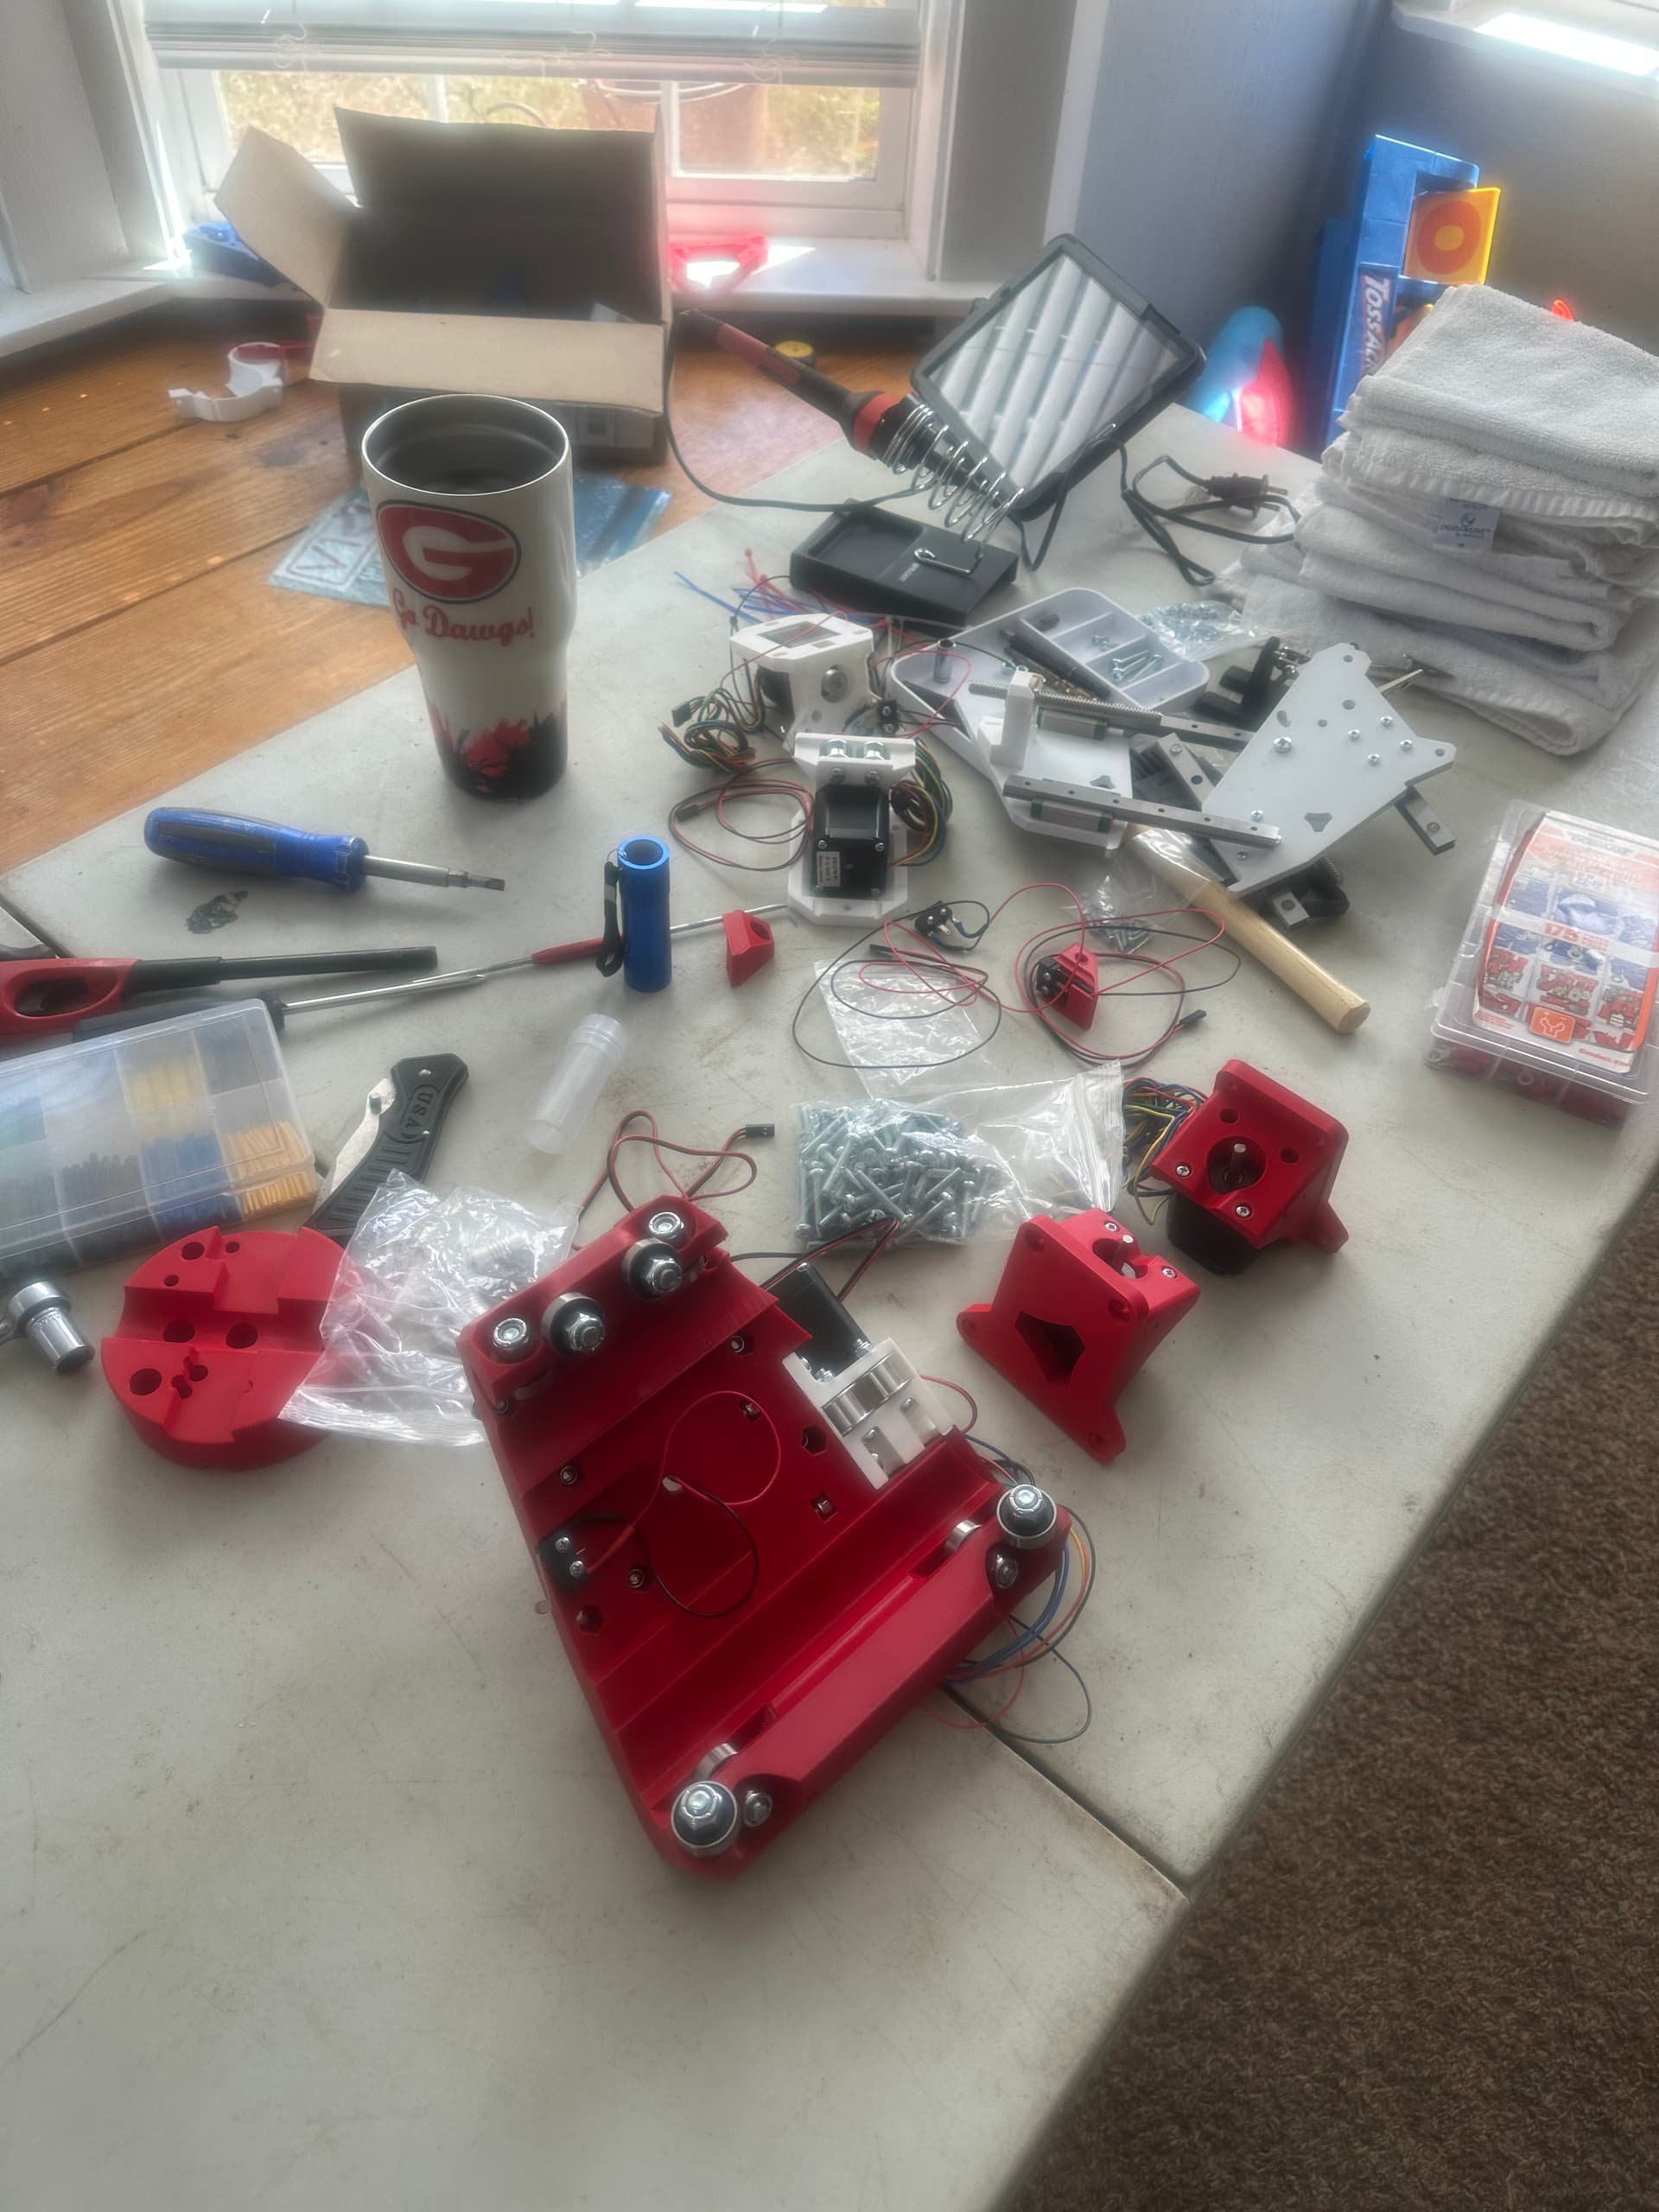
More progress… Tubes finished ready to install.
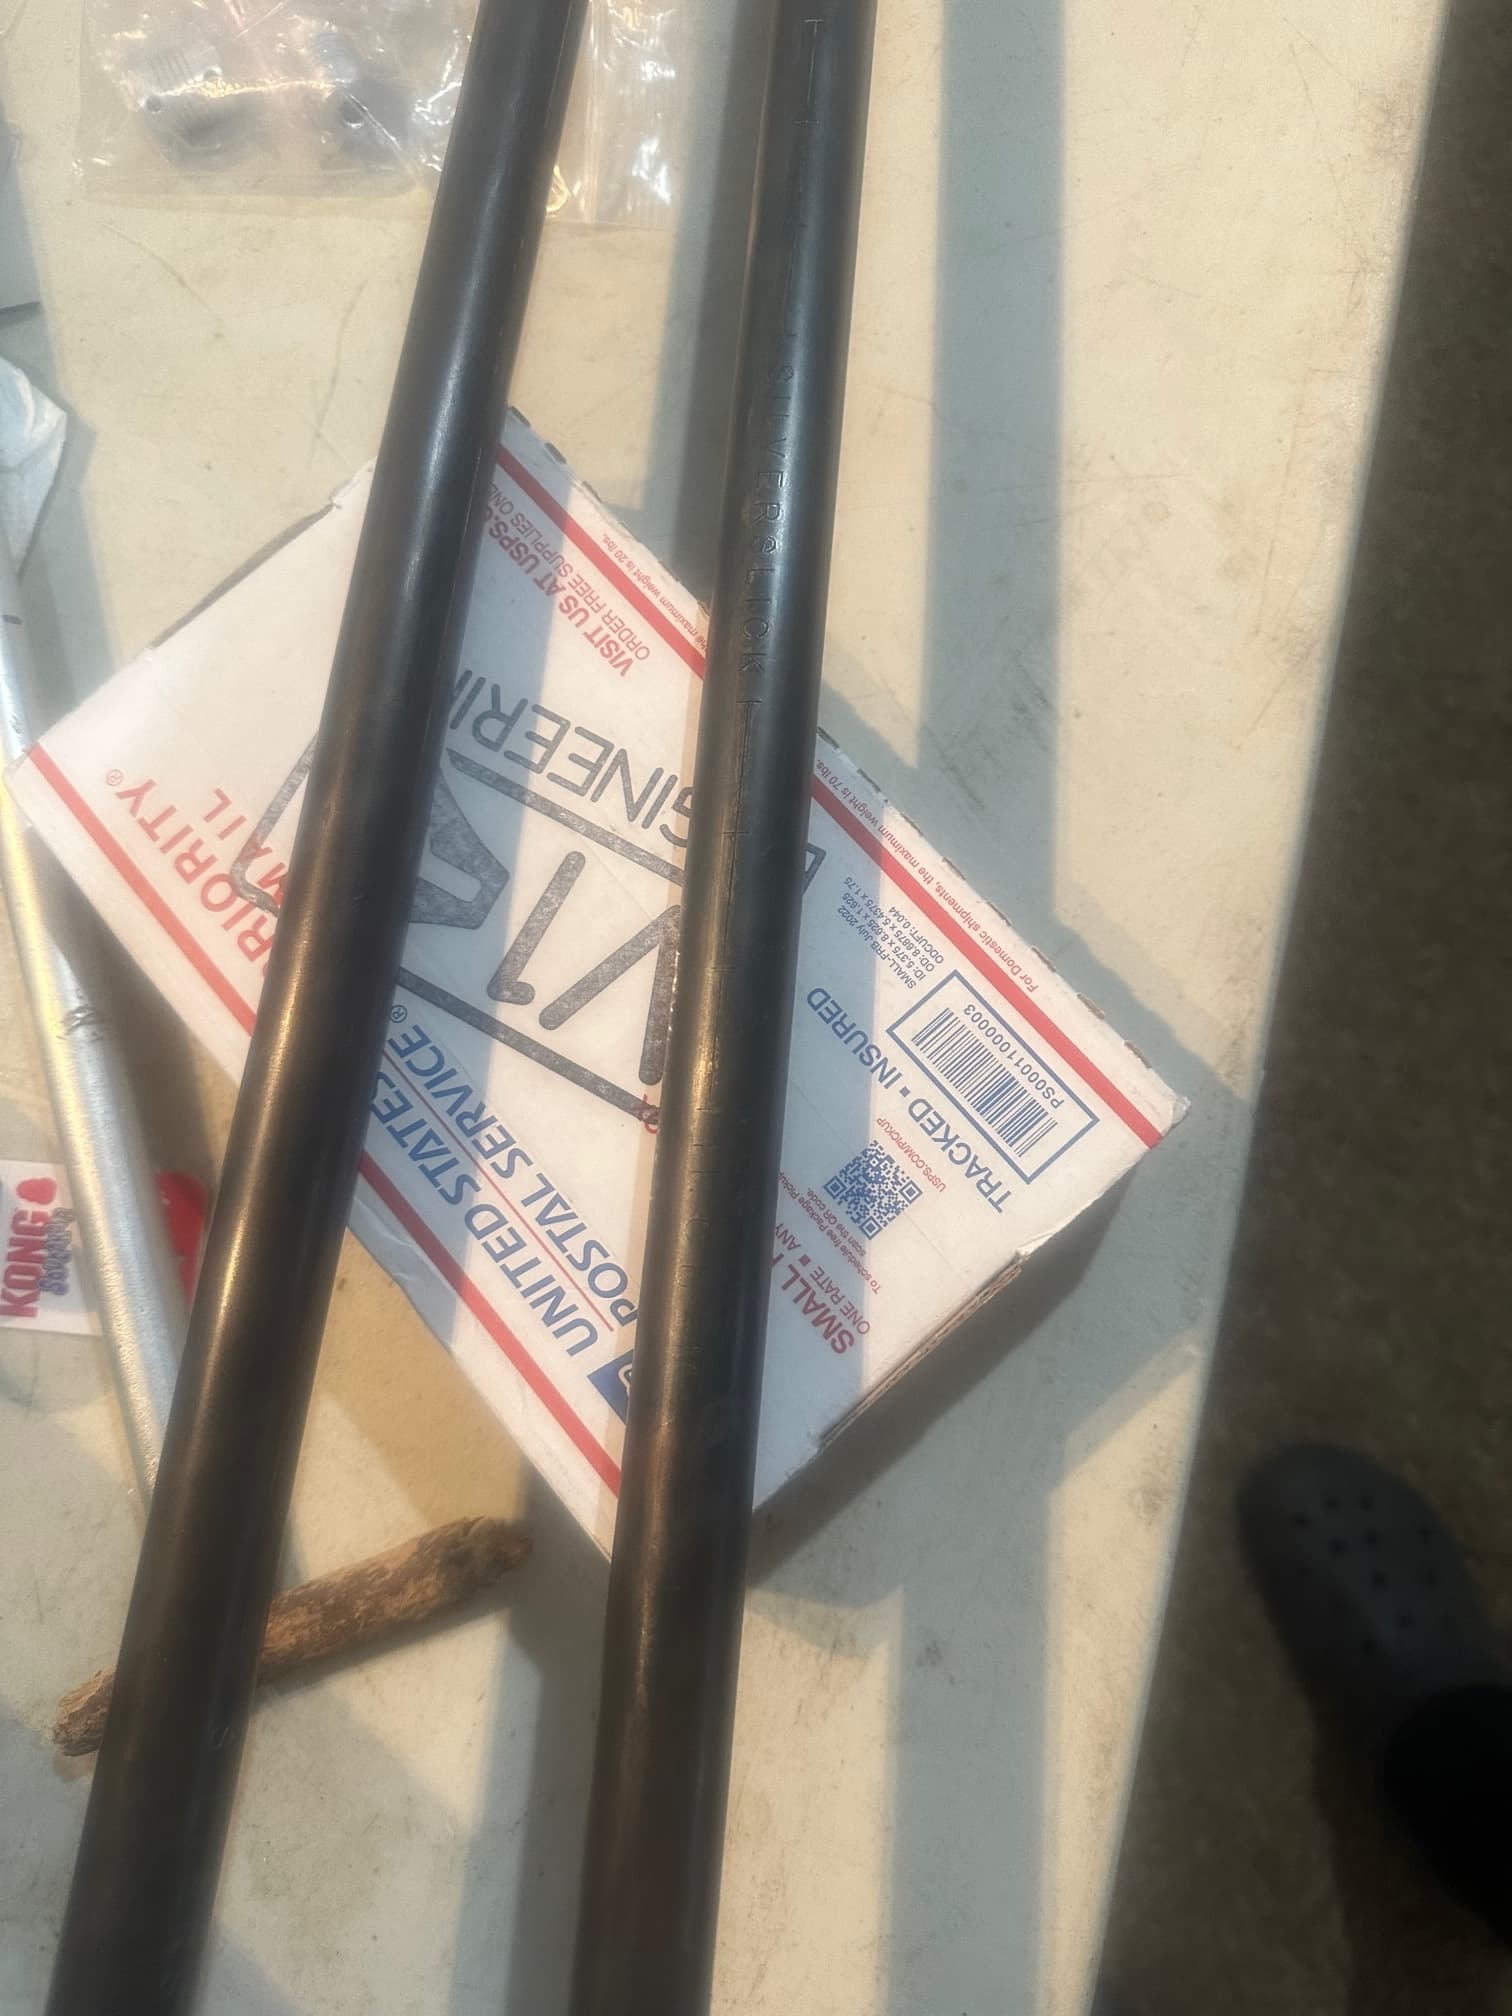
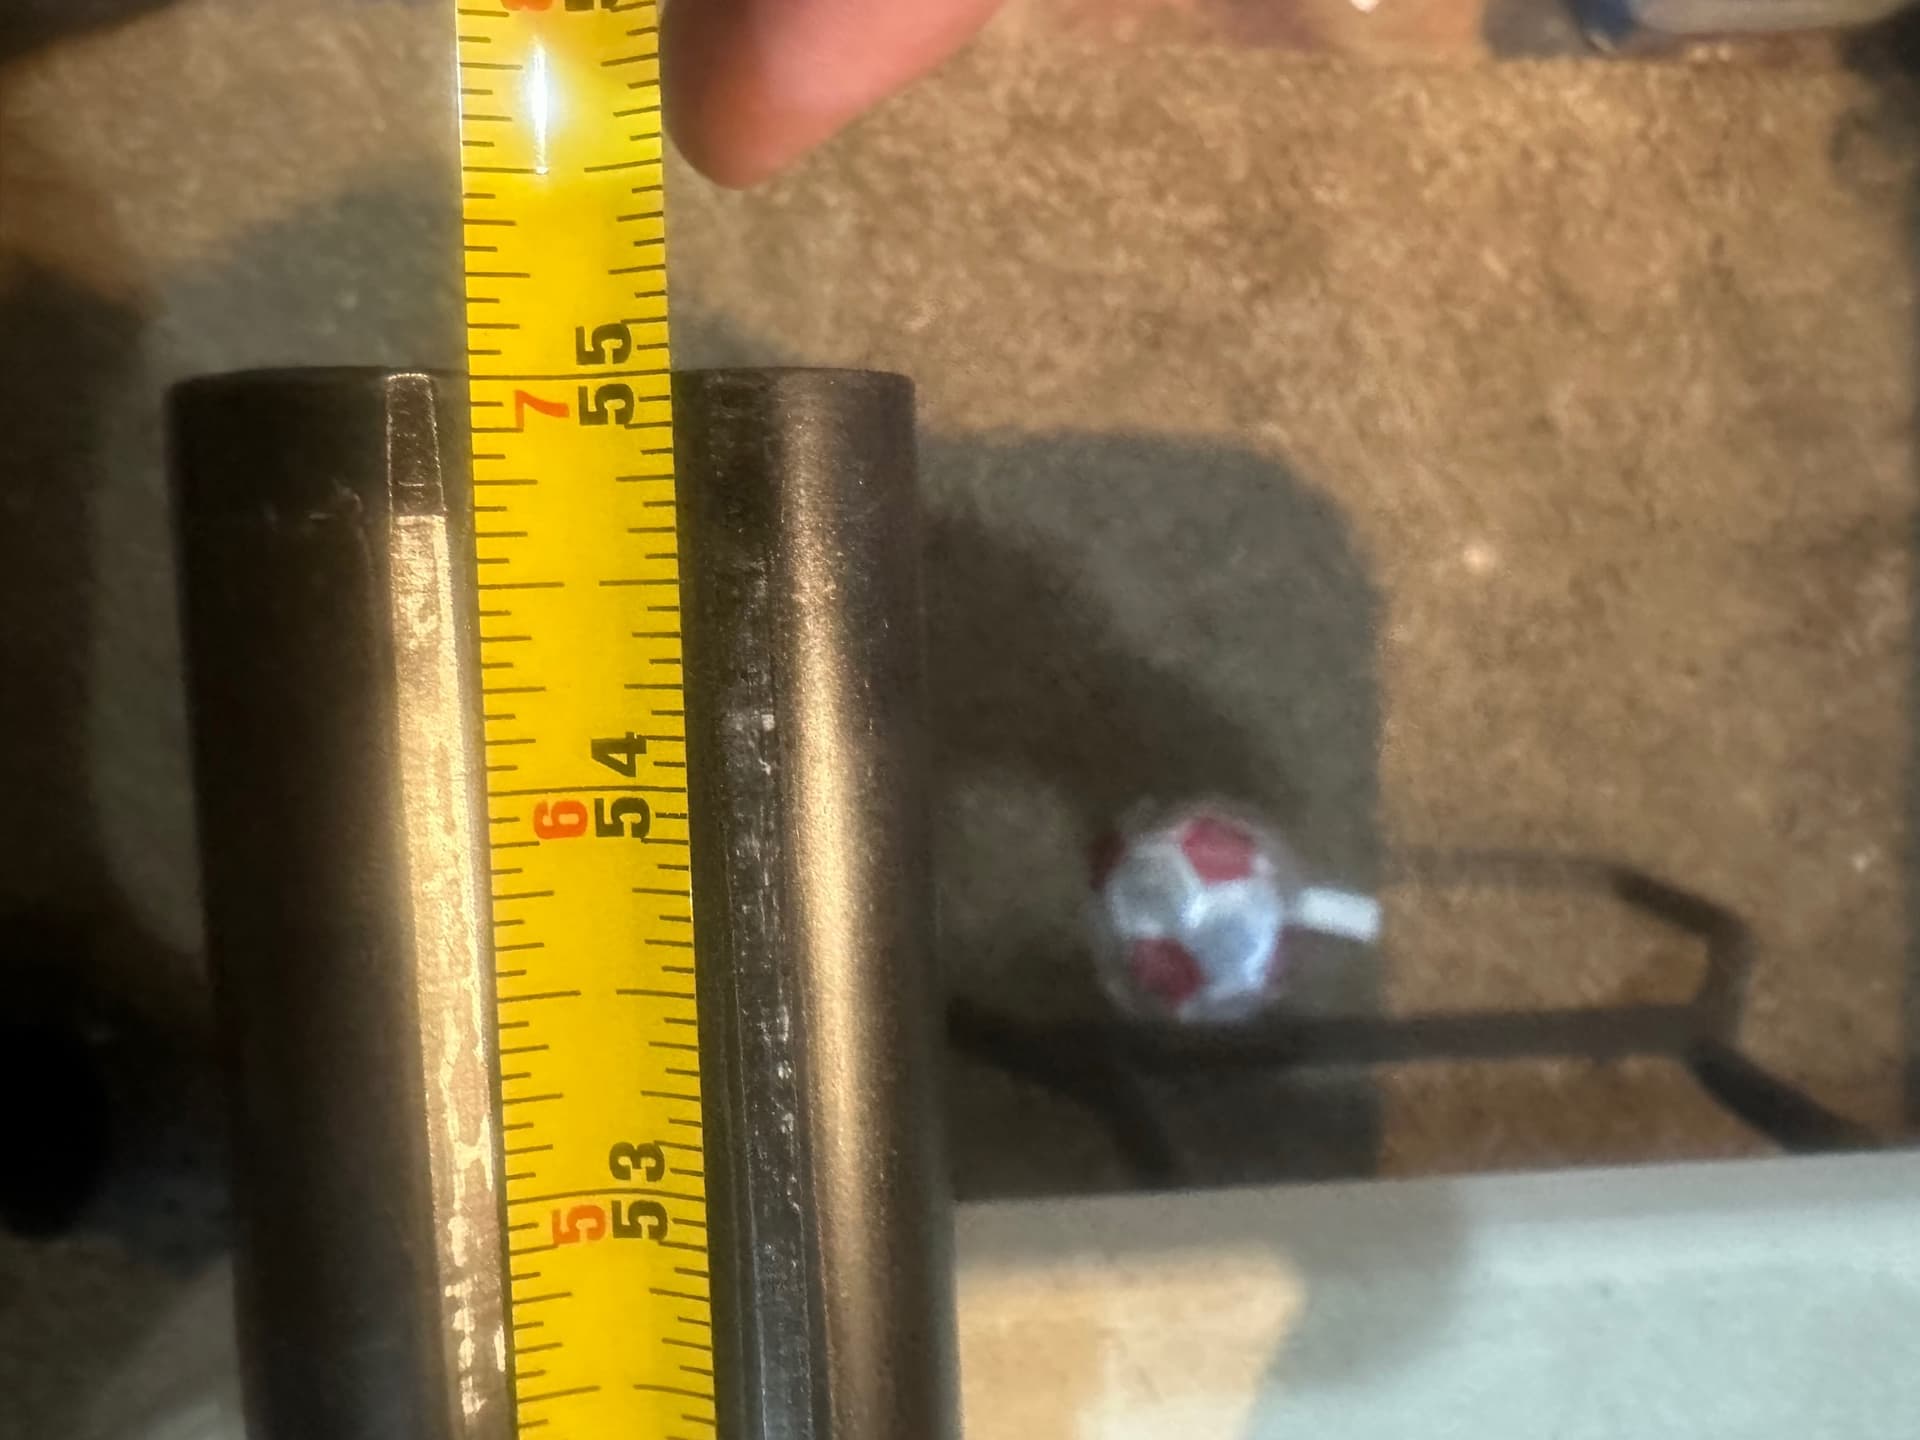
Process took much longer than I anticipated plus normal life weekend interruptions but me behind. 60 percent of the time was researching and making sure this wasnt going to have adverse affects down the road. But from what I can find it should be aok
1 Like