That still doesn’t mean it’s square. ![]() You can only tell after squaring it automatically and then measure the dots. Only then you will have a definite result.
You can only tell after squaring it automatically and then measure the dots. Only then you will have a definite result. ![]()
Yeah that‘s what I meant. I am confident that the squaring procedure will solve my „problem“ ![]() With the screw I avoid the machine lifting from the rail when it tries to reach the second endstop (which it will certainly try).
With the screw I avoid the machine lifting from the rail when it tries to reach the second endstop (which it will certainly try).
I have fired up the Jackpot for the first time and made the first few movements to identify which plugs need to be flipped.
To be clear: When I stand in front of the machine and face toward the core: Is the machine supposed to move to the left (toward the endstop) when I press “-X” and towards me when I press “-Y”?
There seems to be something going on with the forum software, it is not possible at the moment to upload a picture. I hope I described it clearly enough ![]()
I’m excited. Maybe I can draw my first crown today!
Yes, bottom left is 0 when you are facing the beam frontally.
Yes, you’re correct. It is as Philip has stated. When you are facing the machine with the X gantry in front of you, X-min is to the left and Y-min is moving toward you.
Is the lead screw supposed to touch the motor shaft when inserted into the coupler or is it rather supposed to have a little gap to it? I would like to loctite those grub screws in place just so I don’t come back here in a few weeks to read “have you checked your grub screws?” ![]()
Assuming you are using a “flex” type coupler, then maybe a little gap would facilitate the flexing if it is ever needed. ?
@vicious1 Posted something about this in another thread. As far as I remember they are supposed to touch AND you have to pull them up a bit so they are under tension, pulling together so they won’t act as springs pushing the gantry up. He wanted to add this to the instructions, but my gantry is heavy enough for it not to care. ![]()
I don’t see it specified in the documentation, but for the burly they were touching, with the coupler slightly extended.
What is documented for the LR, is the make sure the coupler doesn’t make contact with the Z axis when Z is at the bottom. (With a photo)
I’m under the impression for the LR, all of the above is true. Stepper Shaft making contact with the lead screw. Coupler ever so slightly extended to ensure they are pulled together, but not too much to make contact when Z is lowered all the way. At least that’s how I did mine.
However knowing the Z on the MPCNC is inverted compared to the LR, the extended coupler is probably not as important.
So I went along and just made sure the couplers are reasonably tight and there is no play. Will see whether it’s OK or not.
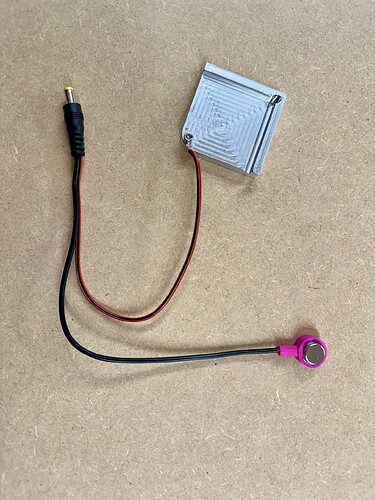
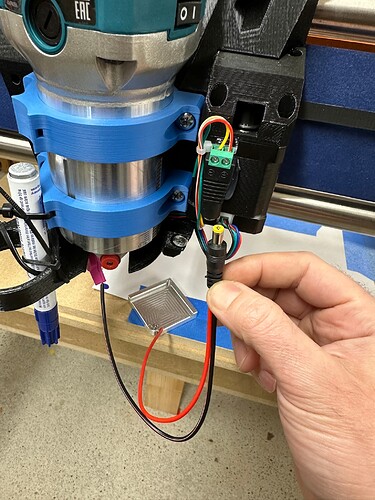
I did make my touchplate after seeing today in a post from @Tokoloshe how he connected it to his machine. I got this touchplate as a present from a friend but as I can not use it for the XY-detection (for now? ![]() ) it will only be used for Z-probing. I decided to make the whole touchplate assembly disconnectable so I can stow it somewhere safe during cut.
) it will only be used for Z-probing. I decided to make the whole touchplate assembly disconnectable so I can stow it somewhere safe during cut.
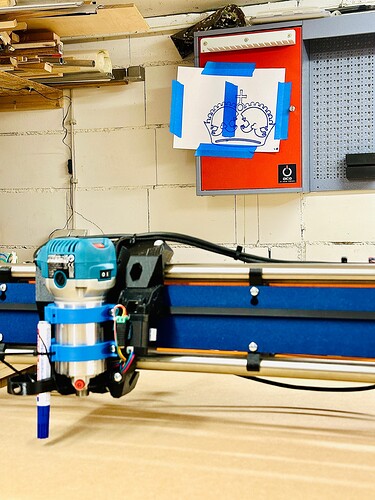
And I drew the first crown ![]()
My first project with real cutting involved might actually be a frame for that piece of art ![]()
That’s a pretty crown! ![]()
I went further today and familiarized myself with Origin, Workspace, Zeroing etc with EstlCAM and then see how I can set it up to draw things exactly where I imagined them to be (like on a mark I made on the paper etc). I figured it is easier to make these experiments with a pen to keep collateral damages low if I mess up. As soon as a powertool is involved I actually know how to move the machine in the right direction. All experiments went well, so when time allows me to spend time
in the workshop tomorrow during daytime I can make some noise.
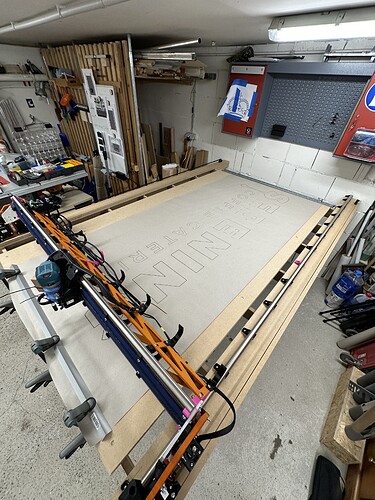
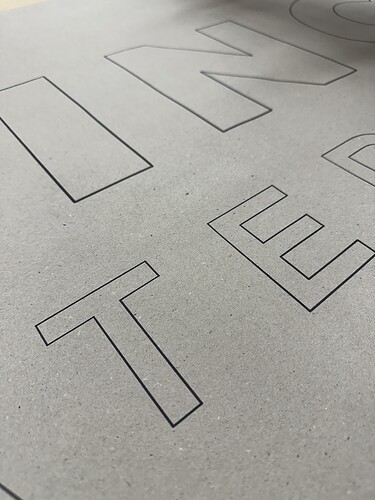
In the meantime enjoy this 2m plot which I am really fond of somehow ![]()
Schleichwerbung, I see you. ![]() No homepage though that I could find.
No homepage though that I could find. ![]()
Yeah this year is my 15 year anniversary and I still manage without one. I also don’t have social media for it. Lucky me ![]()
![]()
![]()
Since I don’t have the time to do additional business the lost visitors don’t count. Also I don’t think that someone who just randomly surfs by will give jobs of that size to some dude with a homepage.
So far I managed to be booked purely because of what I do, not because of what my work looks like on the internet. Conferences that large usually do nothing without references or personal recommendations… I know that this is an incredibly privileged position to work out of, considering the times we live in where every kindergarten group has a homepage and Instagram profile ![]()
But indeed it is being worked on since I will treat myself to my company’s birthday. I signed the contract last week and it will probably be online in 3-4 weeks ![]()
I’m trying to complete my EstlCAM Setup. According to the “Setting up EstlCAM” section of the Jackpot Documentation the provided file contains
all the settings, feedrates, rapids, starting gcode, toolchange, and ending gcode sections
When I import the File into EstlCAM there are no updated feedrates or rapids, the starting gcode changed etc. The default feedrate seem fairly high to me…?
I opened the file in a text editor and inspected it: There are no feedrates and rapid speeds provided in the FluidNC.pp file - which is obviously why they won’t be imported.
Maybe the documentation needs to be updated there?
I looked on the Milling Basics for advice but it seems to be about something outdated/different. The Jackpot Documentation asks to select GRBL, the Milling Basics suggest Marlin instead… Are they talking about the same setup? The feedrates are changed in the Milling Basics section. Maybe someone can help me understand? It’s very confusing.
And also, most important: Is 2100 for Rapid XY and 480 for Z a good and safe starting point?
1000Z or bust. ![]()
We need to get attention of @vicious1 or someone who knows. I would assume there is some documentation that dates to before the Jackpot, back when there was more of a single focus on Marlin as opposed to the dual focus now on both FluidNC (GRBL) and Marlin.
This is part of the setup steps in the docs, EstlCAM Setup - V1 Engineering Documentation I will take a look and see about updating stuff. It is a bit scattered now.
Those settings are superconservative, as you fine tune and use, you will surely be able to increase them.
I know this might be offtopic but i wanted to ask, how have you found the shaper-origin?? Are there too many proyects where you’ve found it’s not capable of doing some things ( like carving big reliefs, planning big slabs, etc)?
It sounds to me like you’ve only needed a “automatic” cnc because of a bussiness use-case (the side-hustle shop thingy)
I’d like to say that I use the lowrider every week but since I don’t the amount of space that I dedicate to it in the garage feels like too big of a commitment (even though it’s not even full sheet), also I don’t need to produce more than 4 of anything I make so I was wondering if the shaper could work for me. The price seems steep but after watching the ifixit teardown video it seems to be built like a tank and feels like a tool that will last for a long time.
