NancyFräser - A new LR3 in Heidelberg, Germany

This morning I started cutting out the riding plates and the long Y spars from 16mm MDF. I doubled up two pieces of 16mm MDF to be able to cut both parts at once.

I do a combination of CNC and regular tracksaw cutting to speed up producing parts that have long straight edges. I cut 2 roughing passes at 5mm and 10mm with a .6mm offset and a finish pass of all the shapes to have a perfect reference and then use the tracksaw to cut out with about 1mm offset, and then a router with a flush-cut bit takes care of the rest and produces two identical and precise parts in very short time.

In case you are wondering about the amount of tape I used: That’s way more tape than needed to just cut out the parts and be done with it. I started the practice of adding some more on individual parts (2 rows of tape over the cutout), because as long as enough of the tape is on the workpiece (even parts of it), the machine can reidentify the workspace and I can re-cut on the same surface and have the full workspace data still on it, including grid position etc. - which is a killer feature for me :smiley:
Maybe I want to cut some mounting holes in a predetermined pattern or a slot along the side for a rail. I don’t know. But should the need arise I can resume on the part without remeasuring and establishing a ground truth about the grid…

2 Likes

Nice

Where did you buy the MGN12H rails and the belts + pulleys?

I treated myself at the V1 Engineering Shop.

1 Like

If found time in the afternoon to do the finishing cuts on the pieces. That means tomorrow the X ribs are cut, since the next sheet on the big stack is 19mm. I need to follow the wood :smiley:

1 Like

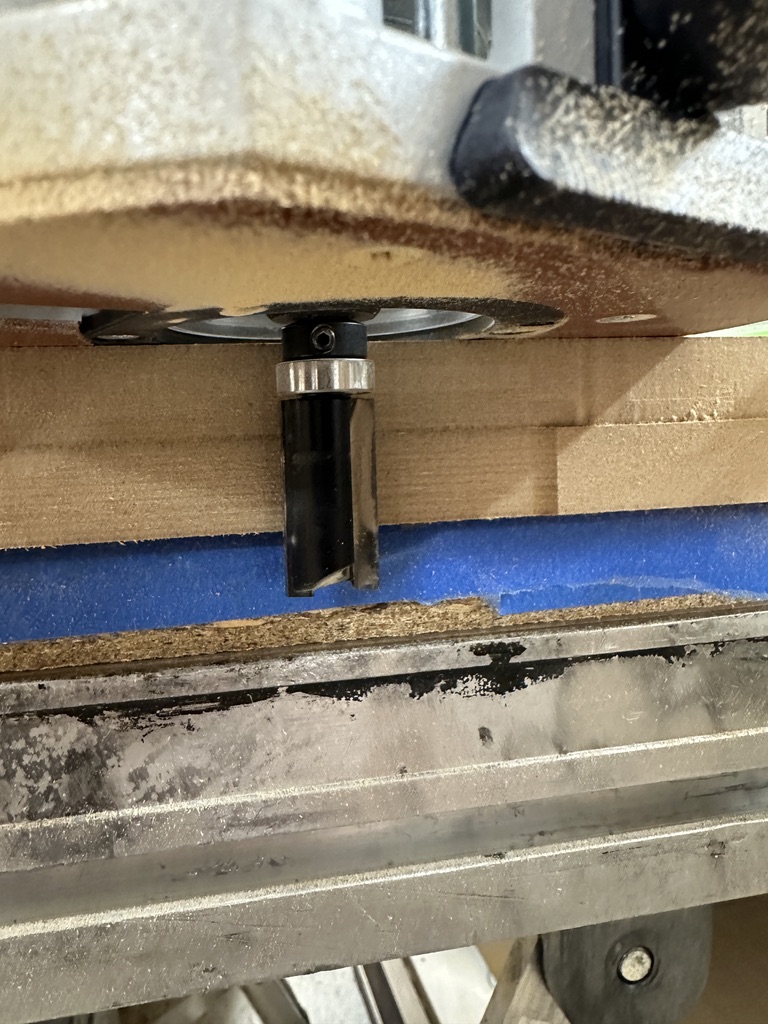
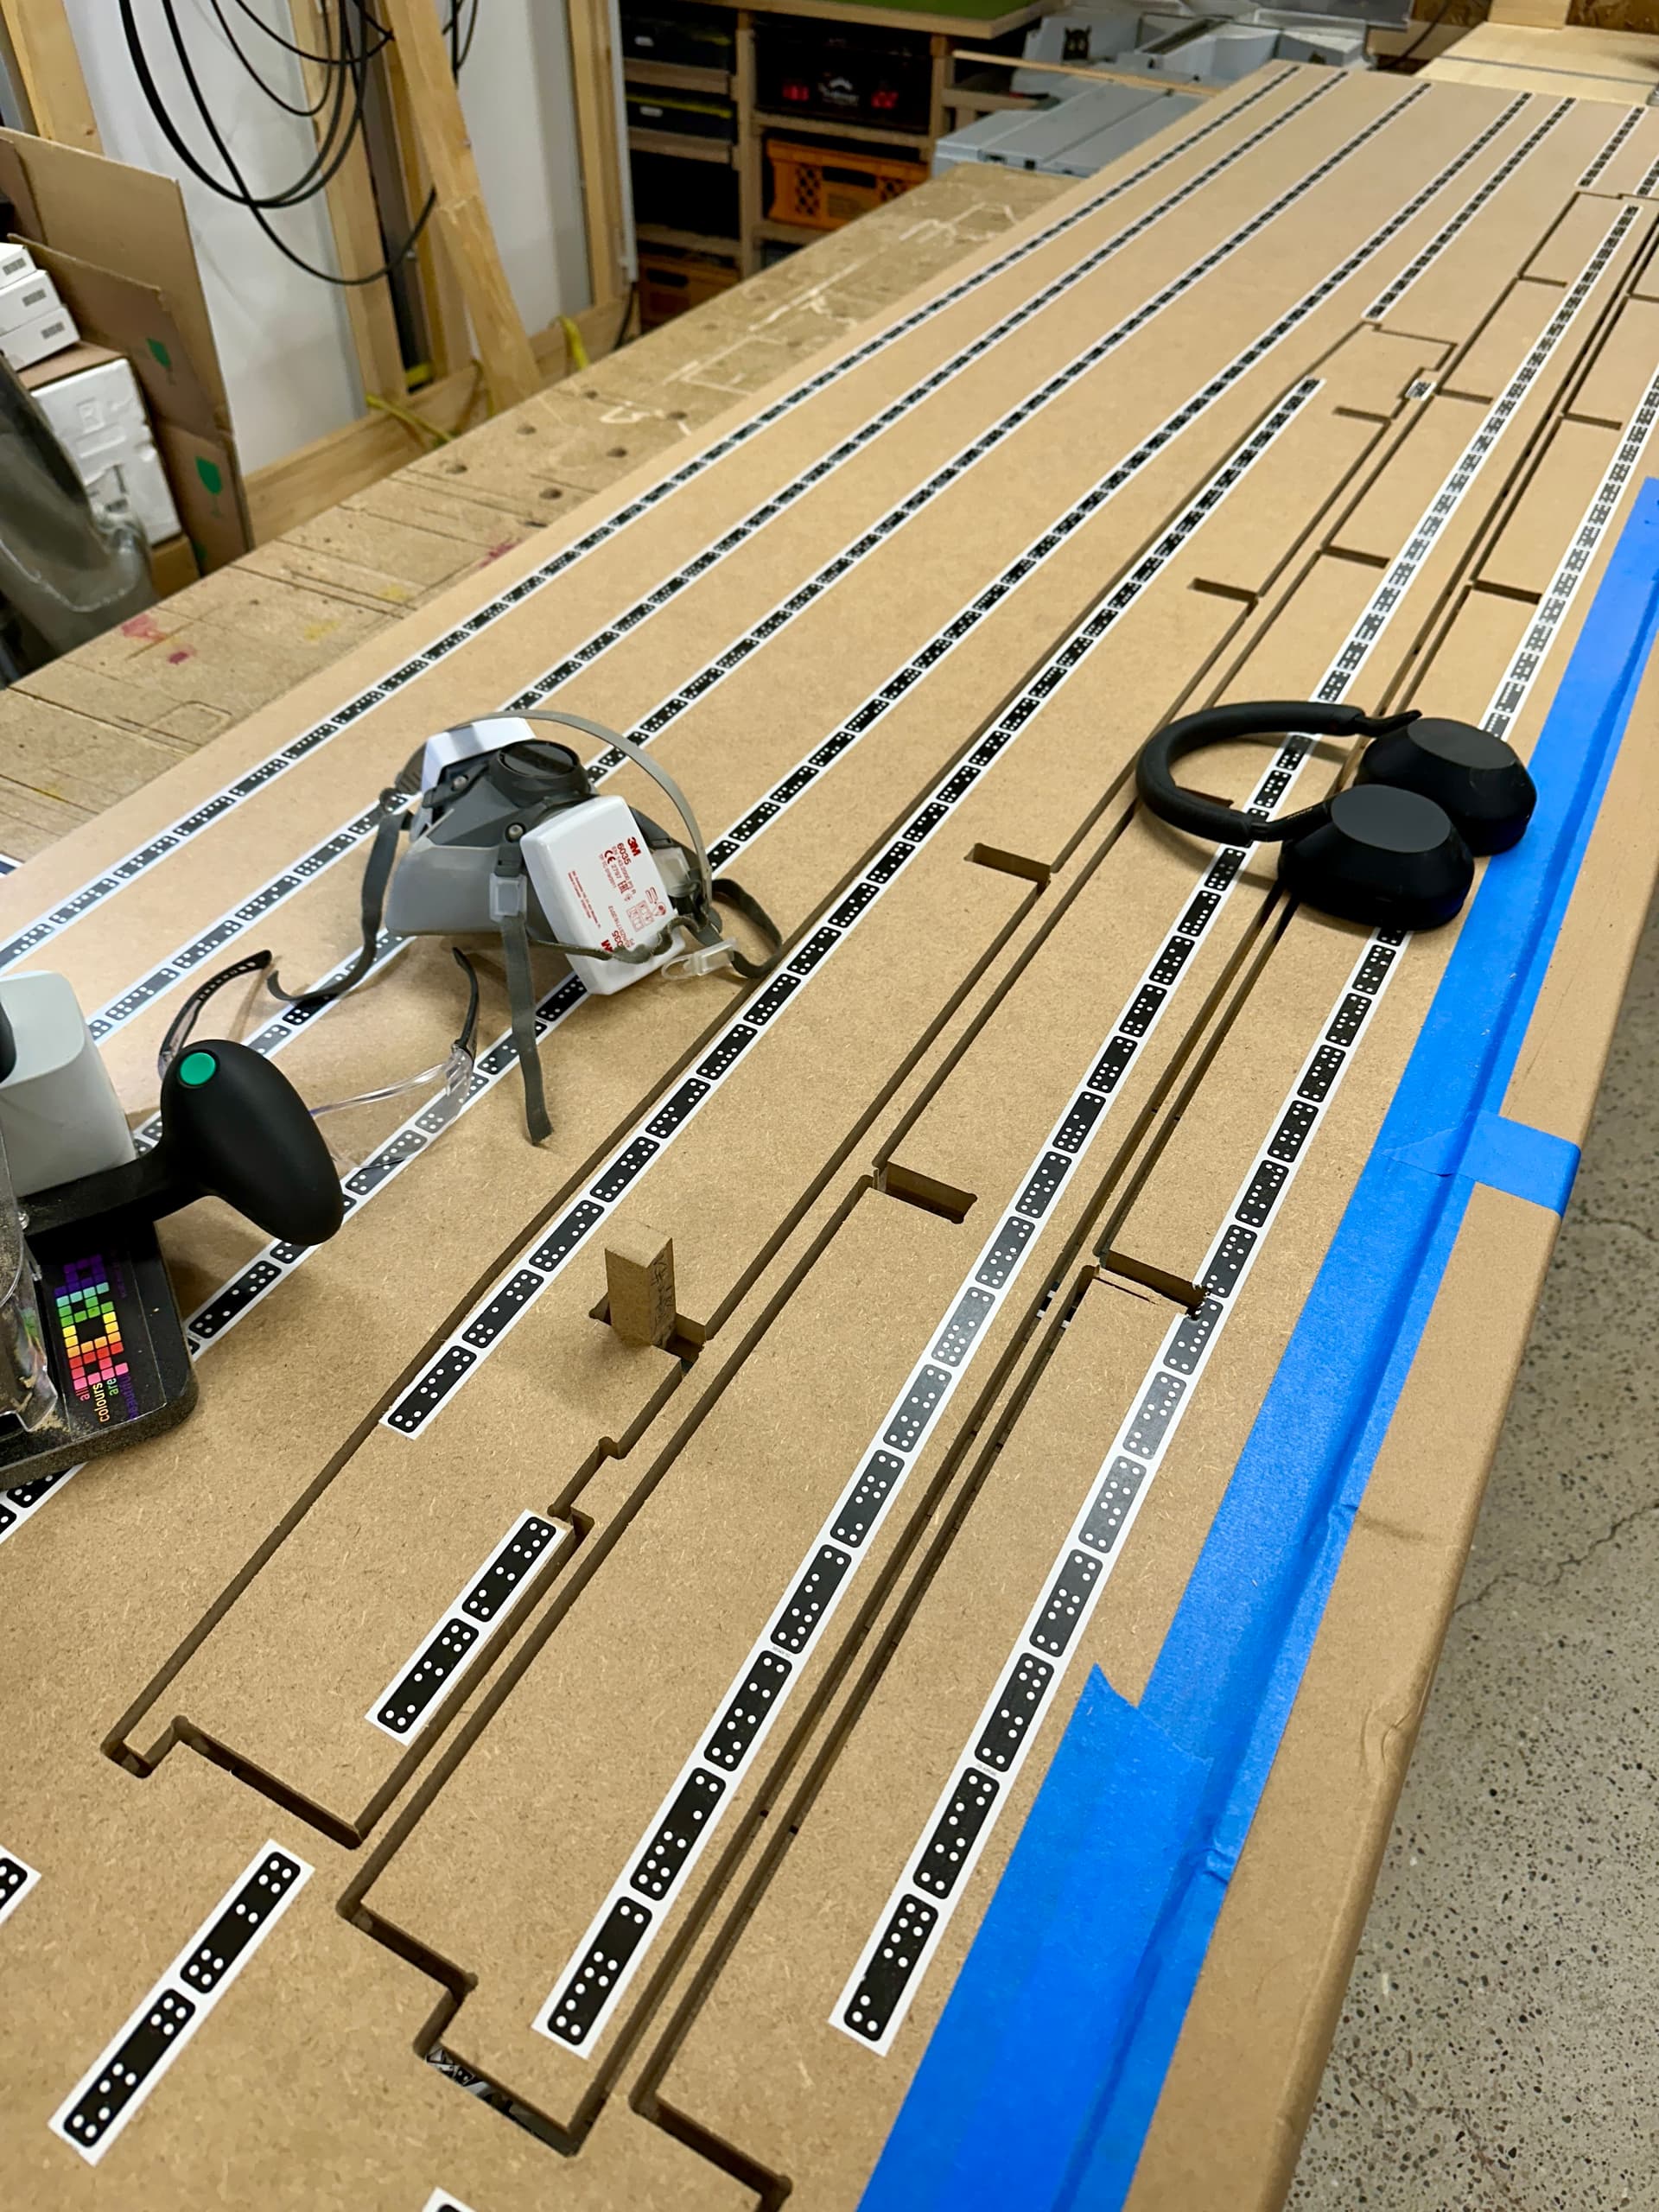
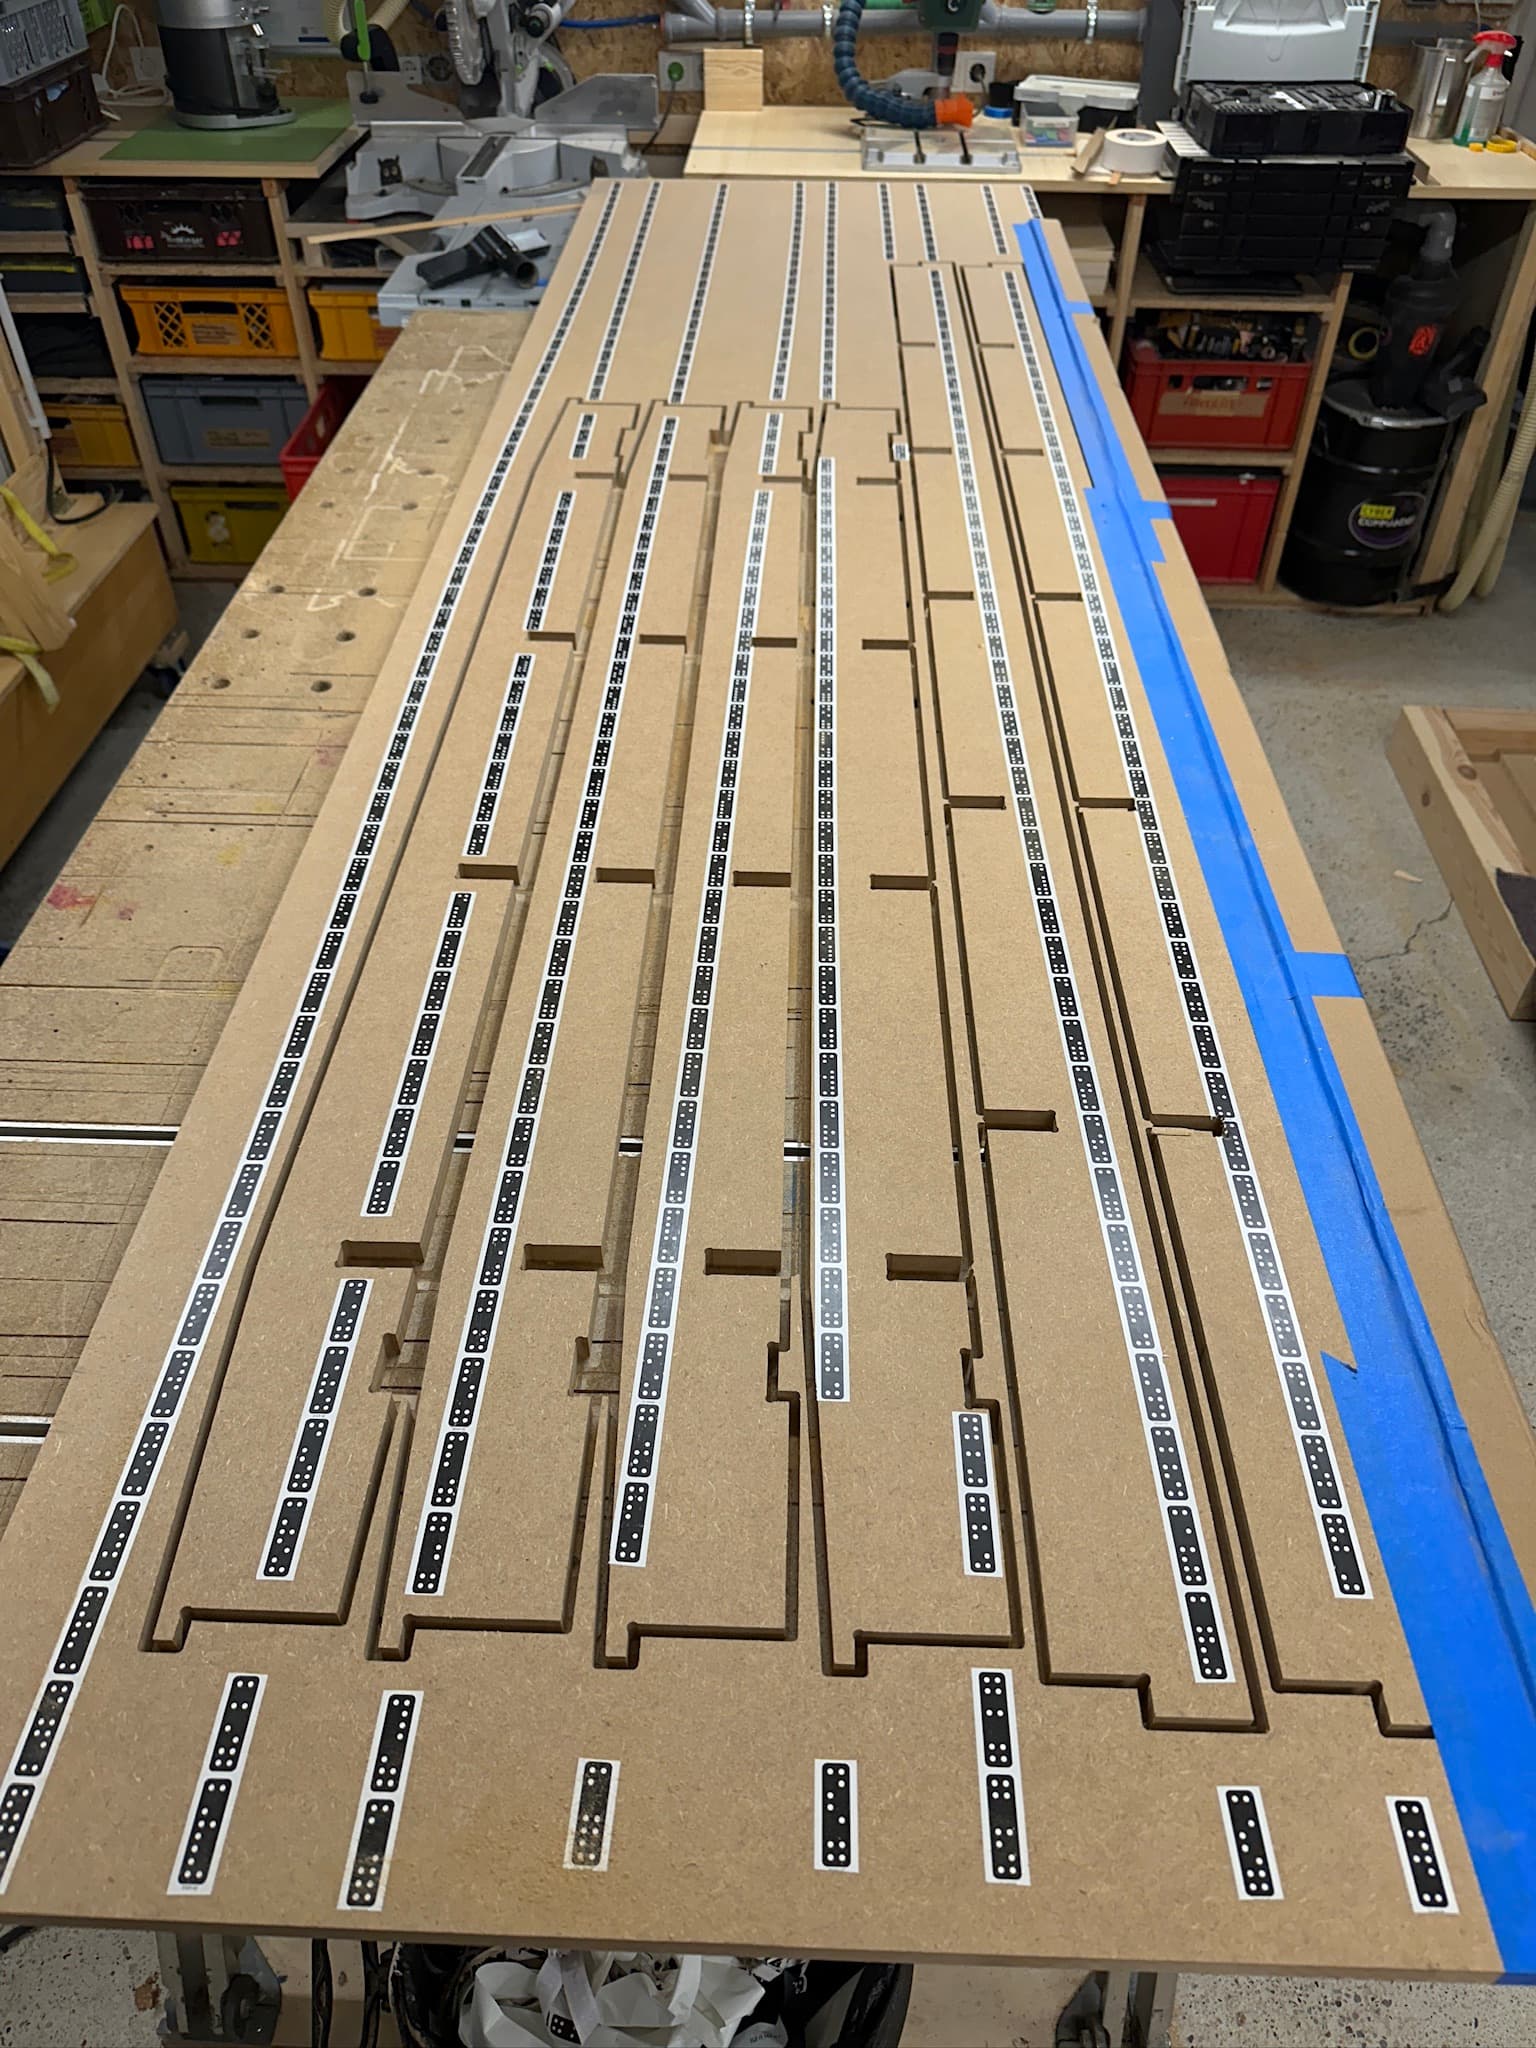
Today I started with the first slab of 19mm MDF to cut 4 of 4 Y Ribs and 4 of 7 X Ribs for the torsion box. The parts came out incredibly precise and I tested each joint with a cut off and adjusted the cut-offsets on-tool to achieve perfect friction fit. I did make a video, but I need to make an account first and share it tomorrow.

I must say, Dougs LowRider Table design file is awesome! It has reacted well to my adaptions of plate thicknesses within reason (at certain combinations things break inevitably with Fusion, it NEVER works :smiley: ) and put in my table size and it all exported flawlessly onto my tool. It’s a great addition integral to my build and I do not need to worry at all about figuring this out by myself yet also have a super-sturdy finished product in exactly my size in the end (I think). :+1:

One question: the torsion box is made of the interlocking joints and the bottom and top sheet. The joints do not neccesarily require glue I’d presume? But the sheets are glued? Please advise :slight_smile:

Meanwhile enjoy some more pictures. Since tomorrow there’s no workshop time I will continue with the assembly of other parts. I’ll use the one small cut off next to the X Ribs for the Plates on Monday and maybe can also cut the remaining 3 X Ribs. Then the table can be assembled tuesday :partying_face:

While I must say that the precision and cut quality are excellent with the Shaper, with every pass I notice just how my I will love the Low Rider for taking exactly these repetitive cuts of me. They are boring and I feel myself get impatient…

Have a nice weekend!

The parts go together incredibly smooth with little friction, yet lockdown in place so hard that I reacted really impressed since it was SO much more sturdy than I intuitively estimated :hushed: :smiley:

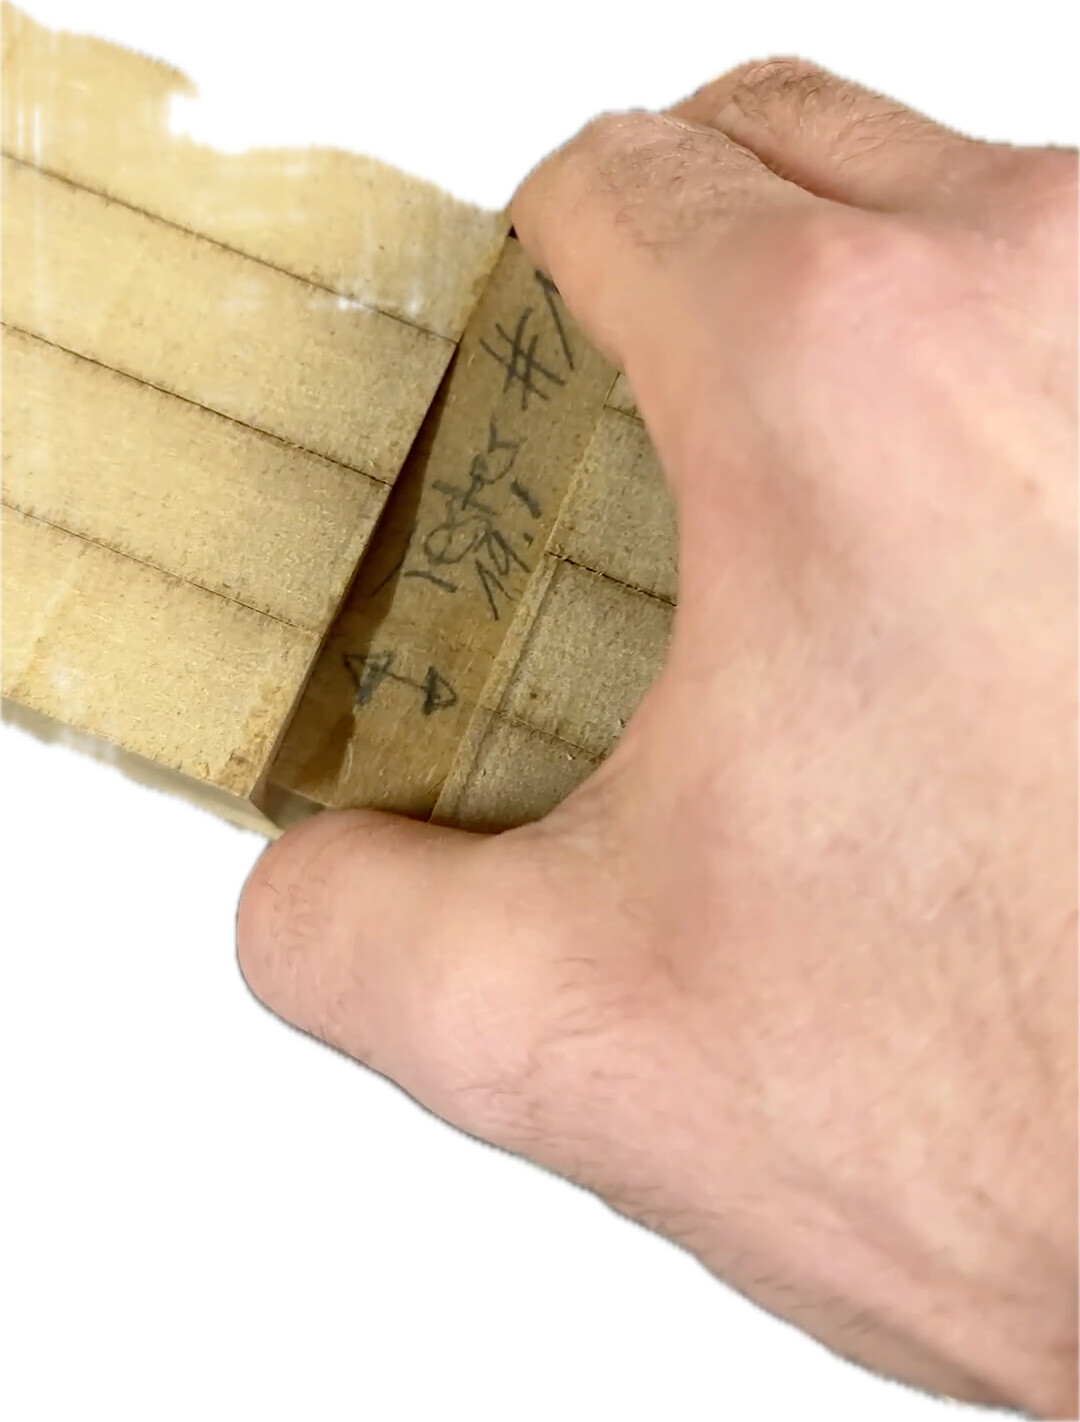
I’m noticed that I can probably put the torsion pieces together exactly one time, I will add makers for orientation first thing tomorrow…

2 Likes

I glued my joints. I did not glue the skins, but others did and the indications are that a lot of strength comes from gluing them, and so I kind of wish I had.

This is exciting, thanks for the updates!

I did not have time to post earlier, but yesterday I started dry fitting the single pieces and put some markers for orientation on. I also used some color to make sure I don’t accidentally flip one of the ribs. They all go together really well, once put in it takes real effort to get them out again. Very good.

The “minimal dog bones” I generated with the add-in are absolutely sufficient and have worked super well so far. I can recommend it to other makers.

Tomorrow I will cut the YZ Plates, 2 more table support parts (of which I each made 1 and forgot the second :smiley: ) and the last 3 X-Ribs. So… Wednesday might be perfect to glue the torsion box while I set up the base/legs and clear the space.

My printer is printing another rail bracket at the moment since I need 9.

1 Like

Limited time in the workshop today, I cut the rest of the X-Ribs but still have not managed to do the YZ Plates. I will do them tomorrow morning.

Since reading about stain in the documentation I’m wondering if I want to add colour. I have 3 jars of old wood stain left, red orange and blue. I made a sample and ponder whether I want to colour the struts :slight_smile: It’s super quick and I wanted to add more color and fun to the workshop, since everything’s so earnest in there :smiley:

2 Likes

I cut the YZ Plates and made a decision on the color… I’m going with the orange/blue combination to add some paint to the shop.


Tonight I might glue up the Ribs and Struts so I can add the top and bottom skin tomorrow. I wont be able to glue everything at once :smiley:

1 Like

Cut the struts. Seems like tomorrow is the big day :smile:


2 Likes

Technically (or theoretically, I suppose), most of the rigidity of a torsion box comes from the connection of the skins to the frame. By preventing the frame from slipping around inside the skins, the whole thing acts as if it’s a solid. So properly glued together, your table should be nearly as rigid as a solid chunk of MDF the same size as the table, but not nearly as heavy. It also prevents racking of the ribs, keeping things square (or at least, as square as you built it). So you can even lower the weight even more by making cutouts in the ribs and frame (see Ron Paulk’s workbench designs).

So, in theory, you’d do well to use something like 6mm MDF for the skins, 12(14?)mm MDF for the frame and ribs, and then put a 19mm spoil board on top of that as a work surface (plenty of depth for surfacing and through-cuts).

1 Like

I just had to watch a few videos on how the Shaper Origin works. Insanely good idea, but the price makes me cry a little. :smiley:

1 Like

First time I use paint for something in the shop that is also going to stay in the shop. I like it.
It’s 1 coat of woodstain rests I had standing in the shelf for 4 years now. I have used it to color a children climbin arc back then.
The product still works perfectly, even though it was opened so long ago and it was not light protected or similar… Wood stain seems to be a good choice, especially when it’s not an everyday color, seems really stable for long-term storage.

And the 3D print of the day: Painting Pyramids. :smiley:

E854EC6E-746C-4046-B9B4-24C93A030247_4_5005_c
4BD2B246-F663-443B-93F2-8E1C168CFC50_4_5005_c


3 Likes

Sharp looking!

I hope that are @bitingmidge’s painting pyramids mate! :stuck_out_tongue:

well spotted! They look a bit big and the internet is full of cheap imitations! :smiley:


Torsion Box is assembled and the top sheet is now glued on.
Will flip over tomorrow for the bottom sheet and then flip back onto the surface of the table this is going to be sitting on.
Time to let the glue dry :slight_smile:

Also worked further on the side motor assembly.


3 Likes

Wow, nice!