I’d say lets get a few users going before we break out a subsection. I am a bit worried it could get confusing for people thinking I am supporting this machine. I want to help but I would have to have a bit more of a discussion first.
2 Likes
Ryan, I would agree. This is why I had suggested Facebook. I personally am not a fan of discord as it’s just one big thread. Yes there is a search feature, but it’s hard to see who is replying to whom… unless I am using it wrongly… I personally wouldn’t want to add a section here for the exact reason stated. I have created a Facebook group… if it takes off, great… if not… so be it… it will all work out in the end.
2 Likes
Let’s start an IRC chat - I’m on a massive push to go back to web 1.0 at the moment.
5 Likes
Could fire up ICQ.
I’m interested in a forum/wiki for this as well.
We are building the Brutus at my workplace to showcase a new range of CNC router bits the company I work for are releasing.
The main reason we chose this over MPCNC is the access to spindle for filming.
It would be nice to have a place to share information. Especially on different sources for parts.
2 Likes
I still know my number by heart. 139782980. Too sad it’s practically dead. Was a great time. ![]()
1 Like
I spent a week hanging out alone in #monkey-island on gamesnet/surge AND DALnet…
I thought it would have been busy with the announcement of Return To Monkey Island!
1 Like
uh-uh!
1 Like
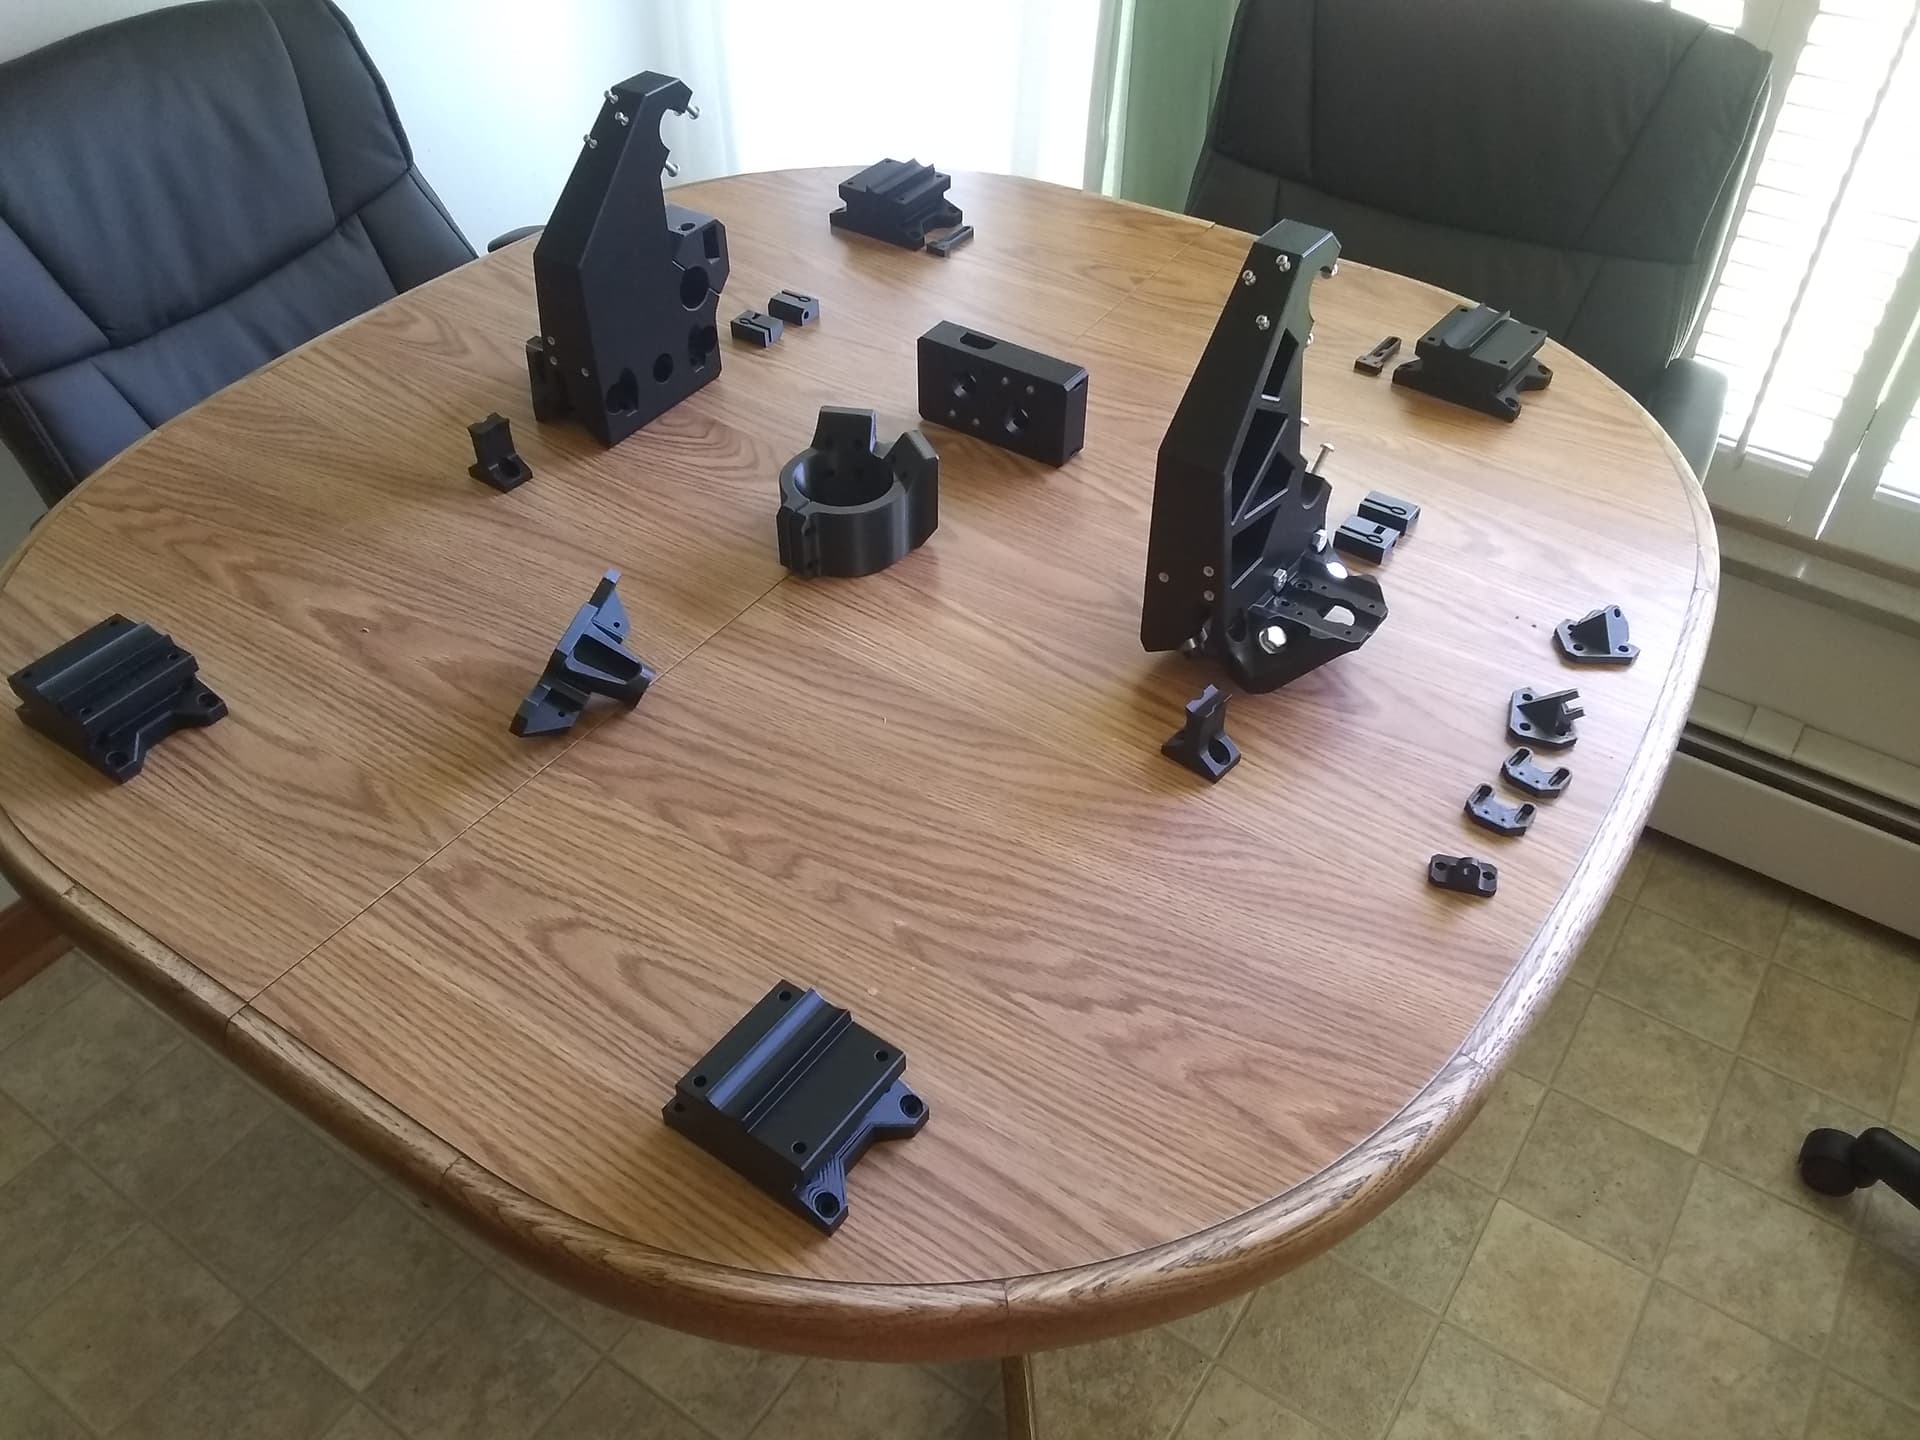
I need a faster printer… this is taking a very very long time… or a bigger nozzle… (if I had a dime…)
3 Likes
I had .6 in for a while but micro swiss came with a nice Stainless .4 so back to that. .6 is a game changer though. dont really notice anything on bigger parts but the time difference.
2 Likes
Thomas Sanladerer did a really good youtube video recently about the speed improvements of 0.6 nozzles, especially with some of the new slicer features. I’m considering going that route for my upcoming LR3 build I’m wanting to do.
1 Like
Take your time. Slow and steady and you’ll get there. I’m just itching to put this together. Still have some other priorities to get to before I can start 
1 Like
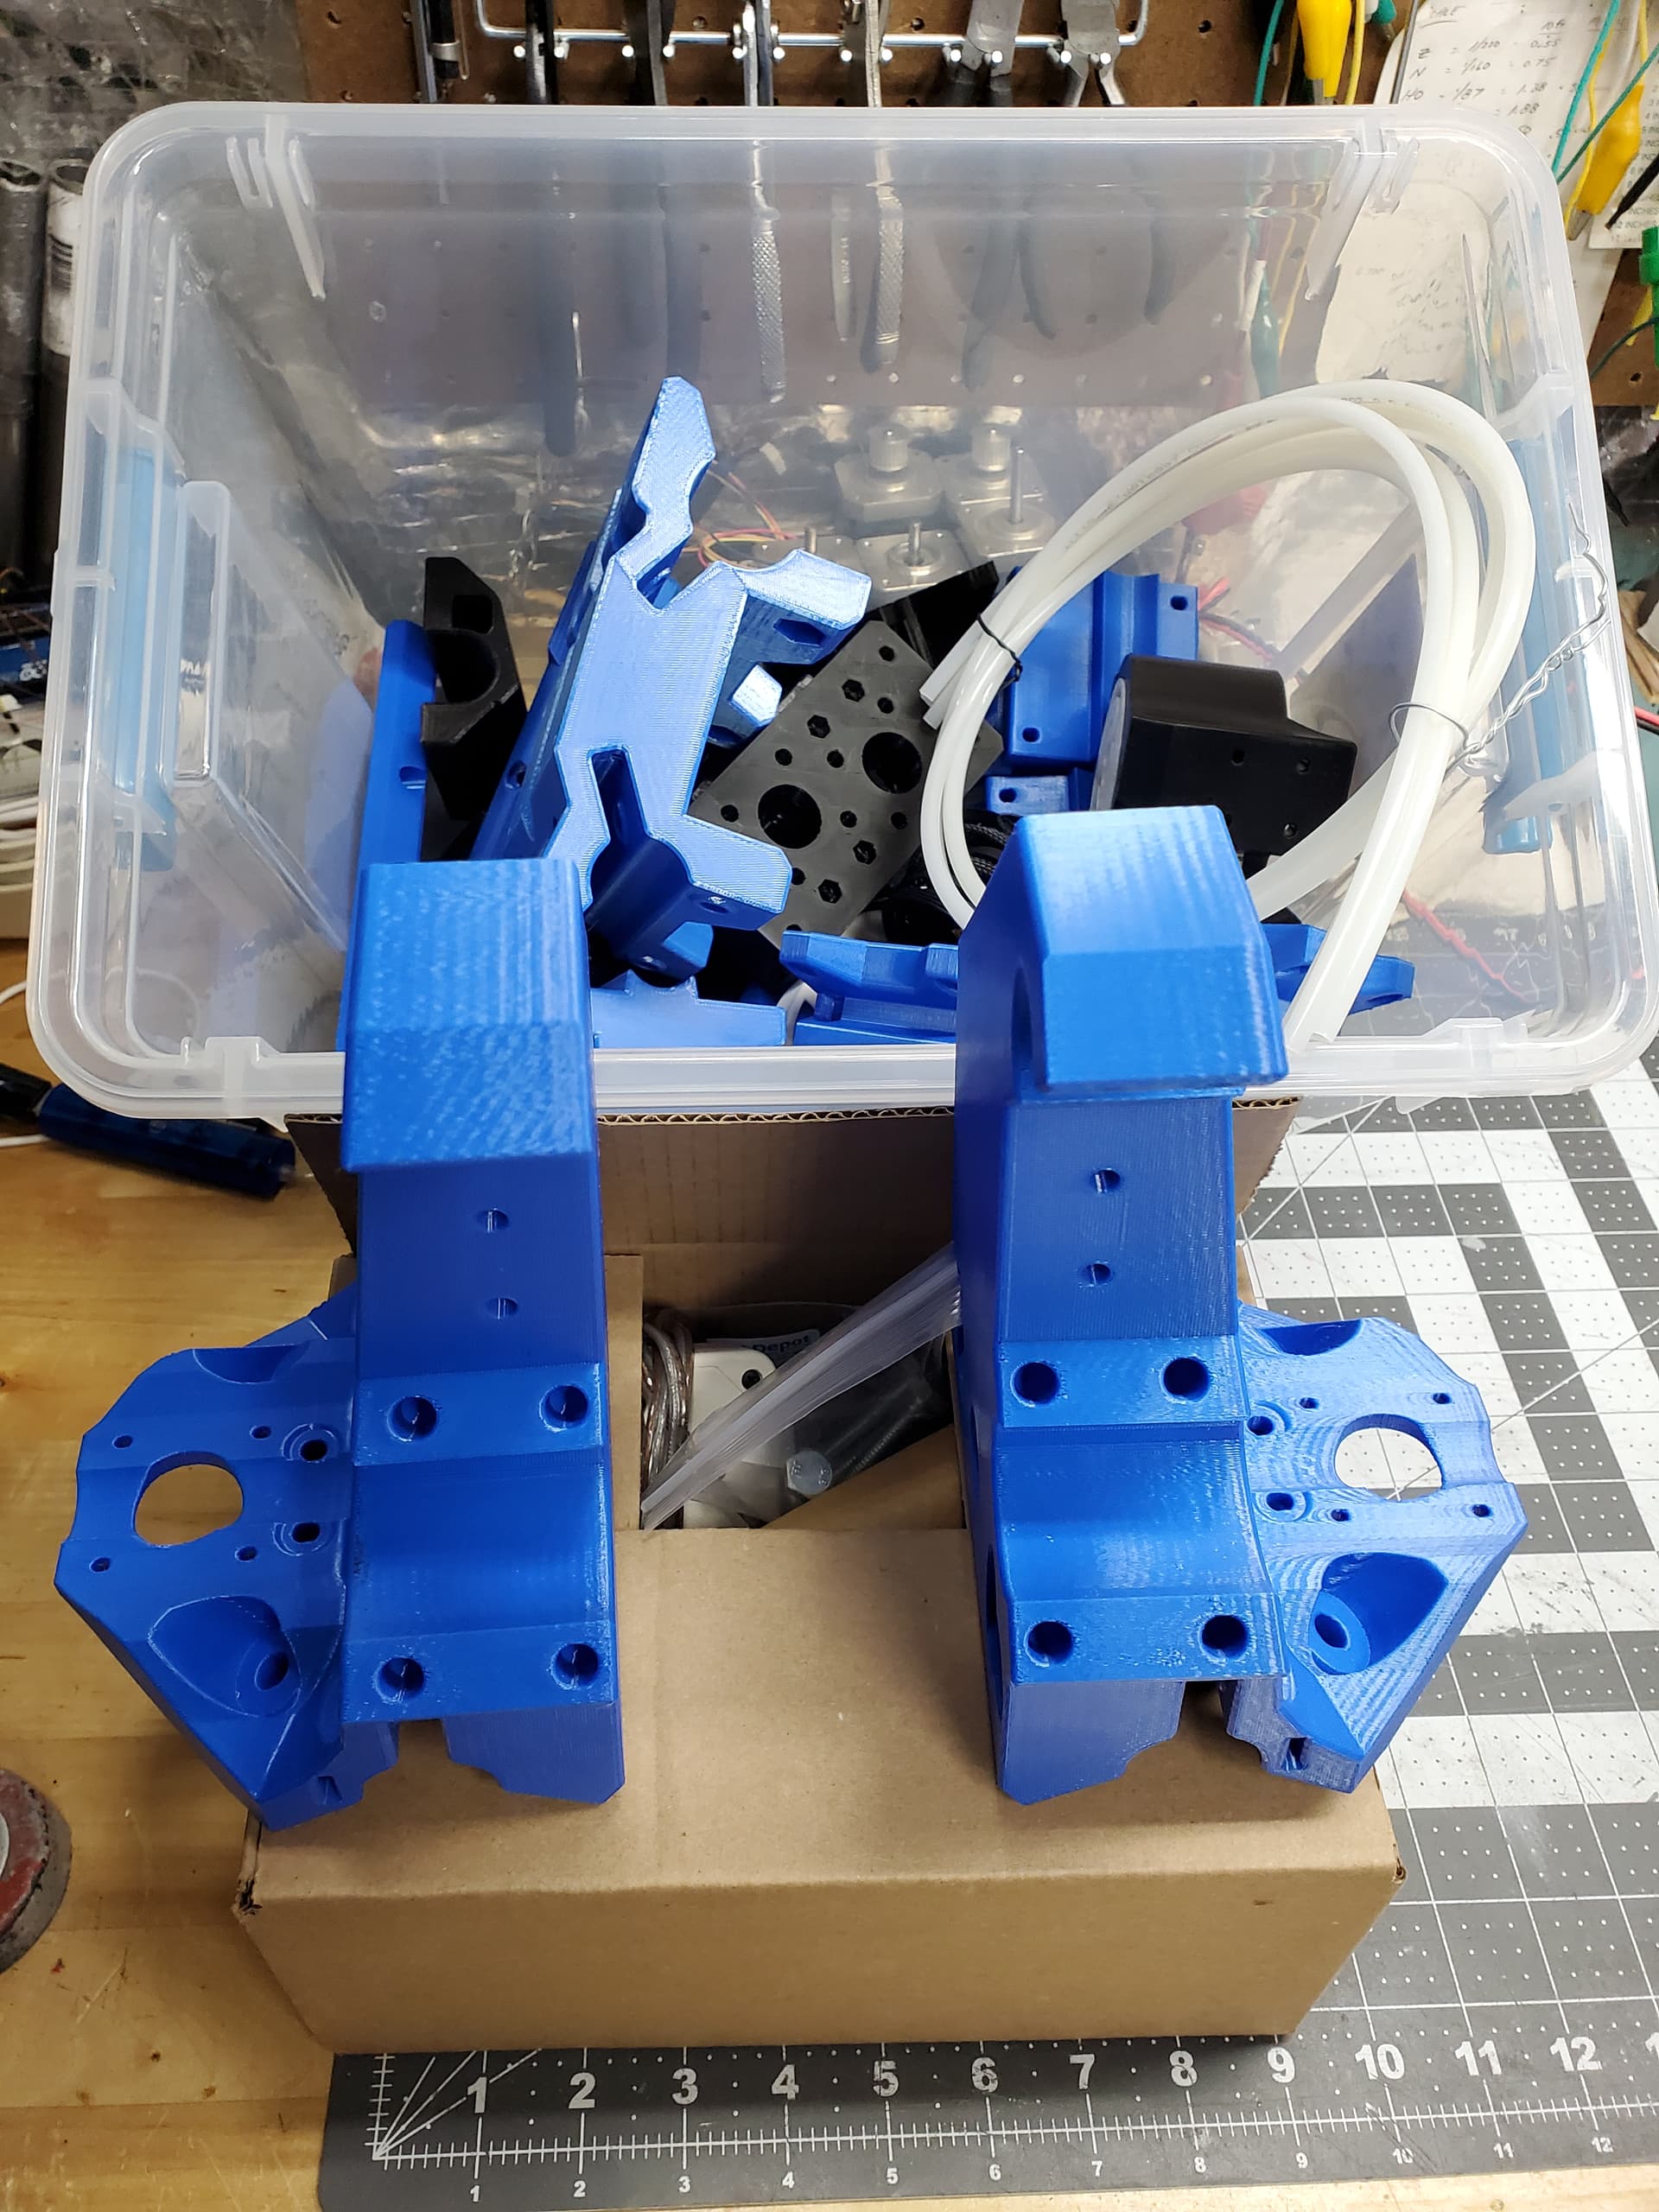
And done… that took a minute or two… I have posted filament usage over at the facebook group for the Brutus CNC…
1 Like
How would this machine hold up for wood at a 4’x8’ work area? So I can slide full sheets of MDF into it.
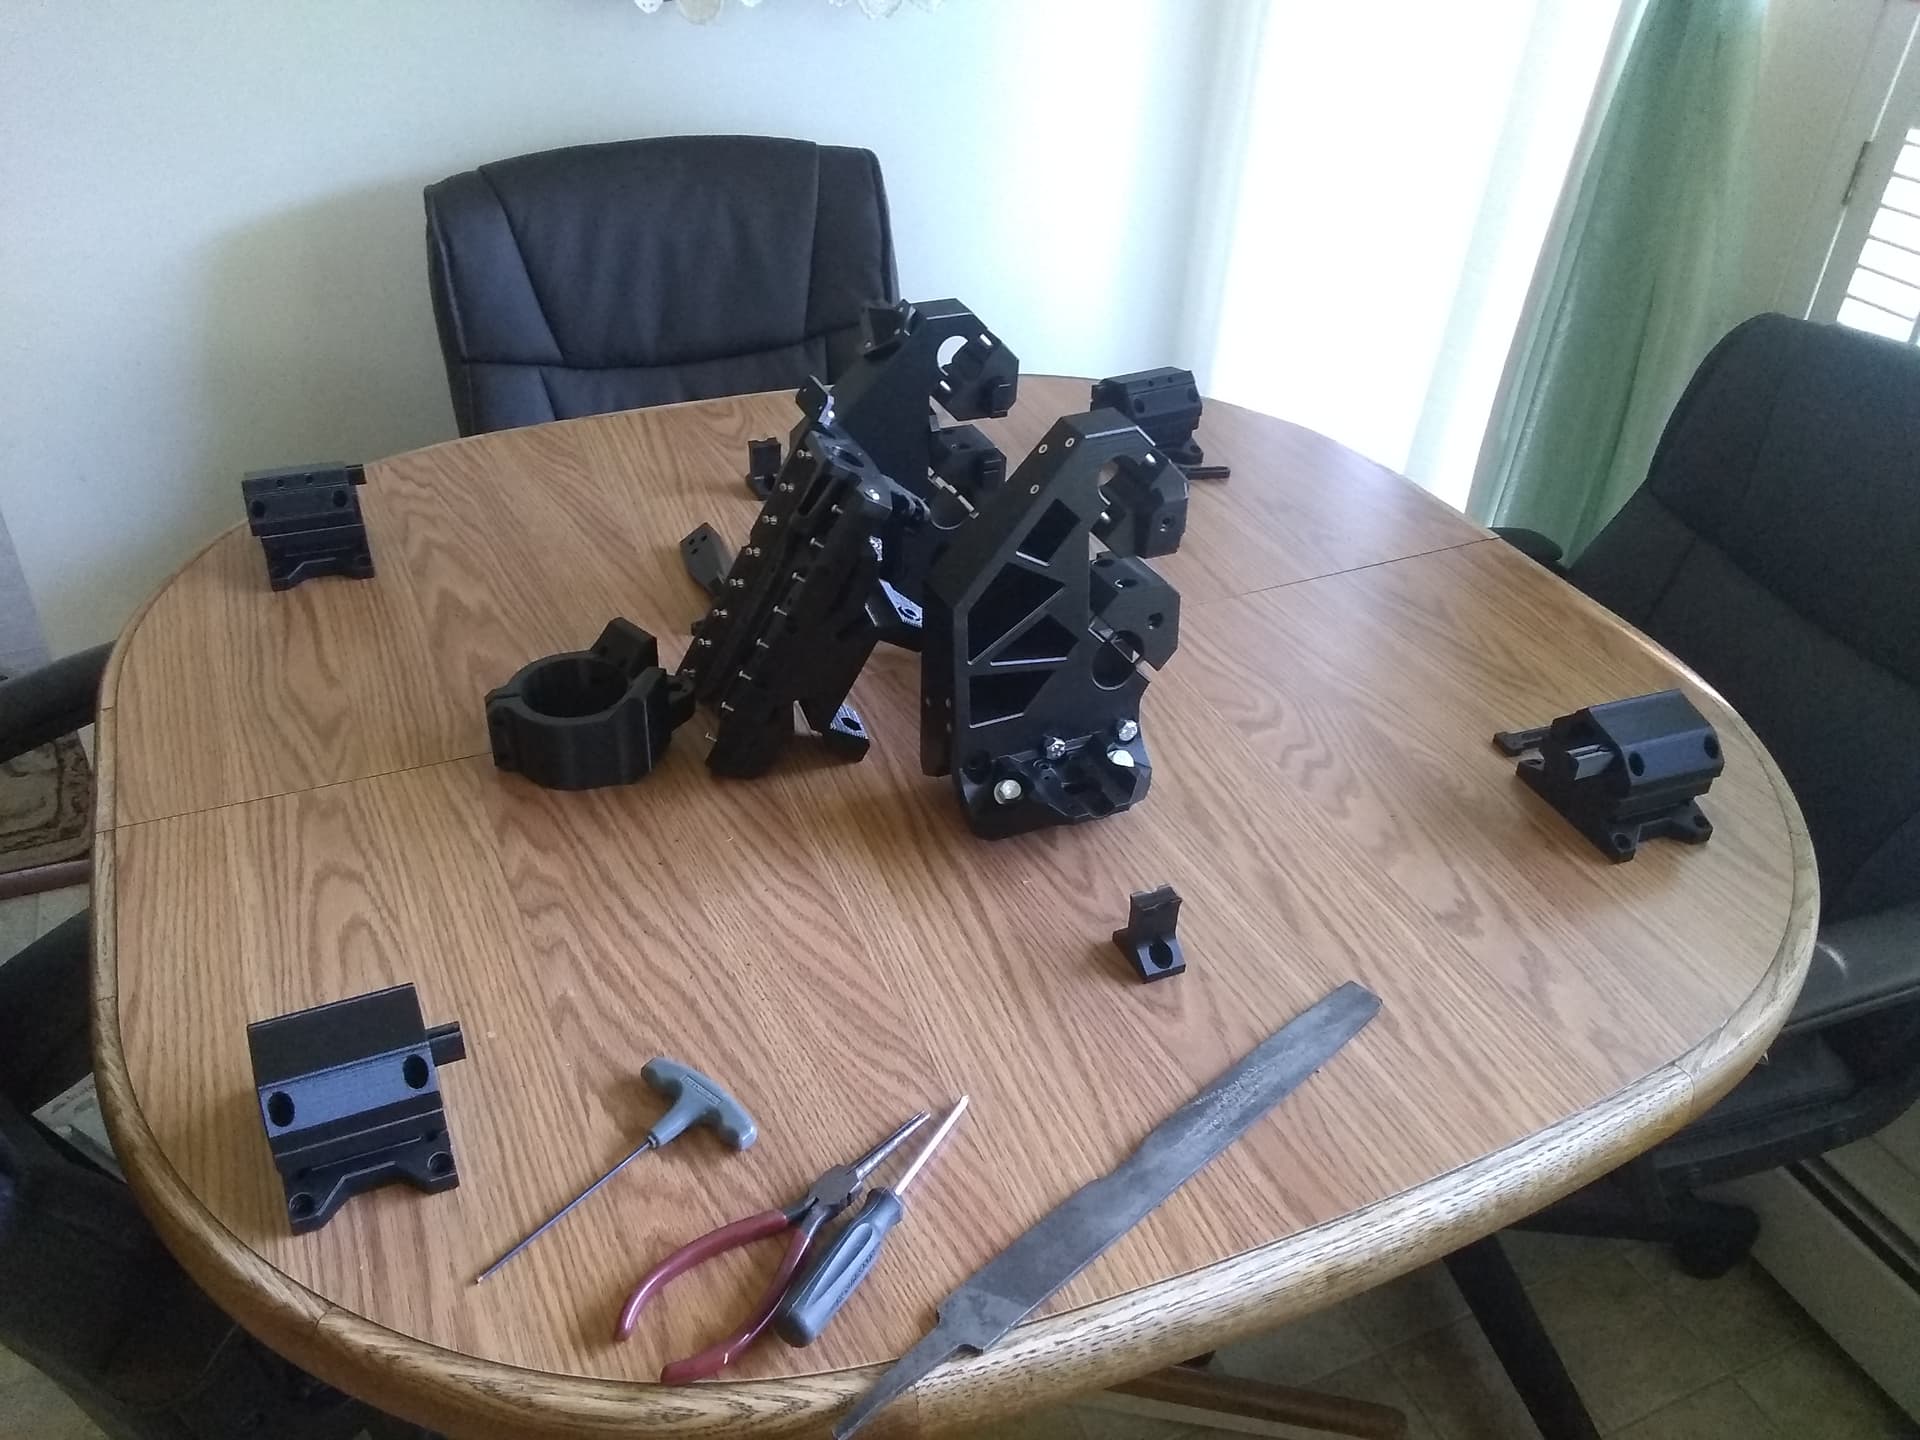
Realised the supplier hasn’t sent my spindle yet…
Just waiting on that and inserts.
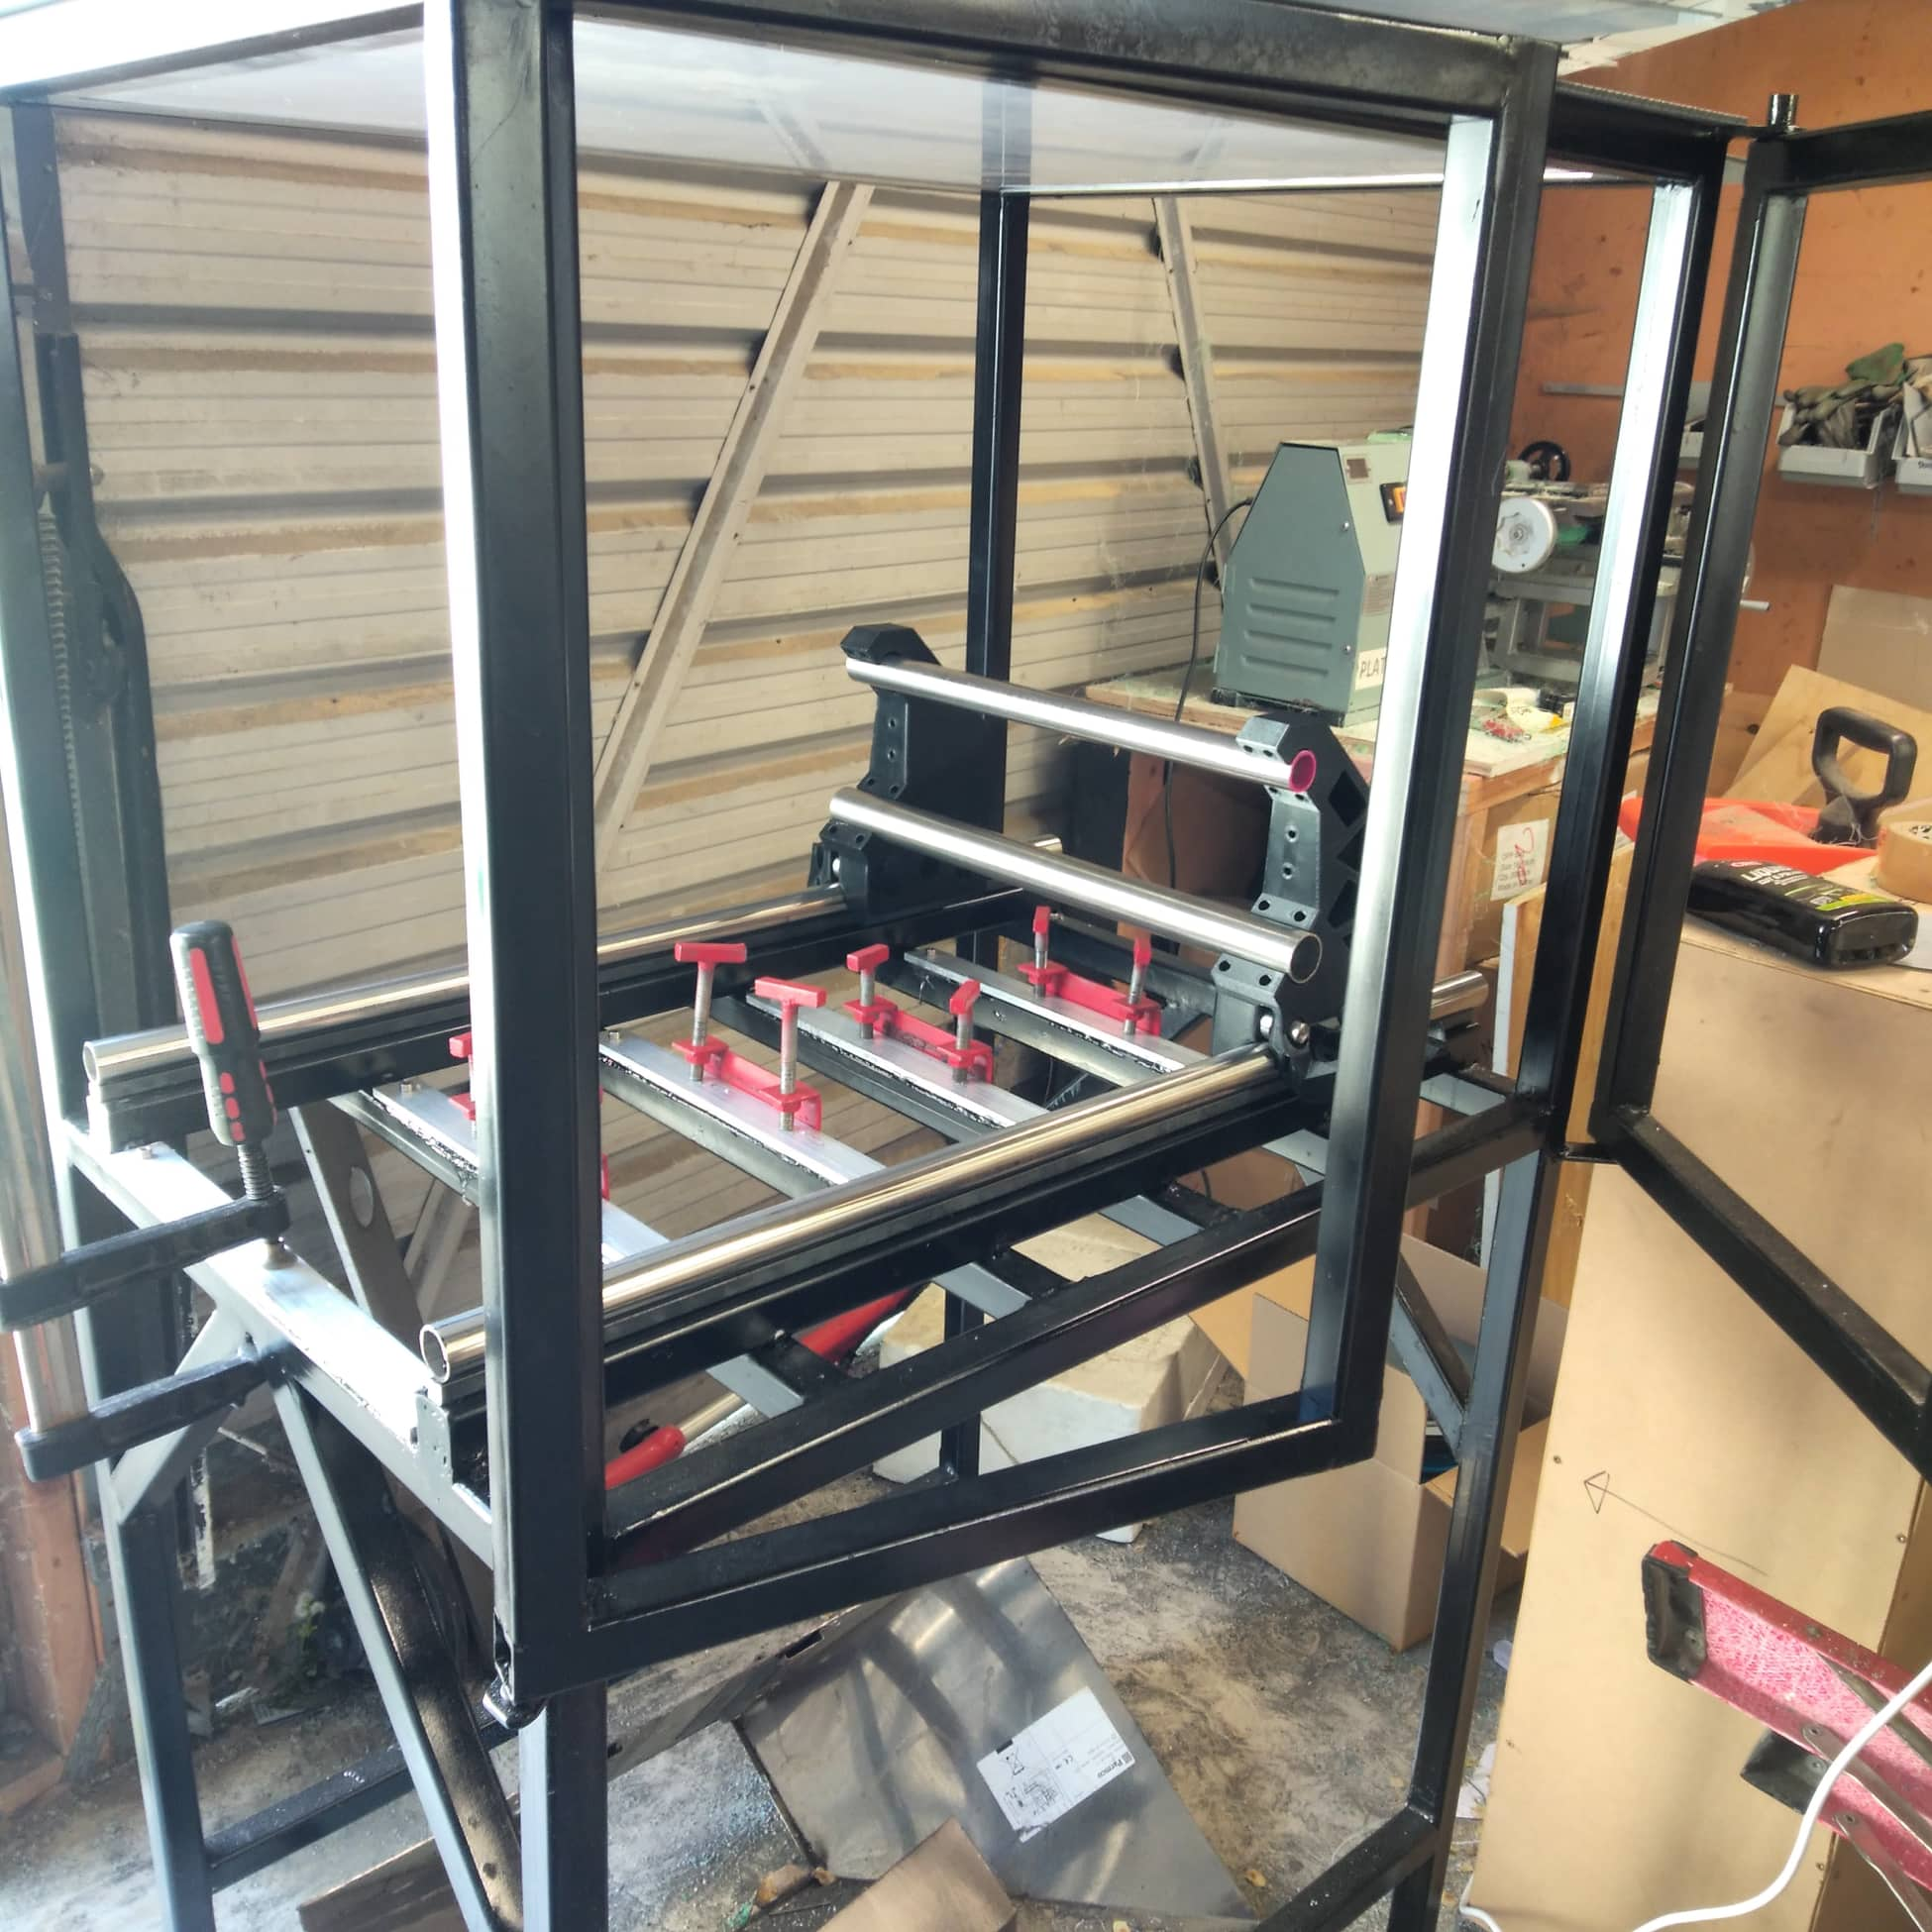
I put this together today…I’m hoping to enclose the whole thing and use a flood coolant.
The doors will open onto the Y Axis, I’m hoping that’s not an issue, but I have limited space between the brutus and the LR3 in the garage, so wanted to make the most of the space.
I have to tidy up all my welds, but I think I’m getting better with the arc welder, although I could be just having more fun?

There will be aluminum composite board on the sides and poly carb on the two front doors.
And maybe lighting, I kind of like the idea of lighting.
hoping to get a slab of Aluminium for the machining surface(?) I’m out of my depth here, I’ve only ever had a Lowrider!
4 Likes
Does anyone have a good source for the brass heat-set inserts in NZ/AUS?
I ordered mine from AliExpress, but they still haven’t arrived…they’re showing as having entered the country a month ago.
I had a look at the store mentioned in the manual but it’s looking like $120NZD for the required inserts and I’m unsure if I want to go there
Could even do a swap for some 32mm stainless
Wall thickness is underspec though…
I ordered mine from Initeq. I paid ~ $53 USD, so approx $84 AUD with shipping. I could not find anywhere else that sold the M4/M5 inserts.
Maybe I just take the plunge - what was the shipping time like?
About 30 days. It was the last thing to arrive to start the build.
But they are excellent quality, I have a few Aliexpress inserts and the Initeq ones are much better made.
I took the plunge… Hopefully the AliExpress inserts don’t arrive beforehand else I’ll be tempted to use them!
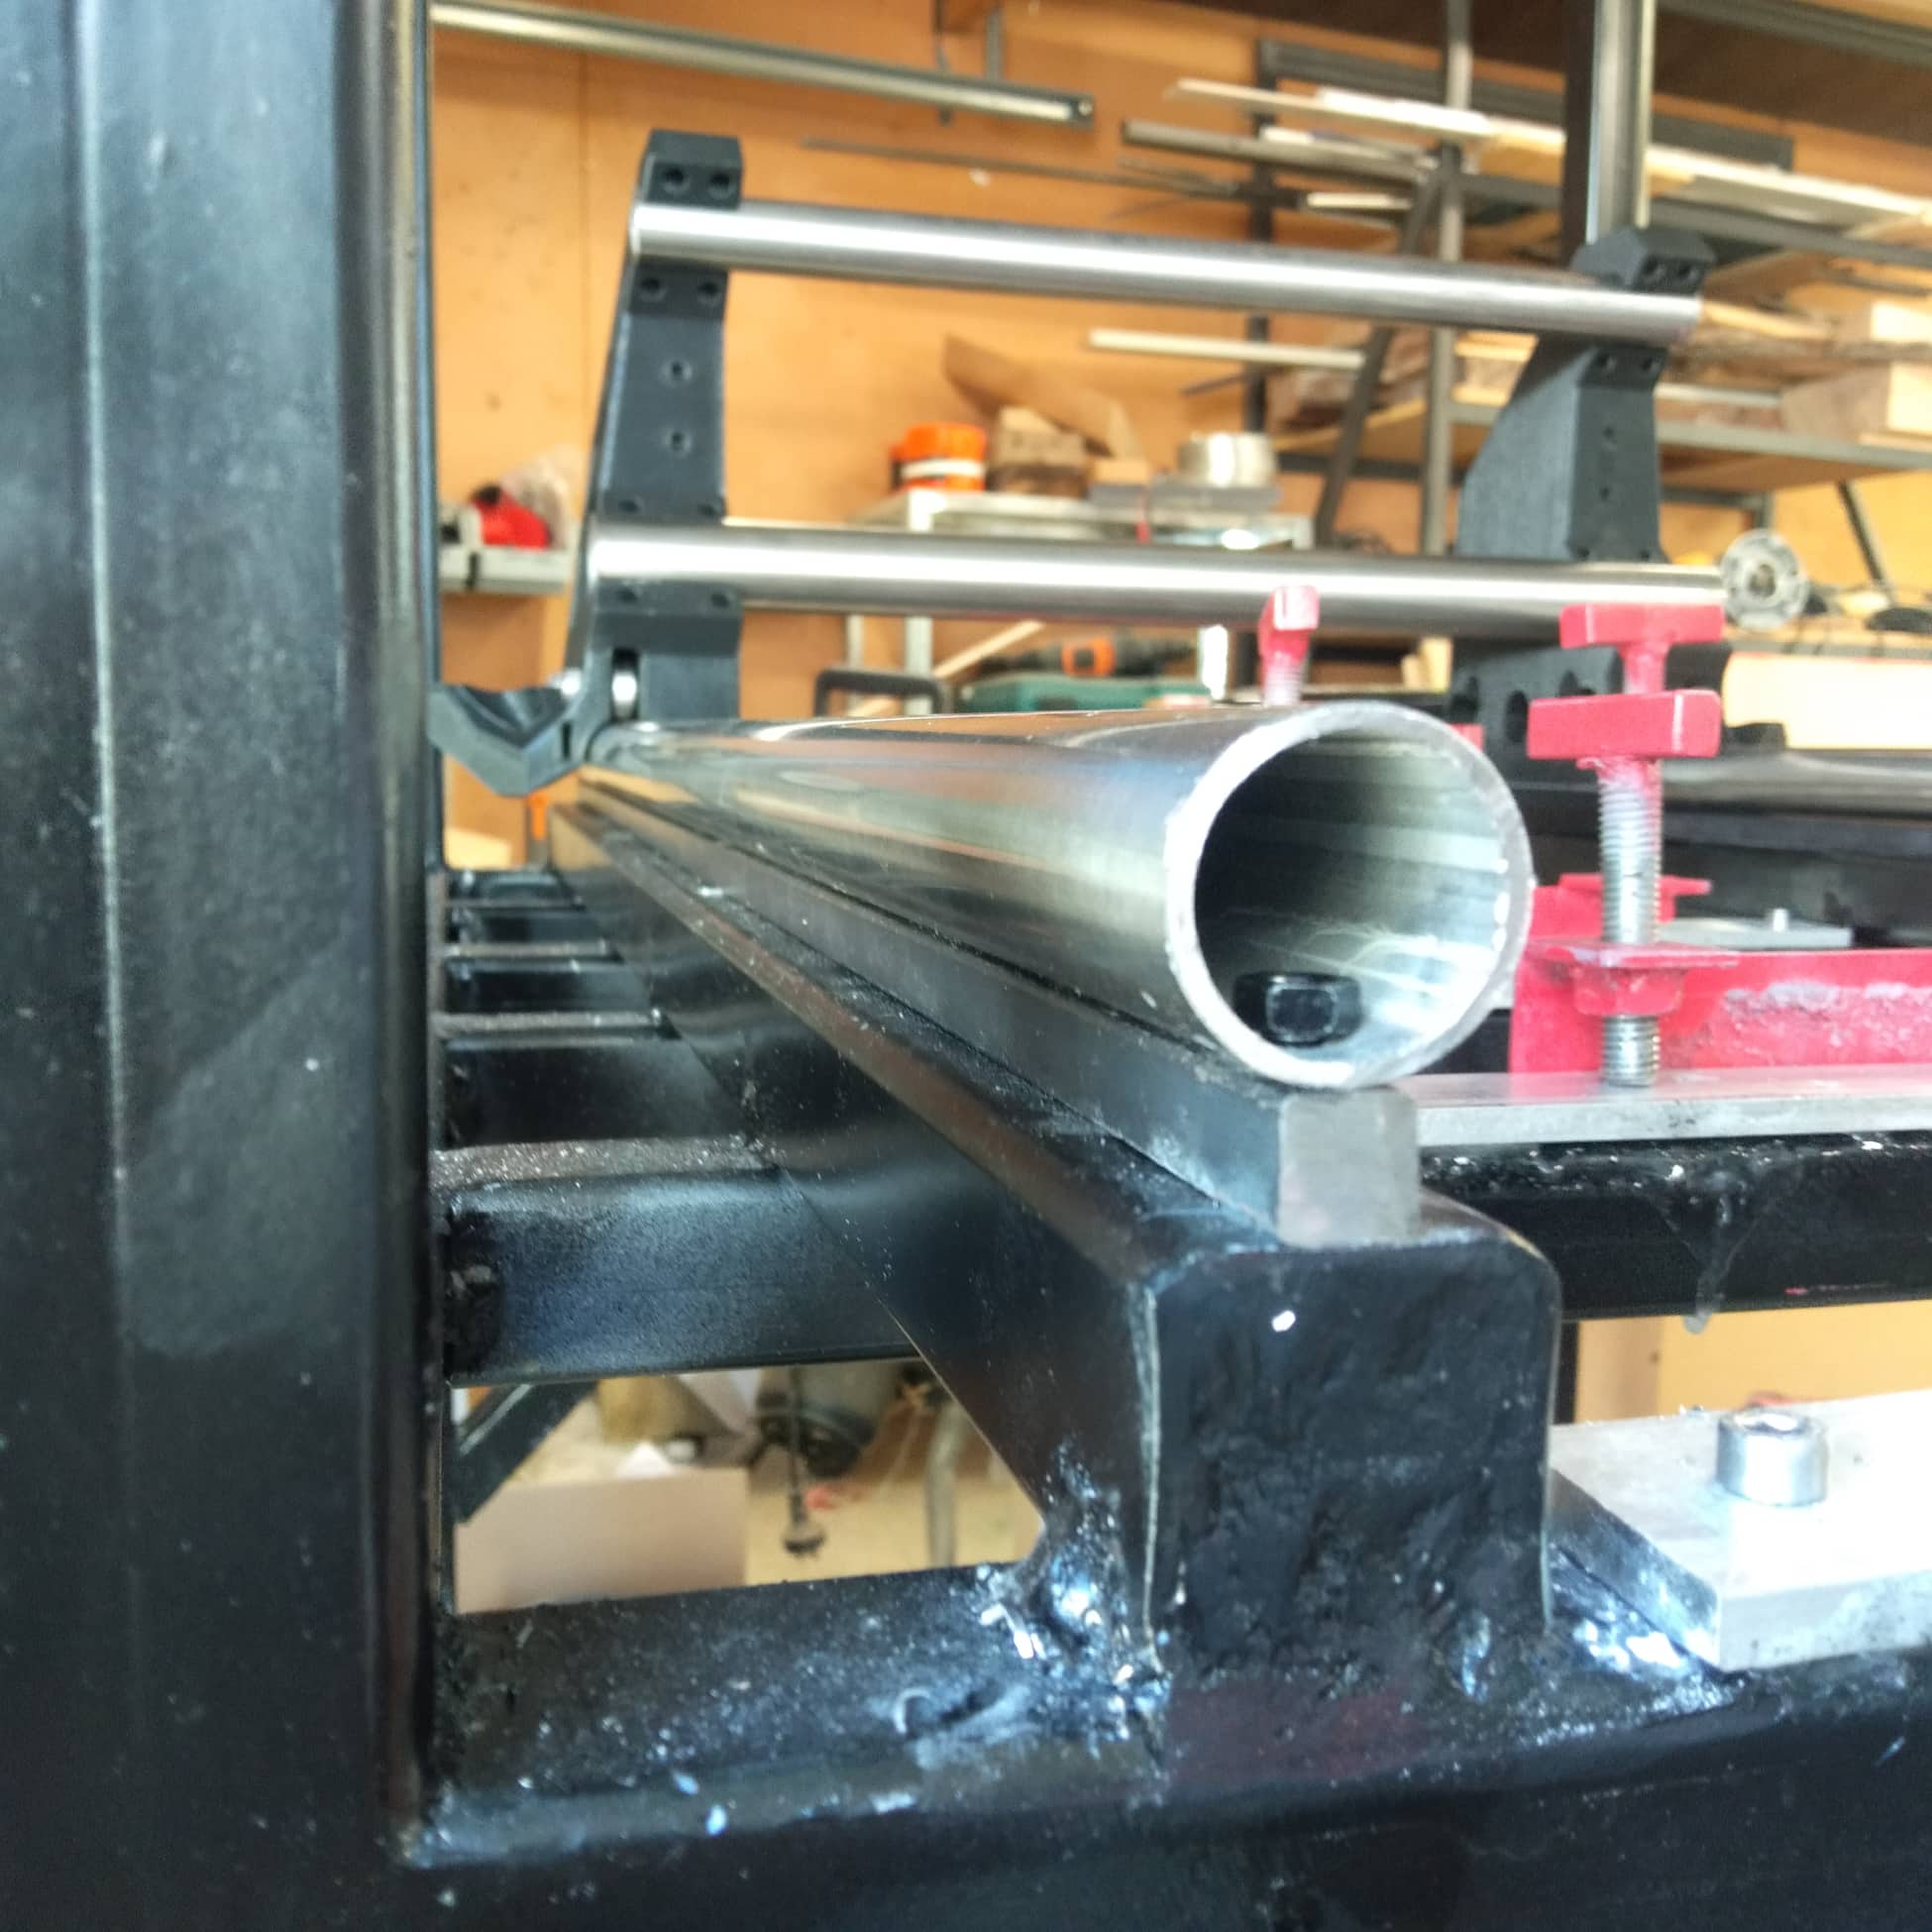
Getting a little closer. Still waiting on inserts. Thought I’d show how I’m thinking of doing the Y rails…
I’m hoping I can align them with shims, bolt down the two ends and then fill the gaps with resin to keep them there…
The aluminum pads on the steel are screwed and glued in place (resin mixed with steel dust)
The first machining job will be to flatten those relative to the gantry, I’ll also mark out the mounting points of the aluminum spoil board (is that the right word?) that spoil board will be drilled and tapped to clamp things to the table.
I’m planning on enclosing it with aluminum composite panel. I’m itching to get that one, but I know it’s going to make things 10x harder to set up, so I better wait until everything is running smoothly before I go there.
Oh and notice that the entire ‘ceiling’ is a light panel. I’m not sure why, I’m winging it.
7 Likes