Glad to hear it mate, incredibly jealous of that view.
I’m sorry. I didn’t intend to make it sound like anything was wrong or anyone was ill. It was just general well wishes. I hadn’t seen any posts by Alex in a while. I’m glad to see that he is around and enjoying life. We all can use some enjoyment these days. ![]()
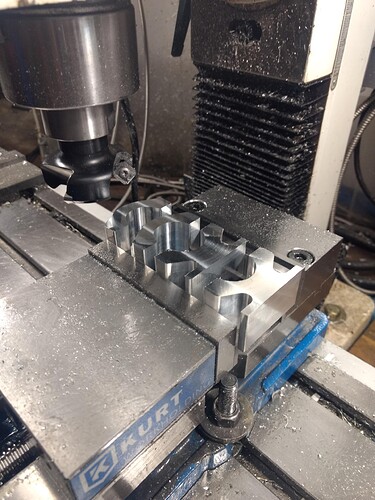
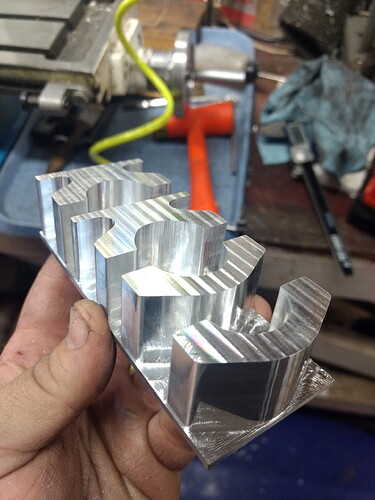
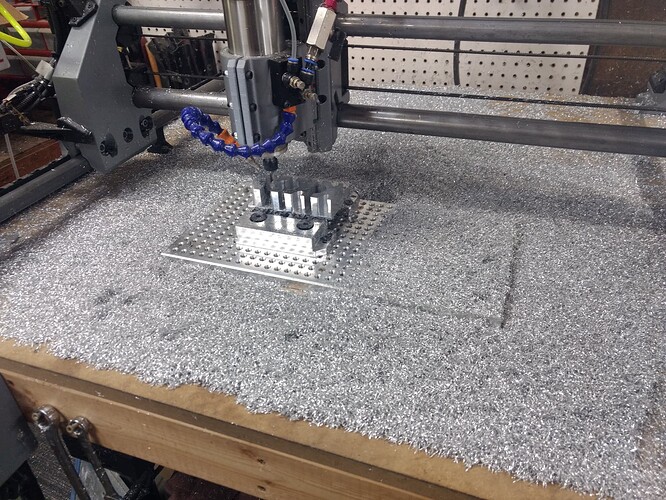
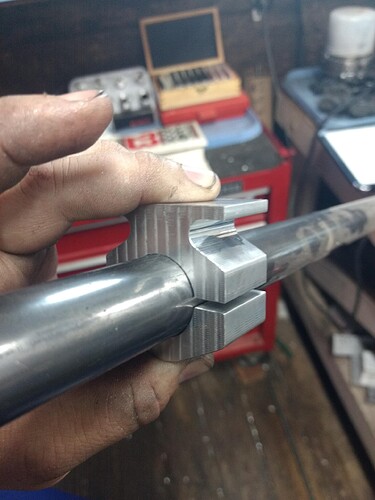
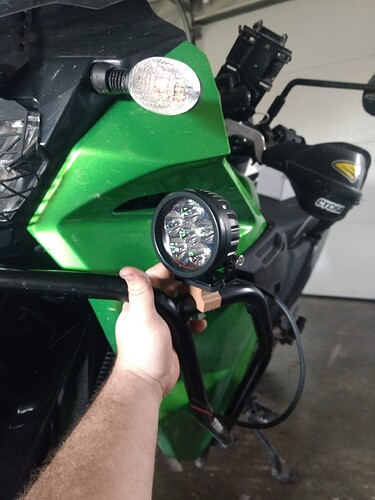
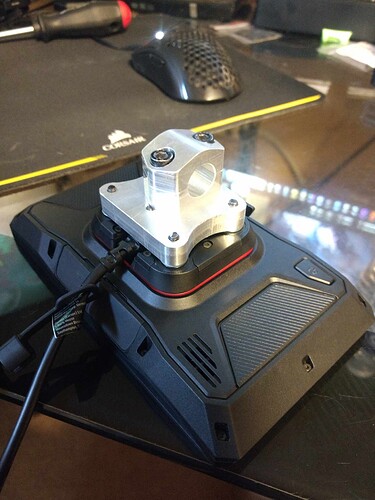
Ran the Brutus through its longest op yet with the longest end mill I have used in it with a sprinkle of full flute engagement for the finish passes. Took a little under 90 min to turn a lump of aluminum in to the 4 parts to mount some new lights to my KLR. Used a YG1 1/4" end mill with 1 1/4" loc, used 25mm of that loc on the finish passes. YG1 may have just taken my top spot for favorite aluminum end mills.
This fall/winter I will work out some kind of mount you guys can work with for dust shoes and actually finish the instructions for the brace install. From there I will be focusing on a bench top cnc for my smaller part needs.
90 minutes, that’s impressive
That’s an impressive operation mate - did you find the brace significantly reduced the ‘twisting’ for lack of a better word?
It improved it but didnt out right eliminate it, may poke at it a bit more but the belts are the next limiting factor with steppers directly behind them. The spindle has been the one thing that hasn’t been pushed to its limit.
I’ve had a few of my parts crack - I think it’s too do with the relatively high humidity of my enclosure with the flood coolant…
I’m ordering a roll of PETG to replace some of the parts, would you recommend any changes to account for loses in stiffness/rigidity… Maybe extra perimeters?
Happens with age, poor diet, general physical condition…
Oh… ooops…
What size nozzle are you using for the parts?
It was printed with a standard 0.4mm nozzle, 0.21mm layer height.
From memory the parts that cracked were a different brand from the parts that haven’t cracked, but the parts that haven’t cracked were also just the L+R uprights
It sounds like ypur referring to me the way my wife does at the buffet ![]()
![]()
Some of my parts break on a rotation best luck I have is keep it in operation and a dehumidifier but the tension that is used is in direct proportion to brekage. Sometimes I used to not even get to use the part befor it cracked ![]()
Try a .6mm nozzle with 3 perimeters, the parts I swapped out after redoing with a .6 so far have lasted much longer.
Cool, I’ve got one of those on the way!
At the moment the machine is still running, but not cutting as well, holes are generally coming out a little oval, I’ve had to pull down my cutting speeds…
I’ll report back with how it goes with the new parts, I can see the router teetering a little when it cuts on the Y axis.
I’ve been cutting a bit of PETG sheet with flood coolant though, the parts come out really really nice.
Printing now… I think it’s just the X carriage and rail mounts that need to be reprinted - the router holder too - but I made a brace up with steel when it cracked, which i think I prefer.
Anyways, printing the X Carriage in PETG with 4 perimeters, 65% infill…
I figured I’d go 4 perimeters to be cautious and try negate any loss in rigidity I’m getting from using PETG - I only just read about Carbon Fibre PETG and kinda wish I went that direction.
Were you thinking z-independent type of dust shoe? That would be nice ![]()
![]()
I found one that fits the Makita and works, but every time the cut goes deep (when the brush bristles need to bend), there is enough resistance that I can see the core move up/down as it goes along the x-axis and there is a noticeable carved hump. Maybe I should increase the z-motor current(?). but i don’t want the motor to get too hot.
Happy New Year! ![]()
![]()
It could be the tubing is flexing or you have play between your z-coupler and the support bearing. Could try longer bristles on your shoe as well.
It would be a mount for a fixed collector to the x-carriage. I’ve got an idea I need to test for the carriage right now, if it pans out I will be reworking it a bit that will include a mounting point for a dust shoe. If not, I will likely do a piece that spans across the lower 2 bearings to create a mounting point.
I’m back in action…
New parts are working well, I keep finding more cracked parts which is a little upsetting. The router clamp is currently just some straps of 2mm steel.
Turns out the big issue wasn’t the cracked parts, instead it was that one stepper motor wasn’t holding torque (or working at all? It’s hard to figure out with my rather short X Axis)
This person seemed to have a similar problem; One stepper not holding when still - #10 by jeffeb3
It turned out to be the driver - I keep poaching the drivers from this machine for other projects, replaced the TMC2209 and its now happy as Larry.
Well my test didnt pan out as well as I hoped. I shimmed the gap between the x stepper mount and the carriage, it made a small difference but not to the amount I would be happy with. I have another idea on deck, just gonna take a bit if time to draw up and print/assemble.
I did get to learn more about the 3d tool paths in fusion though, silver lining for me I guess lol
So I have started with the new x carriage design and figured now would be a good time to get some ideas for how you guys would like to mount dust shoes to it. Current idea is some heatset inserts on a flat portion on the bottom of it to bolt to, I would provide either a drawing or step file to work off of so you guys can design your own dust shoes.
