The reason I haven’t flipped the lift assembly here is I was hoping the bottom of the screw being captured in a bearing would also keep the screw in compression rather than tension.
Is my thinking flawed here? I know LR4 doesn’t capture the upper end of the leadscew… so I was hoping that by capturing it here I could get away with it?
When I first saw the comment above, my thought was that as long as the jackscrew is sitting on the lower bearing, you’re no worse off. The bearings in stepper motors usually aren’t intended for side loading either. Worst case is you change out that bearing after many hundreds or more hours, or replace with a bearing intended for that direction of loading.
I know I can do sneaker-net and USB… that’s the way I’ve always done it with my printers. Funny, I’ve got RPi’s and miniPC’s feeding all my other machines now… except my Prusa Mk3S. And I think PrusaLink is just using wifi (no internet) so it’ll probably be what I’ll settle on for the new machine. The camera is nice though and is only on PrusaConnect. That’s the only reason I’ve stuck with it as long as I have. I know I have options… I’m just lazy and enjoy controlling my machines from my recliner.
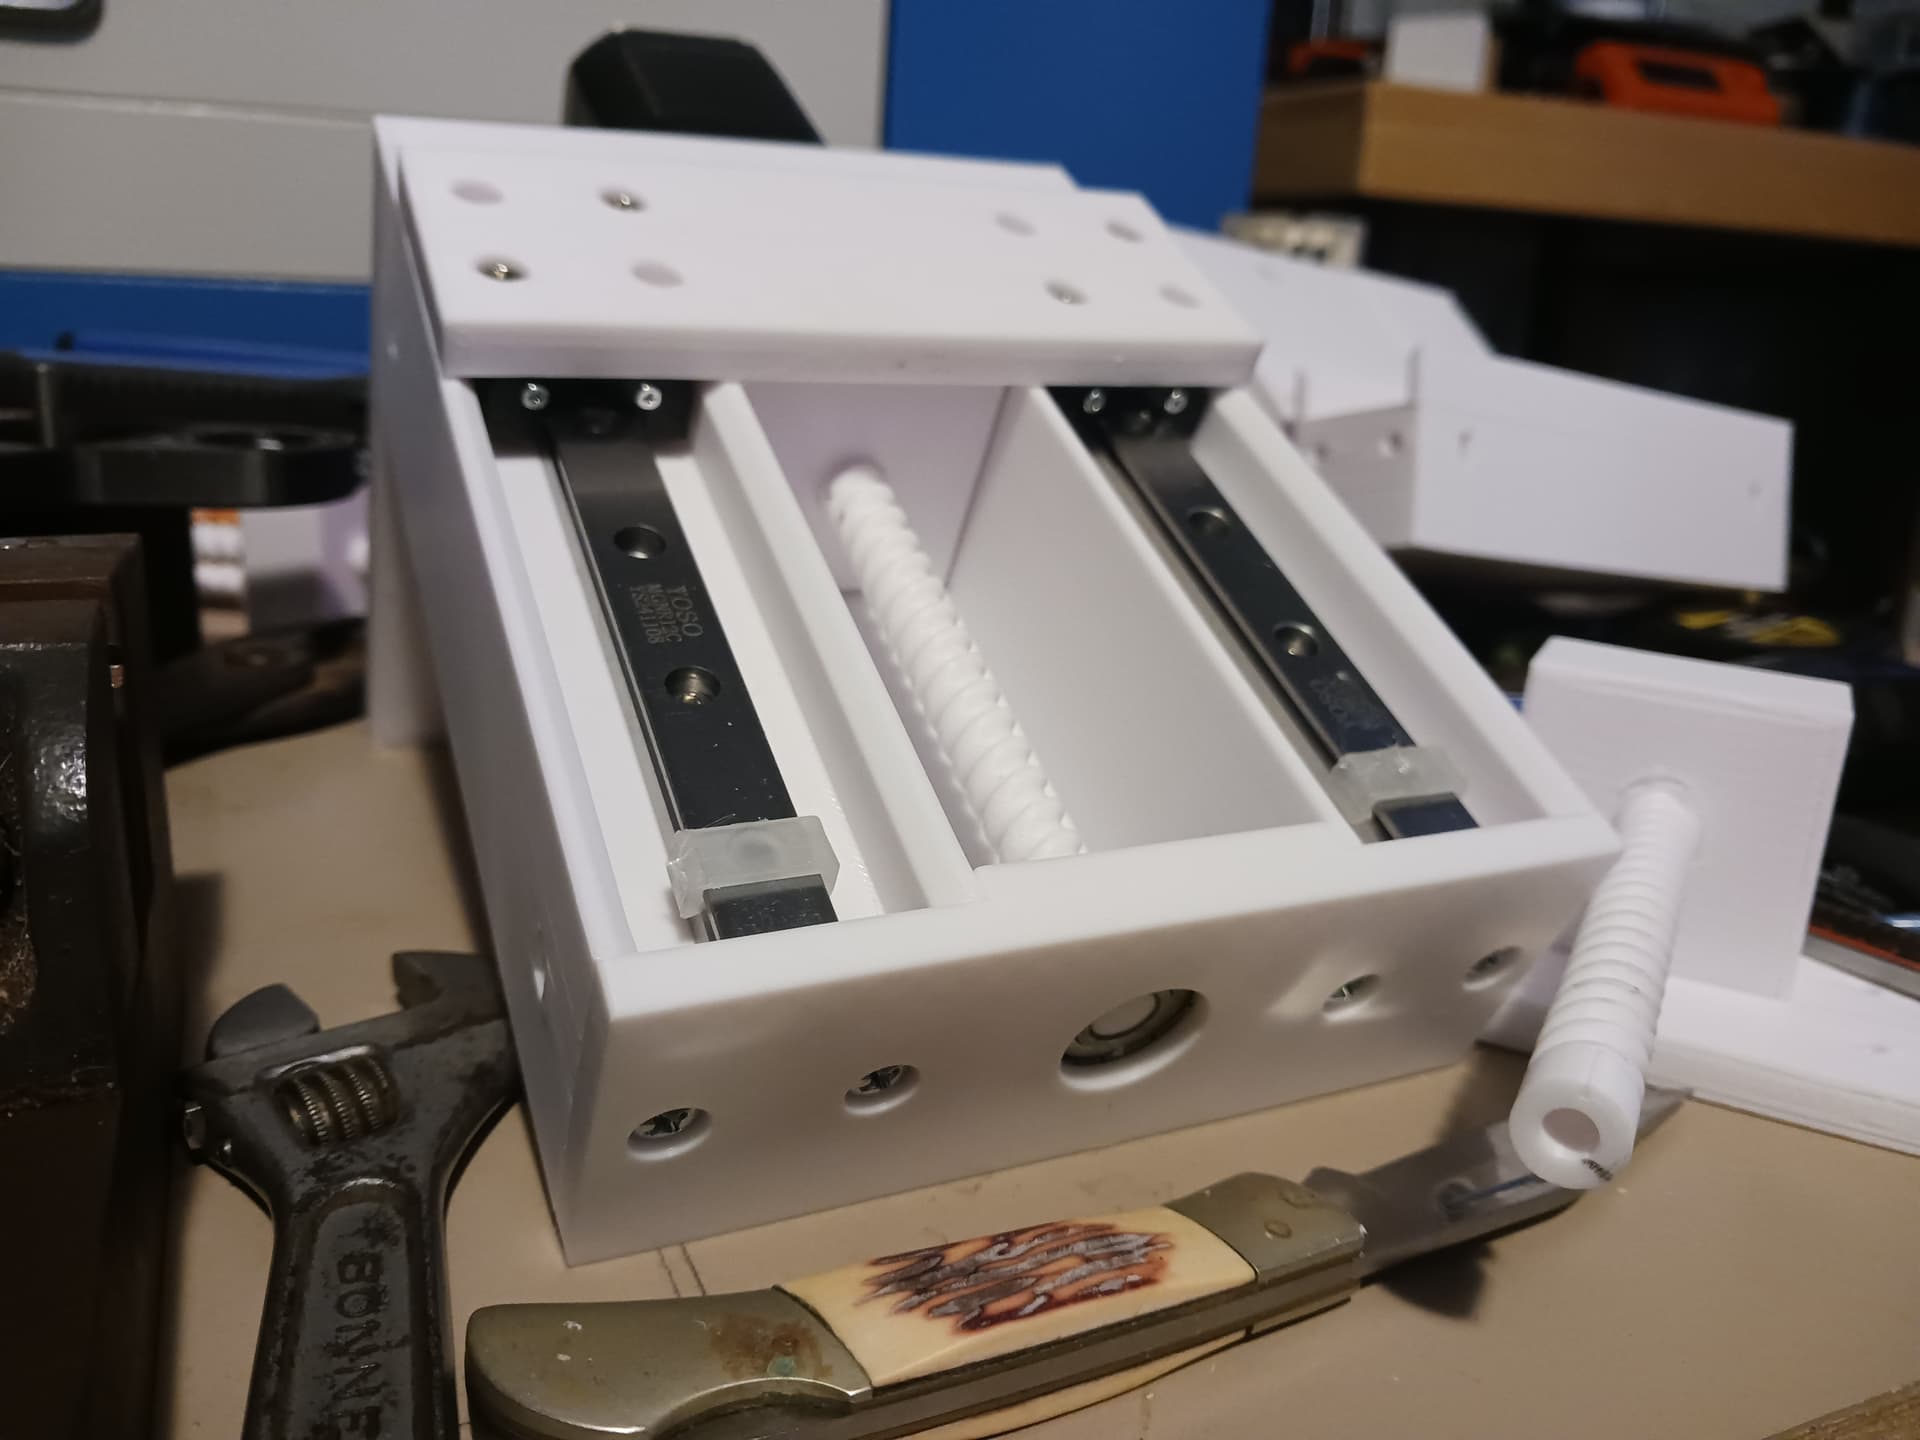
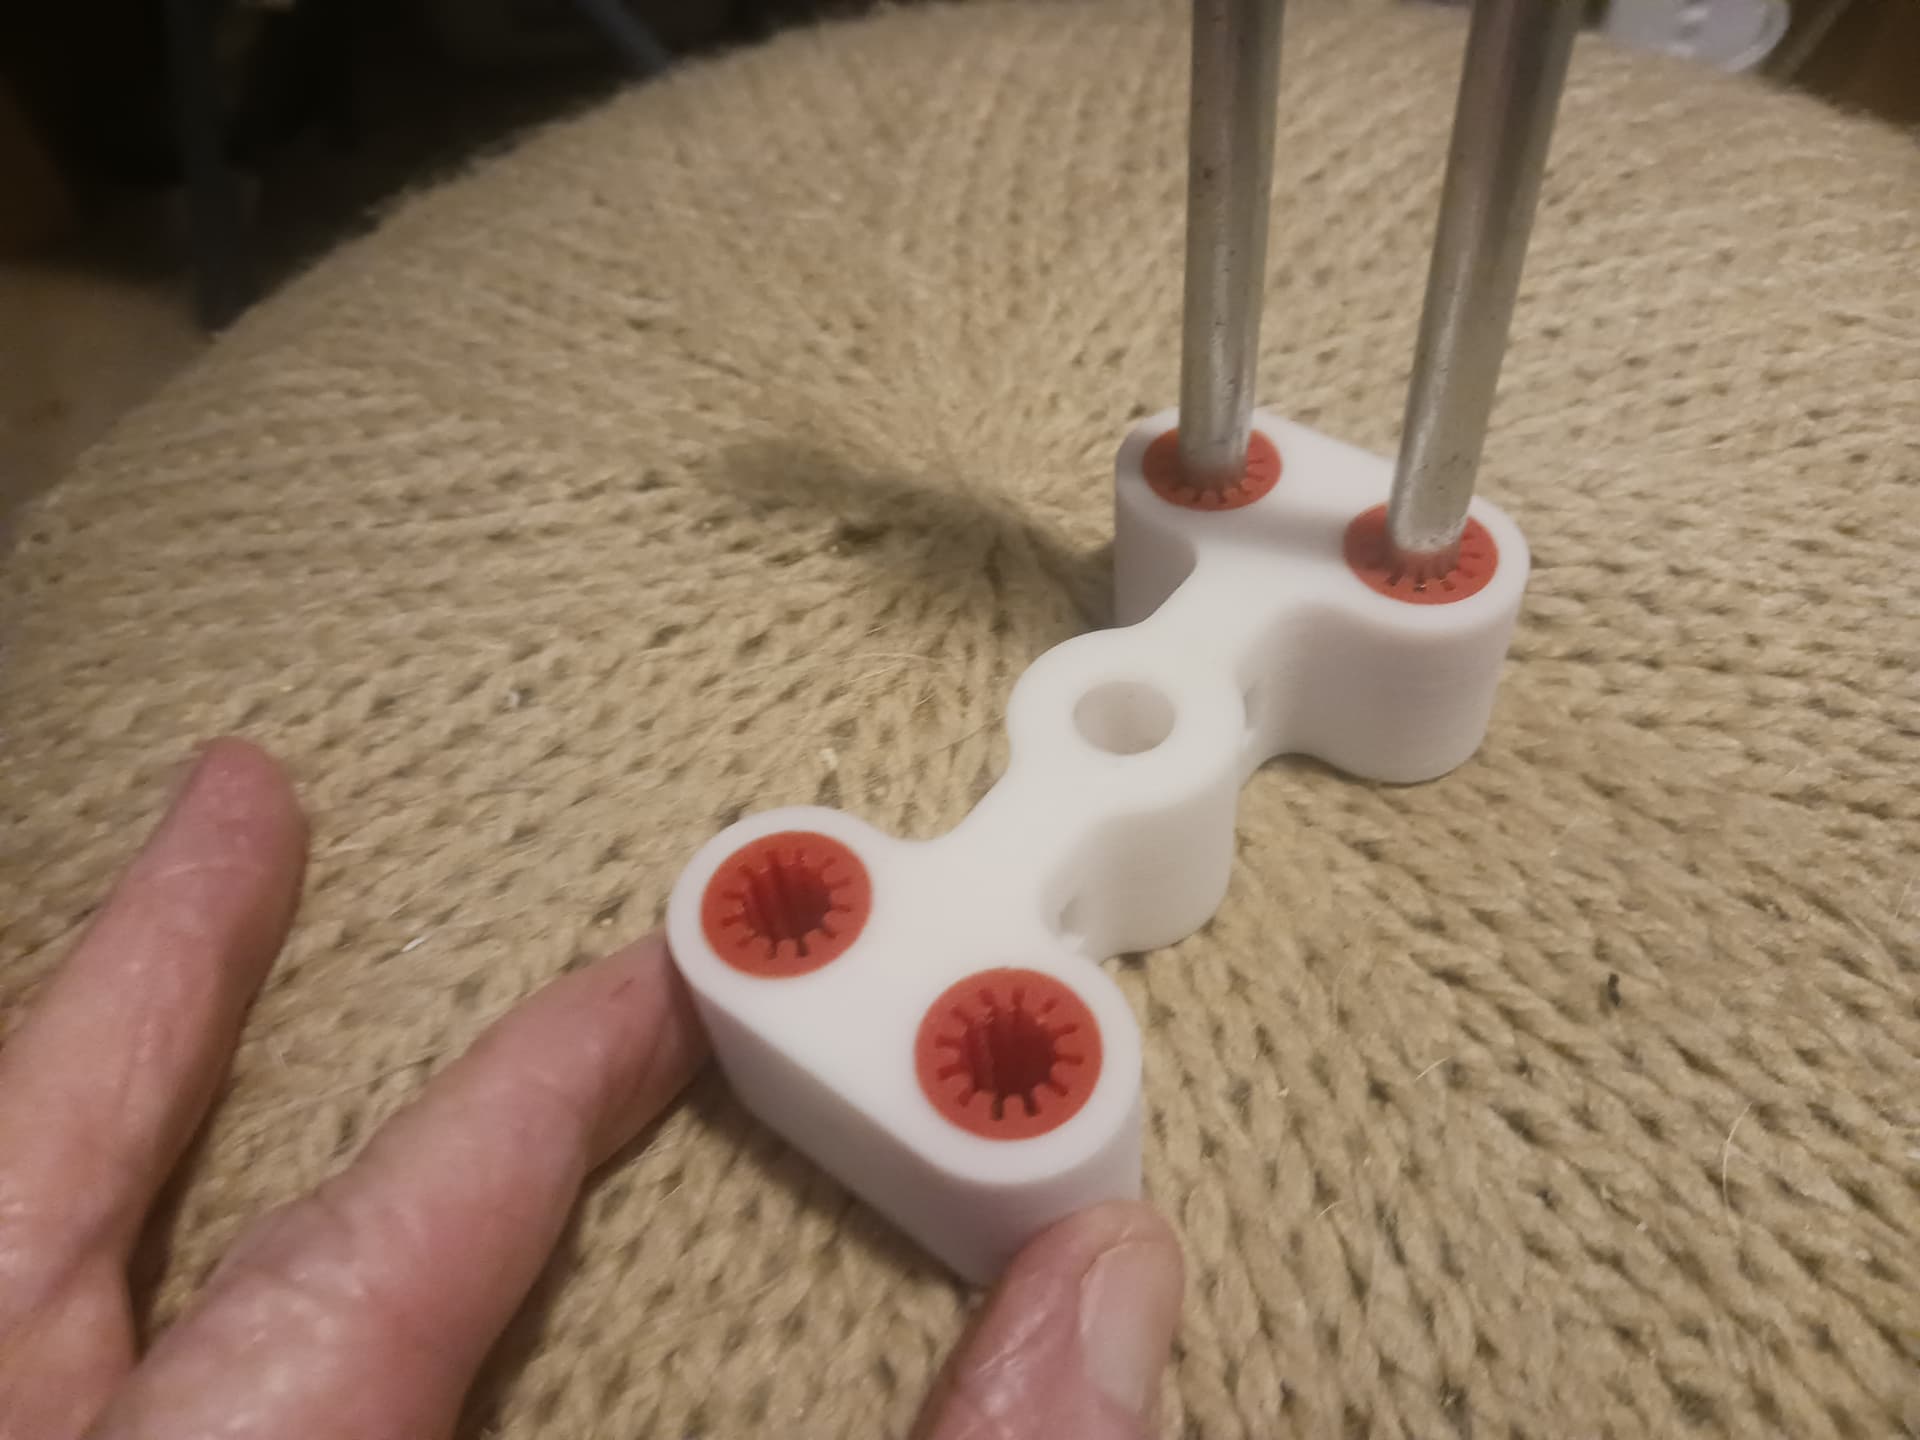
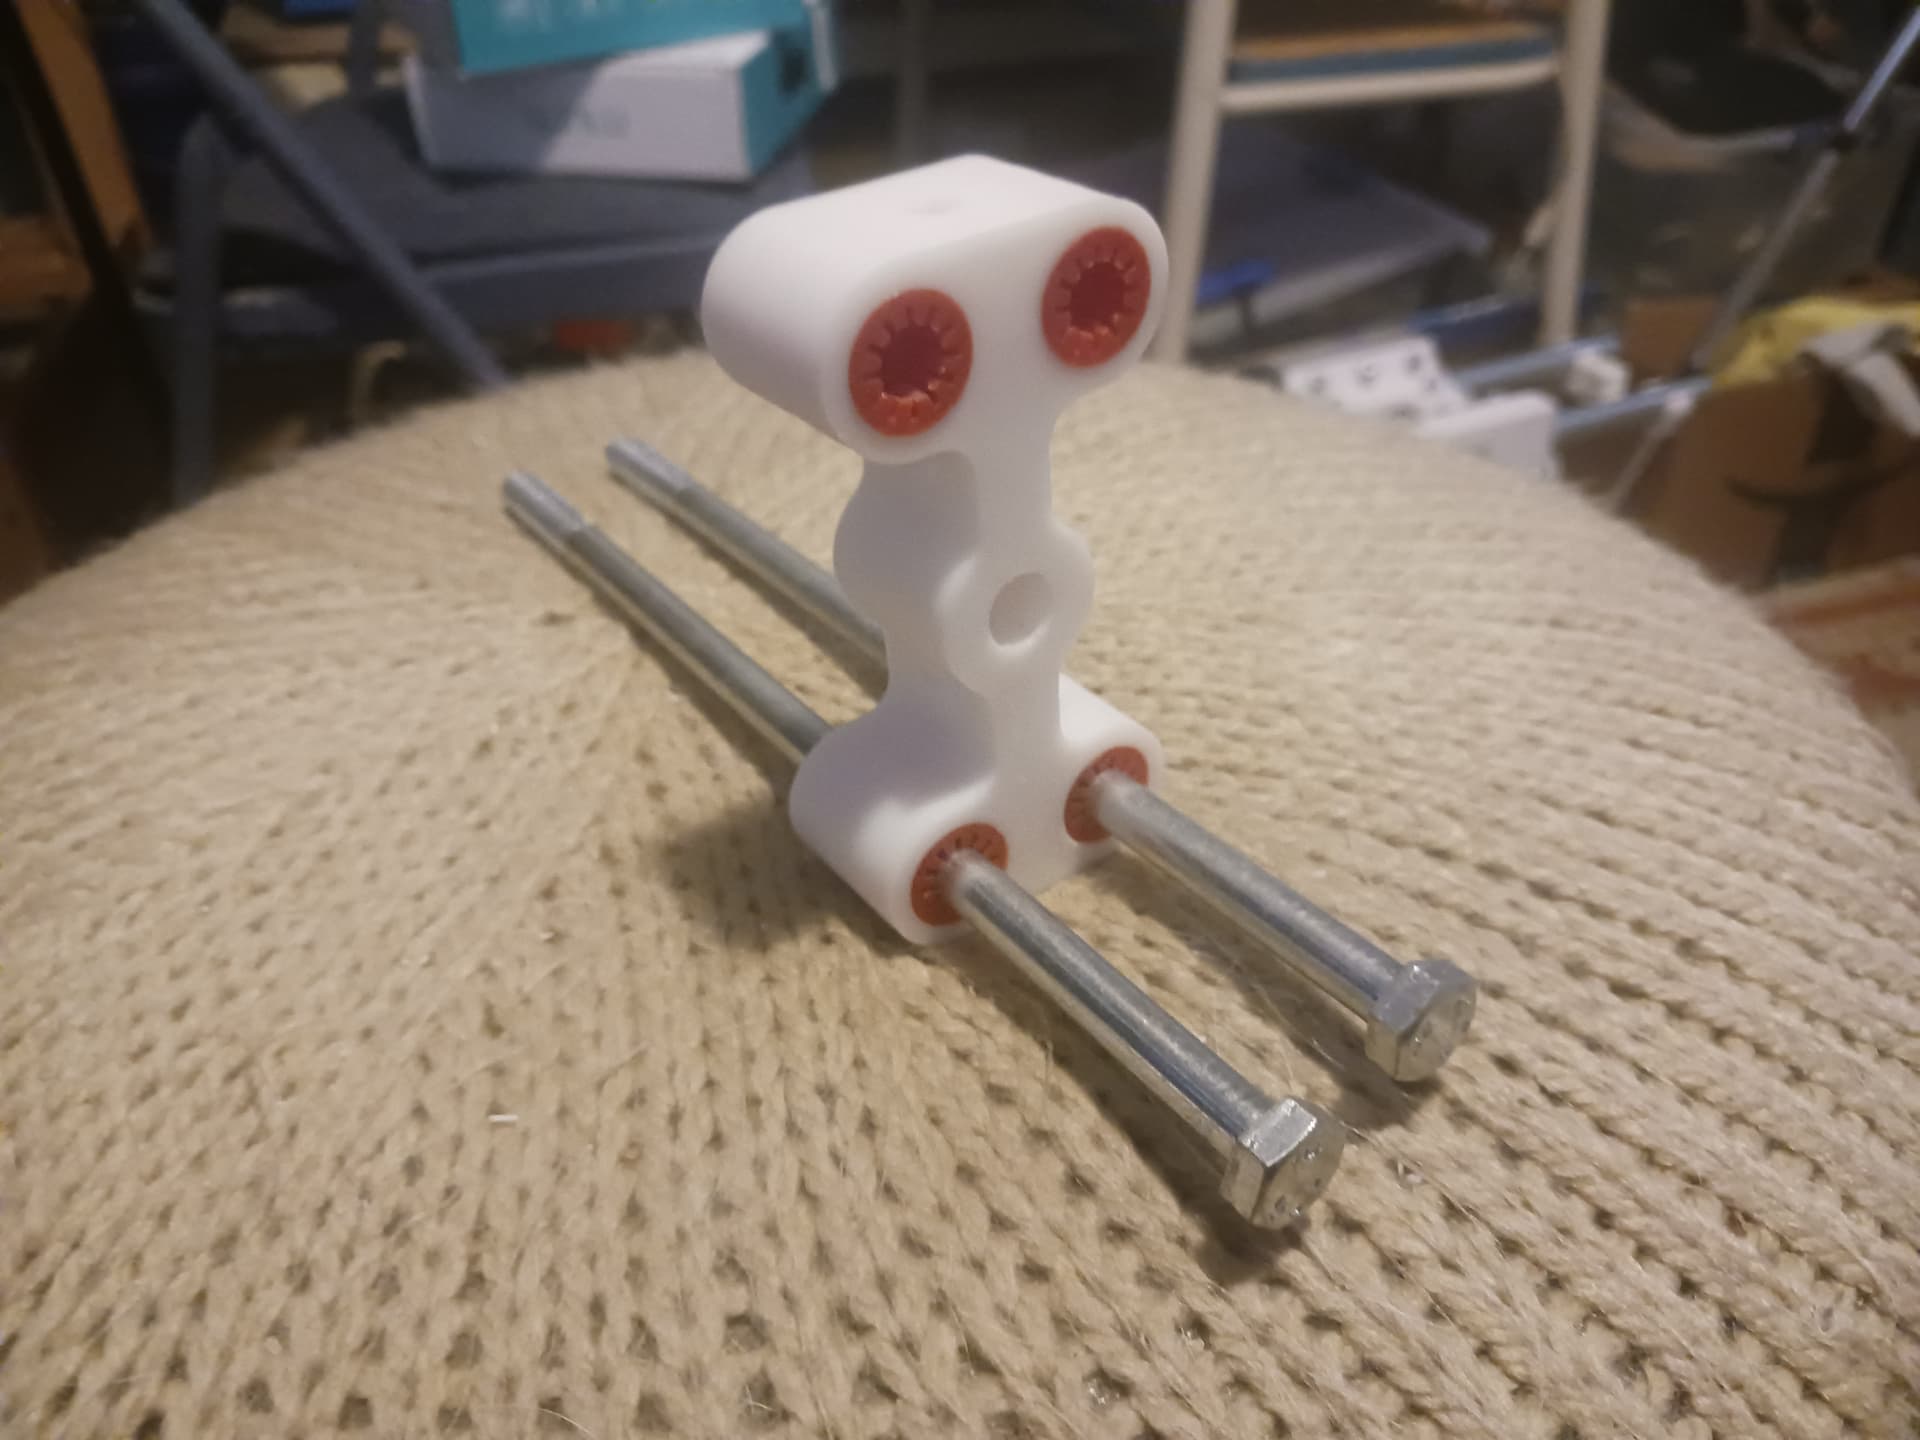
First run of a guide-rod version of the MPR&P-V2 Z-lift assembly. Guide rods are common 5/16" x 8" hex bolts from Lowes and run in printed “linear bearings” friction-fit into the “nut”. Printed screw and “nut” pitch is about 10mm per revolution. It’s noisy yet… but it is running with no lubrication or significant load. So, who knows?
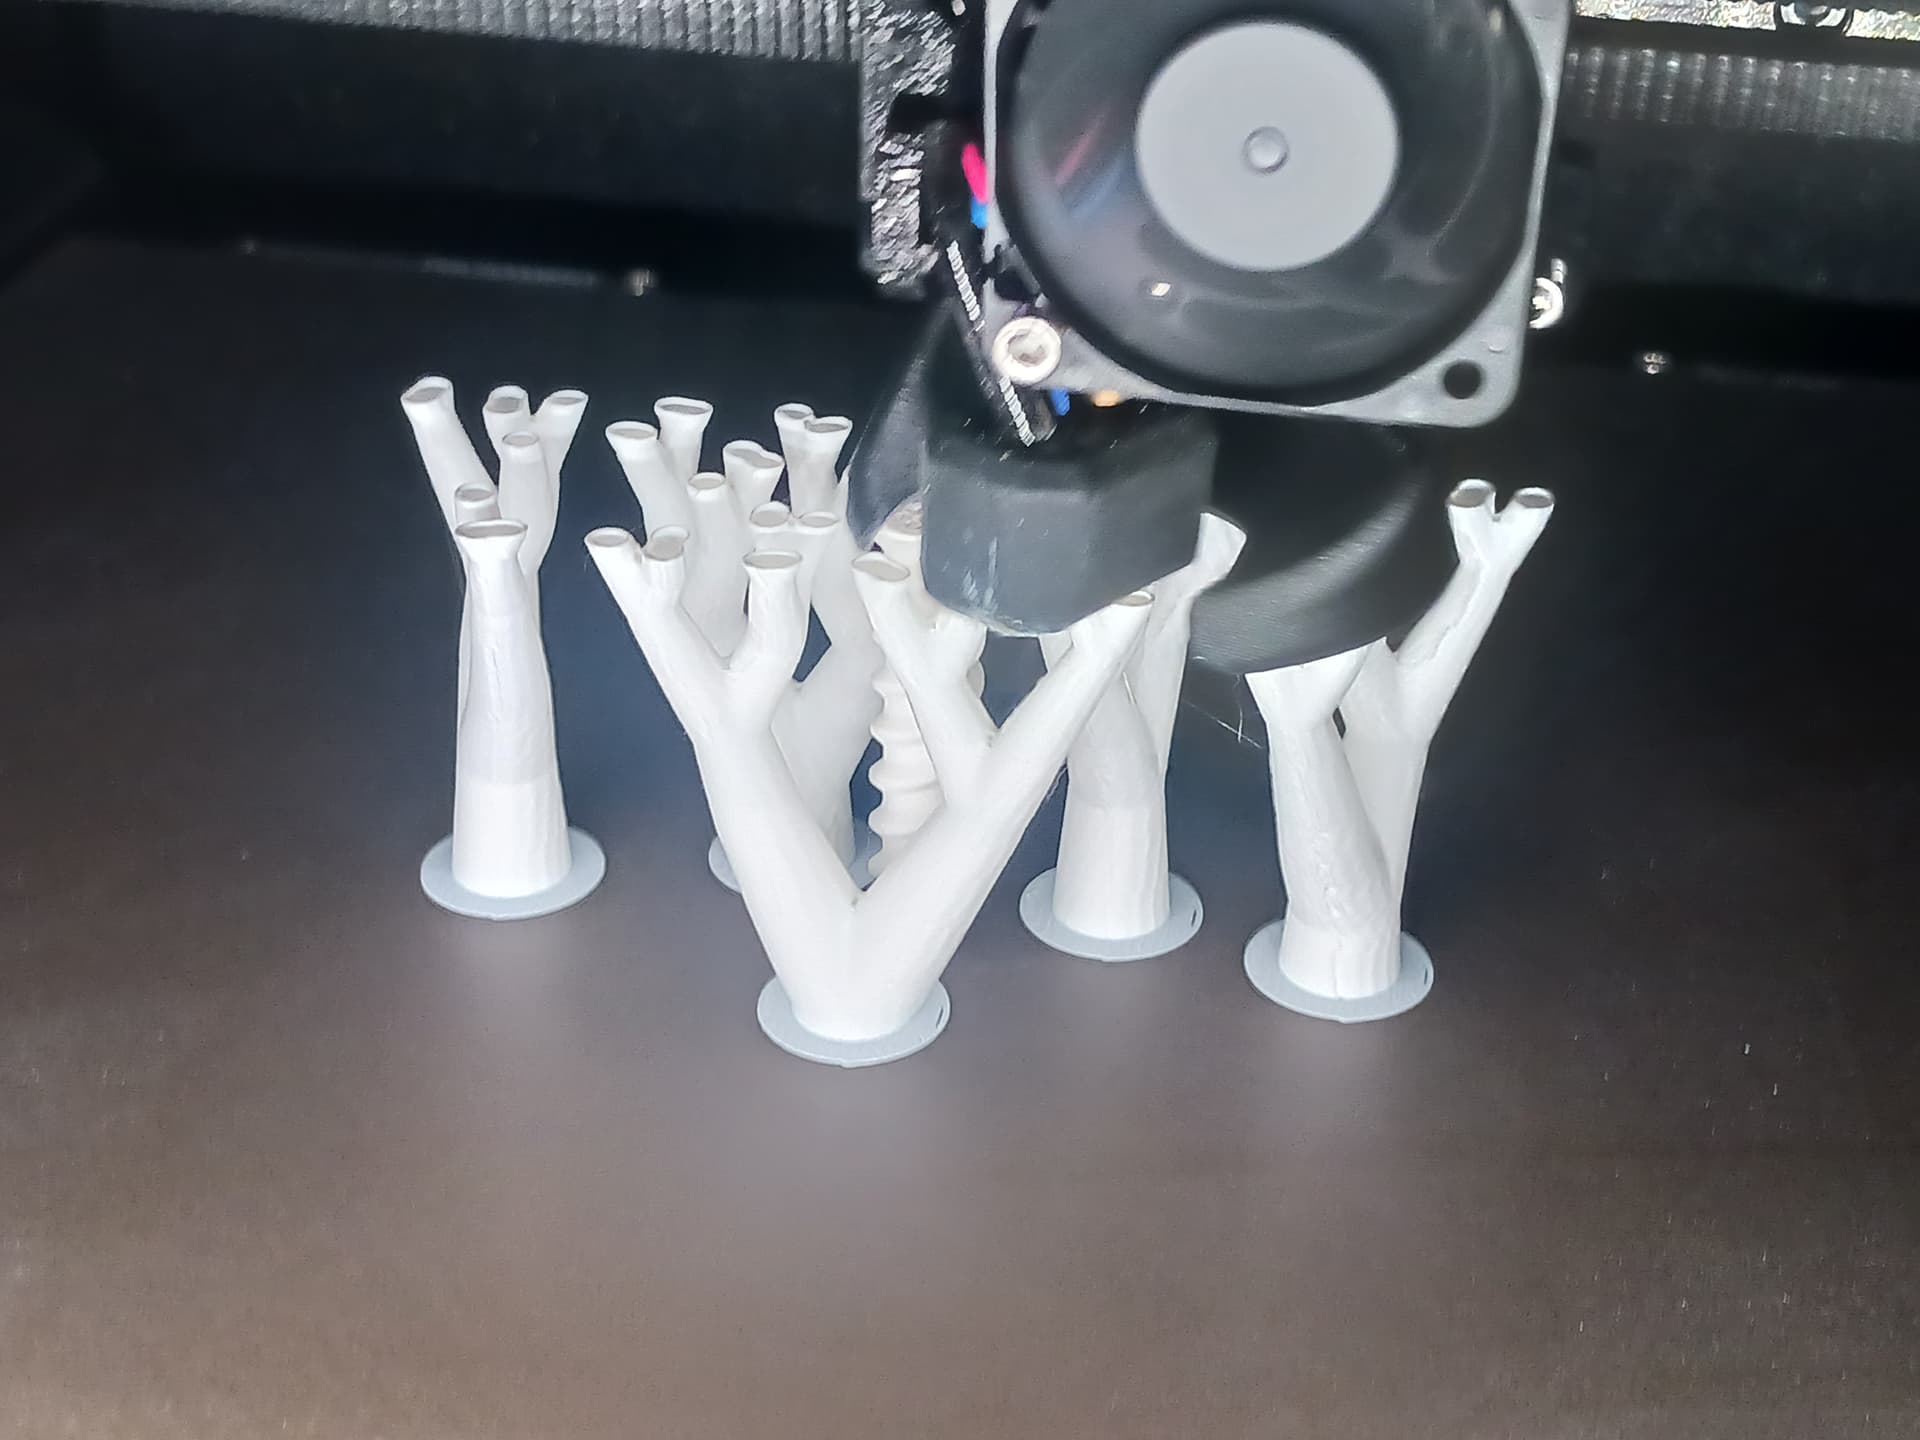
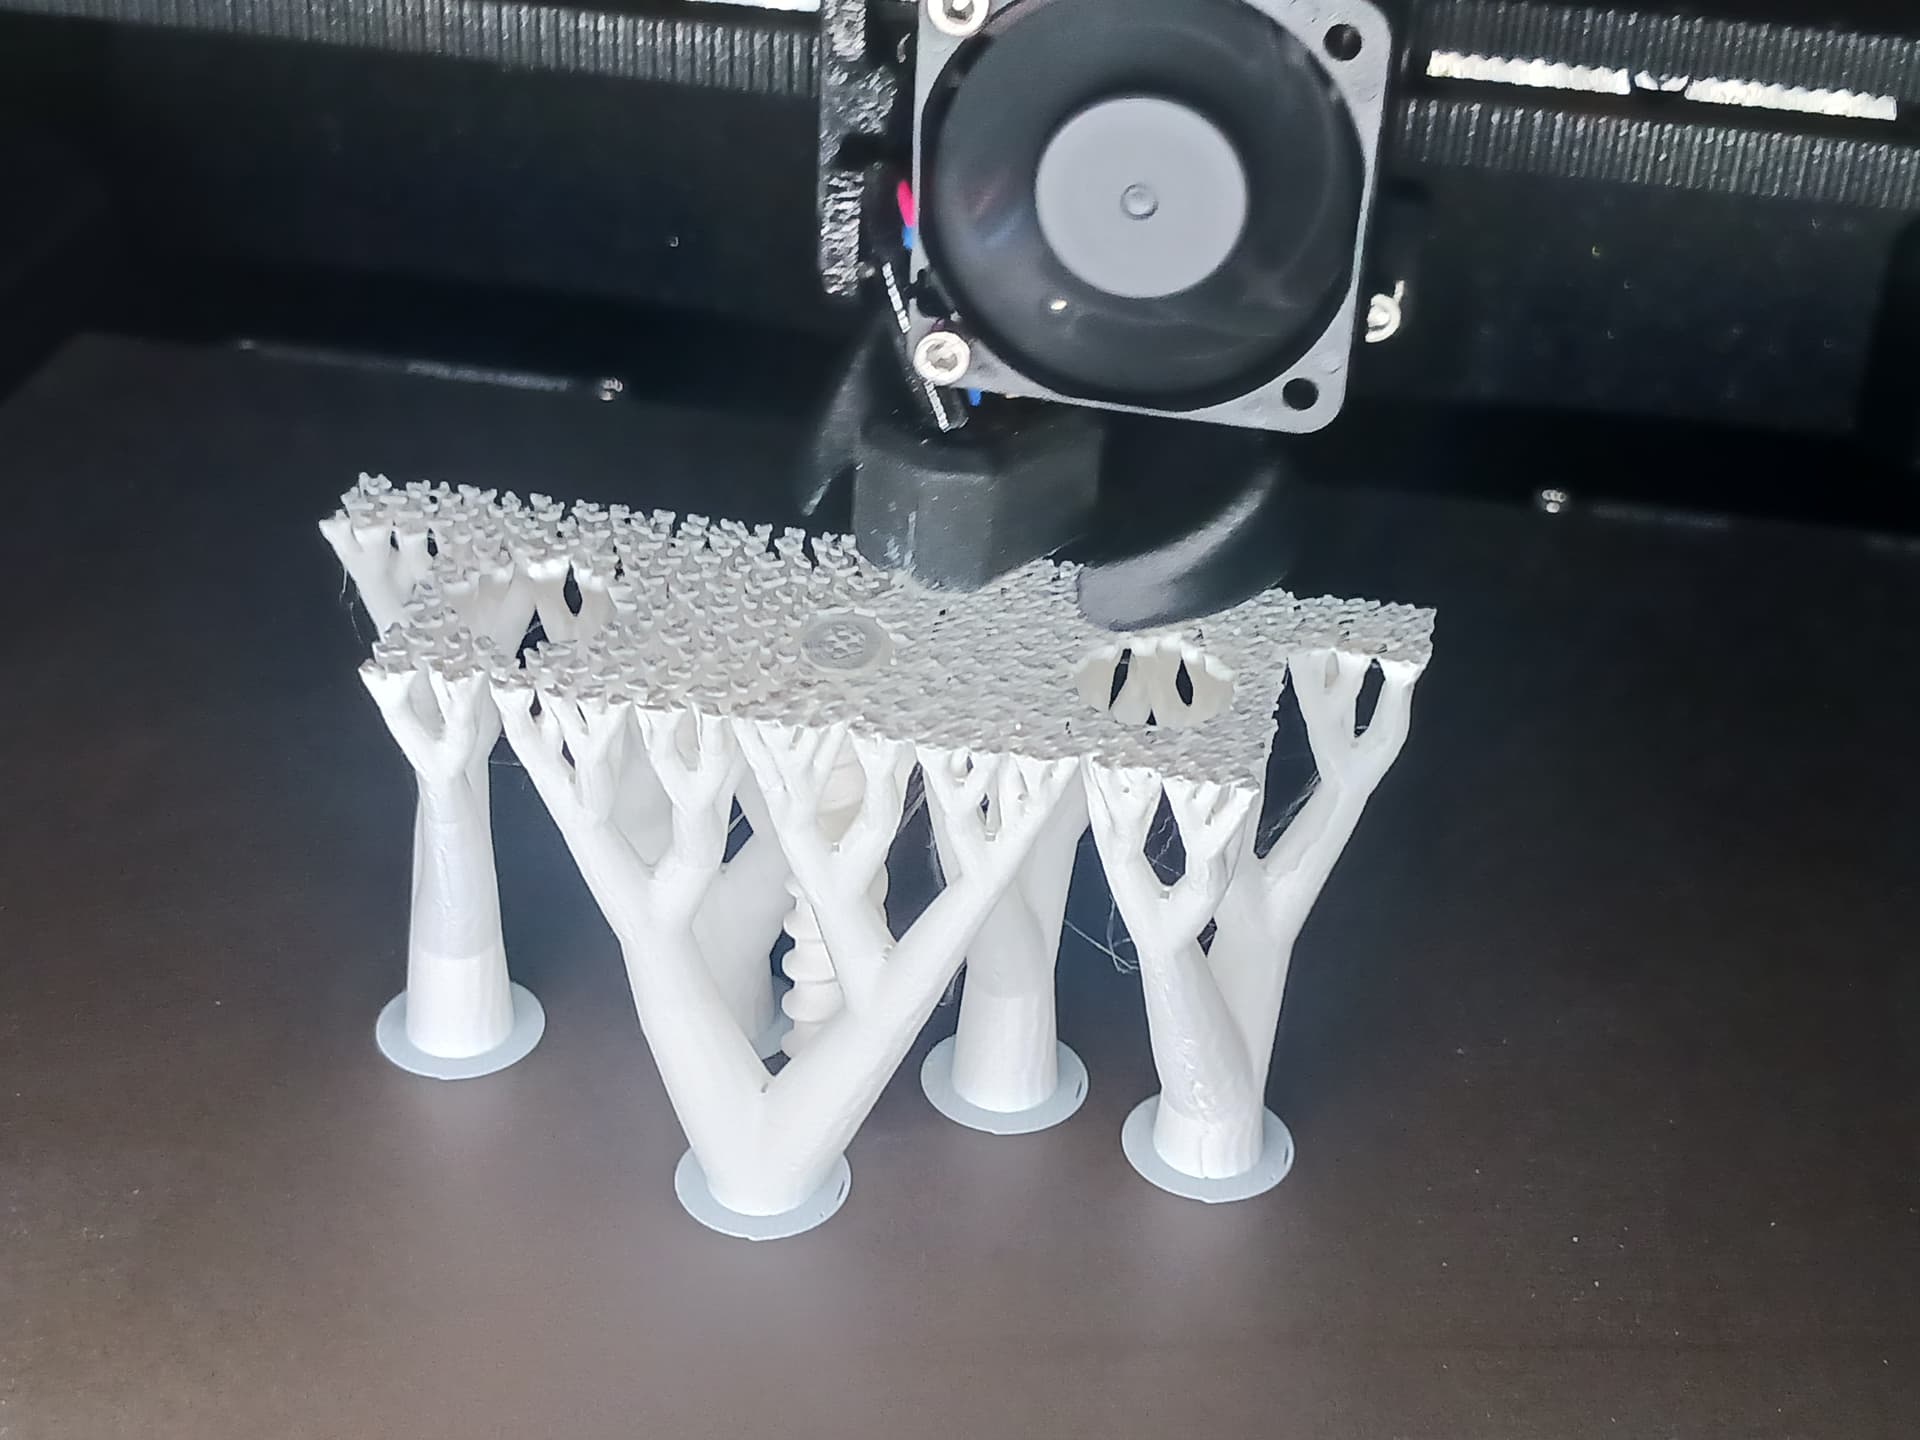
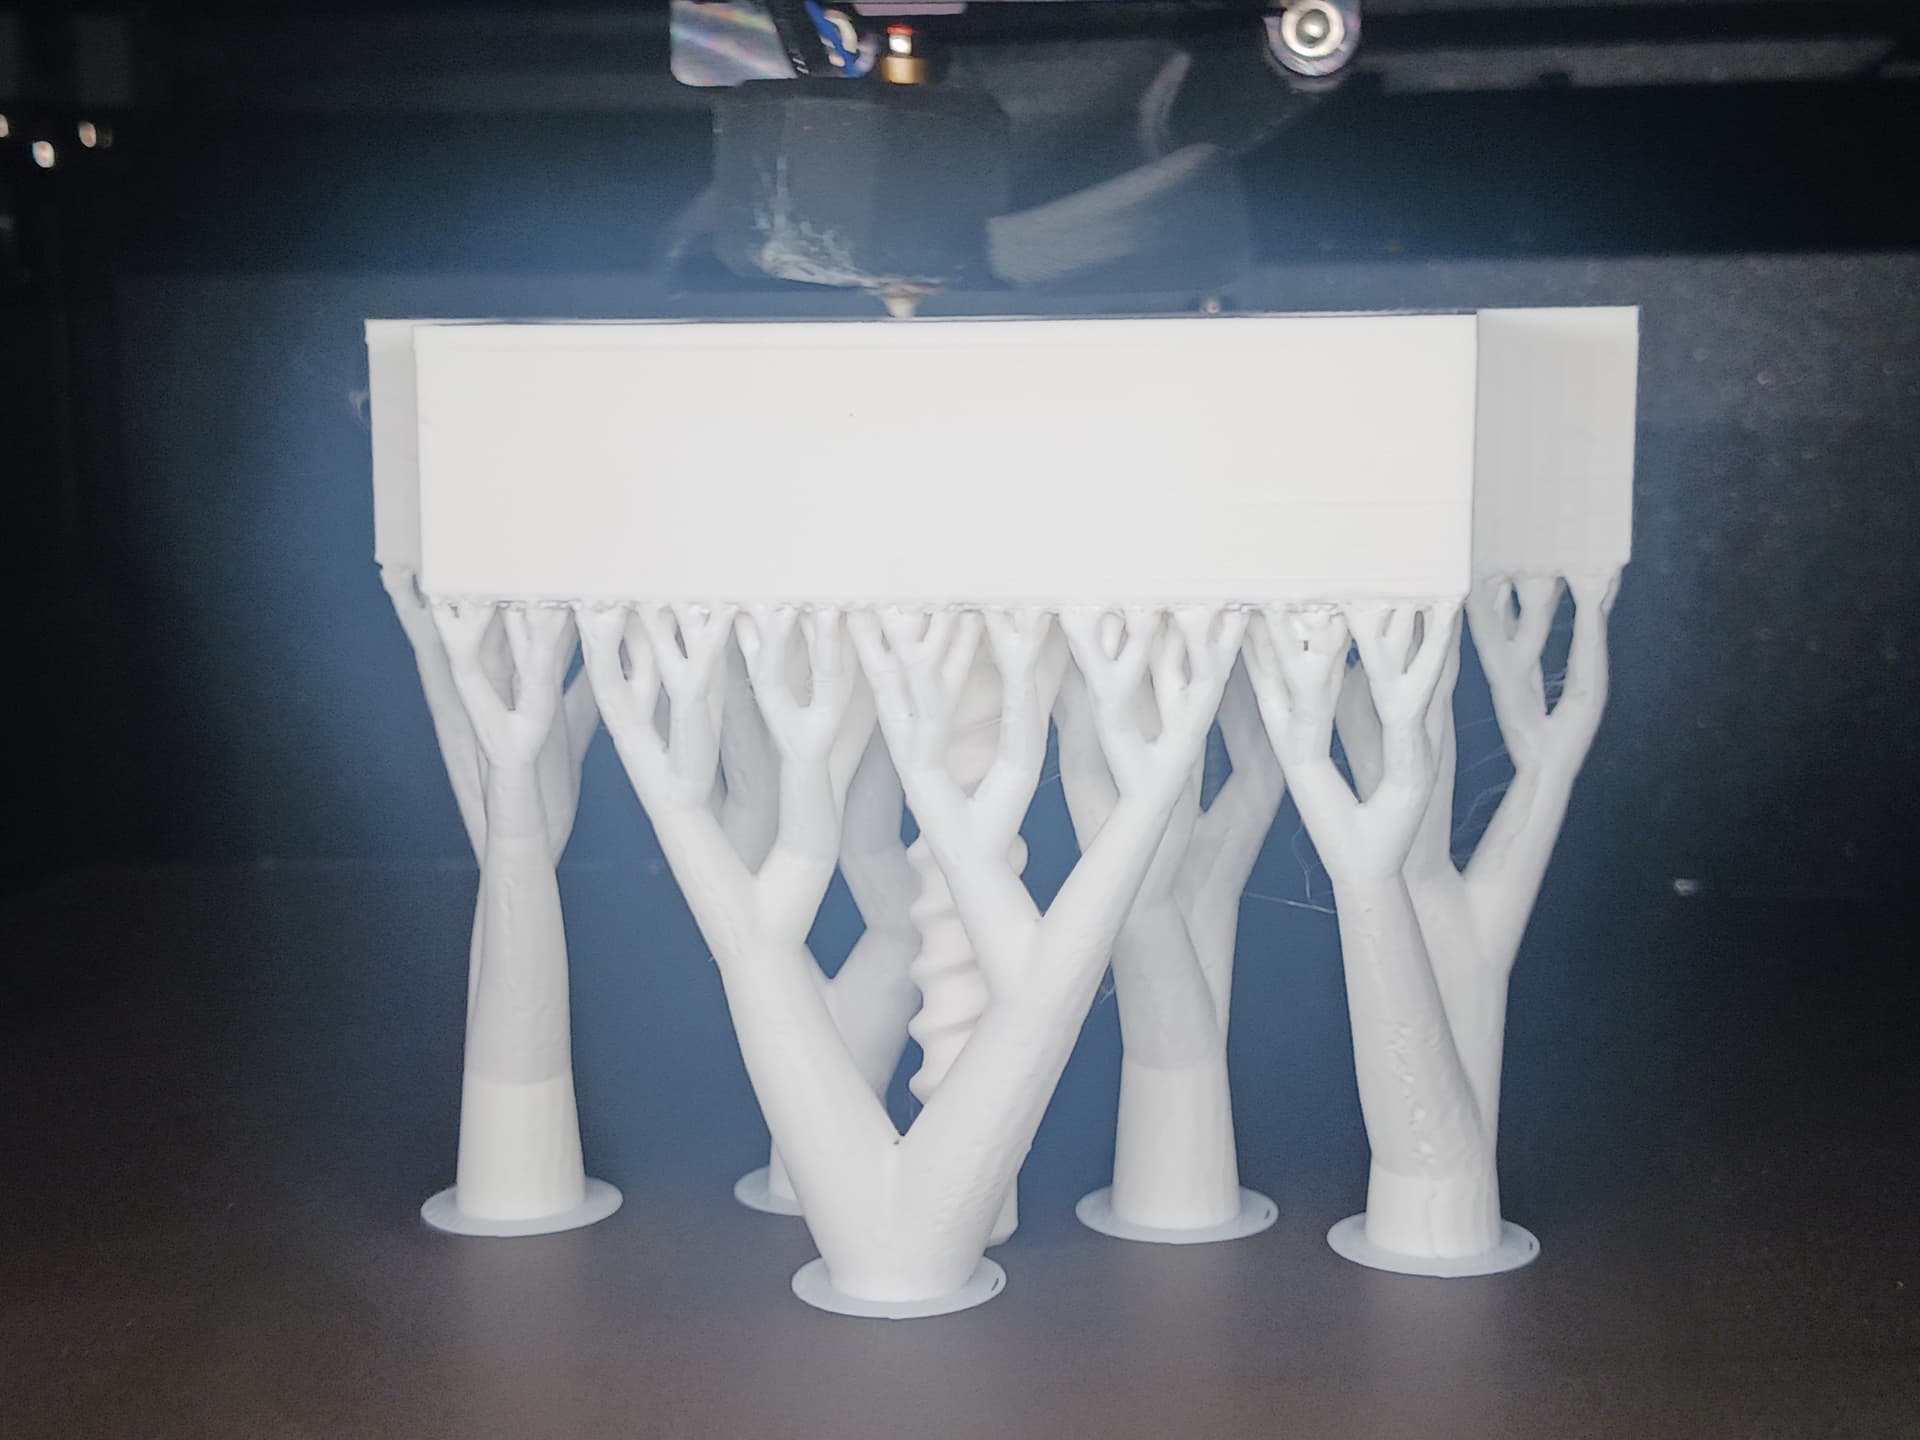
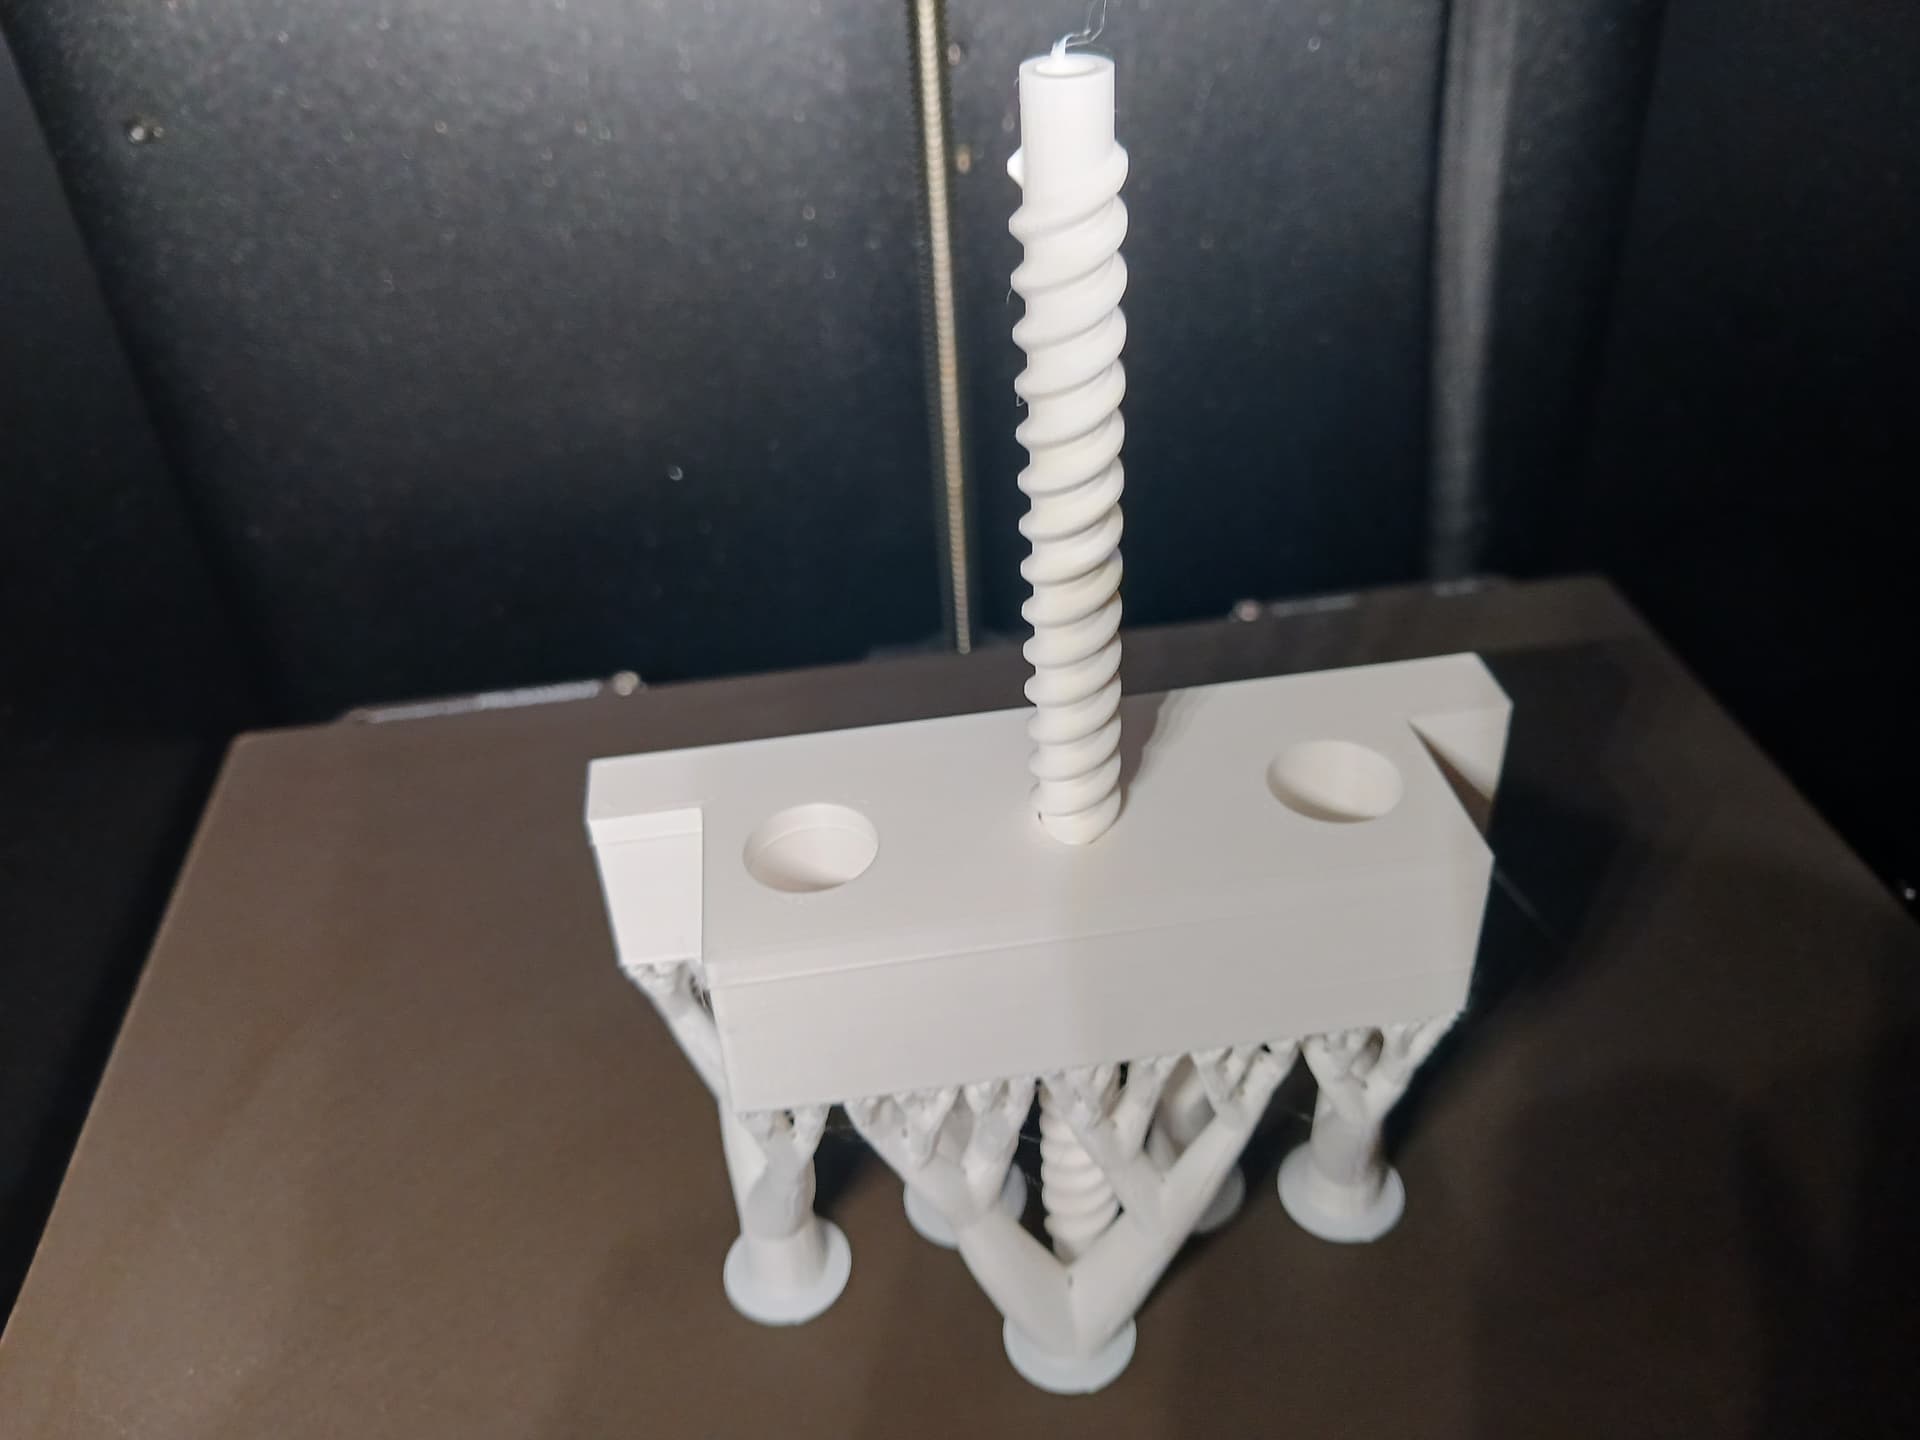
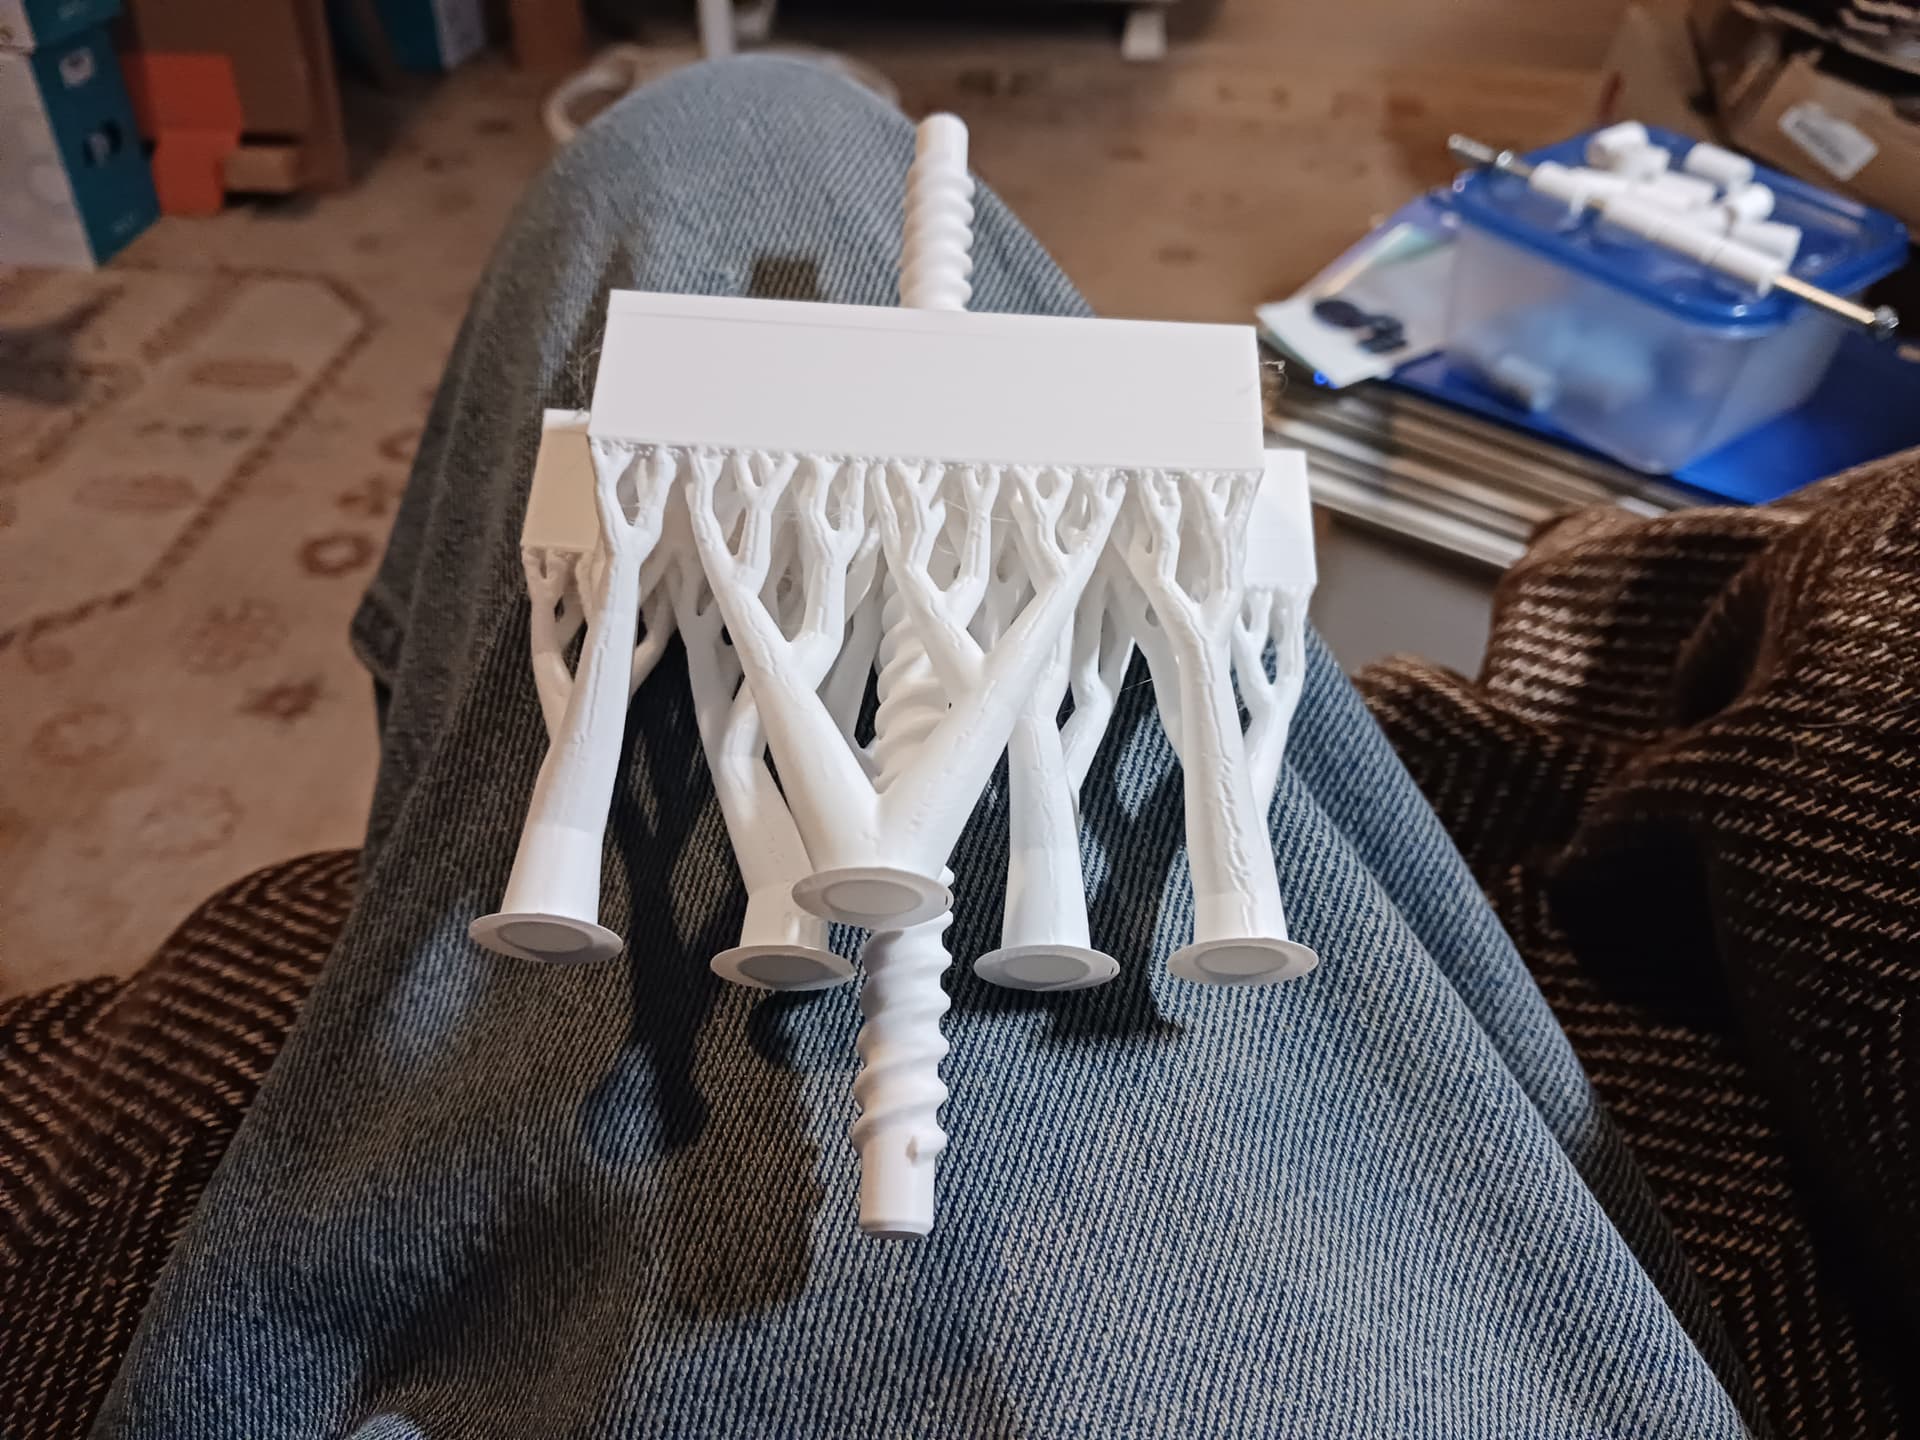
I wasn’t really trying to showcase it’s speed. I was shooting for 5000 mm/min over 100mm range with my little 8-bit Arduino controller… steps/mm setting of 320.32. I just wanted to see what it could do. The printed screw is a 2-start thread with 15 turns in 150mm… a trapeziodal thread profile and surprisingly easy to produce in Onshape. And, of course, I had to try printing it in place on my new fancy printer with that silly organic/tree support…
I think the reason Ryan does not capture the top of the lead screw to avoid overconstrianing the assembly, which is better than a tiny bit of slop from being free to wobble.
Edit:LIke Ryan commented, the Wayde’s extruders had great service life with PLA parts, I bet that is surprisingly workable.
I know Ryan’s LR4 design is proven and sound… so don’t question the way it’s done.
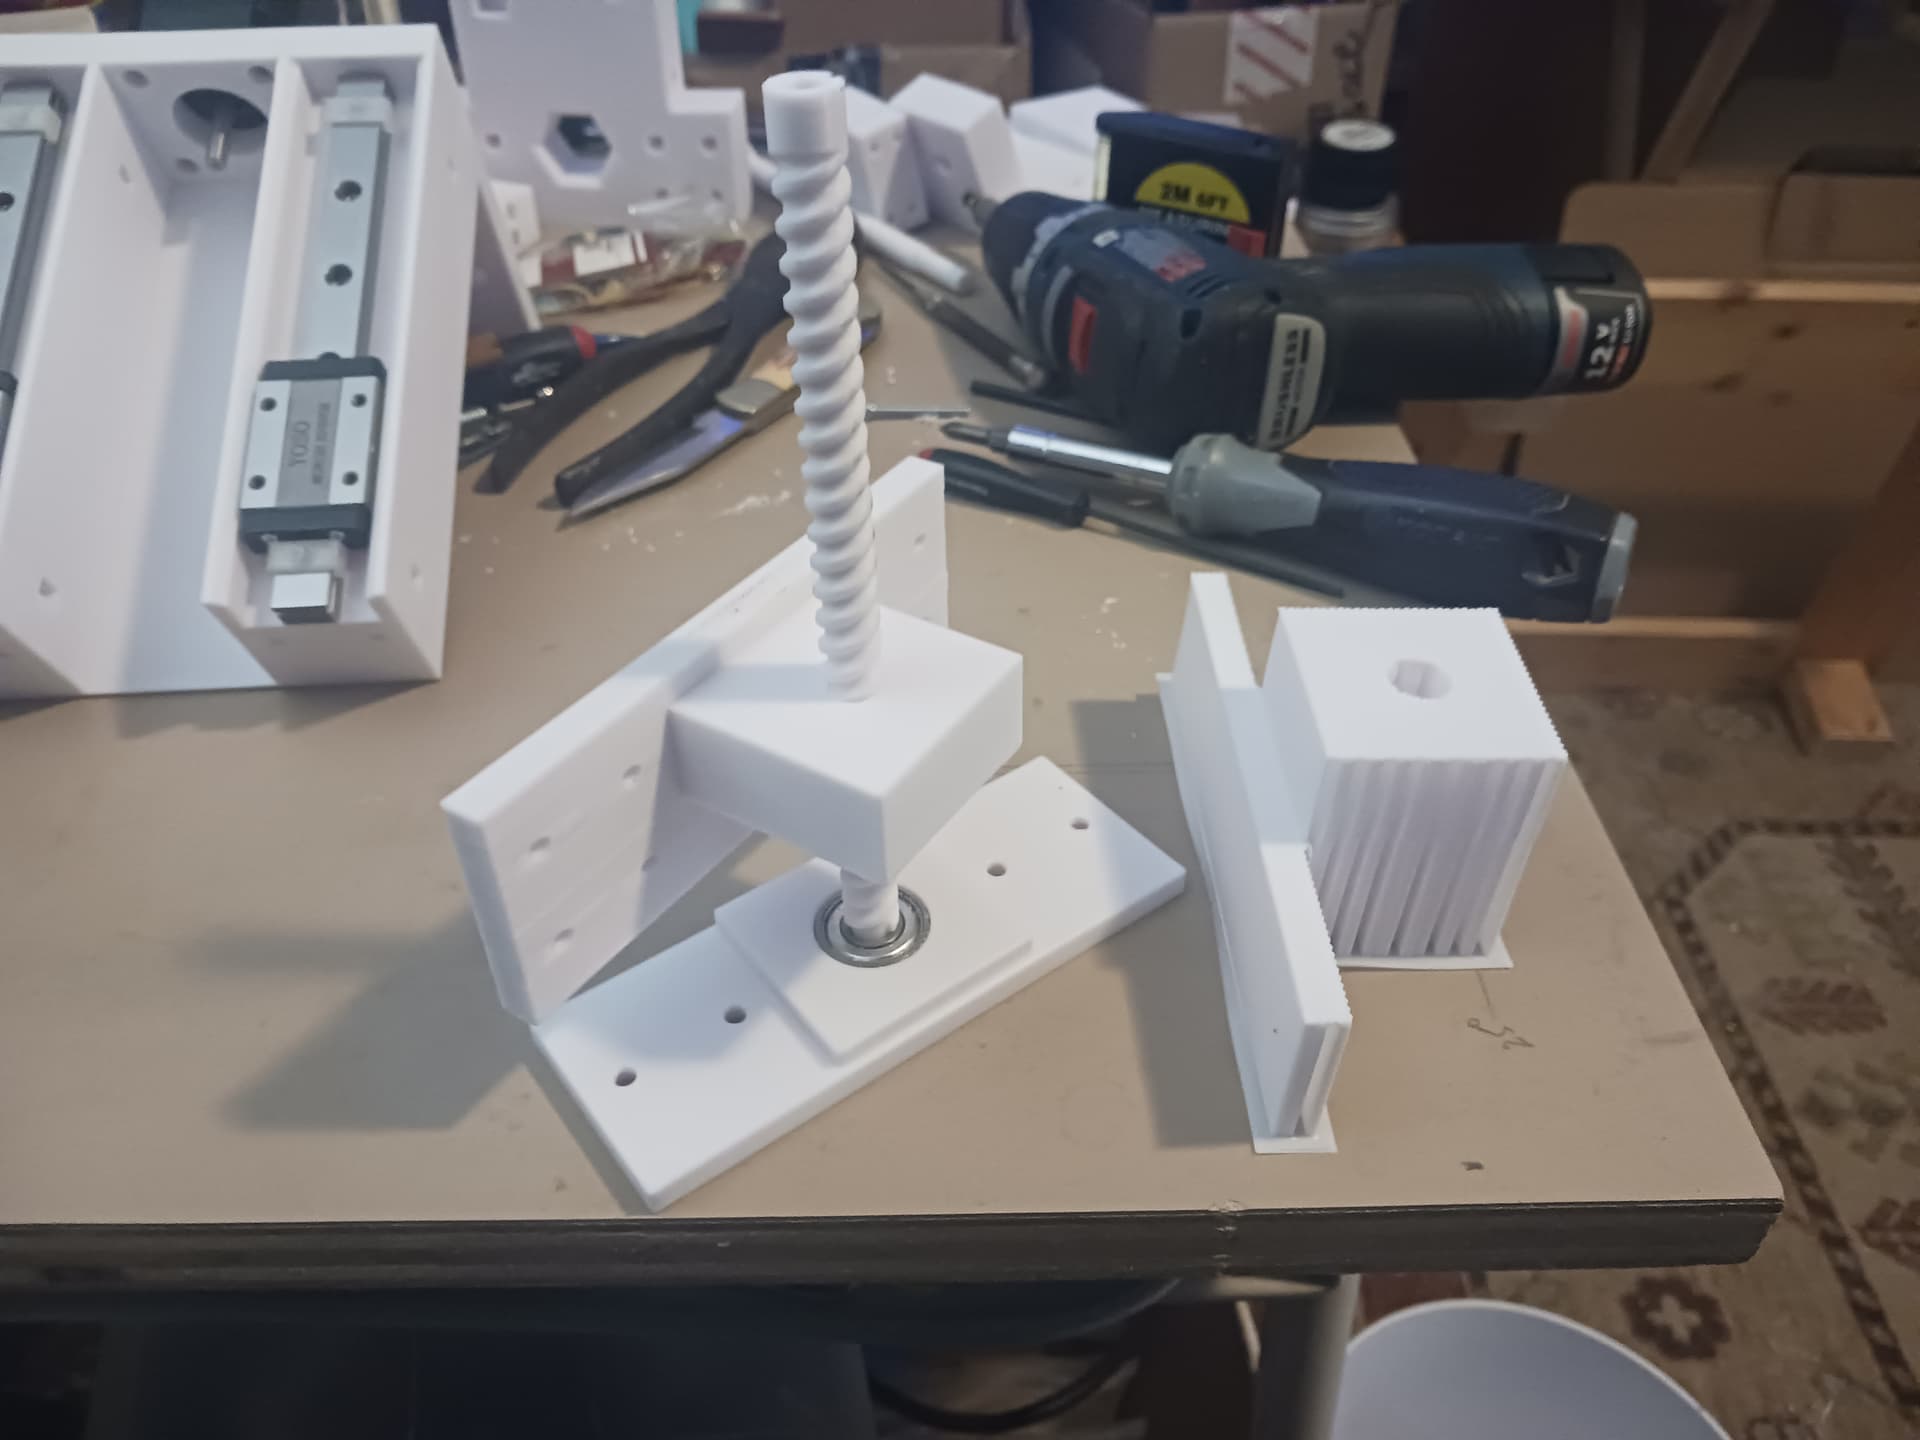
For MPR&P, I preferred the motor on top to keep the machine’s COG low… so I put a bearing at the bottom. I know a 608 skate bearing isn’t a thrust bearing… but they are cheap and easily replaceable in the event it ever fails. Also the D-shaft of the motor is a only a light press-fit into the end of my printed screw… so the bearing is actually the better vertical constraint anyway.
Finished up a second Z-lift assembly. To&fro test over 125mm range and running at a more conservative 2000 mm/min.
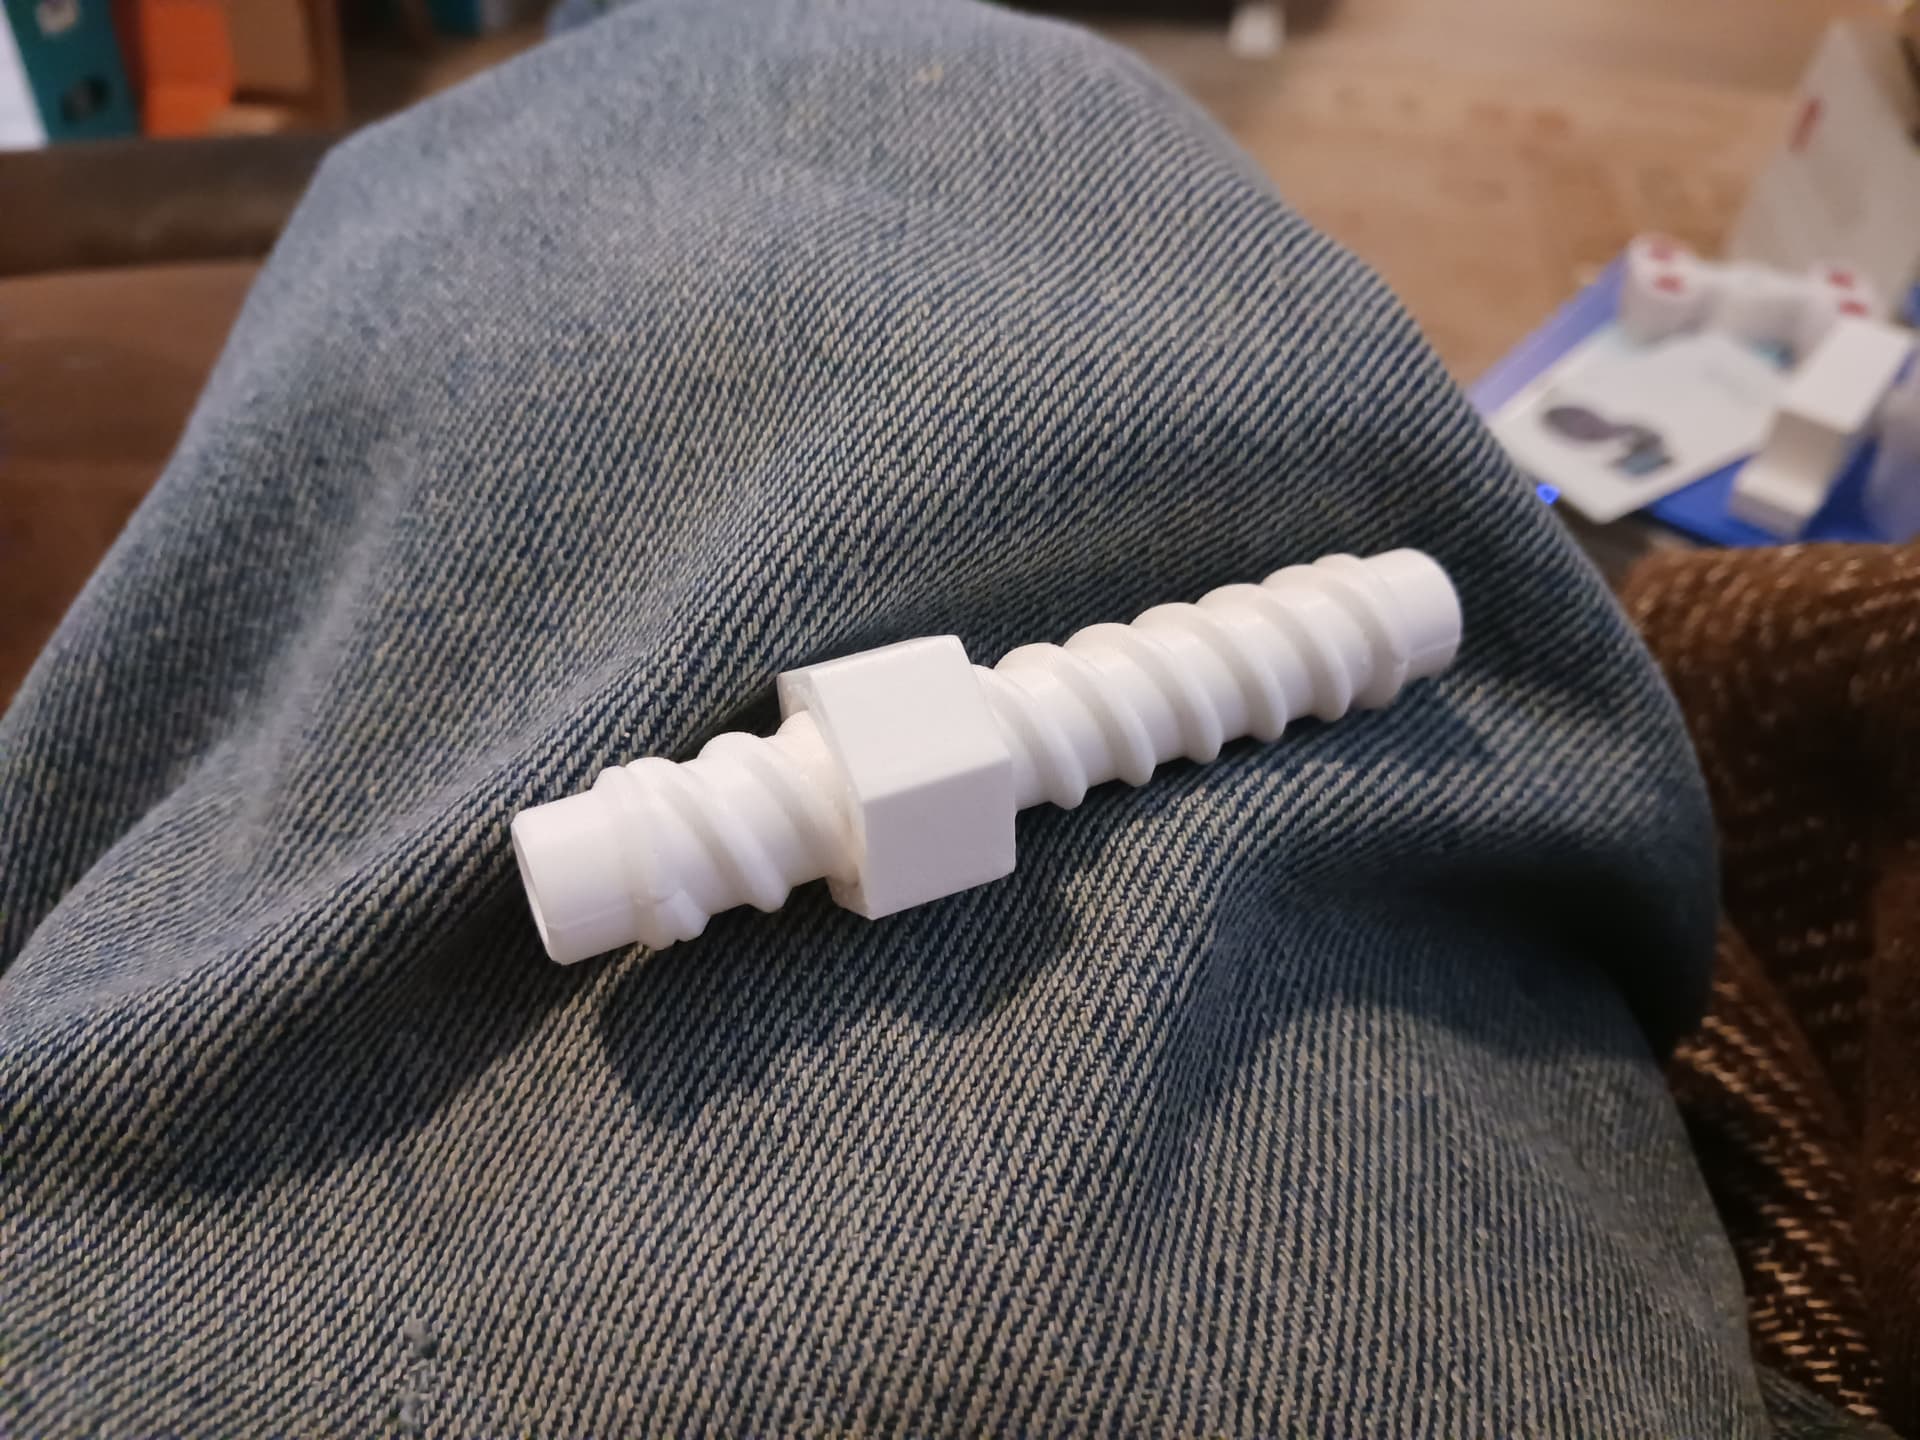
And since I’ve been playing with print-in-place leadscrews that actually “gravity spin”, I devised a captive nut fidget toy with a hollow body in which I can roll up and hide the grandkids’ Christmas money this year. I got a roll of black glitter filament with the new printer that might look pretty good…
Test of guide-rod MPR&P Z-lift system, lifting 2 new 1kg rolls of filament and a granite slab – about 16 lbs total – over 125mm range at 1500 mm/min. Printed PLA+ leadscrew/“nut” and linear “bearings” running on common big box store 5/16" x 8" smooth-shank hex bolts used as guide rods.
Nice. For those linear rods you are using (two per lift) are they being gripped by any type of ball bearing linear guides? Or just sliding against the printed plastic? If there are bearings there, are they the kind actually made for the rods?
Actually, since the tone of the thread started leaning toward “what’s the most economical way…”, I’ve used here (as I have in a few past builds) common 5/16" x 8" hex bolts from the bigbox store and LM8UU-style printed “linear (sliding) bearings” similar to this…
This of course won’t be the longest-lasting guide-rod setup… but on a relatively slow-moving Z-axis, it should last for a little while. And replacement parts are cheap… just a print job away. Actually, I rarely use most of my “curiosity machines” long enough after building them, to wear them out anyway… once I’ve satisfied my curiosity, I’m usually ready to move on to something else.
The “right” way to do it, of course, would be to actually use 8mm/10mm polished rod and real LM8UU/LM10UU linear bearings. While those would certainly be more expensive than the common bolts and printed bearings I’m using here… they should be far less expensive than MGN12 linear rails, as used in LR4 and better even yet.
Since I built the original MPR&P literally out of my stash/junkbox (except for filament)… it seemed only “proper” to me to continue the trend toward finding out what I can get away with (for at least a little while) on the cheap.
Those printed bearings are way better than most folks realize.
I made a set for one of my Taz printers as a temporary measure while I waited for real IGUS bearings to arrive. I promptly forgot.
I recently did a bunch of maintenance on my various printers, and the one TAZ with least slop was… the one with printed bearings.
Now granted, the oldest TAZ has 20000+ hours on it, so not really a fair comparison. But I’m sure I’ve put something like 1000 hours on the “junk” printed bearings.
you can do a whole lot of machine bootstrapping in 1000 hours.
I’ve built several machines with printed bearings… but, as I said, I also never use them enough afterwards to ever wear anything out. So, I’ve always run them dry, without lube of any kind. Do you lube them with anything… petroleum jelly, white lithium grease, etc?
I did put a little bit of white lithium grease on the screw and guide rods in the lift-assembly I showed lifting the weight… and it did seem to quieten it down a bit.
Once I’ve solved the problems, I often move on to something else. Sometimes I dont even finish the project, if I’m sure enough of the answers I’ve found.