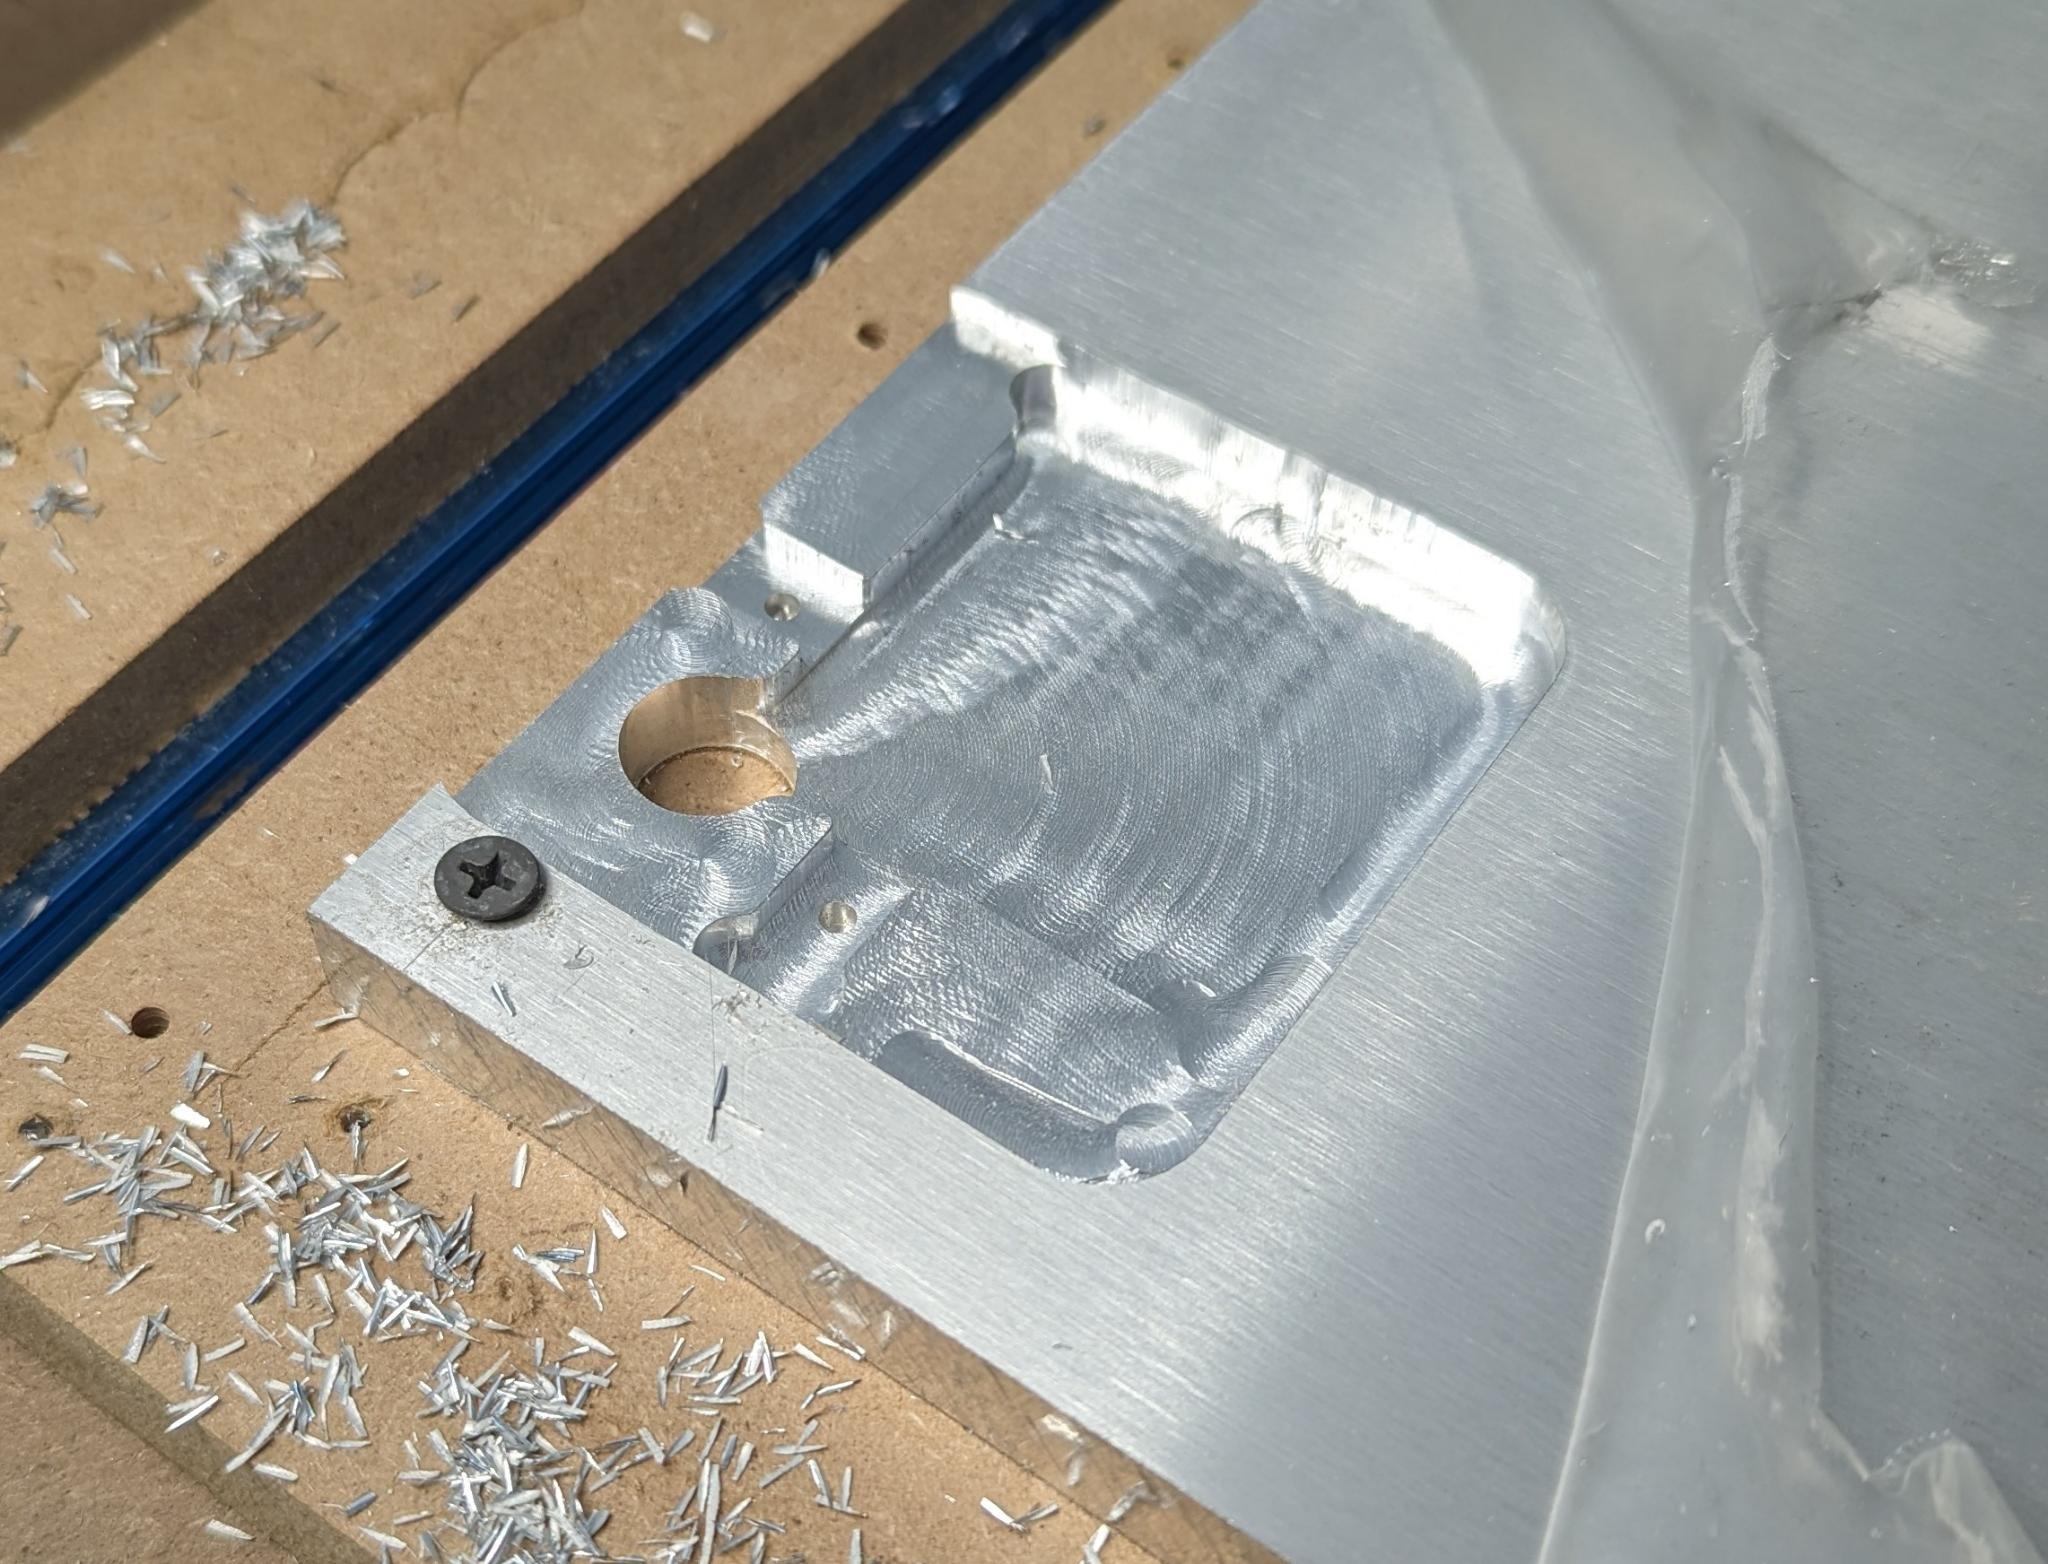
I will eventually make a video about this crazy upgrade, but I wanted to show off 30 seconds of it in action clearing material for an aluminum XYZ probe plate.
0.4mm “optimal load” (Fusion360’s CAM version of “trochoidal stepover”)
Babysat it with a spray bottle of IPA drenched the work area and bit every minute or so.
It’s a bit chattery when cutting straight along the X, but otherwise it seemed to handle it fine. I think next time I will slow it down a little (800mm/min) and take deeper cuts (6mm), which should extend tool life, but it still worked fine with these params, cutting for almost 30 minutes straight. Also, you can see those are actual chips. Not the biggest but it’s not dust, either.
As for the upgrades, here’s a quick summary:
Enclosure: half-fold-down magnetic latching door on front, removable side/rear panels
Drag chains for cable routing – so friggin’ clean
Bare HGR15 linear rails for the cross-slides, with adapters for the trucks and core. These are cheap Vevor rails, but they seem to work
Sorry, this post was more about being able to cut aluminum with my MPCNC, not the upgrades themselves which I want to go into greater detail in a separate post/video.
I used these cable chains from Amazon: Amazon.com
However, for some reason they have the hinged “bridges” on the underside which makes them kind of useless for changing or updating cables without taking everything apart. Definitely make sure the ones you get have them on the top (inside of the curve). I used 3 different sizes, with the one behind the Y2 axis the biggest, since it carries for both Y motors, the Z, and the router cable.
The stepper mounts are stock. I didn’t change anything there. But they have an extra attachment I found on printables for attaching the cable chains to them.
Yes, those are Vevor/Chinese HGR15 linear rails. I got 4x 1.5m and 8x glide blocks for $120 from the Vevor website. I figured I’m running so far below spec for these rails, that as long as they move, they would be a step up from the conduit. I swapped them because I had major difficulty snugging in the conduit on the core – there was play I couldn’t remove. These are solid as a rock, and since they are so oversized, they’re super rigid even without being attached to an extrusion or something.