Ahhh, man after my own heart.
6 Likes
That’s nuts. Bravo.
3 Likes
You’ll have a convenient step stool when you’re done building the bike now!
3 Likes
Hi guys,
I finally managed to destroy my BOx.
So far I was almost exclusively printing with PLA or flexible filament. But recently, in order to solve an issue I have where I need a higher glass transition material to make some parts, I’ve been experimenting with printing some other materials.
I tried to print polycarbonate and also ABS.
So, a few good news first:
-It seems like my heated bed can reach 120 degree celsius relatively easily. It doesn’t seem to struggle at all to reach this temperature and it manages to keep it stable during the print. I haven’t checked yet the thermal gradients between different spots on the bed, but I’ll borrow the thermal camera at work in a few days. But at least, 120 degree isn’t an issue and I bet it can even go higher.
-It also seems like my extruder can reach 250 degreeC without much problem either. Everything worked just fine.
So I’ve first started experiementing with polycarbonate and got a few successful results pretty quickly. Then things quickly changed when I tried prnting bigger things. Unfortunately, warping appeared to become a pretty big issue, and large parts were starting to lift from the bed after a few layers, ever though the bed adhesion was okay and I had a generous brim all around the part to maximize adhesion.
Bummer.
Then I tried ABS and got similar results. Parts smaller than 200mm print fine, but anything bigger than this and problems arise.
From what I understand so far this is probably unavoidable without an enclosure. I’m not sure I can build one, I mean I could easily install some acrylic panels all around the machine, since I’ve designed it from the ground up with this in mind, but the problem is that the whole printer is made of PLA, so any temperature higher than 50 degree celsius in the enclosure will make the parts become soft and start deforming.
I’ll try to find some kind of solution, it would be nice to be able to print large stuff out of some tough materials.
But anyway, my last attempt at printing a large part with ABS started beatifully, I got good adhesion, the part didn’t lift for maybe a dozen layers. So I thought it was working fine this time and decided it was time to go to bed and I’d get a finished part the next day… Well that’s obvioulsly not what happened.
At some point a corner lifted, the print head crashed in it and it destroyed itself.
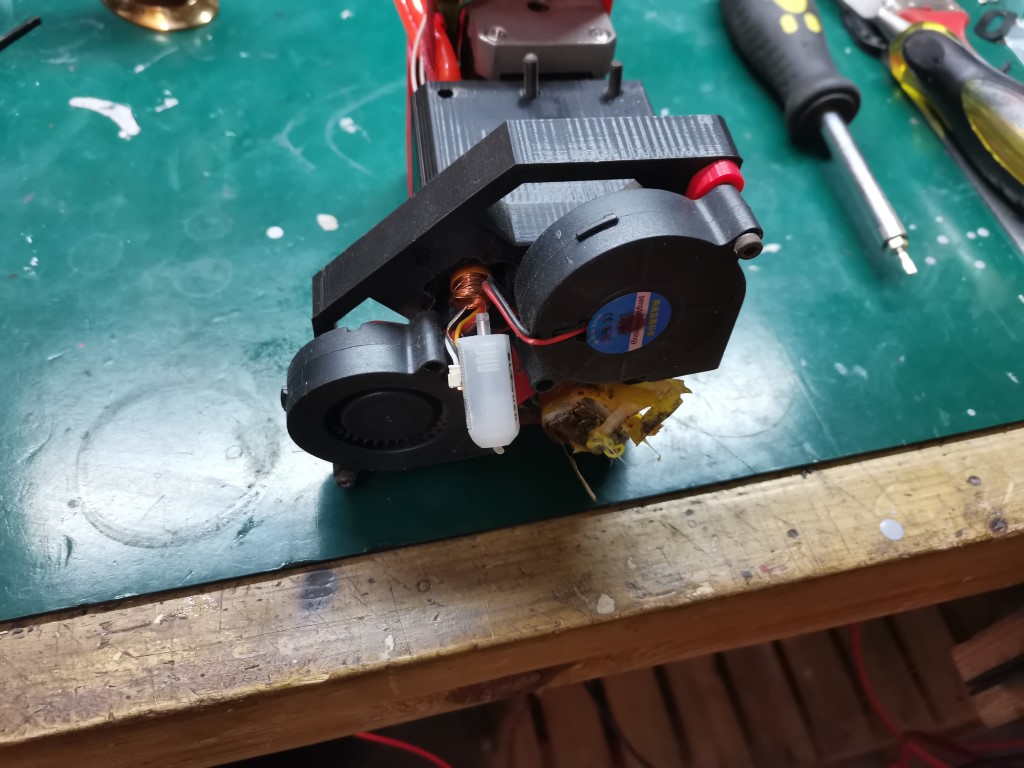
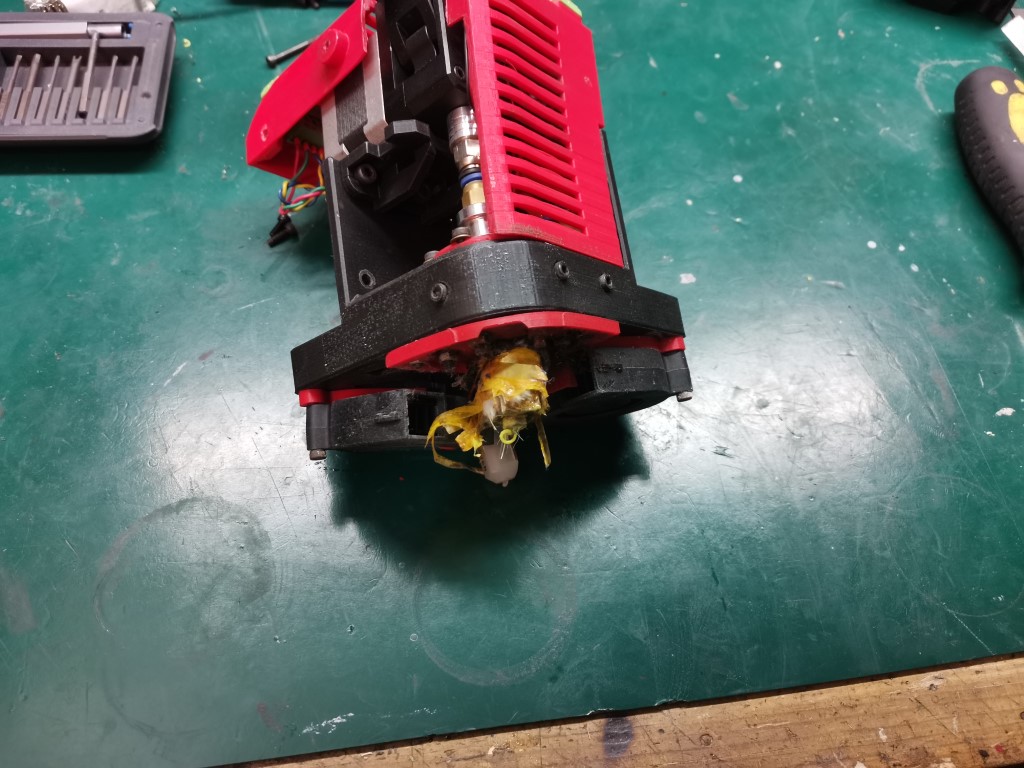
So, first, assessing the damage:
-Fan shroud is gone,
-Fans are busted
-Print head is a bit bent
-BLTouch is broken in half
-Water cooling block is cracked but somehow it didn’t leak (just a couple droplets, but almost nothing).
By some incredible luck, I decided last week that it would be nice to have another print head just in case this one had an issue, so I decided to design some improvements and print the parts… So basically I had already printed all the necessary parts to repair it.
But first, there was the issue of the BLtouch. I already purchased a replacement, but since thiese things aren’t exactly cheap, I thought I’d repair this one and hopefully use it again (once this print head will be repaired I plan to build at least another one with a 0.4mm nozzle, to make high resolution prints).
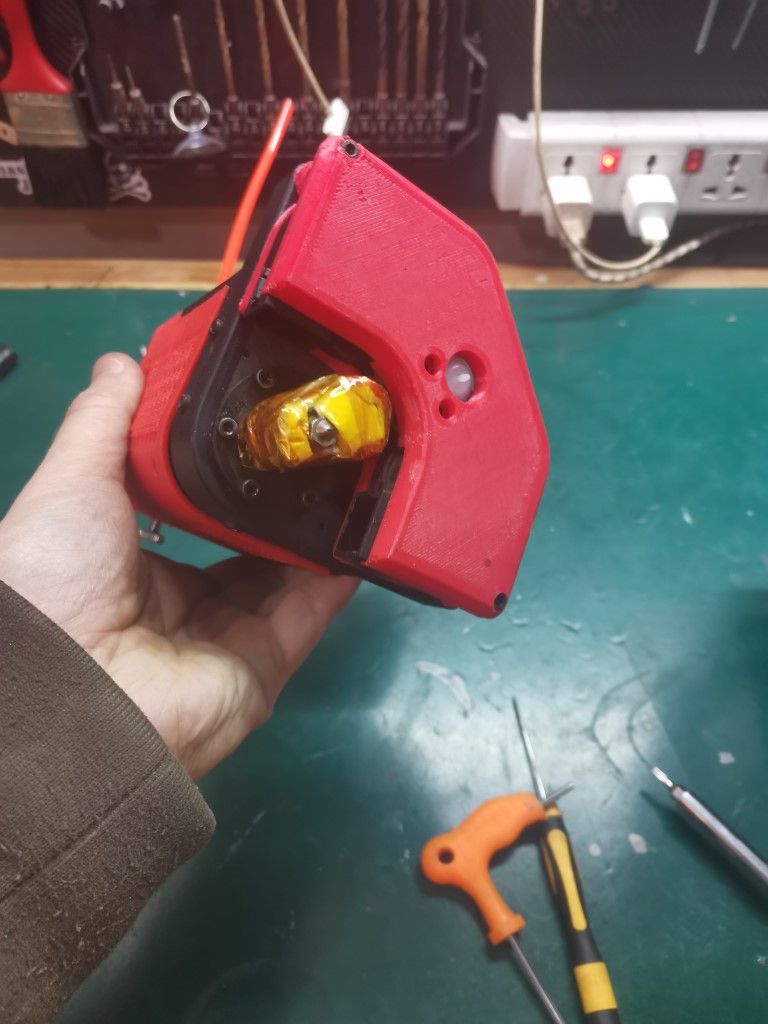
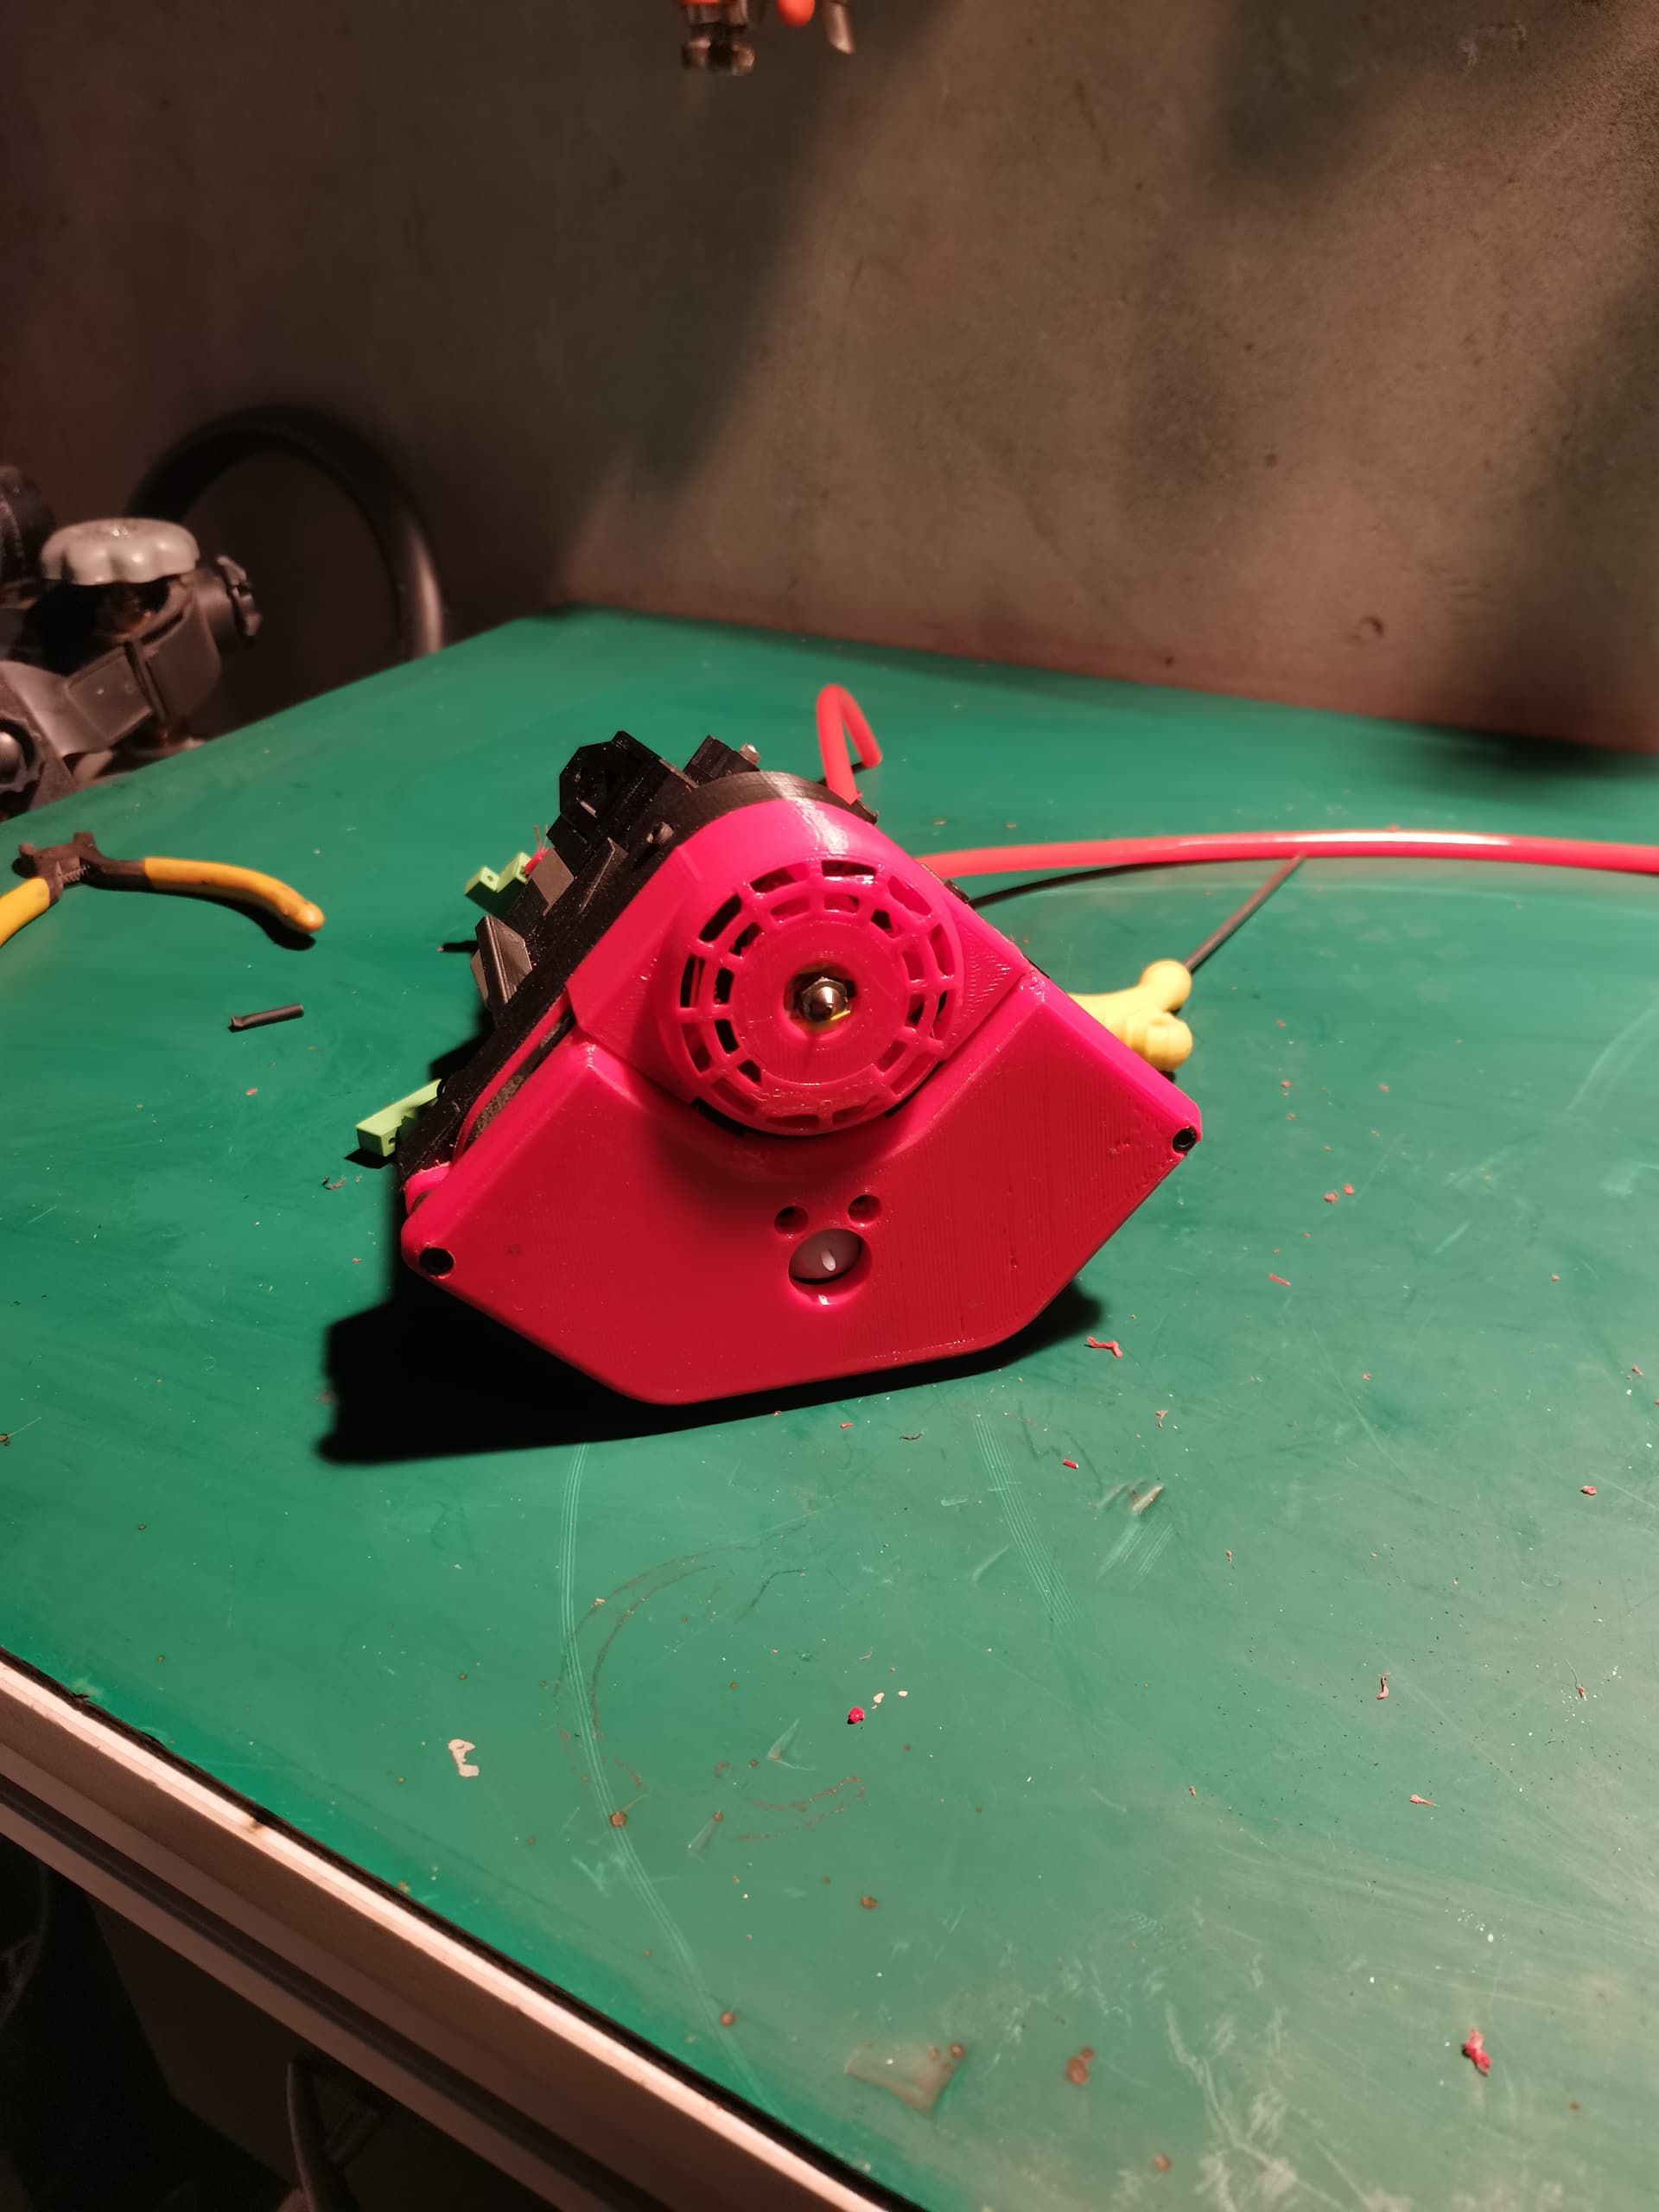
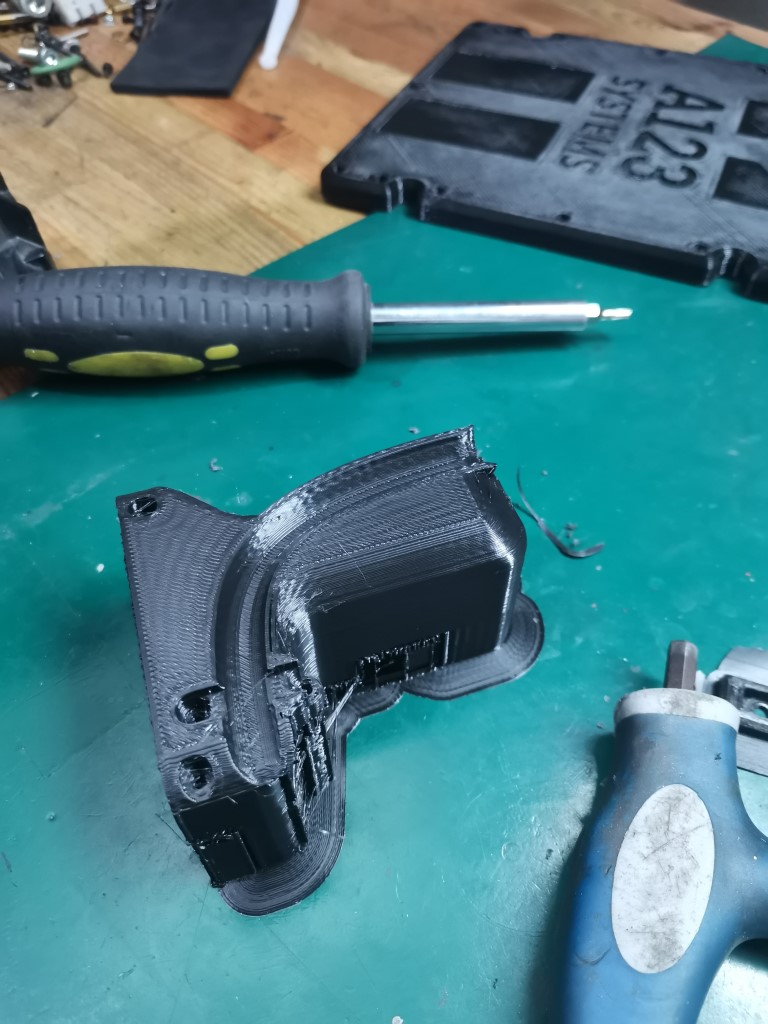
First thing I’ve done was to put back together the coil of the electromagnet, using a screw and a washer to keep everything in place, then some hot glue to secure it:
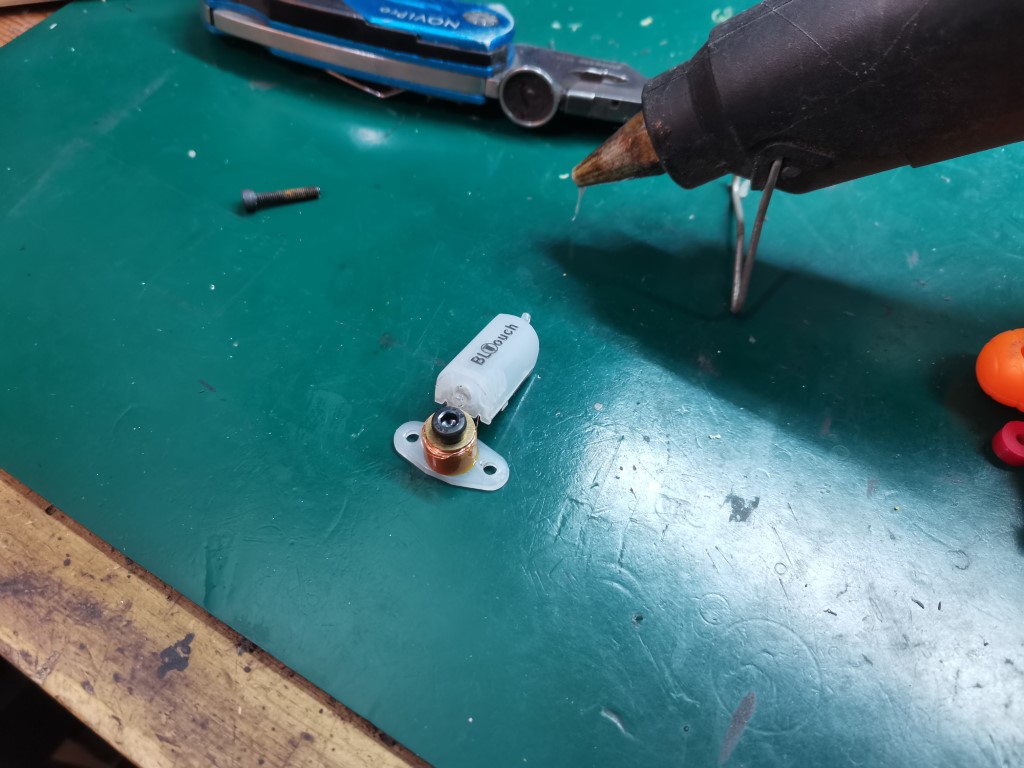
Then it was just a matter of hot gluing the whole thing back together.

Not the prettiest repair, but I’ve tested it and it seems to work just fine!
So if this happens to you, don’t panic and know that it can be repaired!
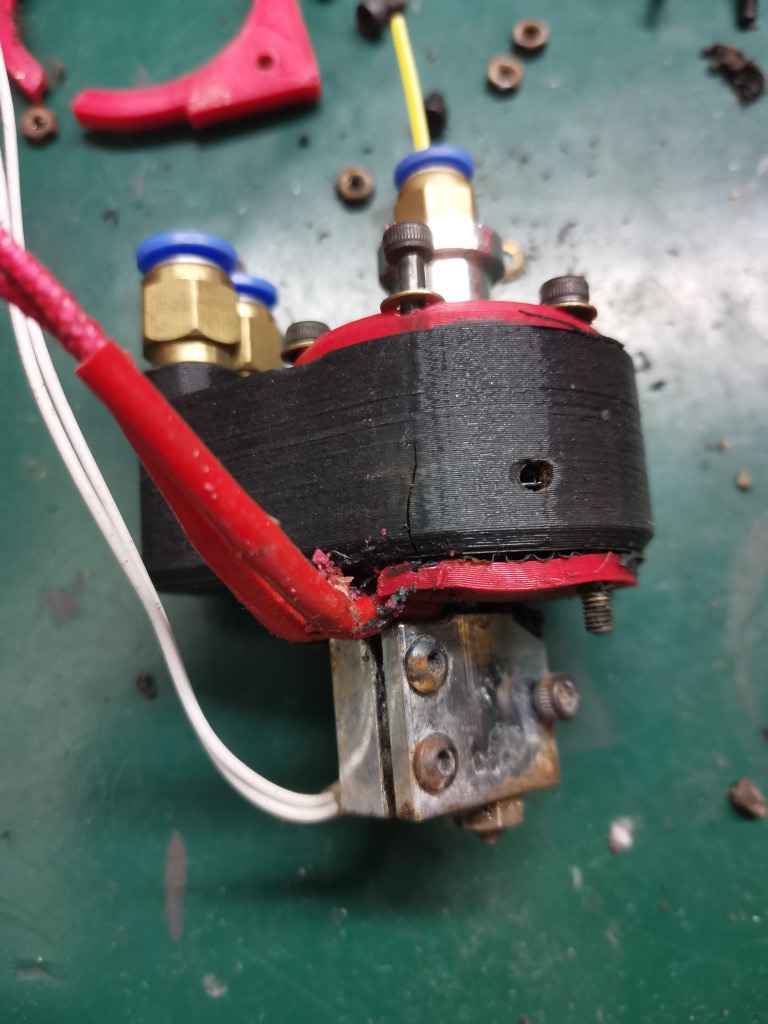
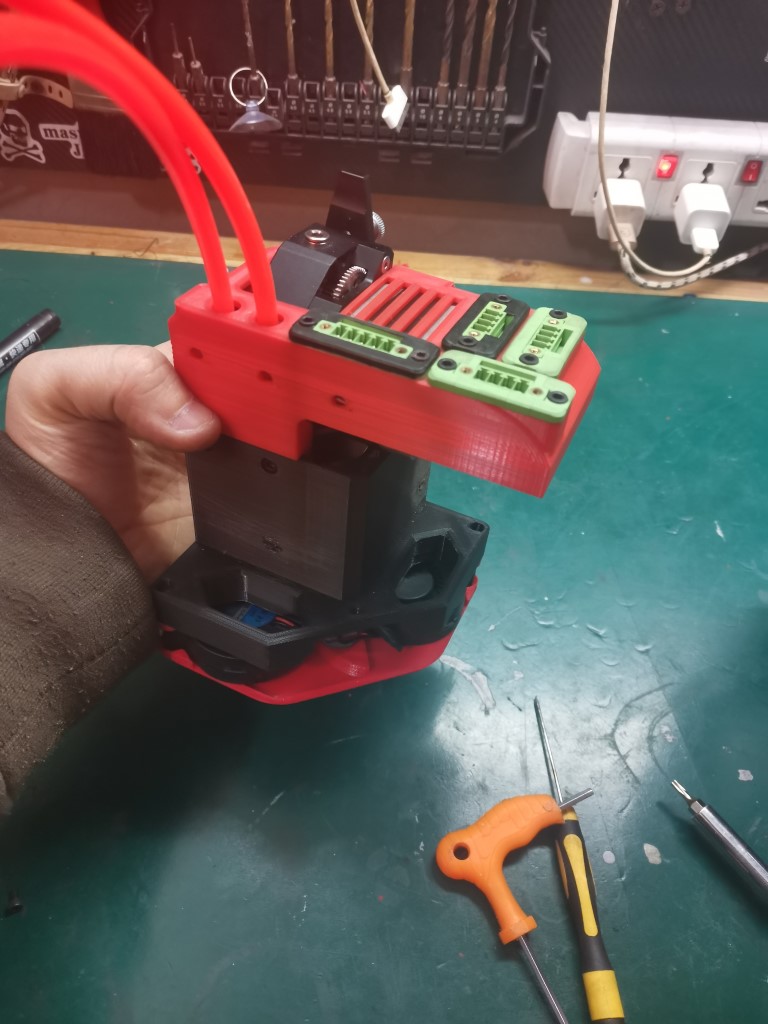
Anyway, I assembled the cooling block (and tested it for leaks for 12 hours):
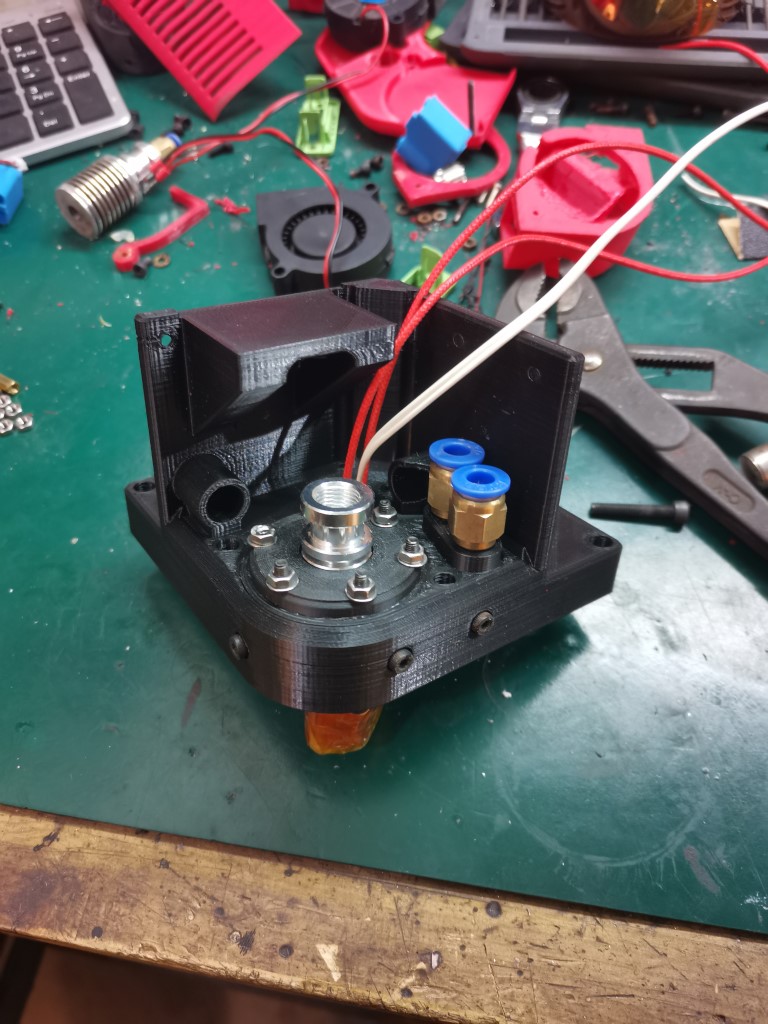
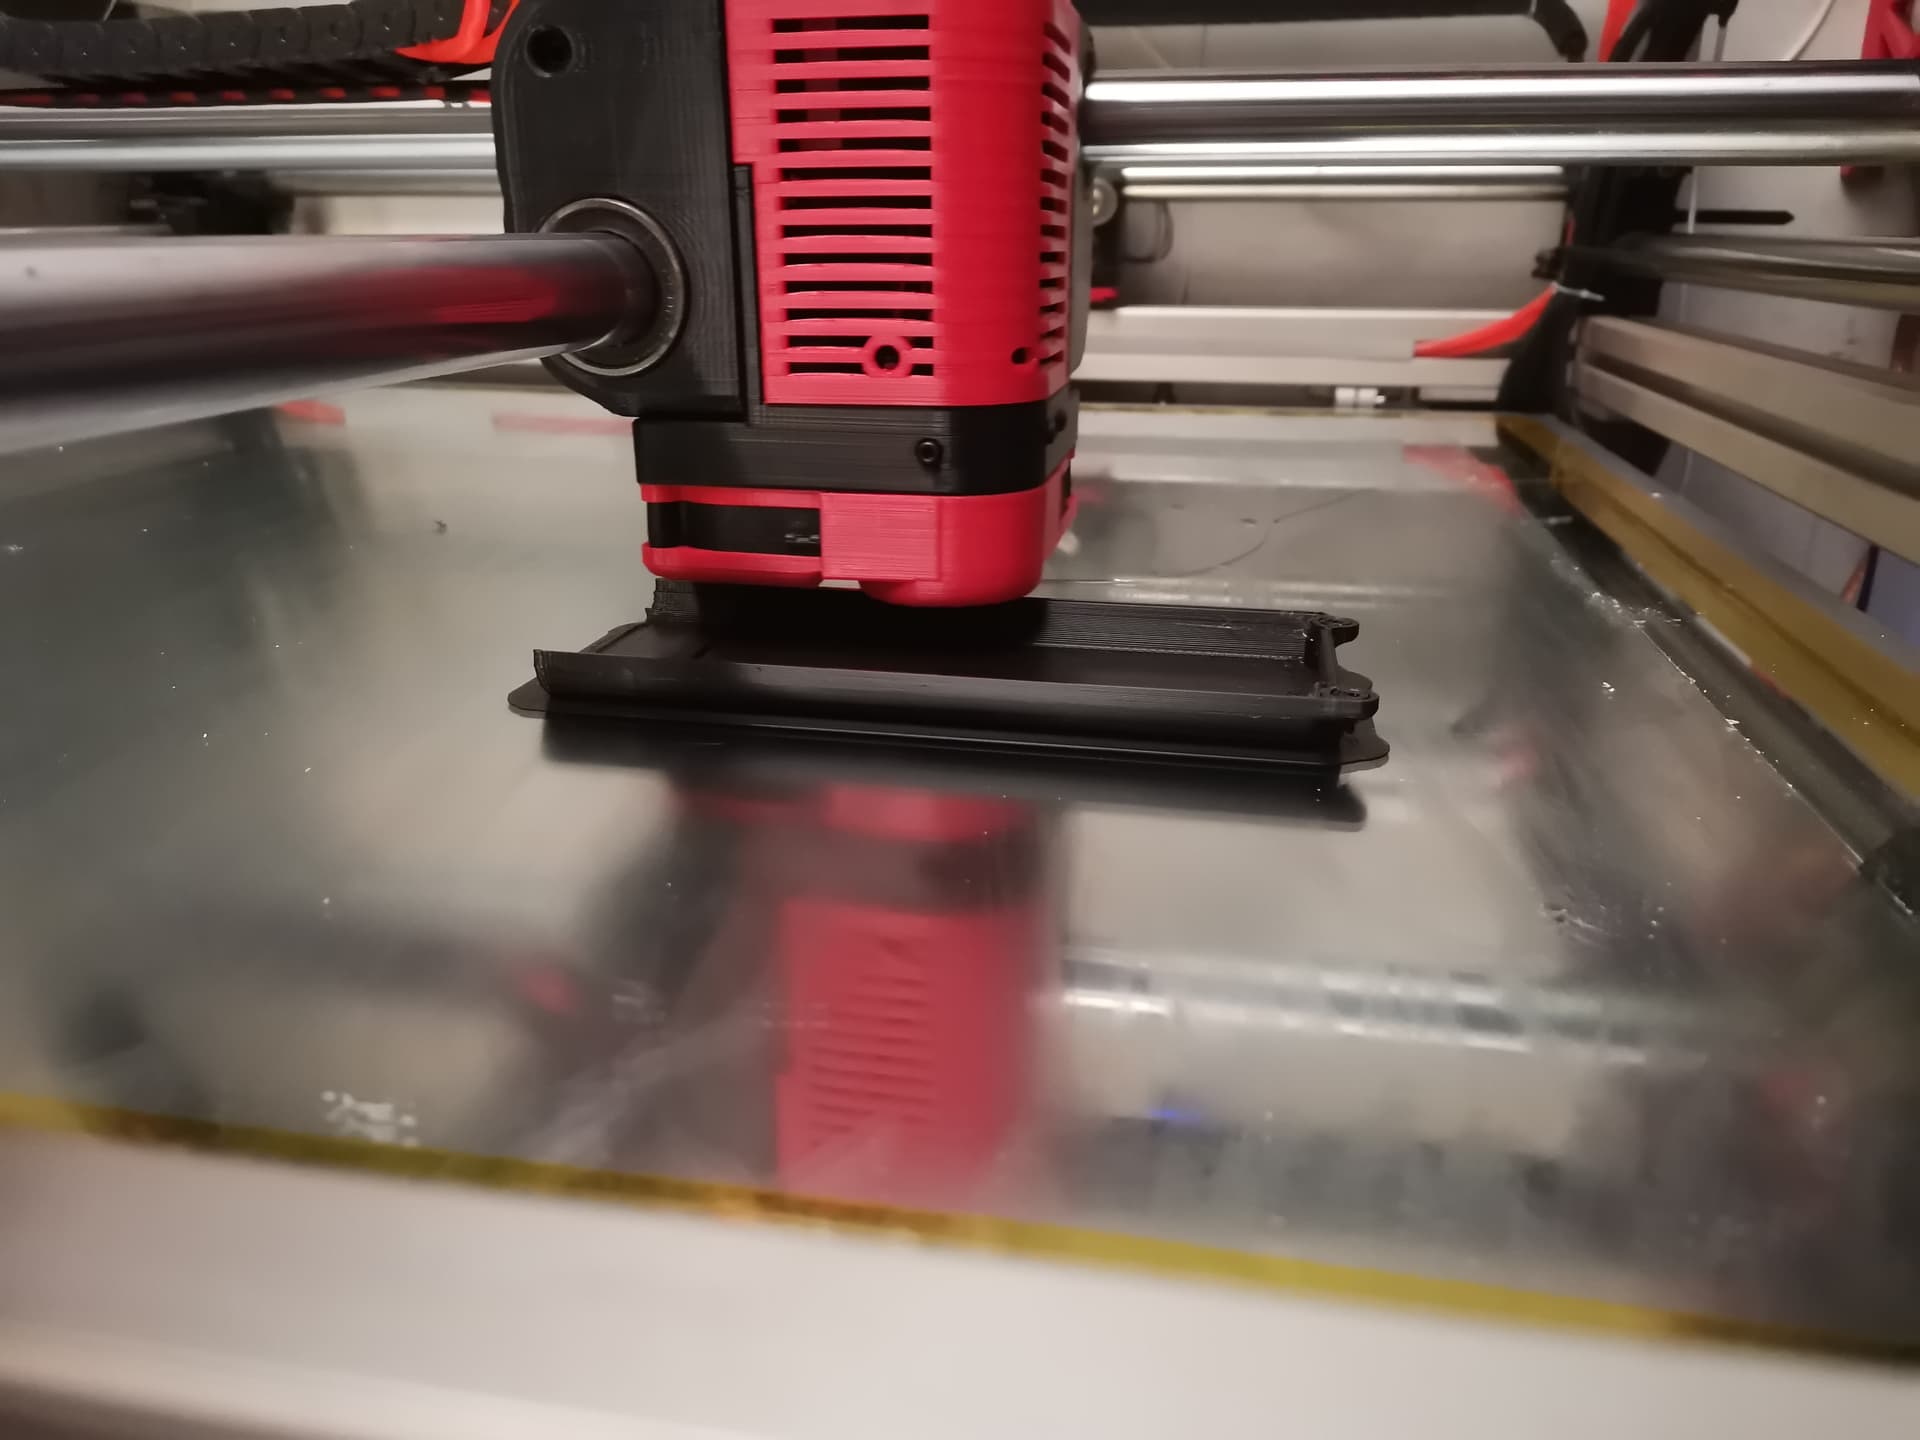
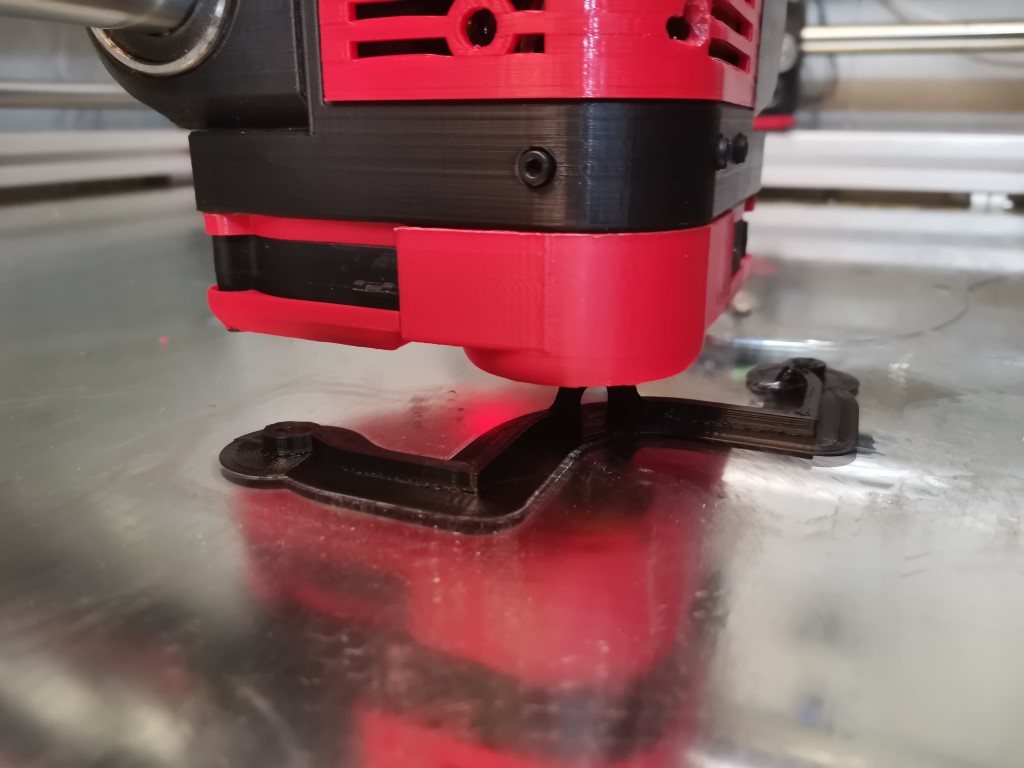
I also designed a protecting shield on the bottom of the print head, this should protect both fans as well as the BL touch, In case a similar issue happens again, the part that lifted should slide across this shield, hopefully avoiding to destroy everything. Once retracted the BLtouch barely protrudes from it, I think it should work well.
It also looks a bit cleaner, and one other benefit is that the fans air intakes will be a lot further away from the outlet, meaning it should get fresher air. I quite like this design.
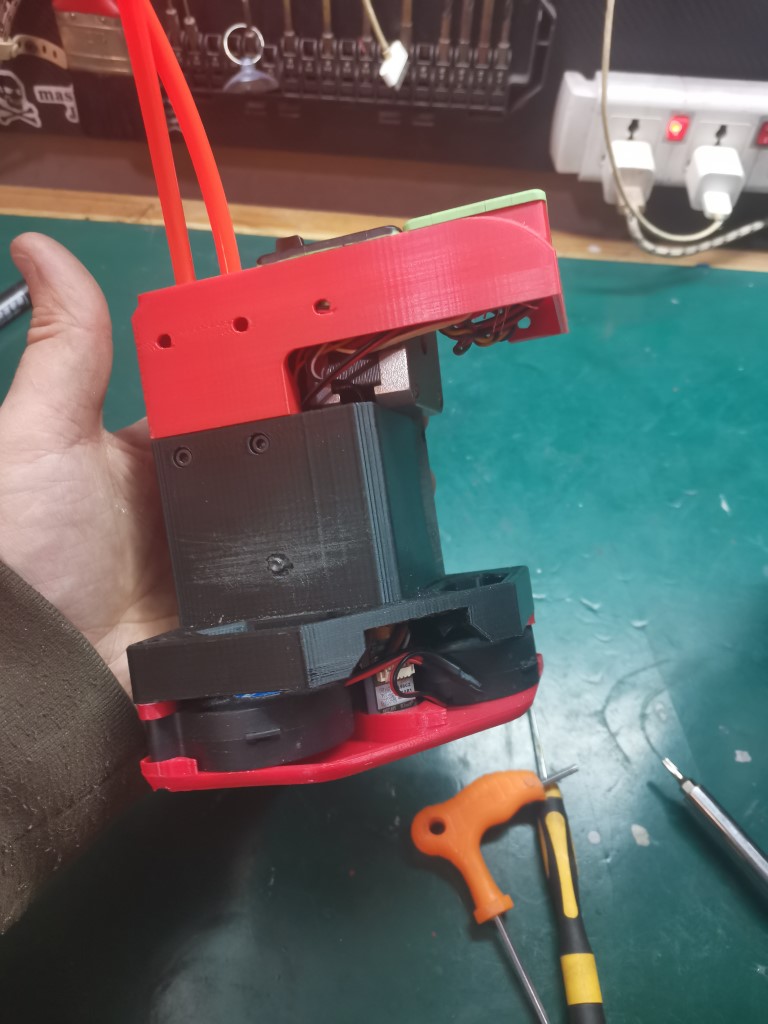
Also, I redesigned the top part that houses the stepper motor and the wires. With this new design the whole print head becomes one solid block, and it can be dropped in the carriage in a few seconds. Unplug the wires, unplug the watercooling (takes litterally 5 seconds to do), then remove two screws and the whole print head can be taken out.
Reverse this process and the print head is back. It takes maybe 30 seconds.
I just have to reprint this part to correct a few little design mistakes and also to get a better print quality since this one was horrific.
But, so far, so good, I’m very happy with this new design, this is what I was going for at the beginning, something that makes tool change very easy.
Let’s now hope I won’t destroy it anytime soon!
8 Likes
That shroud looks nice. I like protecting the bltouch. They are not cheap!
Would an enclosure help? Maybe start with a cardboard BOx? 
Looks like the last photo didn’t finish uploading, BTW.
Edit: glad I asked. That last pic shows the connectors. Really nice!
1 Like
What about reprinting the parts for the machine in abs? I know shrinkage is an issue, so you might have to adjust some of the designs to make it work. It would allow for an enclosure without worrying about parts failing.
2 Likes
That’s what I was thinking. Time to start printing parts in abs. I’ve had success printing abs on my delta before I enclosed it by making a big paper ring a couple inches high and putting it around the print. It doesn’t have to be attached to the bed, just a few inches bigger than the print. This keeps drafts off the first dozen layers or so.
1 Like
Cura also has a draft shield that works ok. Prints a ring around the parts at each layer.
2 Likes
The printer I bought is mostly metal. I went ahead and enclosed it. Then I re-printed some of the PLA parts in ABS. A few of the PLA parts started to sag as I was printing the ABS, but since those parts were the ones I was re-printing it didn’t matter.
I put a temp controlled fan on the enclosure with a simple switch. When I have it set to PLA, it runs the fan to keep the enclosure close to room temp. When I print ABS, it lets the enclosure warm up. When it’s cold in the shop, the fan hardly runs for PLA and I don’t think it turns on at all for ABS.
1 Like
Yeah I might reprint everything out of ABS or PC, but this won’t be for today, tha’ts for sure (it’s A LOT of work actually!)
I’d like to find a way to make a crude test, at least to see if this would actually be useful. It would be a shame to rebuild everything just to discover it doesn’t actually make a difference. I like the idea of having some kind of wall shield around the print so I might give it a try. But anyway, that’s a topic for later.
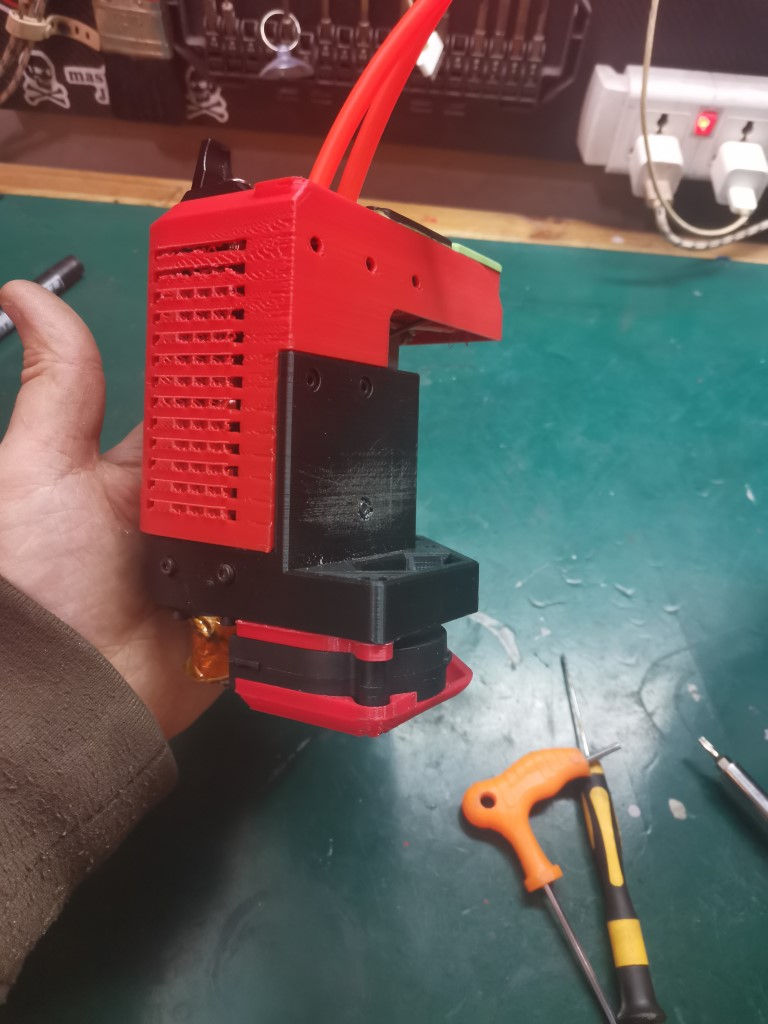
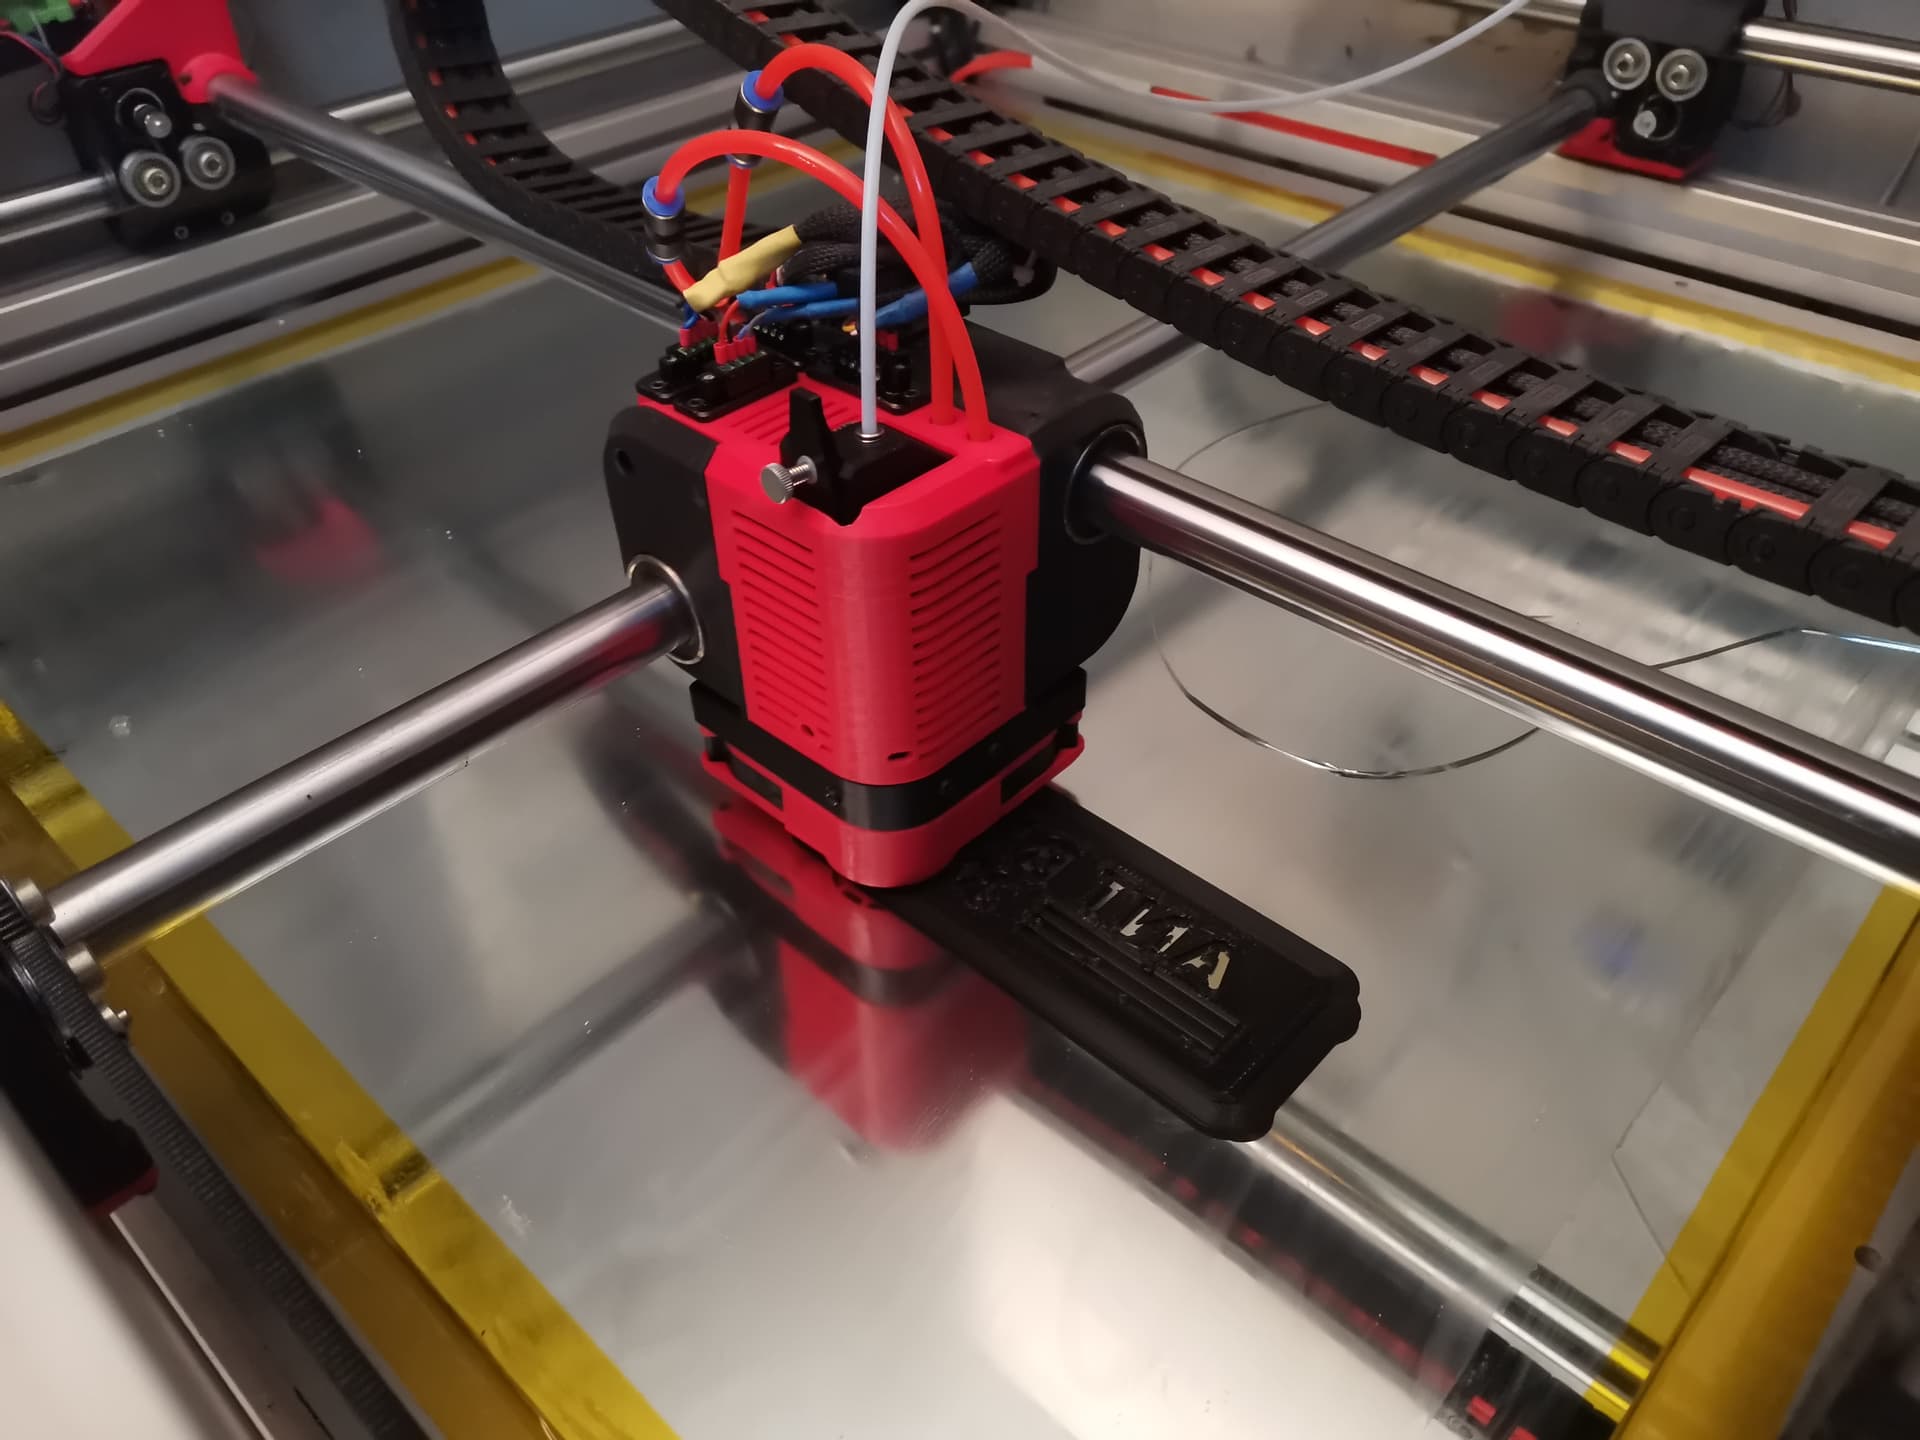
I’ve finished building my new version of the print head:
Added the fan shroud ( I had to cut the middle portion of it, it was getting soft because of the heat when the fans were disabled):
Then the new top cover:
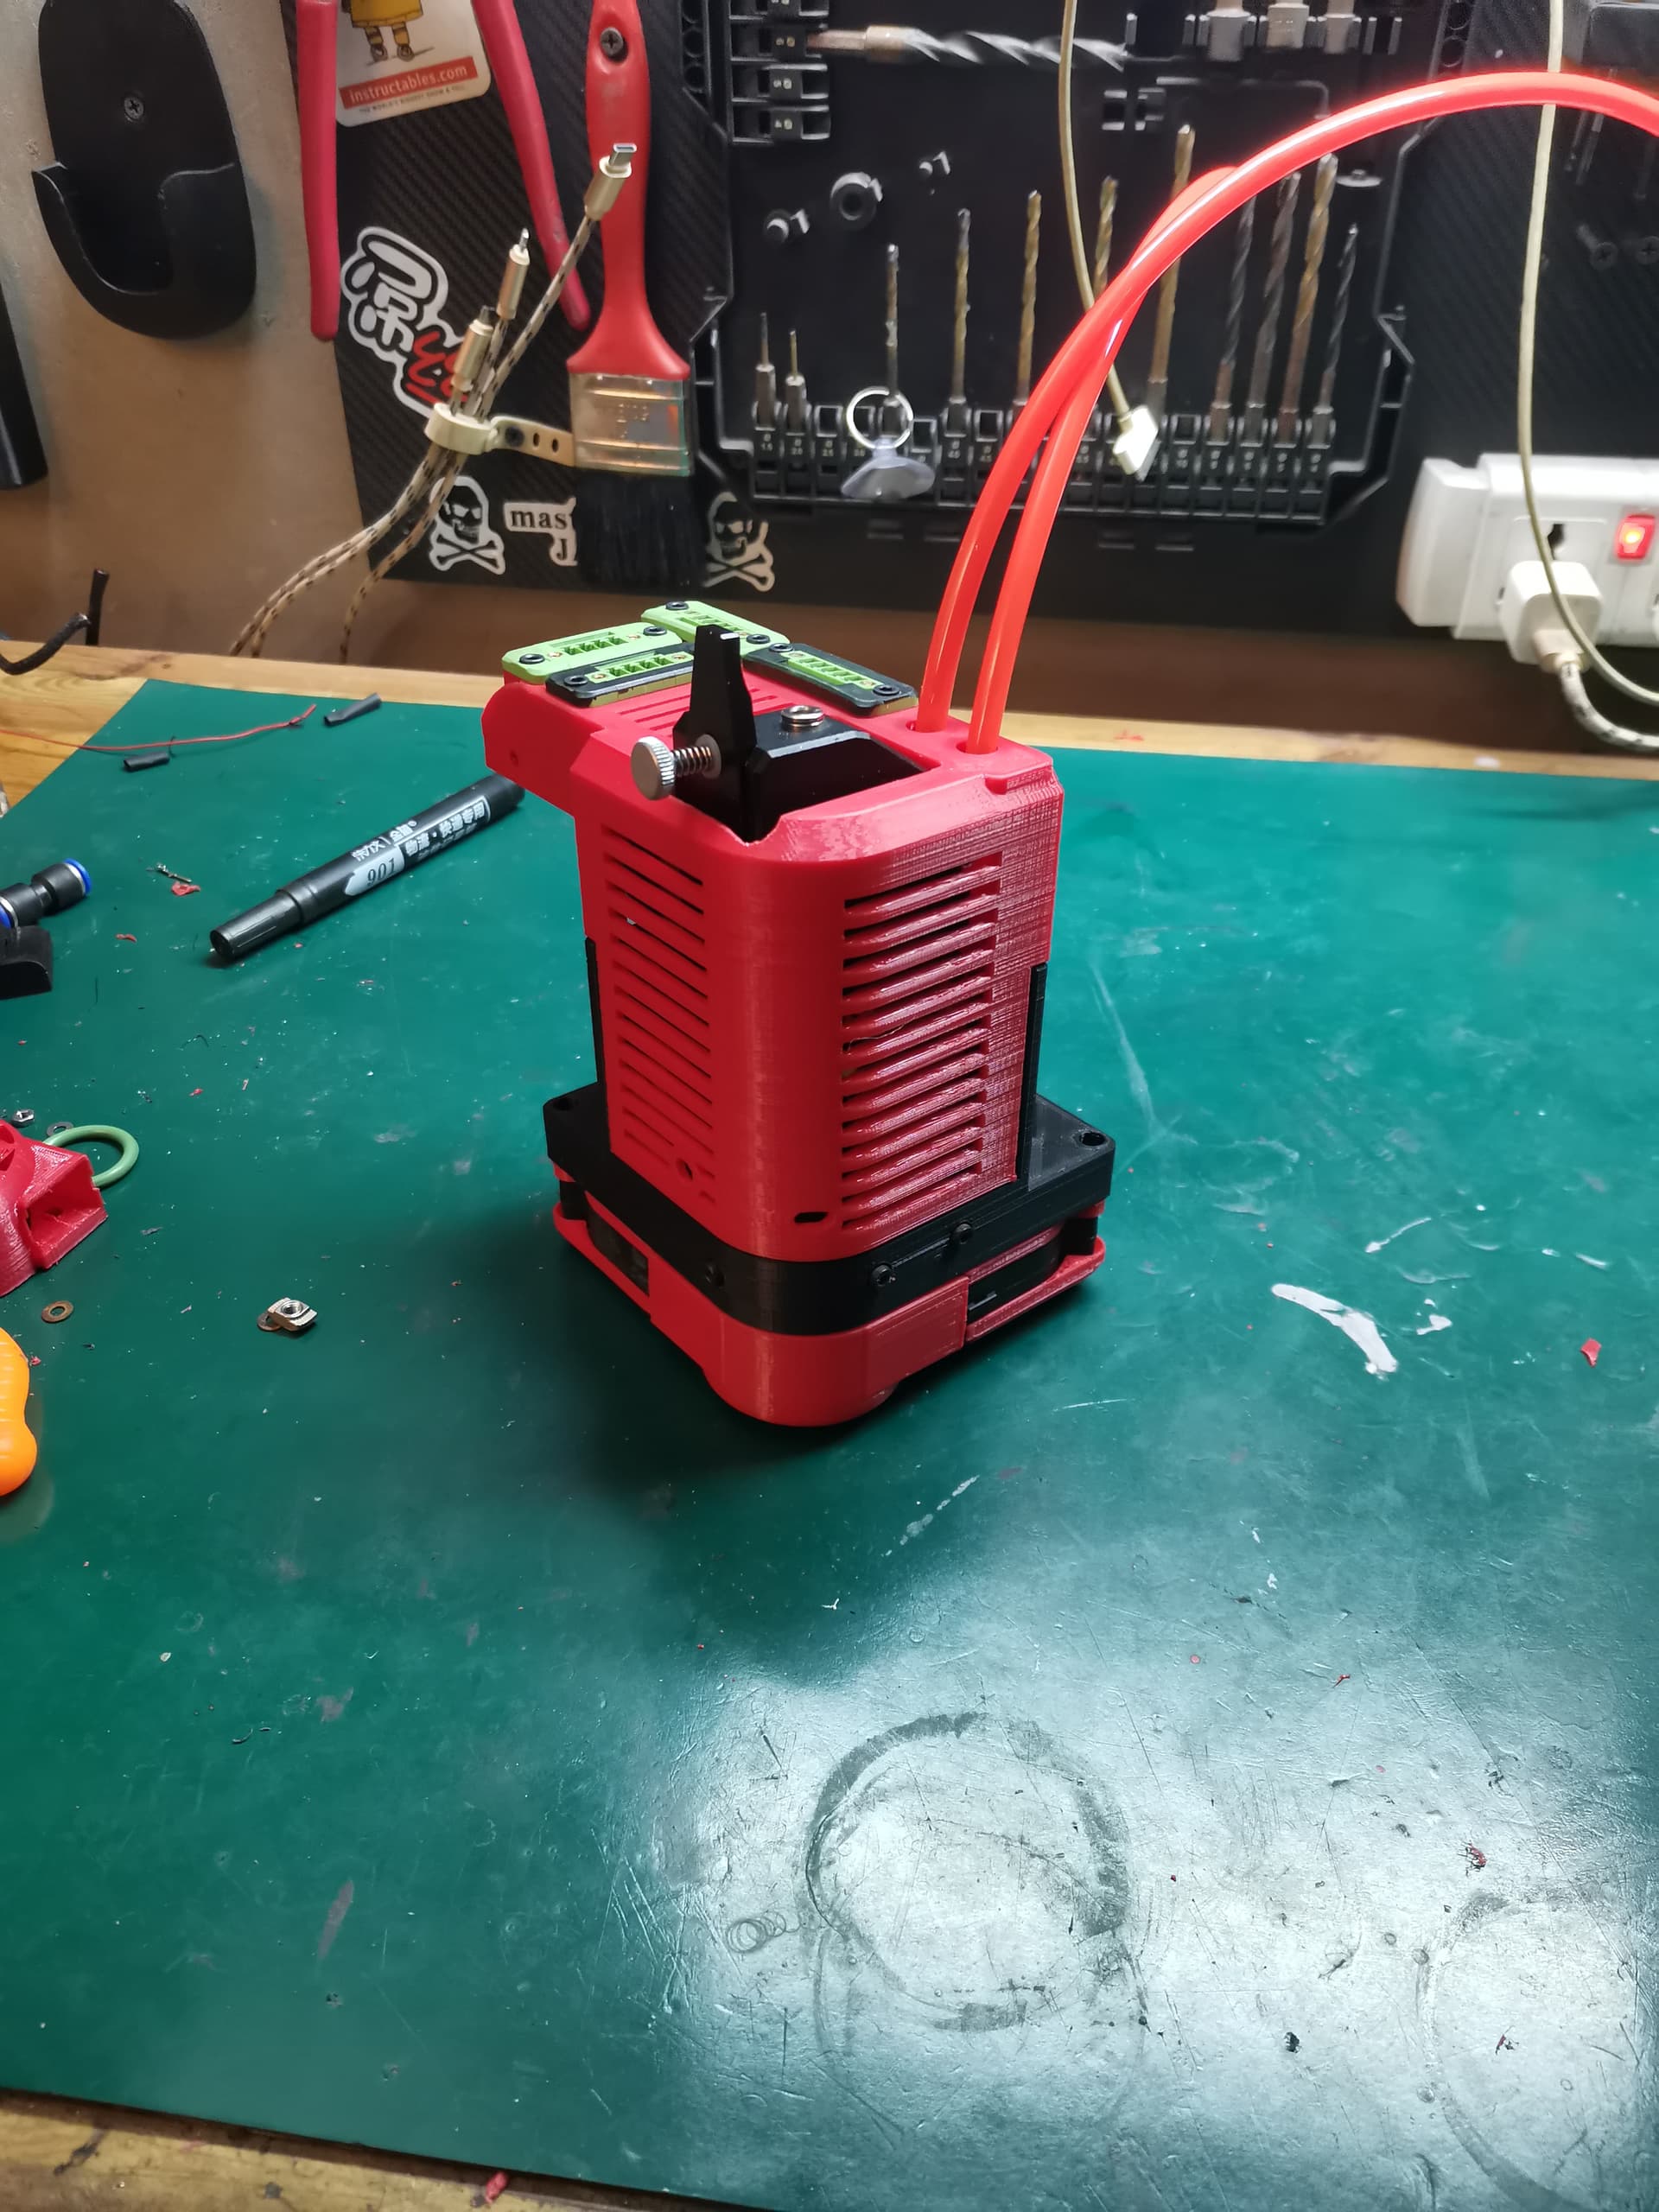
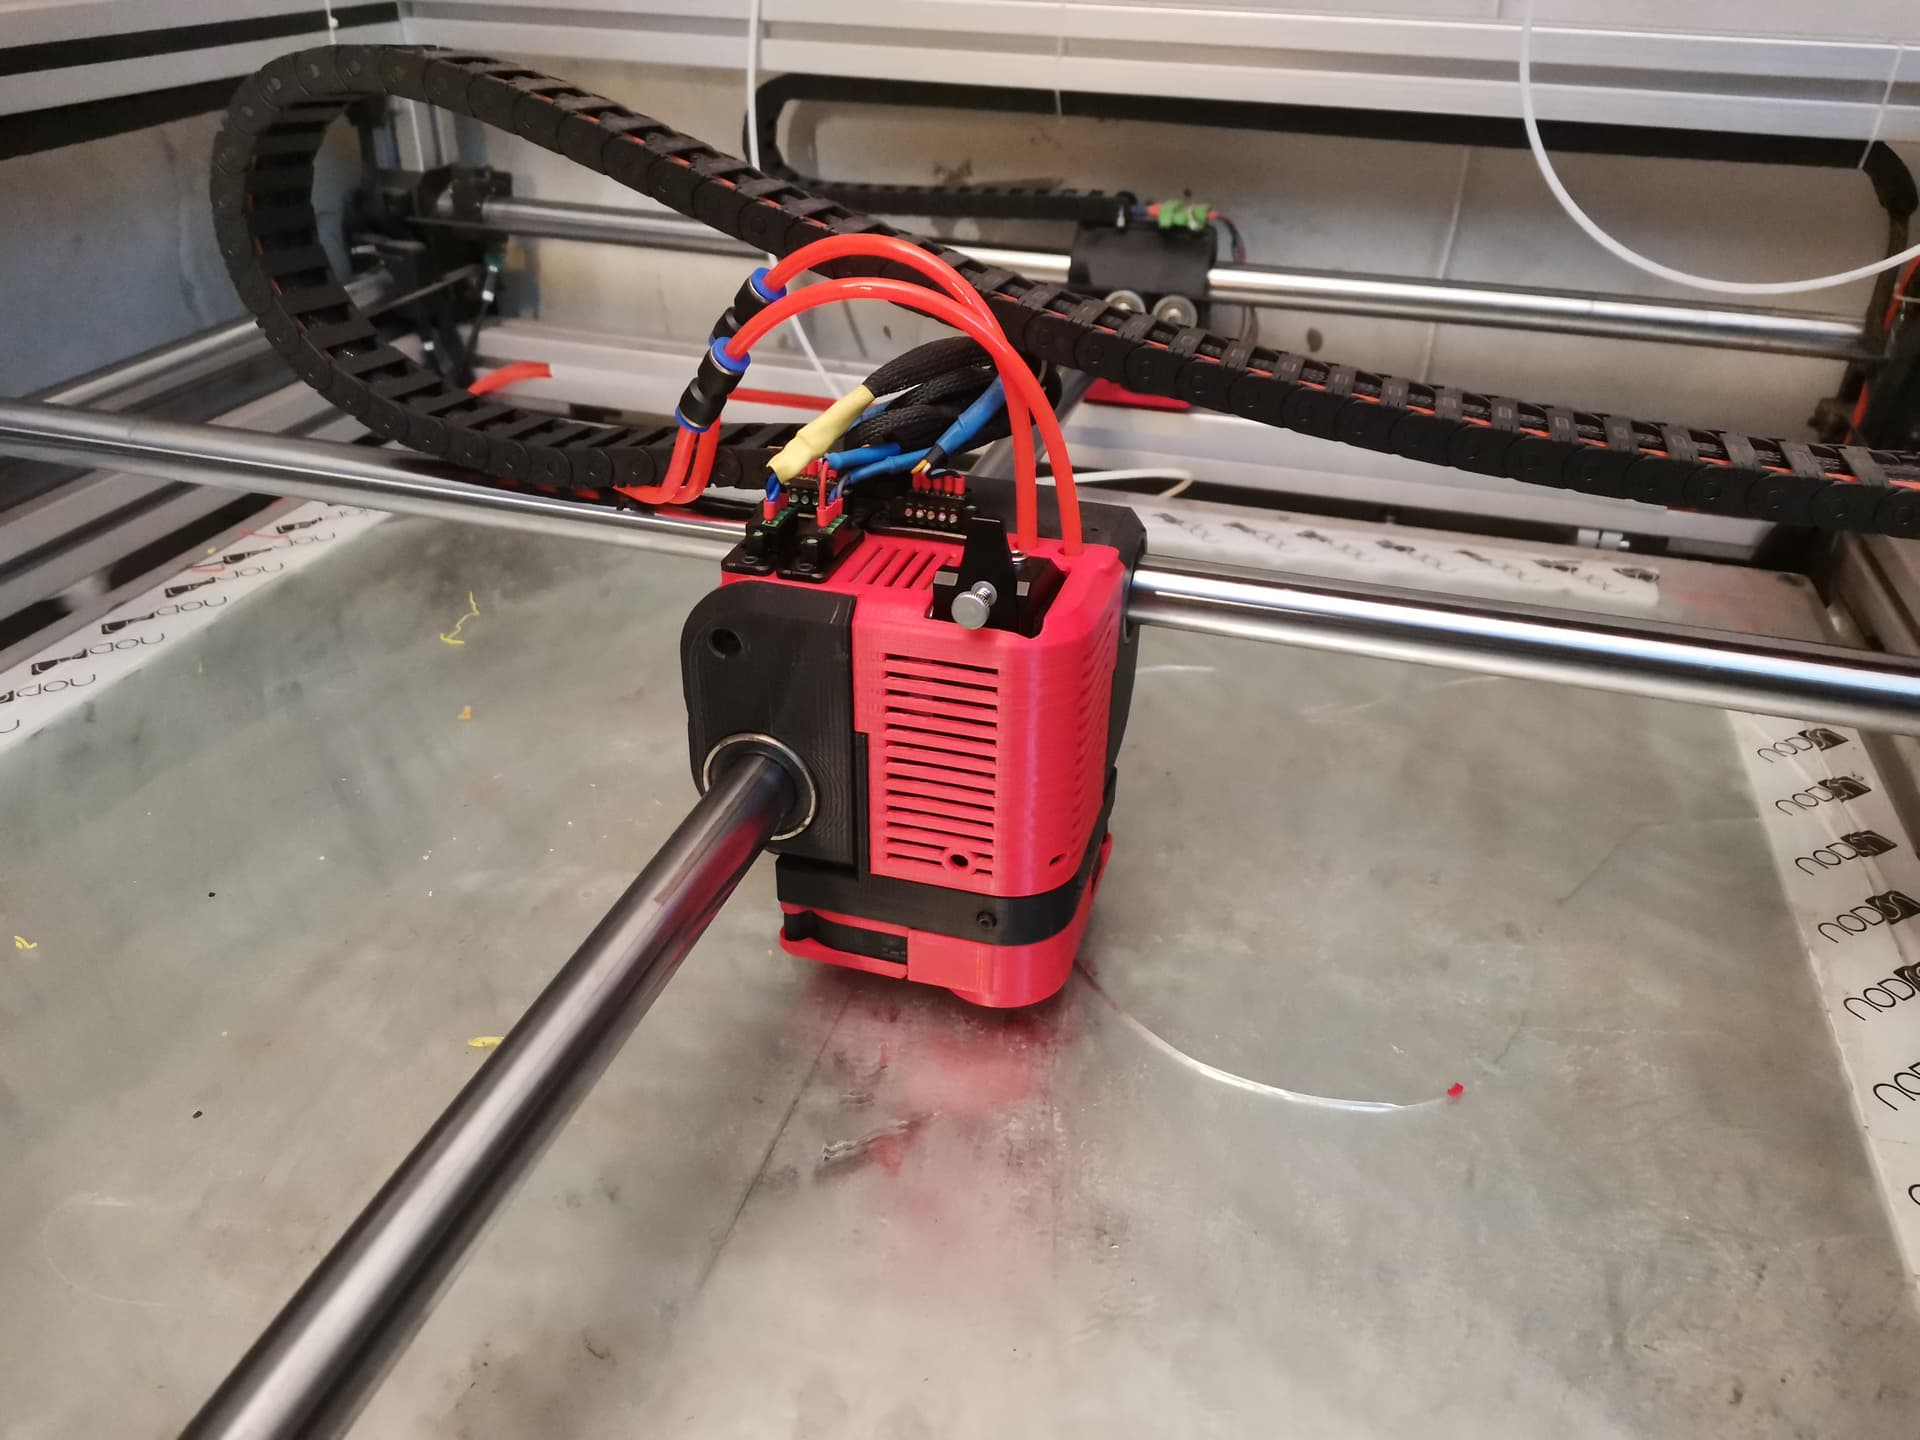
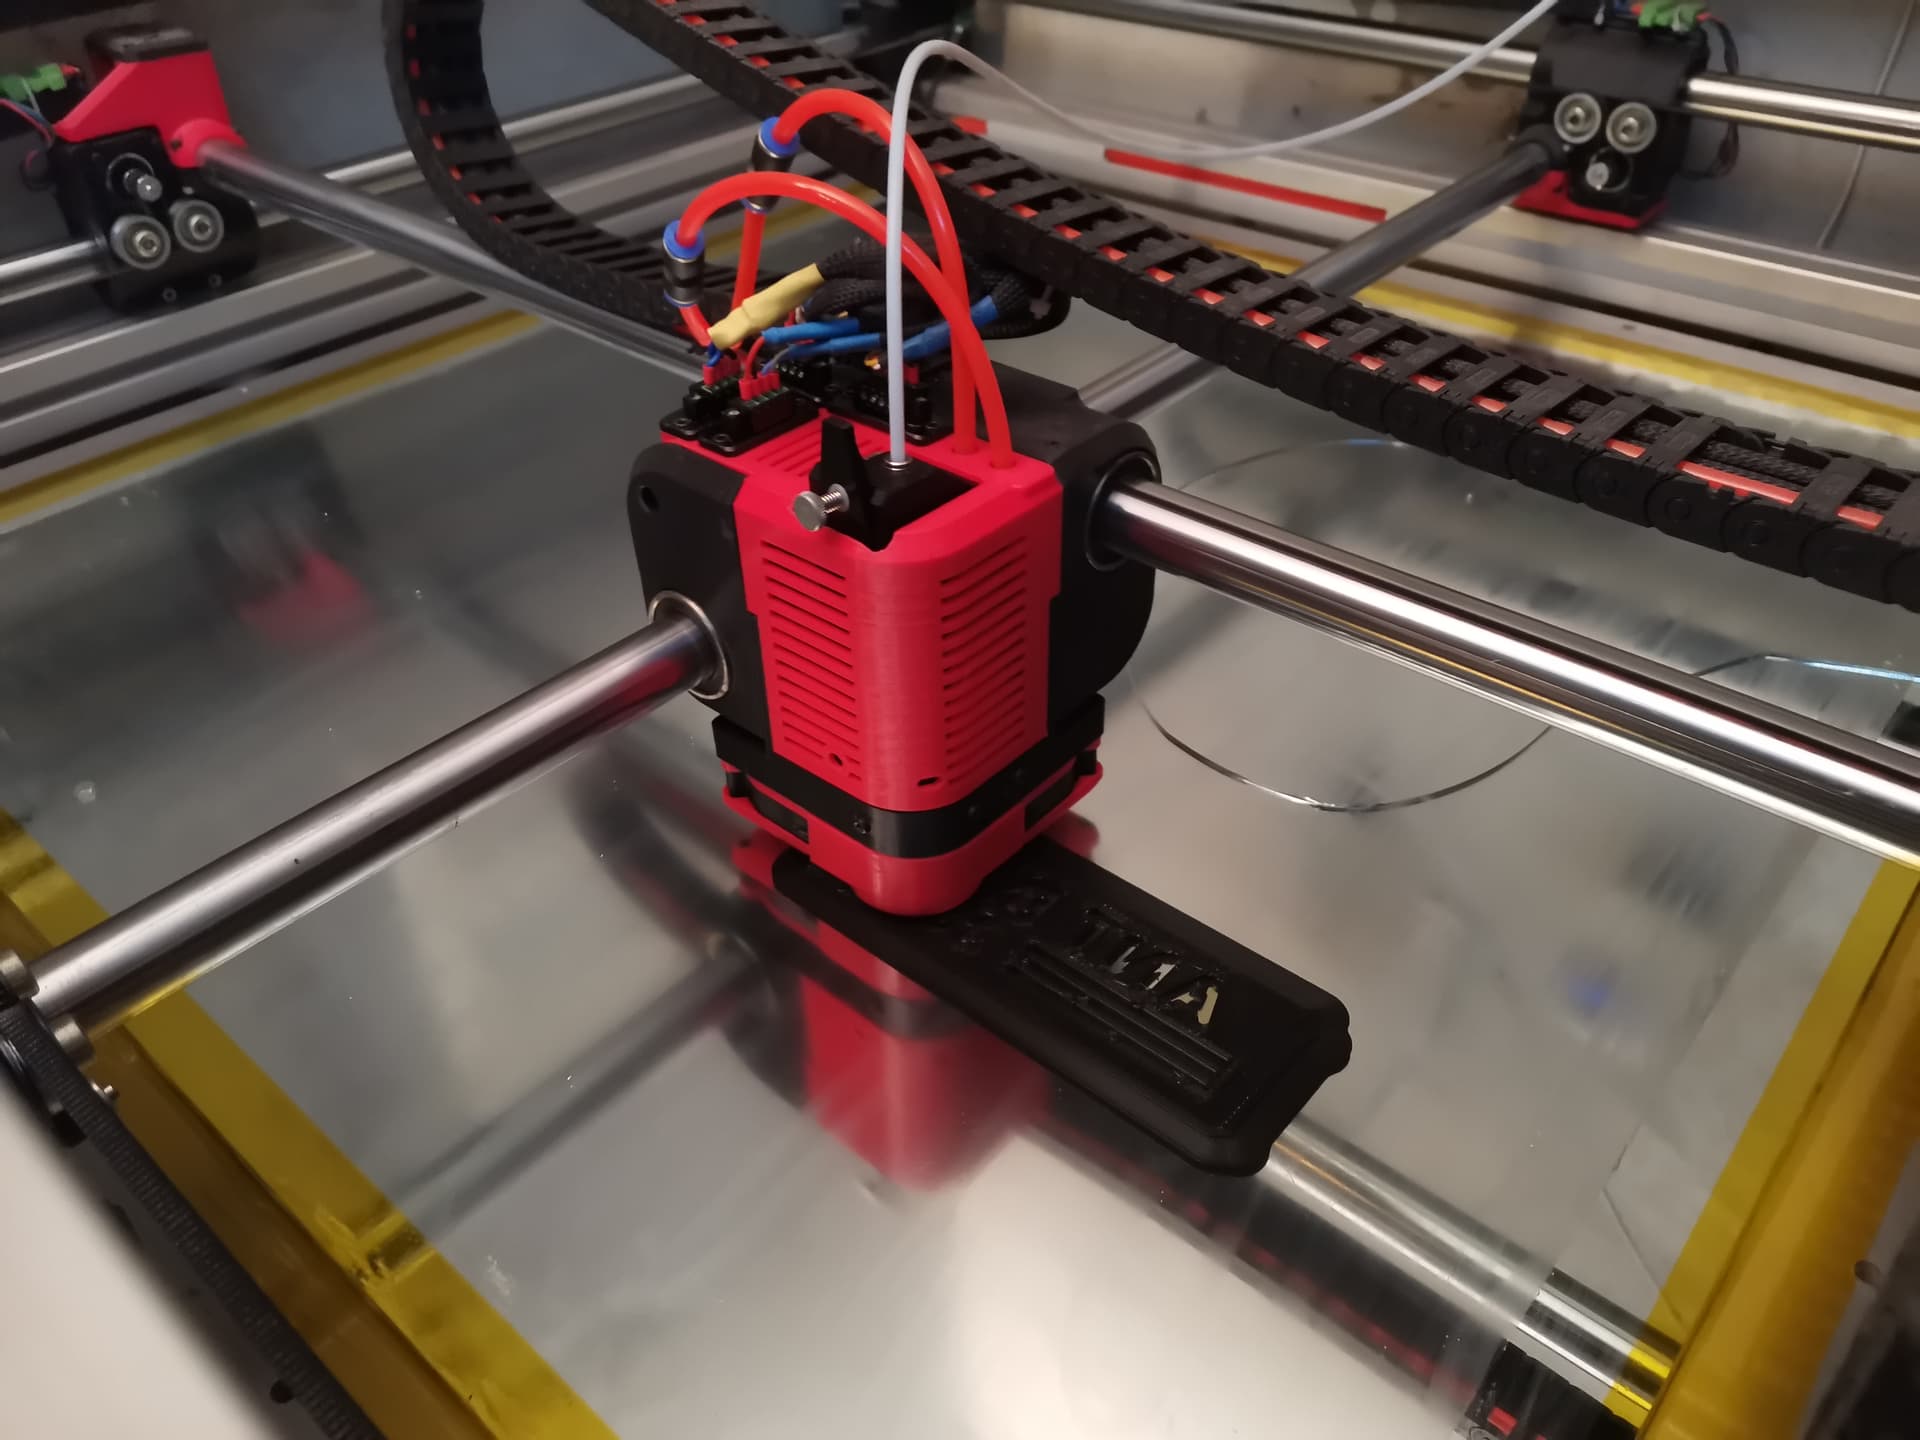
Finally dropped the new print head on the printer, tadaaaa:
Last but not least, I cleaned my glass plate (haven’t done it for almost a year, it was absolutely disgusting), and replaced the ugly tape with some sexy kapton that looks just like gold ![]() :
:

The glass has been broken for a while and I’ll have to replace it, but so far it still works fine so I keep using it until it won’t be possible anymore
Time for the first print:
Here’s a little video of the very end of the print:

Nothing to complain about, the print head works perfectly fine. Cooling is much better than before, so it improved the overall print quality by a lot, you can barely see the layers:
Also, I changed a bit the autobed leveling routine, now that the printer has 3 axis tilt compensation it doesn’t need to have a huge Z travel distance to probe. I lowered it by a lot and probably will lower it a bit further (right now it is 2.5mm, I suppose I can go as low as 1.5mm). That makes the whole calibration process a lot faster.
Next will be to make another print head, this time equipped with a 0.4mm nozzle. I haven’t ever tried to print with a small nozzle with this machine or the previous one, I’m curious to see the result.
10 Likes
Such a nice and clean package. All bundled up and covered. Nice!
1 Like
Thanks Ryan!
So, I’ve build a second print head, this time with a 0.4mm nozzle. Had a hard time to dial in the first layer, but now it seems to work.
Also had to remove the fan shroud, this one wasn’t functioning properly so I’ll have to slightly redesign it. But it’s not very important.
As it turns out, the new print head worked very well:

So yeah, basically these were some 100% usable parts.
The “big” part took a little less than 4 hours to print. On my Qidi X-Plus or on my ultimaker at work this would have taken 3h30 minutes or so. So that’s a little bit slower, but still very reasonable.
The print quality is very decent and actually comparable to the ultimaker, but there is more visible wobble near sharp corners, which is to be expected given the insane mass of the gantry (about 10 kilos). Aside from that, the layers are very regular, supports worked great, not too much stringing…
So it seems to work just fine so far, I need to make more prints to see how reliable this is. It needs to be absolutely reliable because printing with 0.2mm layer heights and a 0.4mm nozzle means very, very long print times on big parts. Still have to fine tune my first layer and also calibrate the extrusion, but at least it’s a very good start.
8 Likes
I’m currently experimenting with new materials, and it’s been pretty interesting.
Right now I’m getting awesome results with ASA, which is a plastic that is supposedly great for outdoor applications since it is not sensitive to UVs.
I’m printing the final version of my battery monitoring system for my electric motorcycle, and so far it is amazing.
The part has been printed with my good old 0.8mm nozzle and it was already a very good print, but as it turns out ASA is very easy to sand smooth! So basically after a few hours of sanding, I am left with a part that looks just like it has been coming from a factory:
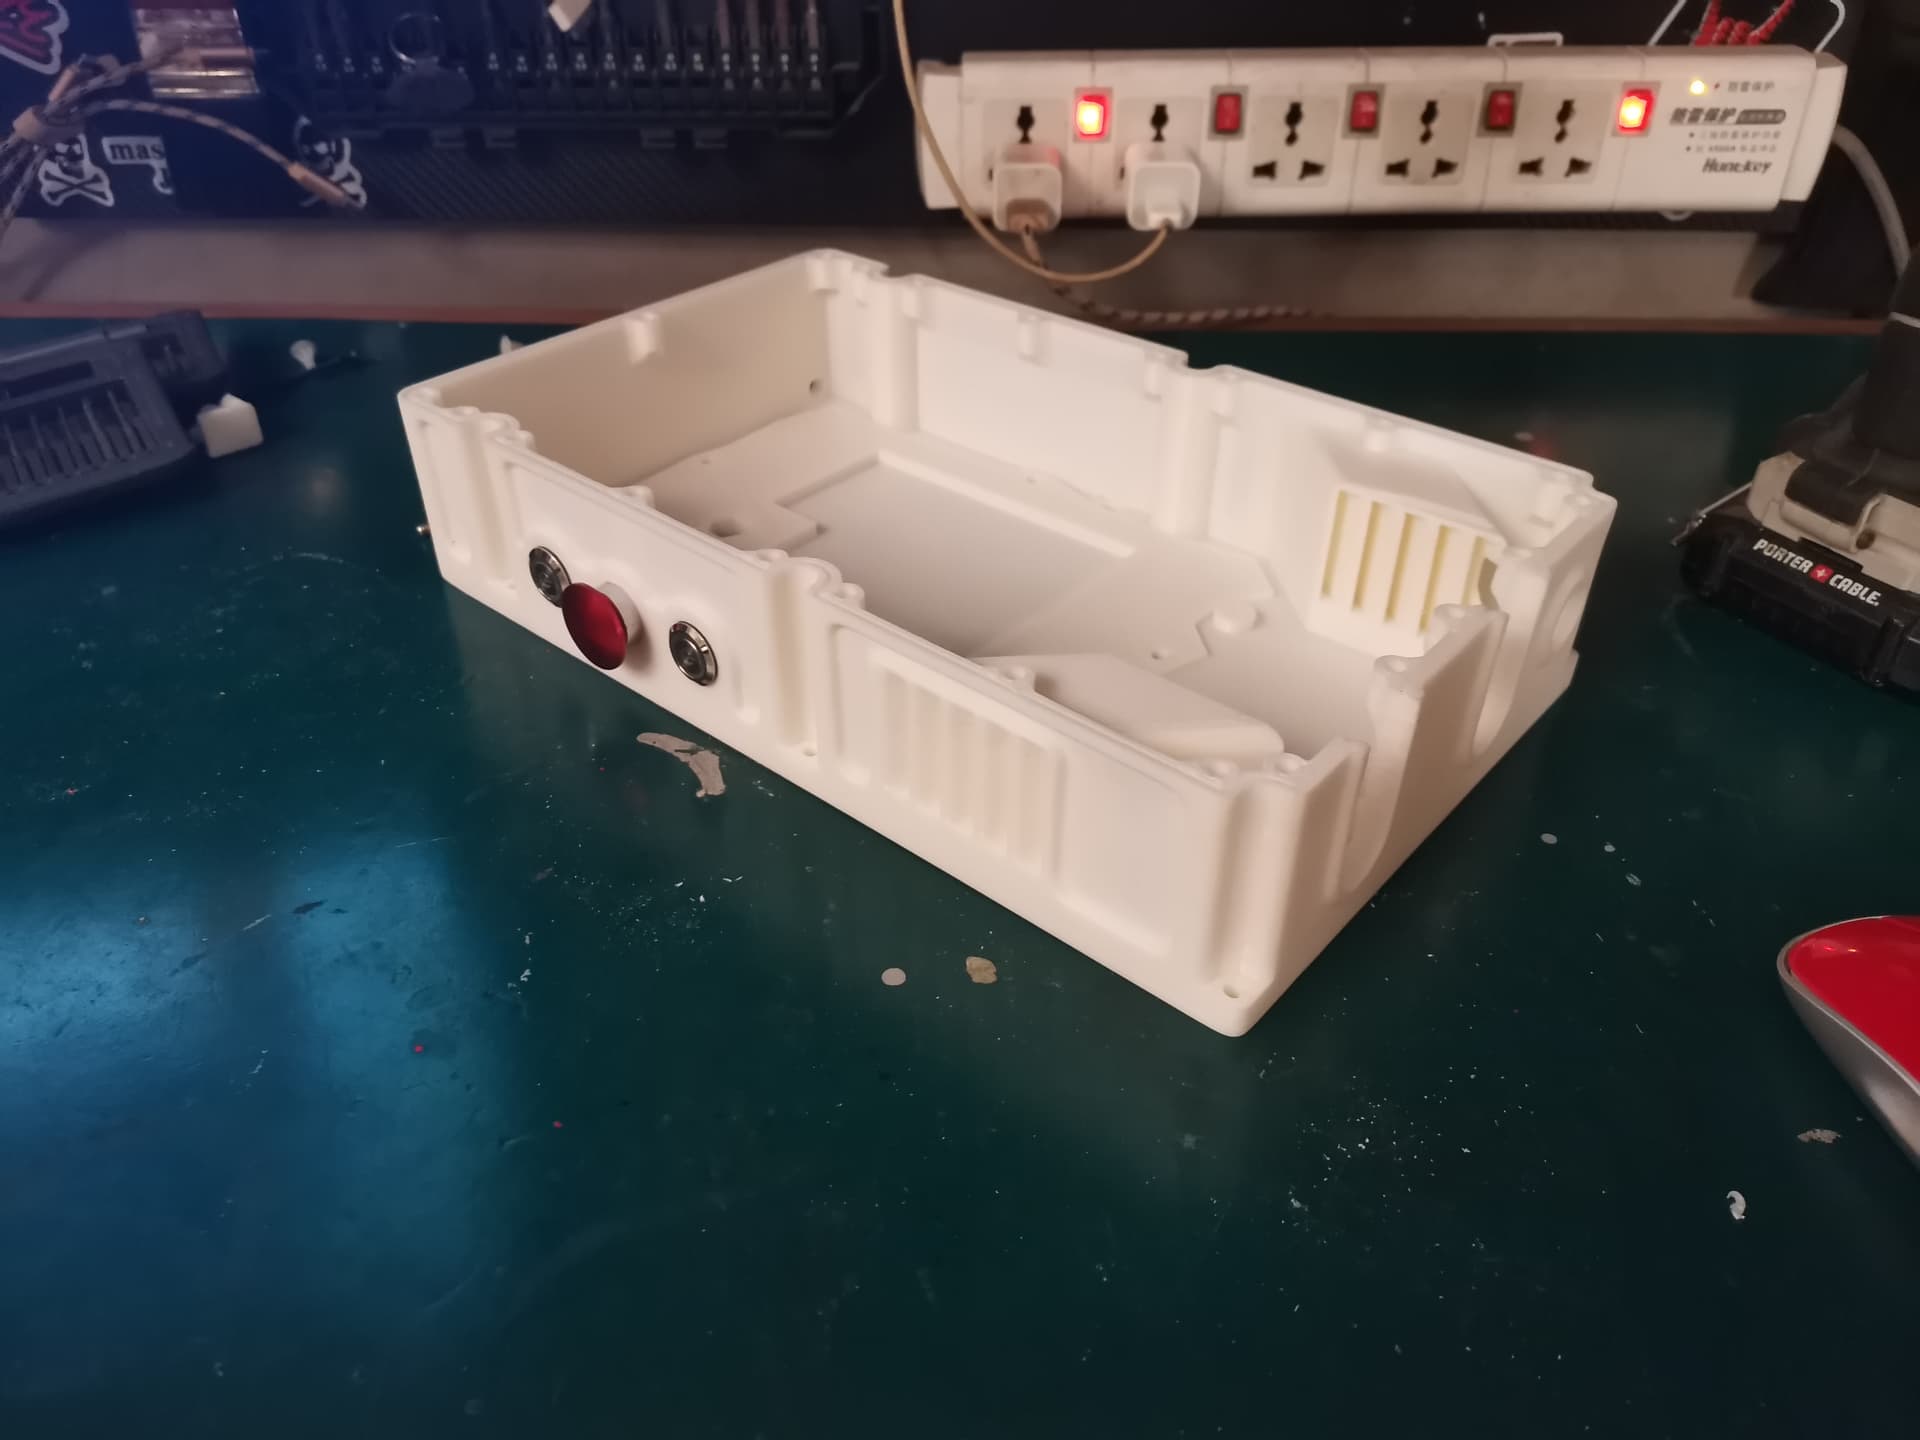
I added threaded inserts because this plastic is not as tough as PLA, and from my experience the screw threads don’t last long.
Also the red part has been printed with ASA, but then I spray painted it with wrinkle paint before cooking the part in the oven to cure it. It worked very well, in real life this looks just like a Ferrari valve cover, I love it.
I plan to do the same kind of finishing for the whole box.


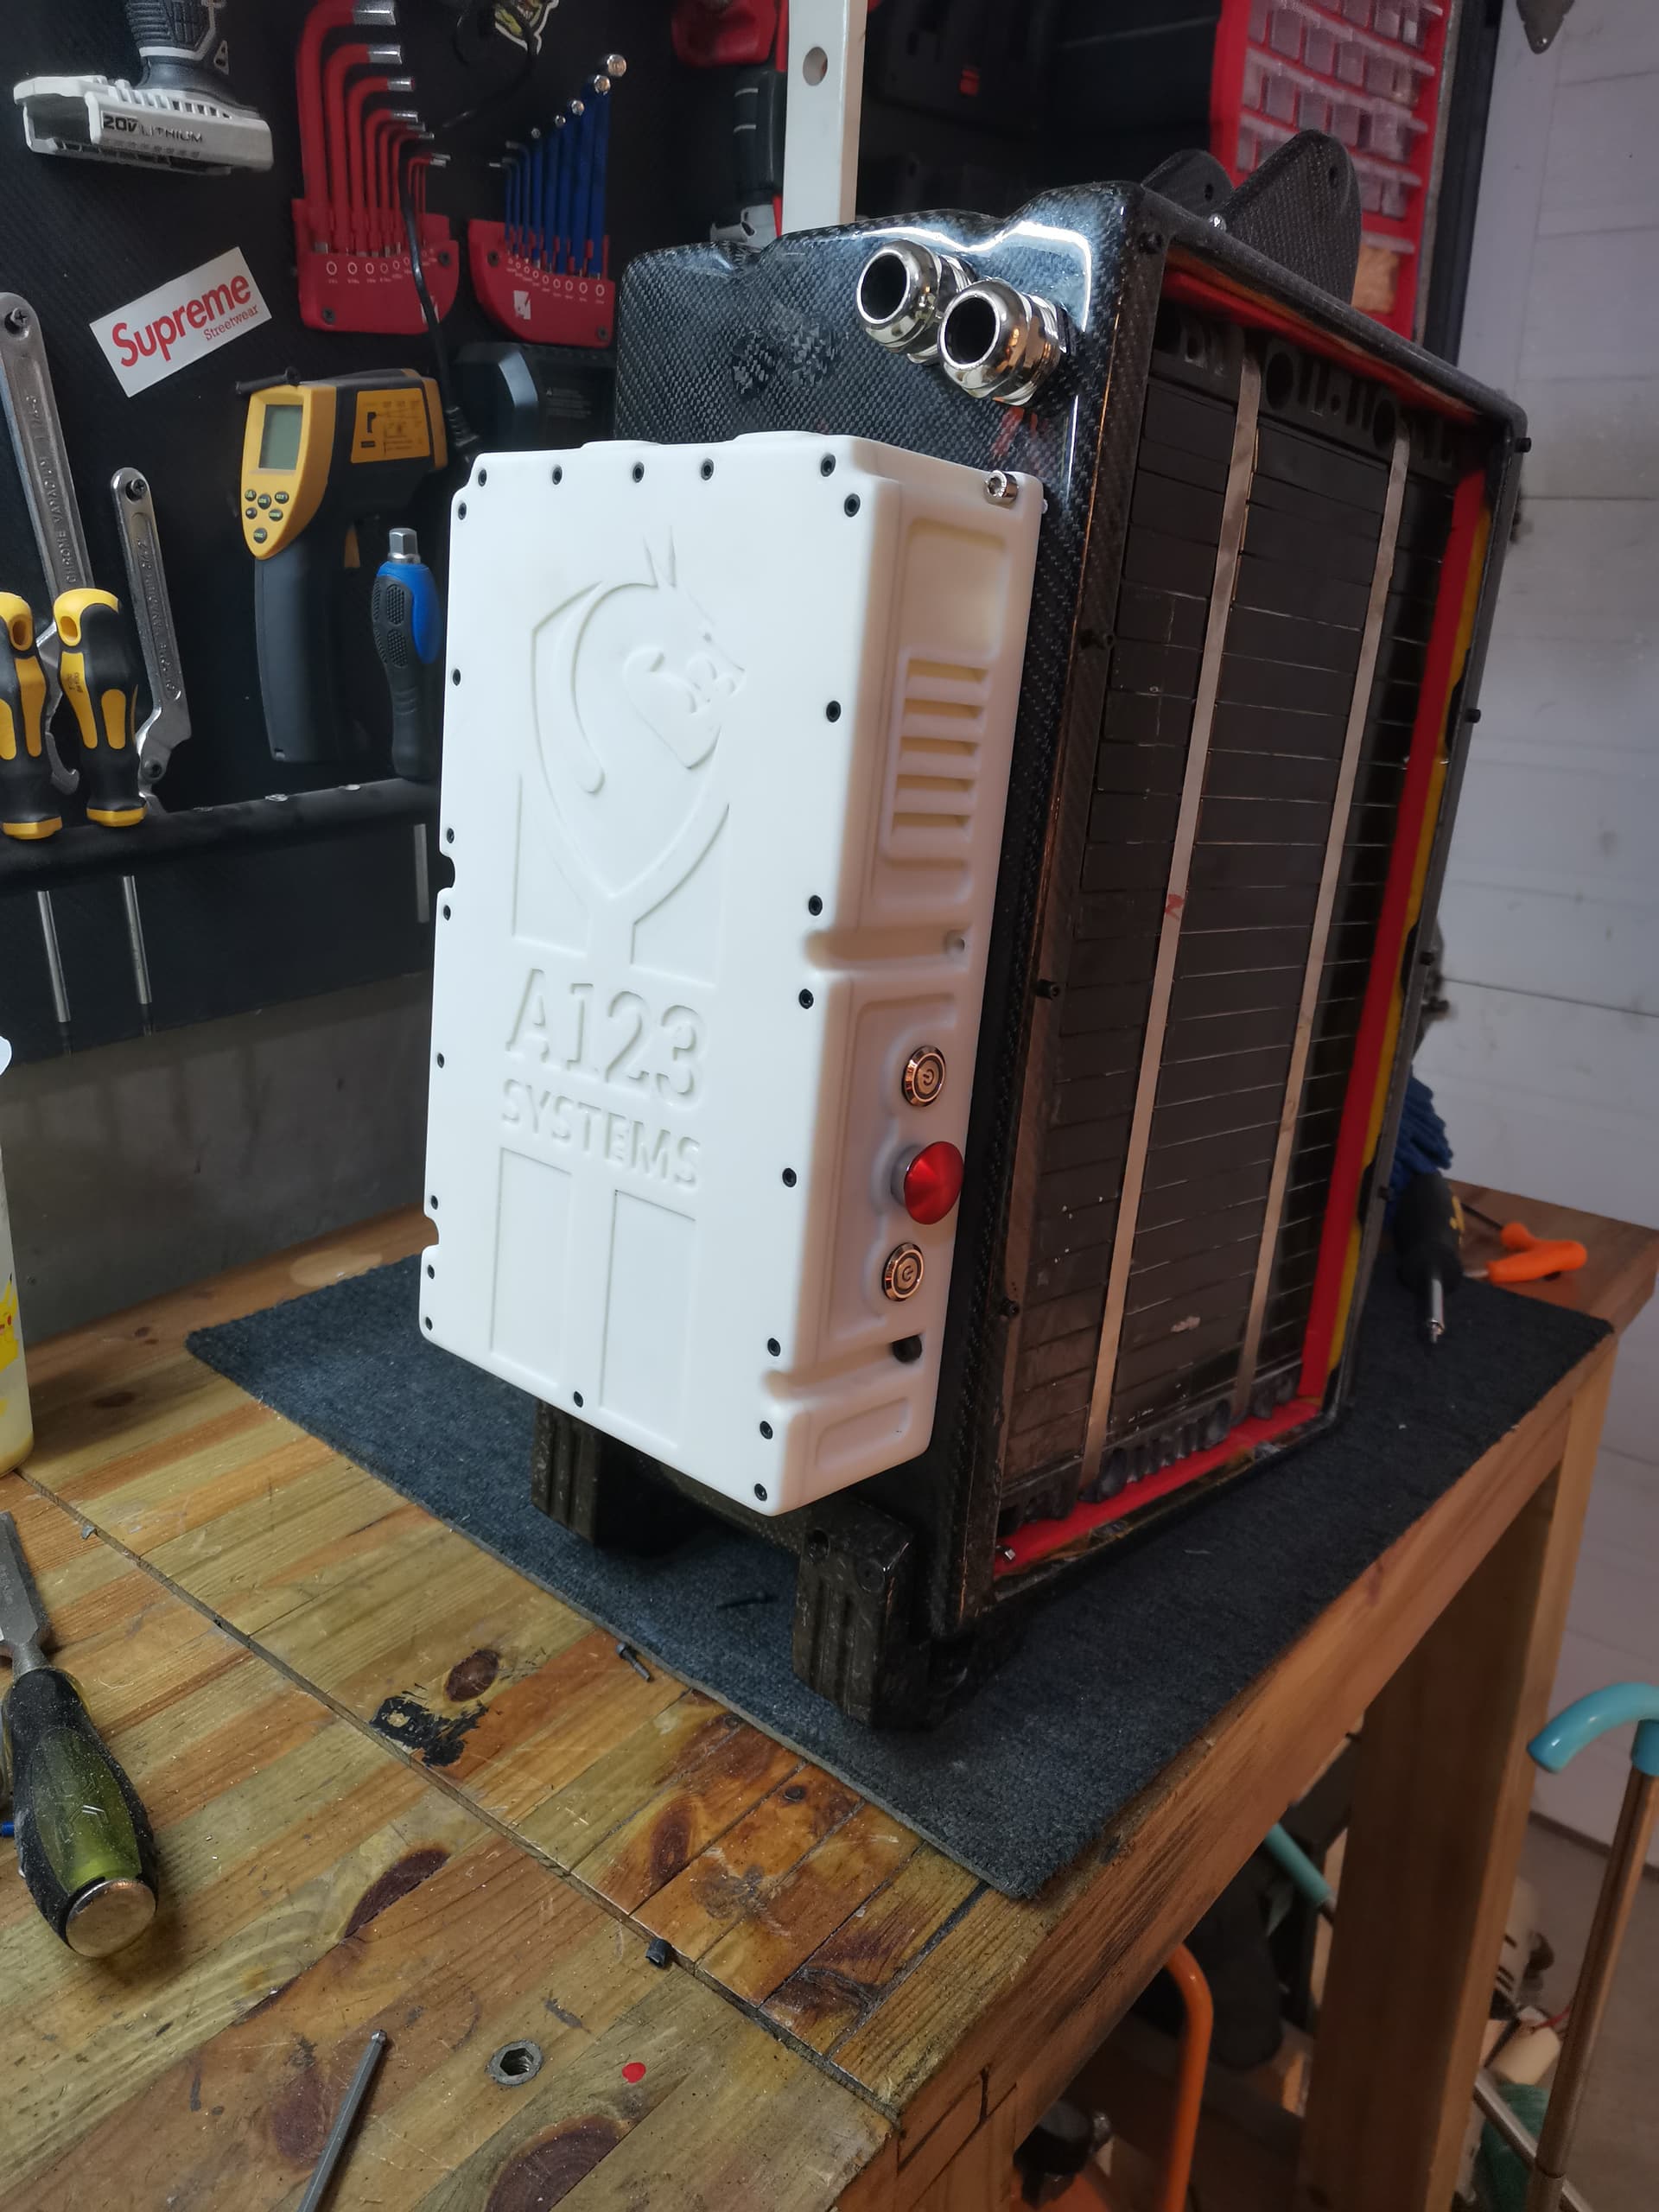
As you can see the finish is very good, it looks almost like its been resin printed. And that’s only after maybe 2-3 hours of sanding the whole enclosure. I ll use this material a lot more in the future, that was a really nice experiment. I recommend you guys to give it a try if you haven’t done it before, it prints almost just like PLA, only different temps. Only drawbacks I’ve noticed was that it is very bad at bridging and also the material isn’t as stiff as PLA. I wish it was a bit stiffer. But then it also doesn’t break, it behacves a bit like nylon

12 Likes
Looks amazing!
Thank you for sharing and I’m definitely going to do some reading about ASA.
Everything that I print to be used outdoors has been ABS, that usually last couple year then I need to replace
2 Likes
Ohhhh I have not looked into that much! Looks like you can vapor smooth it, but I like your sanded look much better than glossy, but glossy is probably faster. The only downside is the fumes. It might be fun to have around for personal projects, though. Seems like a better ABS.
1 Like
ASA generally requires a heated chamber.
1 Like
So There is that new feature in Cura that is called Fuzzy and I need to get out in the garage and test it, because I have seen some sweet prints with it also!
And usually if Cura has something, then all the rest of them have it too
1 Like
Do you have a brand or something I can research? Are the temps too high for a generic printer?
2 Likes
I love the Filamentum ASA very little shrinkage but still some so FYI on engineering type items. I print in an enclosure but not a heated one.
1 Like
I printed a new binnacle/hood for the head unit in my van last week - a little sanding and a little filler and it looks like a bought one - printed in an enclosure not heated (although 50°c was recommended) and a 20mm high skirt. Didn’t fume at all as far as I could tell. I don’t like ASA to look at, but it’s really nice to post process as @forcerouge pics show! Here’s my finished product (sorry for the hijack)
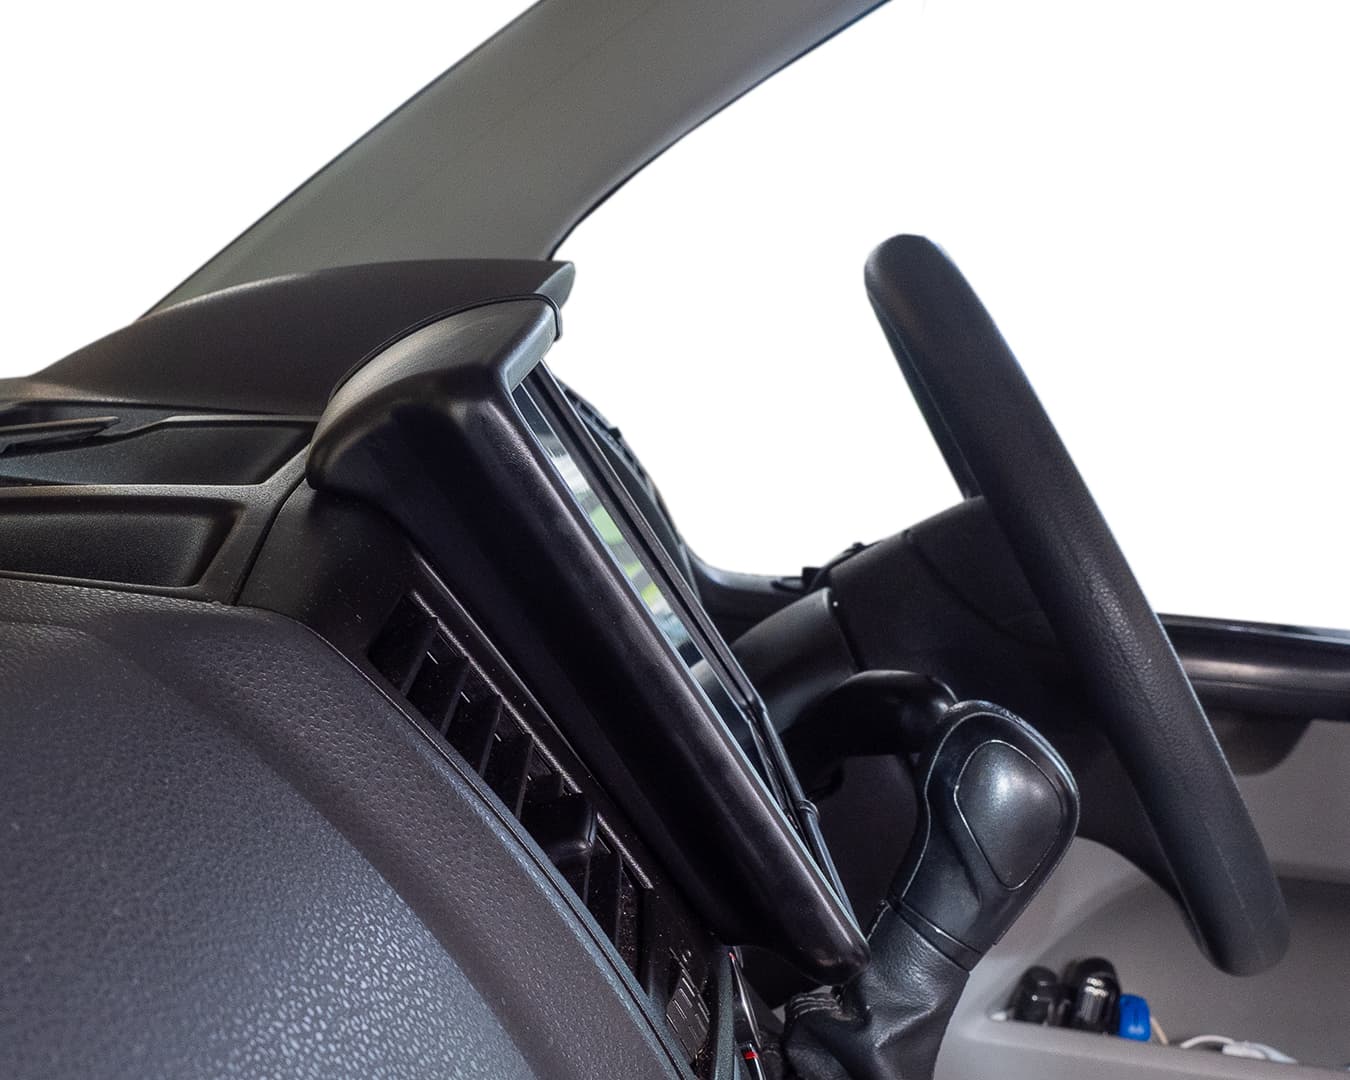

5 Likes