MPCNC/Lowrider Transition: Small Lowrider 3

Hey all,

I built a MPCNC Primo about 4 months ago. So far I have really enjoyed using it
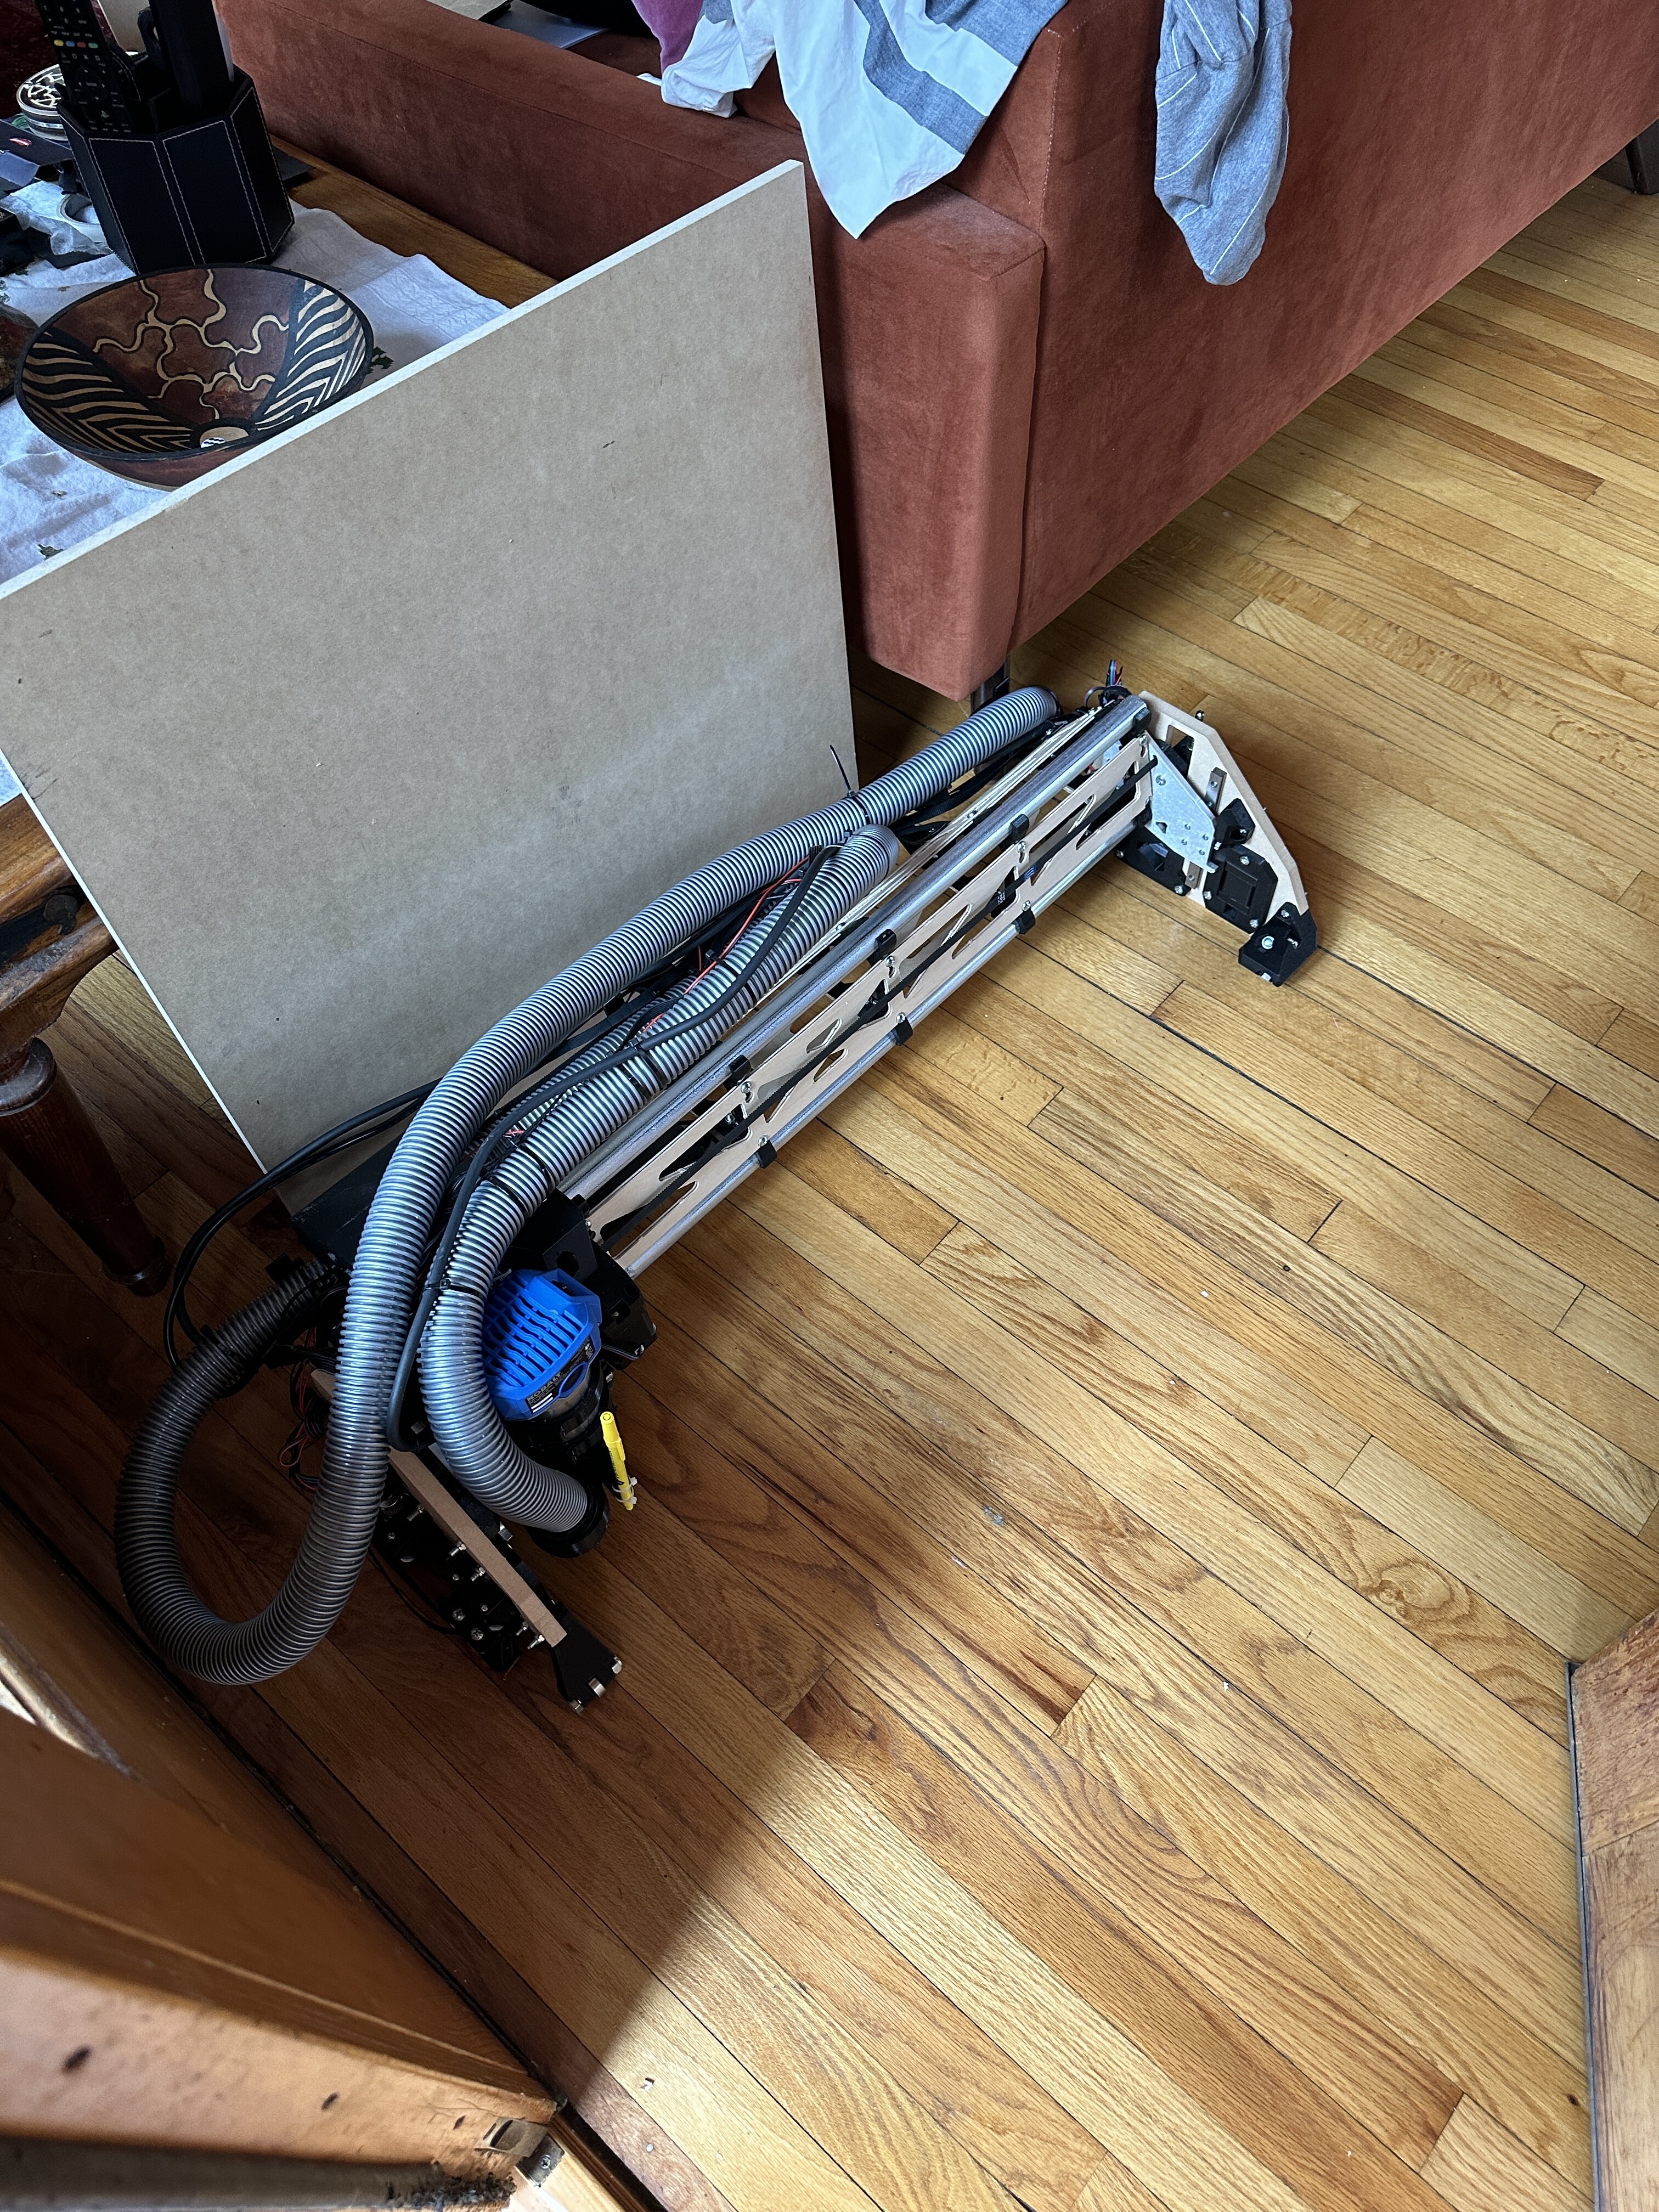
however, there are a few things to be desired still, and wanted some input regarding my thinking here.

My main concern/ use of the cnc is portability, mainly because I do not have a “set” location I can leave the machine permanently. My MPCNC now is mounted to a 36x24in piece of MDF, and I can move it around pretty easily without too much hassle. But with the motors sticking out past the conduit rails on the sides, it become kind of a weird shape to transport/ set down. I have seen some enclosures build before around mpcnc, however that either means the enclosure must be much bigger that the actual mpcnc, or the work area becomes smaller by making the mpcnc smaller. I initially chose to build an mpcnc because most people that suggested the lowrider 3 mentioned it only as an alternative for a larger build area, which I did not need.

Is it reasonable to build a lowrider 3 with an overall dimension (table size, not work size) of around 24-48in? It seems like a much more compact package overall, and I like how the only part around the perimeter of the machine is one rail and the belts. Curious of any other smaller lowrider 3 builds people have done, pictures would be appreciated.

As always thanks to everyone on the forum for being so helpful and kind.

1 Like

Is that 24-48 as a range? Or 24x48?

If you build a LowRider with only a 24" table width, your cutting area would only be 11" usable.

You can play with the calculator here to see what would suit you

https://docs.v1e.com/lowrider/calculator/

Yes, sorry for the bad notation. 24in by 48in table size. Right now my mpcnc has a workable area of about 12in x 24in, and it has fit everything I have needed it to. Given my tight parameters to keep the overall machine relatively portable, I know that I will not have a massive build area. But in truth, I don’t really need a big work area anyways.

I will definitely play around with the calculator some to get an idea of size. I was mainly curious if anyone else had built a smaller lowrider 3 since most of the ones I have seen are made to handle 4ft x 8ft sheet goods.

Not sure if this is helpful but I’ll mention that it’s also possible to build a wide LR3 in that range. The advantage is that you would have a longer gantry and could set up a longer temporary table for special projects that require more cut area.

I moved from MPCNC to LR3 last year and love it. I really struggled to fit it into my garage shop, so I did take some measurements before deciding that Y would be longest. If it’s well built, a long X is doable as well .

Might be a consideration depending on your space plan.

Here’s a smaller sized LR3:

My current setup is a cutting area of 2x4.

The catch is I’m technically 4x2, so if I ever want to do larger or full sheets, x / the gantry is ready. I only need to lengthen y, which to me is easier than the alternative.

That actually sounds like a great way to build. So you X build volume is 4ft? Do you have any pictures if you dont mind. Trying to wrap my head around the overall size.

I built mine a few weeks ago, for a cutting surface 25.5” wide but with separate outer rails so it’s really easy to disassemble. The conduit length is about 33” if I remember correctly.

The table in the photos below is about 70” long but could obviously be much shorter, the y axis is only dependent on that one length of detached conduit.

Photos at the end of this thread : LowRider build New York - #13 by vicious1

And here’s one more with it off the table, it only takes a couple minutes to put it on or take it off:

Have fun!

1 Like

Unfortunately I’m away from the house, so I can’t provide a photograph anytime soon. And no offense to you, but I always fail on size with photos. Example, the lead screws in the kit seemed small to me when I opened the box, but they were the correct size. I was used to the MPCNC and my 3D printer, but the photos of LR3’s didn’t register in my mind. If you look at the rendering on the calculator that’s basically everyone’s 4’ gantry.

So the first thing to warn you about, is that building that way is not recommended because of the cutting of the struts. If you are resourceful and/or have patience however it is doable. Example, I didn’t cut mine on the LR, instead I used my table saw, which might make my struts one of the contenders for most time spent to make standard struts. :shushing_face: I might have been able to cut the struts diagonally, but I didn’t want to cut anything until the struts were in place.

Overall length of the gantry is approximately 60 inches, which requires a table 60.5 inches wide for X.
Making the length of the gantry under 16 inches in the Y direction, and I would speculate Z is about the same. “Y” belts/table for me is the variable, when needed, I can change the “table” it sits on, and cut anything from a 2x4 project board from a big box store, up to a 4xX.

It’s technically the standard build off the calculator, for a full sheet build. At this time however I don’t have the space for a 5x9 table. So I made a 3’ foot deep bench/counter top, and mounted the LR all the way to the right on the bench top, putting the rail out of the way to the right. Which means on my build, the gantry’s is at the back of the counter (wall side) to start my cuts, and moves towards the front (human working side) as it cuts. So if I need the full length of the counter, the LR (belts and gantry) can be removed, leaving only the rail on the bench top to the right, and pretty much out of the way. There are challenges with my approach, not accessible from all four sides as an example, can feel limiting at times.

I was just afraid that I would want to cut a full sheet someday, and didn’t want to tear down and build again. However, I had so much fun building it, I keep trying to find a reason to build another machine.:face_with_hand_over_mouth:

1 Like

Awesome, I think I am liking the idea of building it somewhat standard sized in the X direction, and then having Y as a variable based on what I need to cut. As for the struts, I do have plenty of other ways to cut it out not using the machine itself, so I think I could get by.

I’m sure you can. Not everyone here started working with wood much before the CNC venture, but those that have previous wood working experience I don’t think will have a problem.

For me it was just making sure my measurements were right. I didn’t want my struts to be a factor making the LR seem like it had a problem. So I ended up measuring 6+ times, to cut once. :grin: