Not many people in my little Hungarian village, but hopefully soon there will be the first CNC here
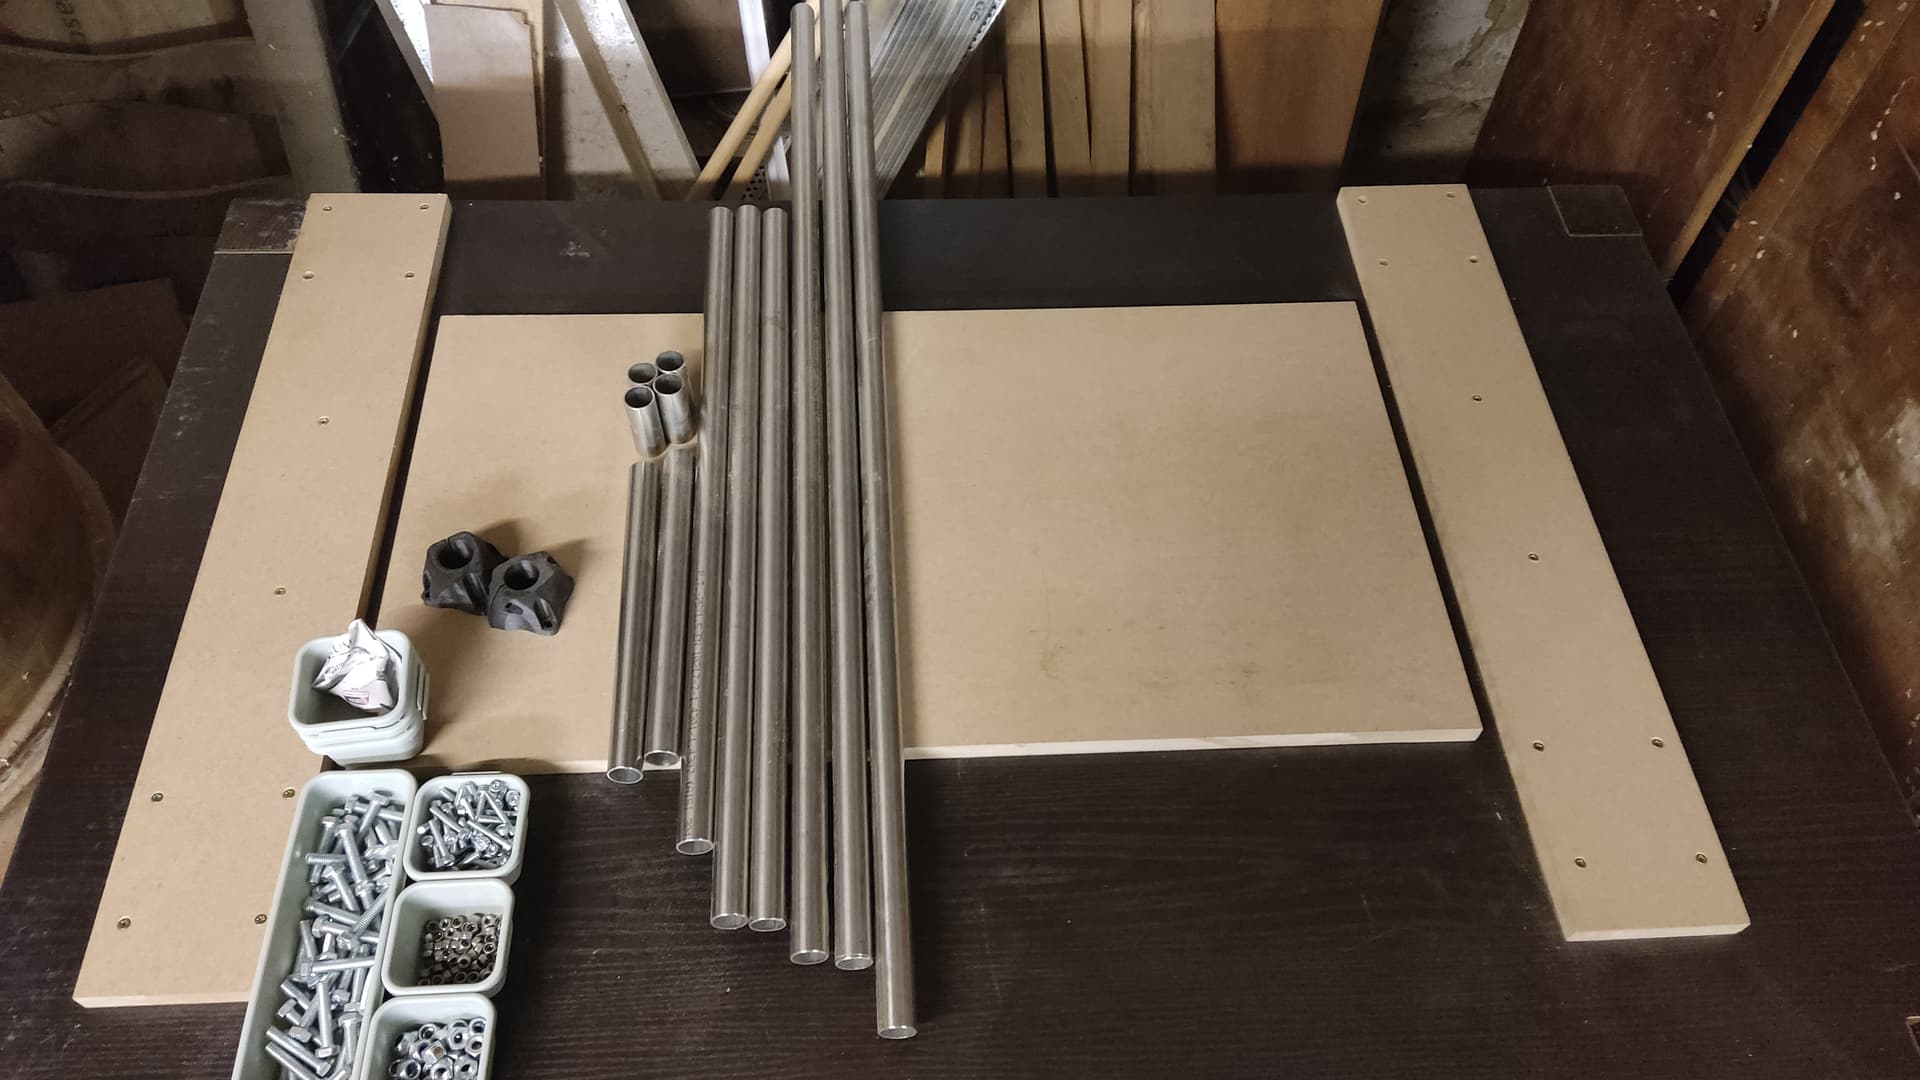
I started the build even though I realized I didn’t have the right belts (9mm wide, but 3mm pitch…) that’s the kind of issues you face when you try to source it all yourself, I guess.
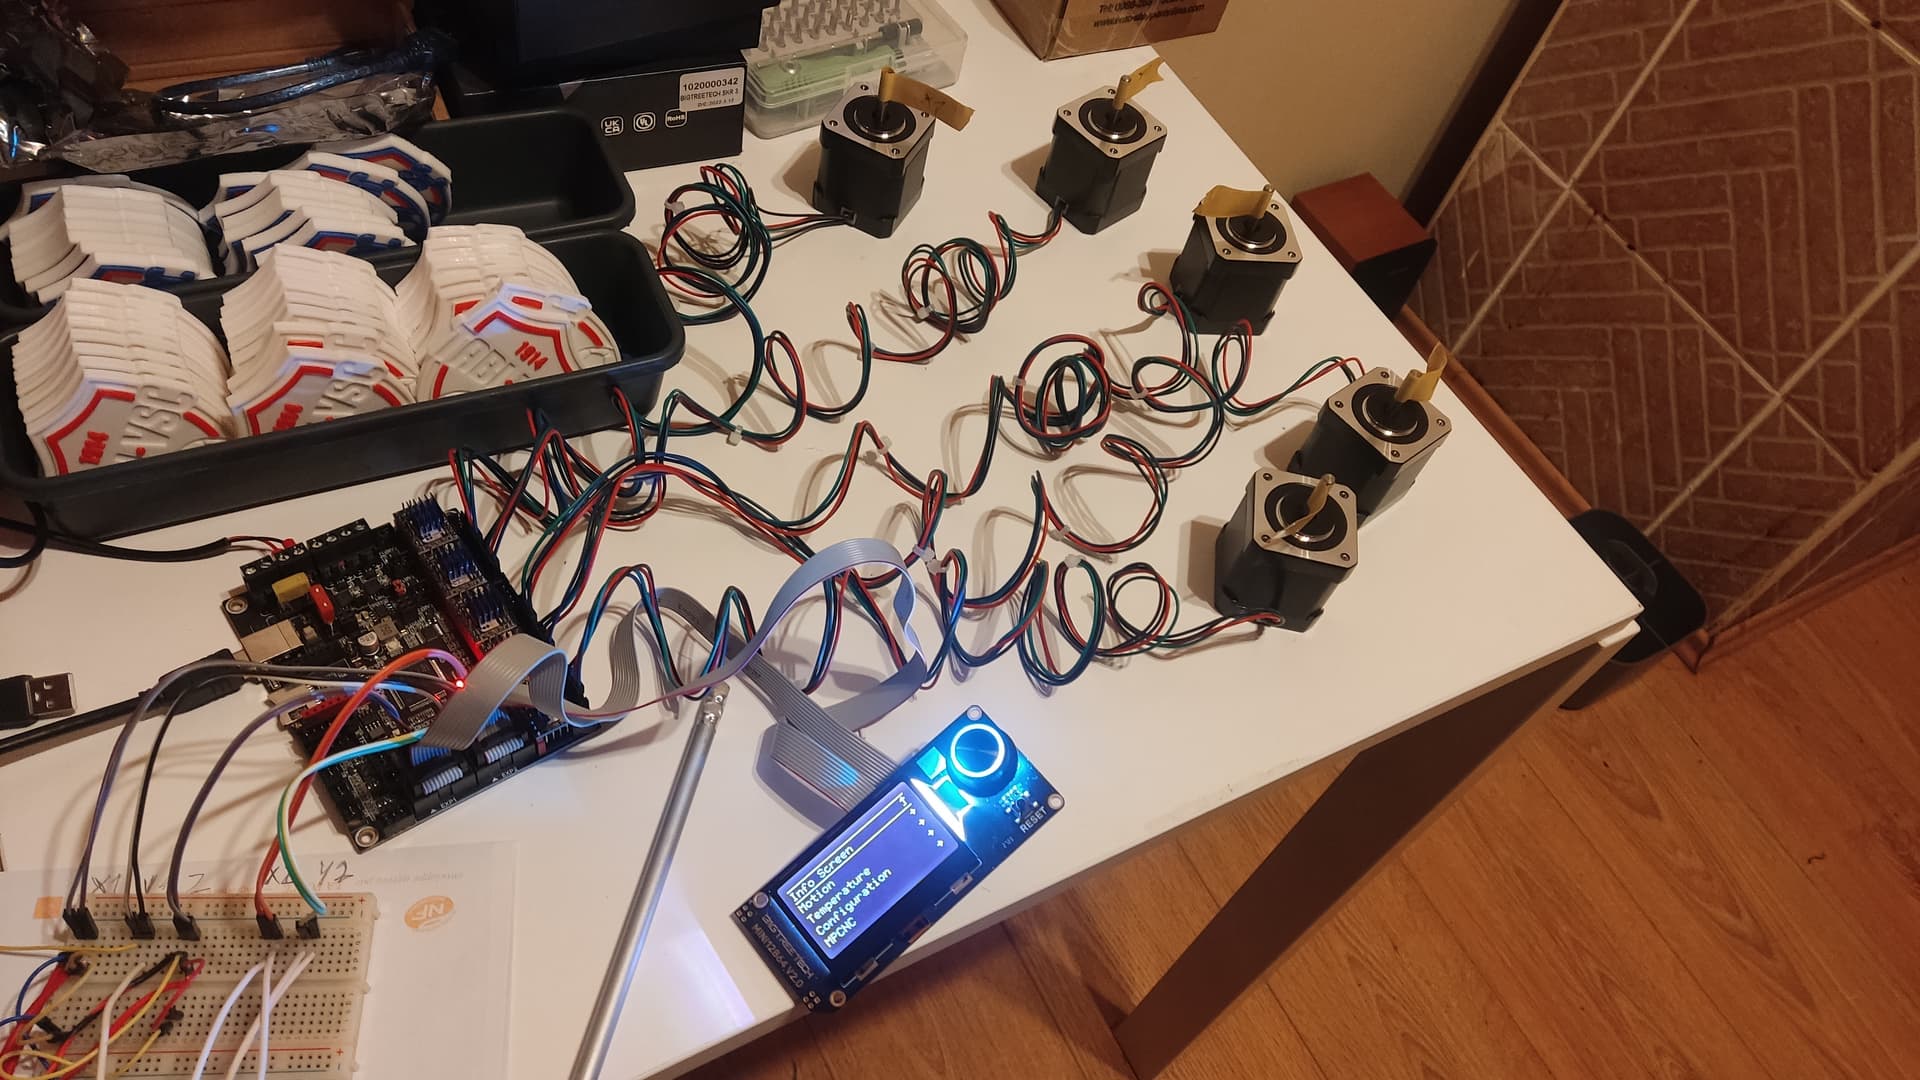
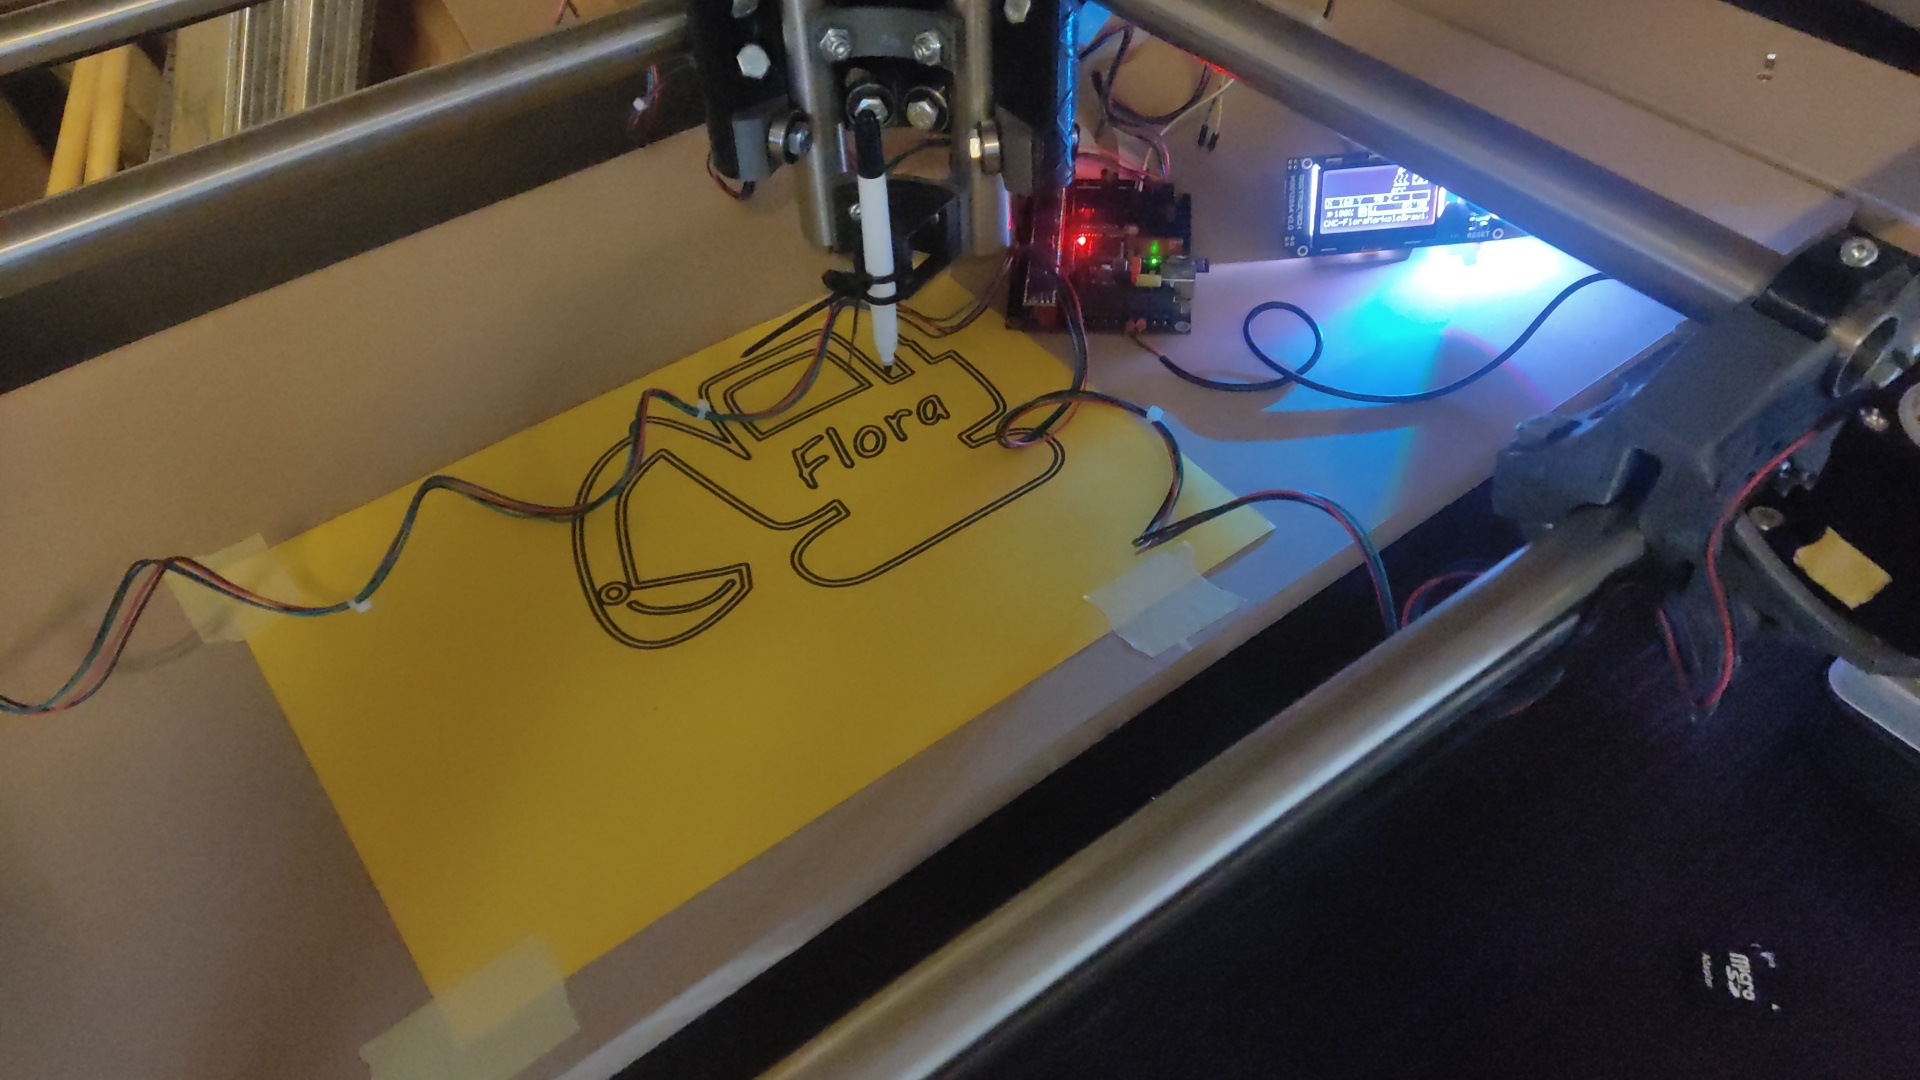
Before starting any assembly, I worked on the control board, as I don’t have a standard board with a V1 firmware available.
I was able to test the LCD, stepper movements, wired end stops and successfully tested the homing.
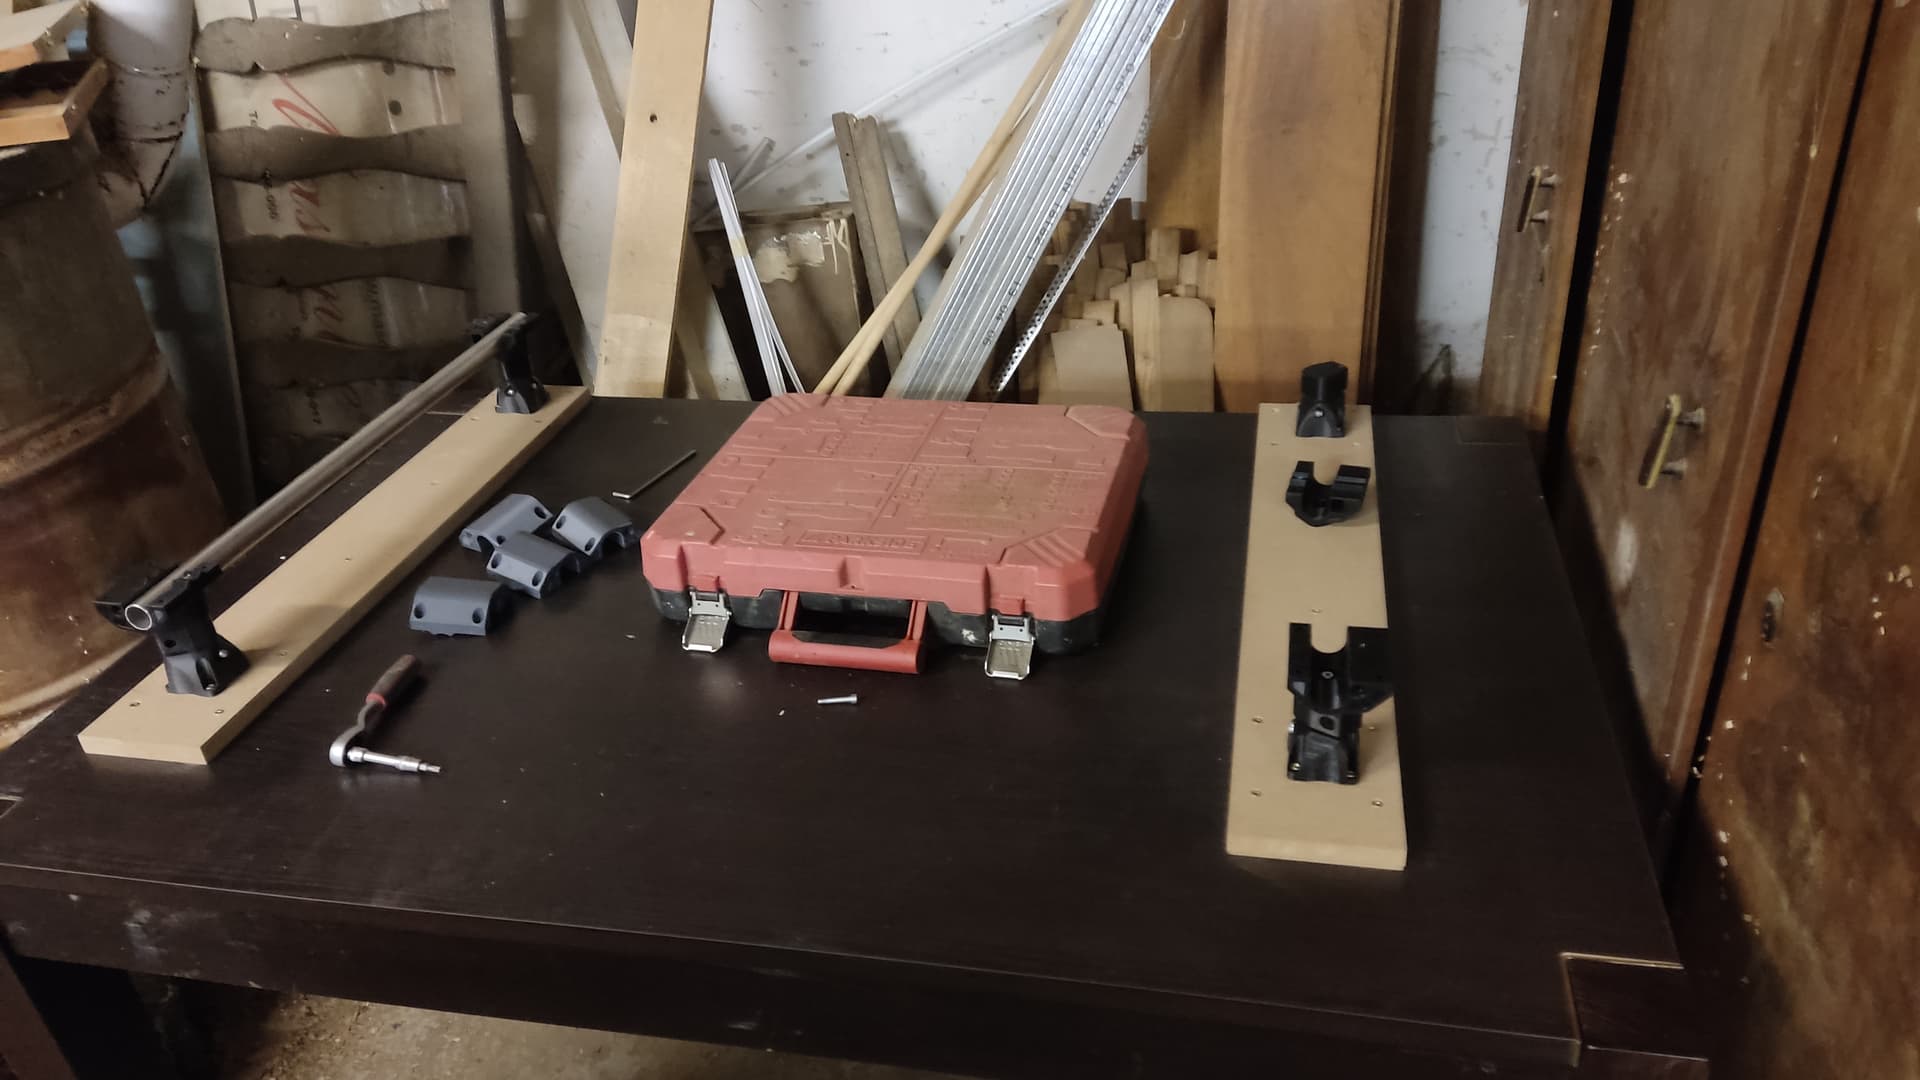
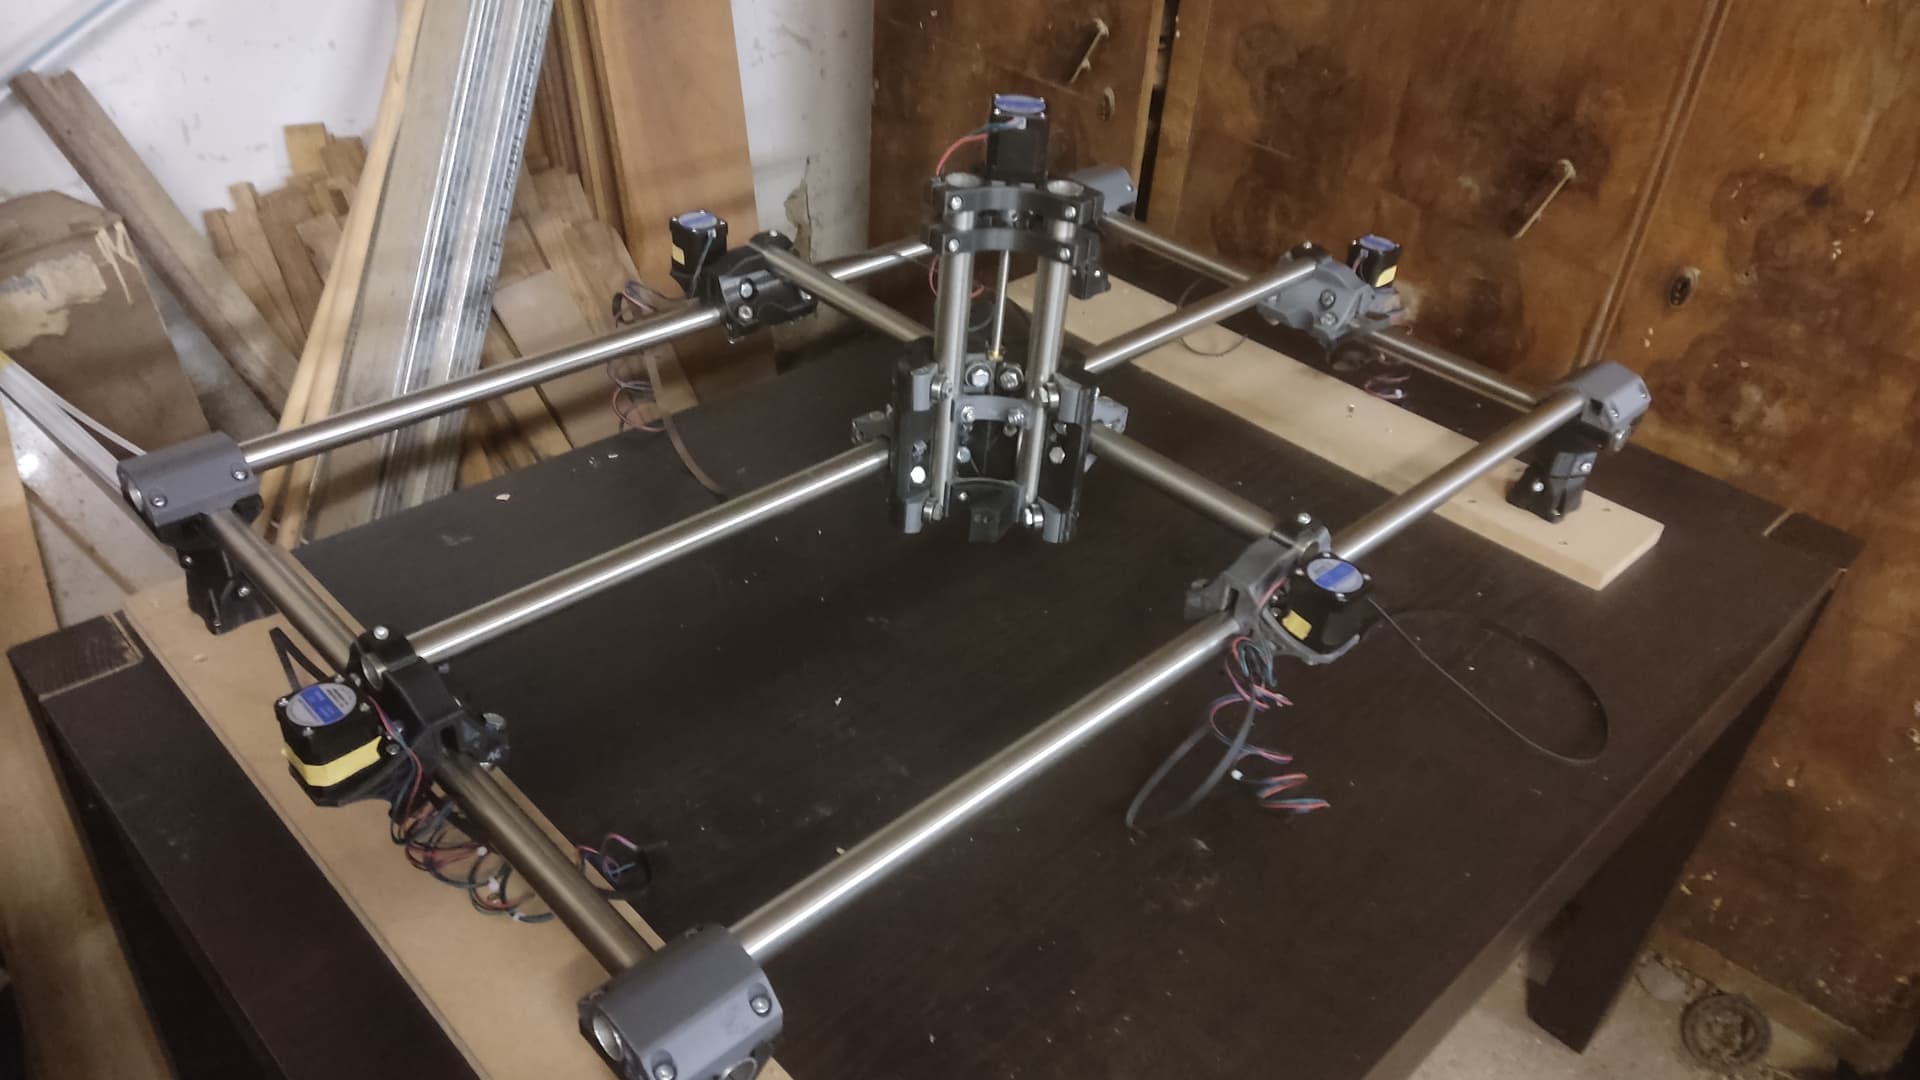
So it was time for the assembly.
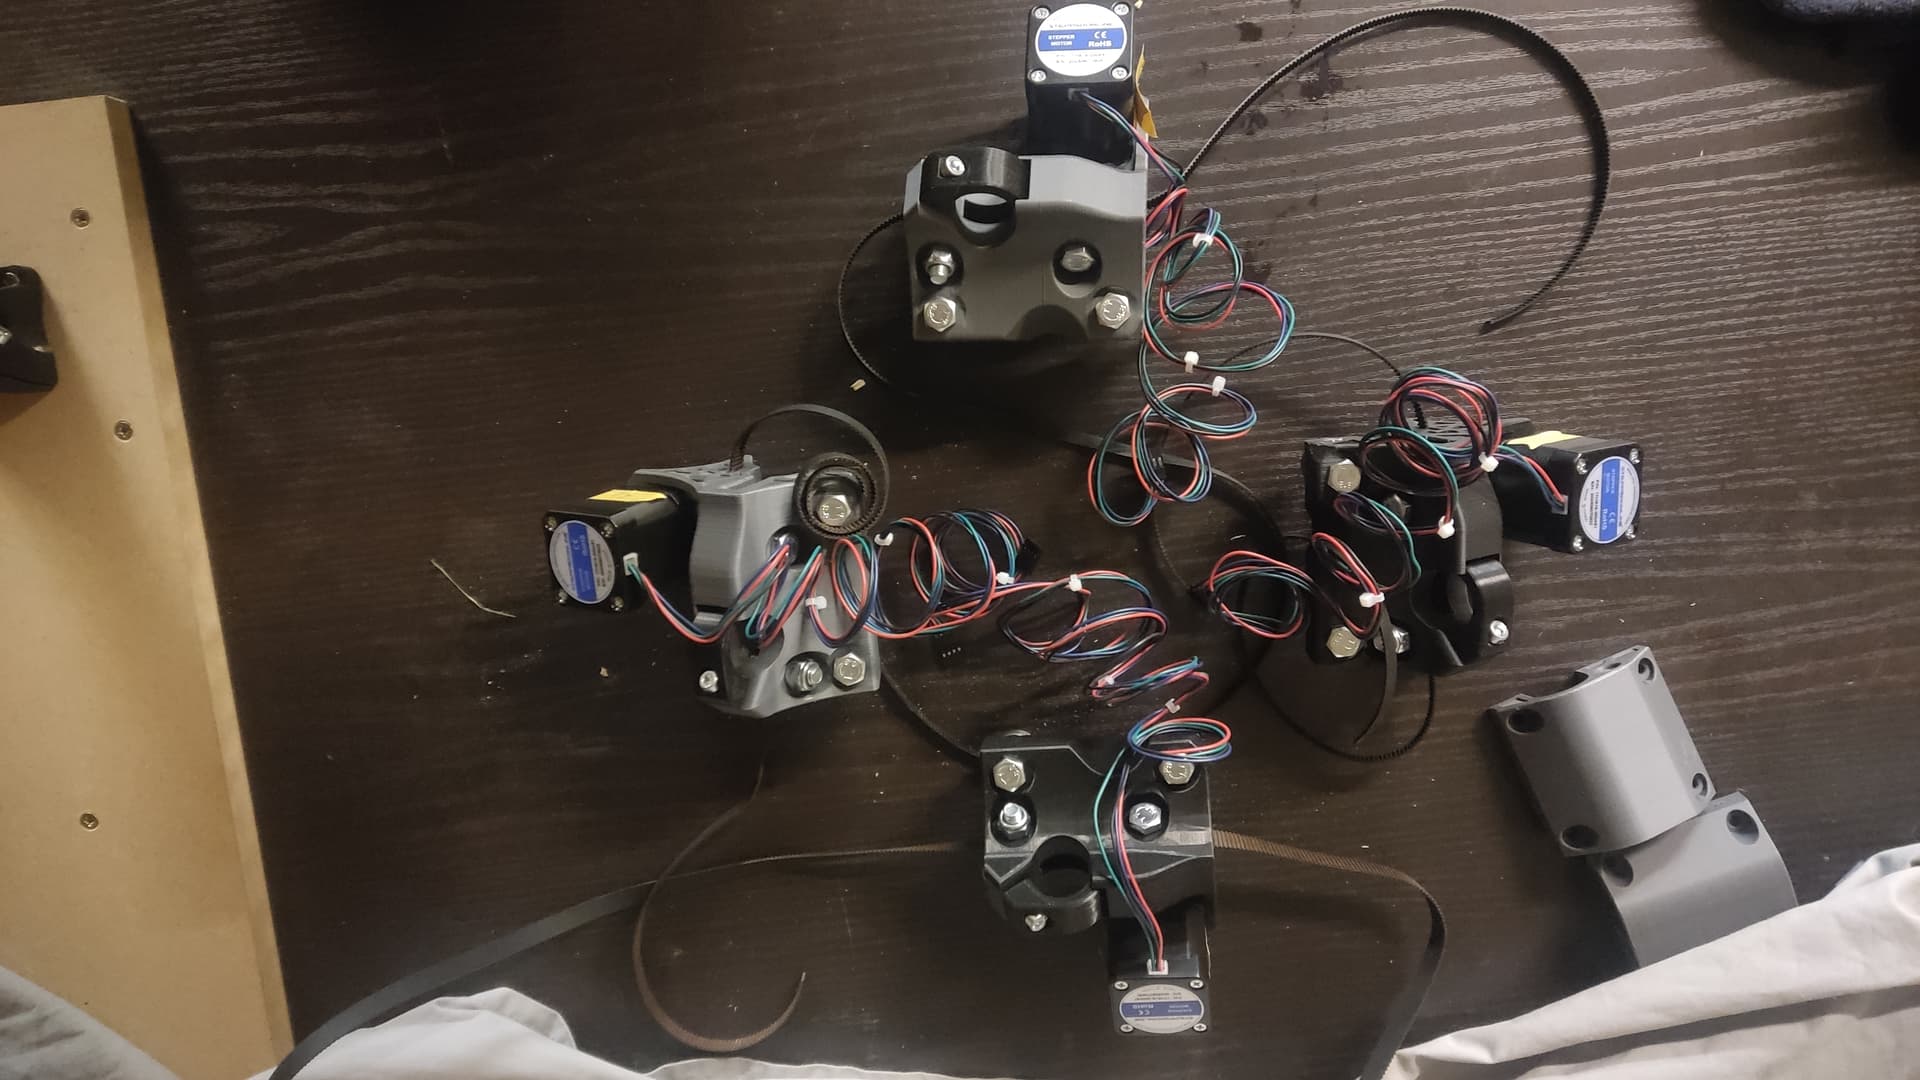
Started last week. Slow but steady progress and no issue so far. I am using 6mm wide belt temporarily, waiting for the new one I ordered. I know it will mean disassembly and reassembly, but it probably won’t be the last time I upgrade or fix the machine!
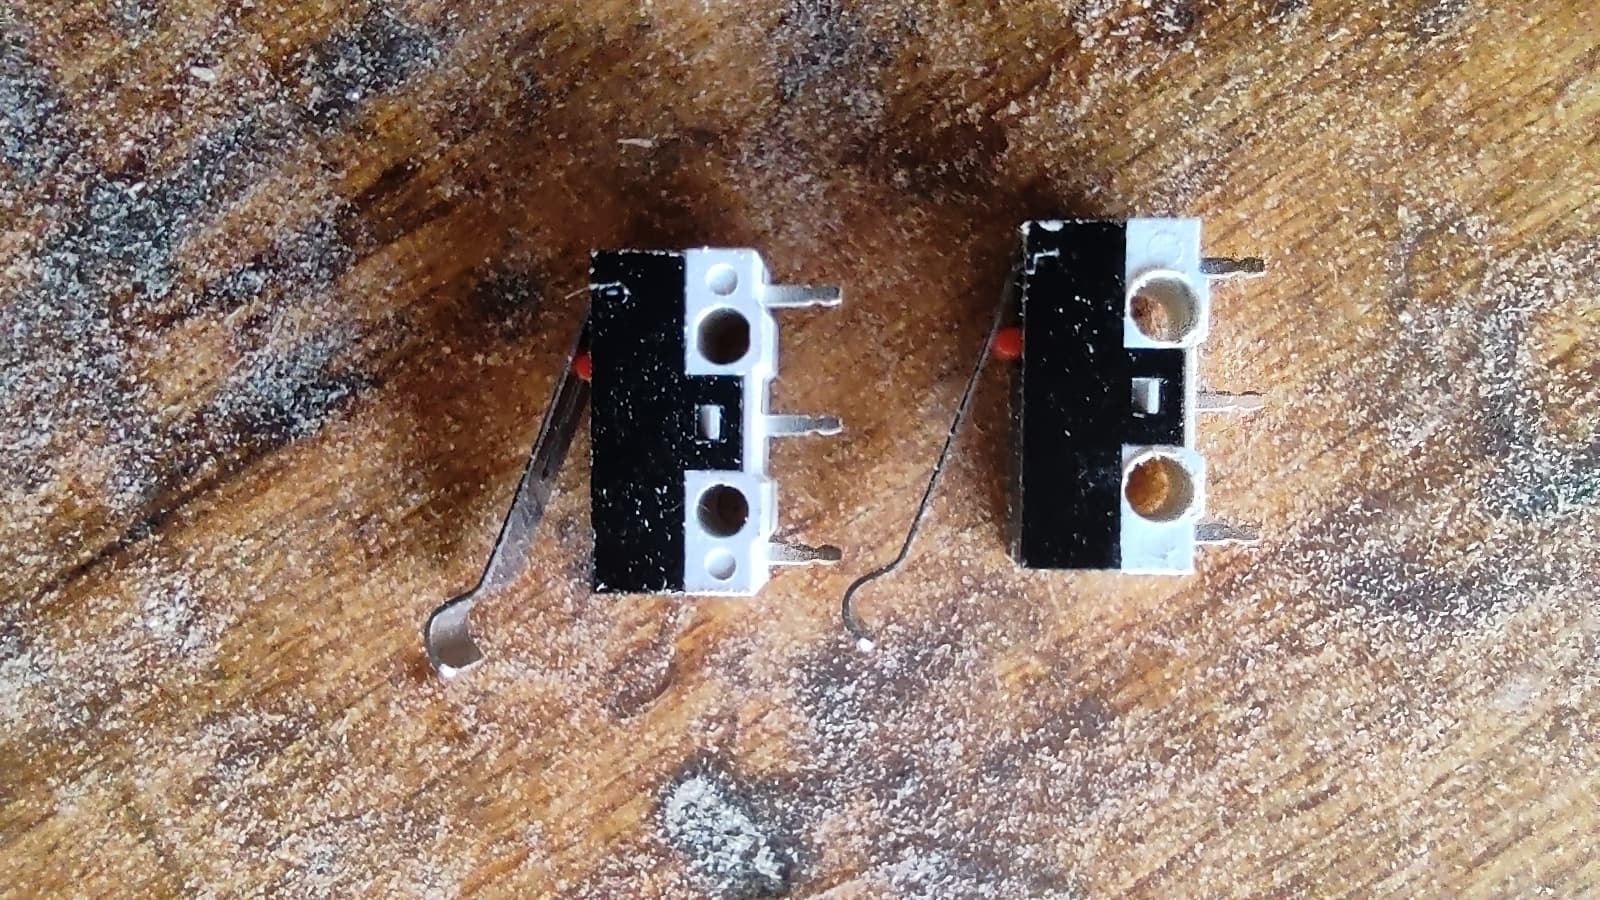
Of course, the end switches are different from the V1 model…
2mm holes instead of 2.5 and holes are closer to each other. They are also less thick. So I enlarged the holes on the switches, used nylon washers for the thickness, and drilled a new hole in the truck for the second screw after fixing the first.
The placement looks like on the instructions photo, so hopefully they will work well.
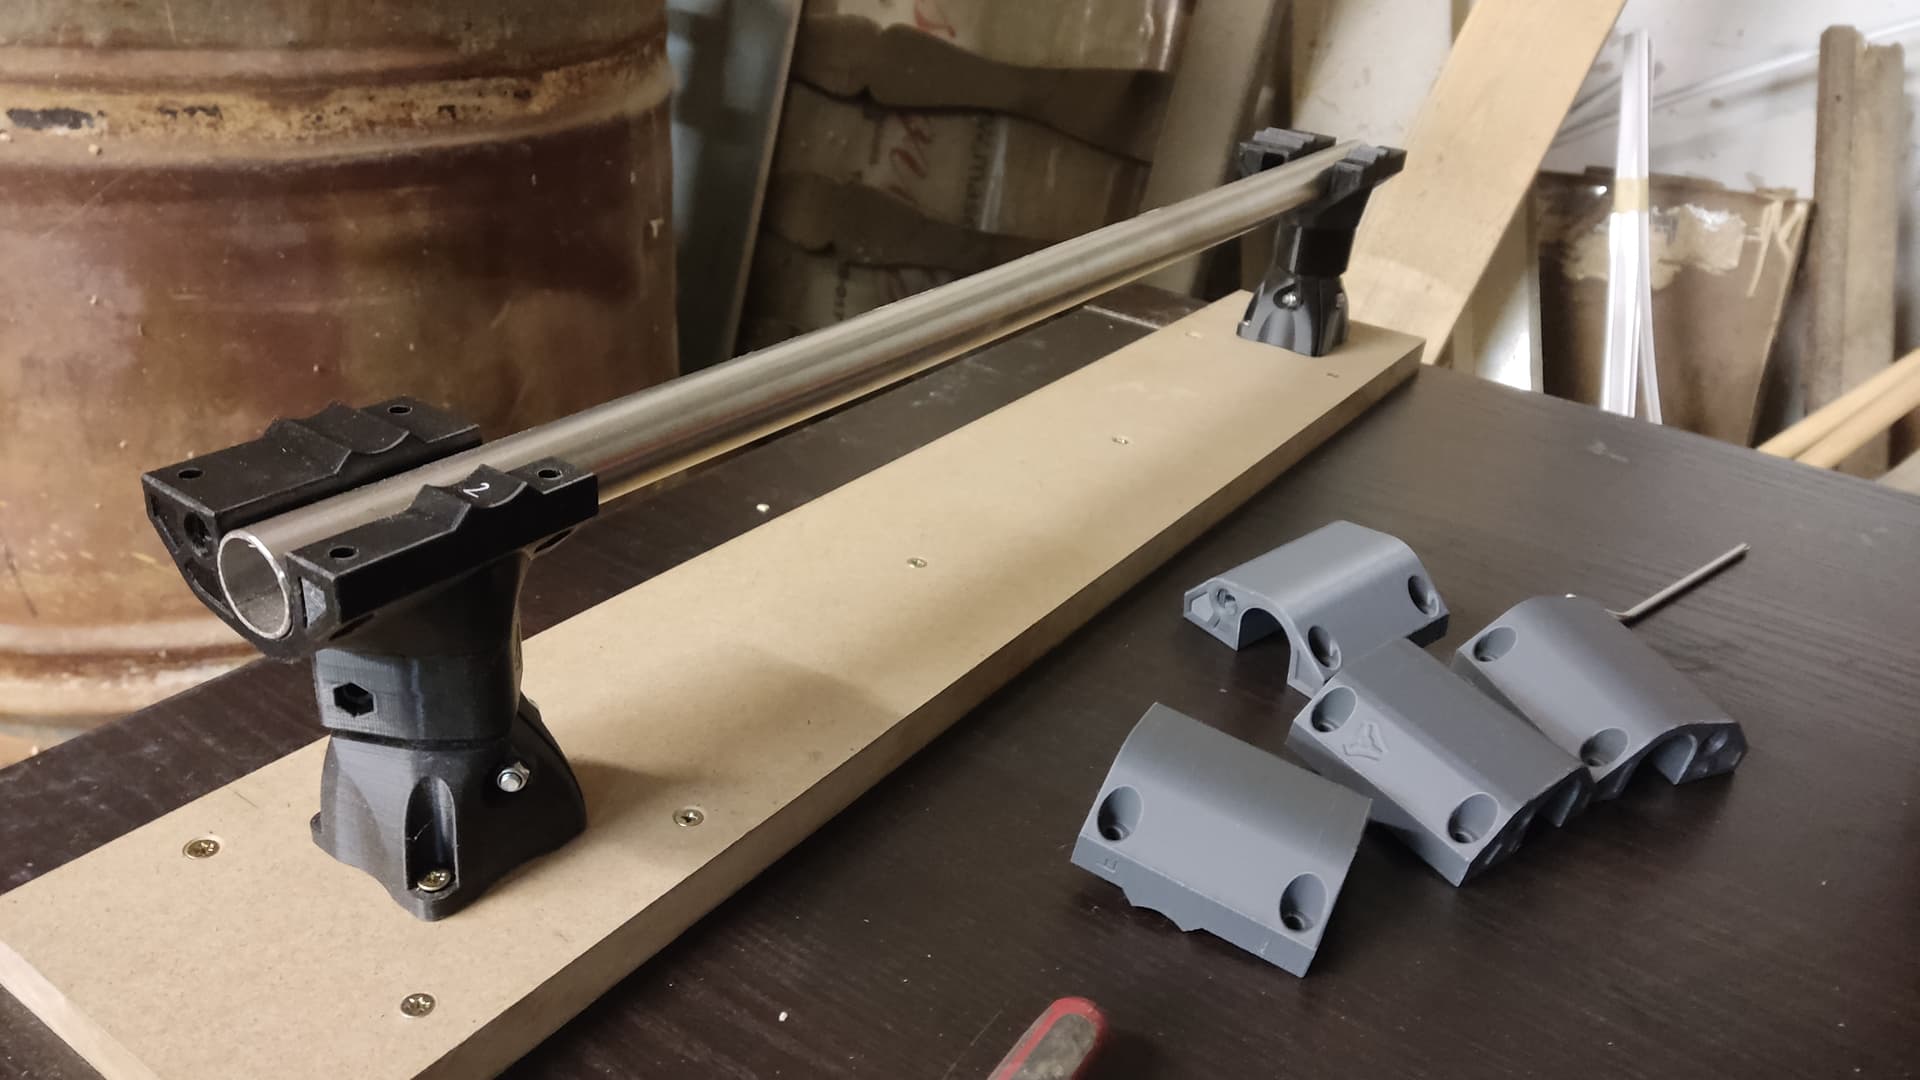
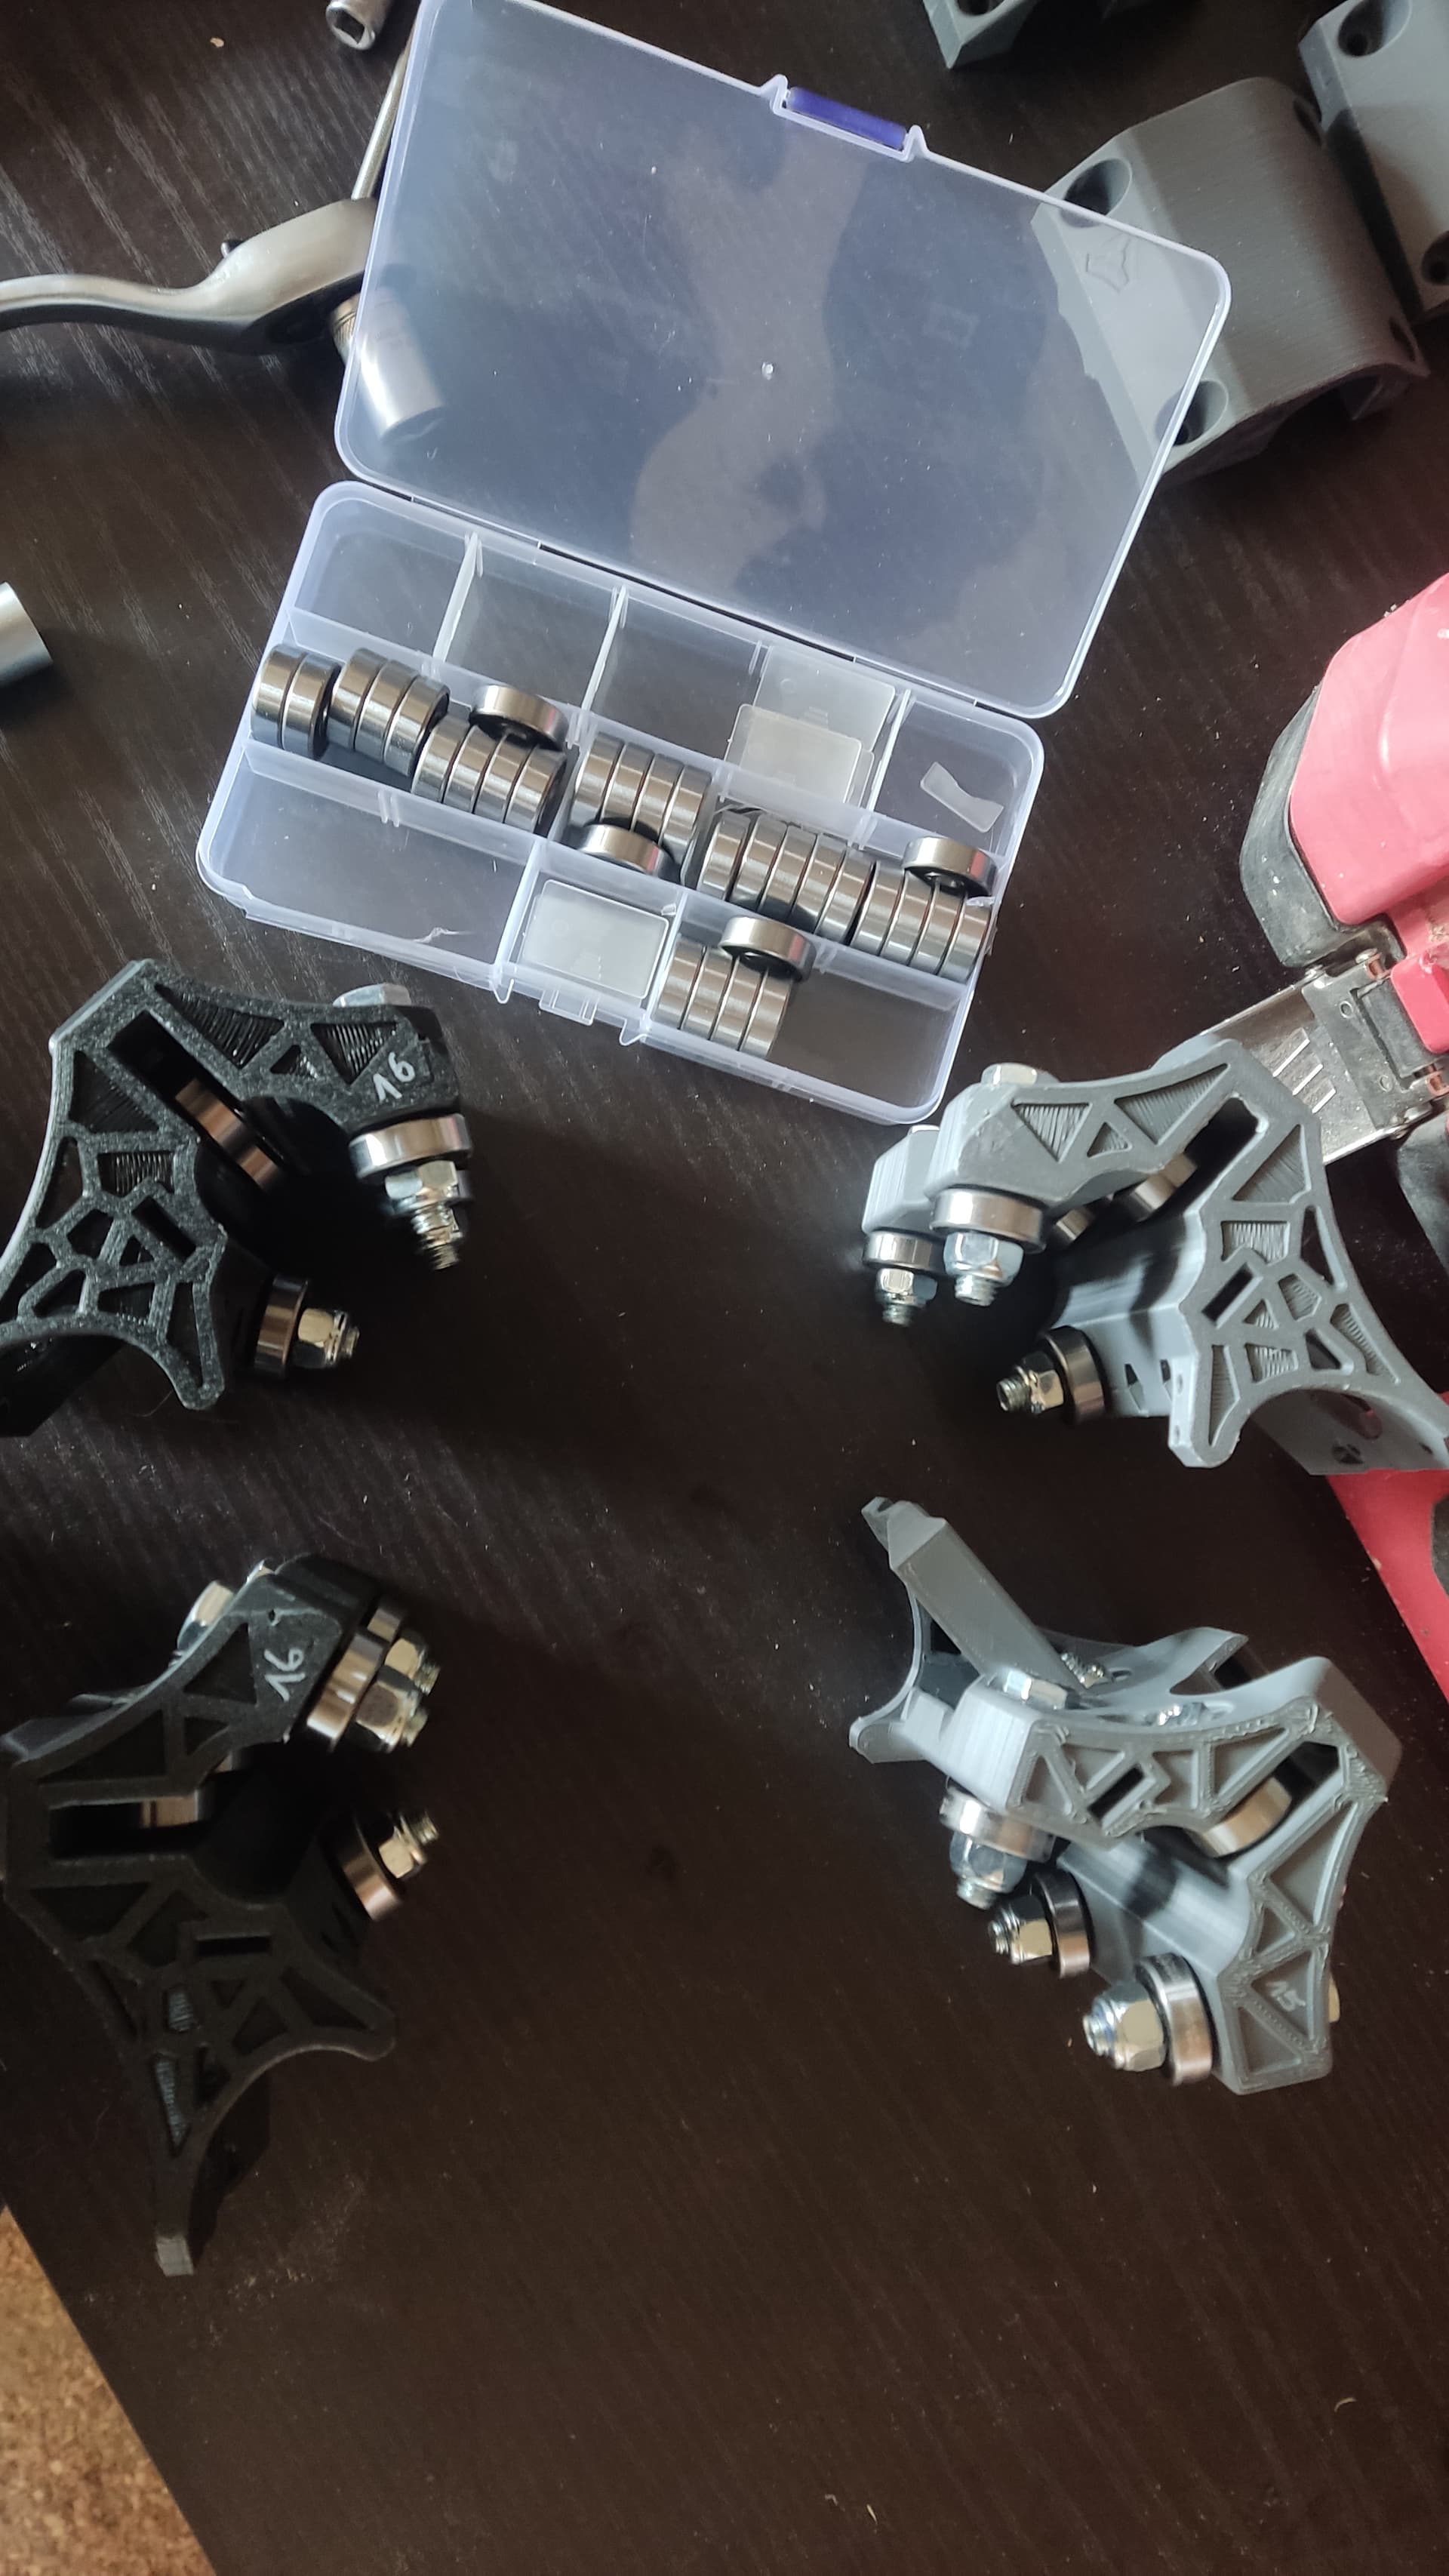
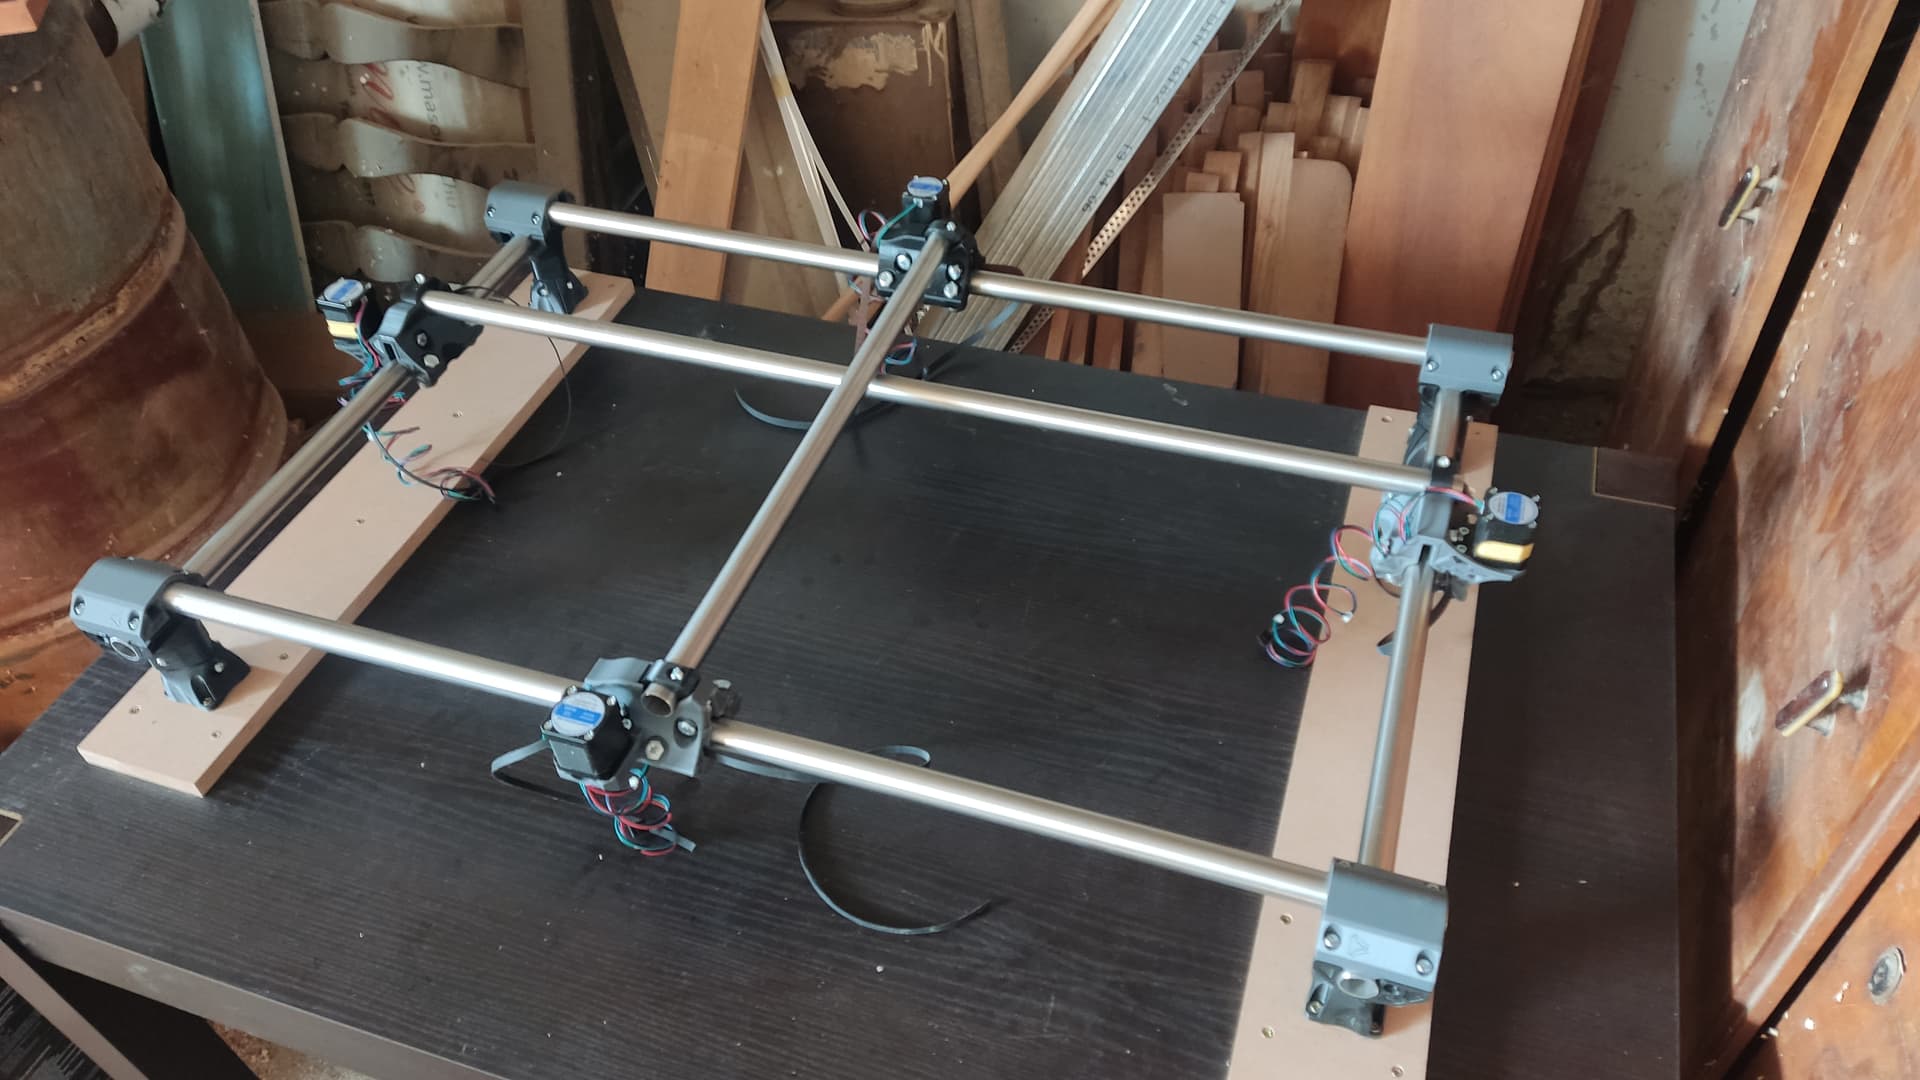
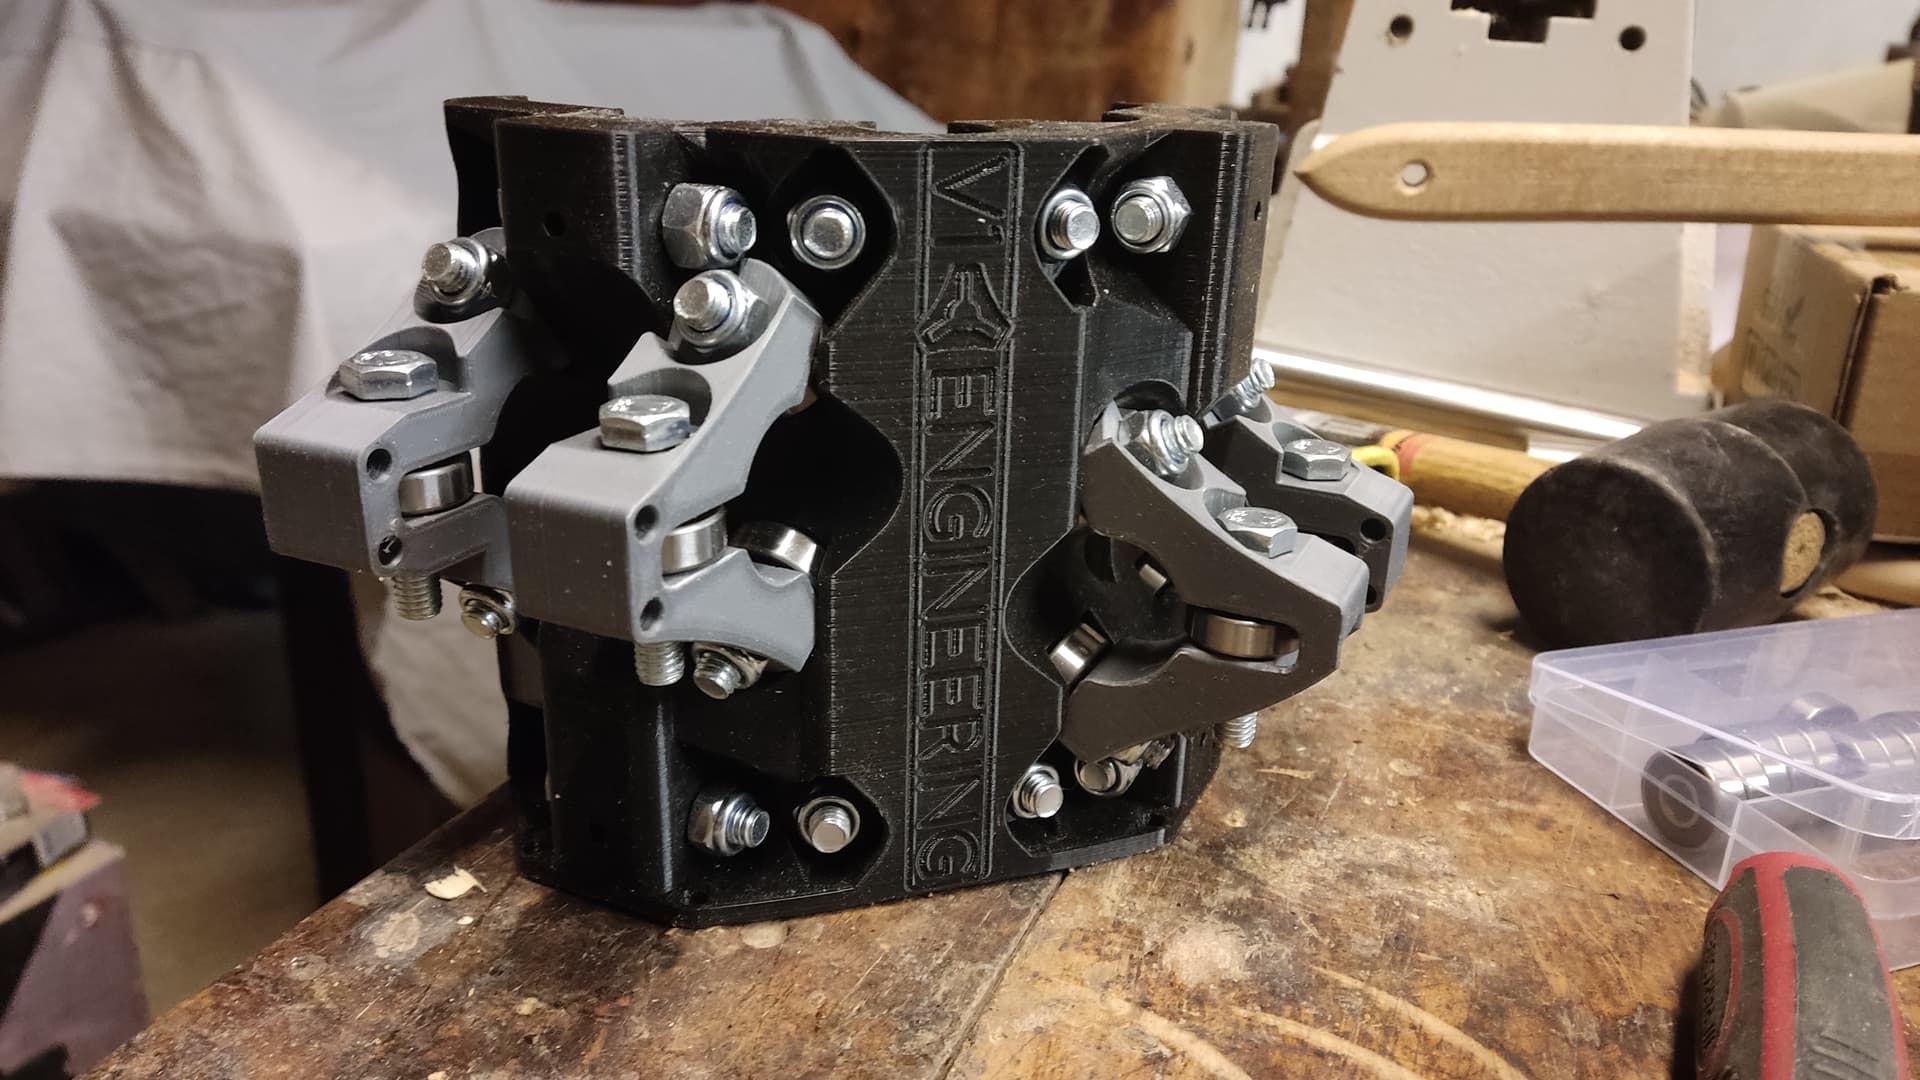
Squaring went well, so moved on to the core.
First scary episode in the build. The first 4 bearings to push in place required a lot of force to get in. But once in, they moved freely and well aligned.
Tried fitting the gantry rails. Y is a great fit and slight drag. X is moving much faster, less constrained. But still all 3 bearings are making contact, so hopefully tightening the tension bolt will get a better grip on that rail
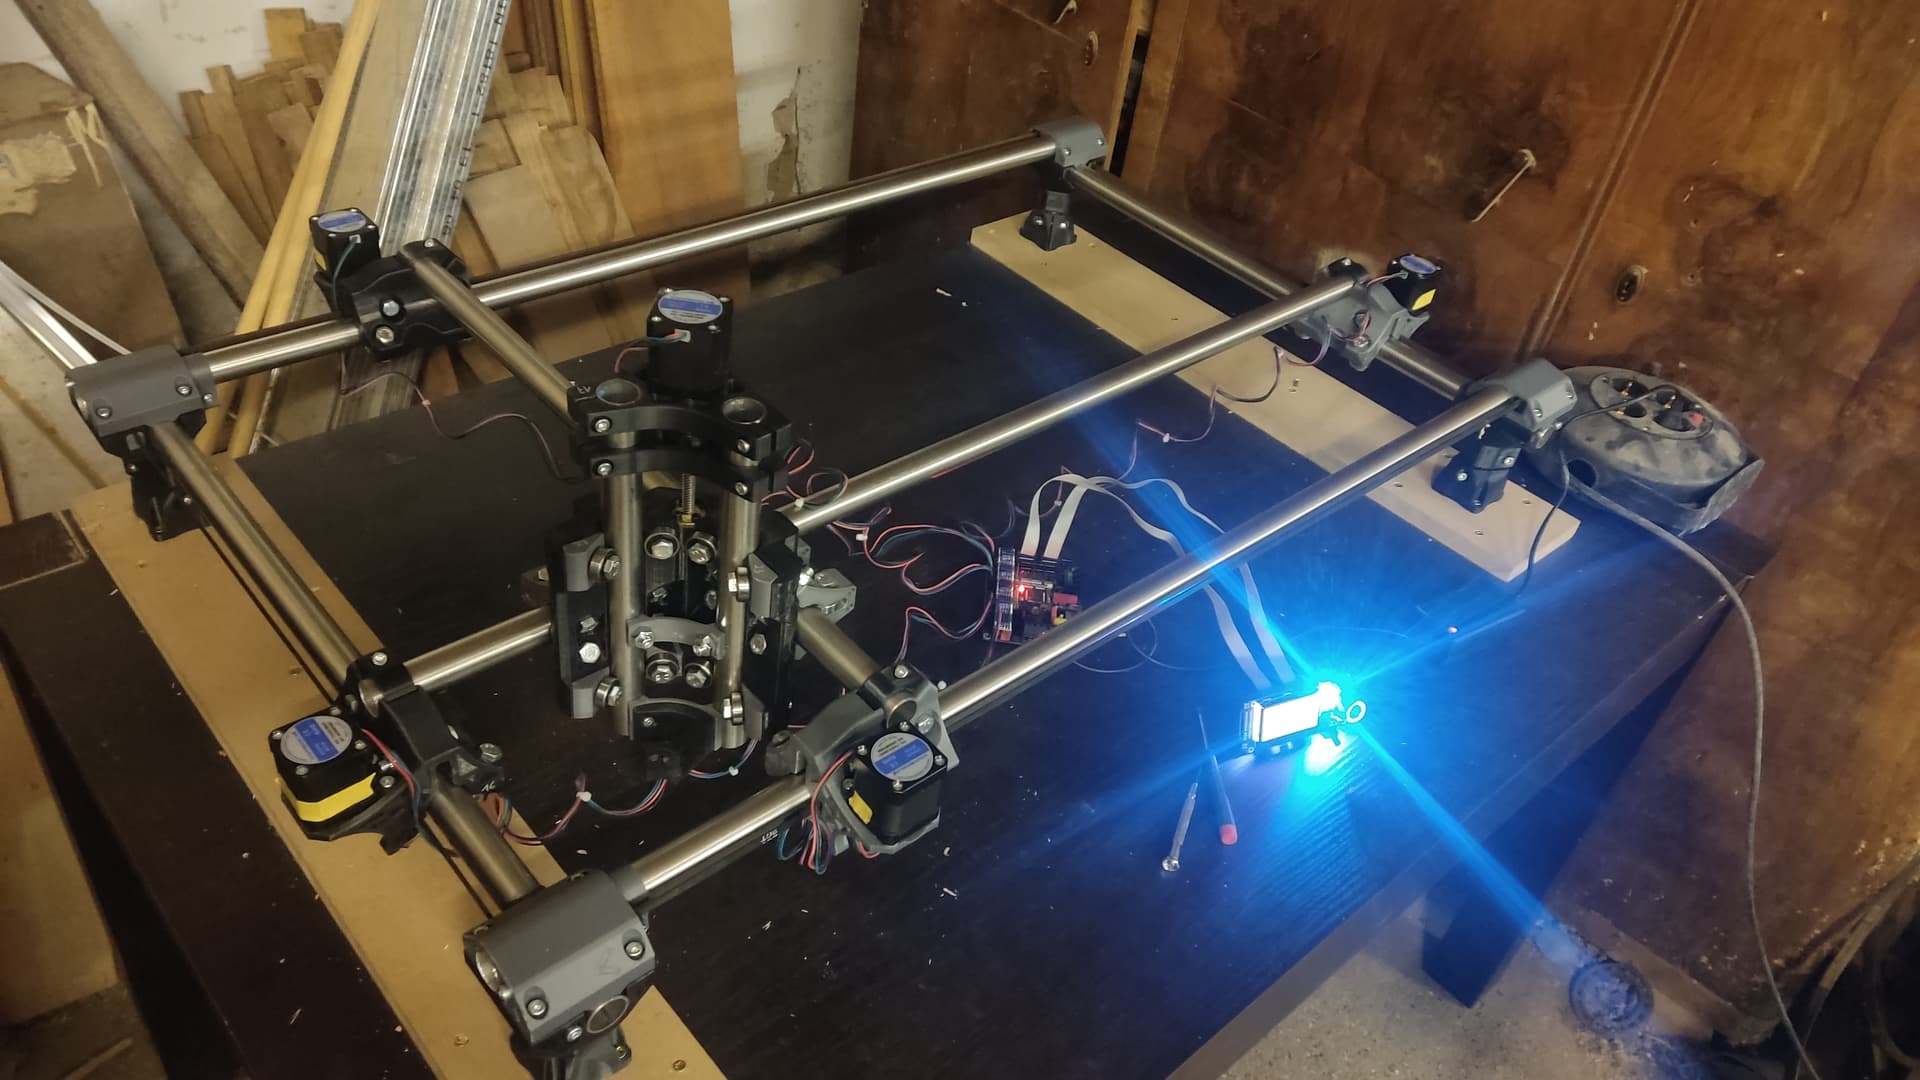
It may not be the most thrilling action video, but it was kinda… Magical
Let me know if you notice anything wrong in my build, from the video.
After each new axis movement the motors of that axis kept on humming, even not moving. I guess it’s their normal “energized” state… But, is it? I never noticed that in my 3d printers, but they have so many noises going on at any time that it’s not surprising.