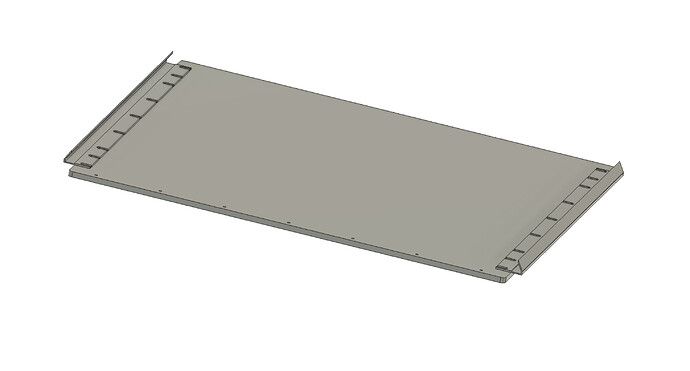
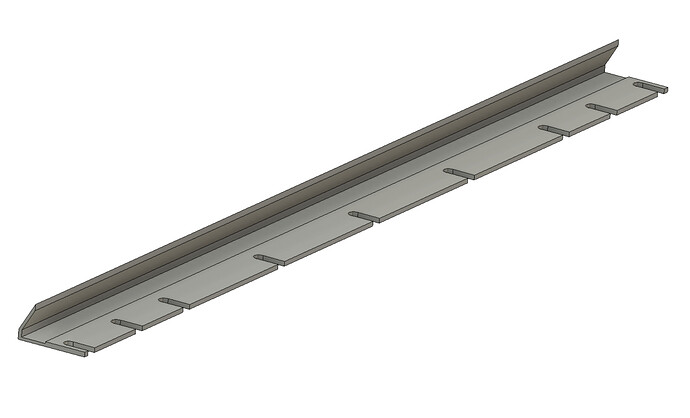
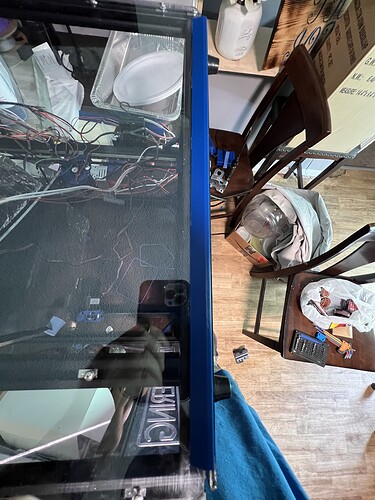
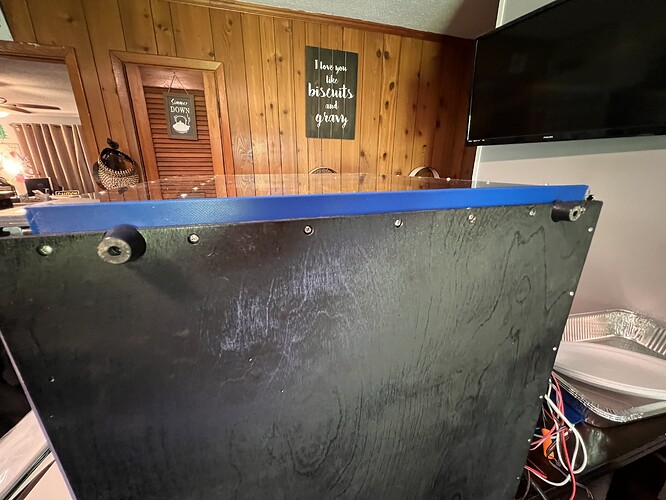
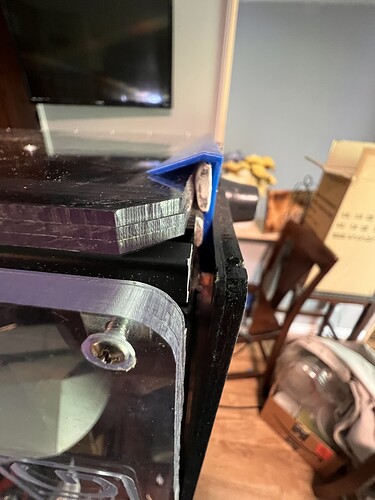
Originally yes I had the PEI sheet. But switched to glass a while back when I couldn’t get anything to print correctly. The glass has been great so far. But I didn’t notice that I had knocked 2 of the 3 clips loose when I look a part off so I guess it was able to move around. Thinking about taking some glue stick and running it between the aluminum and the glass to see if that will hold it down better than the clips.
Doh, was so focused on prints in your pics that completely missed the glass bed ![]()
LOL no problem I sure didn’t point it out in the post.
Duh~ I’ve even had clips fall off on glass beds, I also ASSumed you had a magnetic bed sheet.
Glad you found the issue. This forum is great!
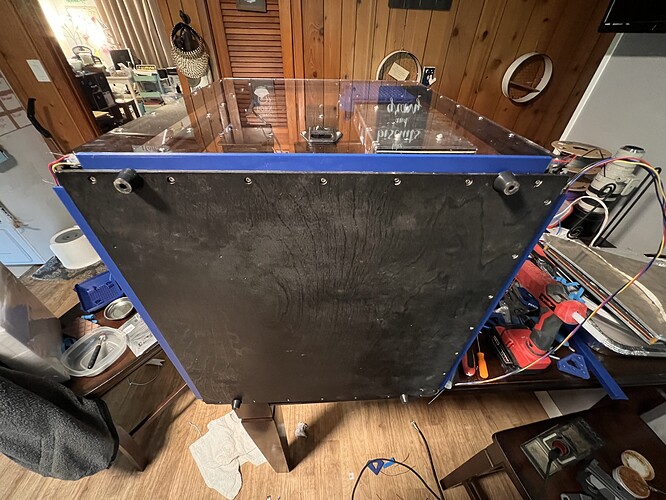
27 t nuts FINALLY lined up for the bottom panel…all the screws started. go to tighten them up… all too long. M3x8mm screws bottom out in the 2020 before the plywood is tight ![]() That’s what I get for not measuring the “1/4” plywood before cutting it. Oh well m3x6mm screws will be here Wednesday. And Amazon can be dumb sometimes. Wanted to order 3 sets of them. One will be here Wednesday. change the quantity to 3 and it changes to Thursday. So I go back to 1 and order. then click on the exact same item again expecting it to say Thursday, nope still Wednesday. So i had to make 3 separate orders to get them all Wednesday. I’m fully expecting it to change and not show up till Thursday now but still.
That’s what I get for not measuring the “1/4” plywood before cutting it. Oh well m3x6mm screws will be here Wednesday. And Amazon can be dumb sometimes. Wanted to order 3 sets of them. One will be here Wednesday. change the quantity to 3 and it changes to Thursday. So I go back to 1 and order. then click on the exact same item again expecting it to say Thursday, nope still Wednesday. So i had to make 3 separate orders to get them all Wednesday. I’m fully expecting it to change and not show up till Thursday now but still.
Amazon can be so ridiculous…
You might get 3 separate deliveries.
If the stock locations for the screws were in 3 different warehouses, the combined order would have had a step to move them all to one location for packing the order.
Instead, by placing three orders, you avoided that step.
Weird crap like that happens to me all the time with Amazon.
So much so that I’m trying to avoid ordering from them.
Well…in case you havent already figured it out…I’m an ID10T. Turns out while I thought I was using M8x8mm screws last night, I was actually using M8x10mm screws. So the amazon order of M8x6mm screws arent even needed. Oh well on that front. I have M3x8mm screws on hand. And will need them for the other side panels. But after some time on Fusion360 this morning I came up with a way that (hopefully works) will space the panels down 2mm and give me a secure spot to hold my LEDs on the bottom for edge lighting the side acrylic panels. Cranked up my Ender 5 Plus for the first time in a while and have the first one printing now.
In other news… Turns out @vicious1 knows what the hell he is talking about LOL. I knew that already im just too hard headed to listen. A few of my 2020 extrusions are just a C hair too long. So apart comes the printer to fix what should have been right from the beginning. And had i listened to Ryan and cut them just a touch short it would have been golden. Oh well live and learn lol.
Once these bottom parts are printed, assuming they work like they do in my head, I will print the latest rendition of the top LED Light Bar to have them ready to install once I get it back together.
Going to have to design some kind of corner piece. But I will get them all on and situated first then I can better measure for that.
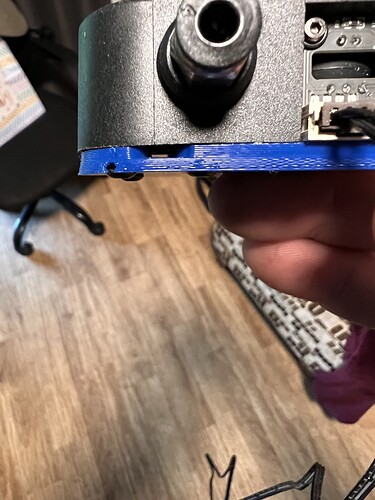
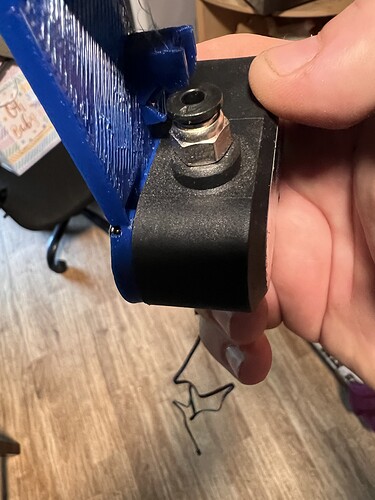
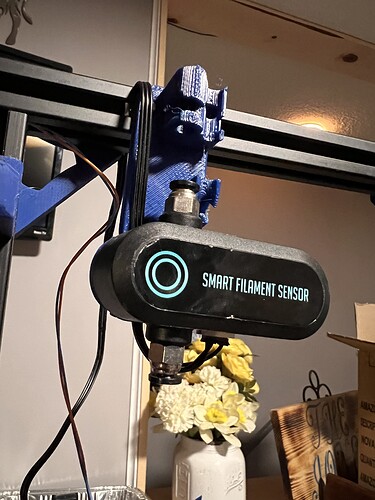
@azab2c what was the purpose for this slot behind the filament sensor? I didn’t notice it in your write up but I could have missed it. Mostly just curious. Also if you have any more pics of how you have your wiring and all coming to and from here that would be awesome!!! Love the way it looked on yours so hoping it will help clean mine up a little lol
Hey @Jonathjon, hope sensor mount works out for you, the slot/channel is my attempt at a guide and strain relief for the sensor wire. Hope the close up pics help at on MP3DP v4 - Aza's build - #224 by azab2c
Yes sir! Huge help! Thank you!!!
Nice! Noticed wiring connector on bottom of these sensors moves side to side slightly as filament is inserted/removed. So I ensure looped wire has enough slack to not yank on the connector.
Will do! Thanks for the tip!!
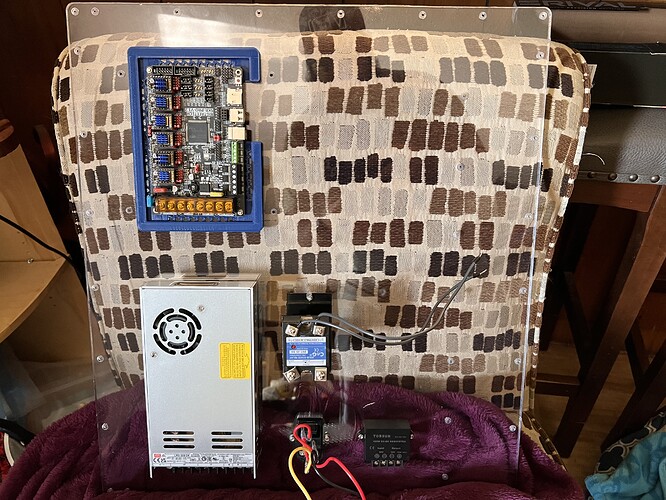
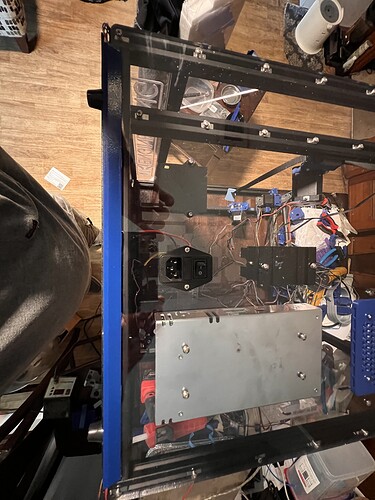
Made a little progress today. Ended up moving a few things around. Now all of the power stuff will be on the right side panel. Hopefully it turns out well when done lol
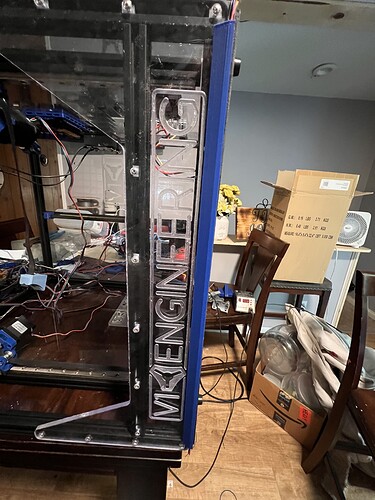
Finally got all my panels installed and the LEDs ran under them. Hoping that just lighting from the bottom will be enough. If not I’ll have to figure out a good way to run more across the top. Also have to see if I can draw up some corner pieces that will cover the wires up and not look stupid lol
Looks good. I’m looking forward to seeing the lighting in place.
Me too - I don’t even care if it doesn’t print! ![]()
Have a little more faith than that LOL. I sure hope it prints and prints well after all this LOL
Waiting on some ball bearing for the linear rails to come in today. One slid off more than it should have a dropped a “few” balls. Was able to find 2 but I’m pretty sure I heard at least 3 hit the floor. In my inexperience I never cleaned these when I built it originally. Going to take them apart and clean them REALLY good and then lube up with some Super Lube. Hopefully they will be in tip top shape after that. If all goes well I’m hoping to be at least starting rewiring everything this evening. All depends on how many distractions and pull a way’s happen LOL.
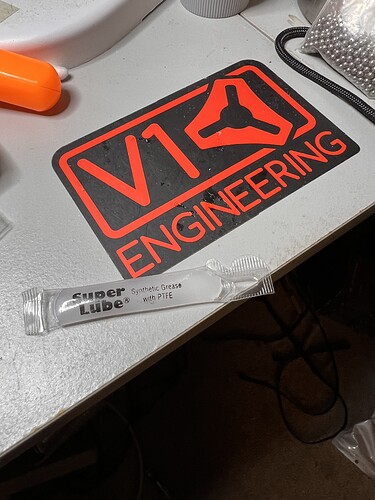
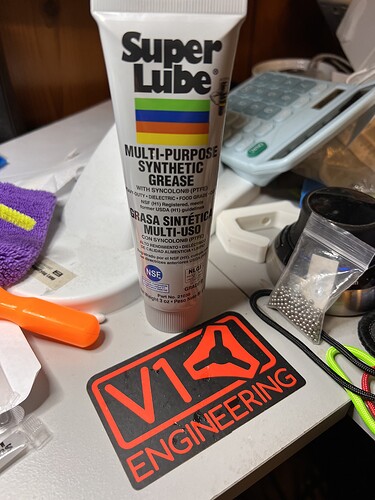
FYI if you are going to clean your linear bearings and lube with super lube there is a difference…
Bad superlube…
Good superlube…
I thought I could use the same stuff we use for lead screw. Boy was I wrong. Bearings wouldn’t hardly move. And of course I did 2 of them. First one I wasn’t sure if it was the balls were the wrong size just slightly or what. Second bearing was moving good before I started. That when I figured out it was the grease. Got them apart again and soaking in IPA/water. Hopefully it will go smoother this time lol
Wouldn’t move with the other stuff either. IDK how but the bearings are just too big. I cant see a difference in them and no easy way to measure. Cleaned all the old ones up and put them back and all is good now lol
These are the replacements I ordered
https://www.amazon.com/dp/B07YFVQ2Z4?ref=ppx_yo2ov_dt_b_product_details&th=1
