MP3DP V4 Build

3 Likes

Well thats as far as i made it tonight. The lighting in my house sucks as you can tell lol. Tomorrow i will get the correct screws to mount the bed plate. Then hopefully glue the heater to it and the PEI sheet to the top. After that should be able to get it wired up and take it for a test drive.

4 Likes

Still have to counter sink the holes. Glue on the heater and insulation and glue on the PEI sheet (hopefully I end up liking it. Im used to glass beds) but still feels like a win seeing it sitting there lol

1 Like

Ok now they are counter sunk….

Still just sitting there. The bed support is bolted but the bed plate it just sitting there. Will put lock nuts on it once I get everything glued to it and all

3 Likes

Getting close now!

3 Likes

Not as centered as I hoped but not bad I don’t think…

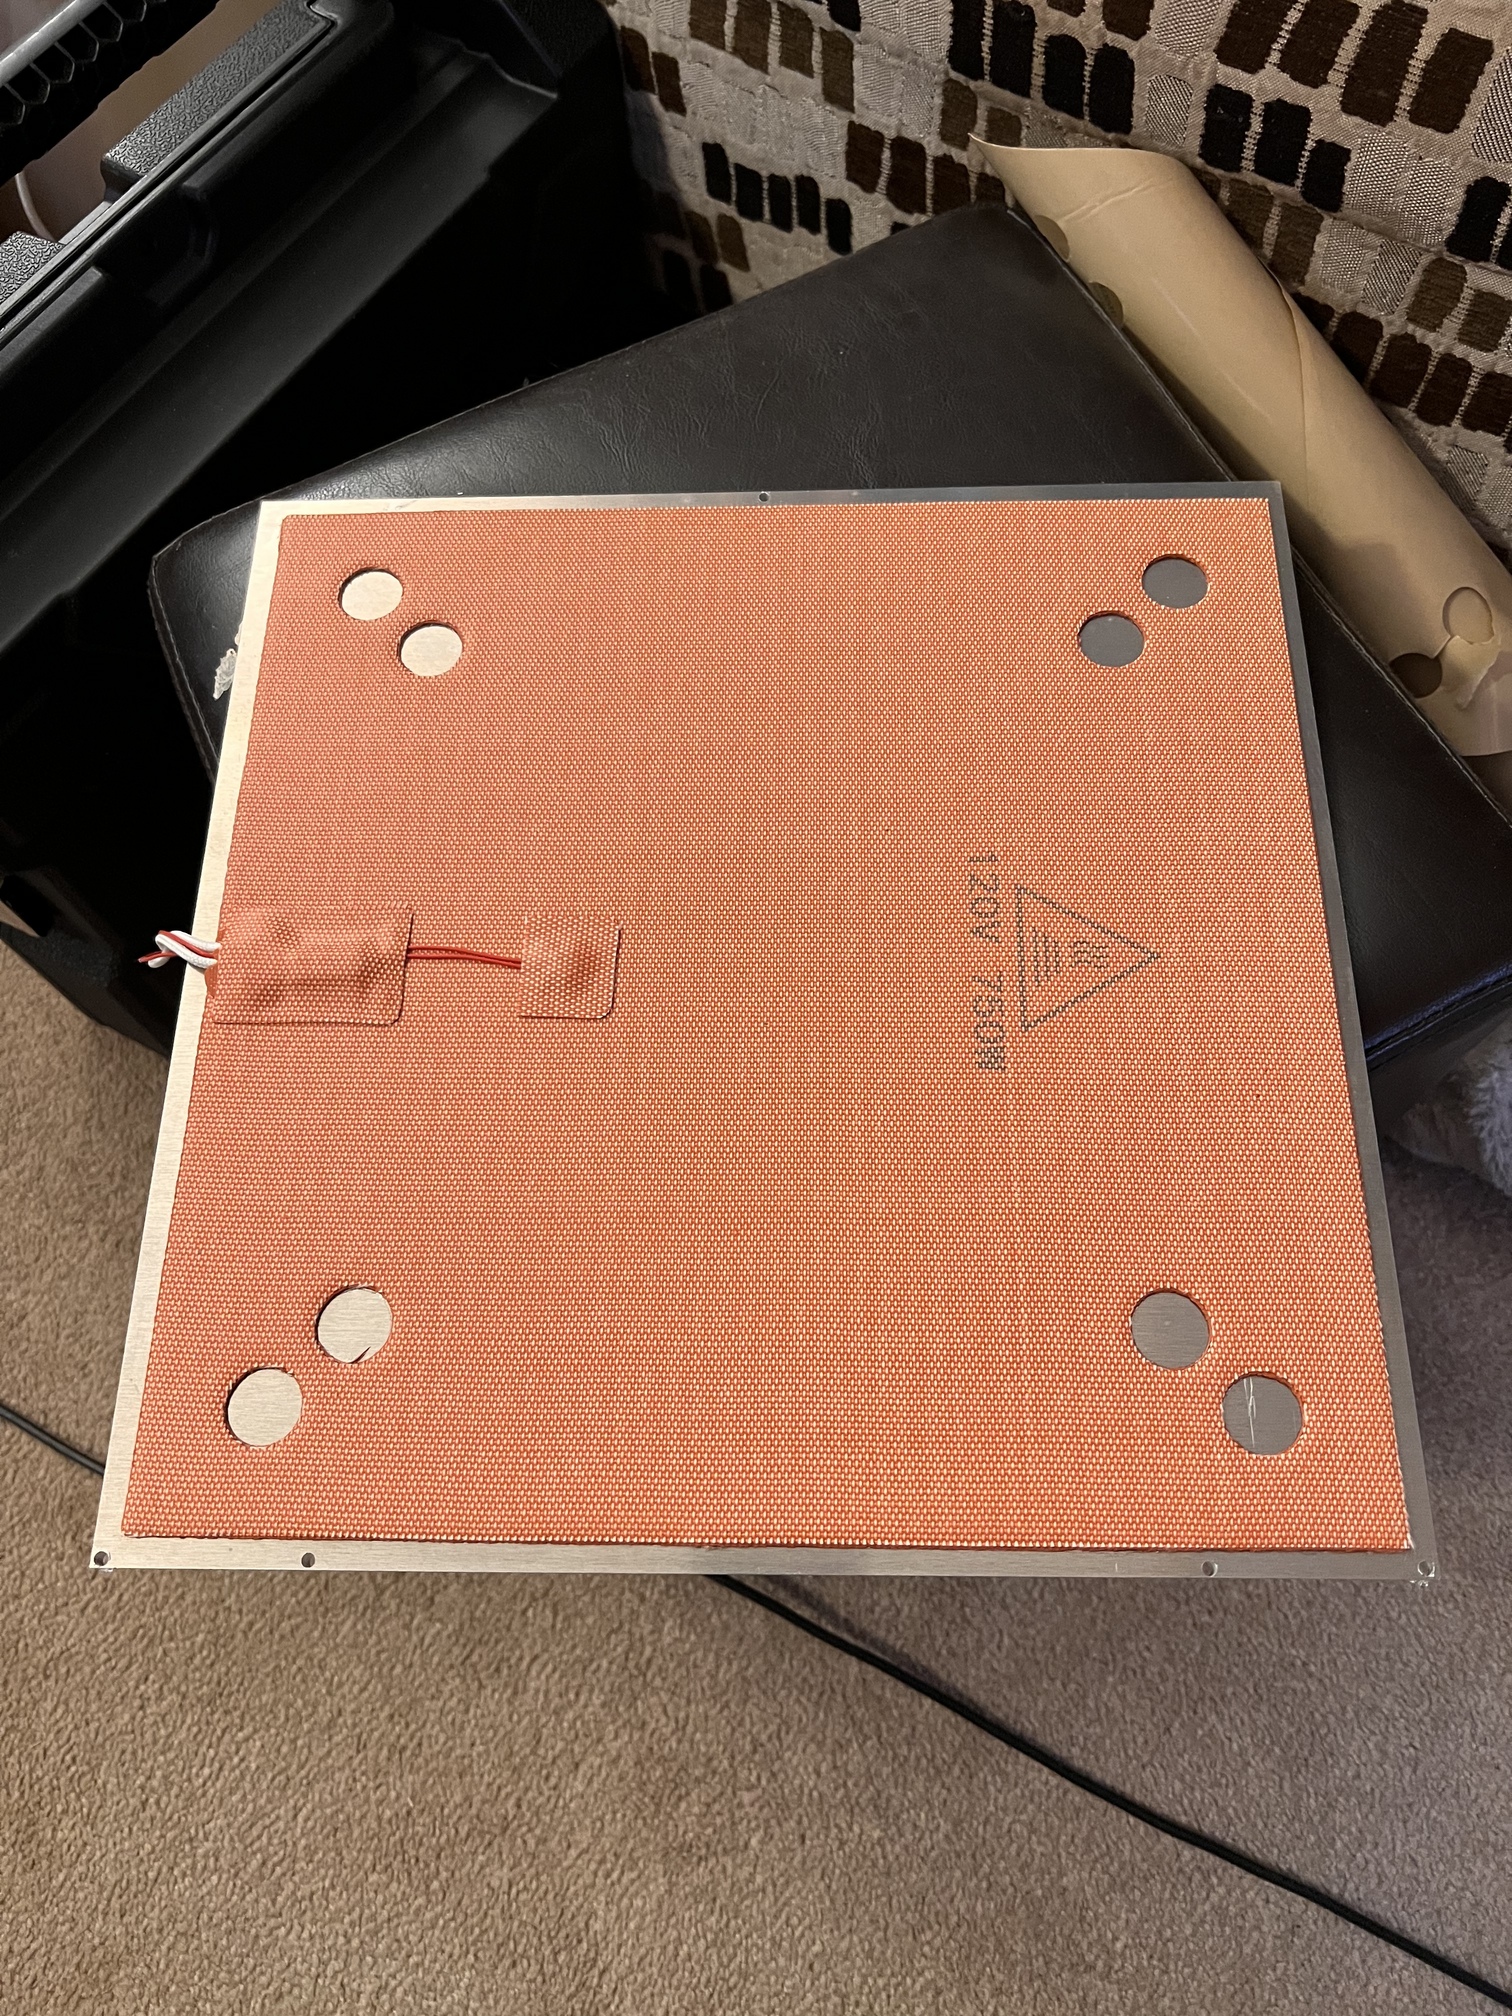
Hat to bring the wiring out the side. With it coming out of the back it was lined up dead on the mounting screw…

2 Likes

Insulation and PEI sheet installed… getting closer and closer…


4 Likes

I need to order some longer M3 screws for the bed. These were the longest the hardware store had and they have the insulation mat smashed to the bed support as soon as the nuts start to grab. I believe these were 25mm long. Need to order some 30 or 35mm

2 Likes

Ok @vicious1 @SupraGuy or anyone else…help a newbie out… If I’m looking at the front of the printer which stepper is which? Never dealt with a core xy printer before so i have no idea which motor is which. and i have never had 3 z steppers before lol. Just all kinds of uncharted territory for me. Thanks in advance!!!

1 Like

When looking at it, the one on the left plugs into X, and the one on the Right into Y. From there You might need to flip the plugs a bit but they stay on the same side.

2 Likes

I am 90% sure it is red up for both, I just have an extension on the right stepper.

3 Likes

Ok awesome! what about the 3 z steppers? what i would call left right and back… Im sure it matters where these are plugged in for the leveling to work

1 Like

Left-1-z
right-2-E1
Back-3-E2

4 Likes

Awesome. Thank you so much!!

2 Likes

Got started on the wiring this evening after fighting with the hotend/fan shroud for way longer than I should have lol. Everything is a mess right now. I just want to see it move then I will figure out how I want it all routed.

One thing I’m not sure on. Since I’m running an AC bed heater do I need anything hooked up to these spots on the board???

Nope.

That depends on how gou are controlling your AC heater.

The board still needs to control it, unless you have a separare temp controller and are tellin Marlin “don’t worry about it”.

Most people use an SSR, which needs a DC input for control. In that case you will need a power source for the heat bed (low current is Ok, just bridge the 12/24V wires again) and then connect the control leads to your SSR to the heated bed output.

2 Likes

I did plan for the board to control it. So i will hook up 24v to the hot bed and then from the bed power to the control side of the SSR? My plan was to pig tale off of the 120v power to the 24v power supply for the supply to the bed heater as well.

Now i just have to figure out where each thermistor plugs into and which fan goes to which connection. Guess once I power it up ill be able to play with it and see what’s what and move things around accordingly. I’ve been looking at a pic Ryan posted of his board trying to decipher as much as i can from that without having to bother folks with 1,000 questions lol.

Also had a few min to clean up some wiring this morning. I found these clips on thingiverse that worked great at hiding the wire in the extrusion. Also nice when you can print 25 of them in 6 min lol.

1 Like

Yea, sorry, forgot you need power for the ssr.

1 Like