It wouldn’t have to be on either side of the 2020 either. You could just put two sheets together, touching.
It won’t be pristine forever. You just need to protect it against the worst offenses. Then get another one signed next year ![]()
It wouldn’t have to be on either side of the 2020 either. You could just put two sheets together, touching.
It won’t be pristine forever. You just need to protect it against the worst offenses. Then get another one signed next year ![]()
Bear with me, it’s going to be a bumpy ride…
Get another clear acrylic panel. Coat it in photosensitive masking material. Use the signed sheet as a mask (signatures against the masking material), and expose the masking material to UV light. clean up your mask, which should be mostly masking, but negative space for the signatures. A quick hit with something to etch the acrylic, and you have some permanent signatures! If you want them more visible, it should be easy to fill the etched signatures with color (maybe even differentiate different signatures with different colors).
Or just take pictures with a known object for scale, and toss the panel on your LR or MPCNC to carve out the signatures.
since you have inside and outside panels what about trimming it down to fit in the slots in the 2020. then put the other panels on each side.
That didn’t take long ![]()
I kid. I kid. ![]()
Cheers for all the ideas, so many options… Will do a quick panel swap for now so the tags are protected and inside the enclosed space. Would like to eventually work towards a combination of several ideas mentioned… First though, am going to focus on progressing wiring up…
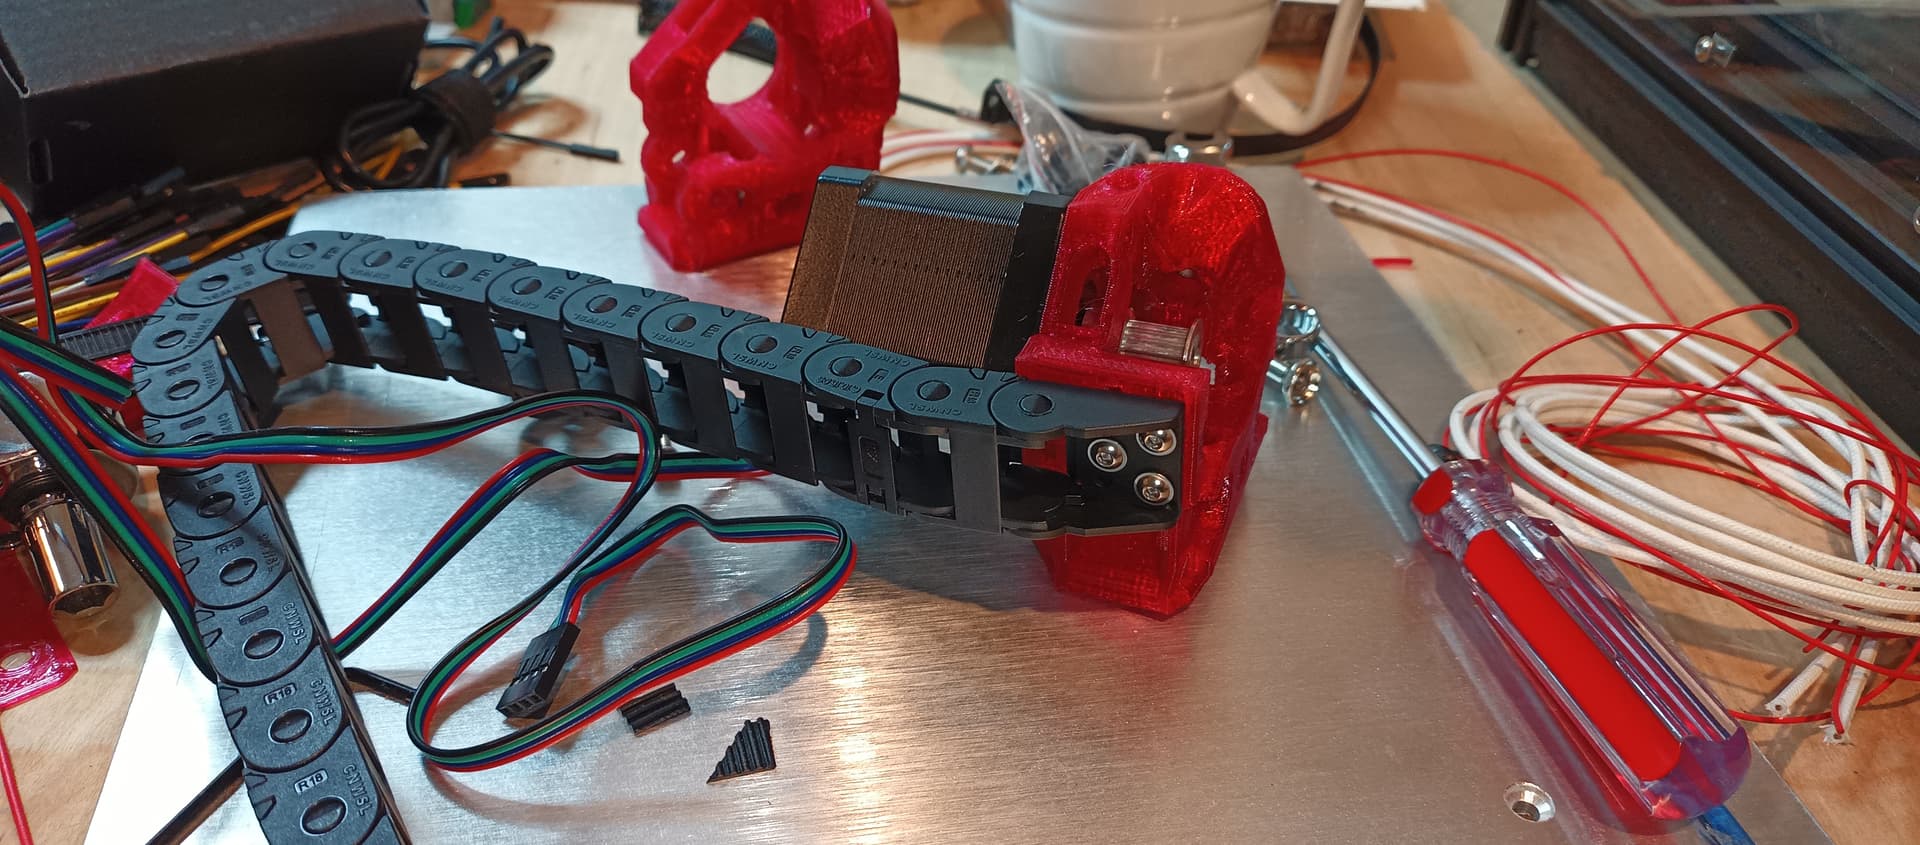
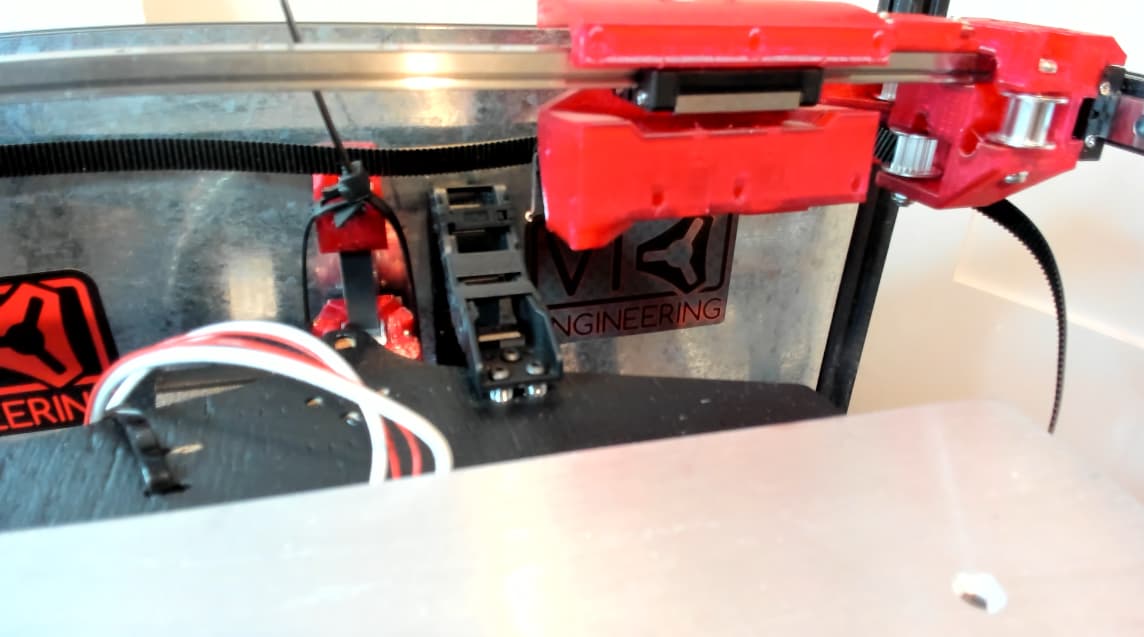
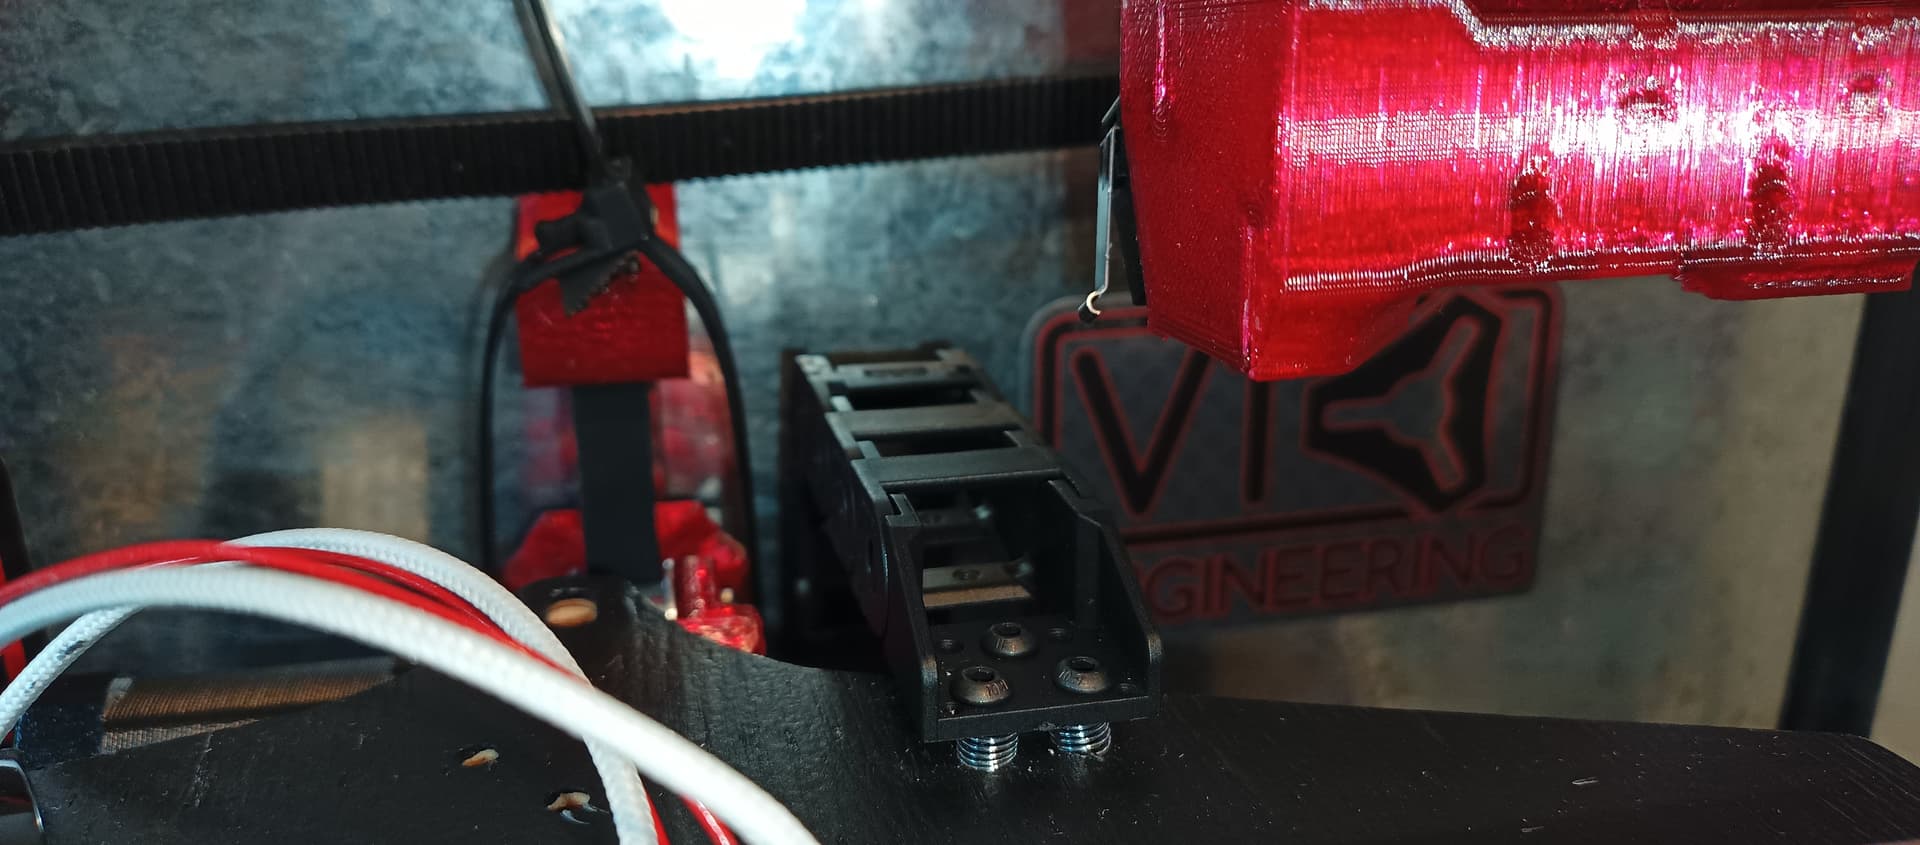
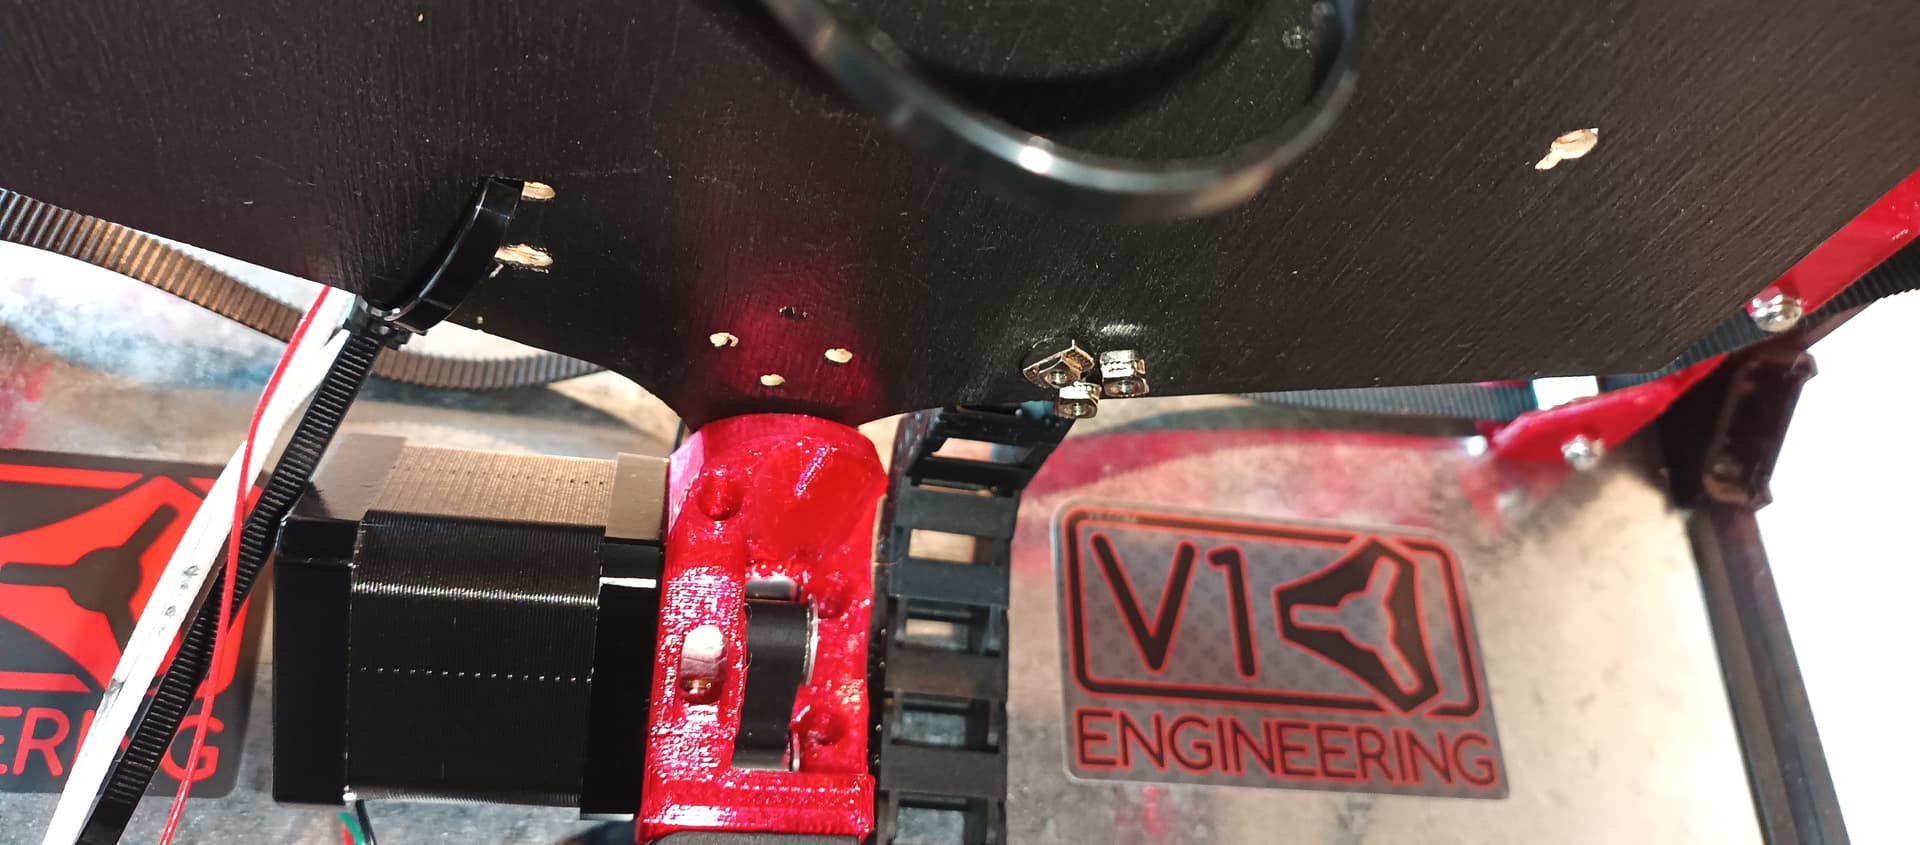
Along those lines, am currently adding more chunks and holes to the Z post (for drag chain mount), because obviously the Z post doesn’t have enough holes already… Feels like I’m desecrating the O.G. Z post, but am needing to mount the drag chain somehow for Z steppers and Heat Bed wiring.
Sharing incase someone’s solve this already, or looking for something similar. Note my build has parts mounted 20mm higher than a stock build. Reason is my build has ~80mm high controller/power underneath the build plate area, still not 100% sure if it’ll work. So, for my build the drag chain will fit folded over underneath the Z post. Will share details/pics when done…
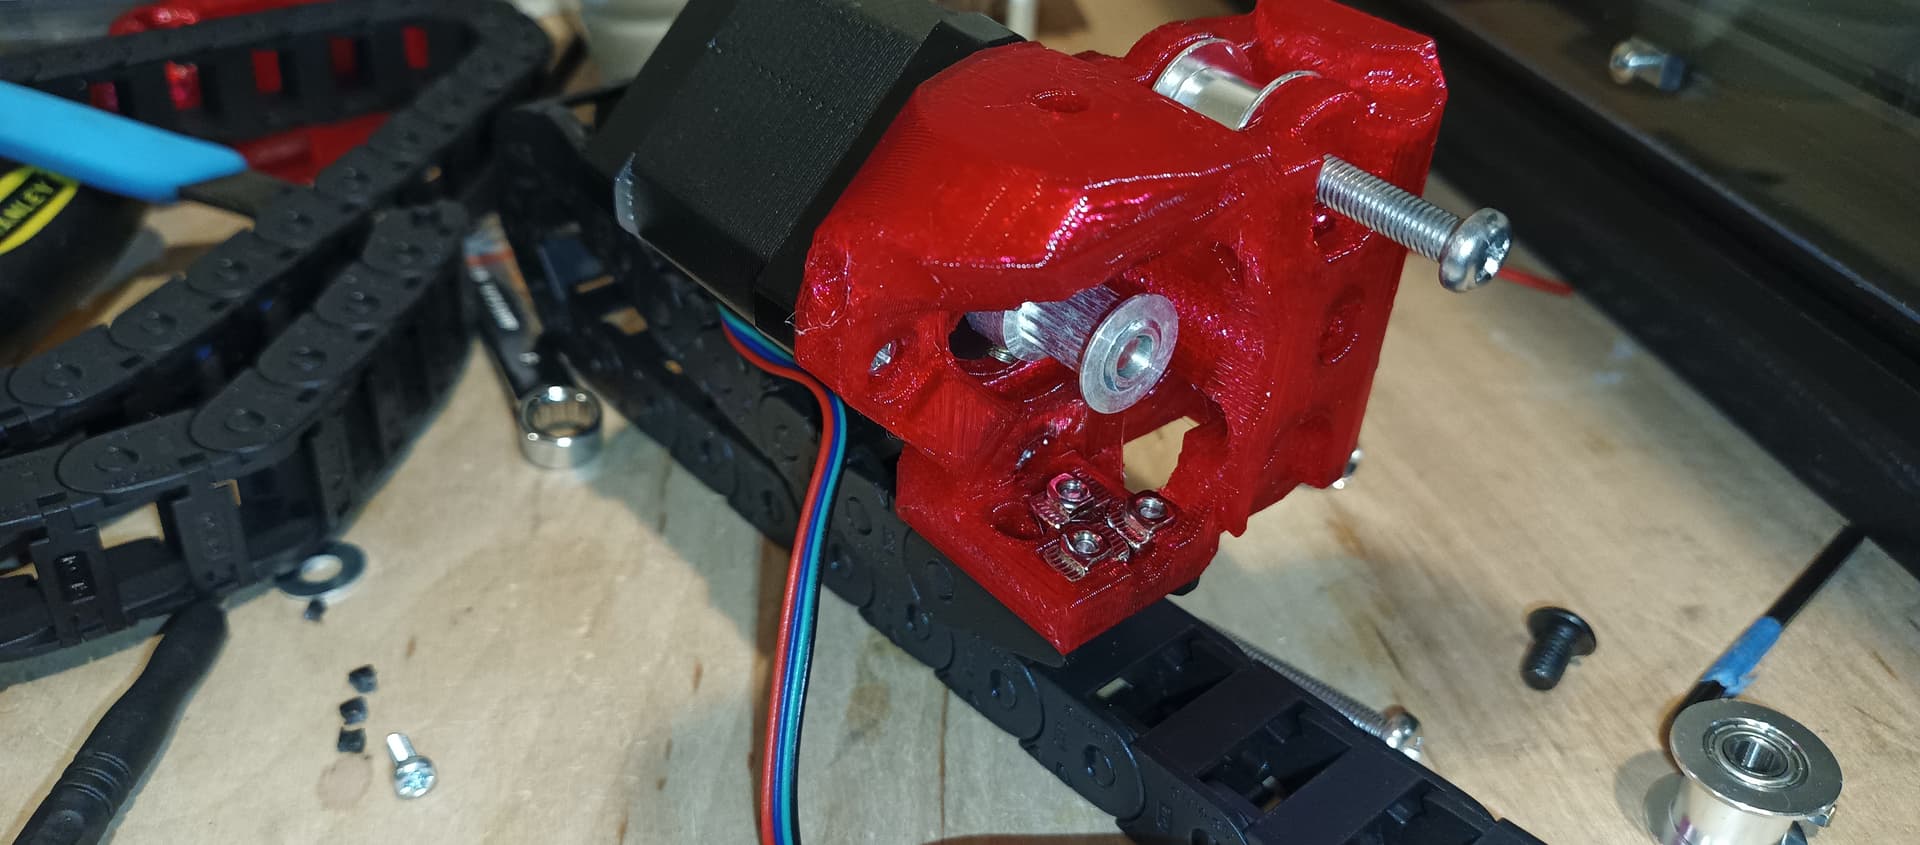
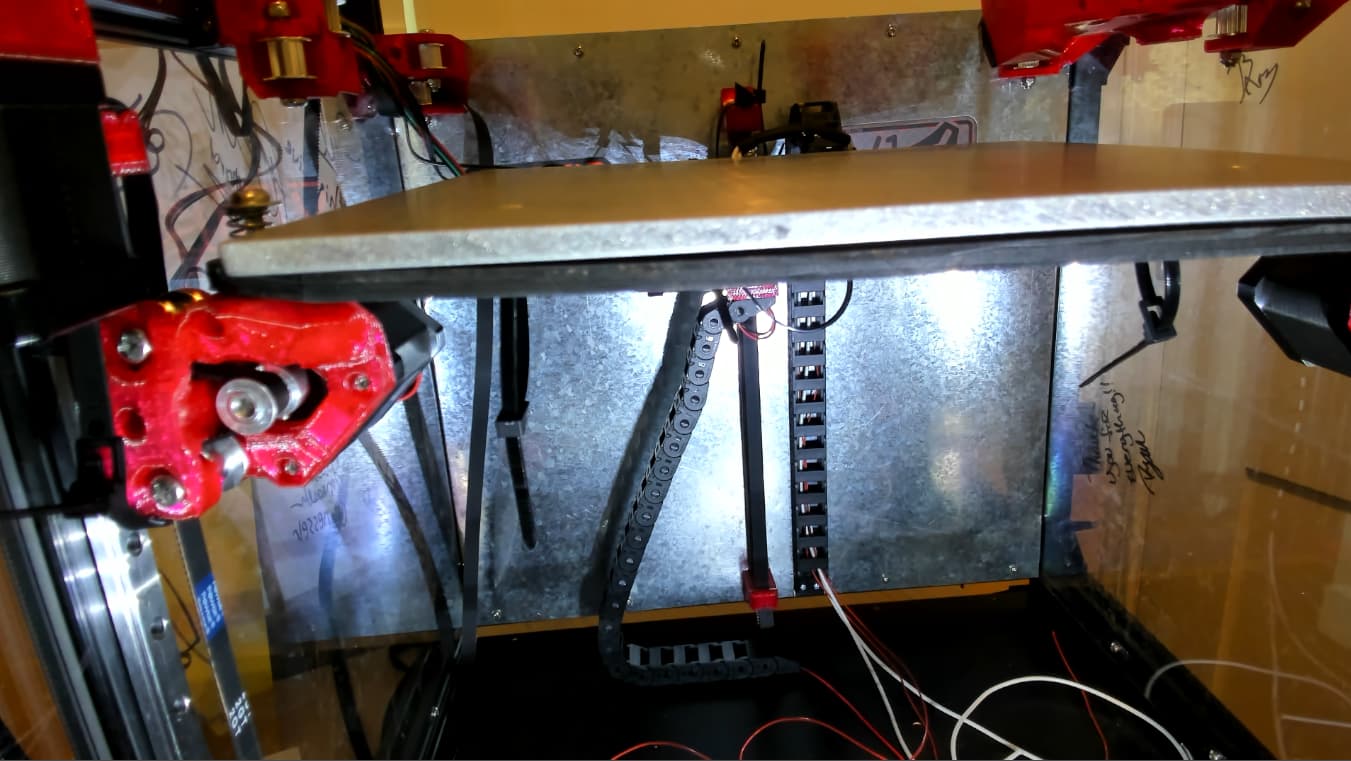
2023-4-30 Edit: Didn’t like how the drag chain looked, and occupied so much space behind the controller box. Came up with alternative drag chain mounting, details below…
I don’t remember who suggested it but the one I brought to the show has all three steppers and the bed wiring tied in to the bed and then down. I think a single drag chain off the bed plate would be the cleanest, or maybe two to separate mains from the steppers.
Open to interpretation, though.
I’m hurt. ![]()
Yeah, separating mains seems like safe thing to do, maybe interference without grounded shielding would be a problem too. Our local building codes require mains and low voltage to be in separate conduit. Will figure something out…
Drag chain fits, but needed to mod 2 of the chain links and nip away some of the link’s rotation stop material to allow chain to bend back on itself slightly so the linear carriage can freely move up-down without the chain trying to force/pressure carriage into rotating/twisting.
Tried reversing couple of links before nipping, but the reversed links would unexpectedly/randomly rotate too much, was concerned about wire being compromised. So, went with nipping mentioned above.
2023-4-30 Edit: Ended up not mounting drag chain this way.
after you etch, then you cut the panel down, and mount it in the track of the 20/20 and LED side-light in the track so the signatures glow…
Yep, absolutely, this is the long term plan. 1/8" to 1/4" thick etched/engraved panels seated in 2020 track surrounded with gratuitous LED lighting ![]() Will need to photo/scan the tags → SVG → etch. Will share details if I get anywhere with this… Will be a post build mod.
Will need to photo/scan the tags → SVG → etch. Will share details if I get anywhere with this… Will be a post build mod.
Be careful, I know the meaning and proper use of the term “Hold my beer”… Even if I have to use it self-referentially.
Cheers for the suggestion, something like this?
Parts :
Mounted drag chain to the bed plate support. Can run stepper and bed plate wiring separately with this approach.
Learnings:
fwiw I looked at Voron Trident, they mount drag chain to carriage, looks cool. Mounting to carriage/Z-stop would be simpler, less parts since carriage is more constrained motion wise than MP3DP v4’s pivoting bed (I think?). Looking forward to eventually taking advantage of v4’s pivoting bed, so trying to assemble with max pivoting motion in mind.
I would mount the drag chain to the middle of the bottom of the heat bed, so it provided the same drag to all steppers.
Cheers @niget2002, am using 120vac 60hz mains voltage heat bed. Any safety/interference concerns with 24v stepper wiring and mains bed wiring being in the same drag chain? I don’t have an opinion, or know what’s commonly done, I need to google chatgpt …
Edit: Pasted current setup below. Prefer how drag chain mounted to back of the bed plate support is looking. However… Maybe mounting to each side of the Z Stop would probably be even cleaner. Maybe a Z Shim plate sandwiched between the linear rail carriage and Z End stop, with drag chain mounts on left and right side of the Z Shim would be even better? Would look closer to Voron style, and wouldn’t require modding the stock Z End stop.
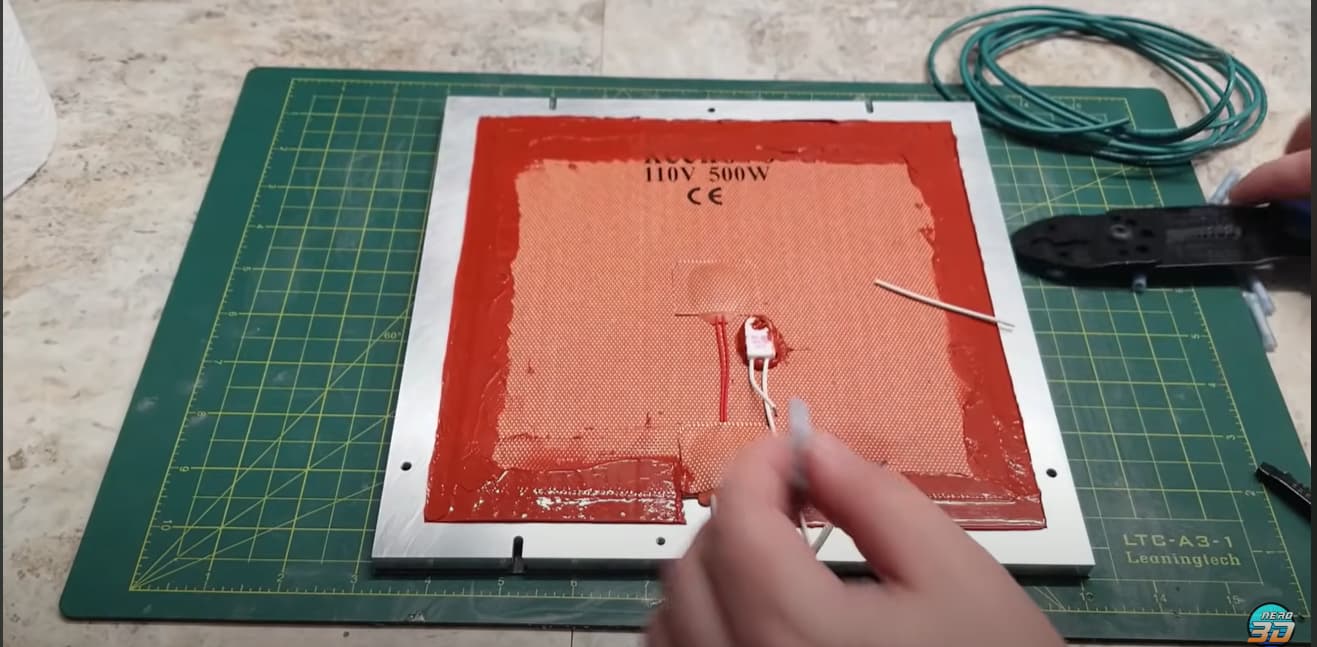
Thoughts/feedback on thermal fuses appreciated…
Disclaimer/Warning: Mains voltage may tickle and/or kill you, someone you love, or family member(s) even. Could start a house fire, and is known to the State of California to cause cancer.
Parts:
From Nero 3D’s video :
Guides am following :
You can also get ac bed heaters with thermal fuses embedded.
Have you PID tuned the bed yet? I’m curious what temps you get at the thermistor when heating up to say 100C (for ABS, if you intend to print with that…)
I am loading up an amazon cart…I want to try a mains heated bed. Thanks for the links.
You wont regret it. Its crazy how fast it heats up