Klipper has better input shaping. That’s why I moved over to it with my printer. My slow speeds are 100mm/s now.
1 Like
I’m doing 100 on the CR10S-Pro (not sure why I still call it that, the only thing from the CR10S-Pro is the frame…) only downfall on this printer is the acceleration, if I go over 4000 it start to skip steps on the Y axis. I’m soon to convet the Repeat to Klipper…
what material (PLA, PETG, ABS, ASA) are you printing at 100
PLA and PETG.
Any klipper experts…
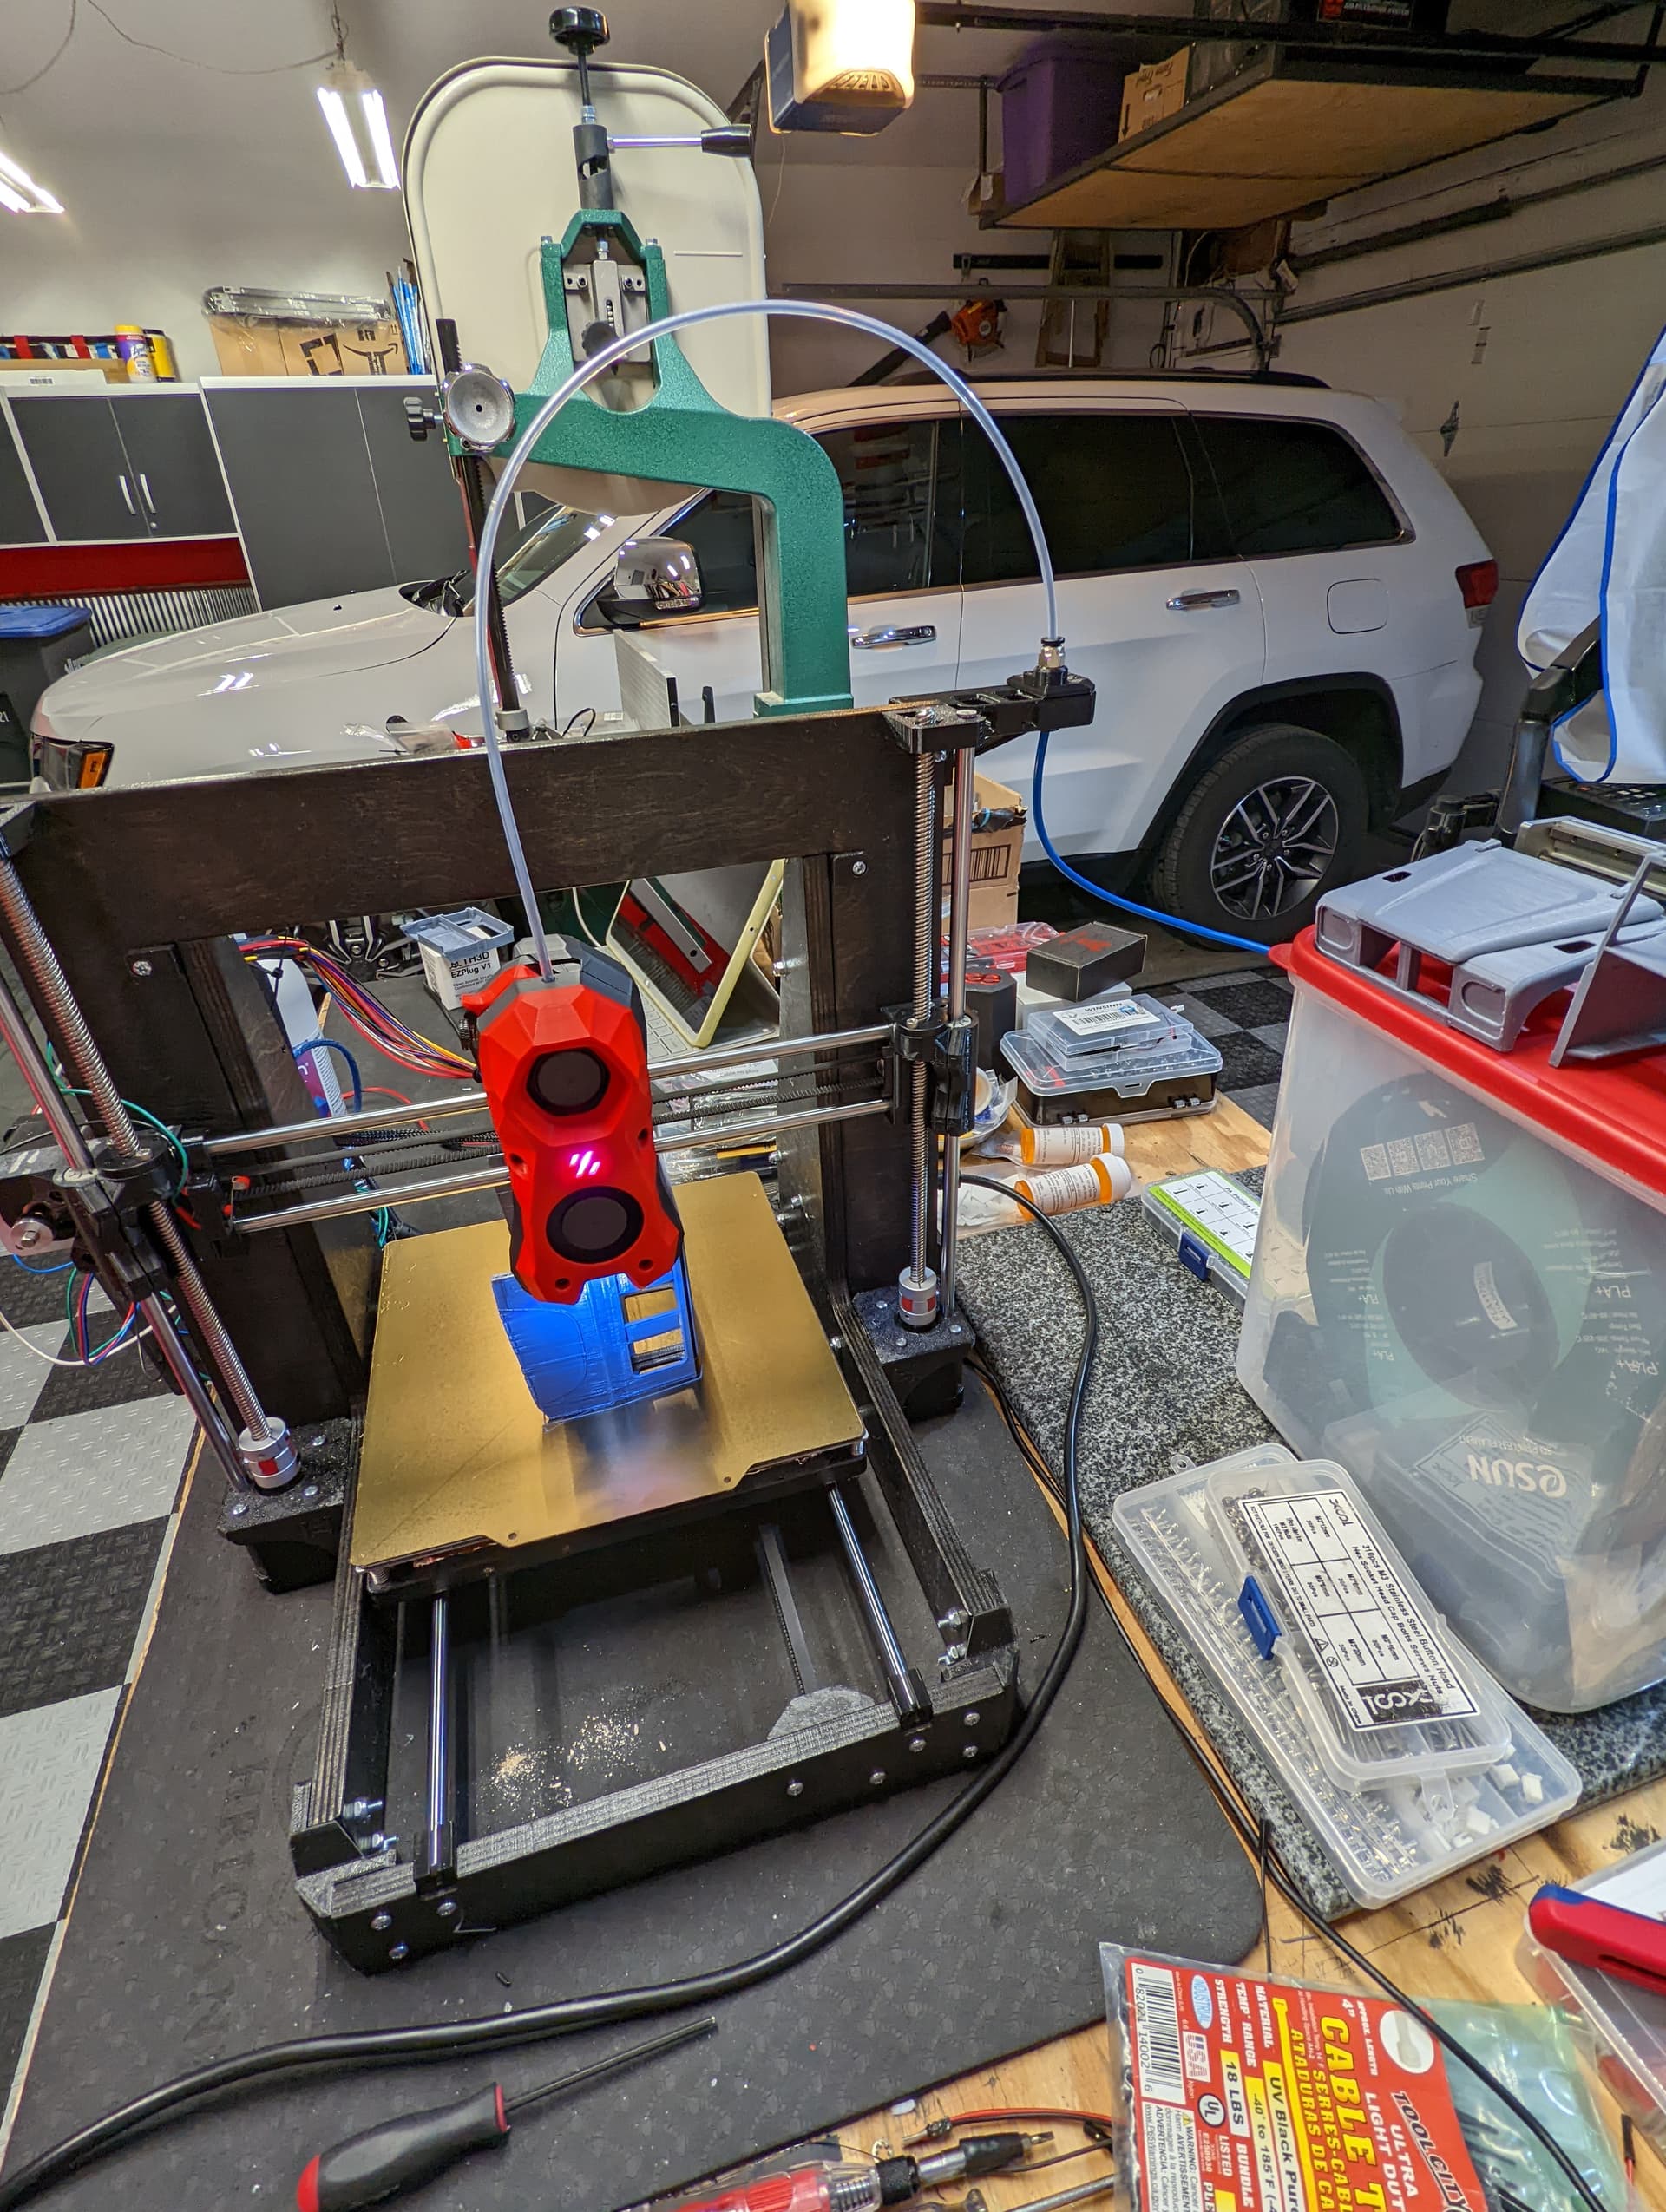
I got the thing all wired up today but for some reason the extruder is not extruding the correct amount.
If I press 50mm extrude it only extrudes 5mm.
Here is the cfg.
[extruder]
step_pin: PB3
dir_pin: !PB4
enable_pin: !PD2
microsteps: 16
rotation_distance: 33.500
nozzle_diameter: 0.400
filament_diameter: 1.750
heater_pin: PC8
sensor_type: EPCOS 100K B57560G104F
sensor_pin: PA0
control: pid
pid_Kp: 21.527
pid_Ki: 1.063
pid_Kd: 108.982
min_temp: 0
max_temp: 250
min_extrude_temp: 0


[tmc2209 extruder]
uart_pin: PC11
tx_pin: PC10
uart_address: 3
run_current: 0.650
stealthchop_threshold: 1

I have haphazardly messed with the extruder settings by trial and error until I could get it to extrude 50mm to the mark.
It prints… but by no means is it near configured like it should be. Still am using my profile for my cr-10 which has a bowden so you can hear the retractions.
1 Like
Adjusting this to 3.35 would make it extrude 10x more. It looks like you tuned it already. But I thought I would point that out.
I’ve always read that you have to tune the extruder. Off by 10x is a lot. But once you get it close, you still have to find tune it.
I ended up at this.
microsteps: 16
rotation_distance: 13
gear_ratio: 50:17
Probably not right by any means but when I extrude 50mm it does exactly that.
First print - using CR-10 bowden profile. These up close photos shows how bad it is.


1 Like
I haven’t use Klipper, but with other firmwares my experience is that you tune the steps/mm to match your combination of steps per revolution & microstepping & gear ratio & drive roller diameter so that a commanded 100 mm extrude command results in 100 mm of filament going in the top of the extruder, and you save this as a machine setting as it is controlled by the hardware.
Then you fine tune the actual print outcomes by tweaking the the extrusion multiplier (or whatever it’s called in your slicer), which you then save as a filament (rather than a machine) property. This is because different filaments get “grabbed” to a different degree by the drive gear(s) and/or pinch roller, may flex more or less as they feed in, suffer from different amounts of “die swell” as they’re extruded, and a number of other factors.
The Teaching Tech 3D Printer Calibration site has proven invaluable for me in dialing in what started as a marginally functional printer to the point where I trust repeatablility, accuracy, and dimensions of parts for both PLA and PETG plastics (I haven’t gotten around to playing with more exotic stuff).
1 Like
I have some serious issues with this set up. I am using prusa slicer using the MK3 machine profile with a tweaked bedside for this machine. Prusament PLA filament default … so the print speed is slow yet I have what I think is ringing… not sure how to go out about troubleshooting. I am guessing this is a Y carriage issue - more so mechanical than slicer issue…

I’m going to go out on a limb and guess some stuff. I could be totally wrong.
The left edge/corner looks like the most serious problem to me.
It looks like binary noise. Some layers it is loose and others it is tight. One guess is that is has to do with clockwise vs anticlockwise direction.
One idea is backlash. If a gear doesn’t quite mesh with another gear, then it spends the first bit of rotation closing that gap. Maybe check the grubscrews on your X pulley? Or else, maybe the belt isn’t tensioned enough? Did one of your X rods come loose?
Another idea is something is pulling on the head. Maybe as it comes around from one side, the cables, or the filament is pulling on it, until it rounds the corner. Other times, it comes from the other side and gets pulled before it reaches that corner?
There may also be some layers that look thicker than others. That may still be the same thing as the edge artifacts. But it also may be the bottom of the print rising up and down. The layer lines are 0.2mm, so a small lift of 0.05mm would mean 25% more plastic than the gap allows, which can cause bulging like that. If your bed’s temperature is causing the bed to flex up and down, and you are using bang bang control (Marlin’s default) for the bed, then you can turn on bed PID. That should give you smoother bed temperatures. I have also seen that when the print warps up.
I don’t have much evidence. But that’s where I would start. After that, I would just watch it really closely and see if you can see what is happening.
I think you’ll probably fix it though. It does look pretty good on the consistent parts.
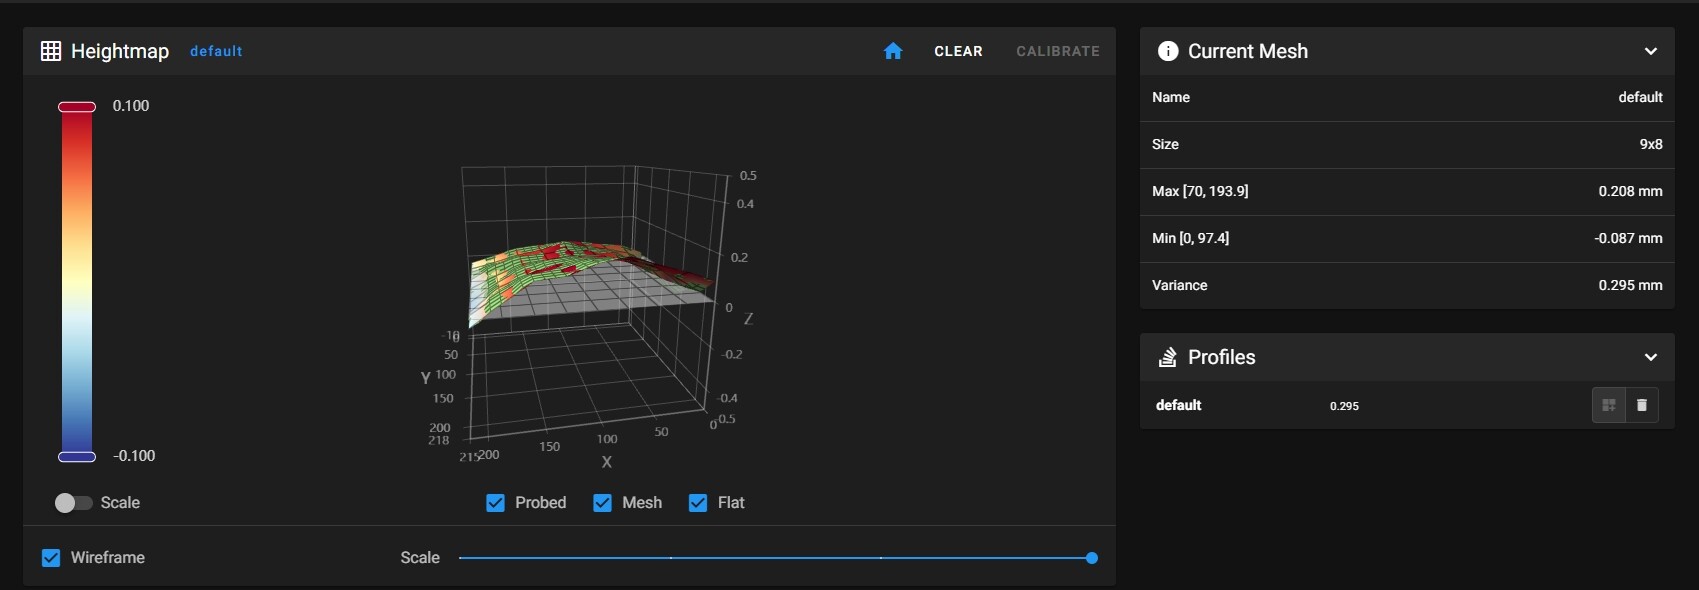
Thanks Jeff - I did do PID tuning. Again, this is on klipper. I did have a heck of a time getting the bed level but I did do a mesh on it. Said the variance is 0.295
The side of the print (its a 3dSets Mini Landy Truck) runs parallel with the X axis so wouldn’t the shift issue be with the y axis? I know the rods are tight and not out of place. Will have to check the grub screws.
The bed leveling is a different beast. After the first few layers, the bed levelling doesn’t really matter. What I was thinking is that the bed moves up or down slowly, making some layers squished and others wider. That could happen if the bed temperature was varying a lot, or if the print was lifting (due to warping). It sounds like that’s not the issue.
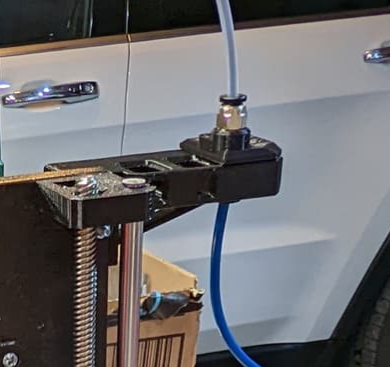
Are you sure the filament isn’t pulling? That can also lift the print head a little, and then the spool turns to loosen things up, which drops the print head back down. I have a PTFE tube from the print head to somewhere rigid on the printer so the length doesn’t change when there is tension on the filament. A cable snagging could cause the same problem.
The filament is in a Rubbermaid storage and runs via bowden tubes … not sure I entirely follow the pulling question. here is a photo to see how it runs.
Y axis belt is not super tight. Does it matter if the idlers are smooth or have teeth… both my x and y are smooth.
1 Like
This is the part I was talking about. You have it set up right.
Have you done Resonance Compensation? and Pressure advance?
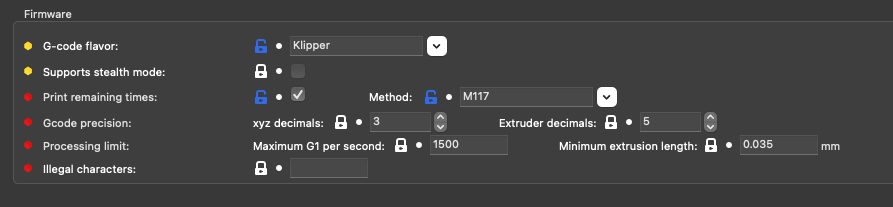
I did do the resonance compensation. However, my before and after prints I could not tell the difference.
Again, if I have a mechanical issue maybe that is why.
These were my results
[input_shaper]
shaper_freq_x: 57.62
shaper_type_x: mzv
shaper_freq_y: 43
shaper_type_y: mzv
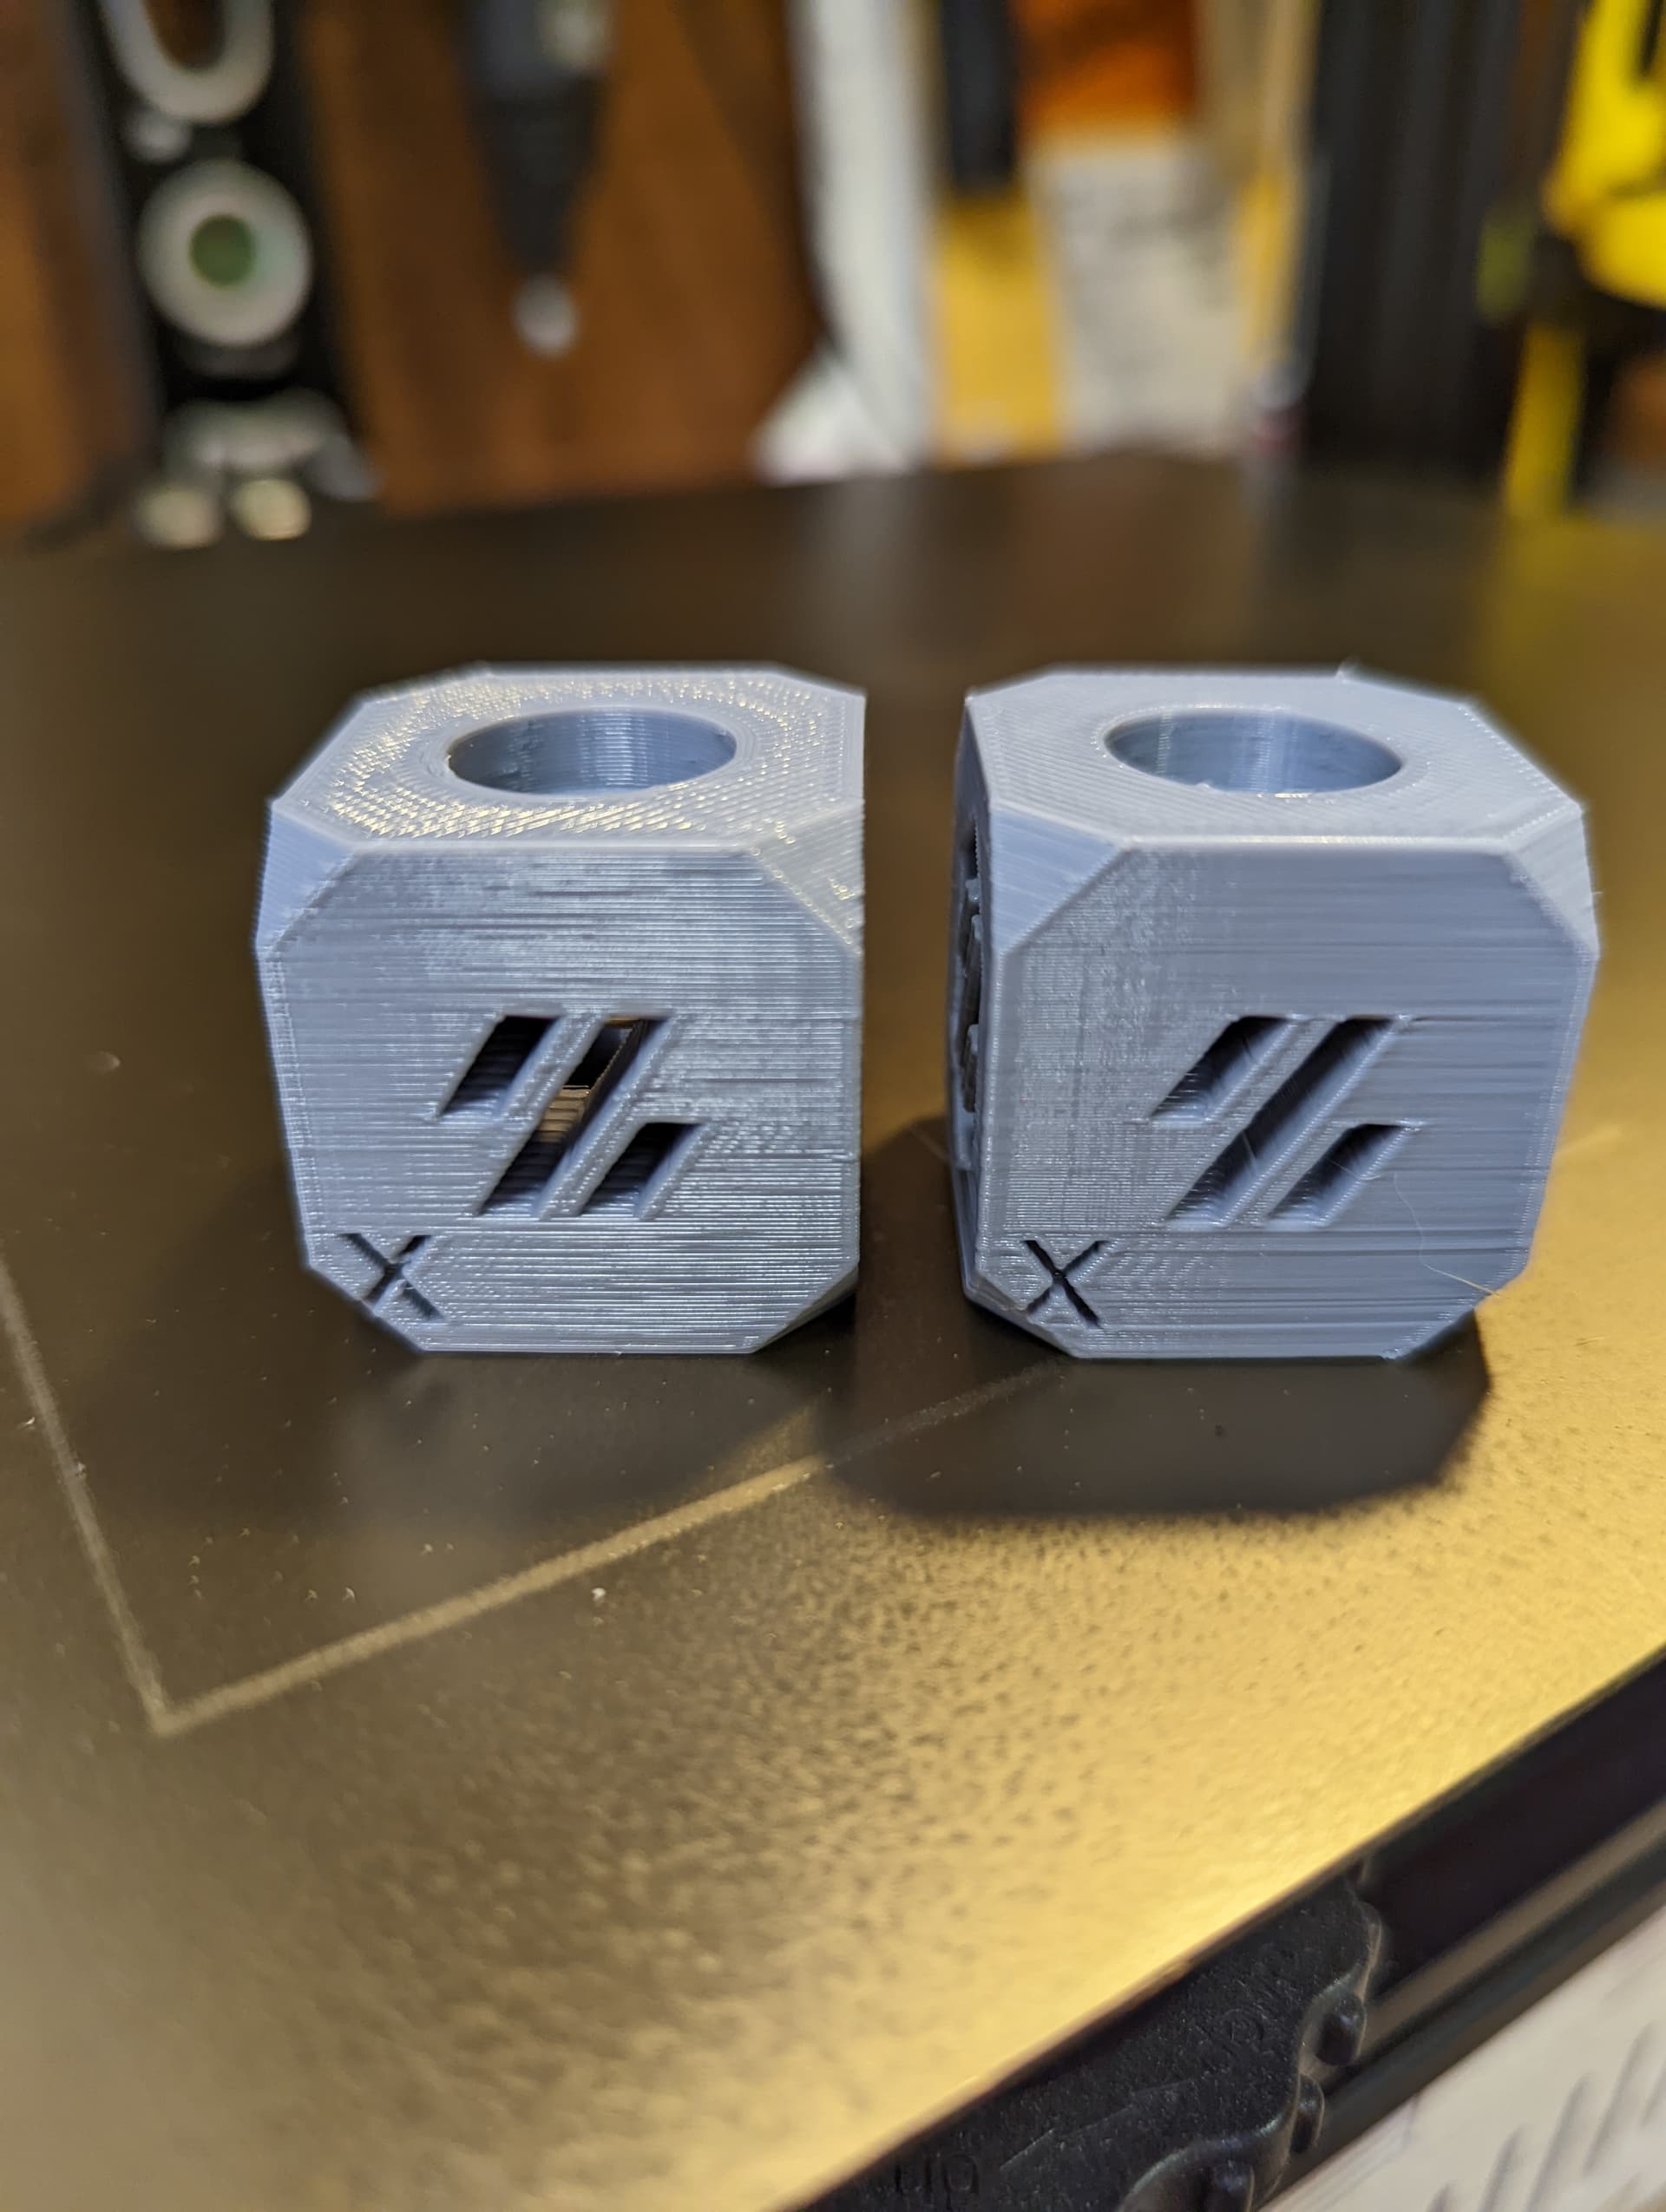
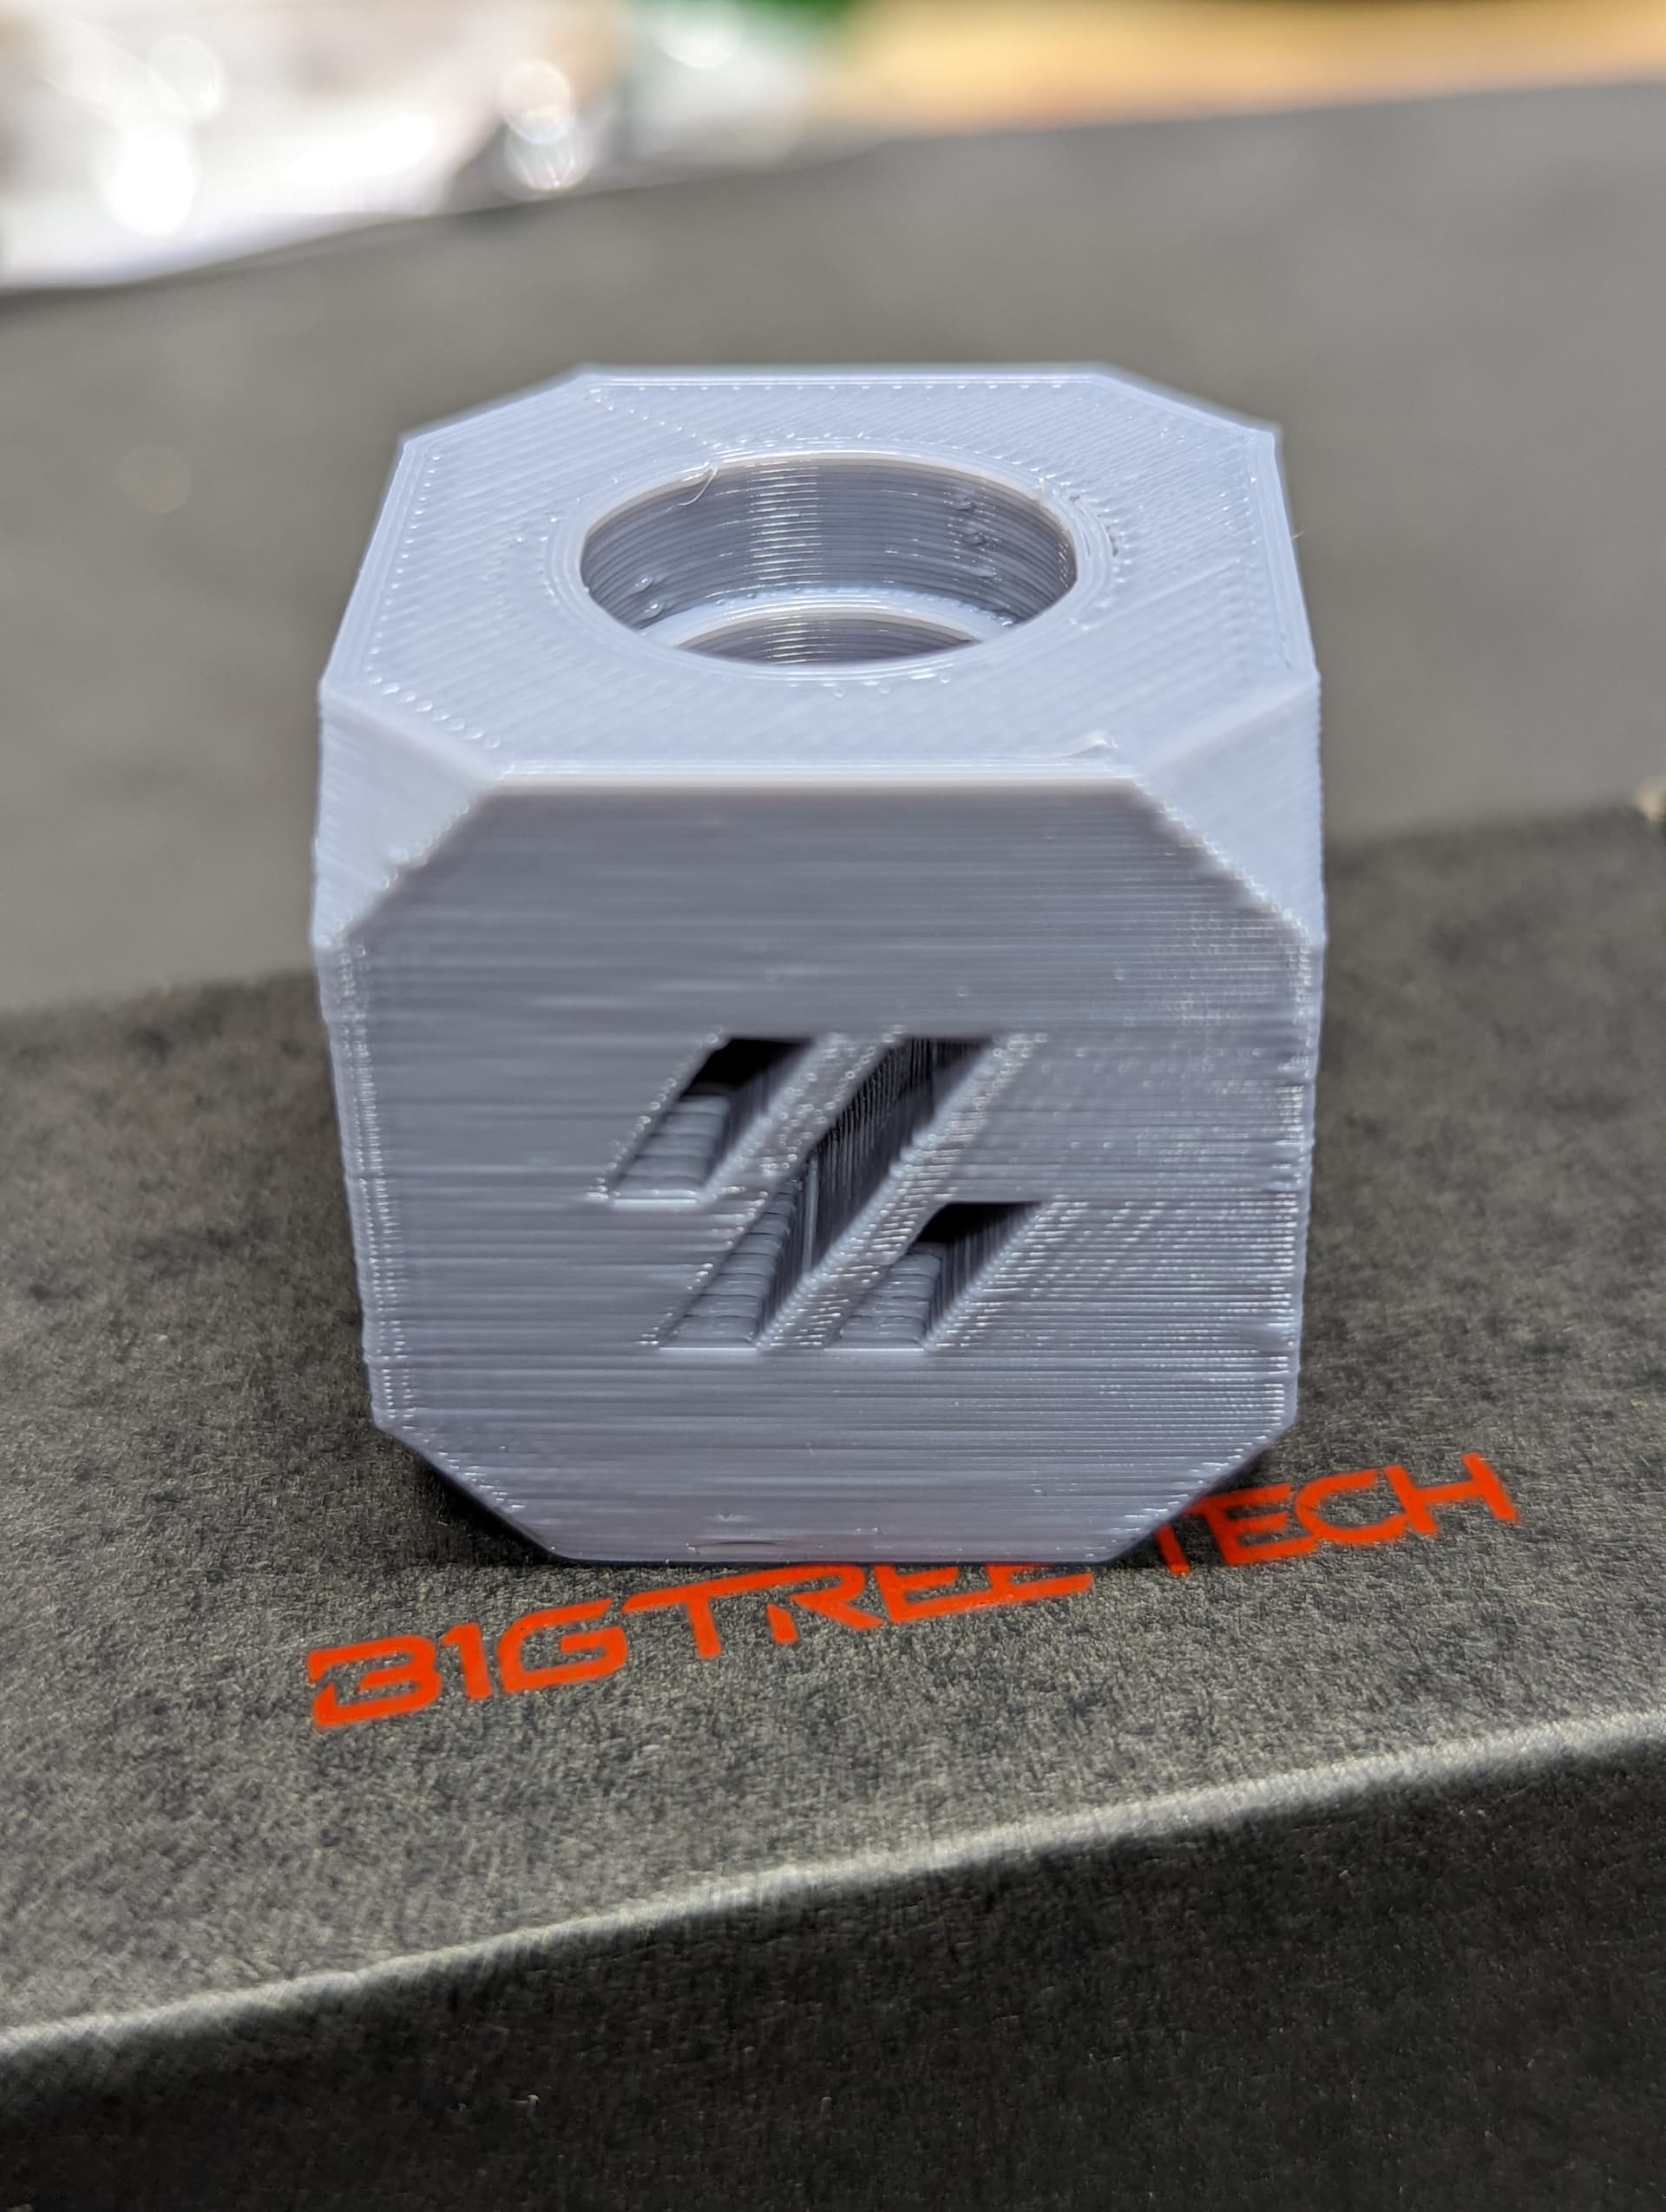
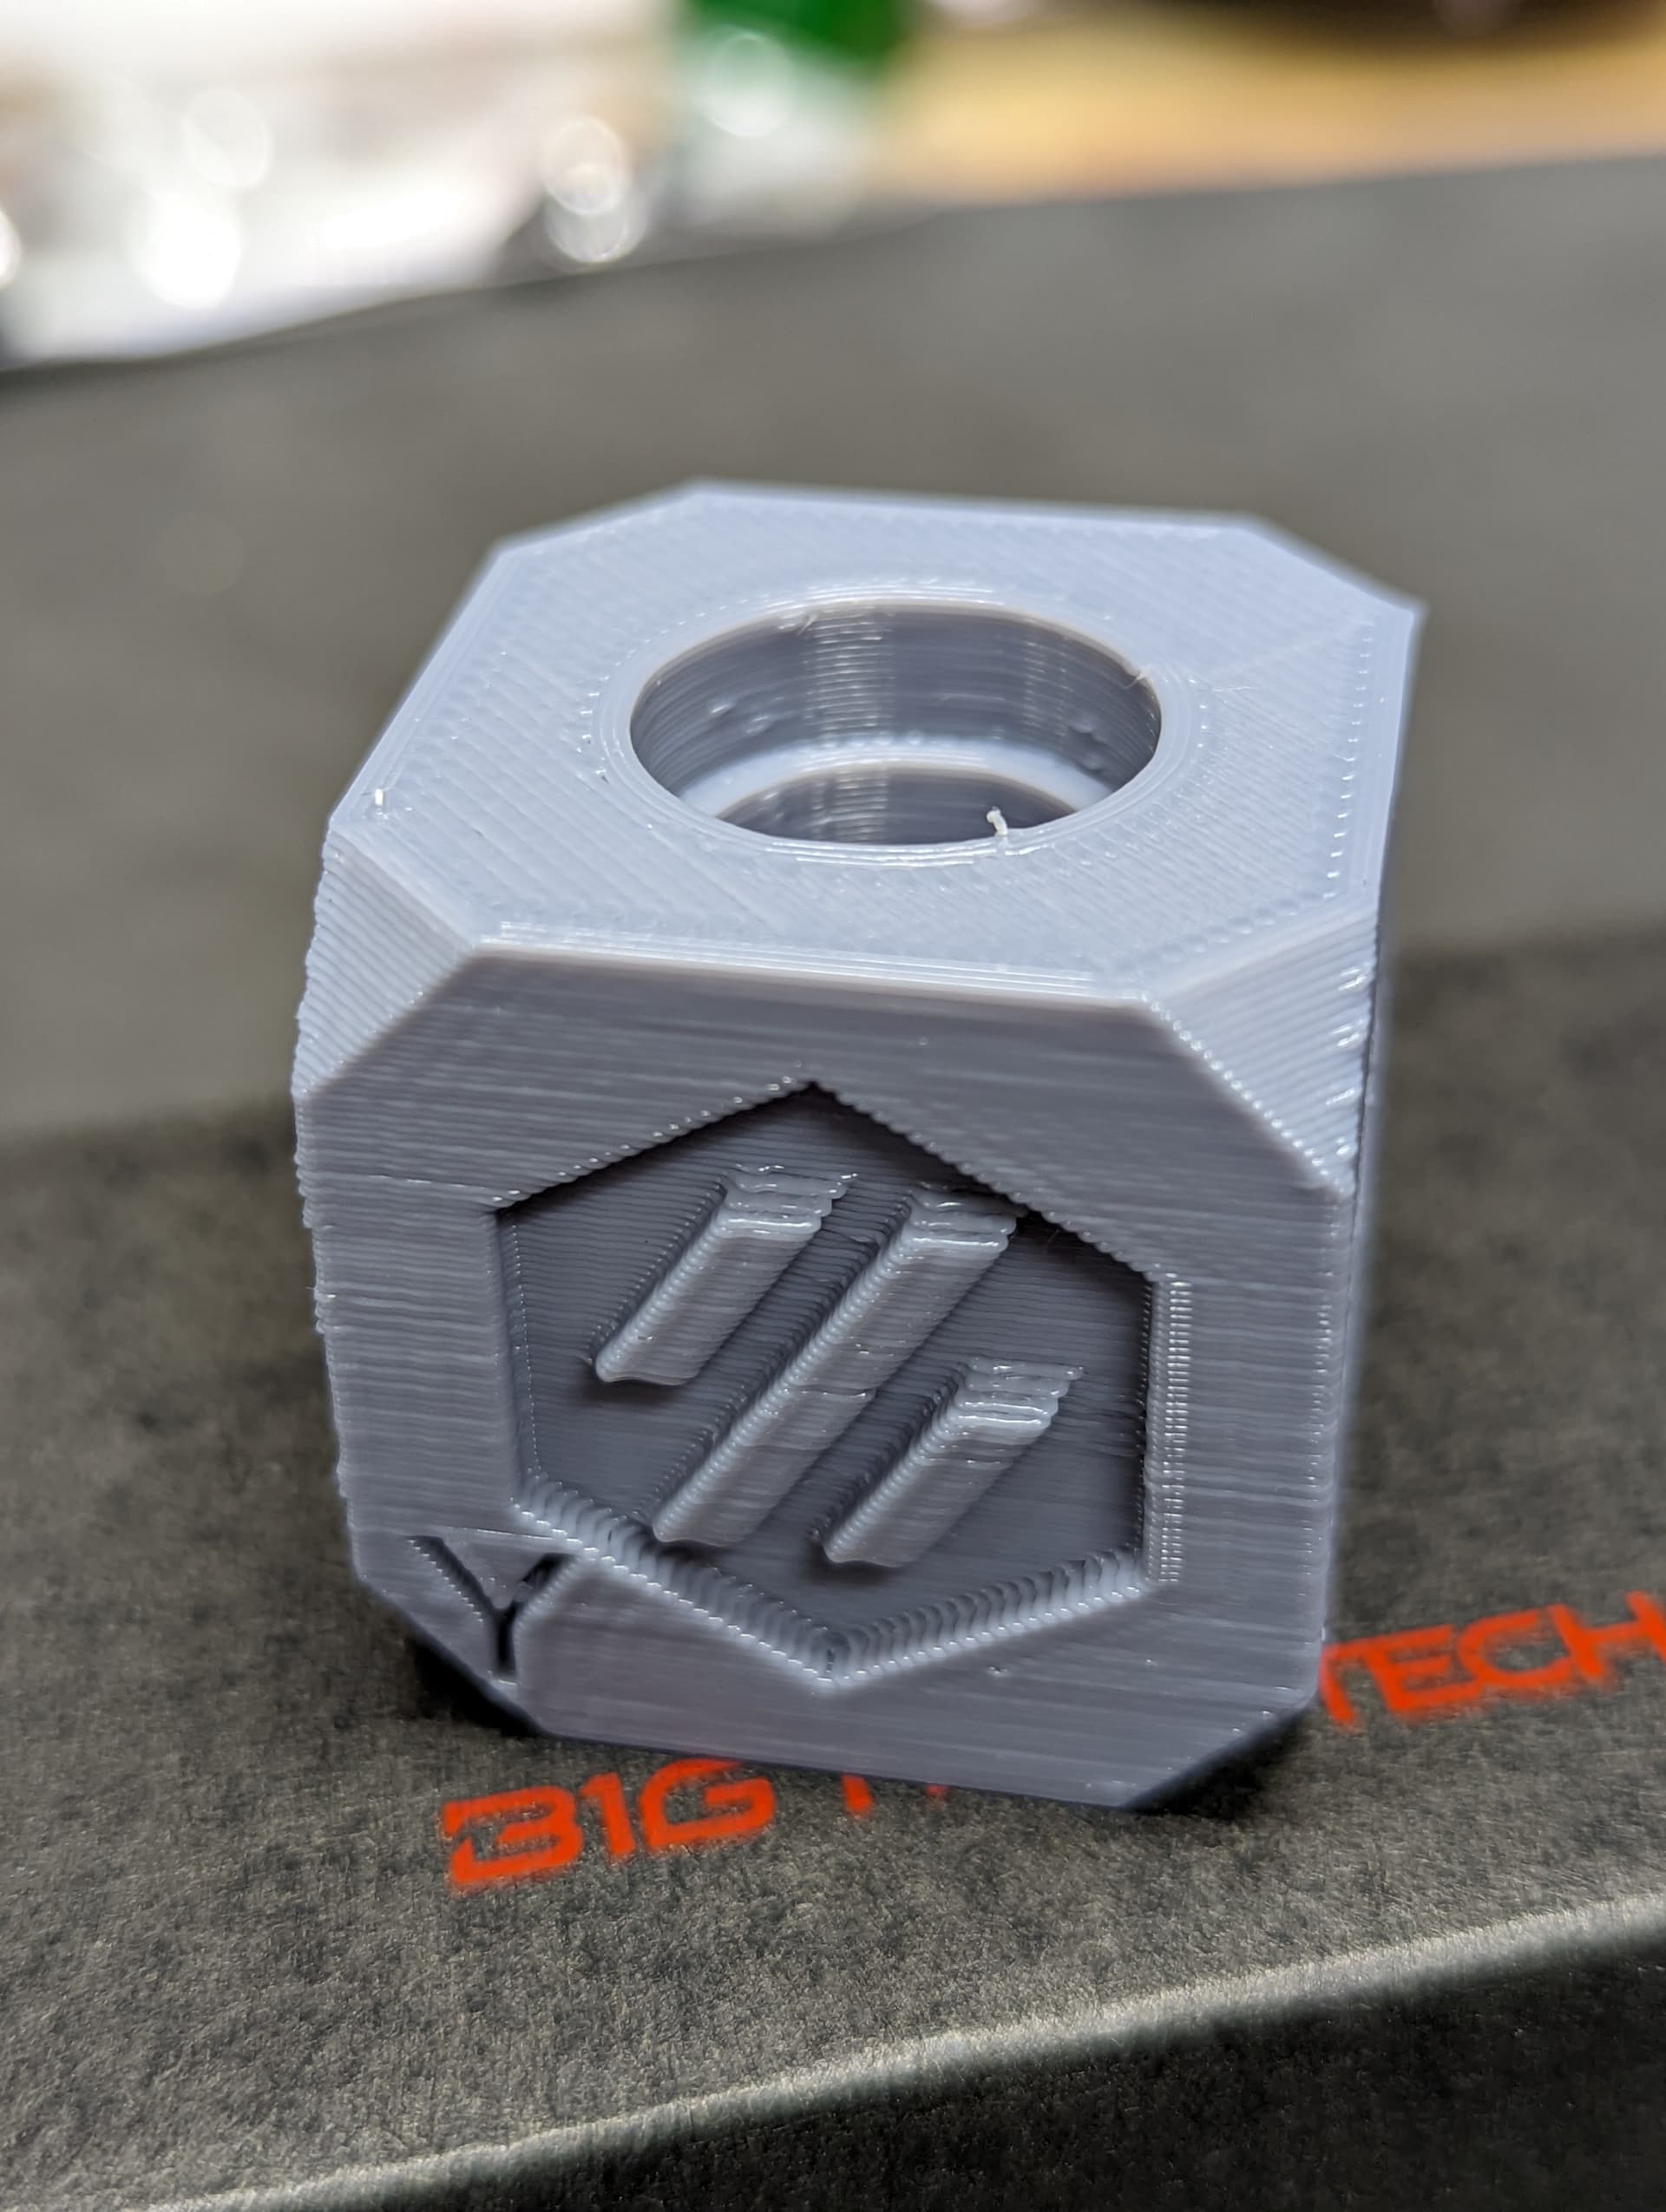
I have used super slicer and I am printing one of the voron cubes.
I tightened both the x and y belts and I still see the layers sort of shifted. Not as bad as the tuck body I was printing earlier.
I am wondering if this could be Z wobble or possibly there is some flex in the hotend?
I am using the Steathburner toolhead which I bought from a source on Etsy and its printed out of ASA and the hotend is the Phateus Dragon … so its bolted at the top with four screws so I wouldn’t think it would be moving but who knows…
I’ll post pics when the print is done.