I created a couple mounting fixtures that allow for installing a BIQU H2 direct drive hotend. I plan on maintaining this post for feedback and progress updates. as it stands, this is about 90% complete, with the need for some minor fitment changes and to make it more durable.
Files are available on my Thingiverse here.
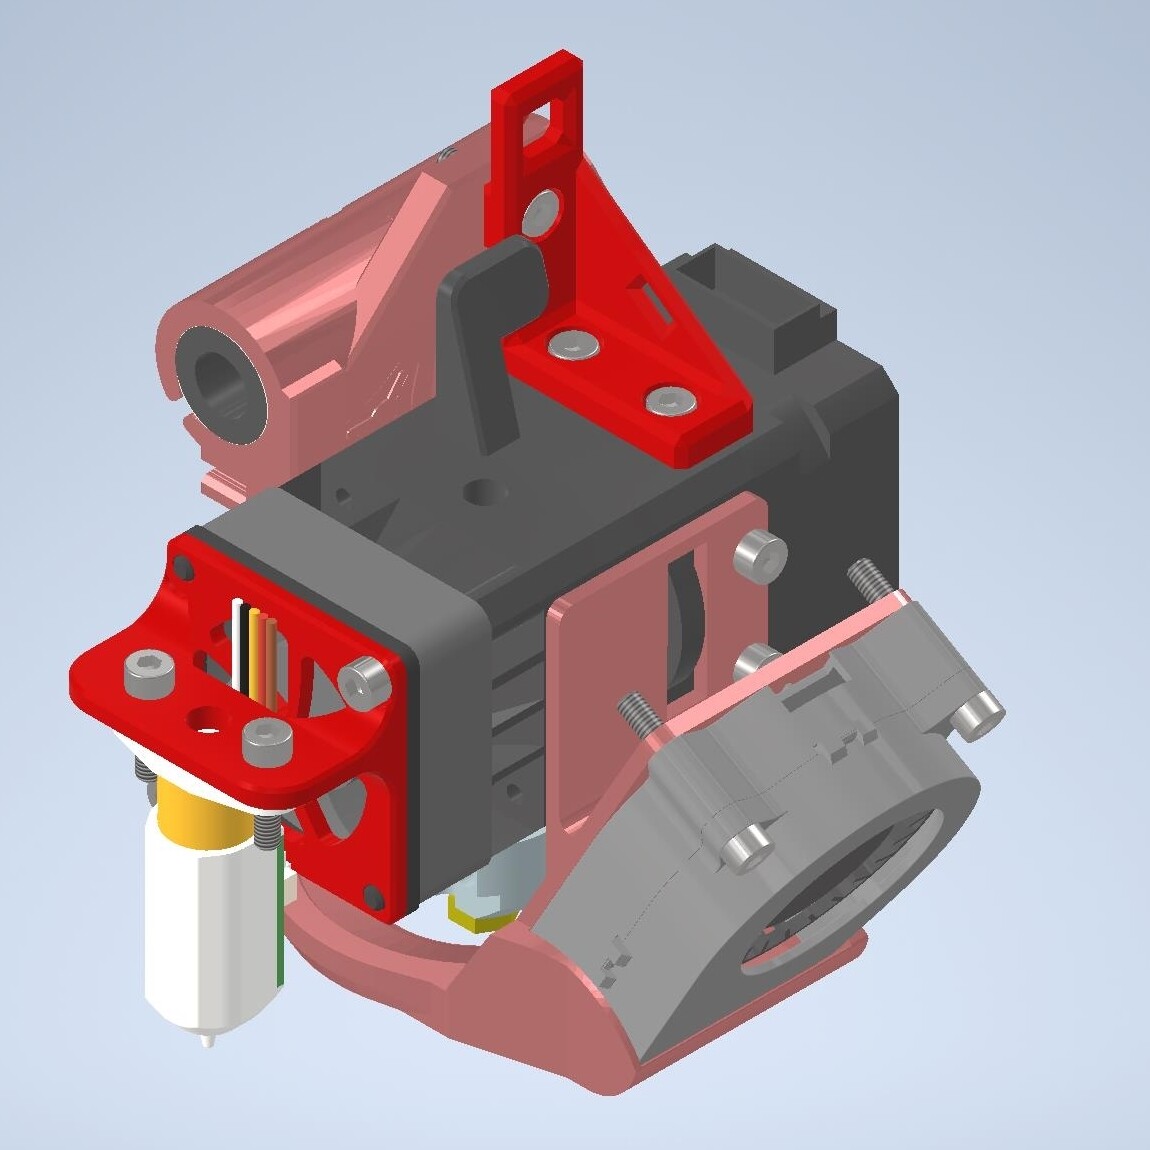
Glamor Shots:
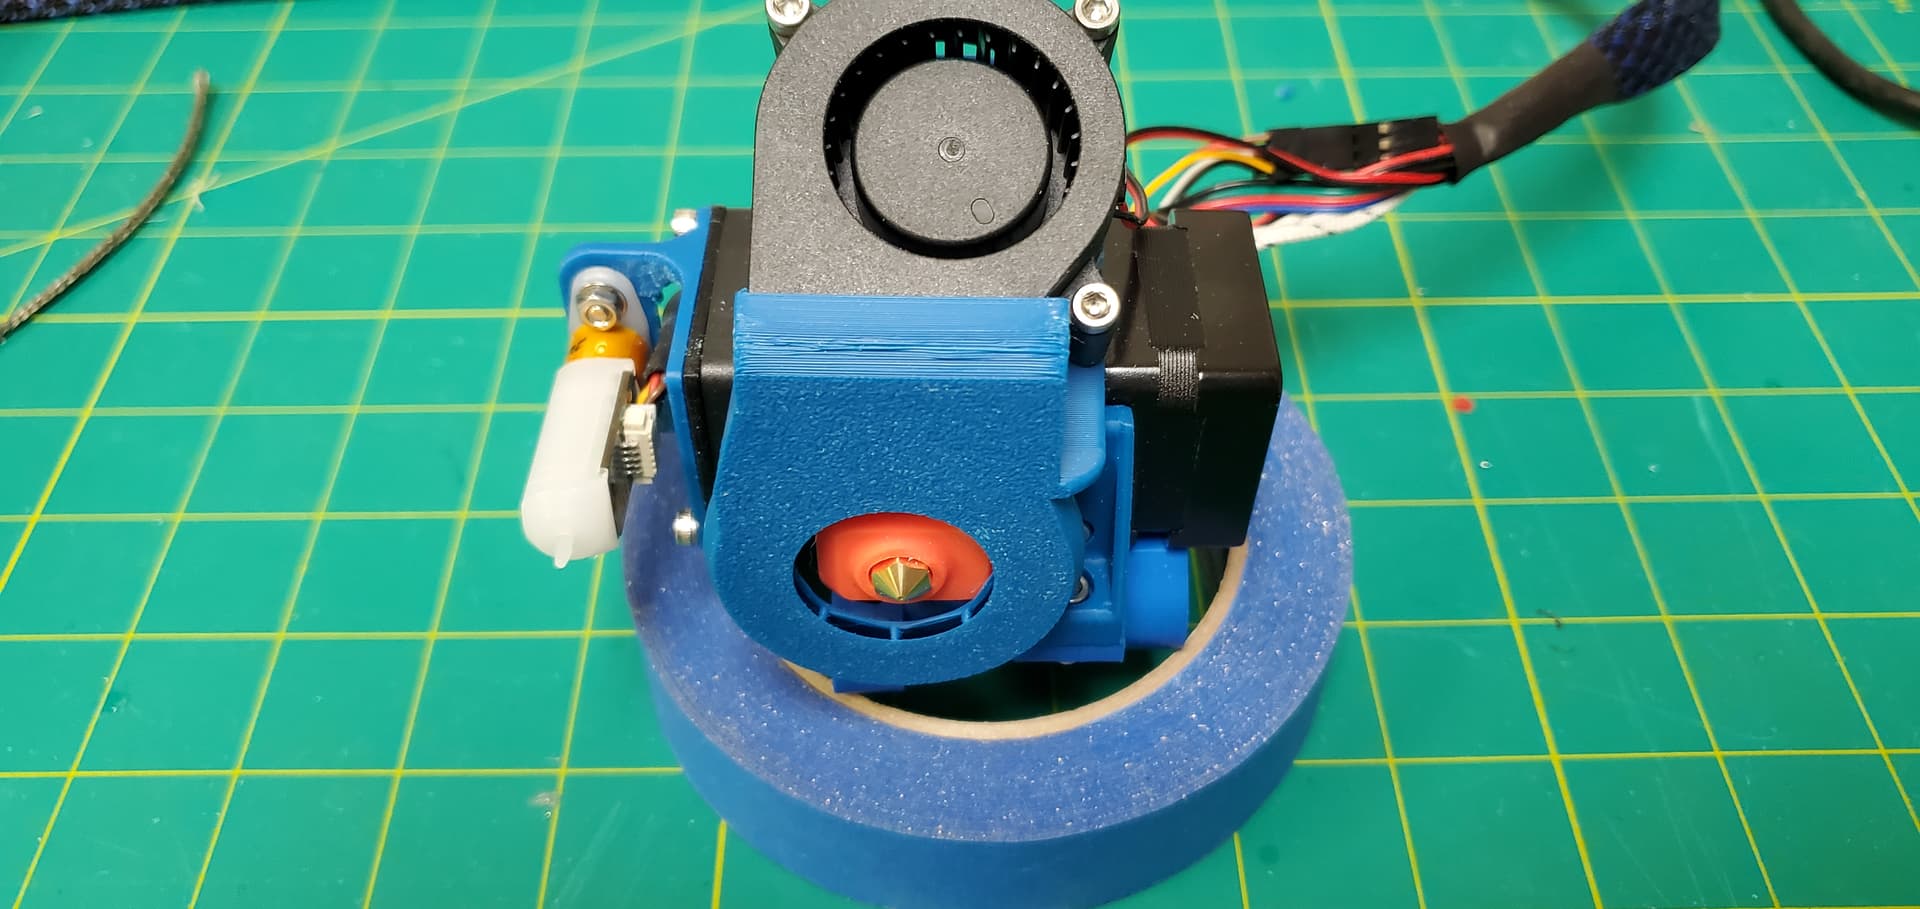
Front:
The fan is a 4020 Blower currently using someone elses’ design from Thingiverse. Link to that part is in my Thingiverse posted above. A word of warning, don’t use the fan as leverage when actuating the filament gate lever, I broke mine the first time doing so. not much can be done about that due to the way the part fan bracket has to be printed.

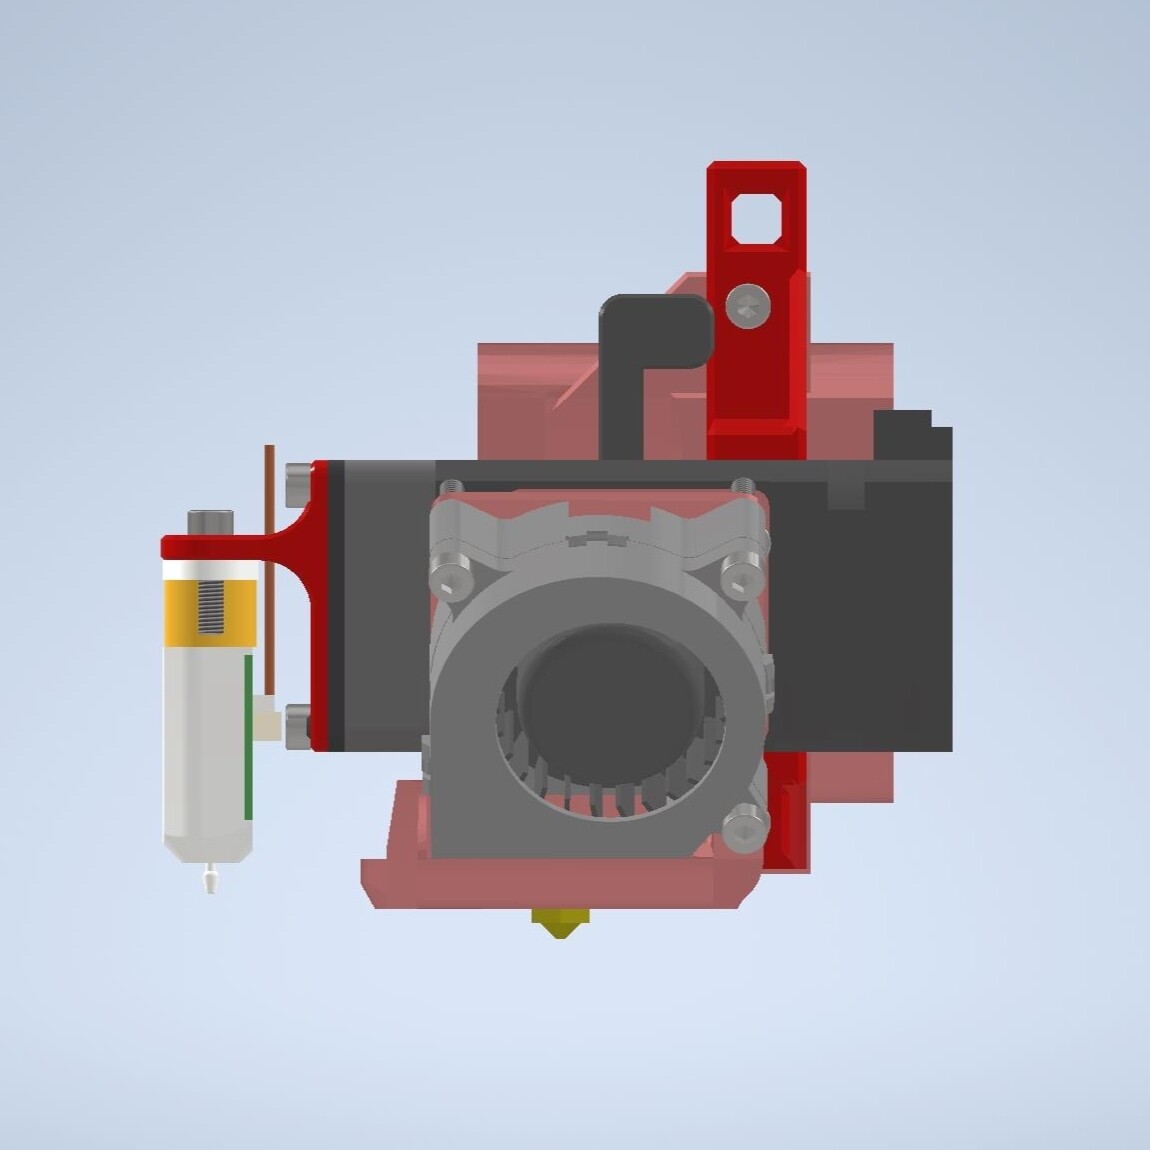
Right:
Not much to see here, except if you squint you can see that I filed the profile of the fan onto fan holder flange. this was done to allow access to the mount screws using a ball end allen key. But i couldn’t leave it there and matched the profile all around. I also plan on making a better part for this since the V2 version of the H2 uses a BIQU designed heat block that is more rectangular and offset differently than the Pheatus Dragonfly hotend of the original. More about this later.
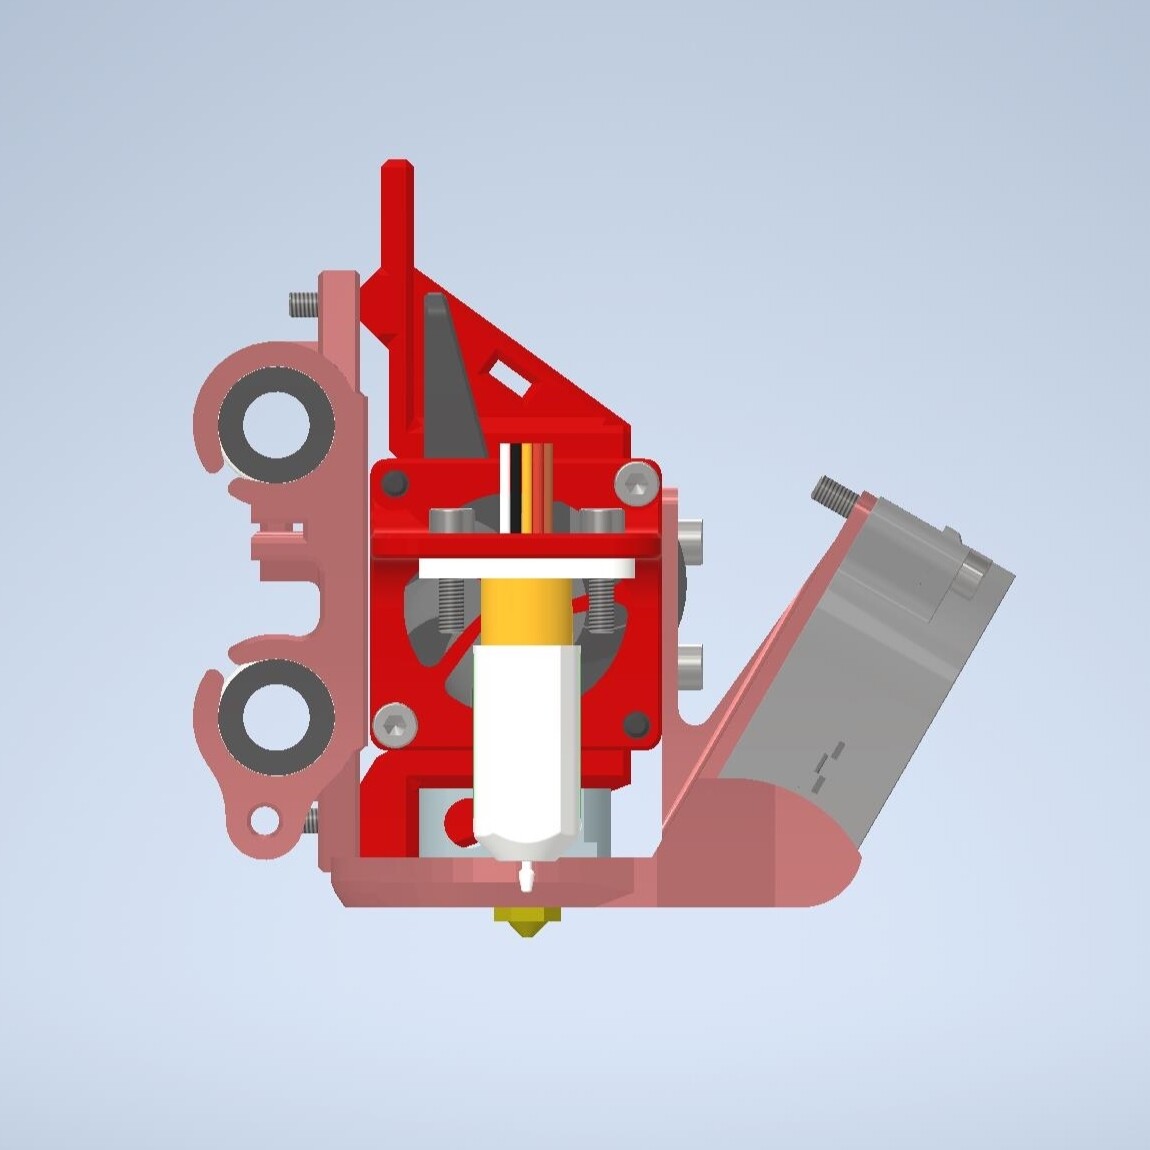
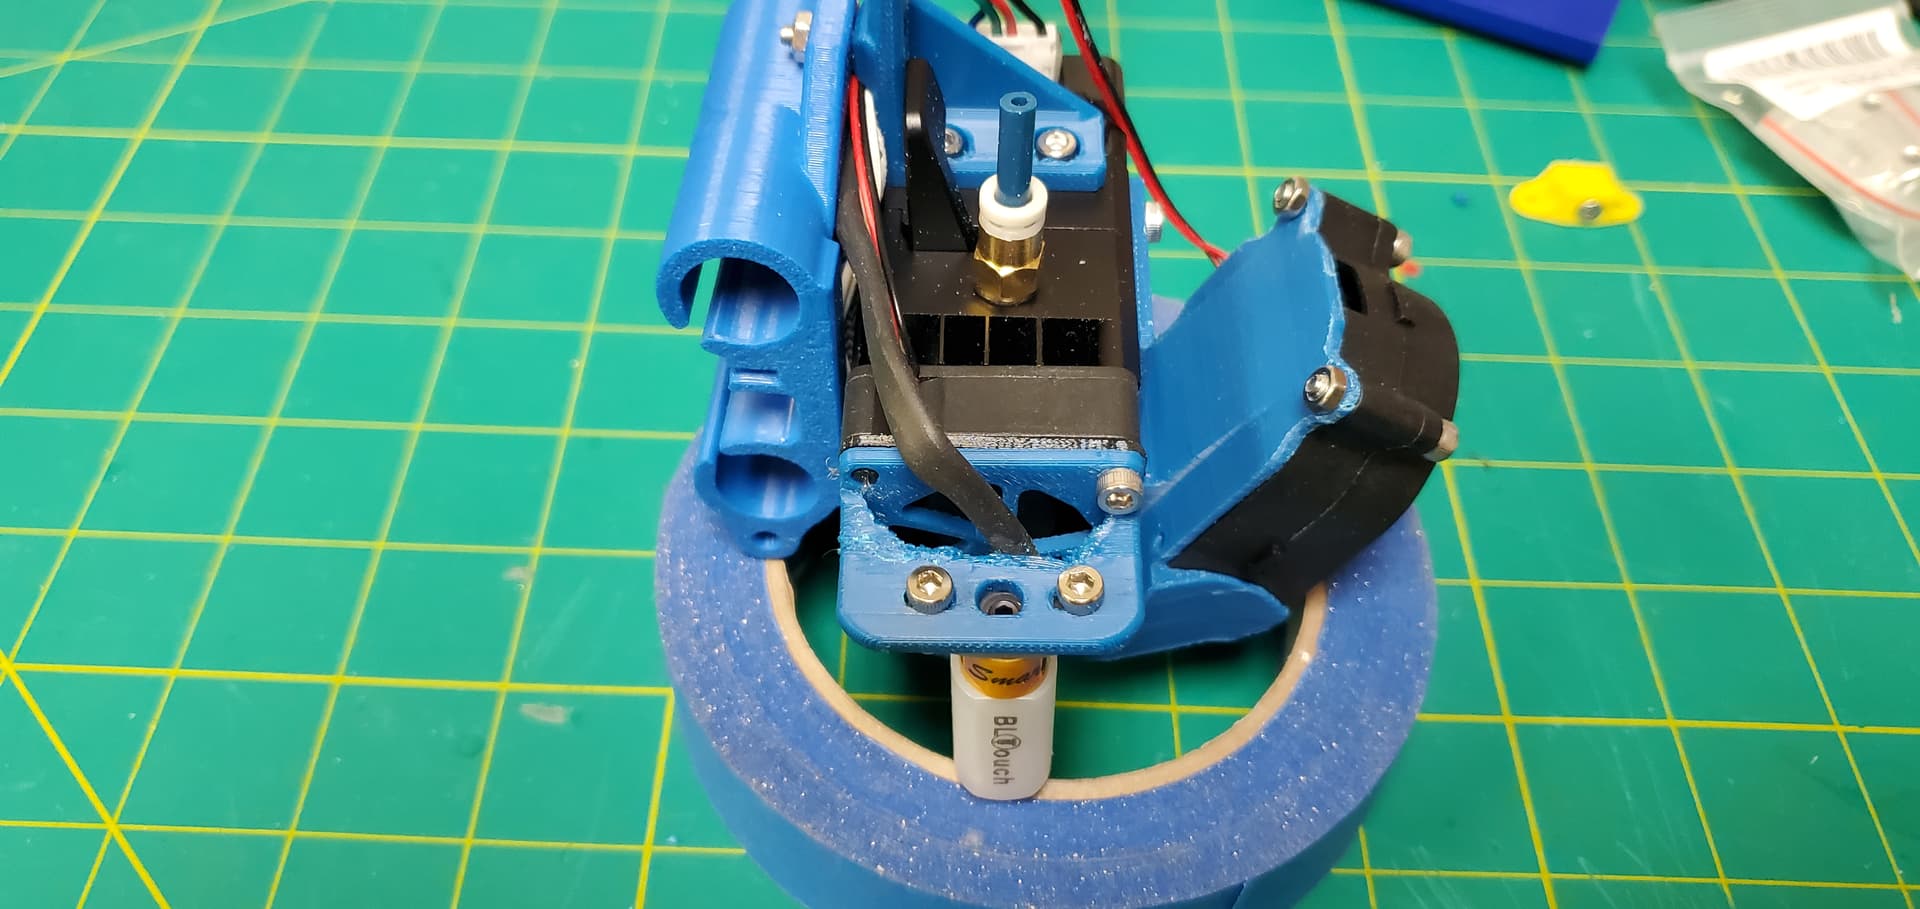
Left:
Better view of the BLTouch mount. note that there is a spacer between the fan grille and the H2 assembly. I printed this with NinjaFlex, but can be printed in your high temp filament of choice. NinjaFlex adds some vibration suppression but should be printed regardless in order to offset the back of the grille and the hub of the fan to reduce possible friction and hissing.
Also, note how the wiring gets routed between the bracket and X carriage. That’s to enable using the filament gate lever w/o worries of ripping out a delicate fan wire. this gap is tight tolerance currently, which i plan on fixing ASAP. another thing is to orient the fan wires coming out the top to keep these away from the hotzone and handles wiring better.
Back:
See, standard V2 Carriage. reuses the same screw locations as the bracket would use for the standard extruders. Also, that rectangular opening at the top is for fixing the wiring loom to. it allows for standard vertical or optional horizontal fixing using Zipties (i hear thos are popular around here… 

Bottom:
Just highlighting some of the fan clearance issues. It might be fine as is, but I want to change the offset or the inside diameter so the hotend isn’t touching the plastic.
Other notes:
The H2 kit comes with 24V heater and hotend fan, so plan accordingly!! I opted for a Mean Well 24V power supply found Here and 4020 blower fans found similar to Here.
Conclusion:
This is planned mod 1 of 2. The other is a mini 12864 screen bracket and an SKR 2 Electronics box, as I find Klipper much easier to use, and I have a half dozen Raspberry Pis laying around.
I would highly recommend going on Amazon and getting an M3 hardware assortment kit, if you haven’t already. I replaced a couple screws here and there because i like socket head screws, and the top and bottom angle brackets were designed with those in mind. I really like this kit here.
I’m also playing around with the idea for a toolhead quick disconnect, in case the H2 gets replaced with something better or you want to swap around toolheads for other reasons. however, that’s a very case by case issue and I don’t know how much I’ll document that here.
Feedback is always welcome!
This mod was originally discussed in a different post found here: MP3DP v2 build. There are probably more talking points in there that isn’t covered here.
Happy Building!