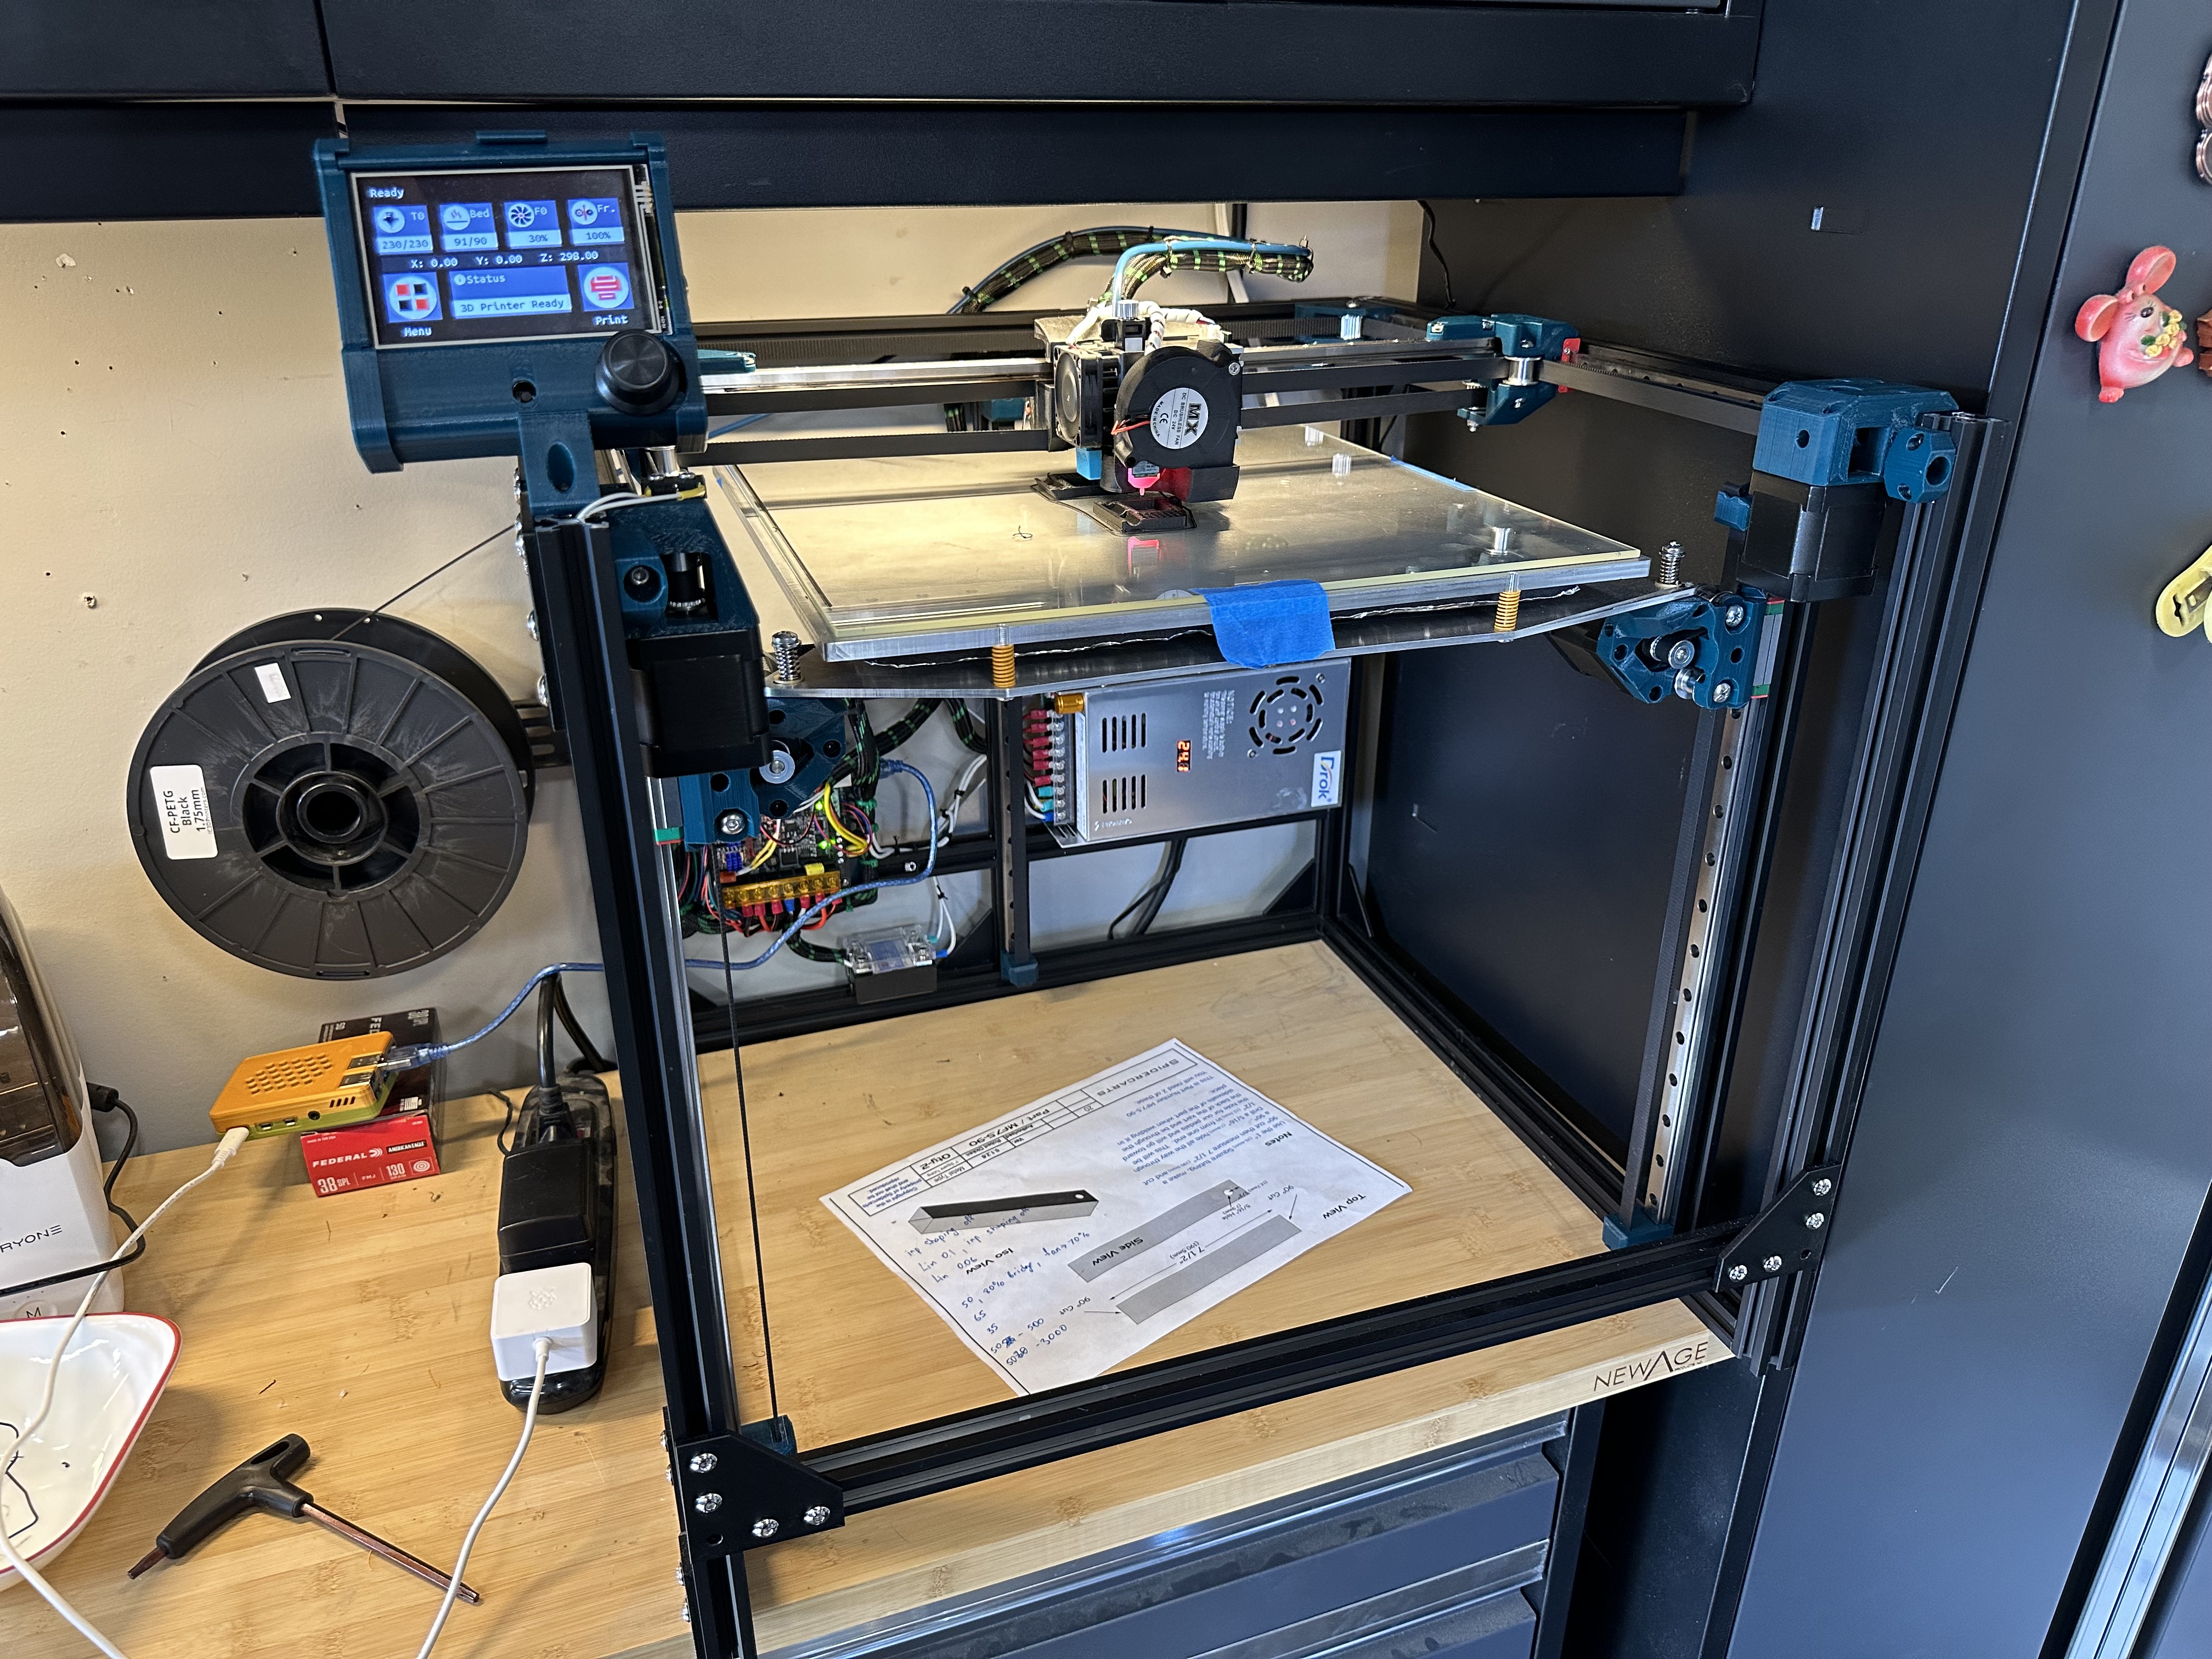
Currently troubleshooting bed leveling. Symptom is that after bed leveling it’s worse than before. Measurements are very consistent from one run to another, however. I suspect that because Z axis goes into an opposite direction (0 at the top and max value at the bottom), probing is happening “from the bottom” of the bed and bed leveling corrections applied in the opposite direction multiplying bed unevenness. I will do all grid measurements tomorrow to compare before / after leveling to confirm this theory but if someone recognizes this issue please advise
1 Like
Already seen Mp3dp v4 slow build - #101 by azab2c, and the post that follows? We’re using Klipper, but maybe some equivalent Marlin config setting for Stepper dir needs to be flipped?
Ran into Z-tilt issue where adjustments made things worse… https://azab2c.com/make?t=31_30_54&v=5_6&r=1.4
Amongst other things, looks like I didn’t plug into the correct Stepper Driver at some point ![]()
My motors move into right direction and z-leveling works too ![]()
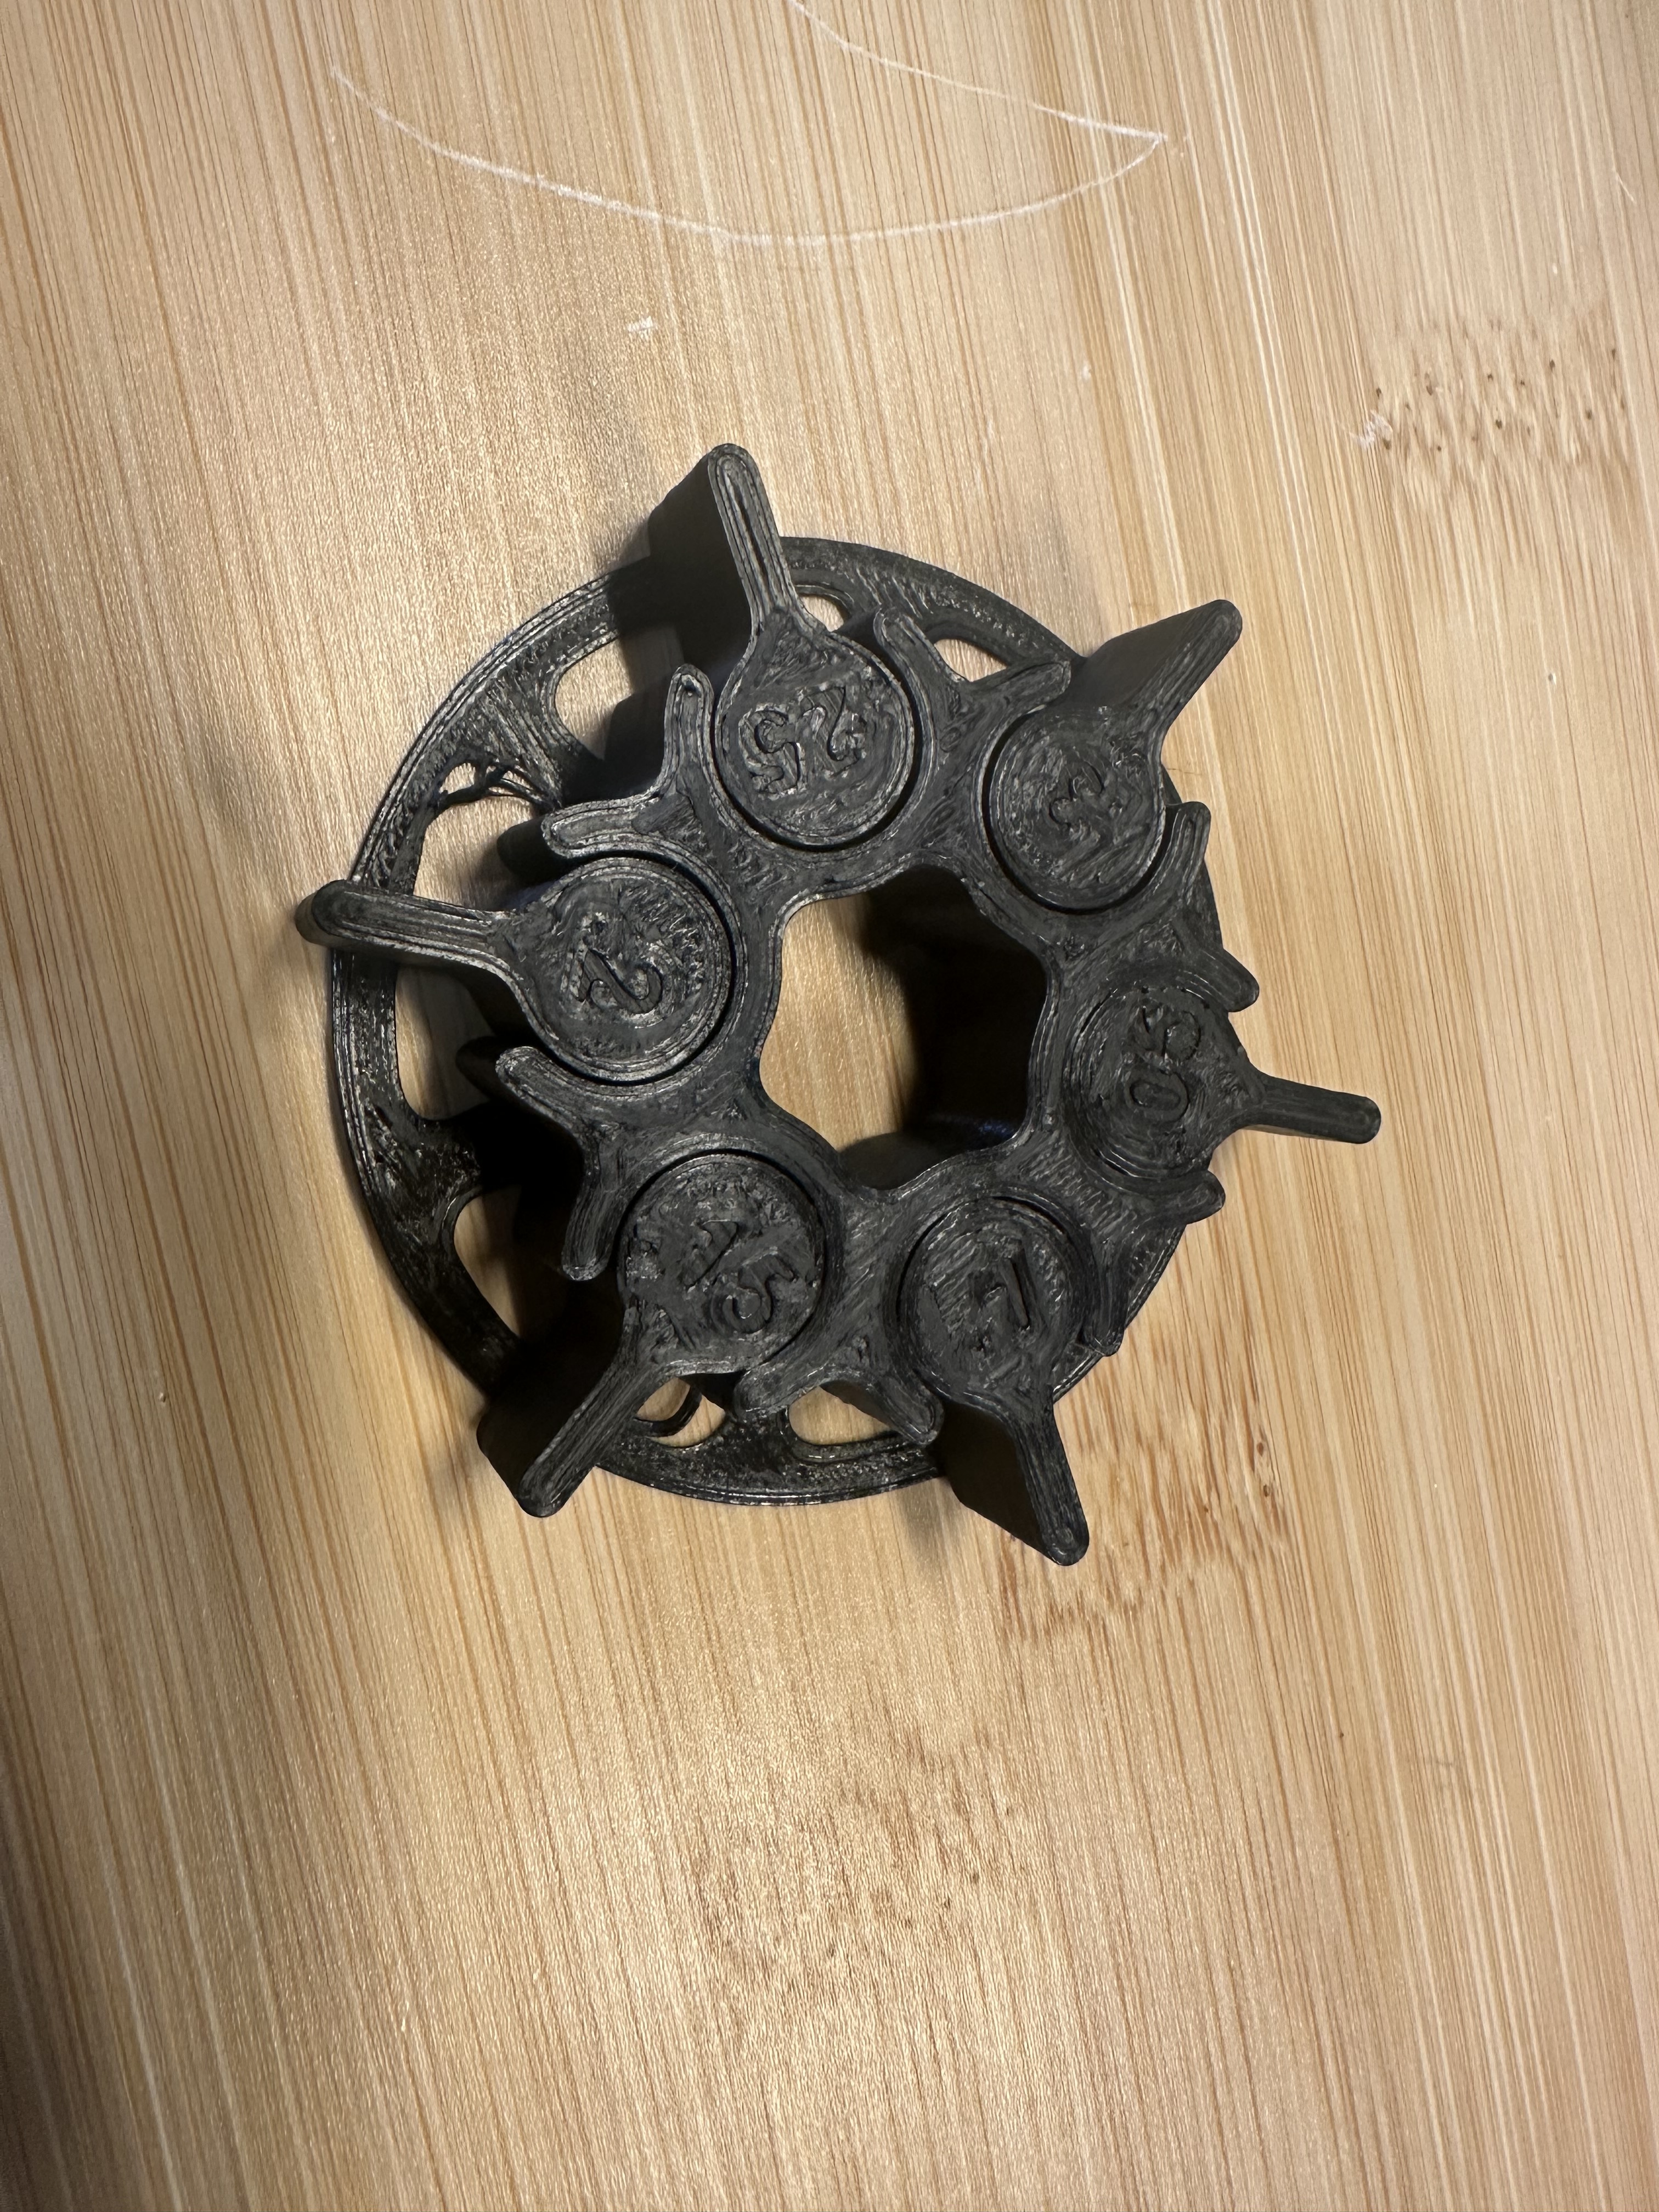
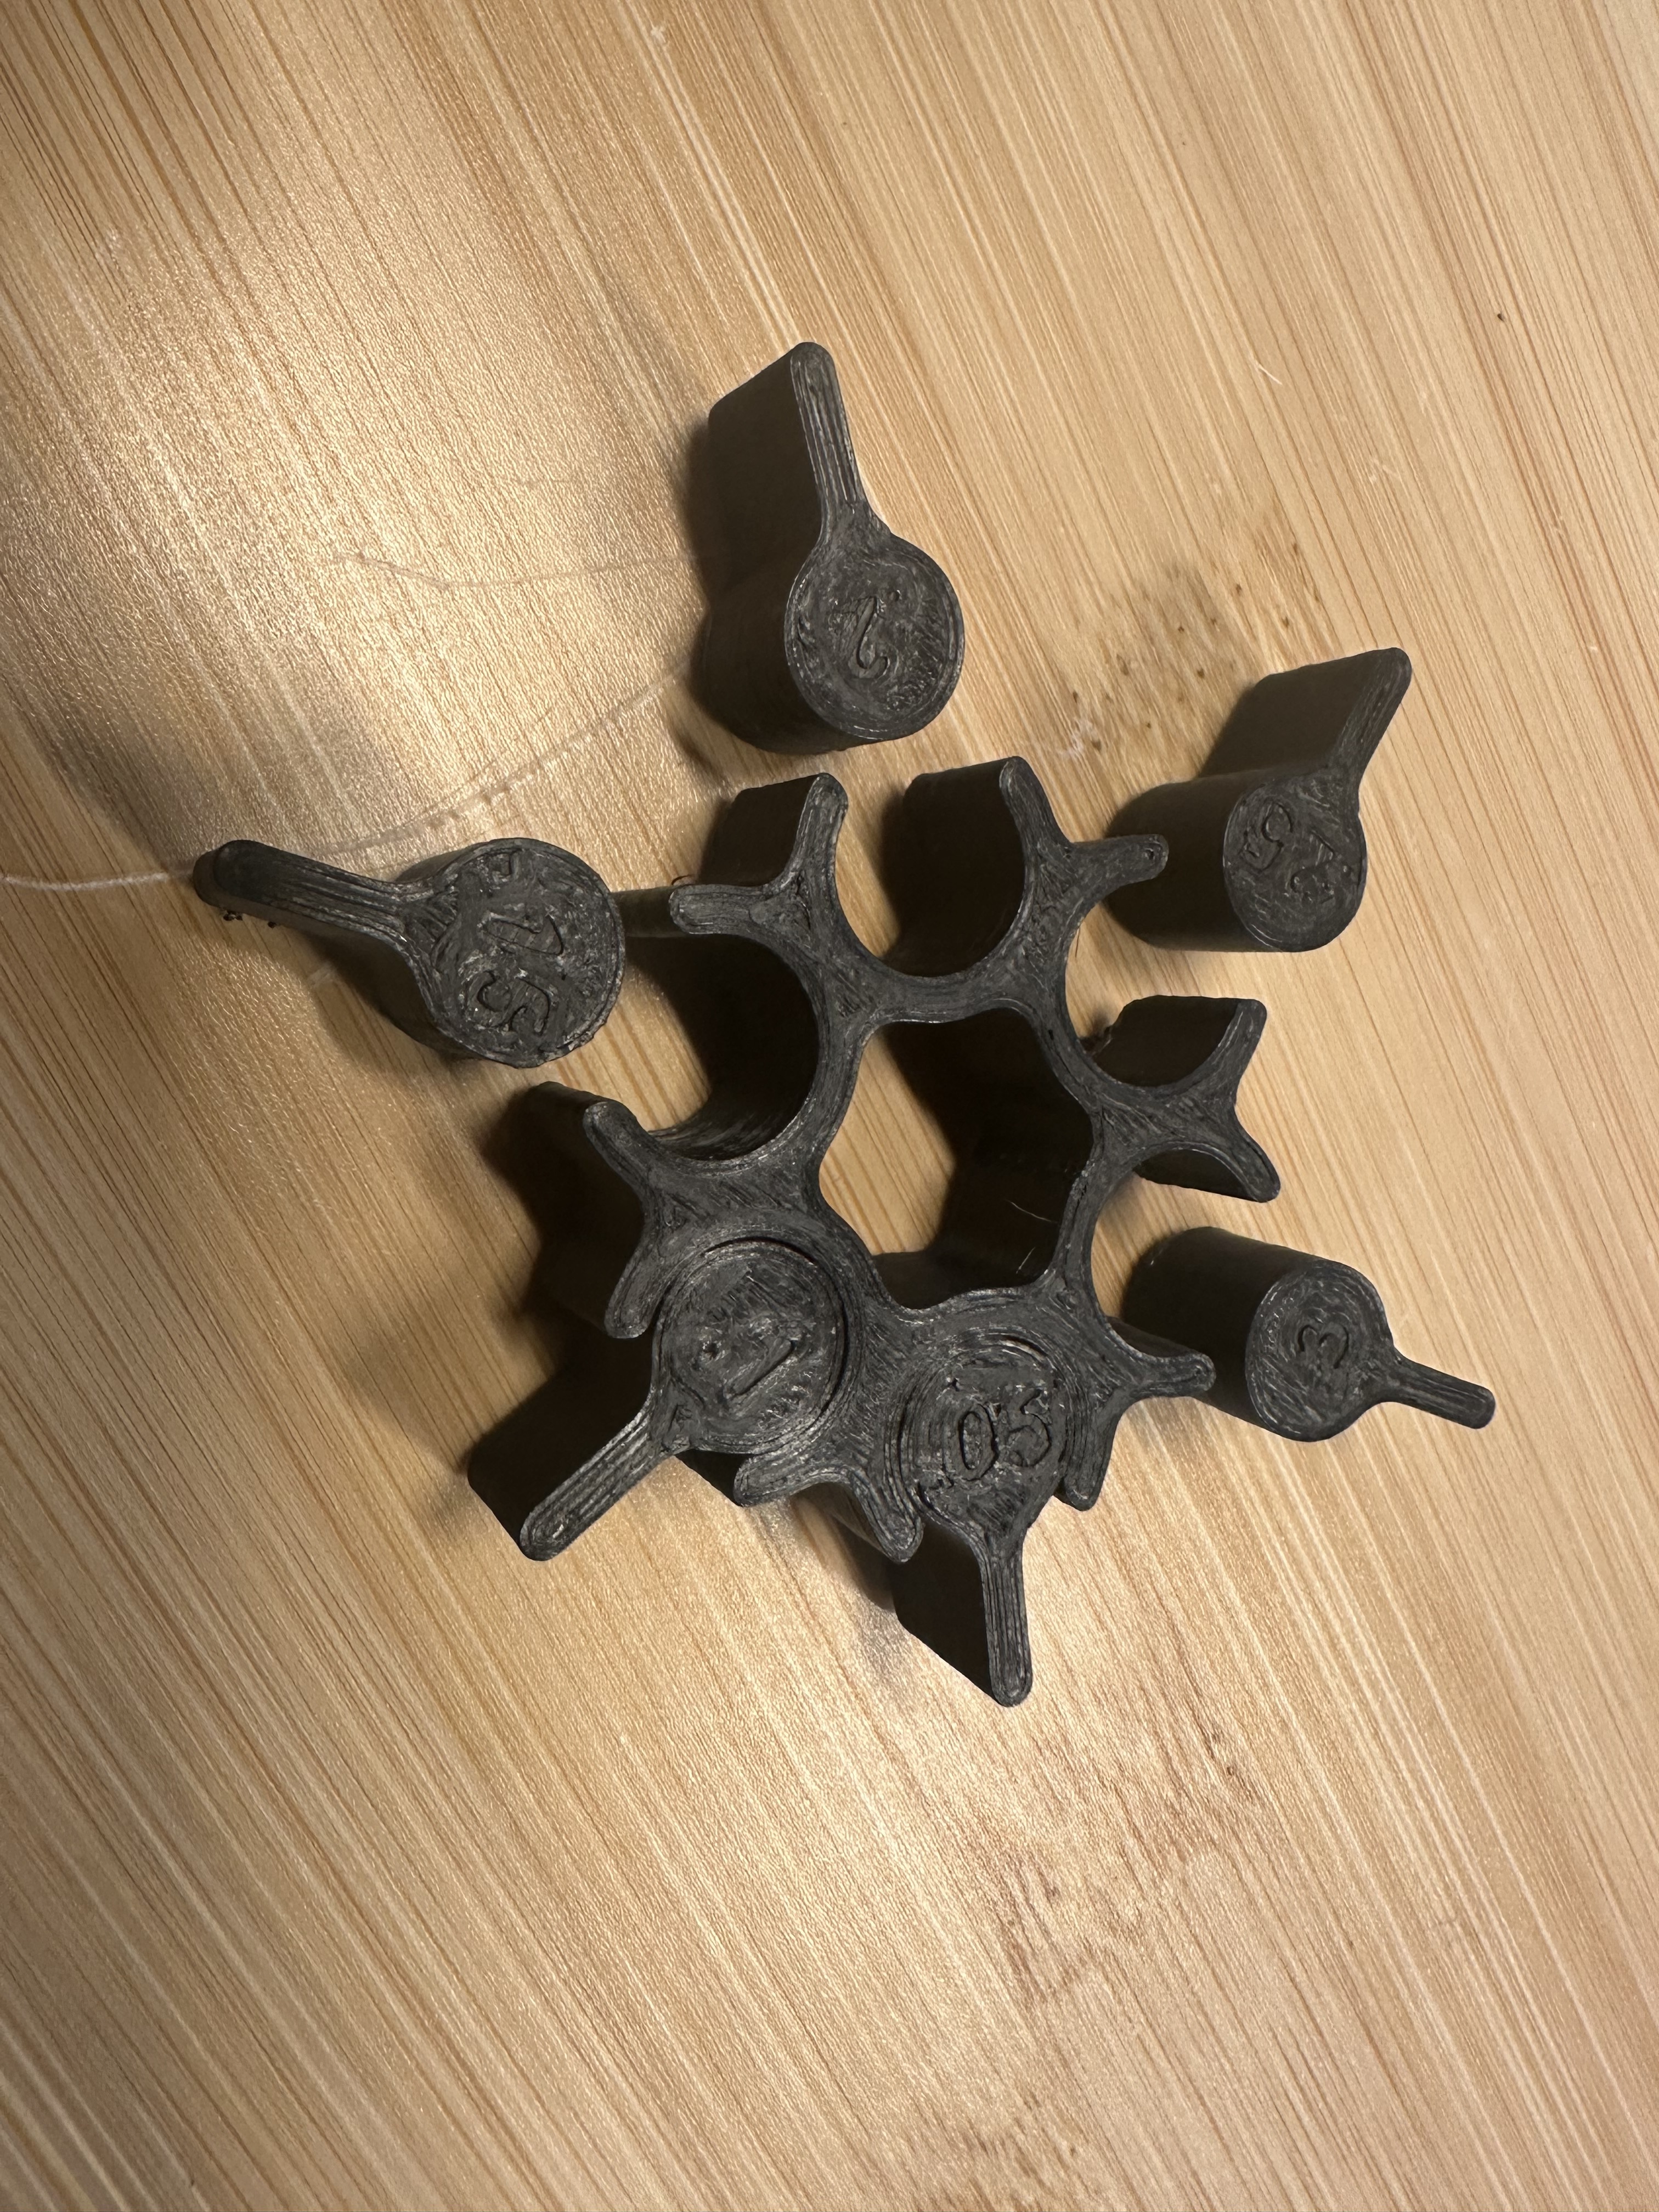
Pretty happy with 0.15mm tolerance test. I was able to pull 0.1 as well but there was no “clearance”
3 Likes
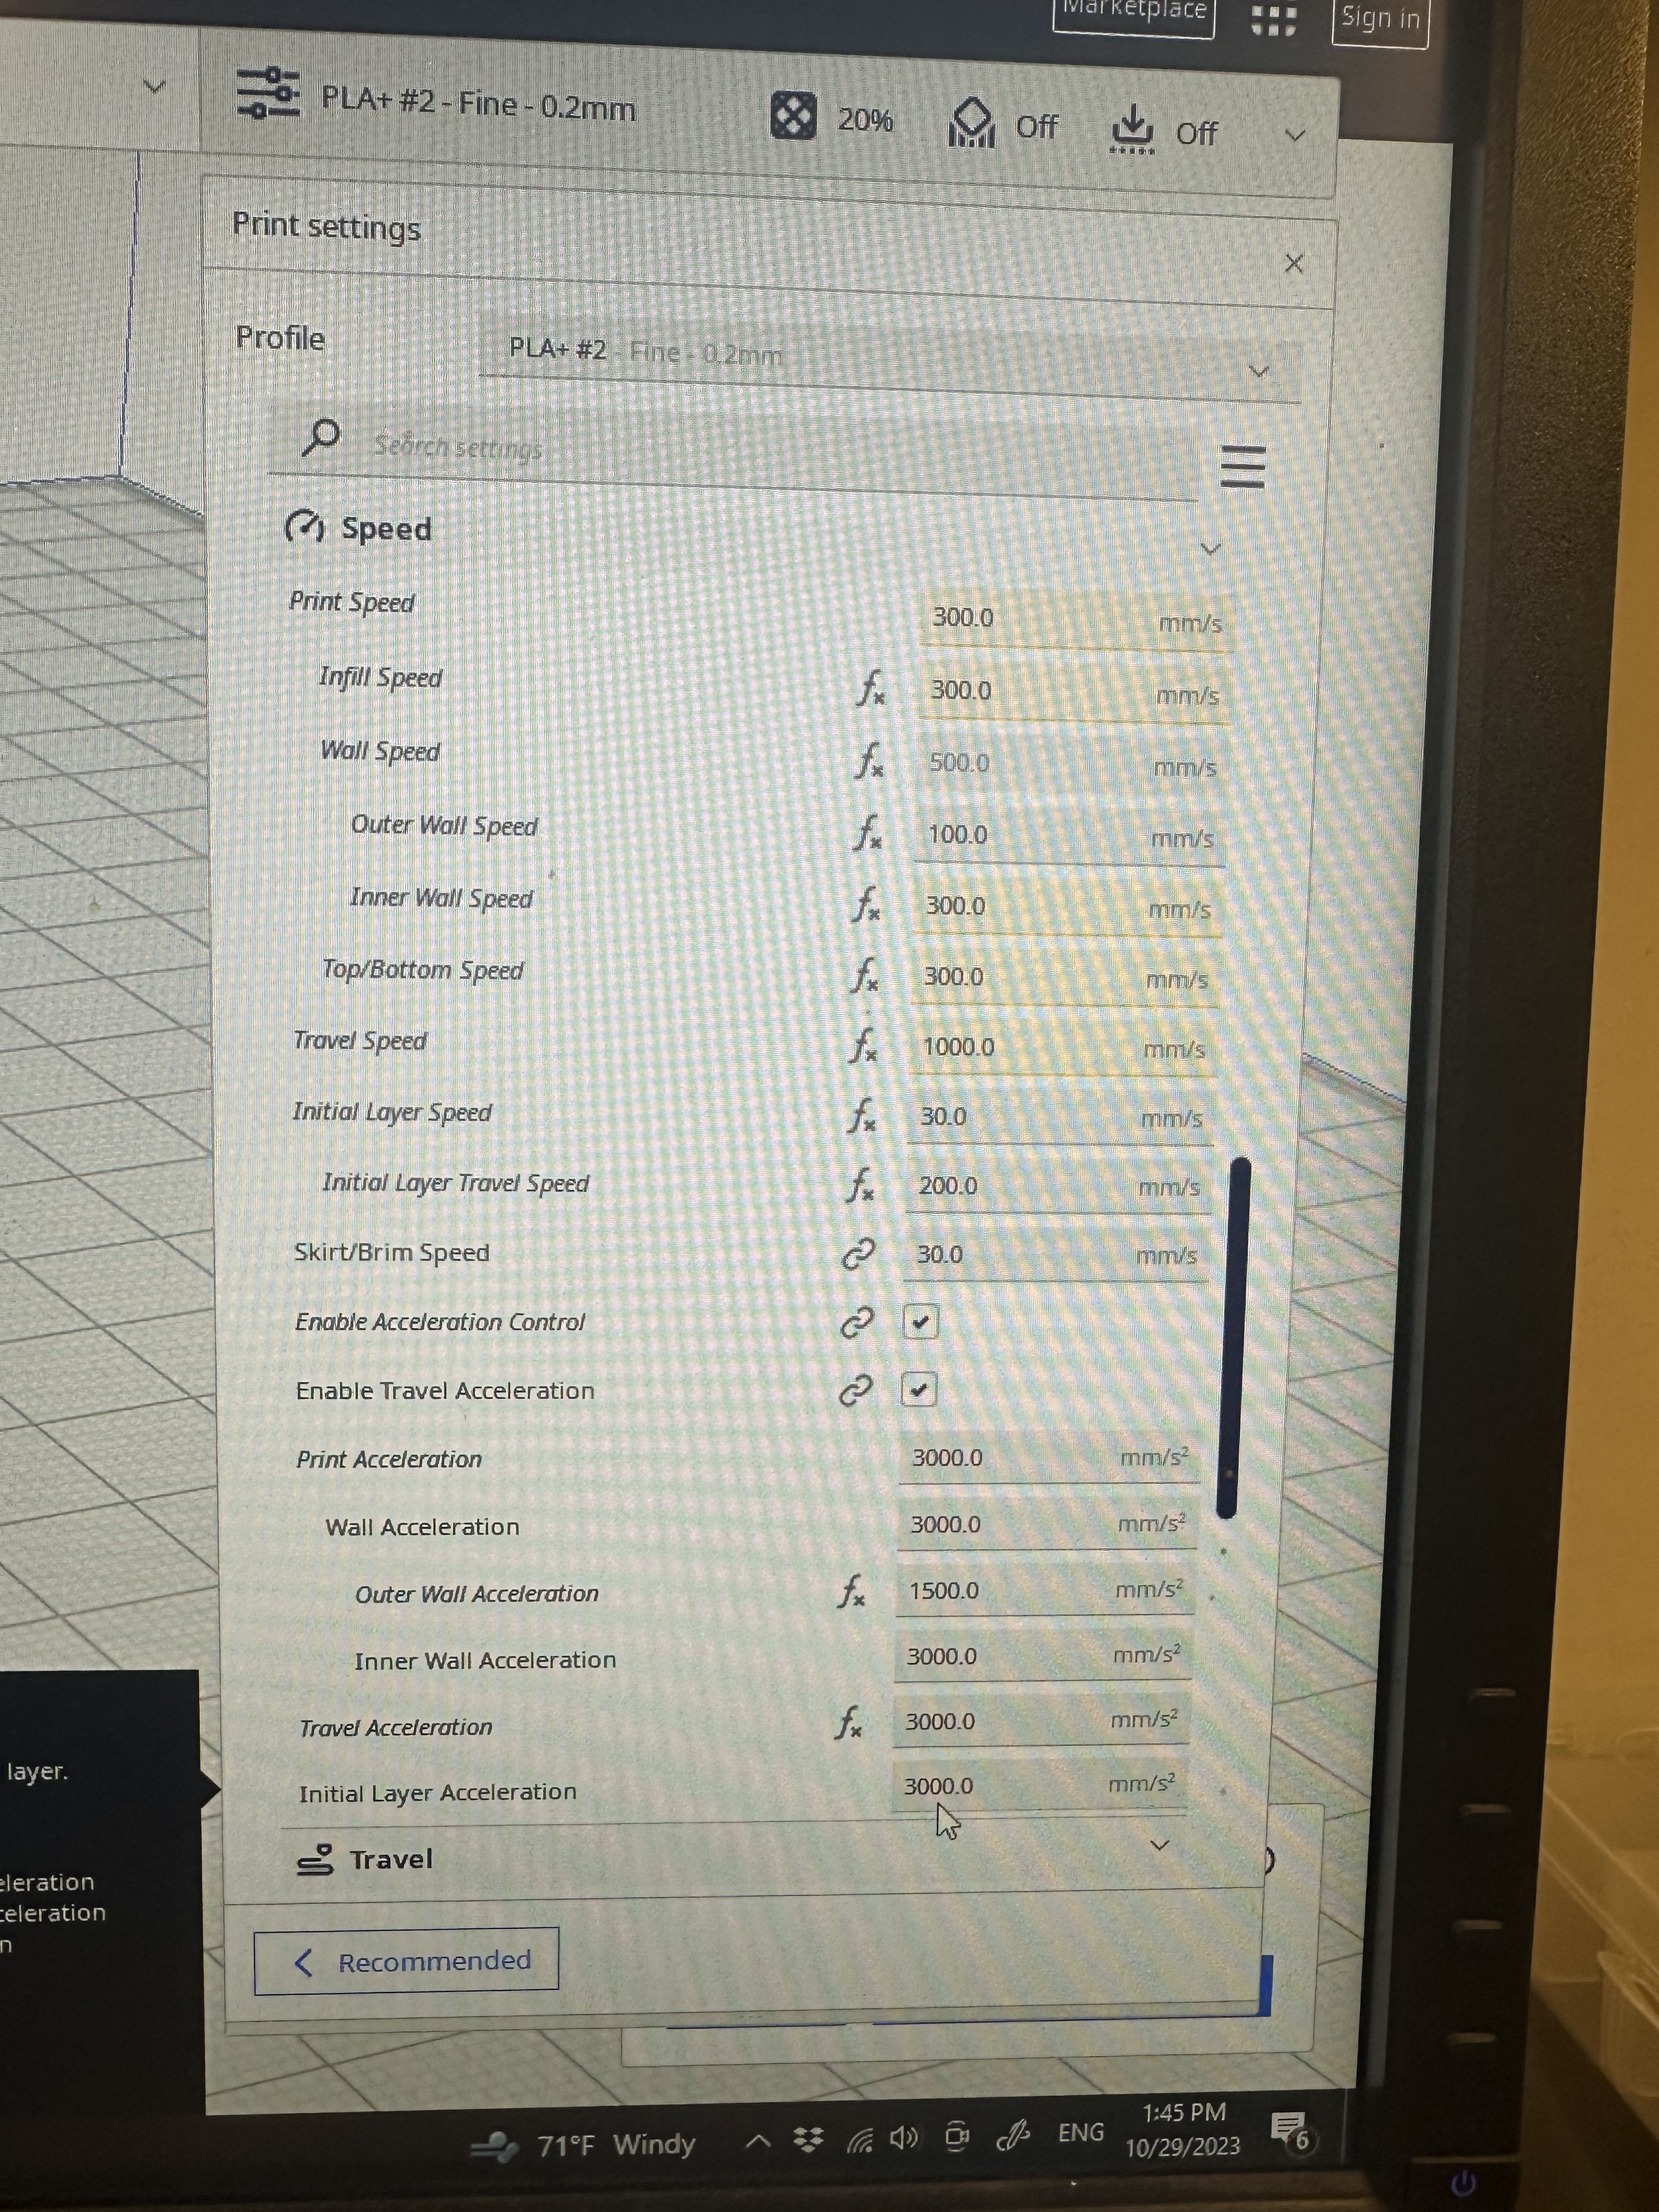
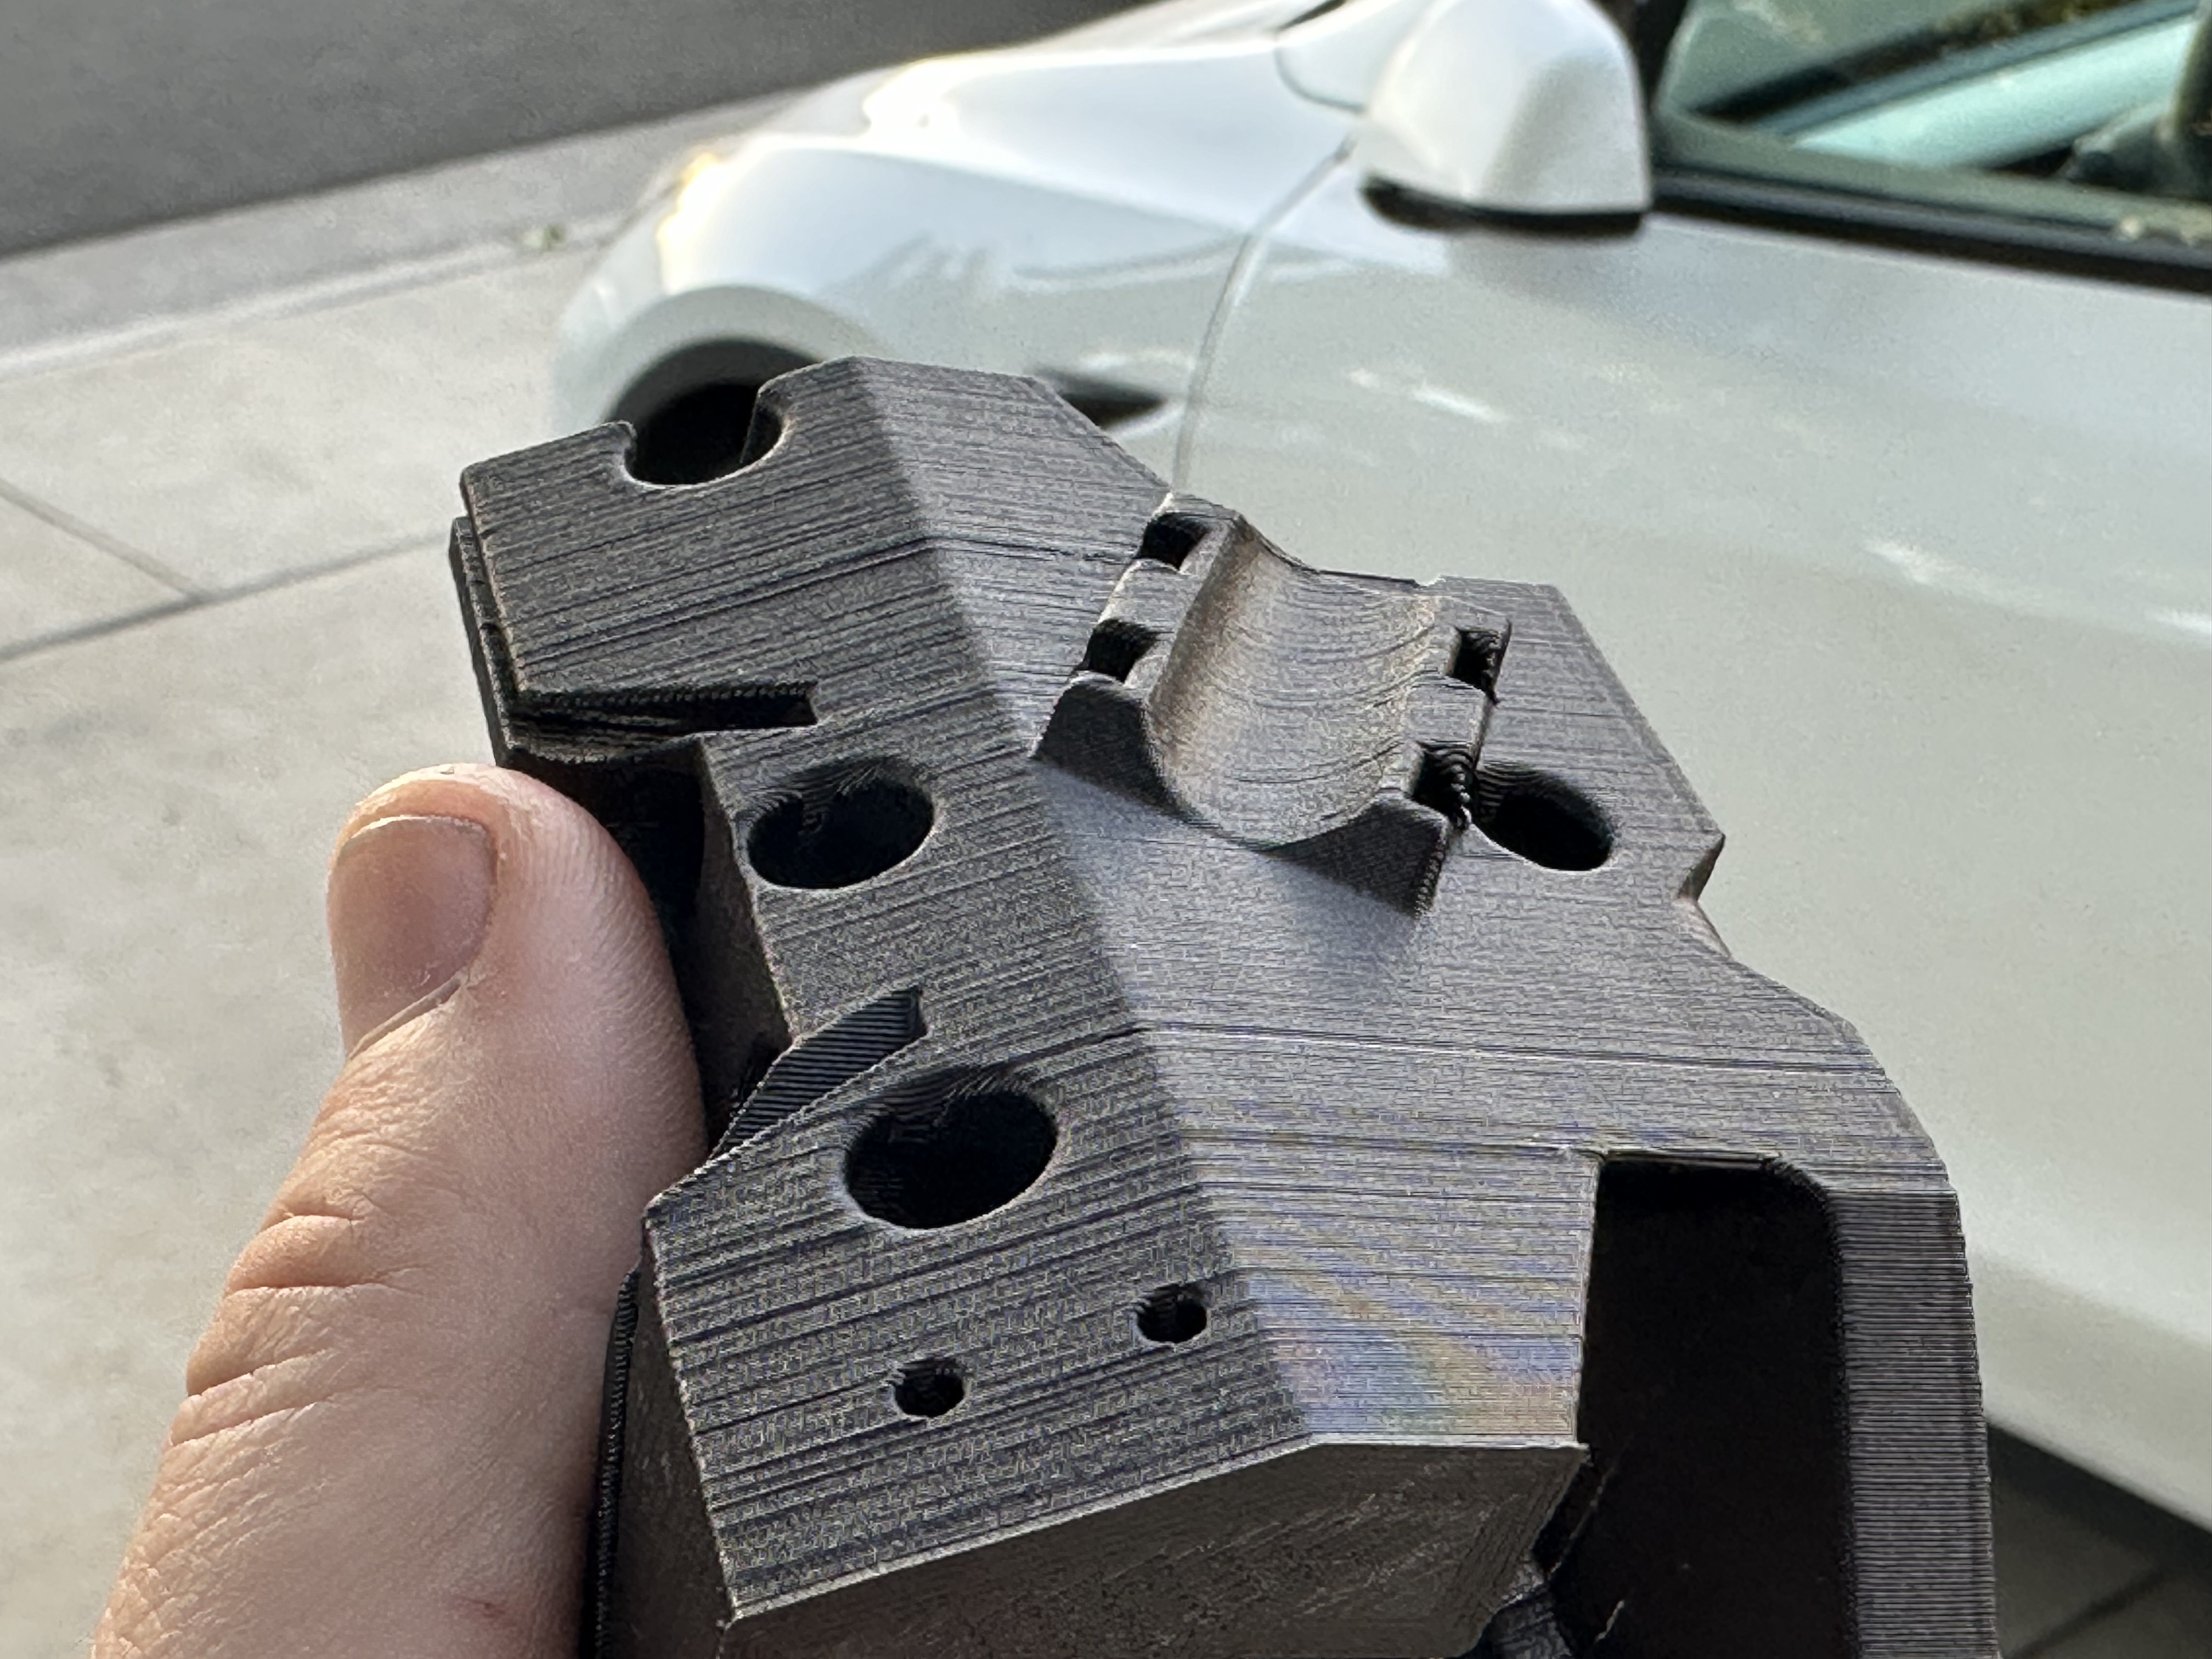
I spent last 2 days tweaking profile for CF-PETG and now starting to re-print all printer parts in carbon. They came out absolutely gorgeous! One thing I might want to tweak is a bang-bang bed heating. I think horizontal rippling in sides that I did not see on PLA is from the bed temp variations
5 Likes
Ooooh weee that looks real nice!
1 Like
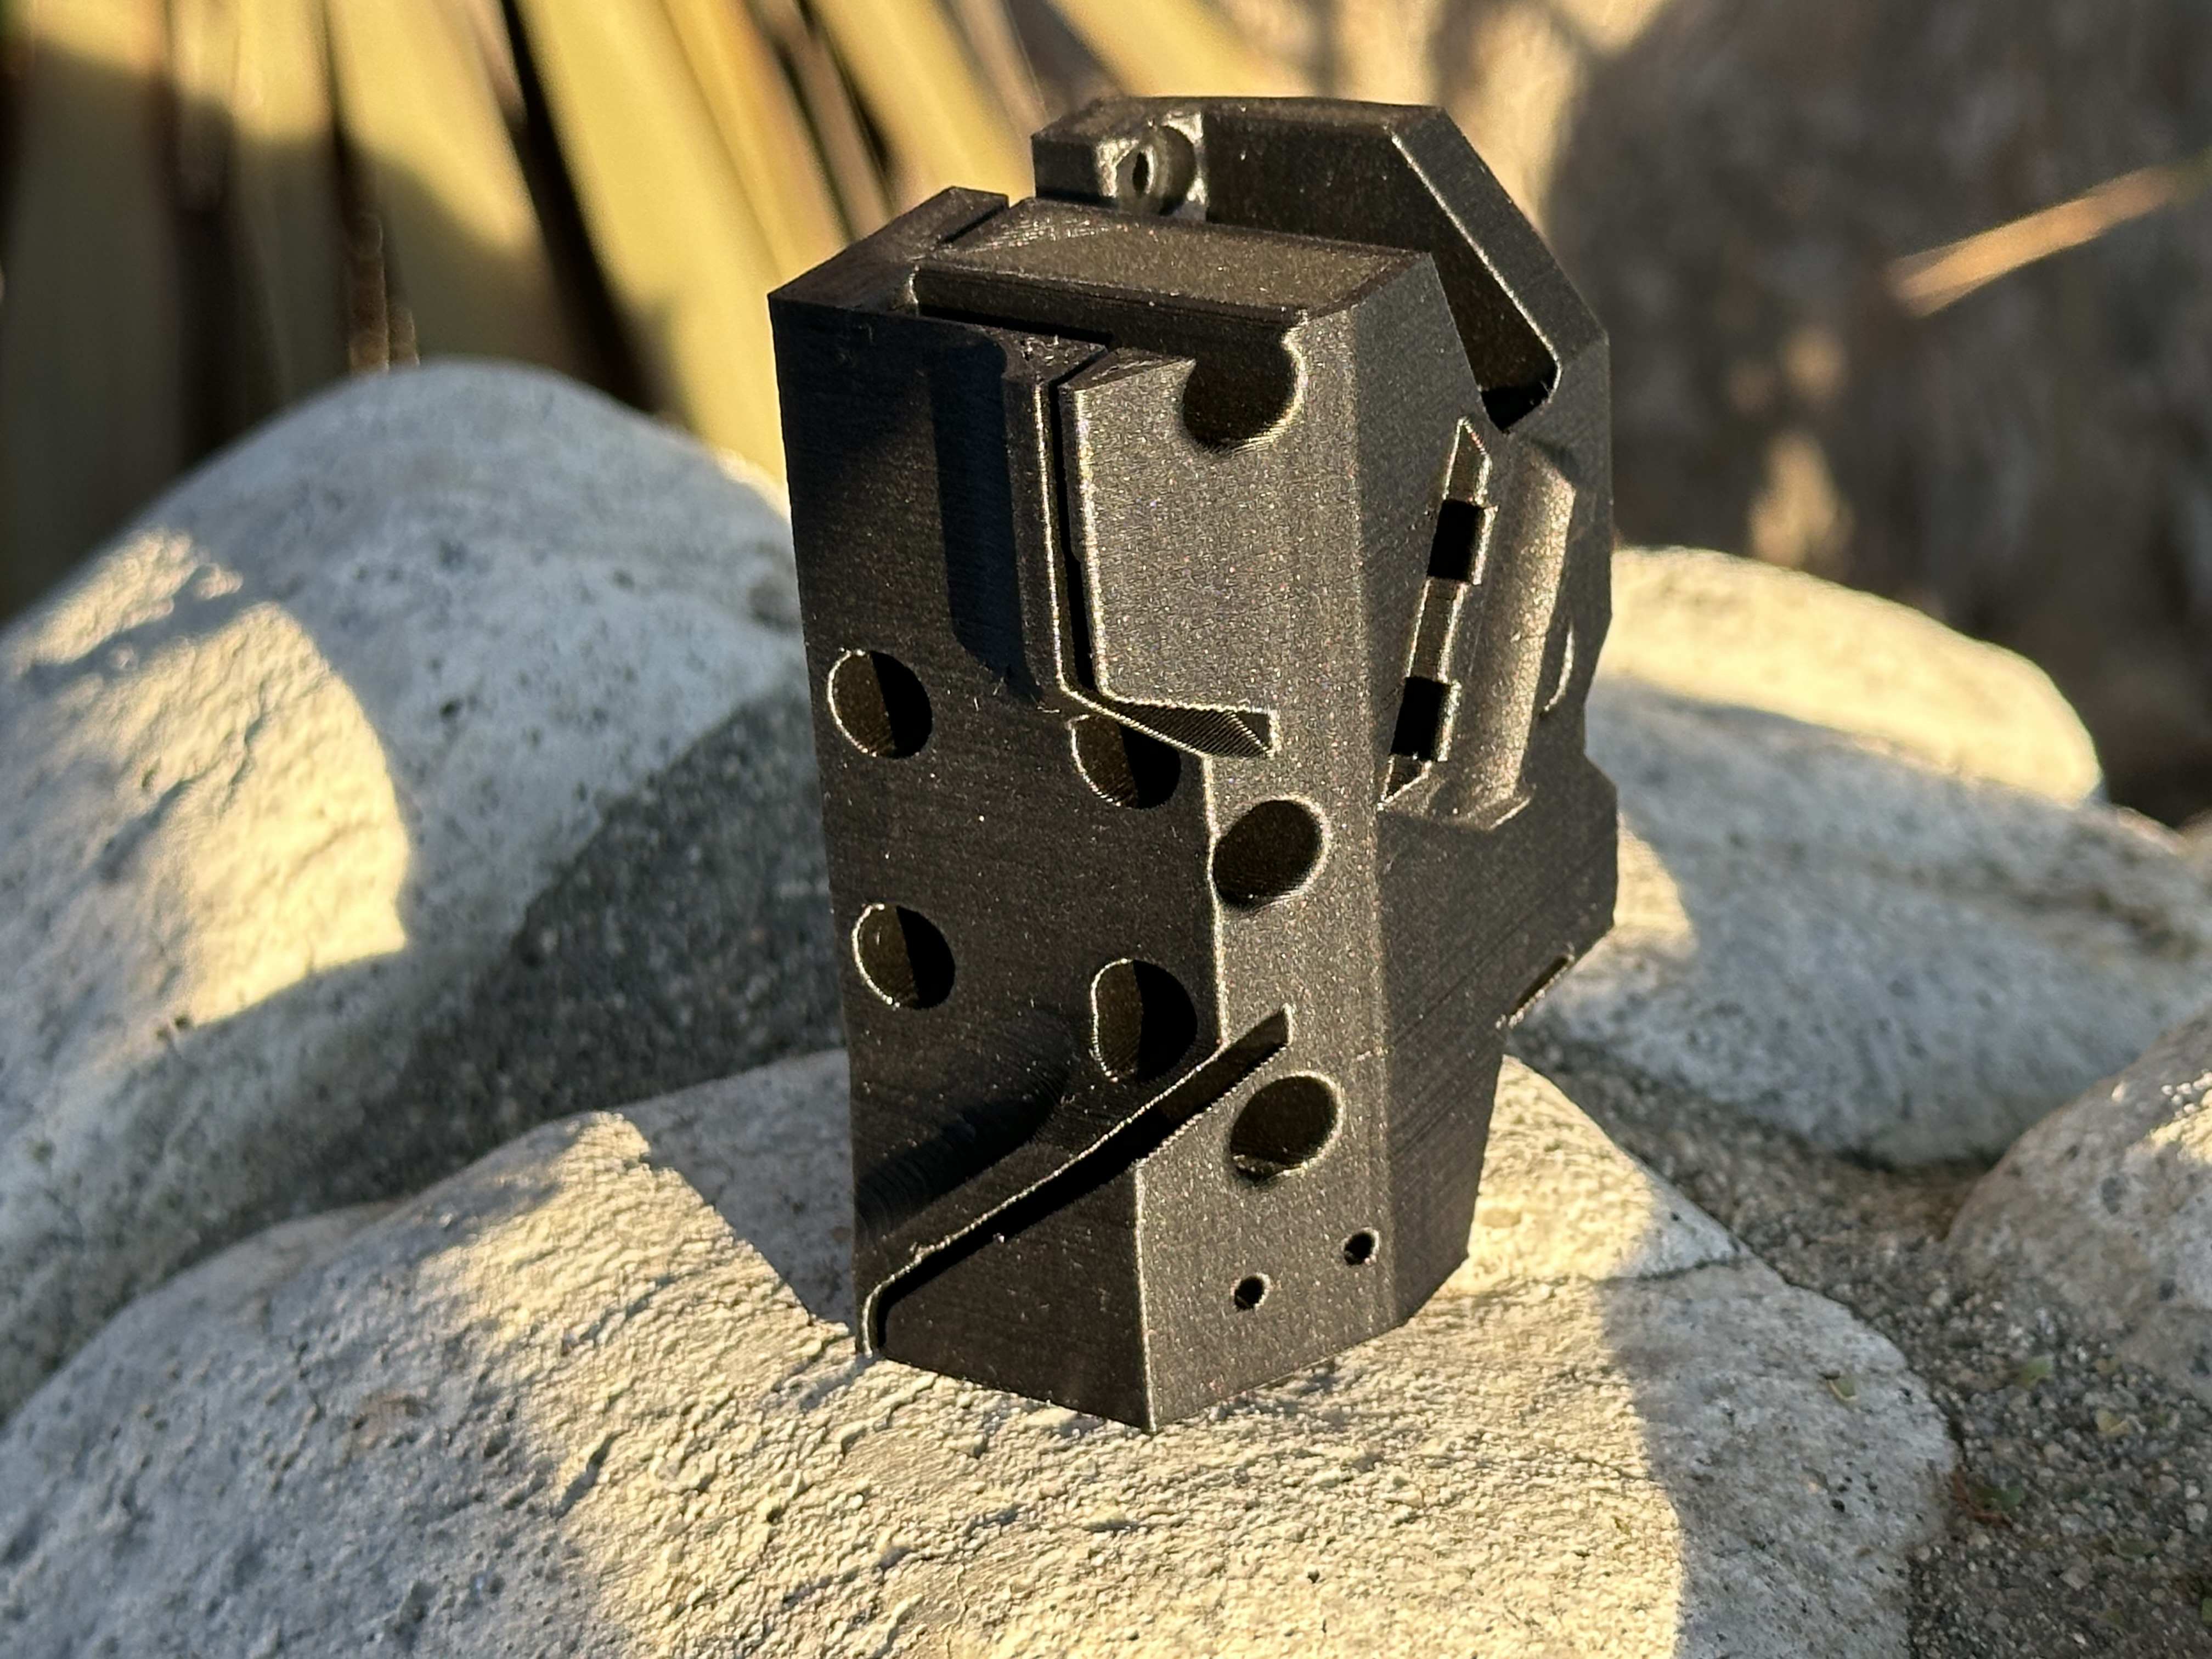
I need to reprint all the core components in PETG now so that I can get back to trying to print ASA again.
Yeah and carbon adds stiffness. I probably will redesign some parts to be millable in aluminum, too
Right after printing core, I figured my left belt got loose, probably skipping a tooth where belt is mounted in a PLA core from high temps. I fixed that and now printing the shroud without horizontal marks.
Update: happened again, PLA core did not stand to PETG temps
What is the best way to insert belts into the core?
Don’t know what best way is, but here’s what I did https://azab2c.com/make?s=belt&v=2_1&t=30_14_31, reduce playback speed if you want to hear my ramblings.
I see you also stuck on a top left piece
1 Like
Yeah, that part was patience testing, briefly contemplated carving off some of the Carriage’s rear upper corner flaps with dremel, or sawzall even ![]()
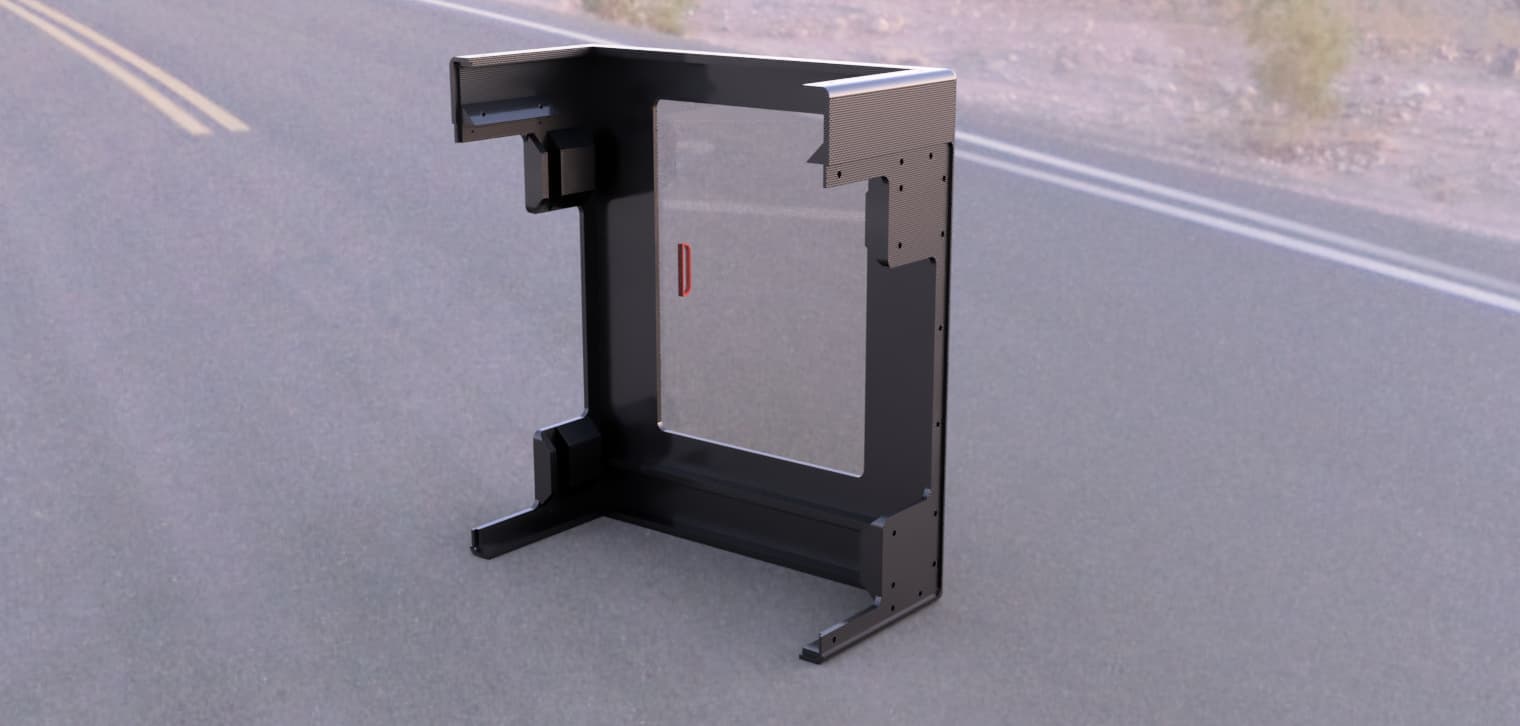
I started working on a design for a modular enclosure. Planning to print with CF-PETG. Obviously, work in progress, need to carefully think about all access panels. It should become a new frame support enforcing correct geometry. Let me know what you think

2 Likes
Modular sounds great, curious to see what you end up with. Have fun!
CNC’n panels for my MP3DP was more time consuming than expected, but I like how they turned out (files on GitHub). Cardboard box would’ve been fastest/cost effective option. But I’ve accepted my MP3DP was something intentionally built to help me learn a bunch, be a glorified lamp and room heater, that happens to print things.
I should’ve ensured rear access panel was removable from the start. The SnakeOil 3D printer panel clips are nice.
1 Like
Also looking for suggestions how to secure glass to the thick bed. Painter’s tape surprisingly works well (even hen bed is heated to 90 degrees) but doesn’t look good
Another advise request: I want eventually to have a power off switch for the printer but continue to power raspberry pi. So far I have 2 options: have 2 power supplies powered by a single power cable, that way PRI always on and printer can be switched off by shutting down main power supply. Another option is to make a voltage divider, power both RPI and main board from one power supply but keep that power supply always on by adding a switch between main board and power supply but then I will have to put a switch that will disconnect all power wires from the board
Im using spring clips right now but i REALLY dont like it. Thinking about trying to print some “ribs” that i can screw down to the bed (my aluminum is just a bit wider all the way around than my glass) and it secure the glass from moving. Not sure how well an ASA part would do with the bed at 90ºC for a long time LOL. I think it would be fine at the normal 60ºC for pla though
Like your idea of separate power switches for Pi and Controller.
Consider having a way to reset the PI without complete power down.
I regret not thinking through these specifics up front. Currently have single switch for power to Octopus and Pi. The Pi 4 is powered by USB cable from Octopus to Pi, initially planned to be a short term solution… But works well enough I haven’t bothered to rewire to have separate dedicated PSU.
Why the glass on top of the aluminum at all?