Riley,
Are you talking Neje laser modules… they’re on sale even
I haven’t tried the newest E40 laser module… $239 vs $259 for the A40640. Looks nice… just don’t need it yet!
– David
Riley,
Are you talking Neje laser modules… they’re on sale even
I haven’t tried the newest E40 laser module… $239 vs $259 for the A40640. Looks nice… just don’t need it yet!
– David
Wow, no I just looked on Amazon. That is a huge price difference!!
I need to be happy with what I have. I am poor! But that does look fun!
David, Great! I’ll get the print(s) started.
Mike
That answers my question. Thanks David for all your help on this. I really need to get things set up and do this some more!
As someone mentioned above, I really appreciate all your info and help on this topic. It really is helpful and inspiring!
Not as cool as soup can elevators but I did use my removable spoil board for a project inspired by all of your postings here.
David, you have played with more lasers than anyone. Have you noticed any lasers that stand out to you that have the smallest dot size? I am going to mess with mine a bit more to see if I can get it even better, but I am finding myself chasing the finest details possible. I made a fun custom gift certificate yesterday and think I will be doing more of them. There seems to be a balance of dot size and product size. So a smaller dot might take longer but you can also make a smaller product with the same detail. I think I am currently set at a 0.08mm line spacing. Just wondering if it can get smaller. Or maybe I look into how I find the ideal focal distance for the lenses I have
Ryan,
I suspect that Robert (@robertbu) can give far better information on this than I can… he’s got a clearer technical understanding and more real-world experience than I have. I have mentioned (ad nauseam) that I prefer my little 2.3W Banggood/Eleksmaker laser modules to engrave photos… and generally get reasonably nice results with something between 254 and 339 dpi/lpi (0.1mm to 0.075mm interval). These little laser modules also have a rectangular “spot” so it makes some sense to me that a lower-power (physically smaller) die should have a smaller “spot size” than a higher-power die with similar geometry and lens.
However, many newer laser modules (such as the Neje A40640) advertise a square “spot” geometry and perform much better than the older rectangular higher-powered units. The Neje A40640 was the first higher-powered module that I felt rivaled my little 2.3W laser’s engraving performance. There are a lot of newer multi-diode laser modules coming out now offering a square spot geometry (better/smaller than the Neje) but I’ve not yet sprung for one of them.
And, of course, I’ve not tested any of them exhaustively but had always heard that something on the order of 300 dpi/lpi (“0.08”-ish) was appropriate for diode laser engraving… and that seems to work best for me with my 2.3W lasers.
I did also find that the engraving performance of all my other lasers seemed to show better photo detail with adjustments to Lightburn’s dot correction settings… though that really only helps in one direction (direction of travel). Here the exact same speed/power settings were used (scanning left and right) but with no dot correction (left), 0.02mm (middle), and 0.04mm (right)
And, of course, absolute BEST FOCUS is crucial. IMO your original focus script is probably the best way to determine the best focal distance for laser engravers with a fully-implemented Z-axis.
– David
Awesome thank you that does really help. I am using a 2.3 or 2.8W laser, clearly a rectangular spot. I do have it oriented 45 on the X and Y axis.
Very interested in the Square spot…but I do not need the power of that 40640. I’ll do some tests with focal length and report back if I find anything. Thanks again!
Something that you might check and think about…
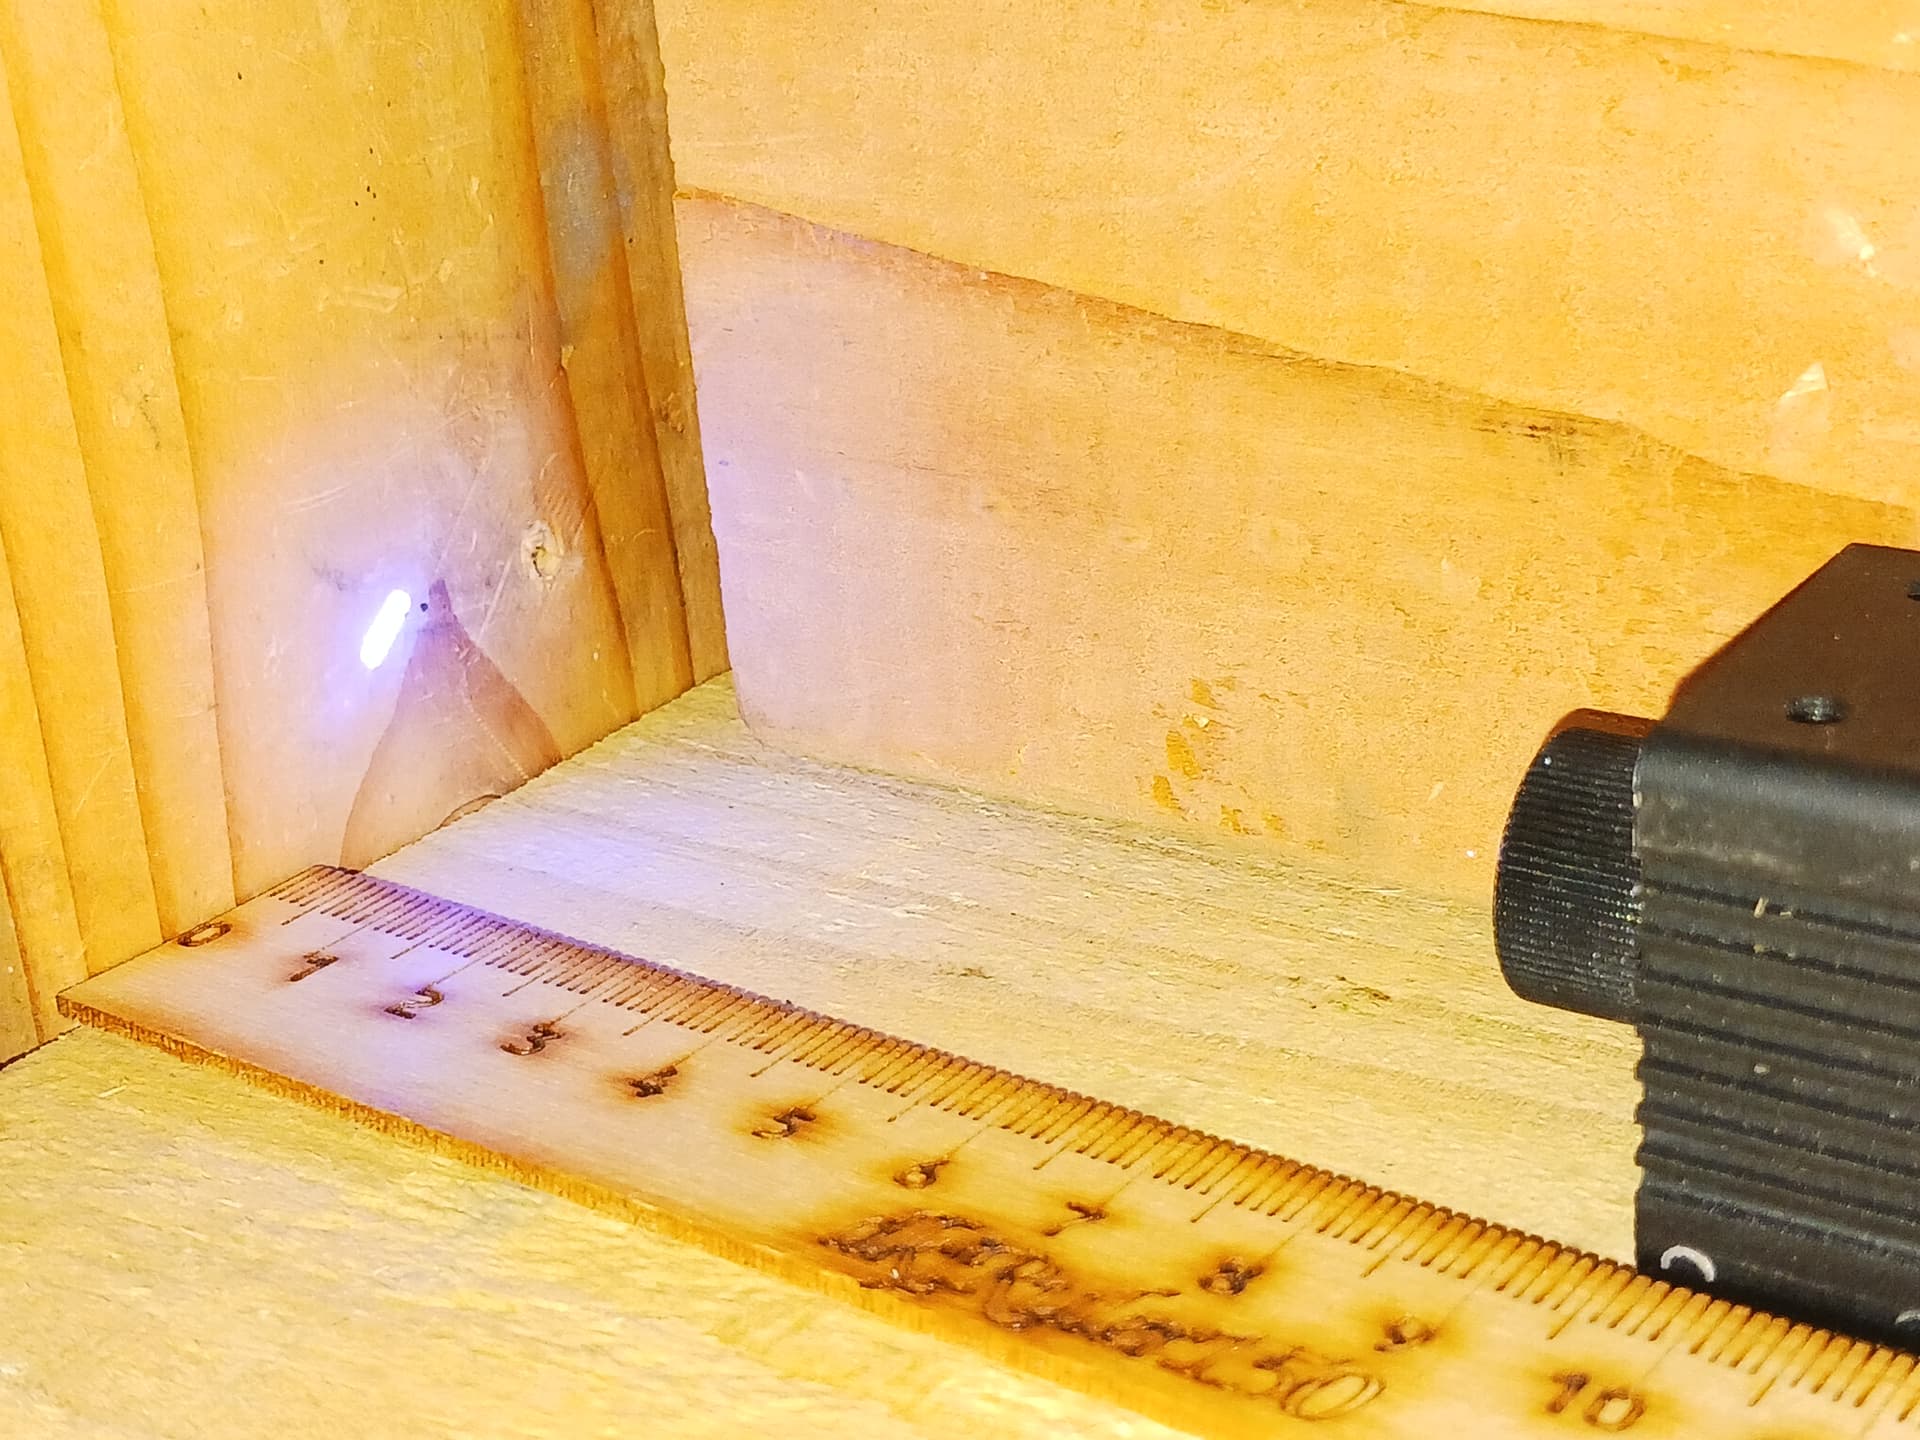
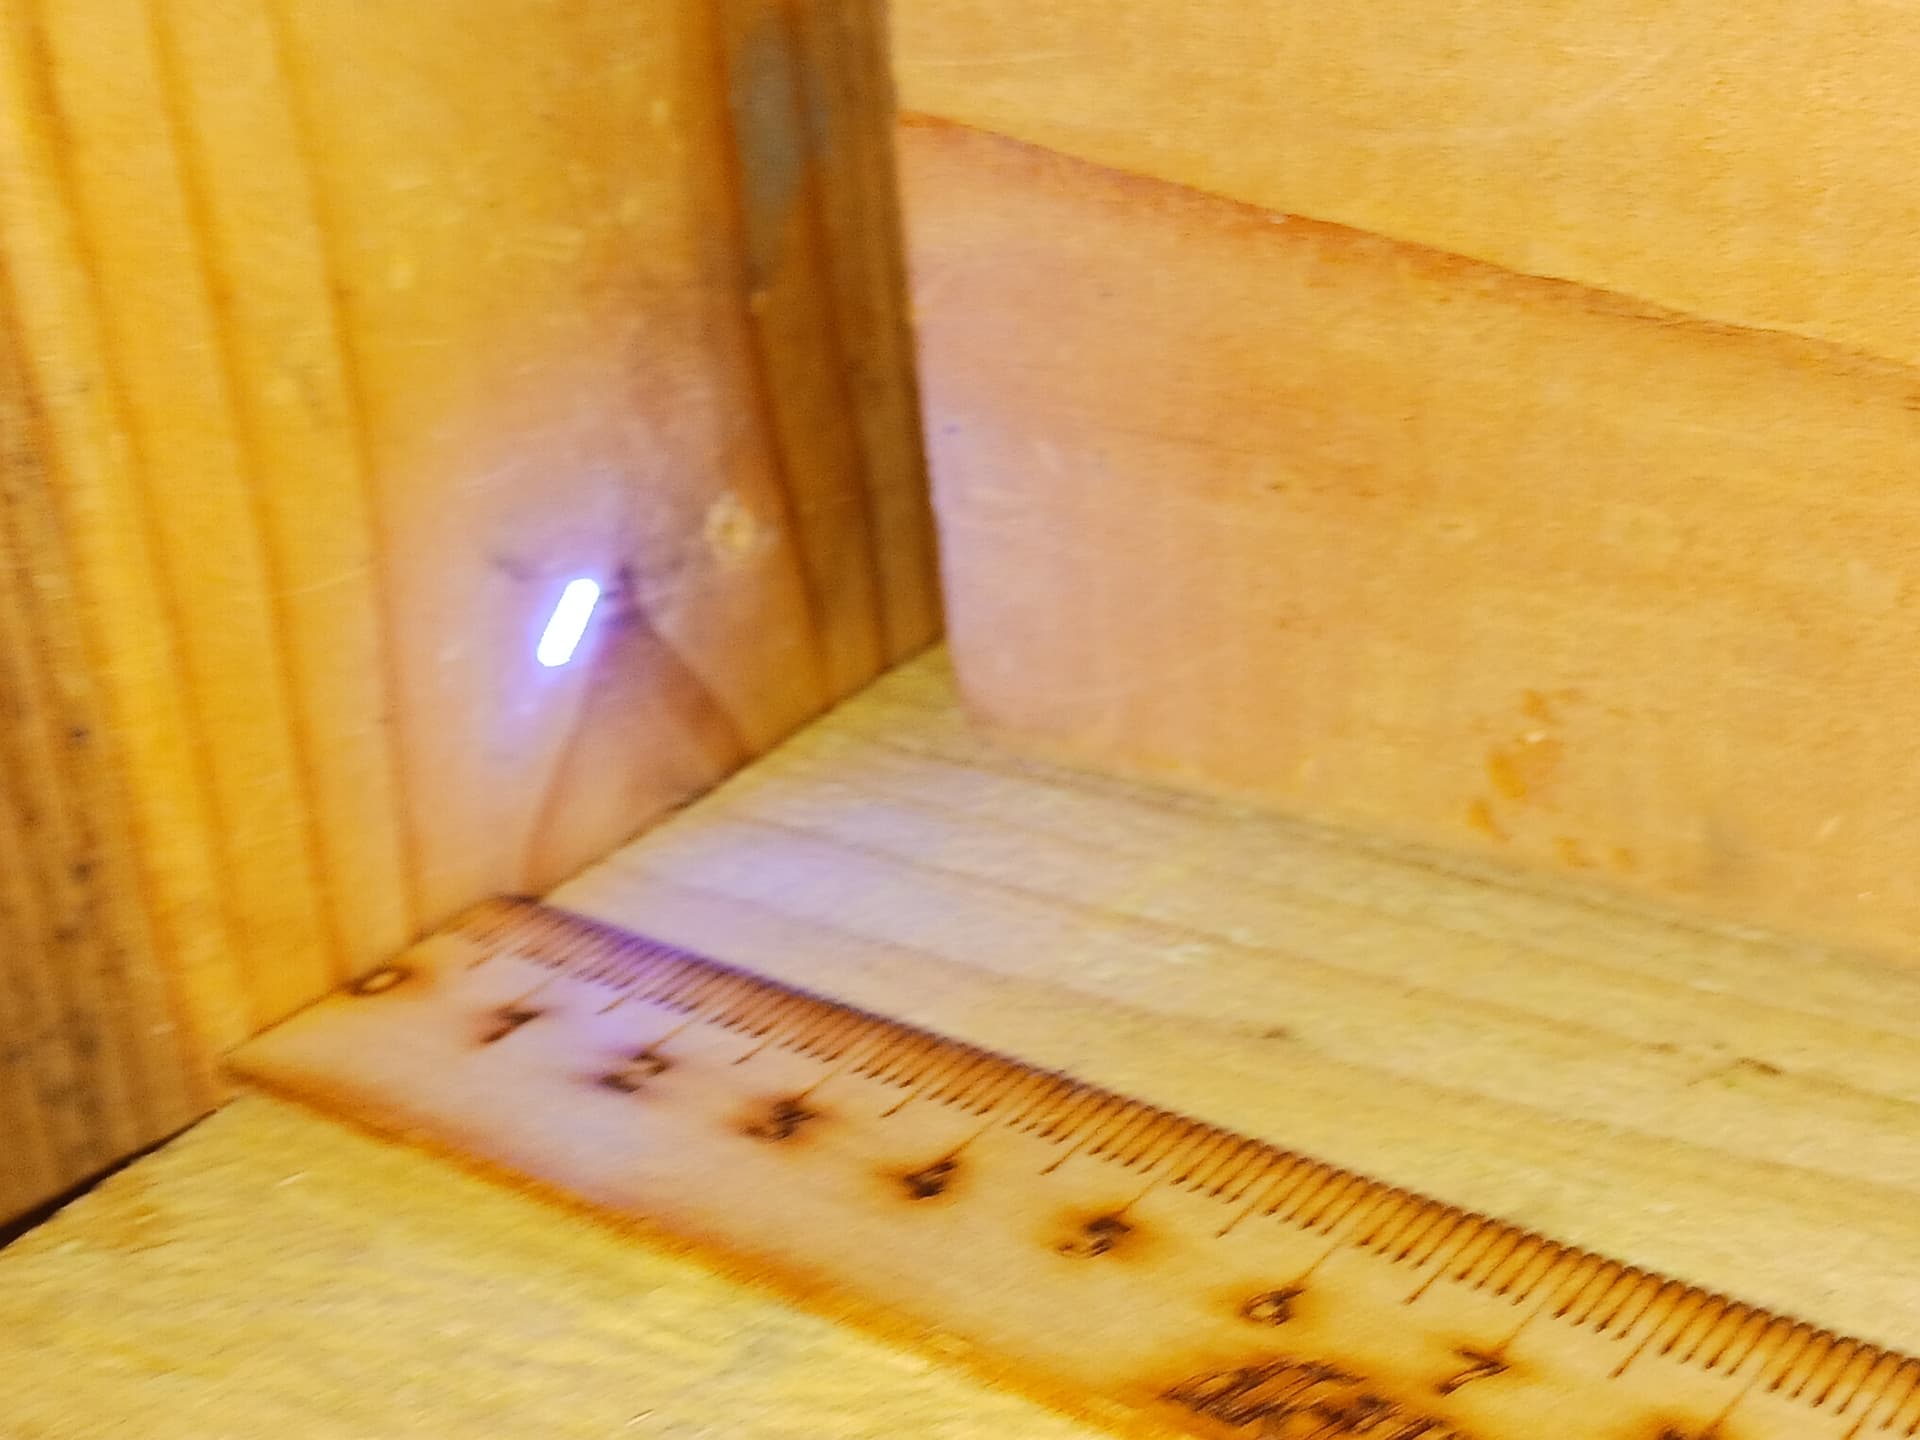
I often check out a laser before mounting it on the machine. I set up a few scraps of wood and a ruler and then simply slide the laser back and forth, along a straight edge, to get a sense of where best focus might be set… and also see the spot geometry and orientation. I also use this setup to pre-adjust the focal distance to a convenient gauge-block value… say 50mm, bottom of housing to surface of material.
Here, too close…
about right…
and too far…
Clearly, the rectangular shape of the “spot” is seen in these last photos… and maybe, a bit surprisingly on this module, the die seems to be set on a diagonal to the actual X/Y orientation of our machine. It’s common to hear of people complaining that their laser cuts/engraves better in one direction than the other… and it’s easy to see how that could happen if the long dimension of the “spot” aligns with one axis or the other.
OTOH, in our case, maybe it would be advantageous to mount and align the long dimension of the “spot” with the direction of scan and then use “dot correction” to effectively “shorten” that “spot” dimension… and leaving the short dimension of the spot to determine the shortest line interval (best resolution) in the other axis?
– David
That is a good idea! I have a few lenses here that over time have lost the labels. So I need to test the focal distance of them. I know one is supposed to catch more of the initial beam so it has more power, I think the trade off was a larger spot size. Lightburn lets testing things like that pretty easy, I just need to figure out the ideal focal length for each of the lenses first. I can focus them at multiple distances so I assume that is not good, there must be an ideal focal length.
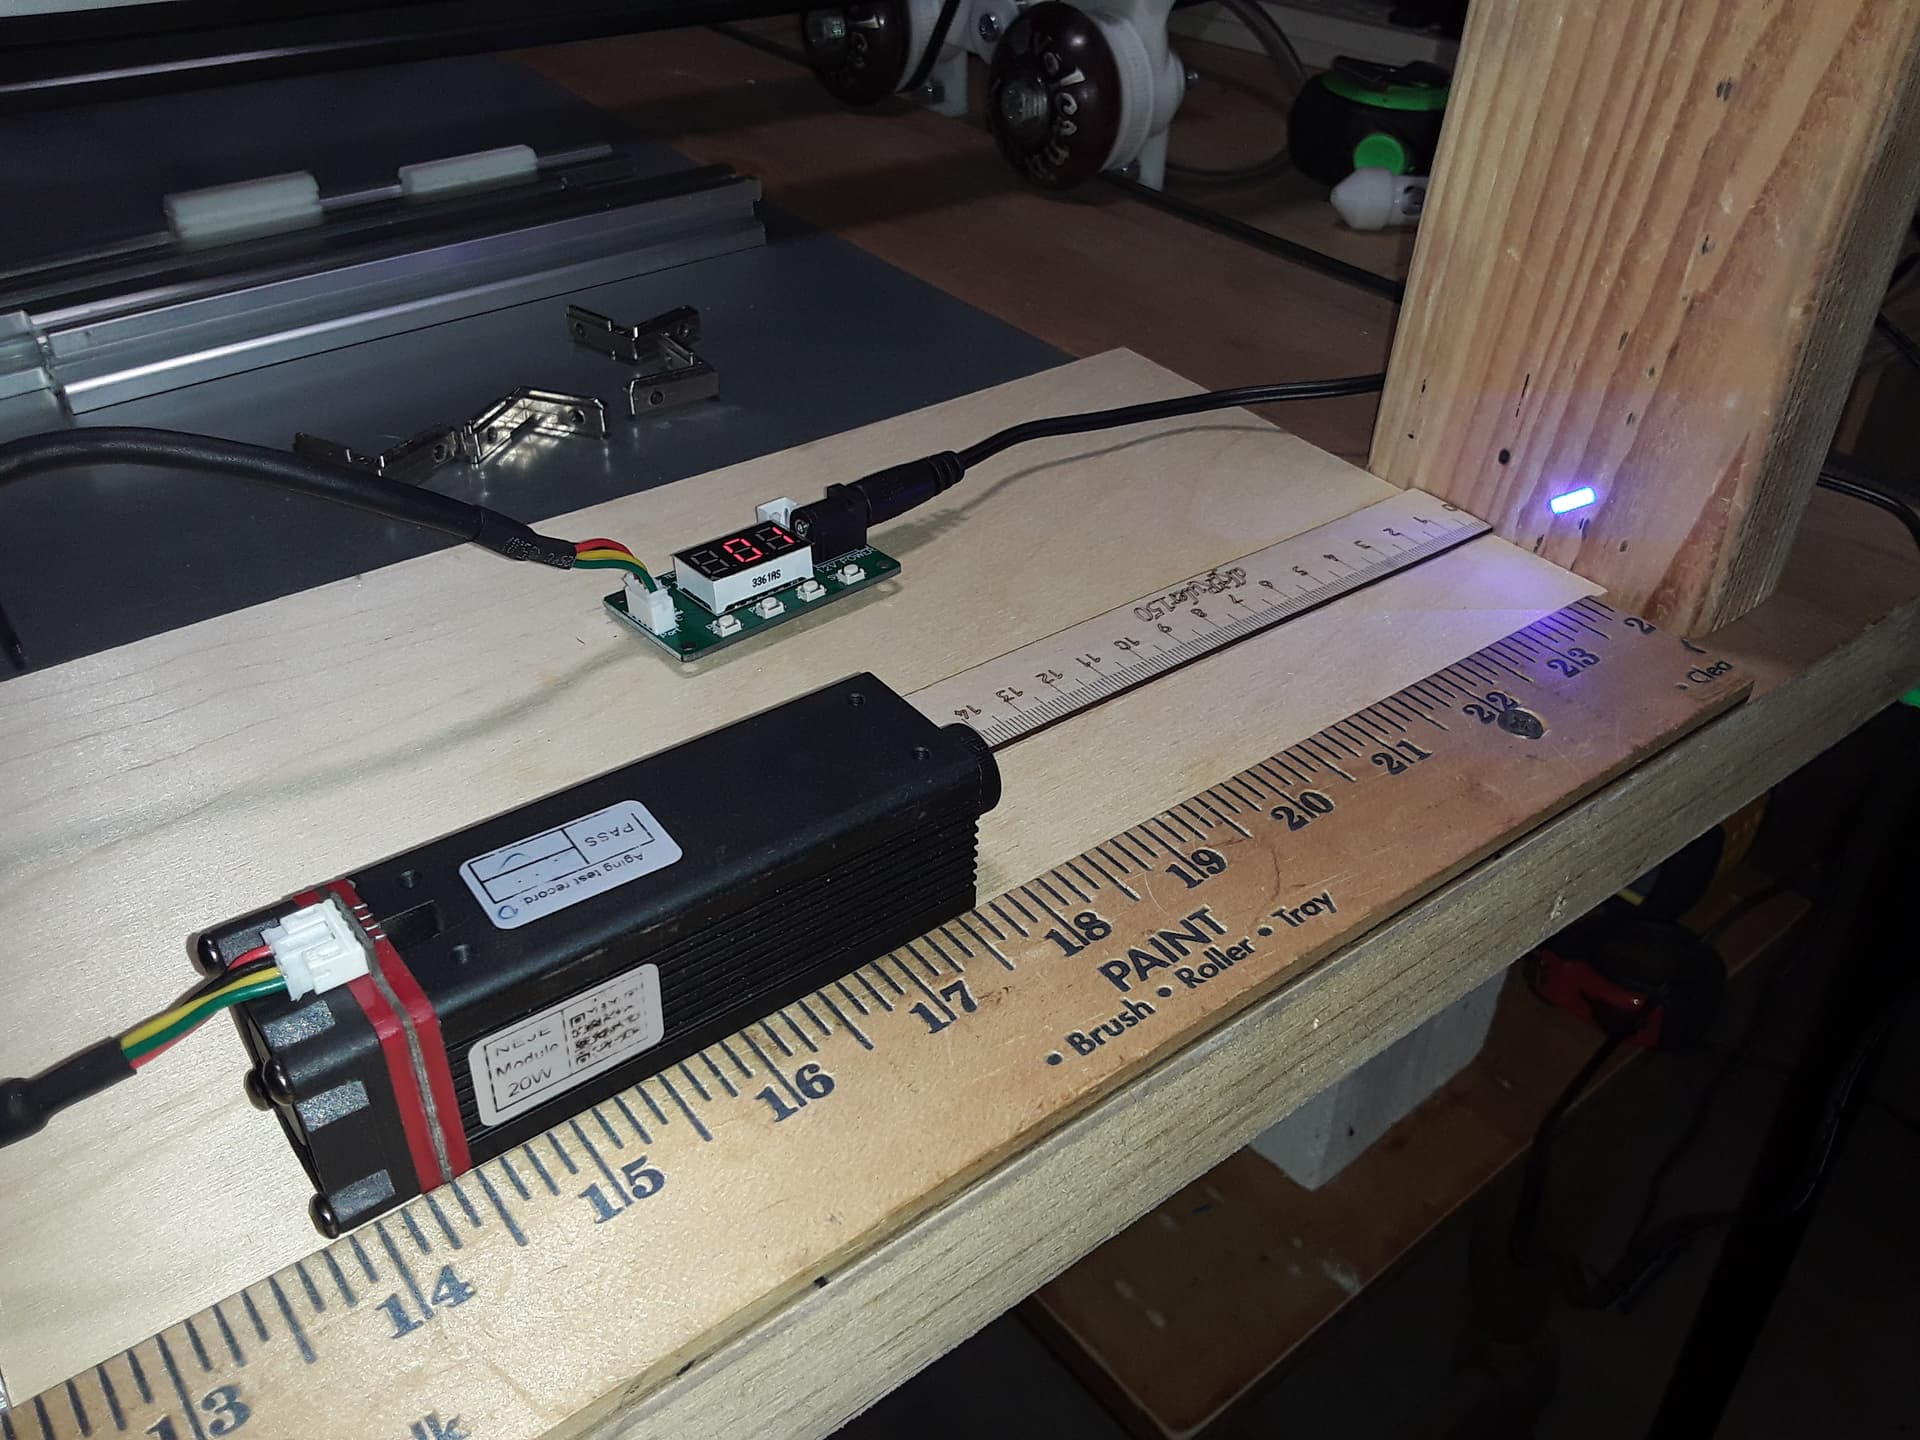
So i have not done much at all with my laser. Itis cold here again. How do you run the laser full time like that. And it must be at very low setting, correct?
I think you could use his variable z for this test also!
Not sure what you mean by “full time” but you can fire the laser at very low power (1% or so) from Lightburn. And a couple of my Banggood lasers also have a button on the module’s control board to fire a weak beam. My Neje laser modules came with a really neat little PWM test board that is fantastic for this… just 12V power, a digital readout (1% here… only 2 of 3 digits showing because of photo timing), and buttons for power adjustment anywhere up to full power
These low-power settings are good for alignment purposes, framing, and also testing the laser, as I was doing here.
– David
Full time i just meant always on. (Man i am on a kindle fire and i hate it, bought it because it was cheap, but typing on it the auto corrects it does is horrible!). Had to retype a couple times!
@dkj4linux I see a new experimentation process for you: Powder Coating With Lasers..Kinda | A New Way To Fill Your Engraving With Vibrant Color - YouTube
Thanks. Yeah, I came across this a few weeks back. I want to try it out once I get my laser fully operational.
Holy cow! I will definitely be trying this!!!
I can assure you that I would make such a mess of this process that it’s a non-starter for me. Old and shakey as I am, I would have great difficulty handling these fine powders and obsess over the “waste” of scraping/brushing/blowing the excess powder into the trash can. I recently “learned” my lesson when playing with TiO2 powder… it wound up coating everything in my house and kitchen, in spite of my best efforts to carefully handle and “contain” it. So, for me, I’ll stick with nothing more complex than spray paint… 
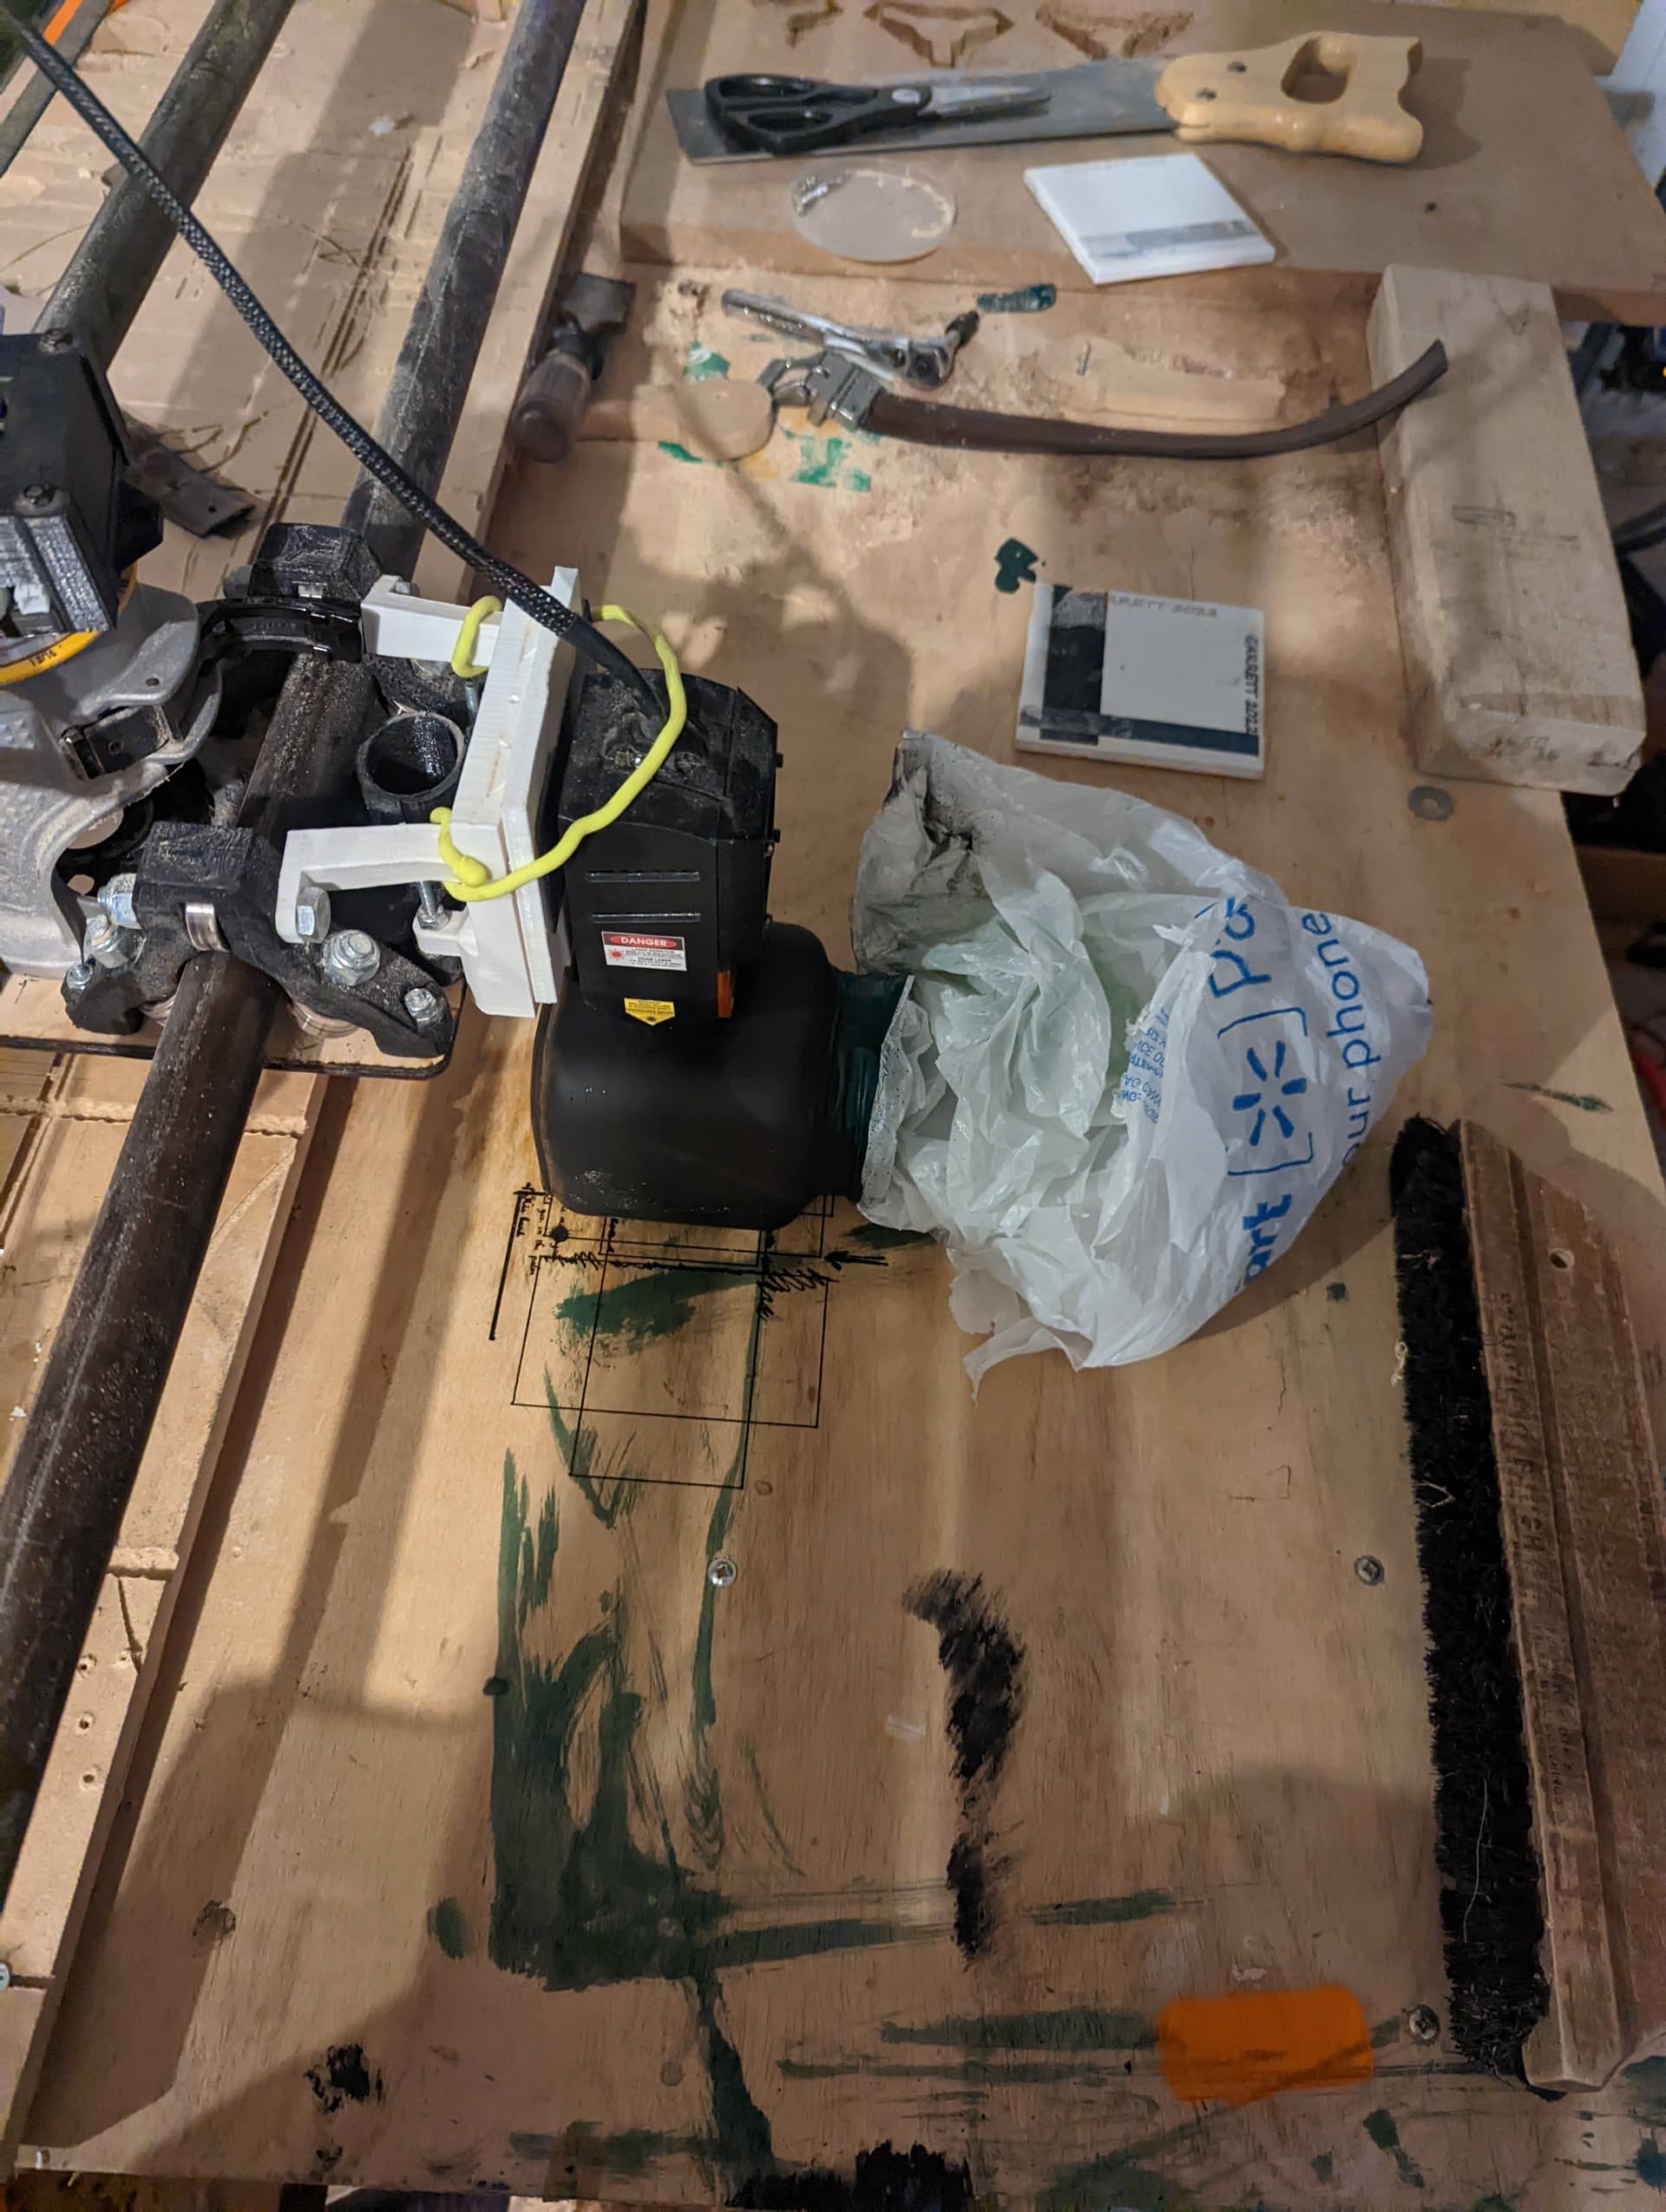
I don’t remember which thread had the fancy z height adjustment build info, but I wanted to thank you for the design.
I finally got around to printing it today. I don’t have it fully installed, but I did play with it some. I’m at the point where I have to completely disassemble my gantry to install it, but had to go inside to help get the kids ready for bed.
Well, thank you… but I’m sorry about you needing to dismantle the carriage to install it. I put so many mounting holes on that backplate to accommodate different machines… I guess I missed yours. 
Actually, I later settled on a completely different Z-lift design that is a lot simpler… and uses that Neje mounting clamp for a sturdier hold. I designed it specifically for the $79 Amazon machine so the hole pattern would need to be altered for your machine… should you want to adapt it to your machine.
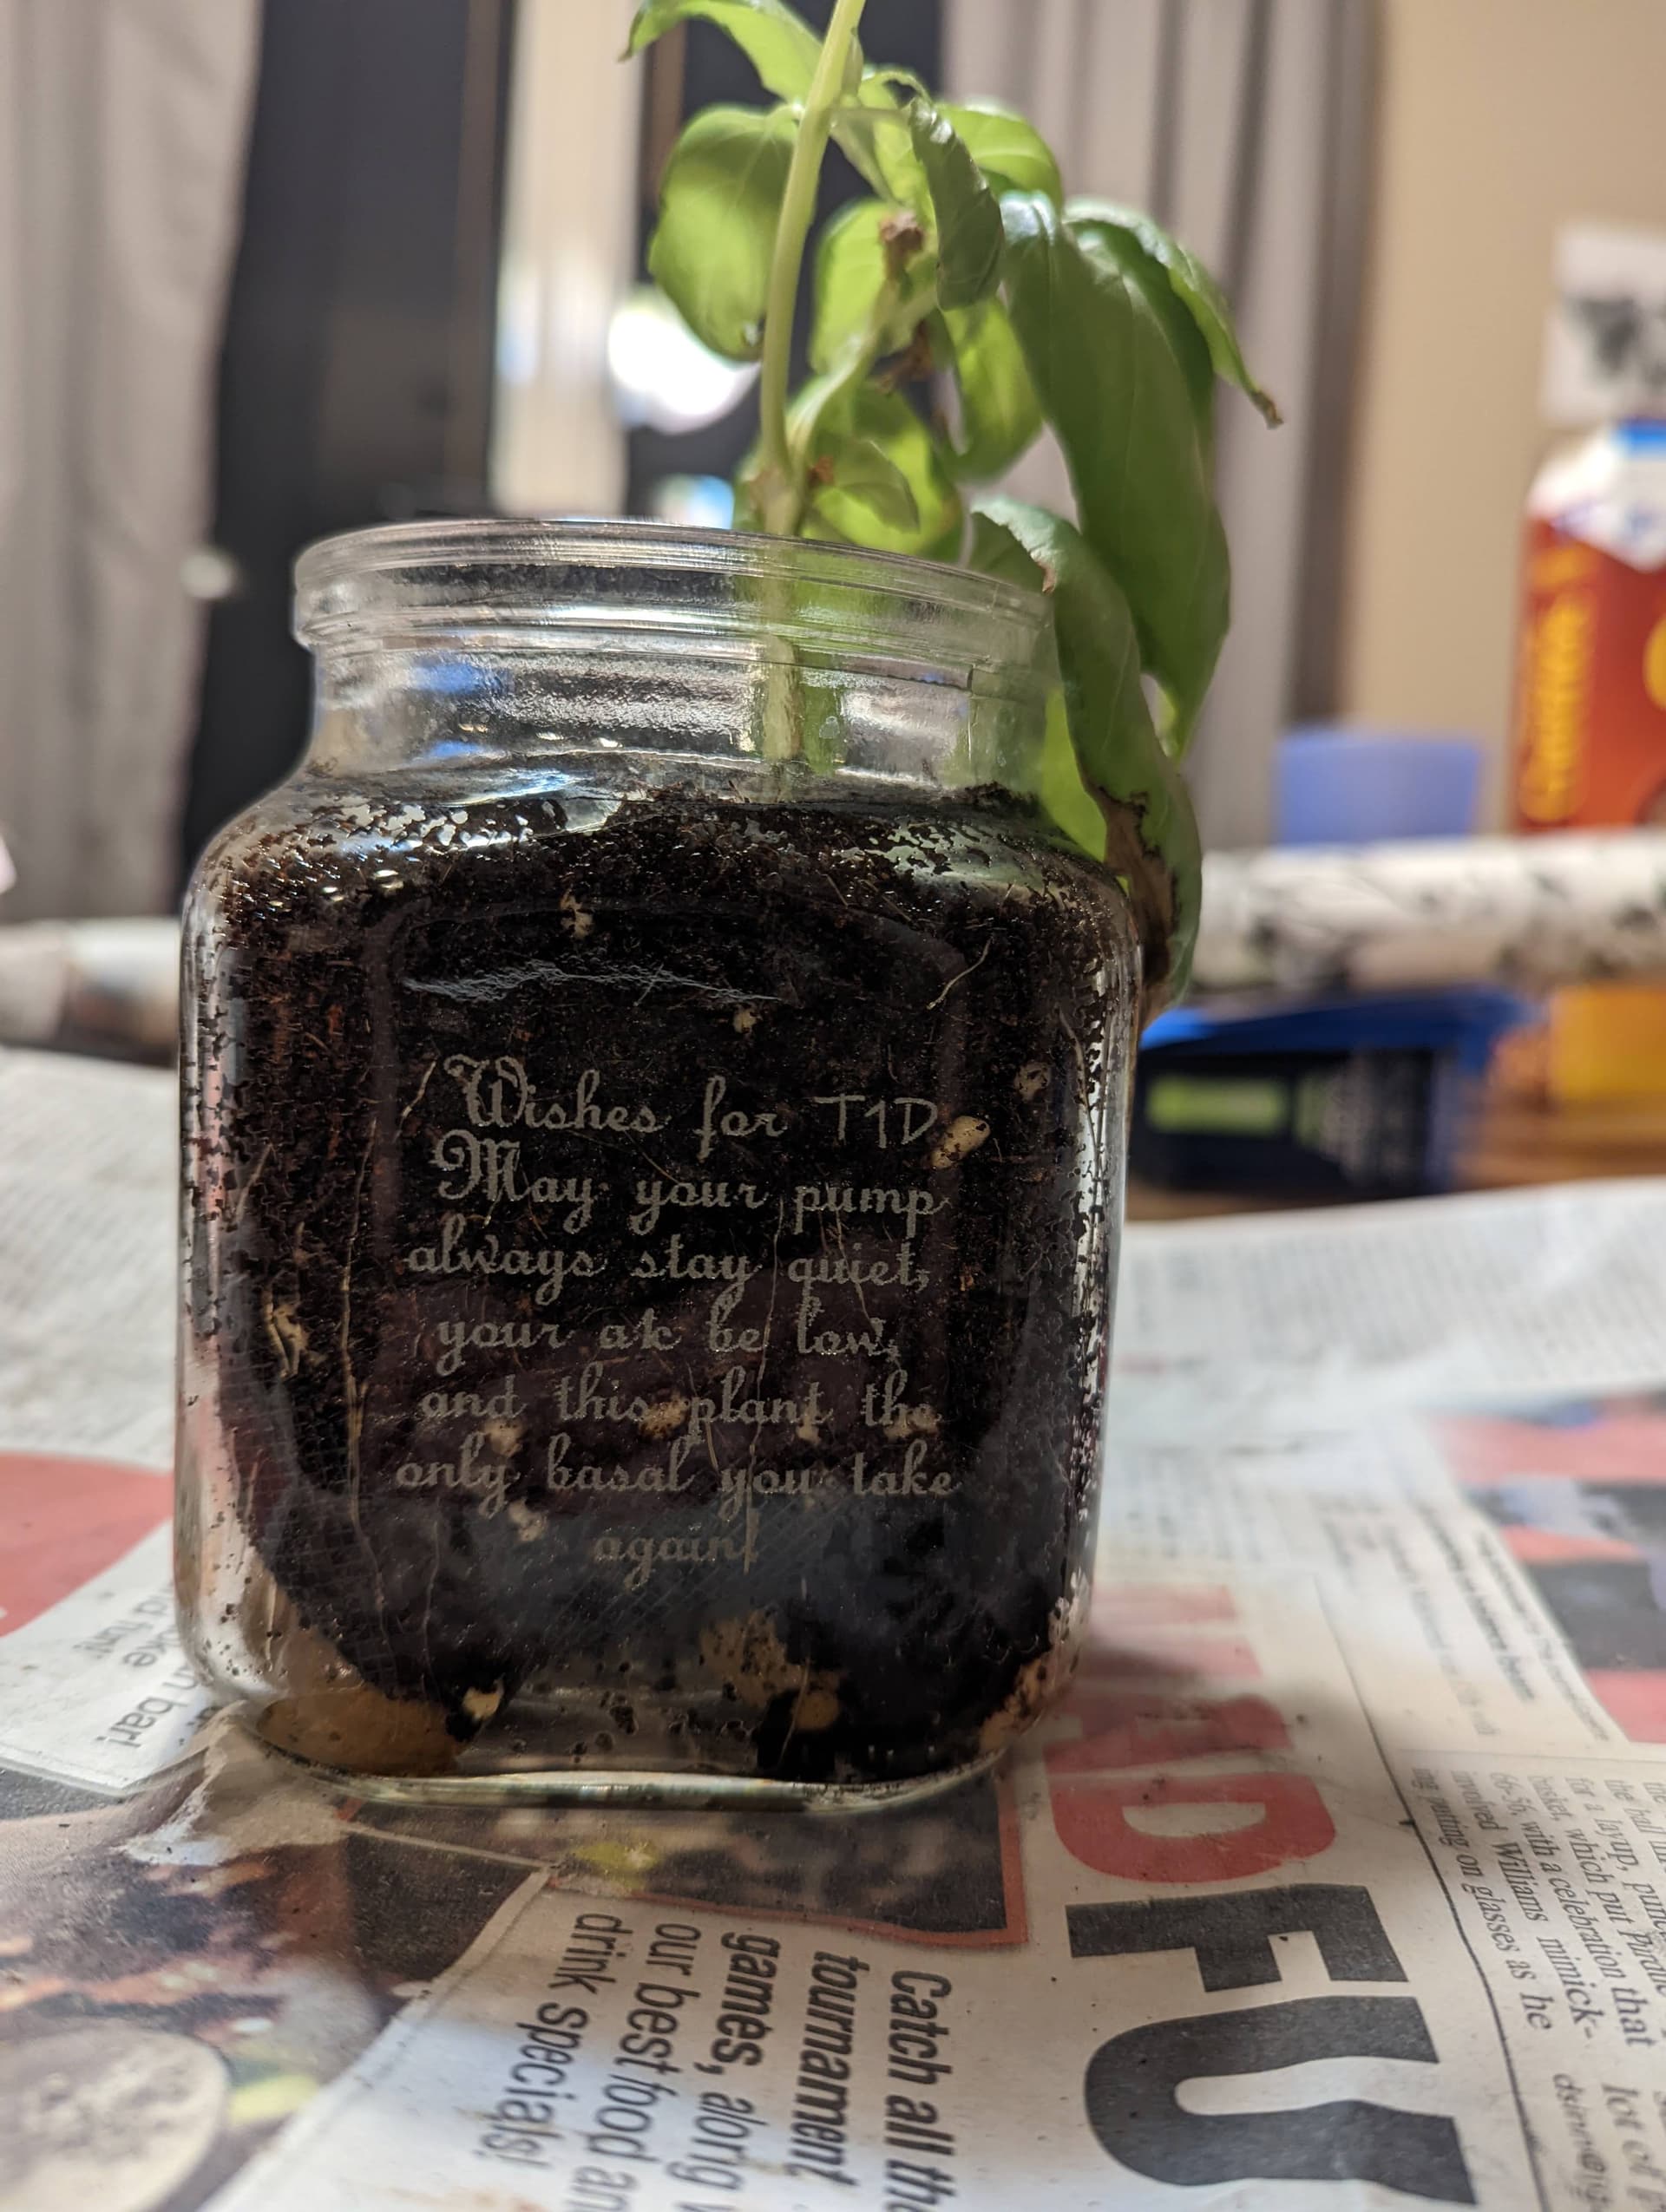
I like that purple filament BTW…
– David