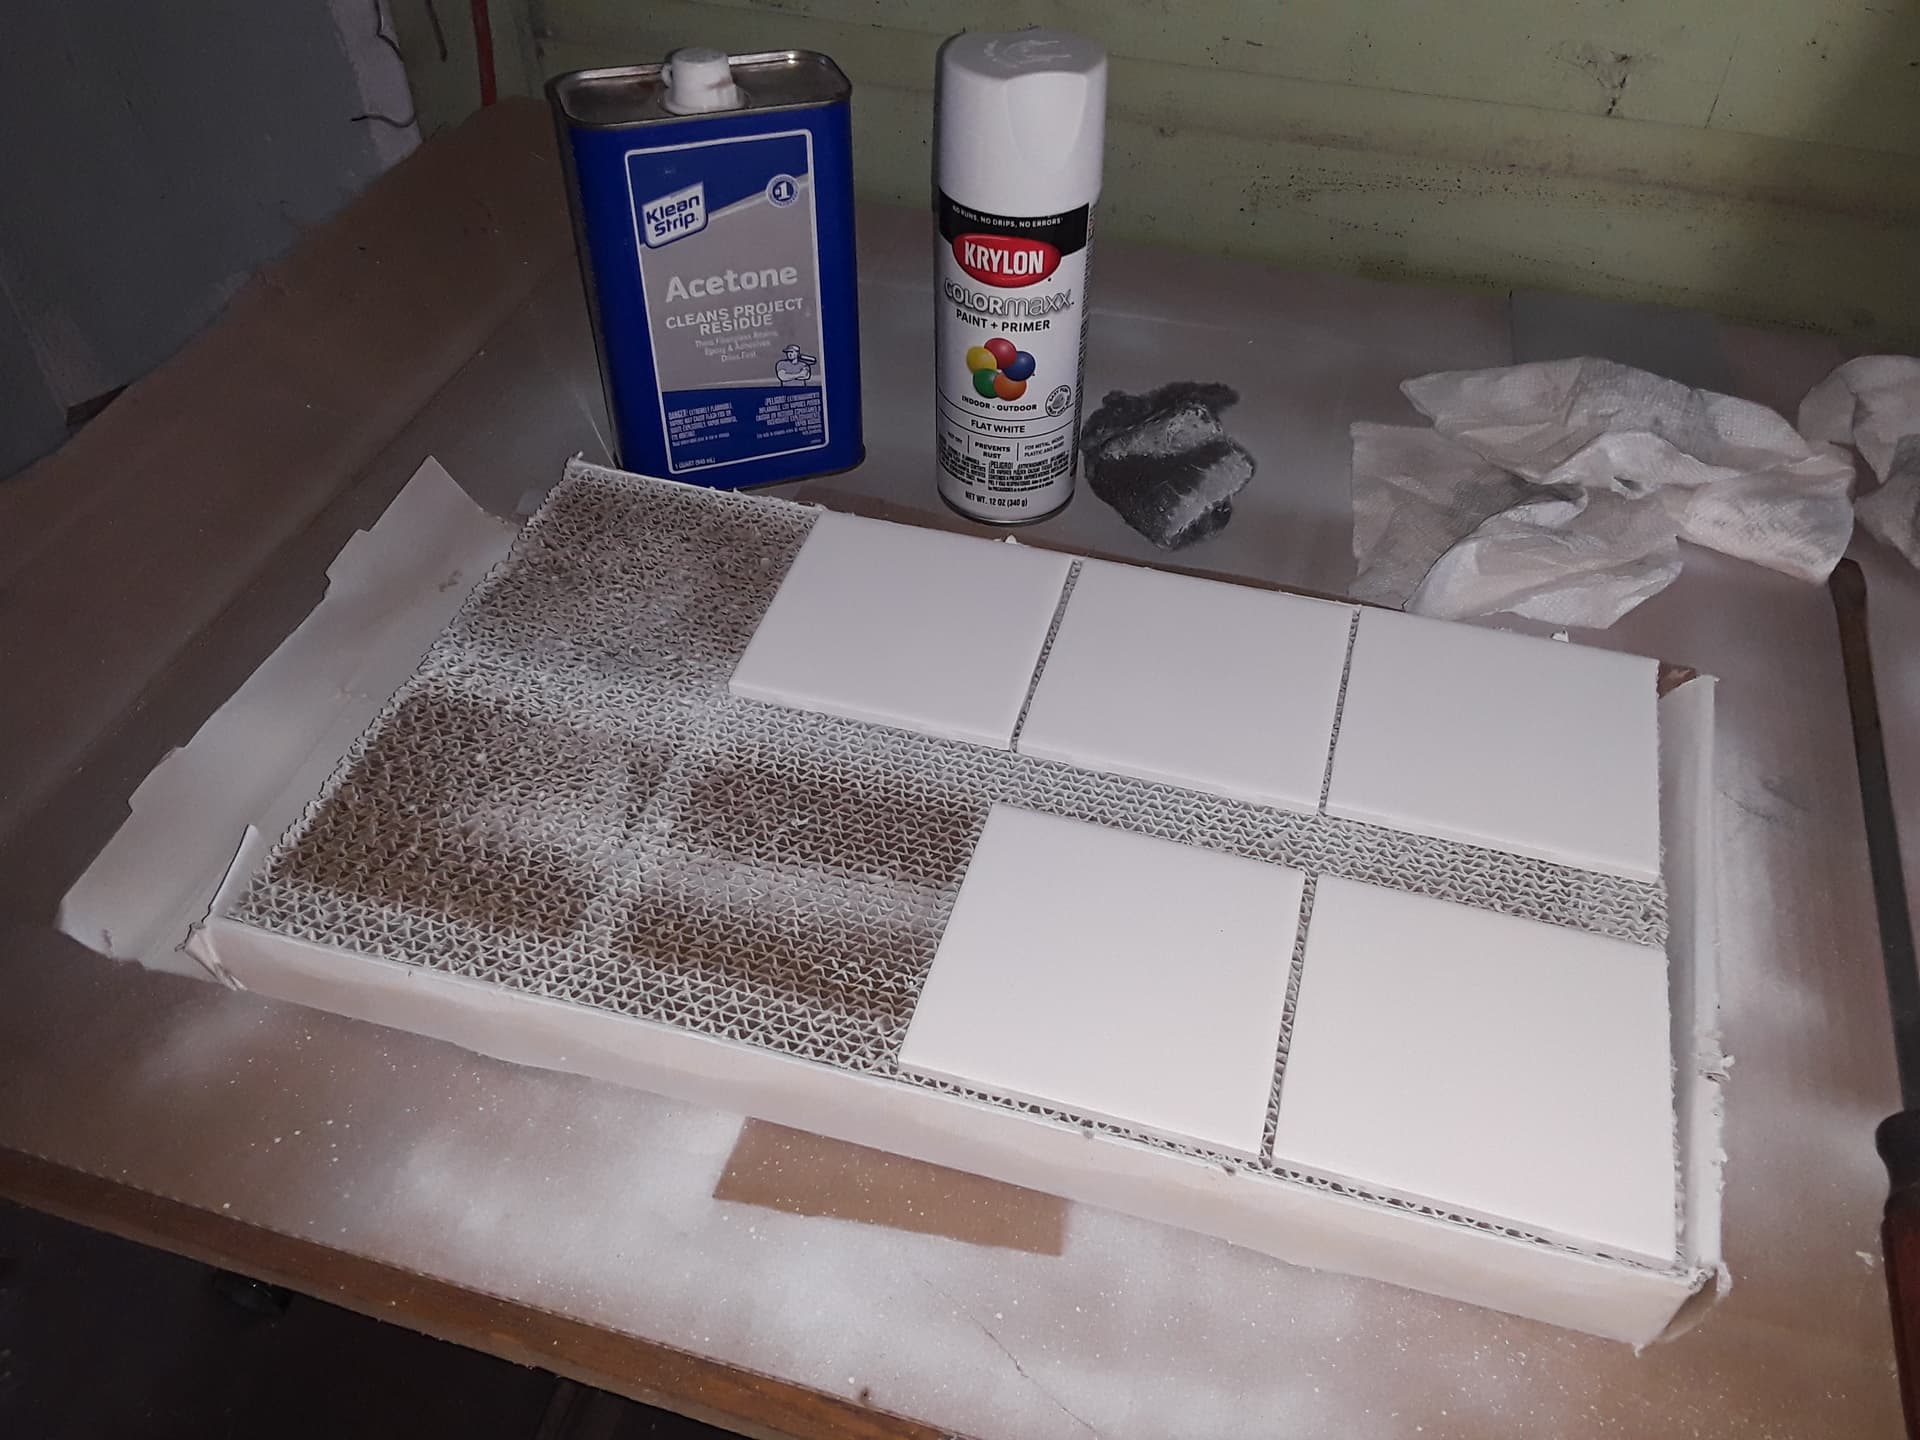
I used the Norton White Tile (NWT) Method… which leaves a permanent fused-in image that can’t be scraped or scratched off. The NWT process is simple and uses tile, flat-white paint, and acetone (or thinner). Please be aware there are many folks pushing lasered tile methods which are not NWT and do not leave a permanent fused image (just engraved paint, clear-coated over). Just saying…
I first clean the tiles with acetone and then spray tiles with a light coat of paint (allow to dry for at least a couple of hours)…
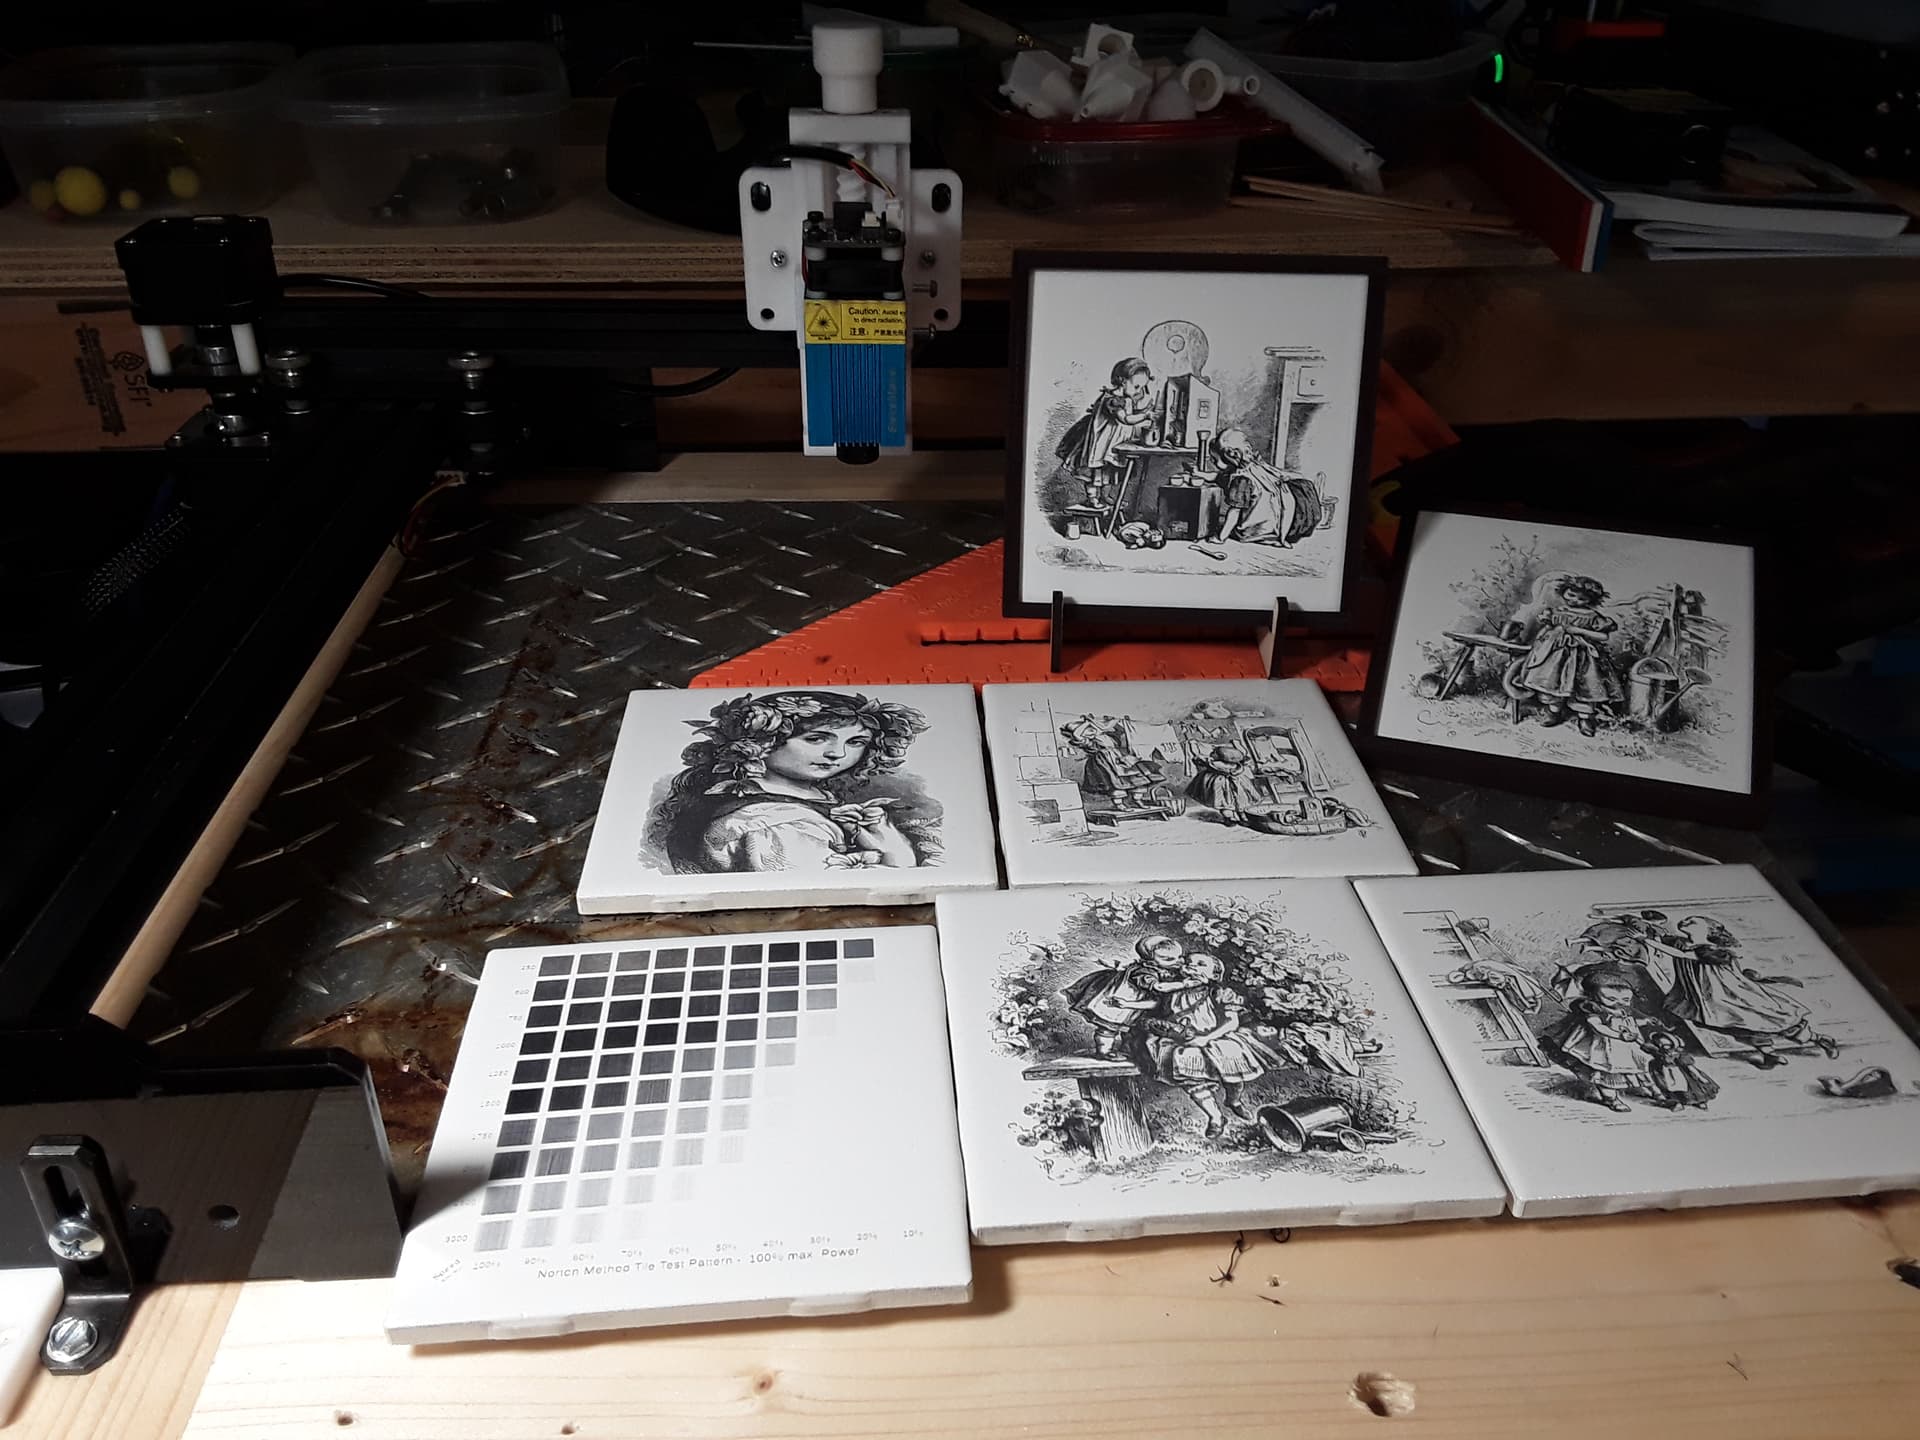
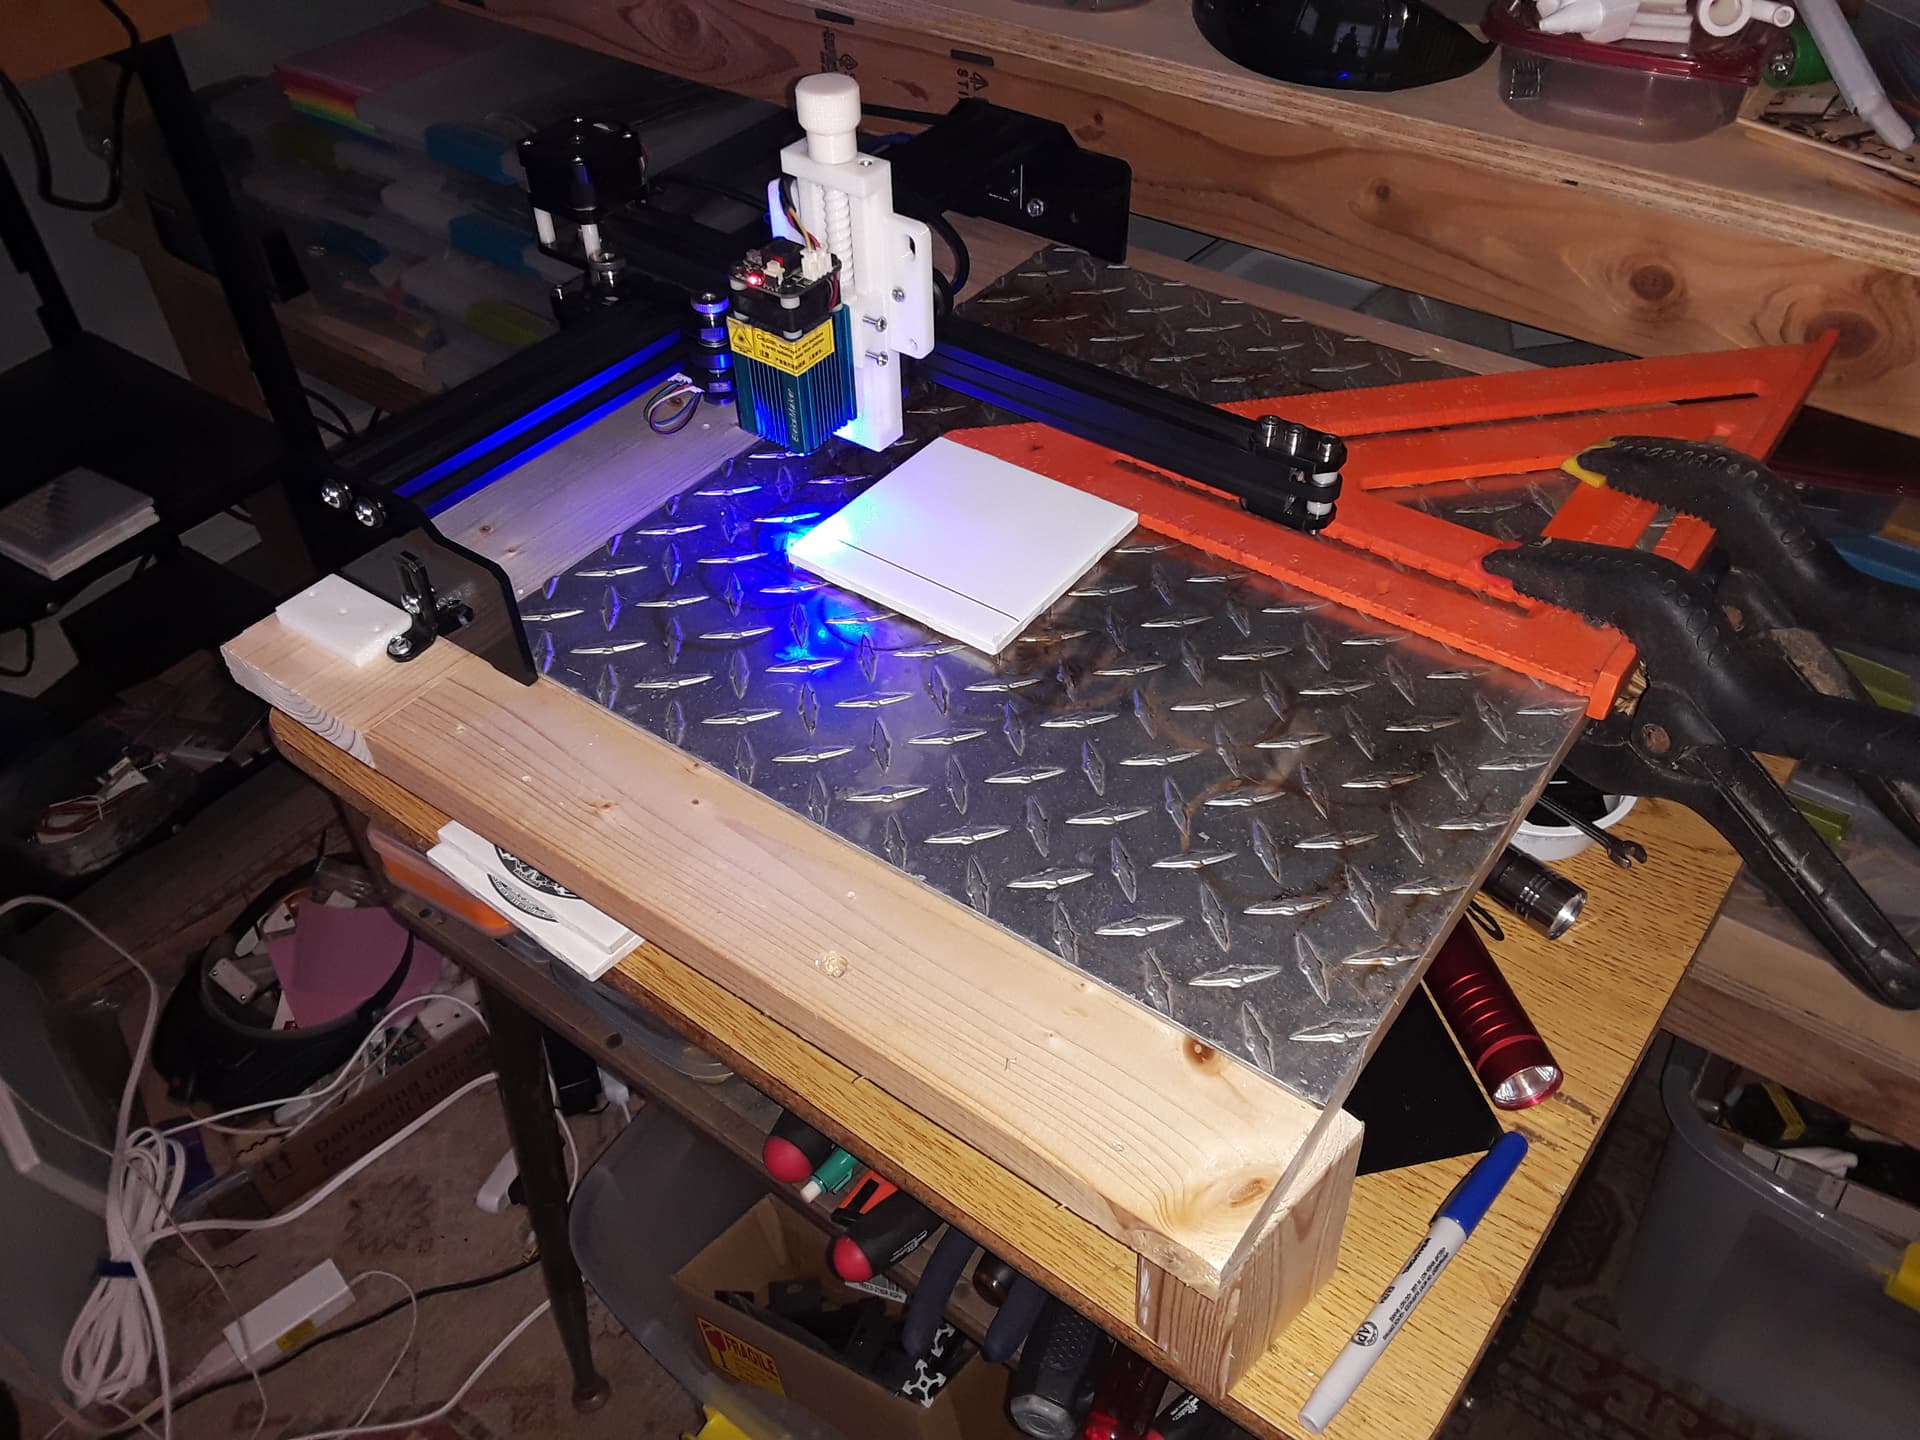
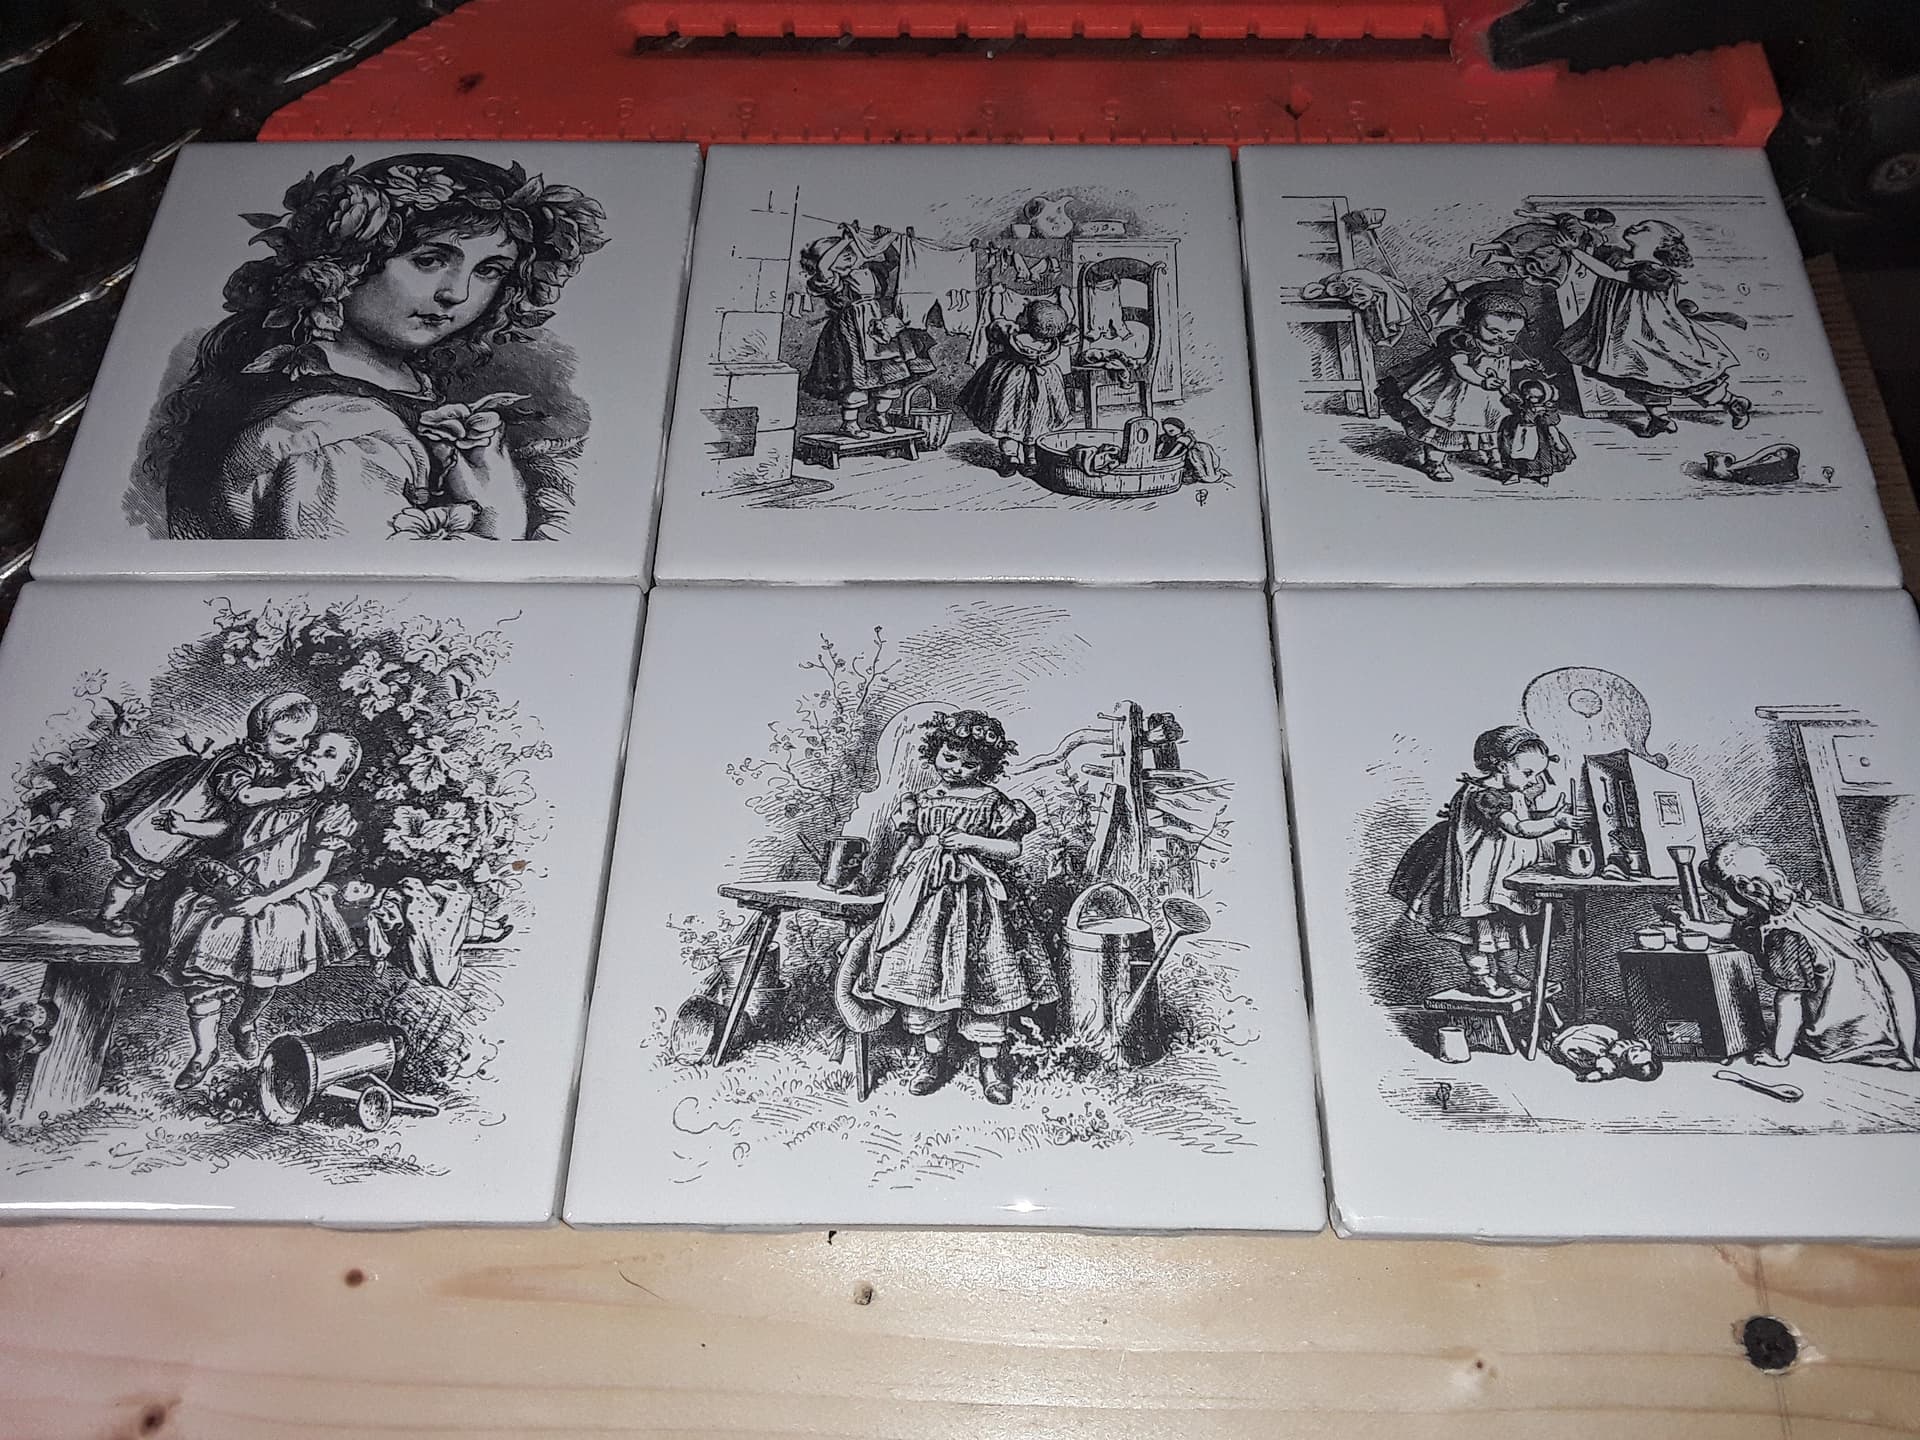
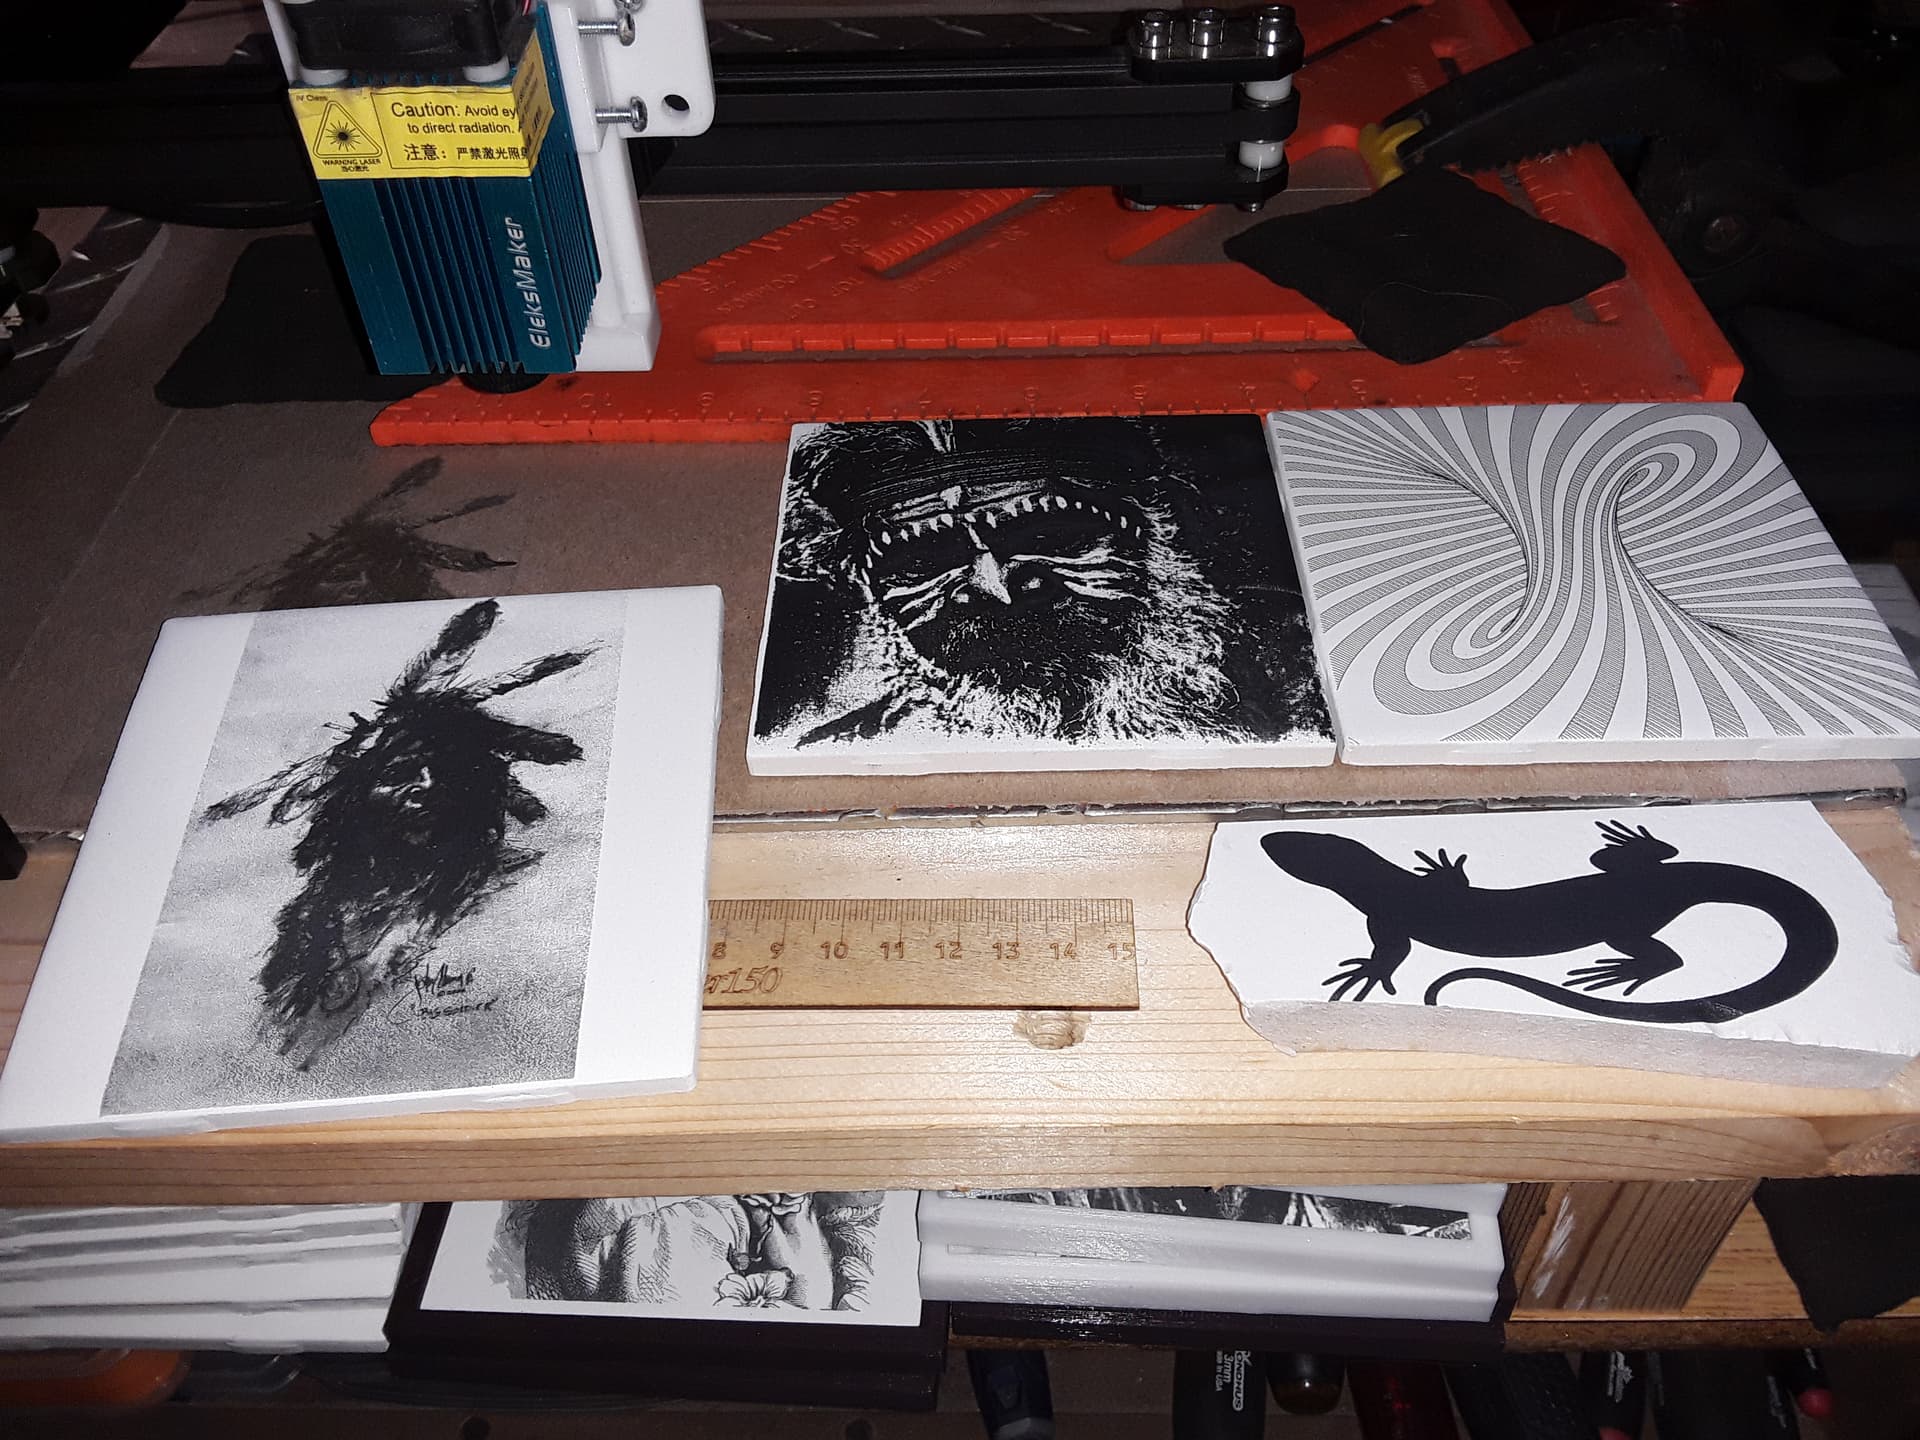
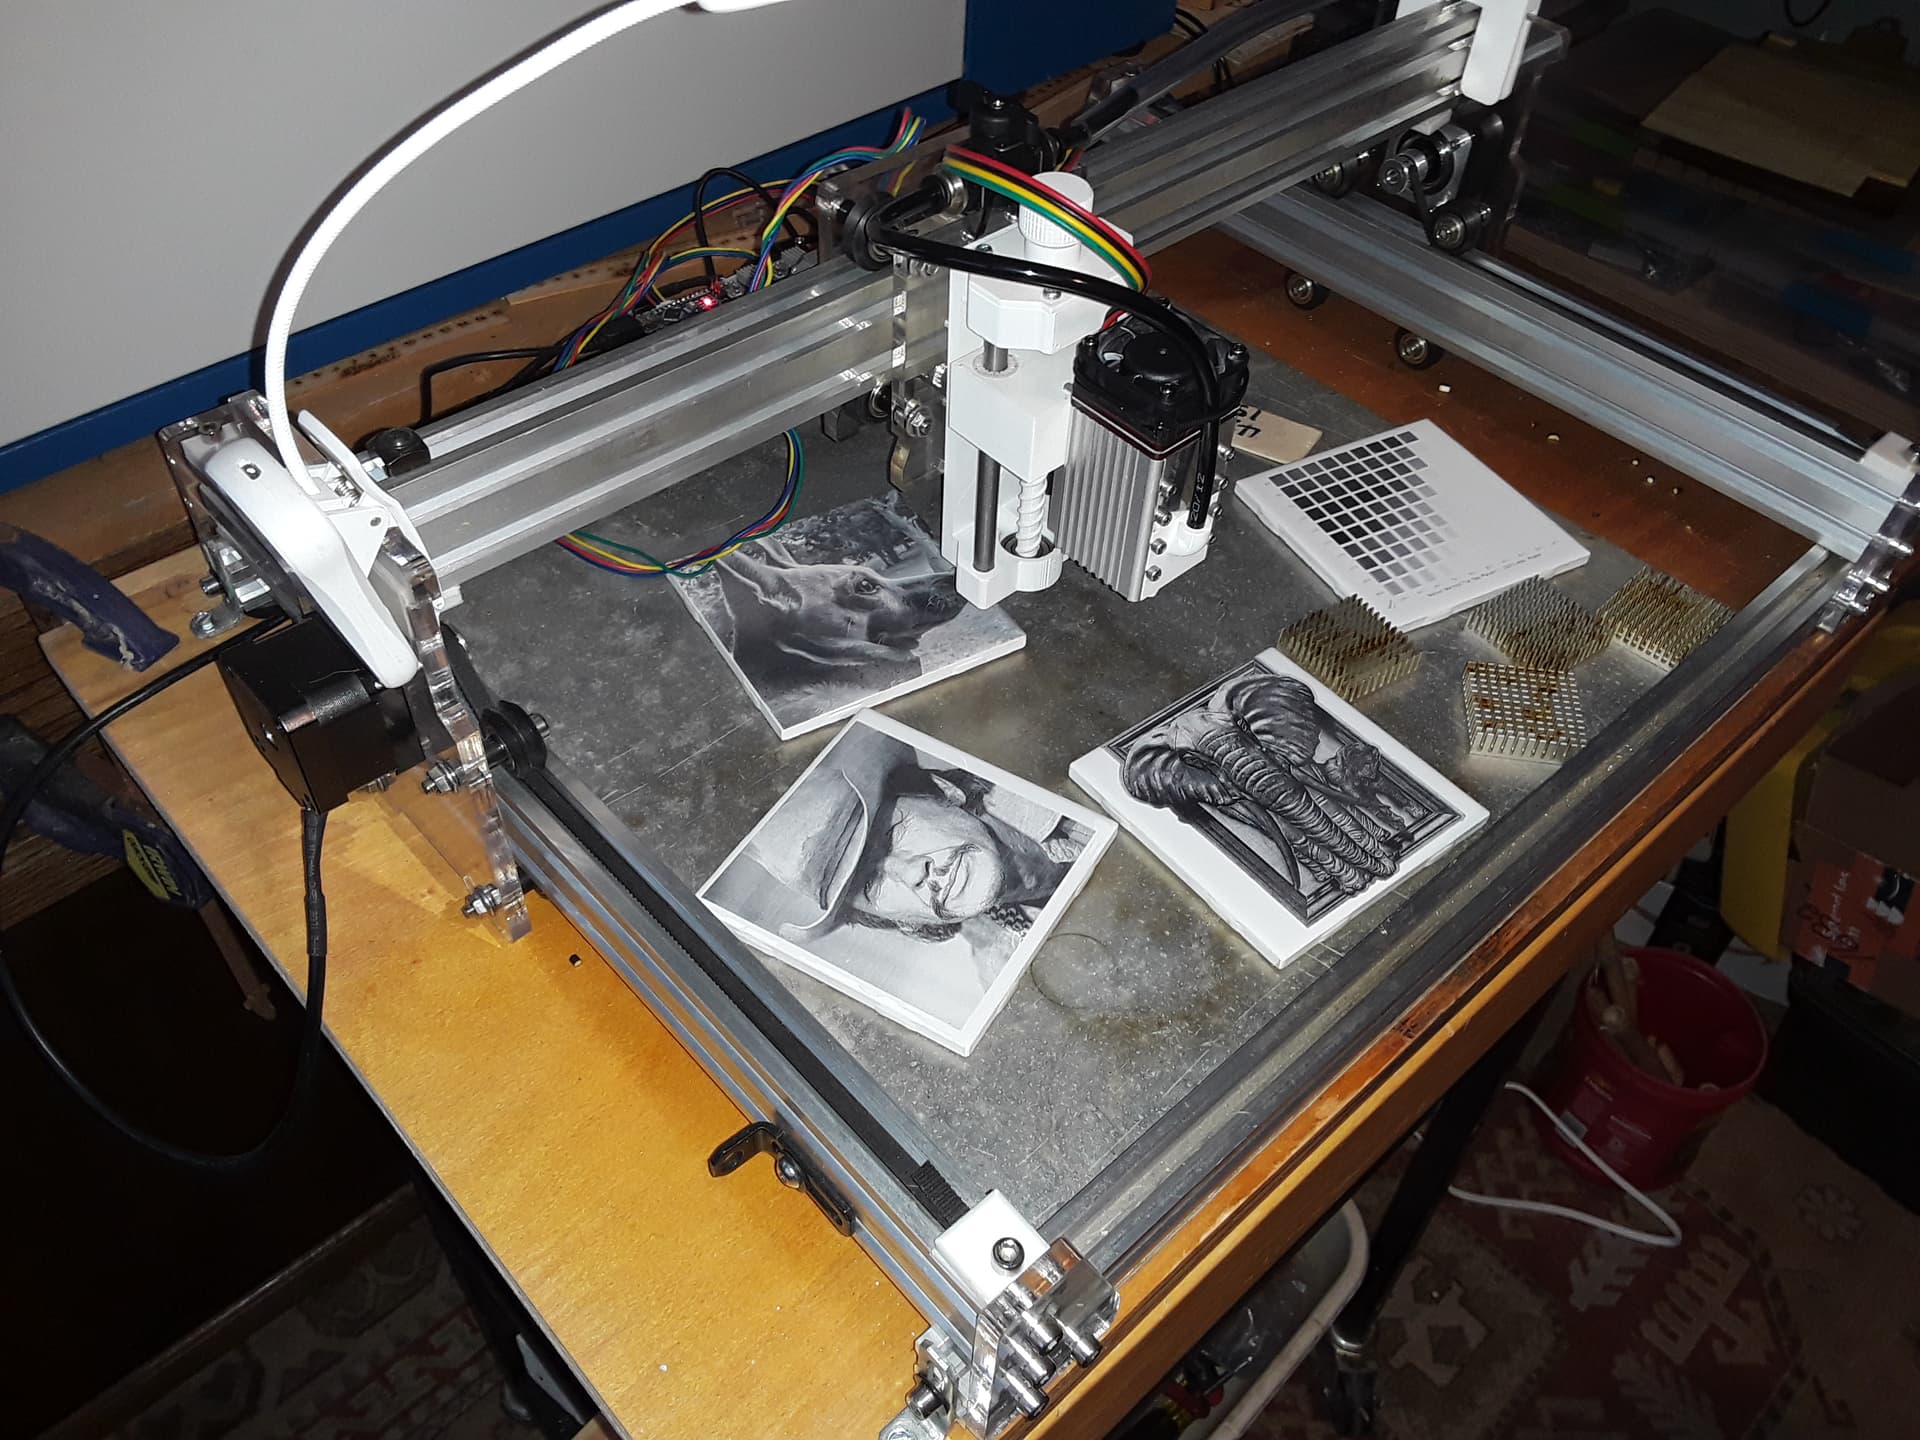
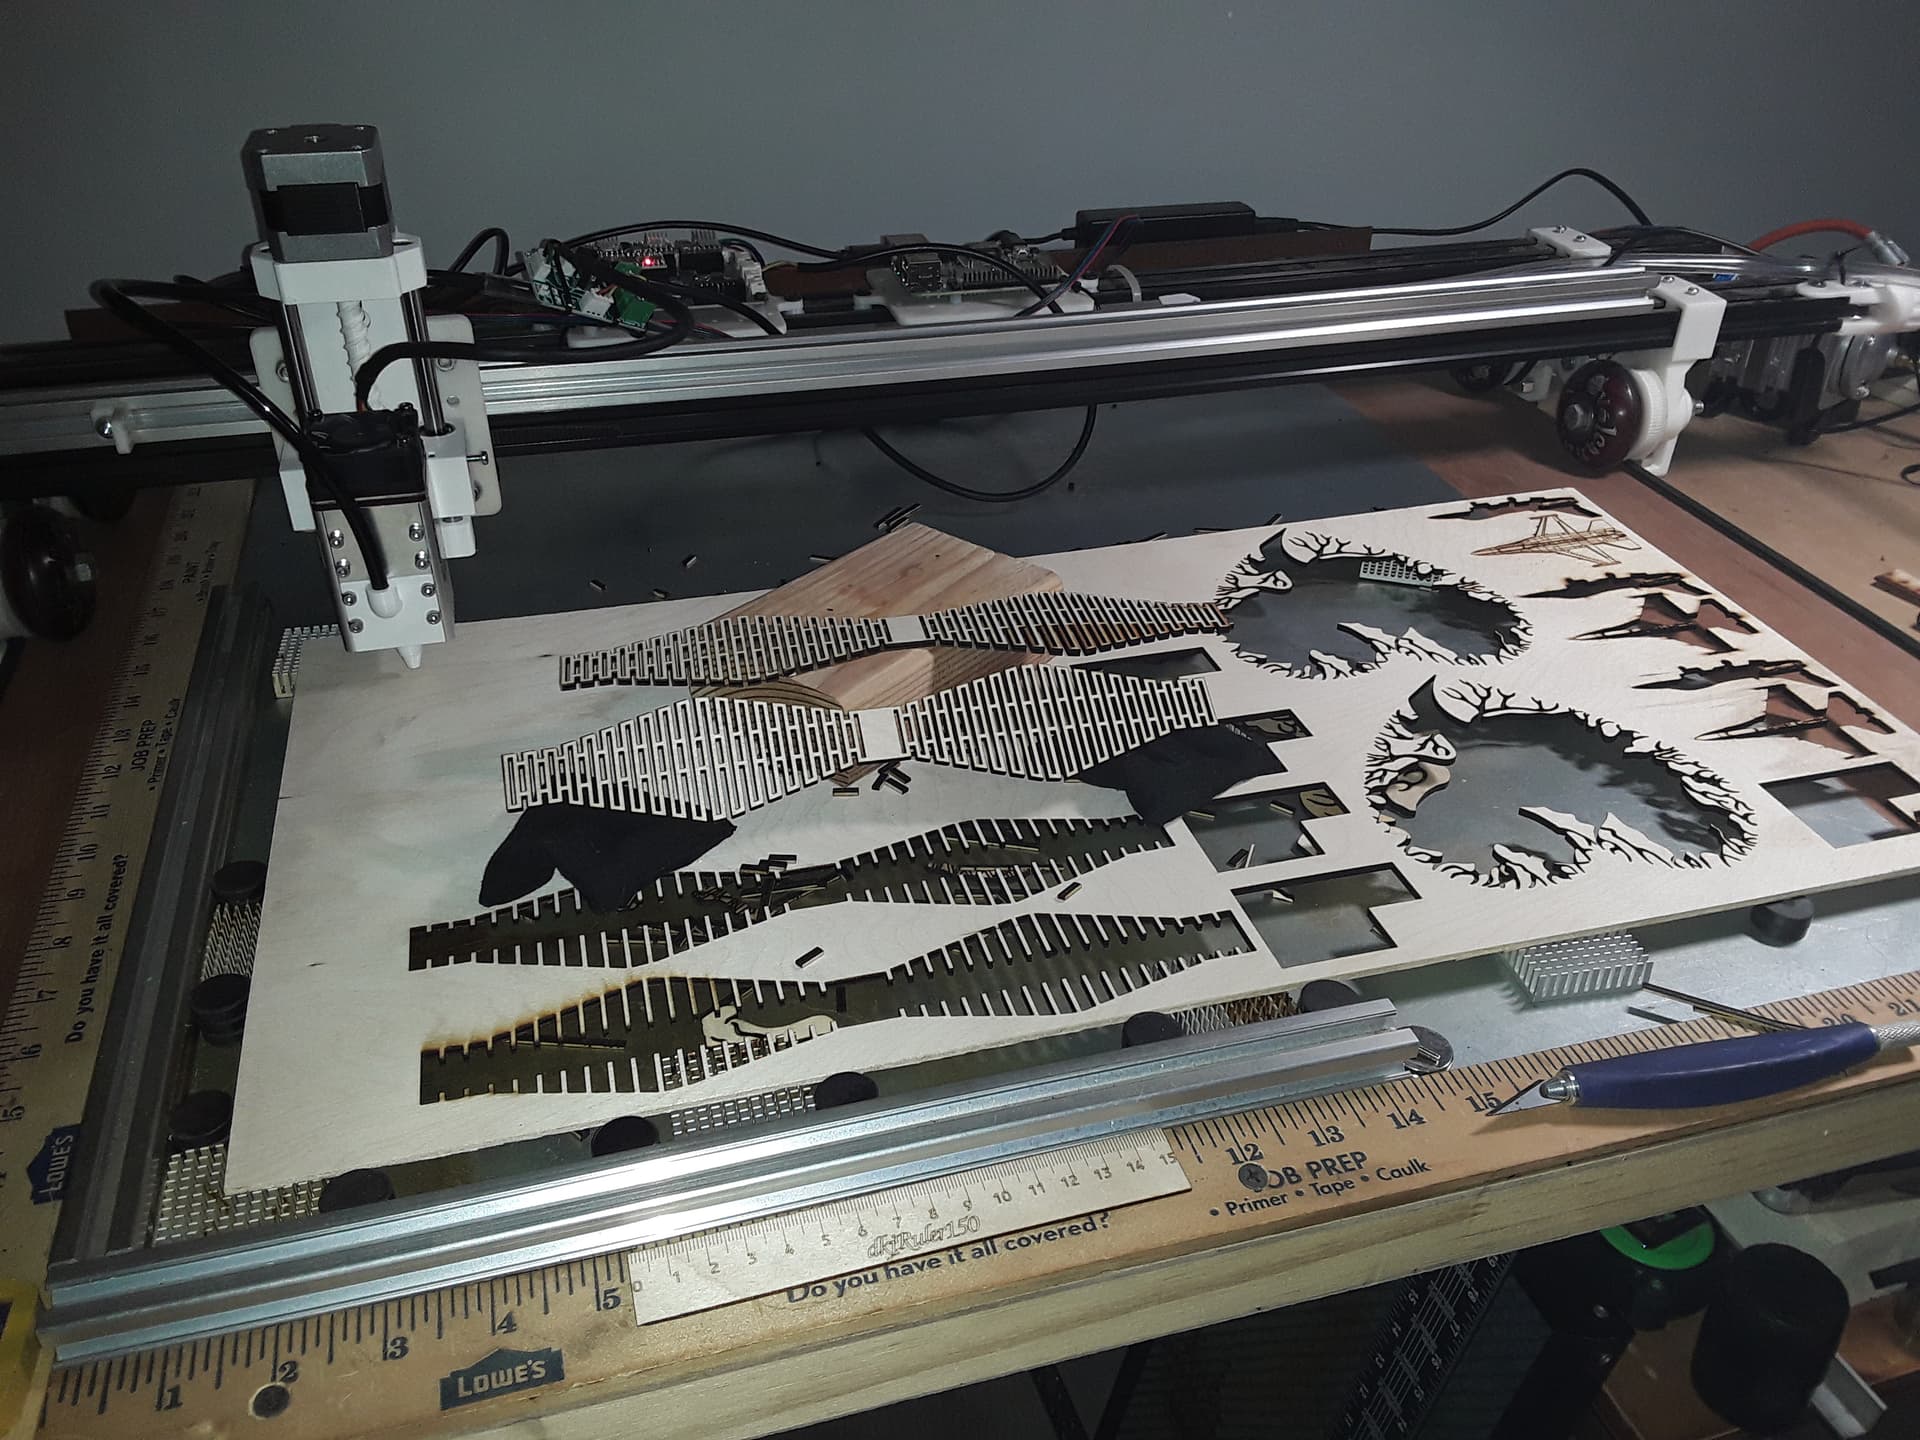
and then laser the image onto the tile. Here I’m using a little no-name cantilevered laser engraver with an Eleksmaker 2.3W laser and my printed Z-adjuster… running at 1500 mm/min and 90% power. All “photo processing” was done with Lightburn… 339 dpi and Jarvis dither…
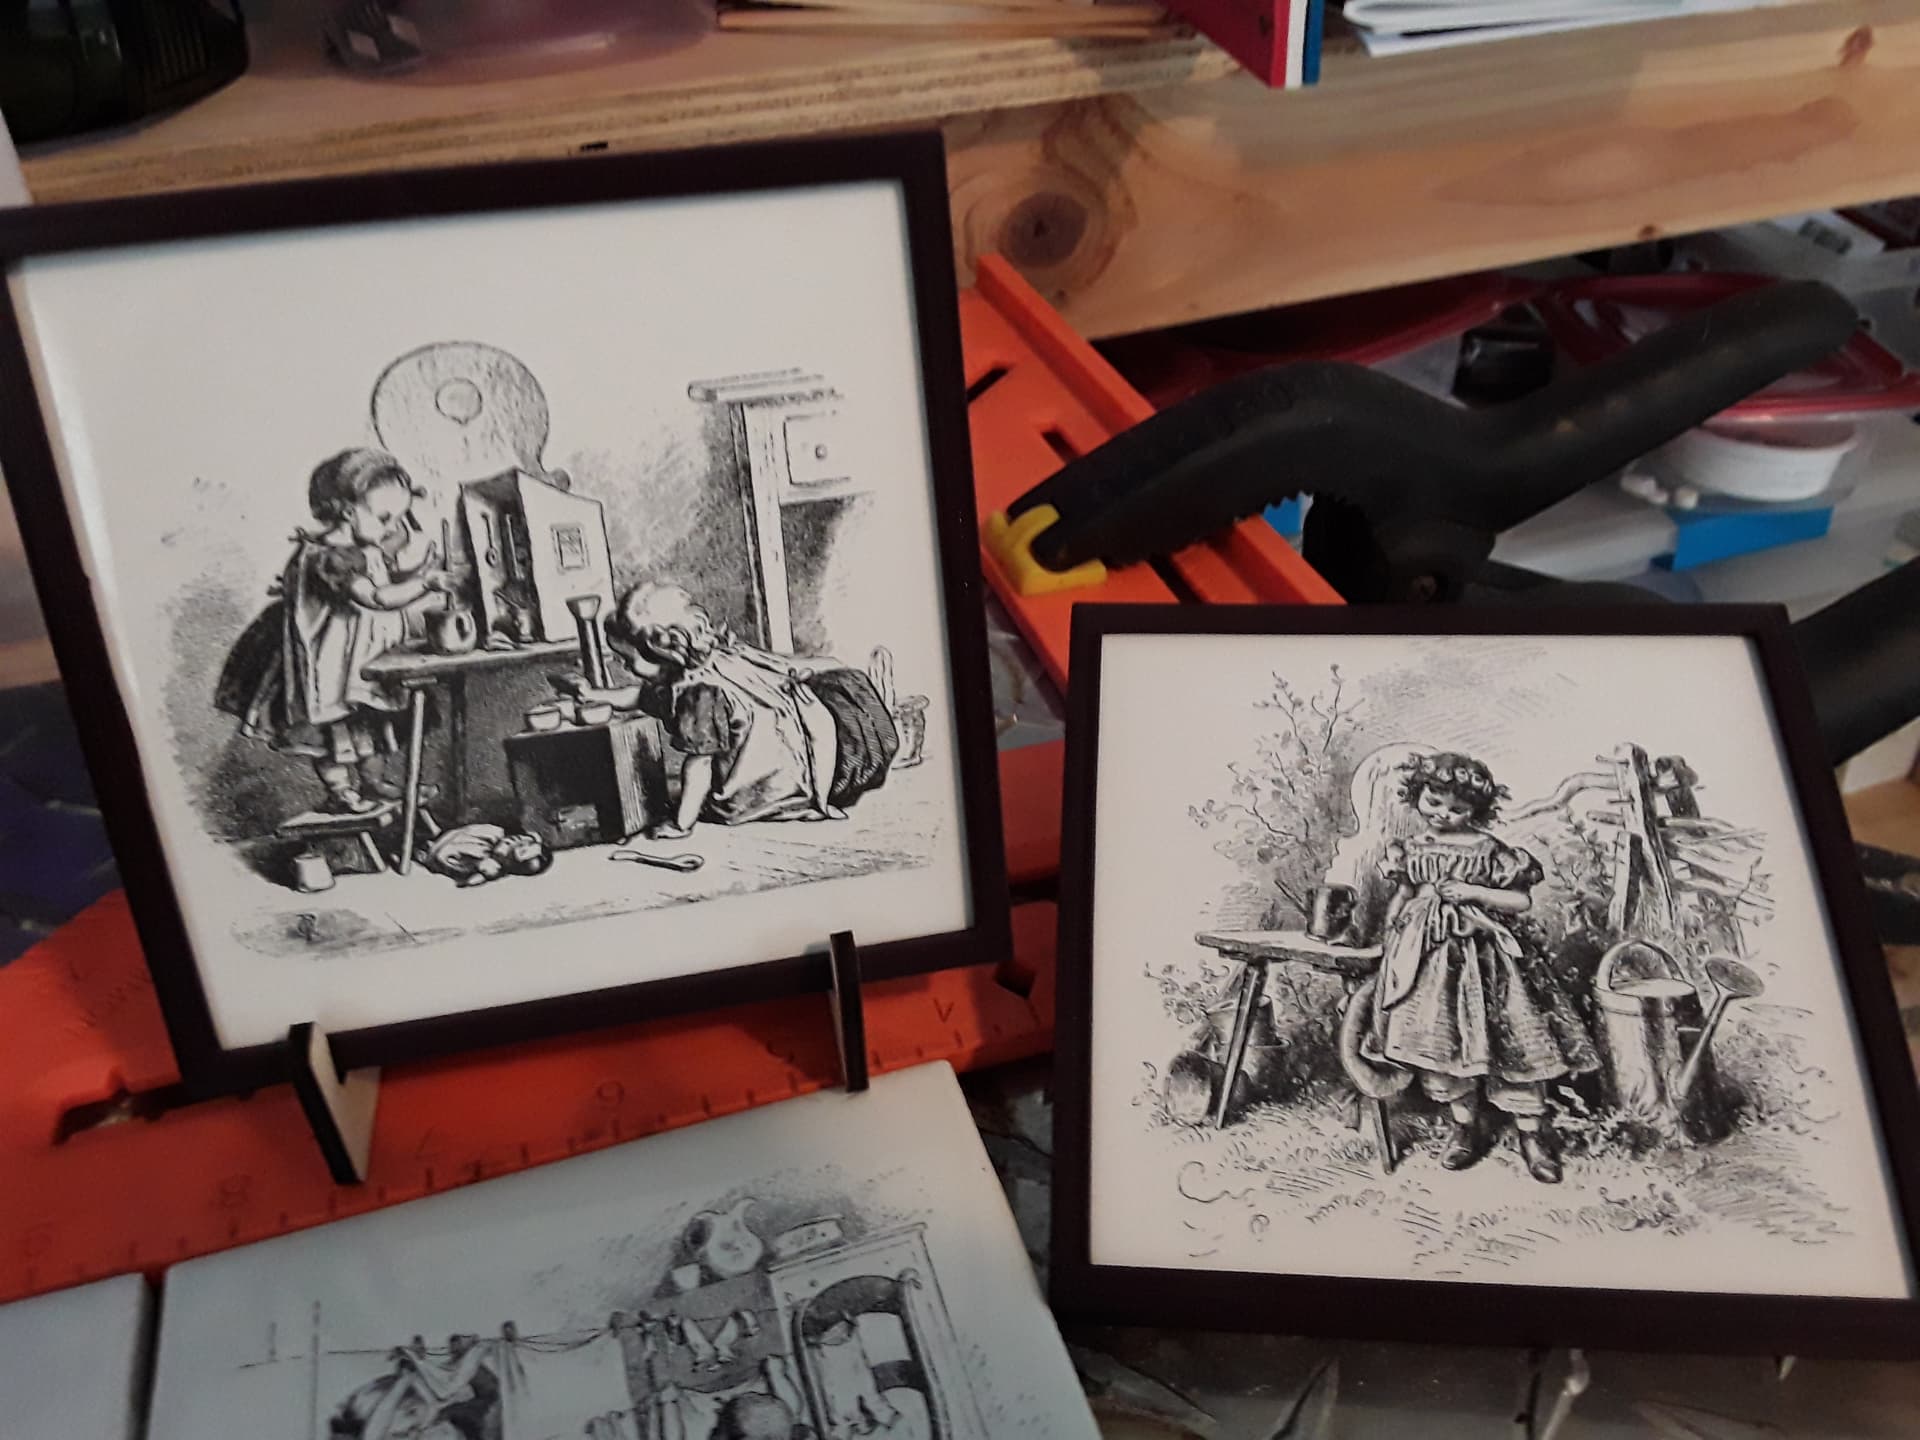
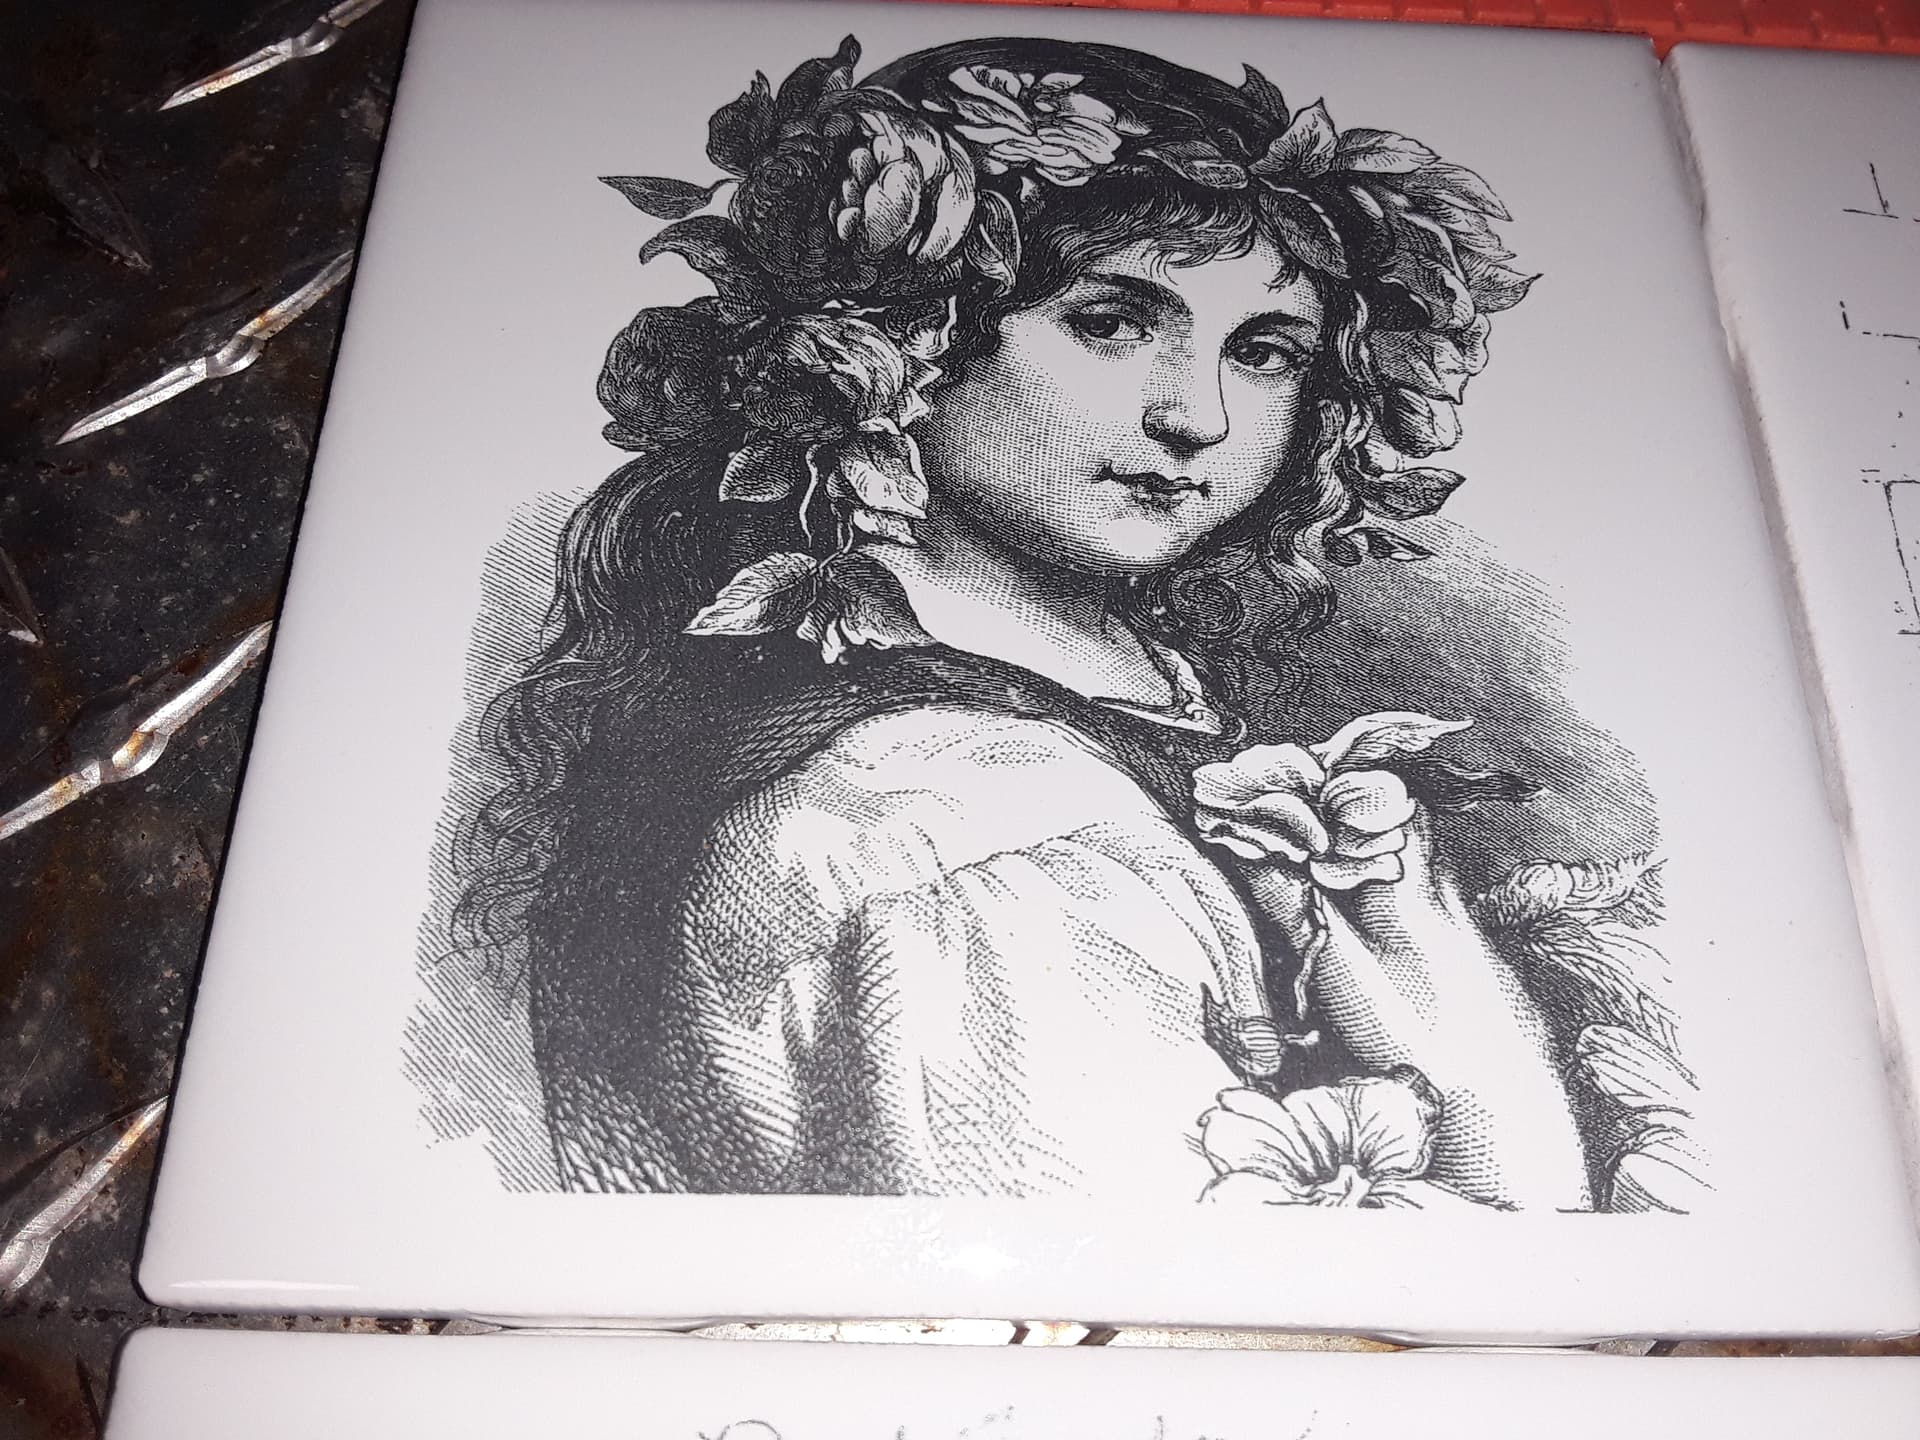
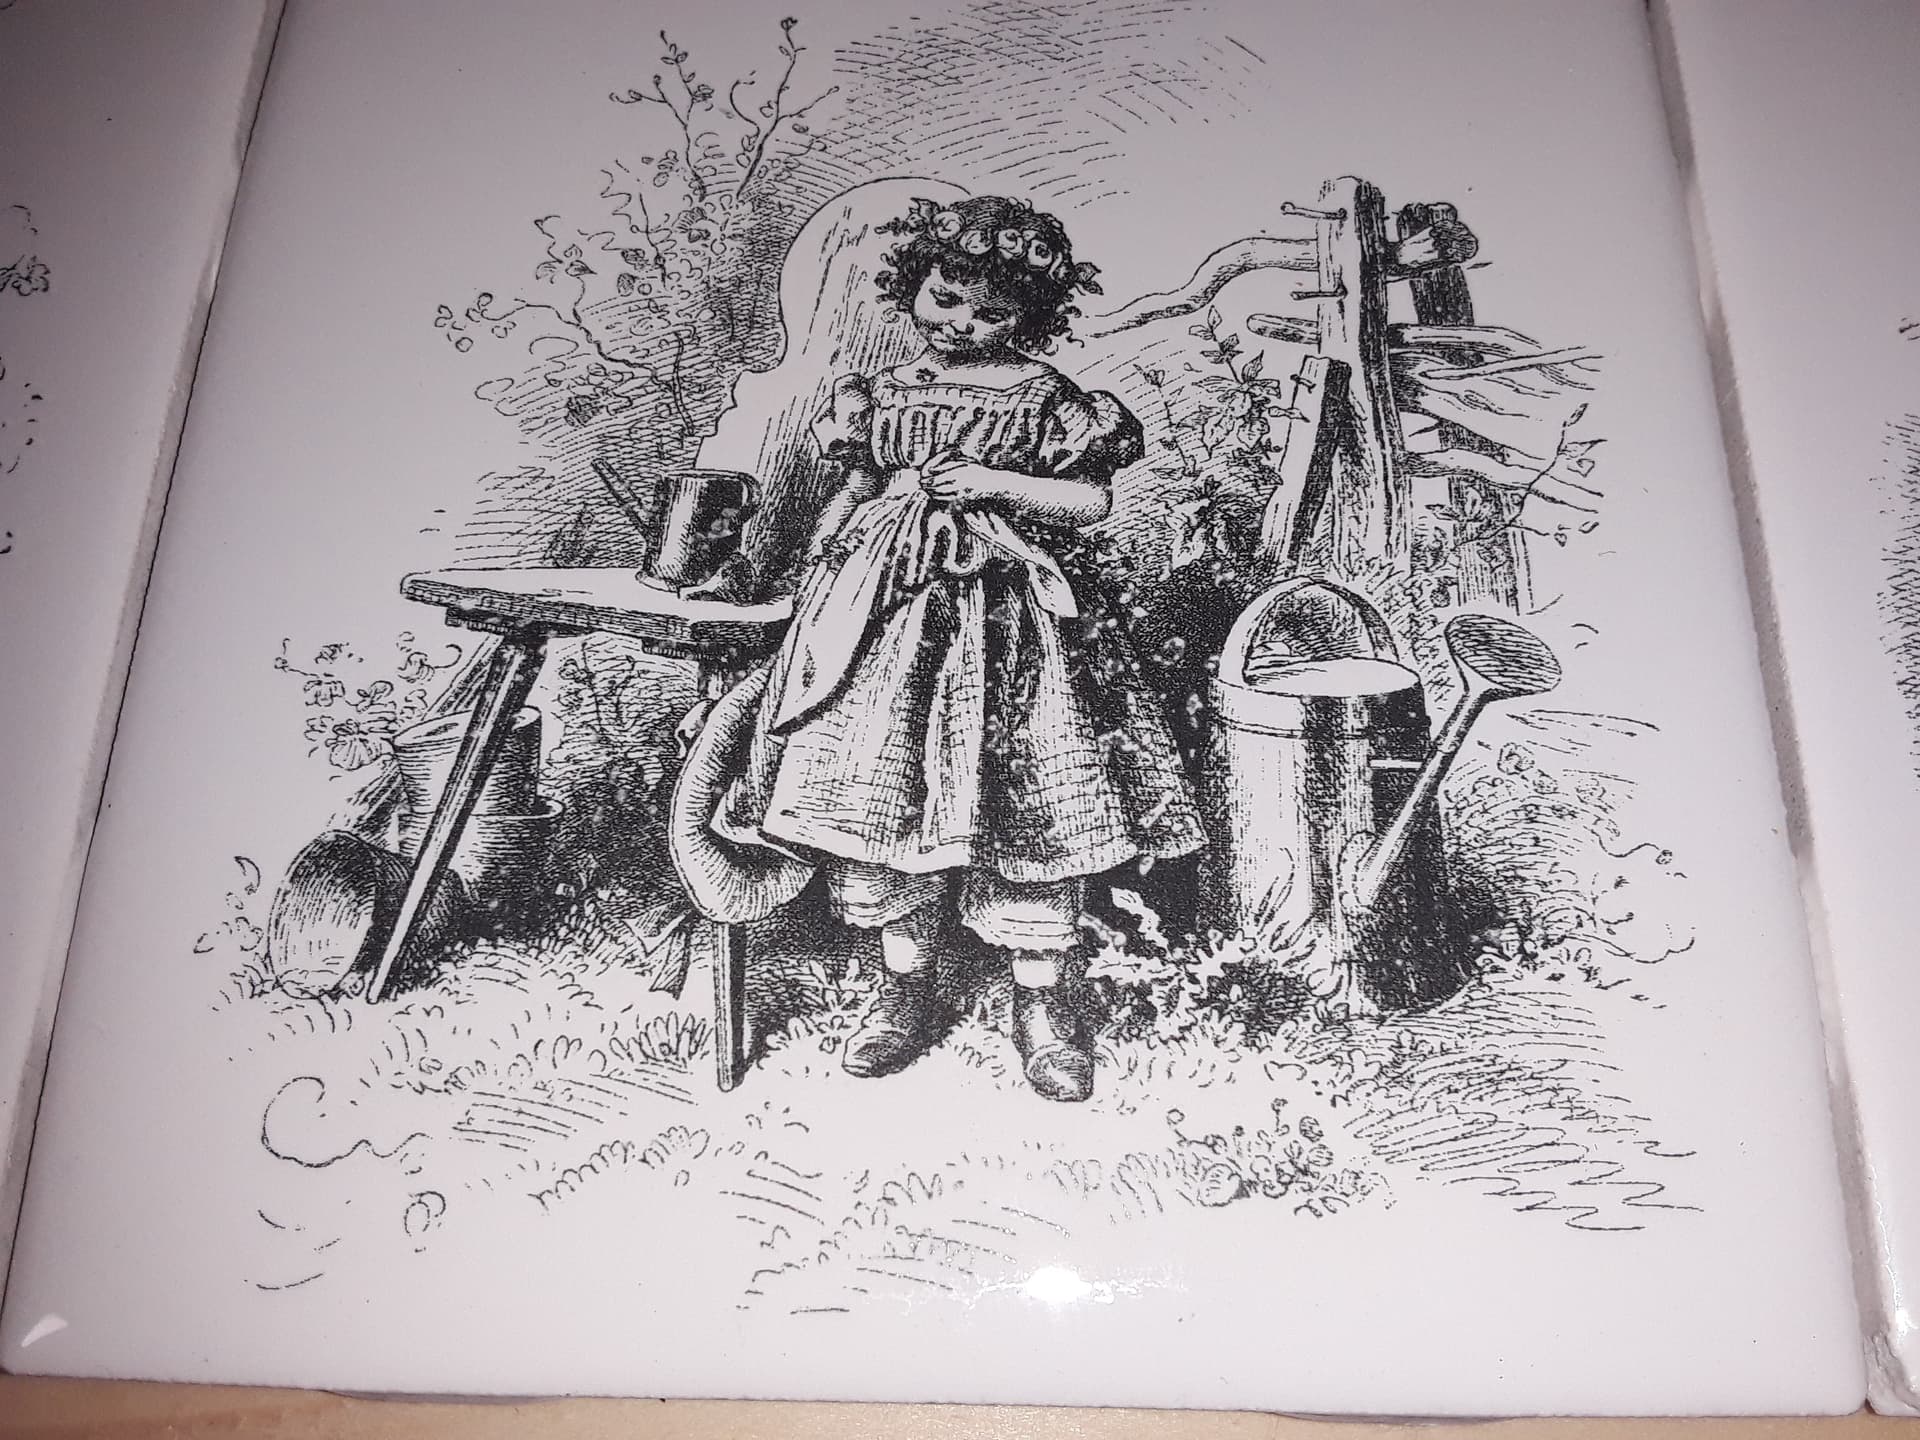
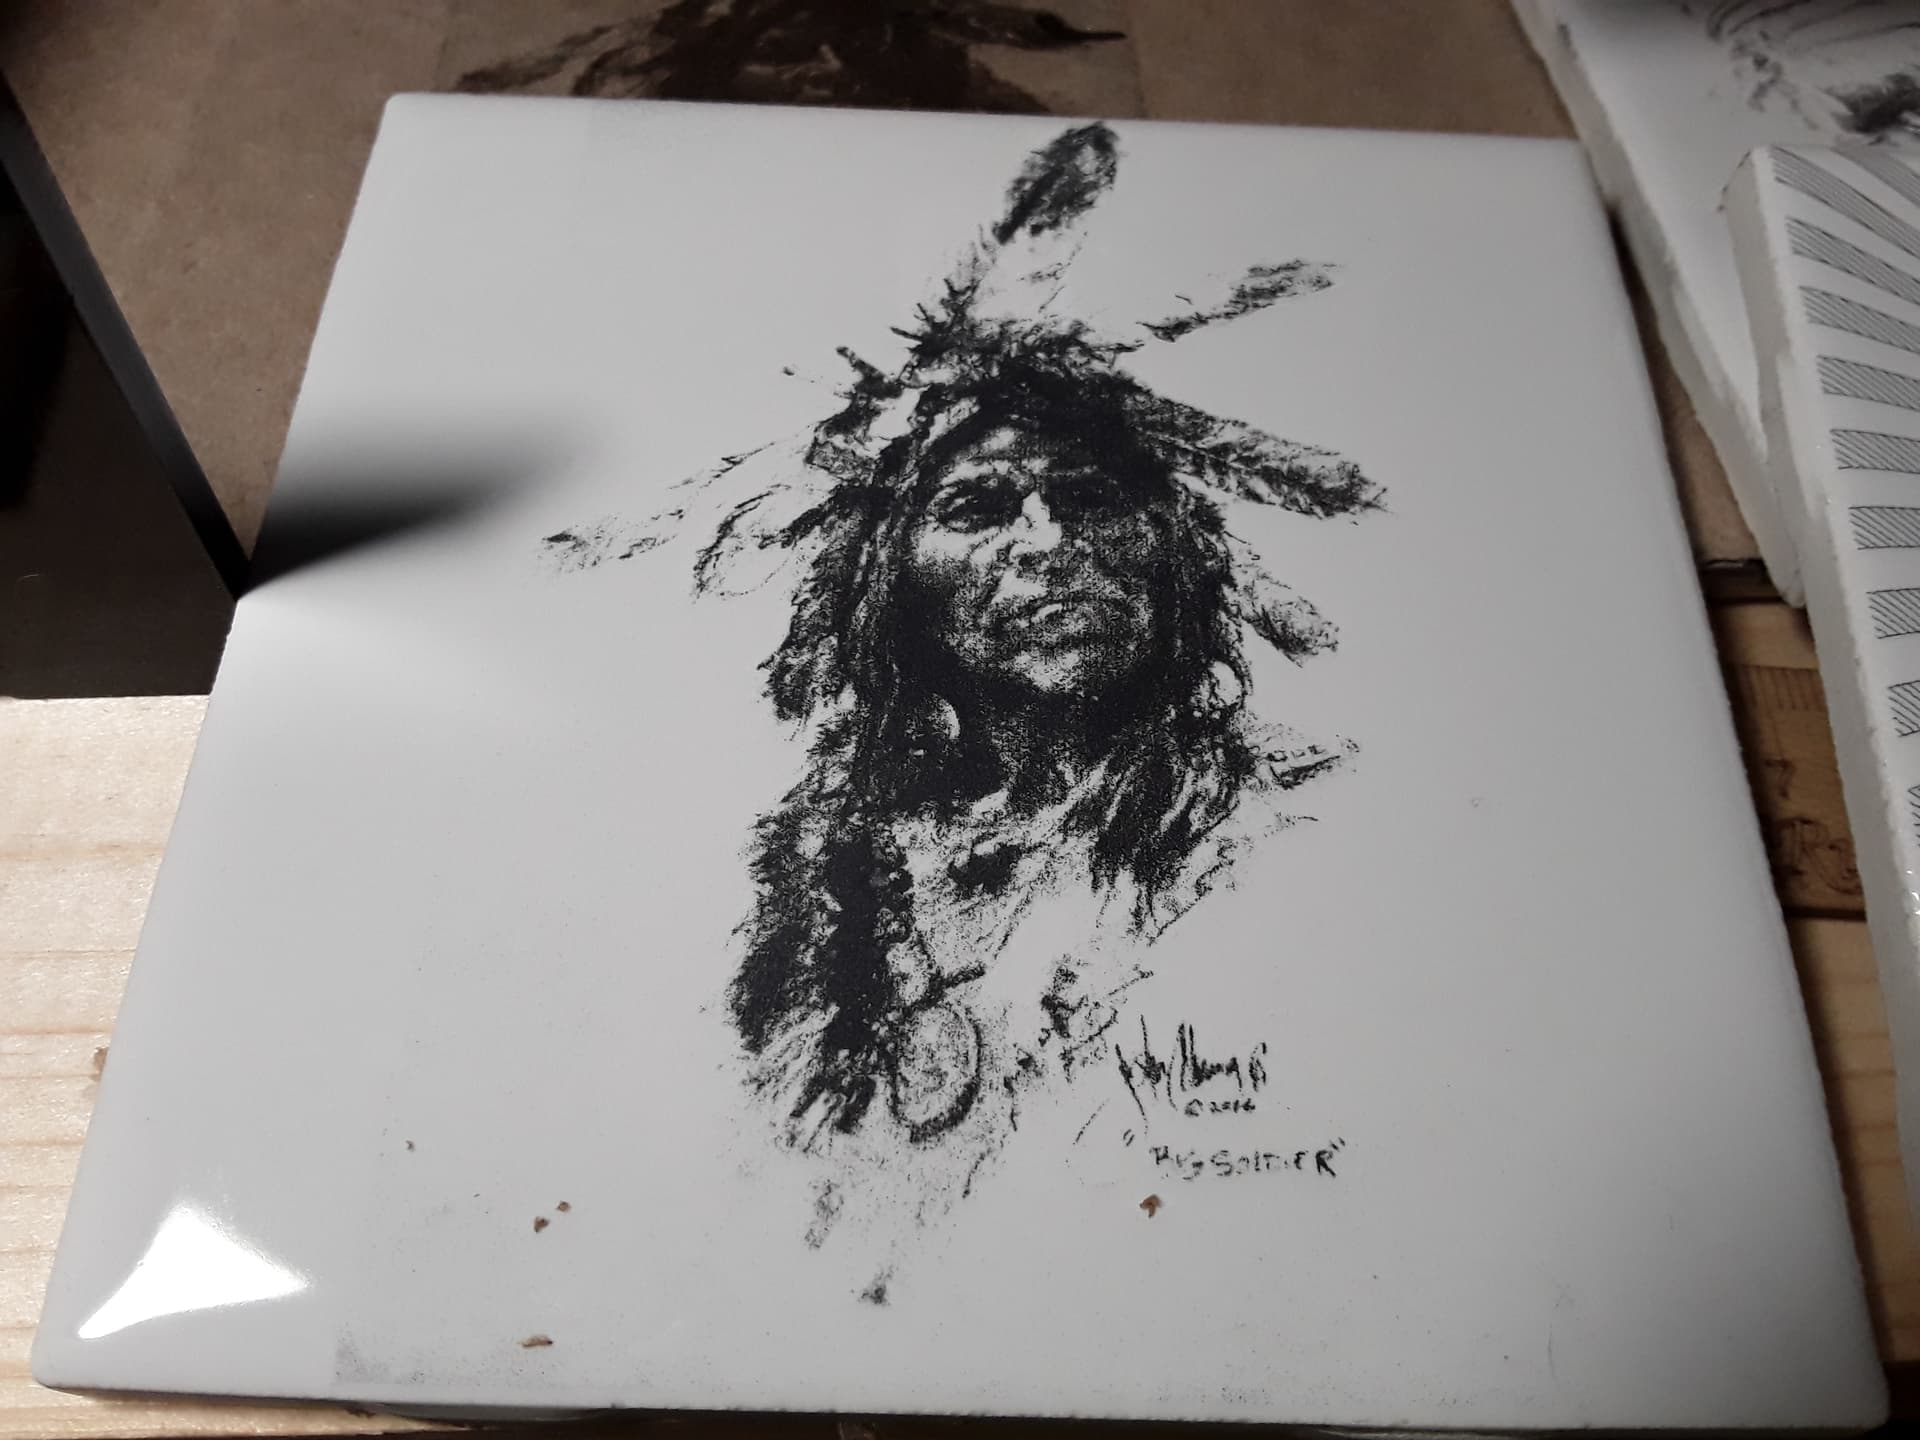
and then clean off all paint/residue with acetone. Finally, I just wash the tiles, as you would a dinner plate, and allow to dry. Get the recipe about right and you’re left with these…
Wow, impressive! Thank you for sharing not only the idea but the how to! I have a laser, although I’ve yet to actually get it aligned perfectly, and it may not be me. The tube may have a deformity that makes it so prone to split beam. Gotta work on it some more.
Fantastic work I am just getting my feet wet with laser activities. I modified my CNC router table to add a laser module to it and thing are working great. Another free laser program to use is LaserGRBL, simple but works very well also, I am using both.
Thanks for posting your Z leveler STL files, I printed a different one but either one is a great help with focus and elevating for different projects.
Have fun
Tom
I’ve done some tests with Lightburn’s dot correction setting. It is an adjustment needed because a line’s true length when lasered is extended by 1/2 the laser’s “dot diameter” on each end… and is especially useful for dithered images. The effect of no correction on a dithered image then is a darker burn and some loss of detail while adding dot correction lightens the image and brings out more detail…
Here the exact same speed/power settings were used but with no dot correction (left), 0.02 (middle), and 0.04 (right)
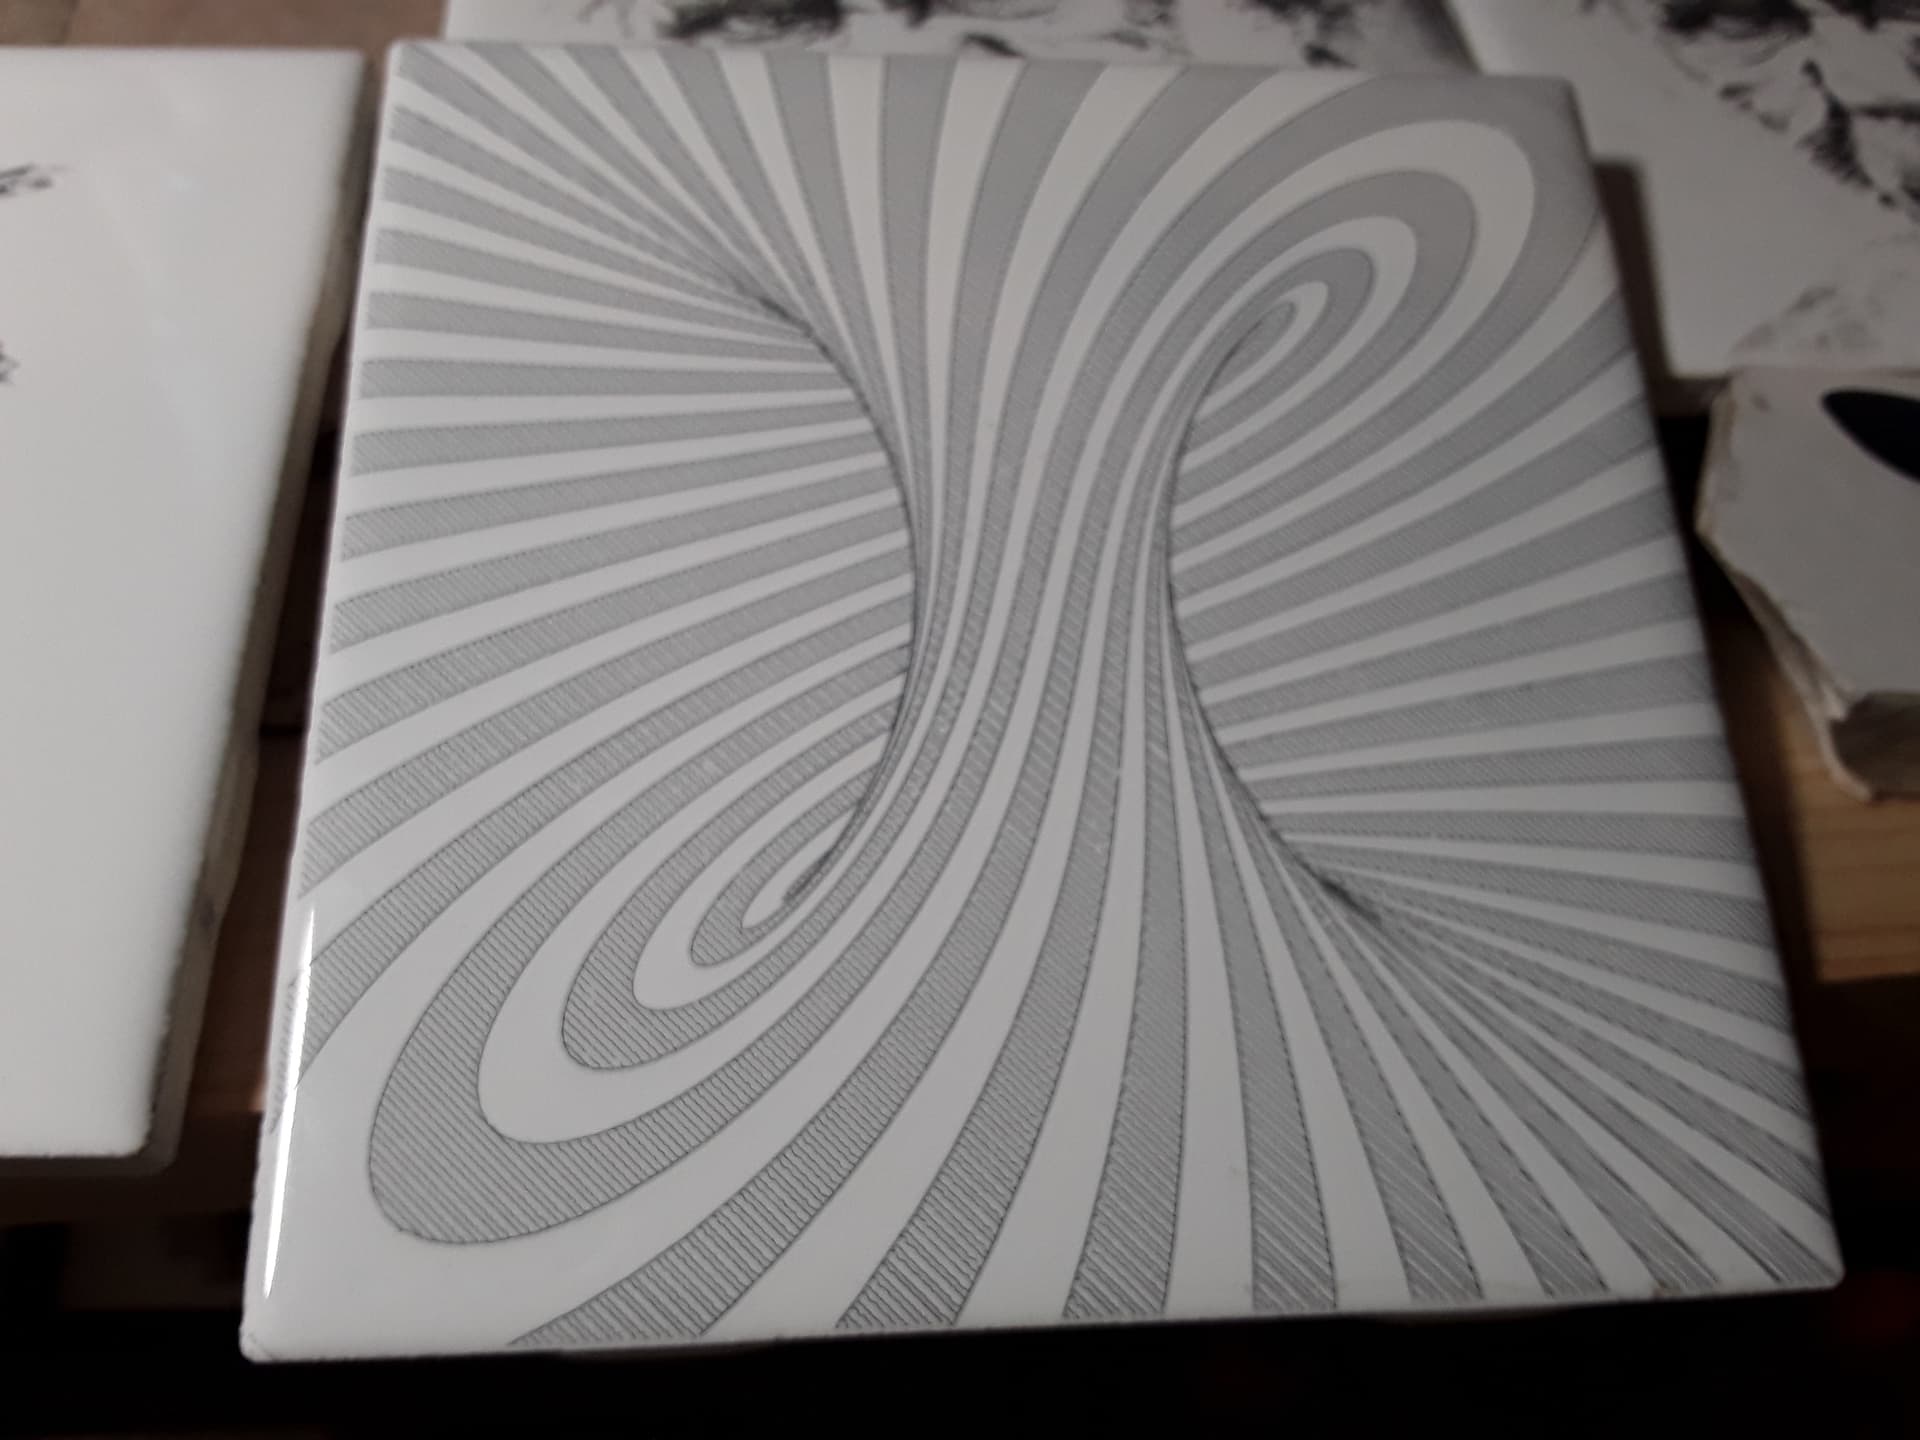
That Torus pattern is awesome, but not possible with sandify. Sandify can’t pick up the pen. I love the idea that it looks occluded though. I would love to find something similar with one line art.
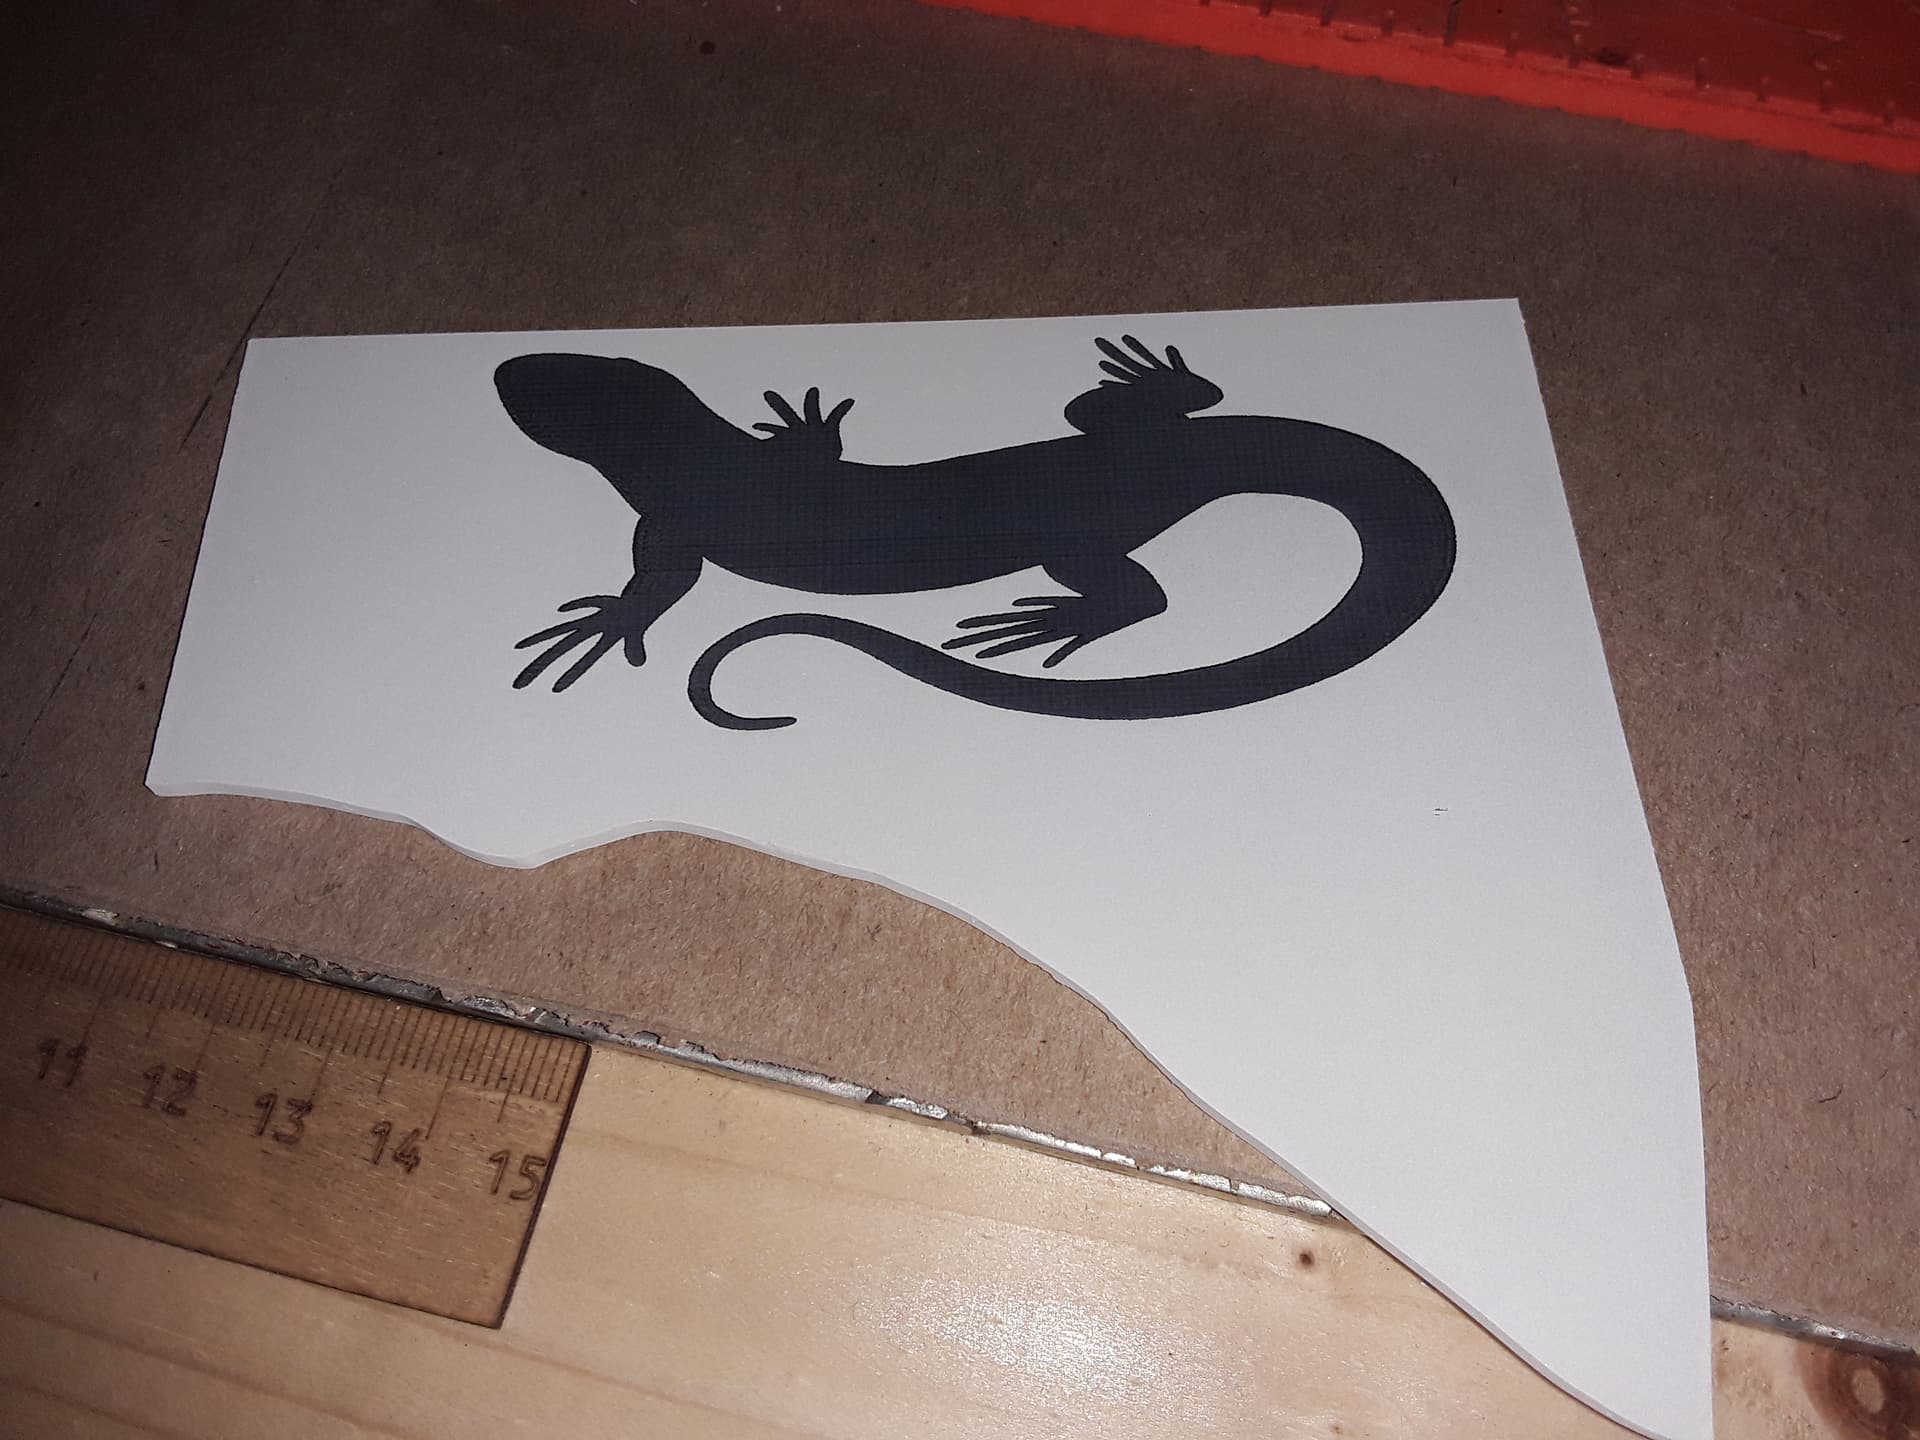
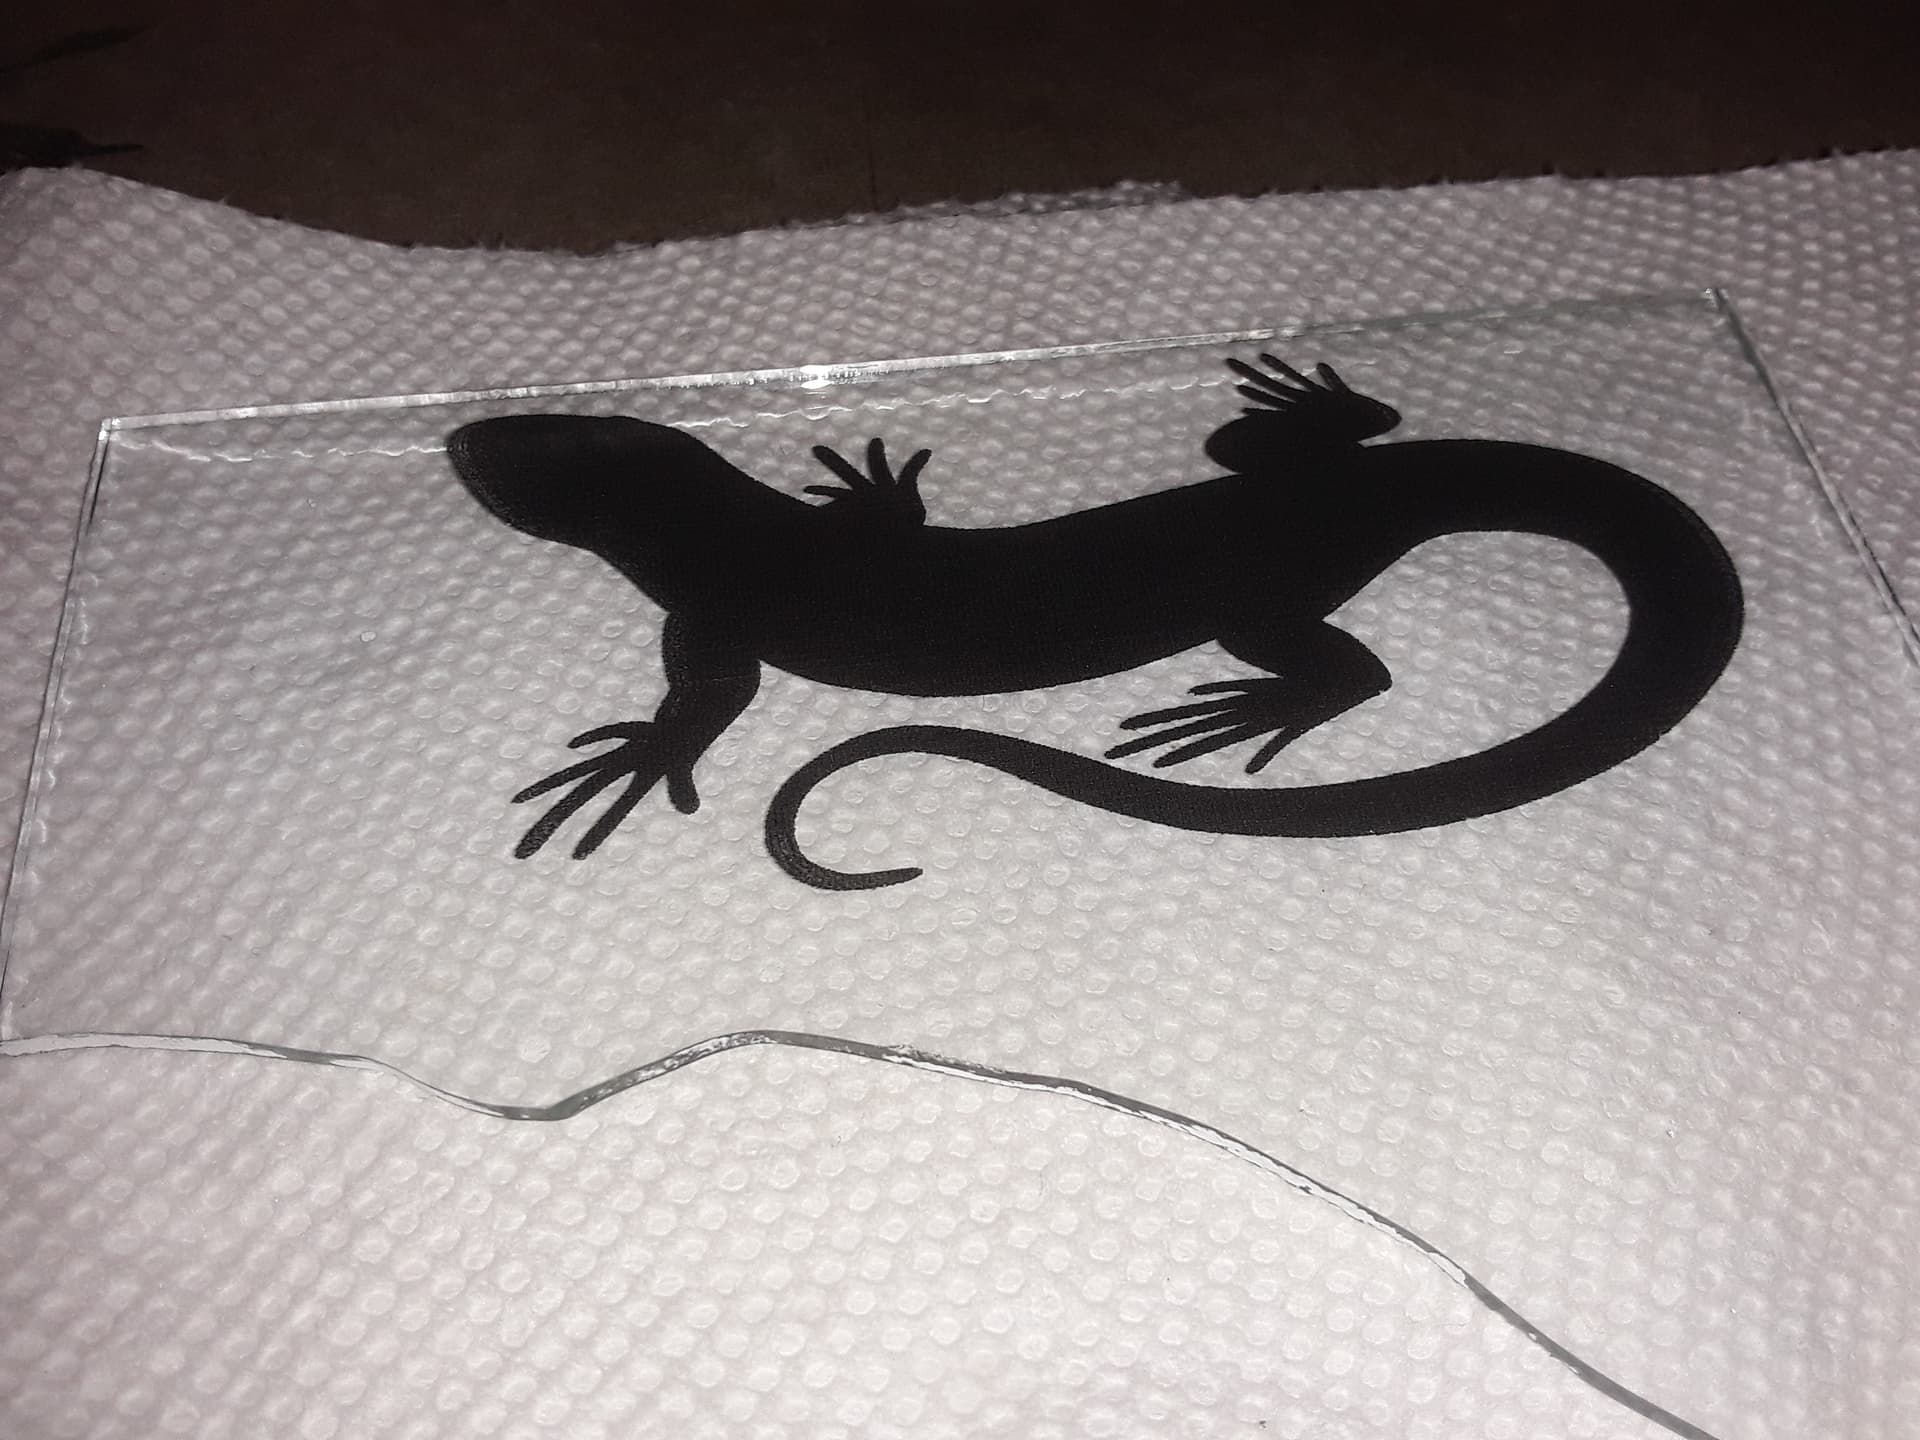
Something I’d done from a couple of years ago, I used the Norton white tile method… on plain window pane glass. Back then I’d done one of my grand-daughter’s pencil drawings on picture frame glass…
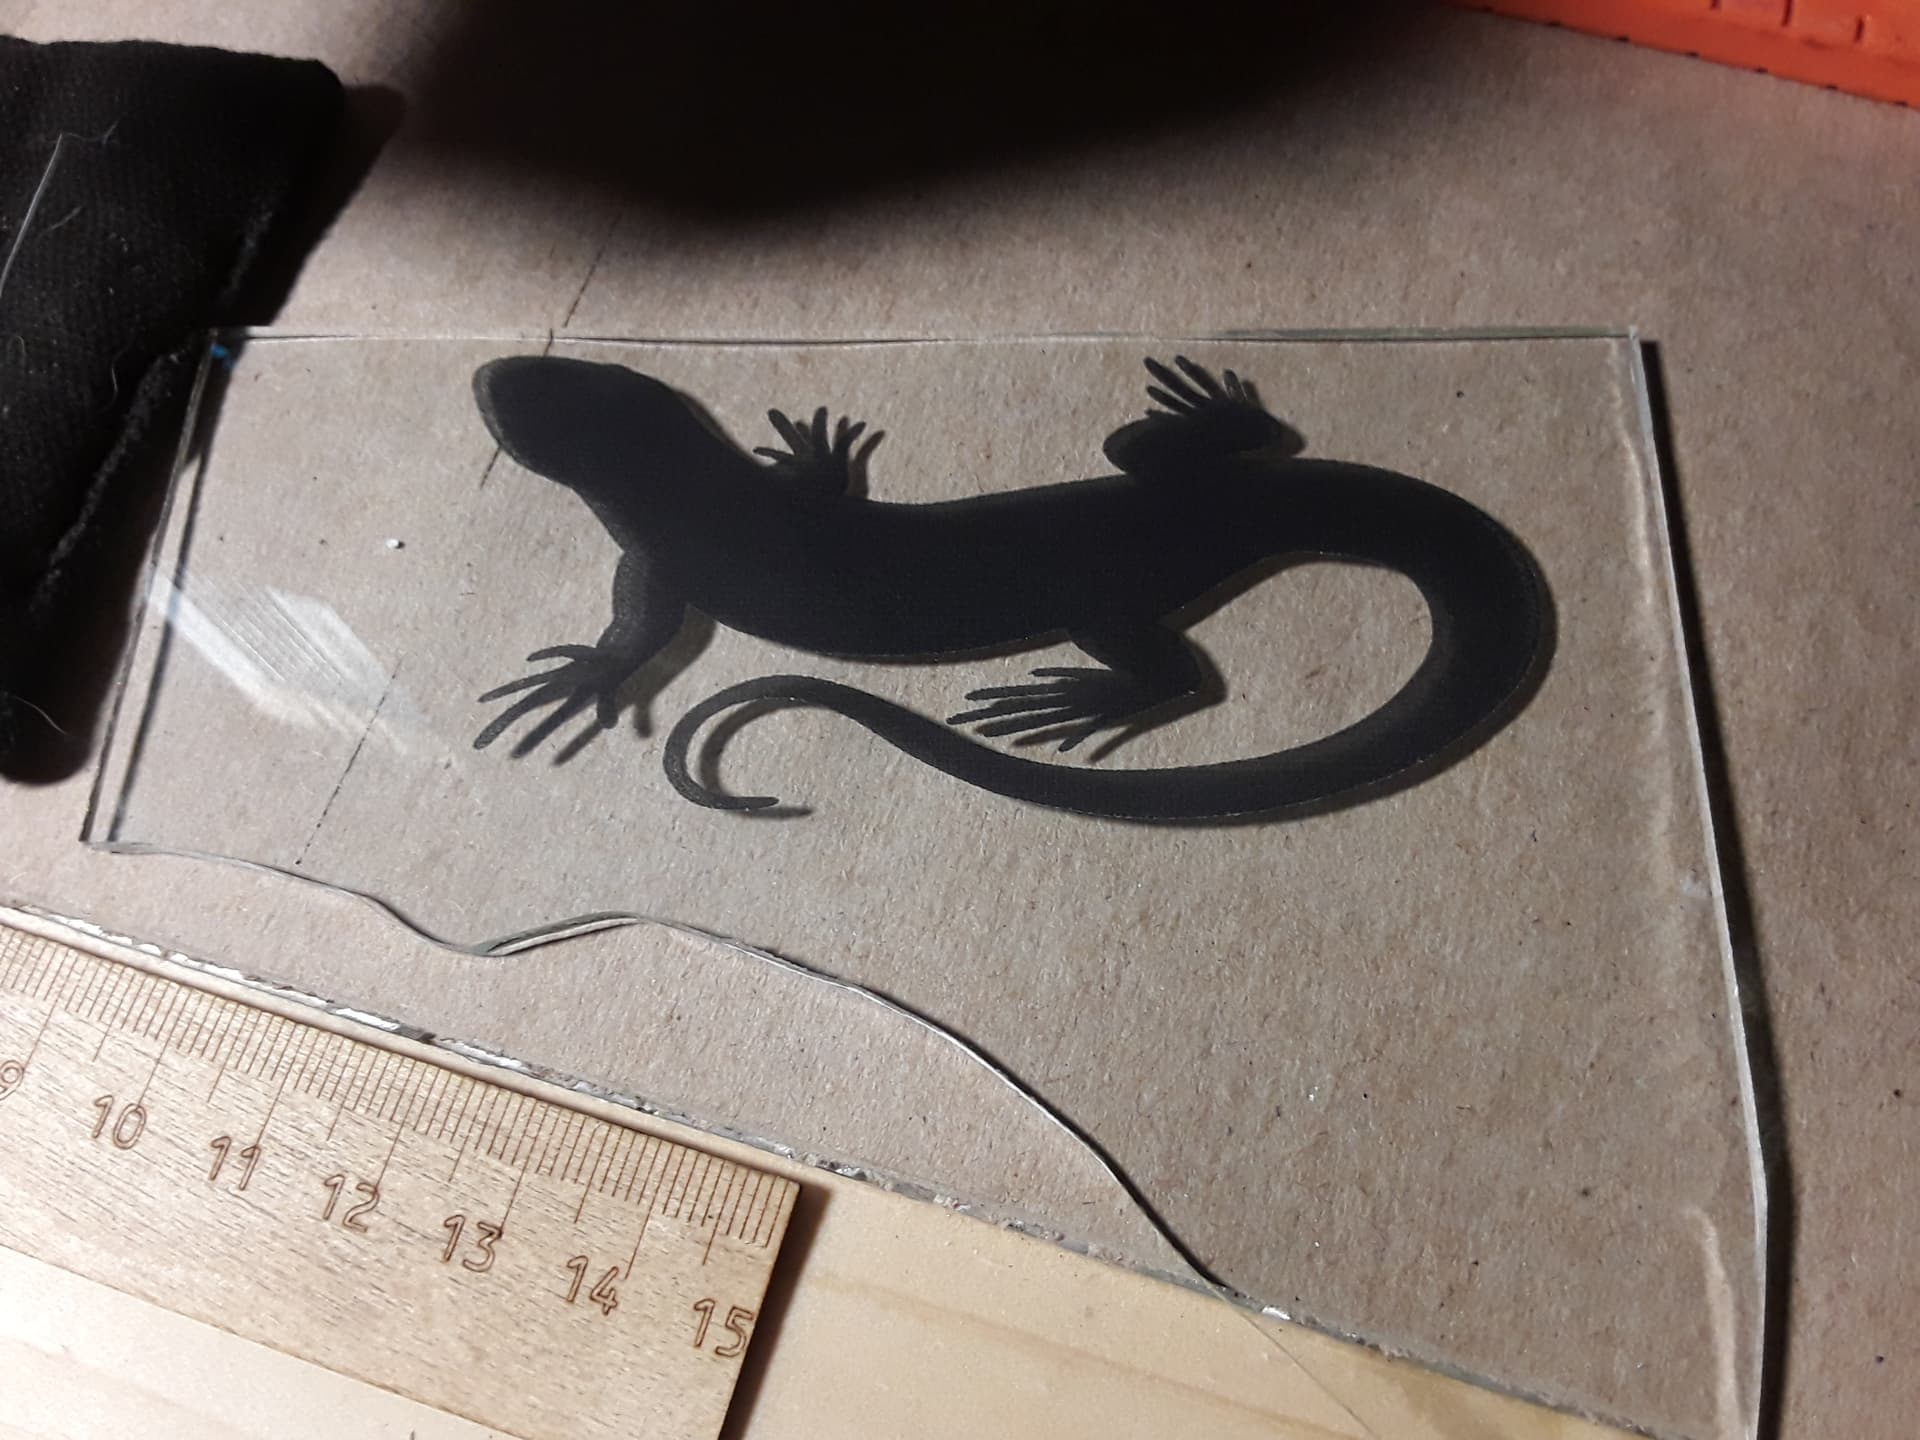
but now I wanted to see just how opaque a solid image might be. The lizard was agreeable… so, using the exact same recipe as before, I painted the test piece (broken, preferrably) with flat-white paint and then lasered the image…
Great job. As a new by to this whole type of thing, just wondering if you used your CNC and added a laser module.
I was looking at seperate units but if the CNC can have a laser module as well. What a game changer.
Am interested in working on tiles using the same process, kindly advise on the materials i can use also, i get a white tile from the hardware store, plus thinner from a local paint shop.
Which kind of paint do you use before you apply laser.
And does the tile remain weather resisistant if exposed to sunshine and water outside.
I was just about to ask if this was possible. I’ve got a bunch of blue glass tiles from building my house that we didn’t end up using and I was thinking that this would be a cool effect.
I’ve got a low-powered laser that I really need to bust out for this! Thanks for posting these pics!
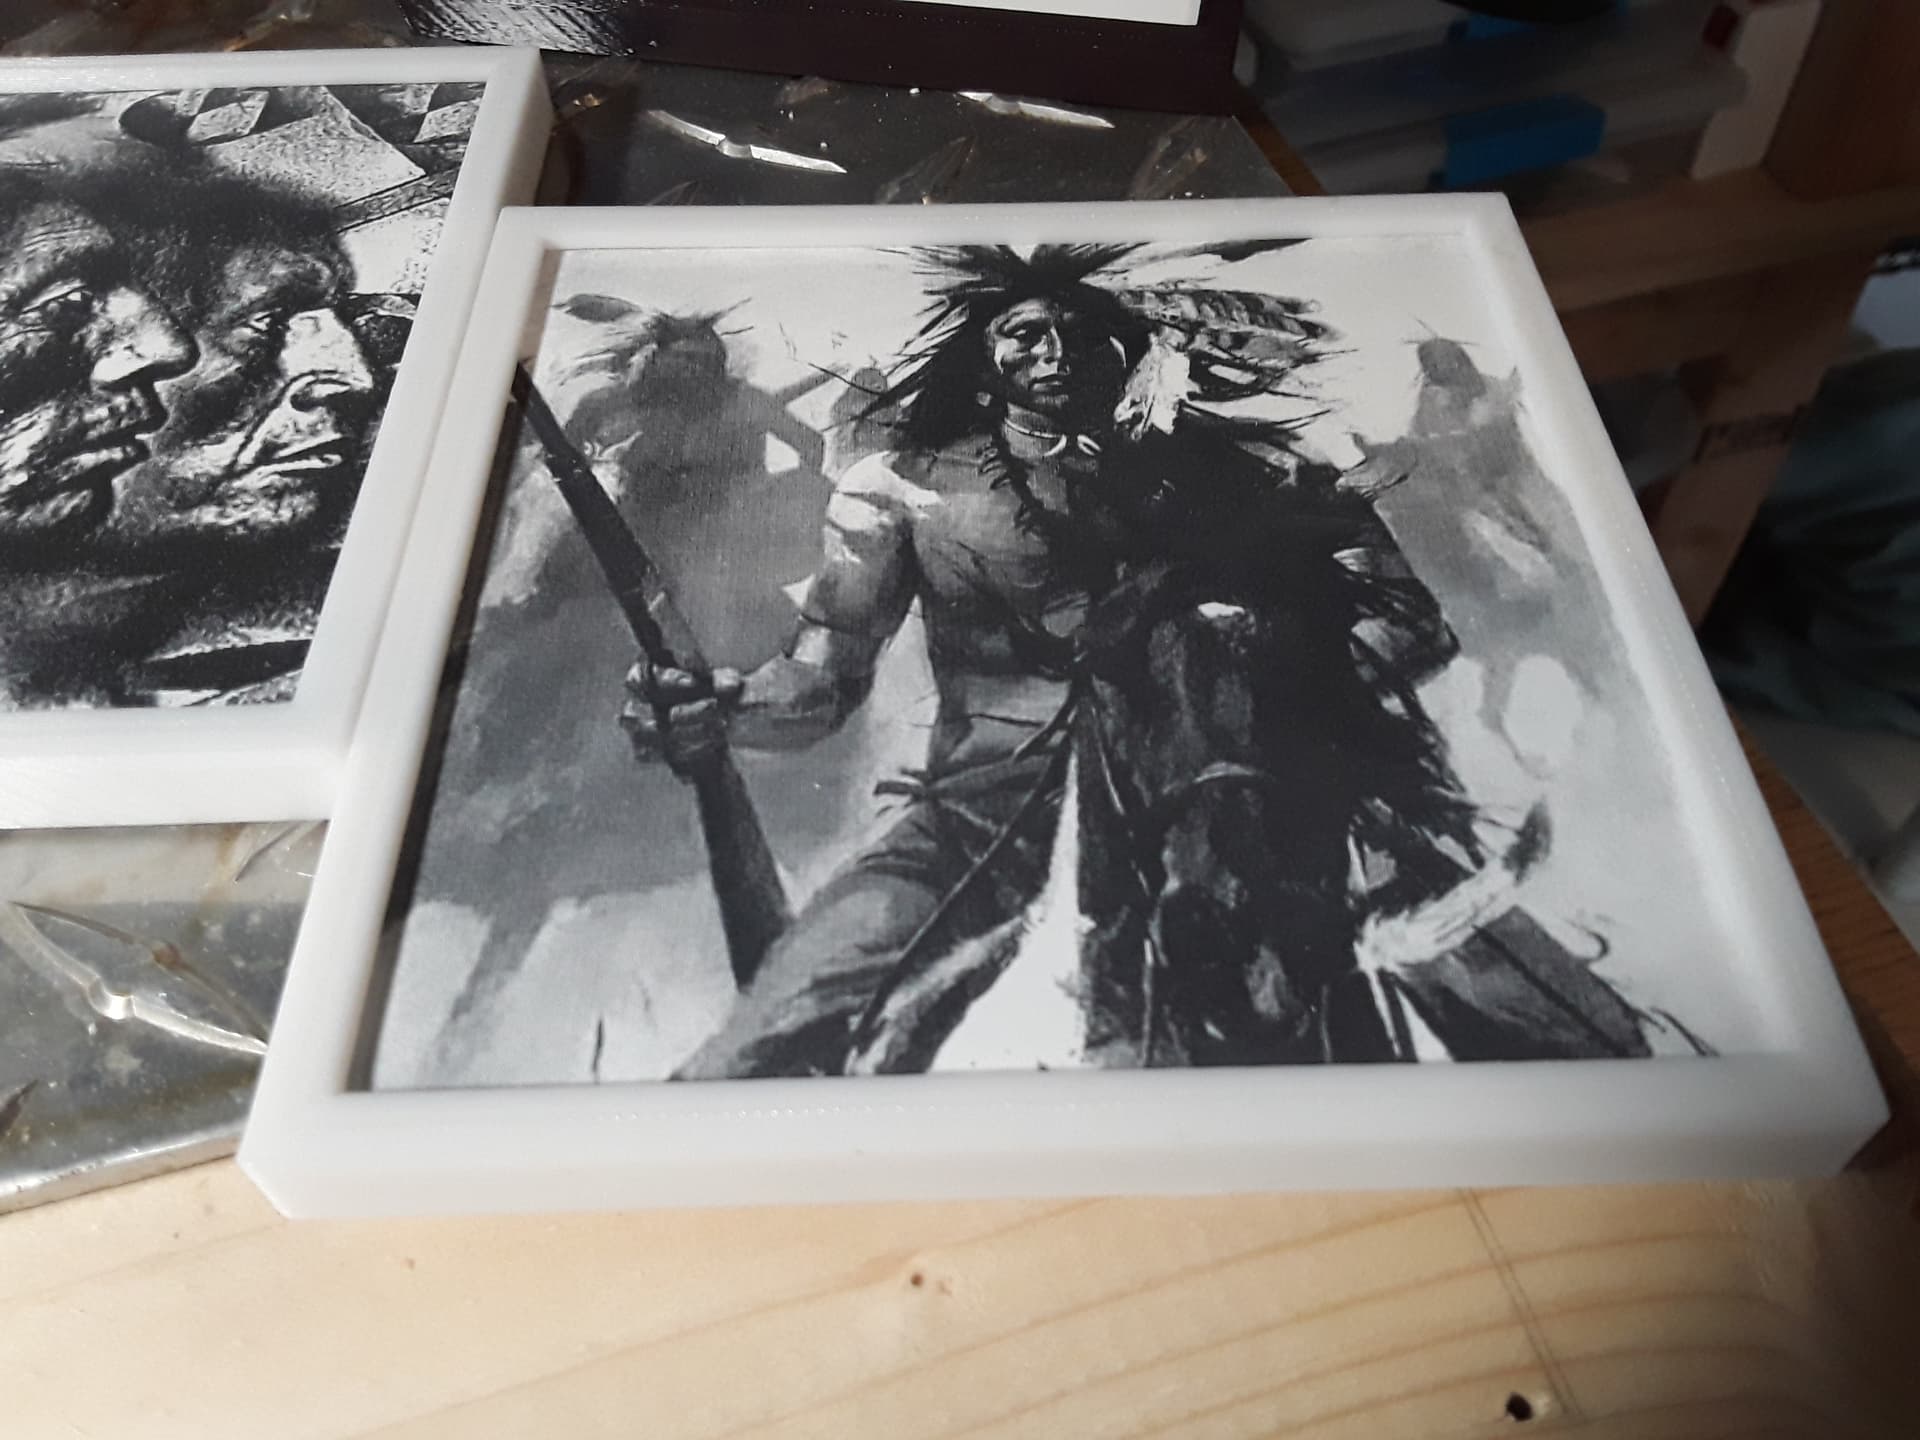
Please refer to the first post in this thread. I describe the process – aka Norton White Tile (NWT) method – and provide photos of all the materials I use. A low-power diode laser (2.3W) mounted on virtually any CNC/laser engraver machine, flat-white paint/primer (it’s has titanium-dioxide ingredient that does the magic!), acetone/thinner, and ceramic tiles (or glass) are all you need. The image is a slightly-raised (embossed?) image that is fused to the surface of the ceramic/glass and provides a tough, scratch/scrape resistant image that requires no protective coating… as in the video in my last post. I’ve not checked its weather-resistance…
I do not do FB or other social media but there is a gigantic FB group devoted to all things NWT… Nicky Norton is the author/guru of the method. I’ve tried to save you the effort of visiting that platform… but that’s the place to go for further information.
I’ve put lasers on all kinds of machines… and many are documented in this forum. Unless you’re just bent on DIY’ing it, and with the wealth of relatively inexpensive laser engravers on the market nowadays, I’d recommend getting one of the smaller cantilevered units (similar to the one I show in this thread… Neje, Vigitec, etc) just for this purpose. They’re compact, quiet, and can easily be moved out of the way when not needed.
Thank you kindly for the quick response. I am in Australia and we are limited to what we can get but your idea makes perfect sense. Provided the laser unit is affordable and I gather that they are. Could you tell me more about the units that you list or where I can purchase from. I gather they are from the USA and I can see who will send to Australia.
Your recommendation would be a bonus as you seem to have tried and tested several. The laser etching and material cutout interest me greatly.
Keep up the good work and hope to see more. I will look back at your work for inspiration and ideas.