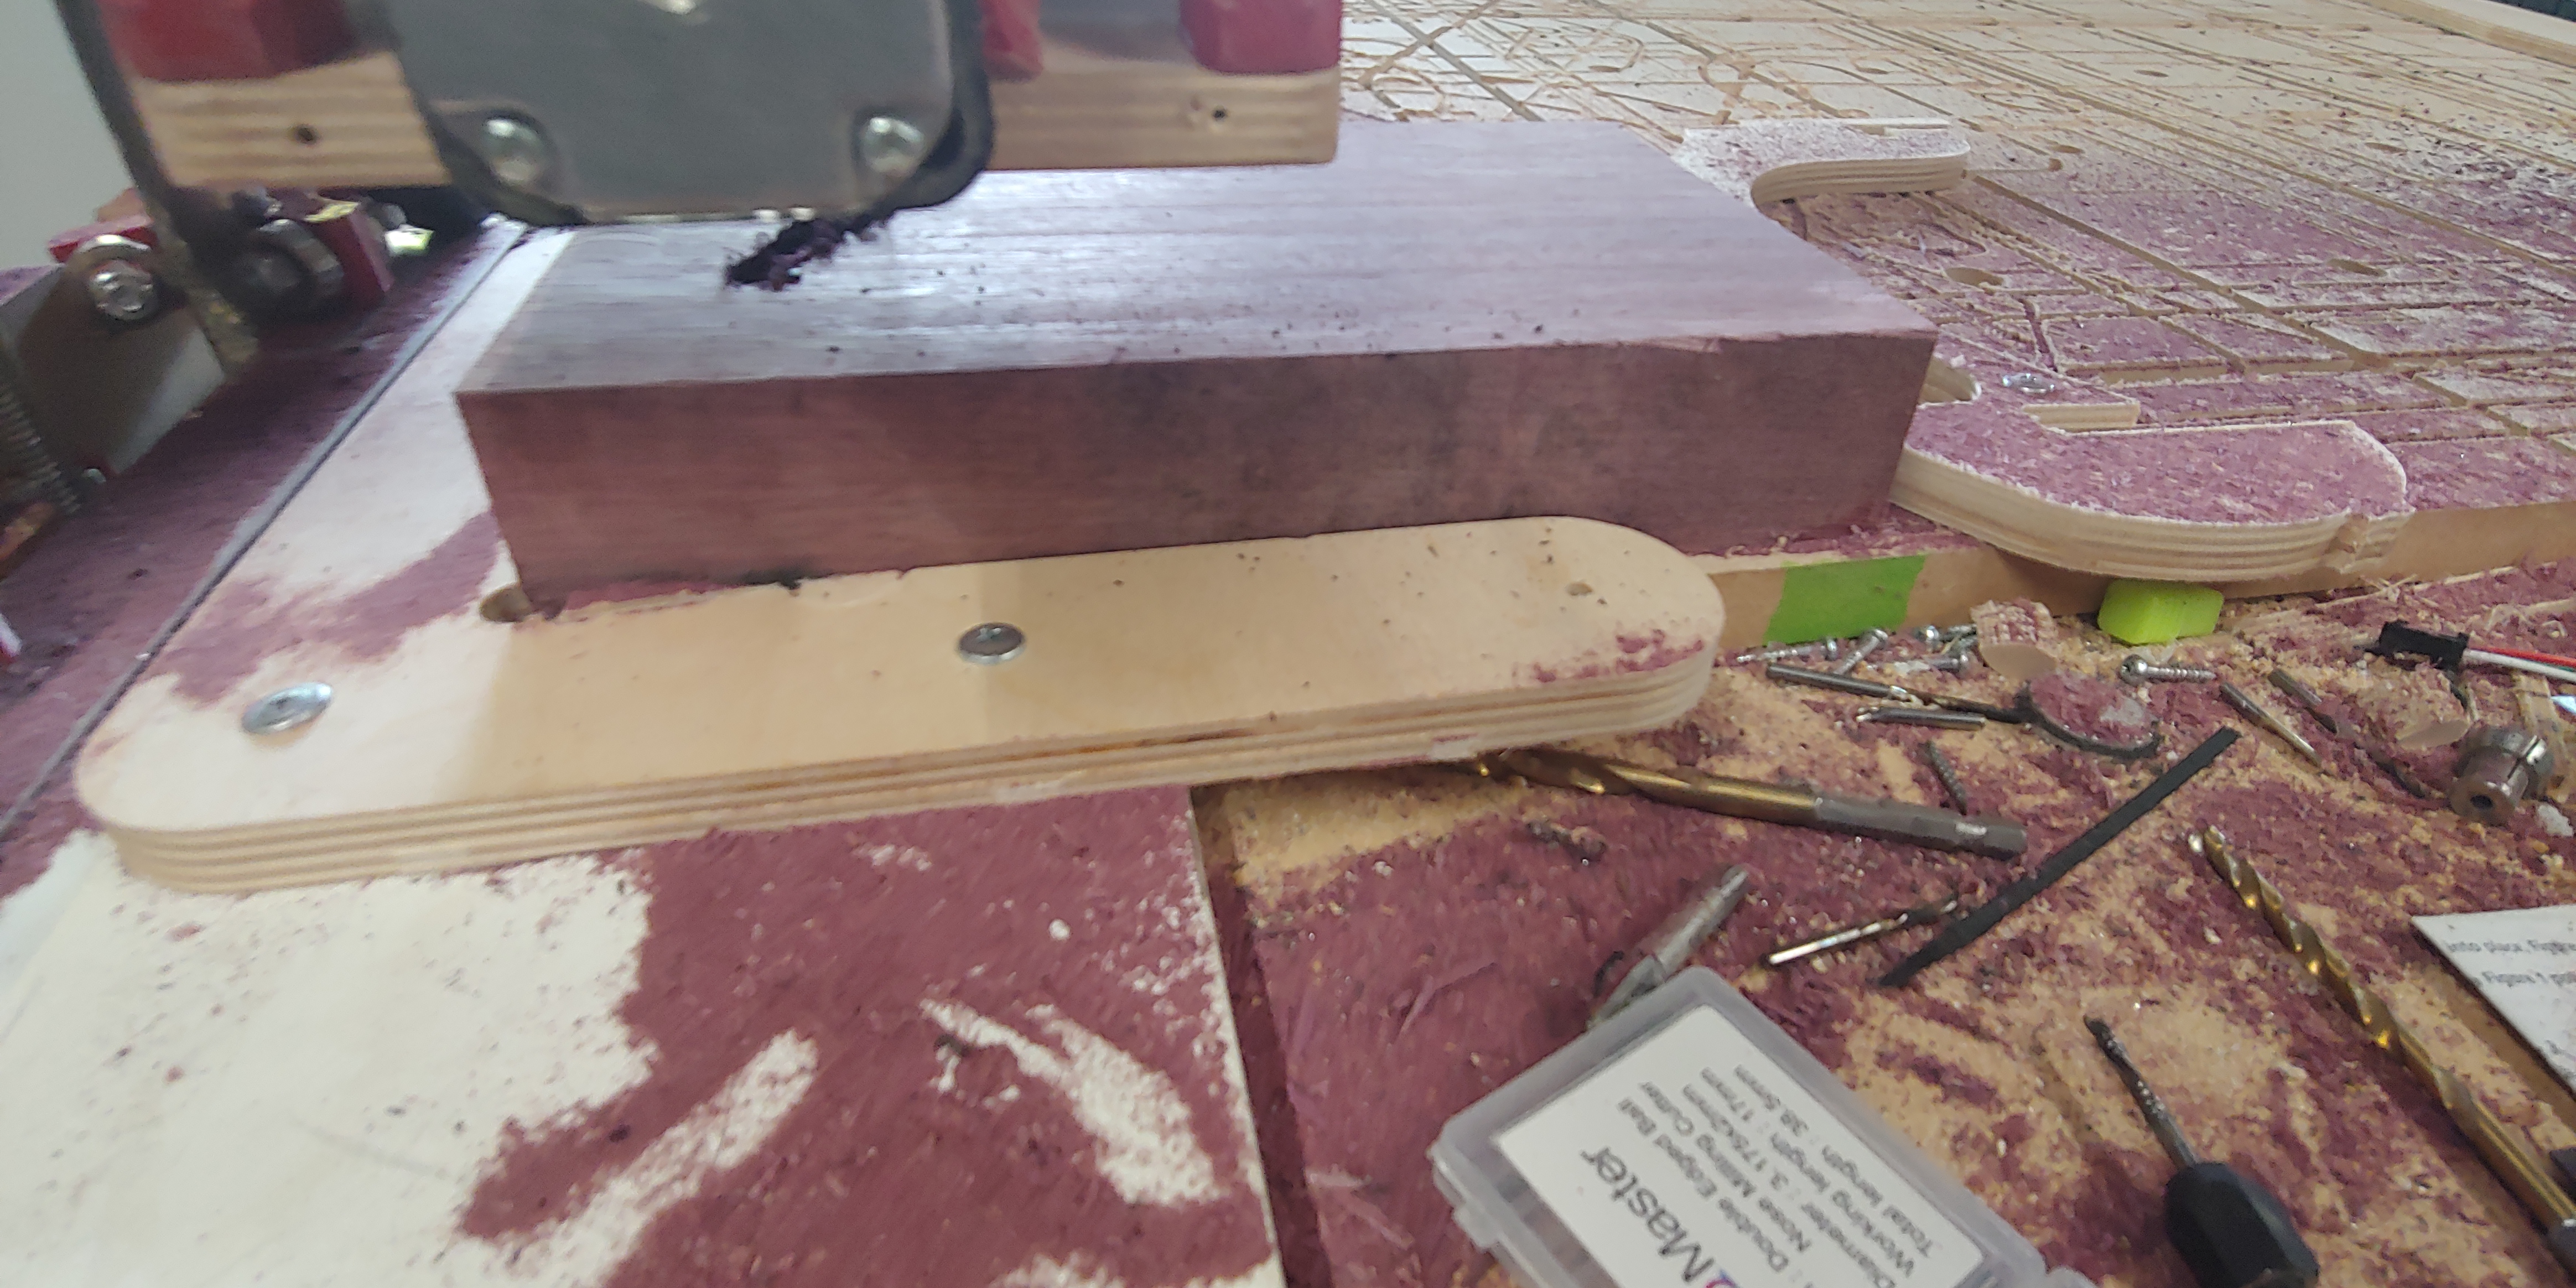
Making sawdust with the good (expensive) stuff today… A chunk of Purple Heart with a Walnut inlay, if I have time to finish it. Mother in law is celebrating a milestone birthday today, so she gets the equivalent of a “Mom” tattoo in the woodworking world…
1 Like
I went radio silent. Had an emergency trip to Iowa to stop an IT security event for my job, contracted Covid, and am now hospitalized…
I am accepting donations of fully assembled primo cnc gear to help me have something to look forward to if I make it through this…
I hope to continue some of my projects as soon as I get out and will be back to my regular posting schedule.
2 Likes
Wow, Synth. I was just wondering how you were doing. I didn’t expect to hear you were in the hospital. You know we will be here when you get out and I know there’s a lot you can show us when you do.
Stay strong. 

Take care man! I hope for a quick and smooth recovery
Get well soon, be safe in your recovery💪
NO!!! Hurry up and get out of there, we need you to keep updating this thread. CNC’s are too dirty for a hospital or I would ship one in.
1 Like
Get well soon!
Wish you a full and quick recovery…take care !!!
Have been following your thread Synth… Hope you back up and running soon. Take care… take time out & look forward to viewing your progress in coming weeks.
1 Like
Thanks all.
I was hospitalized from the 7th through the 14th of October. I blacked out at home on the morning of the 7th after having dealt with progressively worse symptoms over the preceding days.
Dexmethasone, blood thinners, Remdesivir, and finally a convalescent plasma transfusion from a Covid survivor led to me being able to go home. I’m having some pretty serious “after-shocks” with Covid-induced neuropathy (feels like someone violently shoving a large needle deep into a muscle when I am not expecting it), rheumatoid arthritis-like symptoms in most of my joints, etc. It’s looking like I may end up on the “Long Haulers” list with continuing health issues. I am also struggling with brain fog and losing what I am doing in the middle of it. This makes it dangerous to run power tools. I made a roast the other day, threw it under the broiler at 550 degrees F for a few minutes, and then got hit with the fog. I caught myself reaching for the pan in the oven without mitts or potholders. I was about 1/2" from burning myself extremely badly when I came to my senses.
I’ll be back in here at some point… But we’ll see when that will be.
It is really great to hear from you. All of it sounds brutal but I kept checking in to see if I was missing your replies, and you had me worried. Thank you so much for dropping a note to keep us in the loop.
Hopefully you can live vicariously through some of these cool projects that are going on while you de-fog. Let me know if there is anything I could help with to help keep you relaxing, recovering, and not bored.
2 Likes
I’ve been skimming the forum and poking at some of the new threads. It’s great to see so much creativity in this group.
My time in the hospital was pretty fraught. I got hit with O2 for several days, and had one extremely bad day where I actually called the wife and told her to get life insurance paperwork together, because I wasn’t sure if I would end up intubated and comatose until I either recovered or died. Even the doctor said it was a close one at that point. I “blogged” all of it publicly on my Facebook page, and I am willing to share that with anyone who wants to see it.
I’m in the process of printing up a Primo core in True Red PLA+. My garage where the LR2 is set up is not insulated, and Winter is coming to MN pretty quickly. I won’t be able to run it in the cold without risk of cracking the corner brackets, so I’m going to dismantle it and use the parts for the Primo. I want to set the Primo up in a room in the basement, but I’ll have to enclose it to keep the noise down so we can still use the theater that I have down there.
I may hit you up to see if I can order just the difference in parts for the Primo from the LR2, like the Z-axis screw, etc. I think most of the other stuff should work.
4 Likes
I’ve been wondering about how you were doing, and it sounds as it has been very rough! Glad to hear that you are somehow back on your feet, I wish you a speedy recovery
2 Likes
Glad to hear you seem to be past the crisis point. Best wishes for a full recovery.
2 Likes
Good to hear you’re back at it. I suggest you try doing the power tool stuff in the mornings only. Tends to be the best all-around time to engage in any attention demanding task.
How do I know this… Brain fog is my middle name.
2 Likes
Hi there, High “Brain Fog” Probability… That’s solid advice, and I notice I tend to be a bit better before the fatigue sets in. Most of my fog incidents are generally mid-day and on. I’ll see if maybe I can postpone work meetings until afternoon so I can get the real work done in the mornings. Thanks!

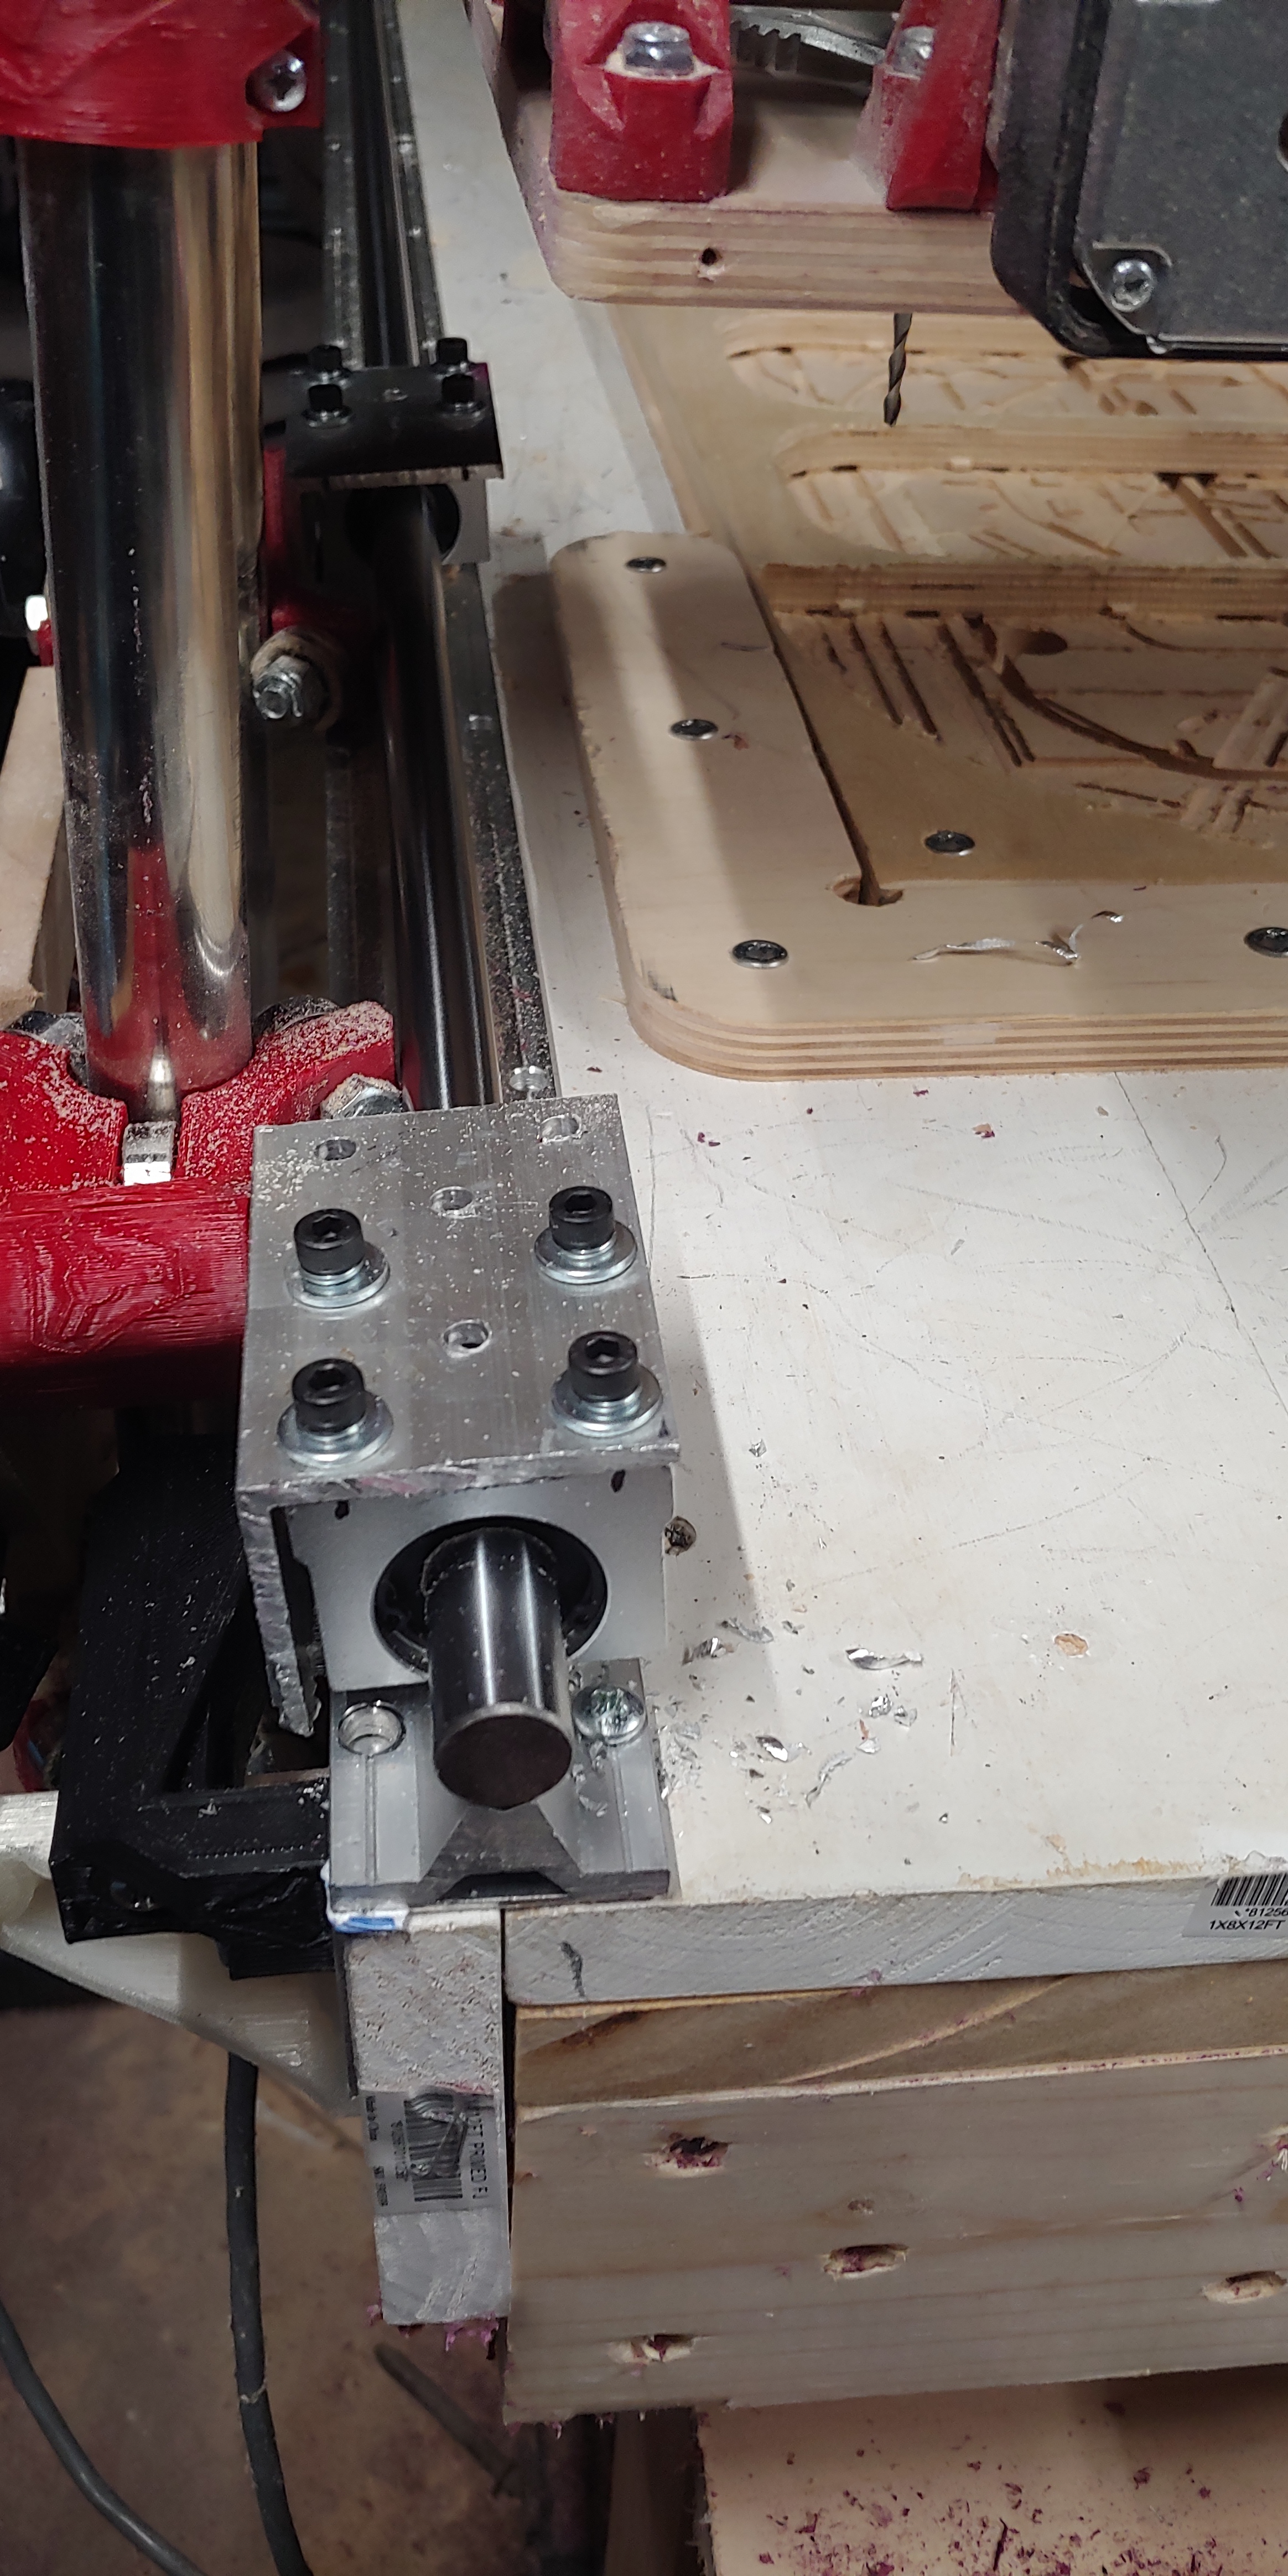
It’s a bit snug where the upper z bearing guide and bolt is, but it clears by 1/64th of an inch all the way down.
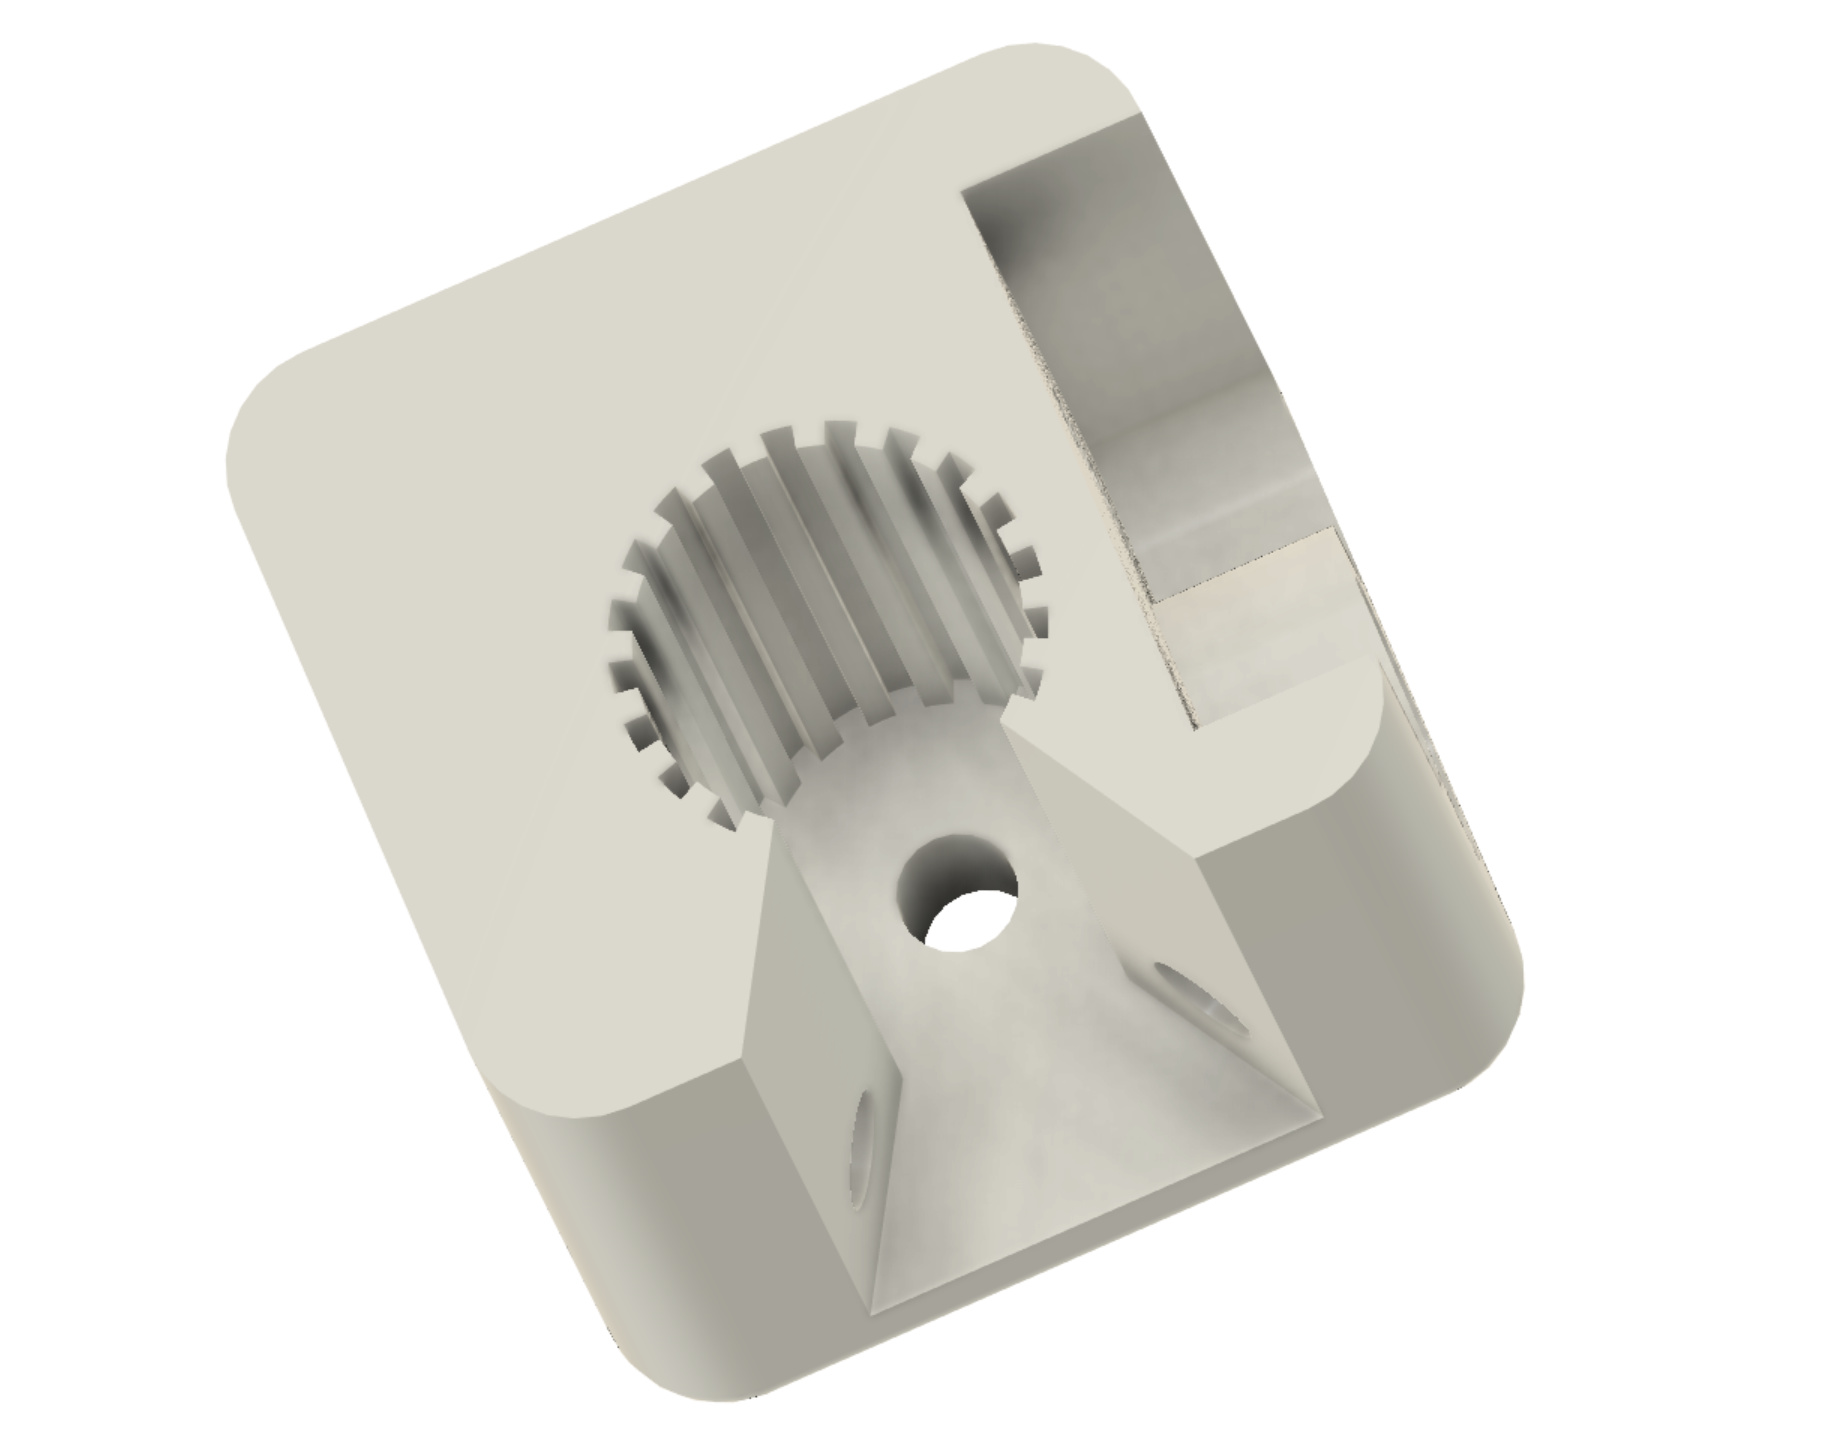
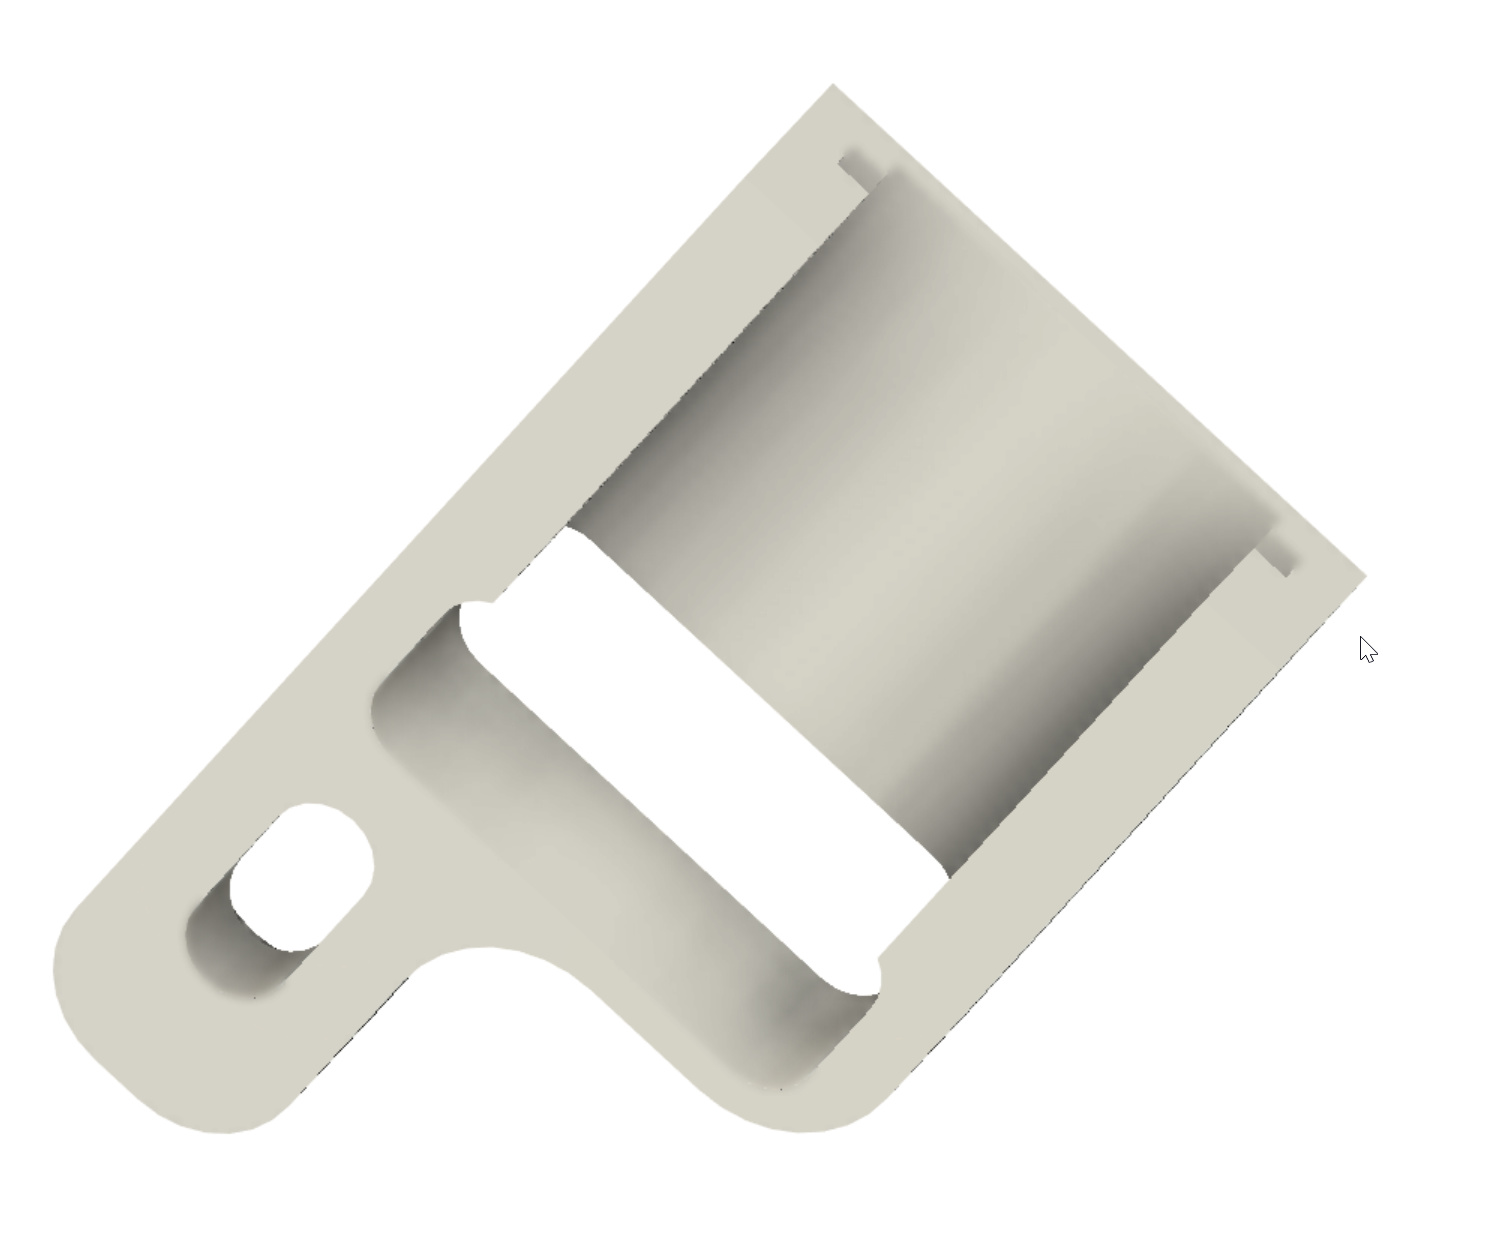
End Stop Block mockup is complete and initial print has started.
The design has two screw pockets (bottom back corner on either side) for mounting to the linear rail mount. The linear rail rod slides into the large round pocket with the splines, and there is a hole in the end for linear rods that have a hole drilled for alignment pins. The interesting shaped side pocket with the four holes is for the end stop switch adjuster. The switch mounts inside the adjuster, and there is a slot for a screw to fit into one of the four holes and adjust fore/aft by a couple of millimeters for fine tuning.


1 Like
Getting back into some actual shop work.
I’m frustrated with the noise of the Makita. I knew what I was getting into when I built the machine, but it really makes the shop space unusable when running. As such, I decided to convert to a 500 watt DC Brushless spindle with speed/direction control. This meant having to design and 3D print a mount for the spindle to replace the Makita.
I started out by loading the Makita plate into Fusion 360 and stripping away every line except for the through holes for the various items that mount to the plate. I then loaded the vac-shoe mesh, aligned it with the mounting holes, and proceeded to design from there.
A 10 hour print with 50% in-fill later, and I have a finished product that fits the spindle snuggly, and will allow me to mount it to the plate using the same holes that the Makita mount uses. In testing the mount with the spindle, I noticed the spindle gets warm to the touch. I expect some warmth, but not as much as I was feeling. Because of this, I’ll be reprinting the mount with some modifications to allow air flow channels between the mount and the spindle body. There should be enough left in contact with the body of the spindle to hold it rigidly, while allowing some air flow.
I set the spindle up on the CNC table, connected the brushless motor driver, and then started on the tinkering portion of the project.

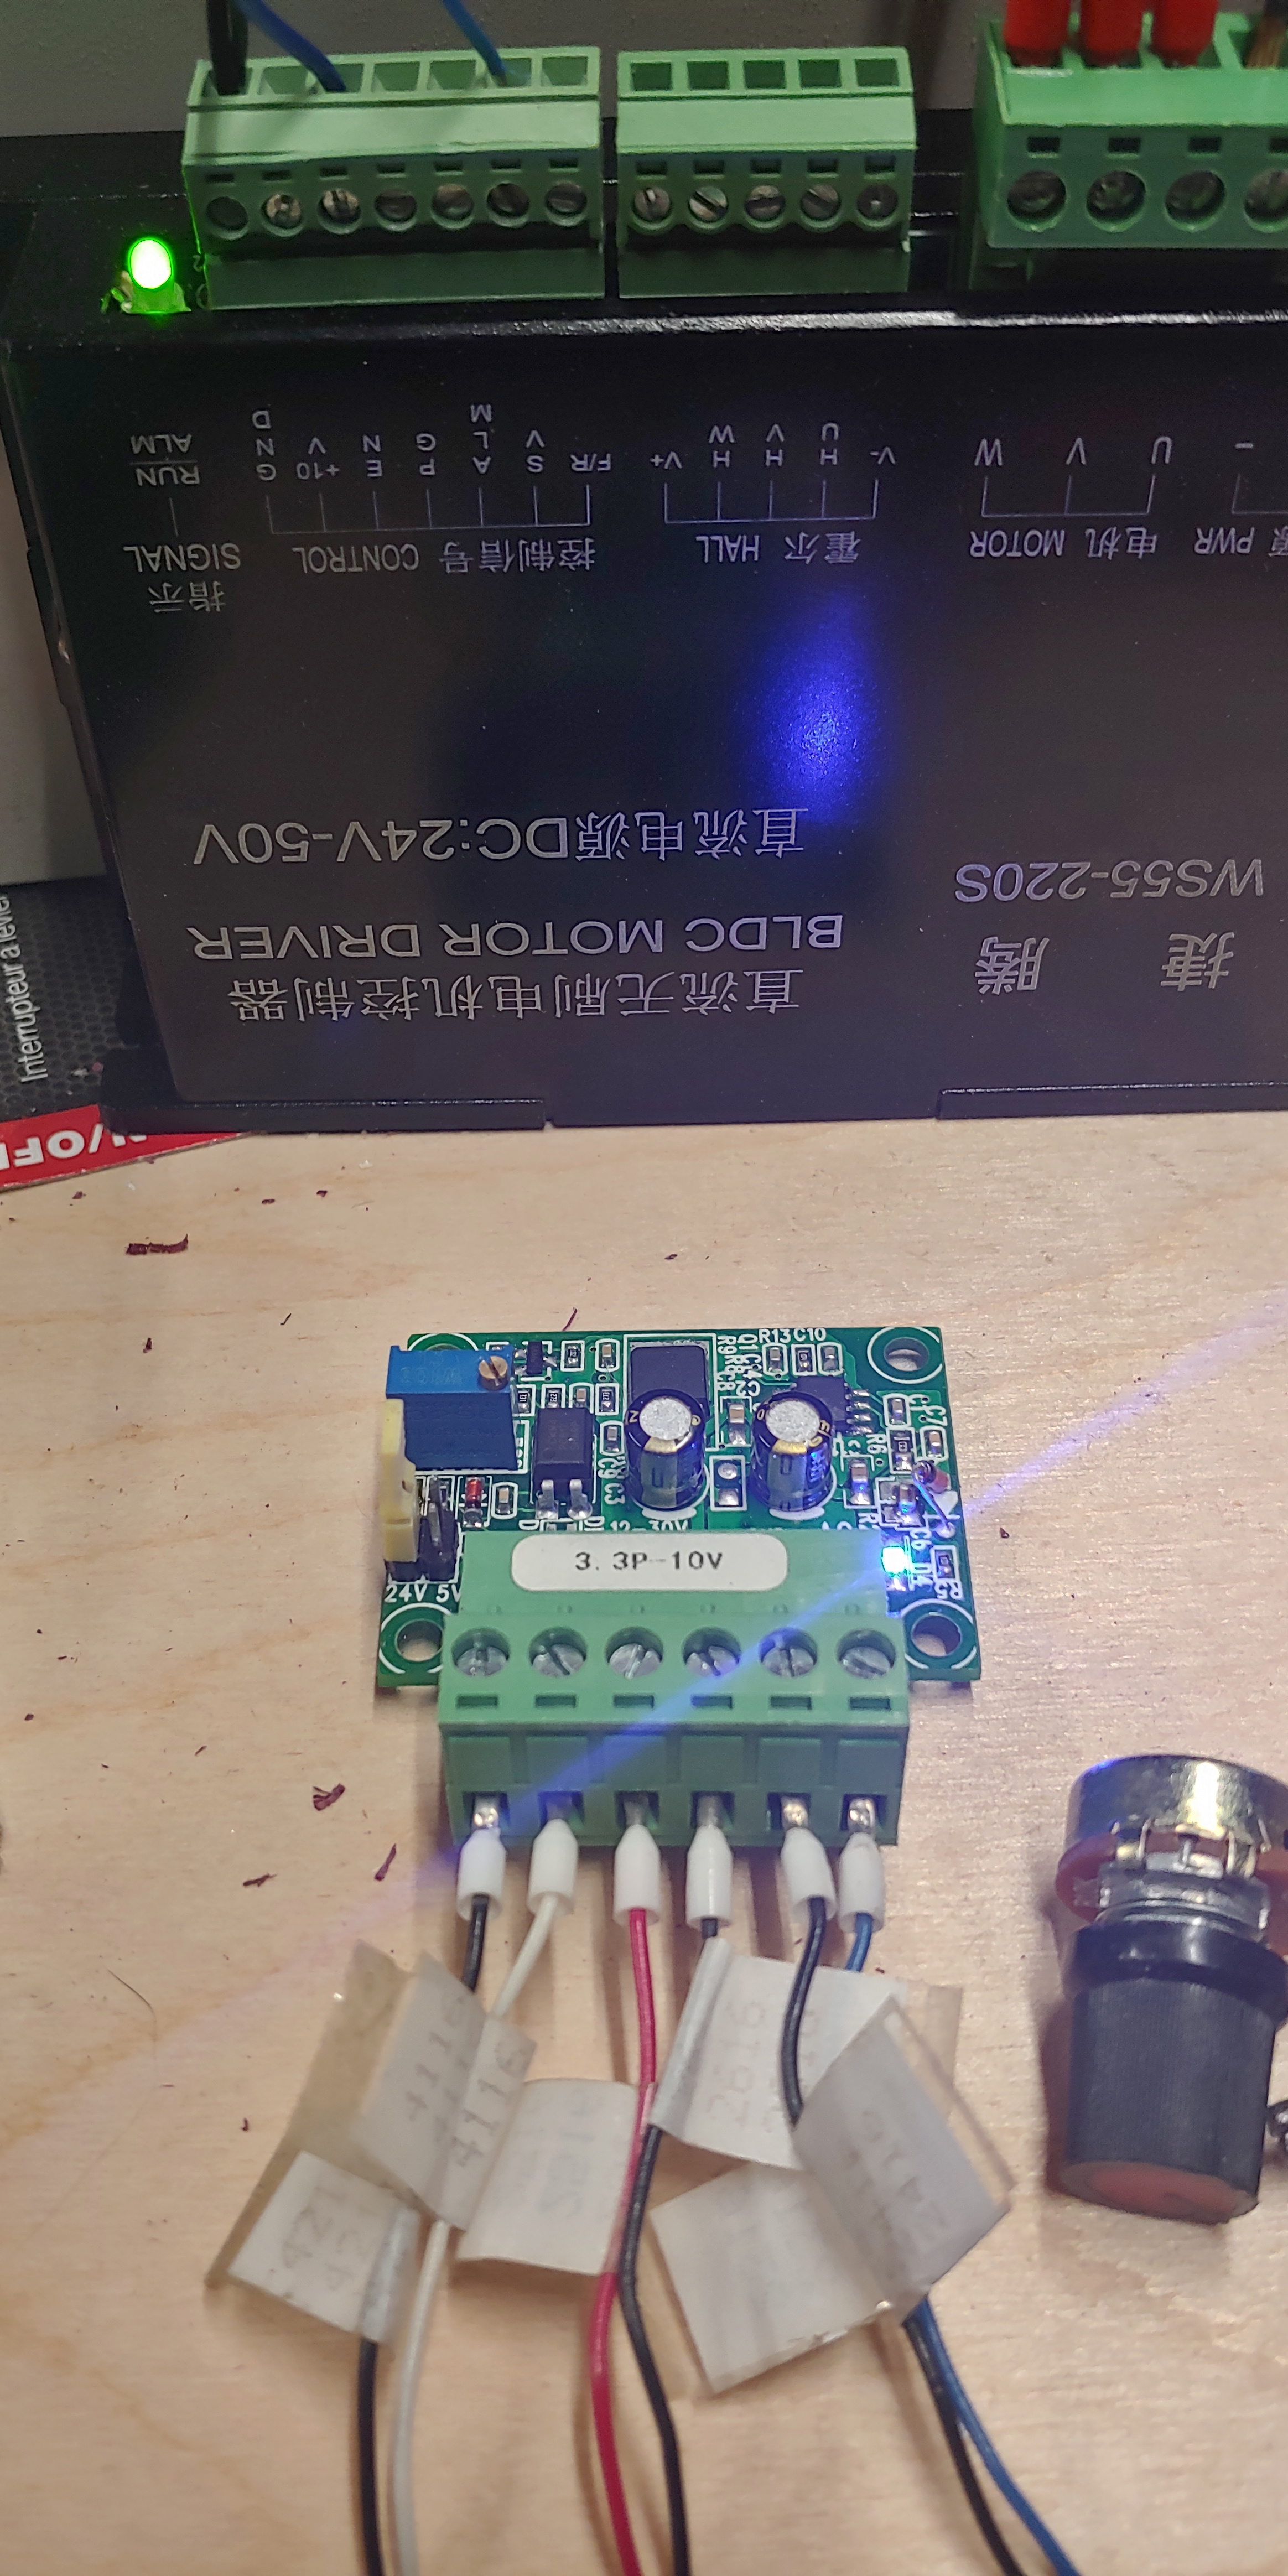
What you see here is a PWM to Analog 0-10v converter. The left two wires connect to the Fan 0 output on the SKR Pro v1.2, and some creative pin-mapping in the Marlin 2.0.7 firmware uses this as the speed control output whenever M3 is run to turn on the spindle. The converter is powered with 12v by the red and black wires in the center, and the black and blue wires on the right connect to the motor controller ground and speed input, respectively, sending an analog signal between 0 and 10v back to the speed controller.
I spent the morning re-learning how to work in Marlin’s configuration with much frustration before I finally decided to just pull the most recent build down from the MarlinBuilder GitHub, already configured for the LR2 Dual Endstops. @jeffeb3, I noticed the config includes a menu item for Z-probe G38.2, but I don’t know how to make that show up on my TFT35. I’d love some input if you get a moment.
After I sorted out Marlin, I decided to just do a compare between my original pins file for the board that I had modified months ago, as well as both of the configuration files and the 2.0.7 config that I had just downloaded. I transferred my changes over, and need to re-document everything I did with more detail.
Setting M3 S6000 sets the Fan 0 PWM on the SKR Pro to 128 (out of 255), which is 50% duty cycle (6000 being the desired RPM of the spindle, which is a 12,000 RPM spindle). The converter reads the input PWM and outputs a voltage between 0-10v that corresponds with the input PWM. In this example, the output would be exactly 5.00 volts DC. The blue potentiometer on the left adjusts the output voltage, so the way you tune this is to set the Fan 0 output to 128, meter the two terminals on the far right, and adjust the pot until you hit 5.00 on the nose. Then you can monitor the full range of speed from 0 to 255 and confirm your voltage moves from 0-10v across the range.
In my Makita configuration, the Heat 0 output is mapped so that running M3 turns on a solid-state relay. Rather than enable a relay, I left the config for this as-is, and simply moved the wires over to the motor controller to control the Enable function of the controller. Finally, I mapped PC4 in the Extension-1 connector to control the Reverse/Forward function of the controller.
I now have control of the spindle, speed, and direction, and should be able to get the revised mount installed tomorrow.
3 Likes
