MillMage Inside corners overcut?

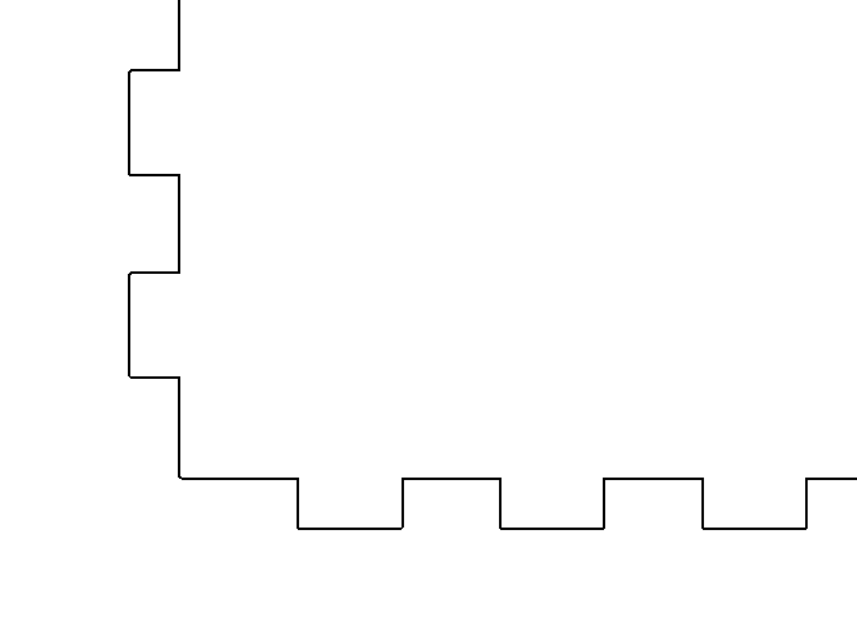
I am on my second day learning MM. I brought in a SVG of a plywood box with tabs. I see the pocket dogbone operation but how do I produce inside corner overcuts to accommodate having square corners?

Thanks
Also should be asking on the MM Forum instead of V1?

All the way on the bottom left.

Click the little green/blue arrow to get the tools you need. Took me a minute to find them as well. For CNC I think we use dog bone more than radius.

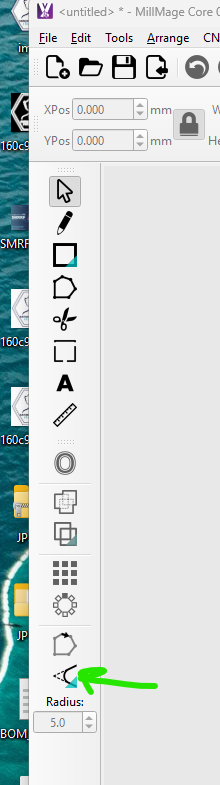
Thanks found it. I am getting used to the little drop down icons. Do I have to click on literally each inside corner? On Estlecam is a simple command under Automation.

I did them all manually in estlcam since I rarely want every single corner boned out.

For now, yes. Do you auto-dogbone the shapes in EstlCam as part of pocketing, or does it just alter the geometry of all the inner corners with a click?

You can specify the angle of the corners you want to be cut out after you set toolpaths and it automatically does it for all of them.

2 Likes

Does it handle curves and complex shapes as well, or just simple straight-line geometry?

It’s for corners, any degree basically. Really important for finger joints. I’d not want to klick every corner one by one. :smiley:

2 Likes

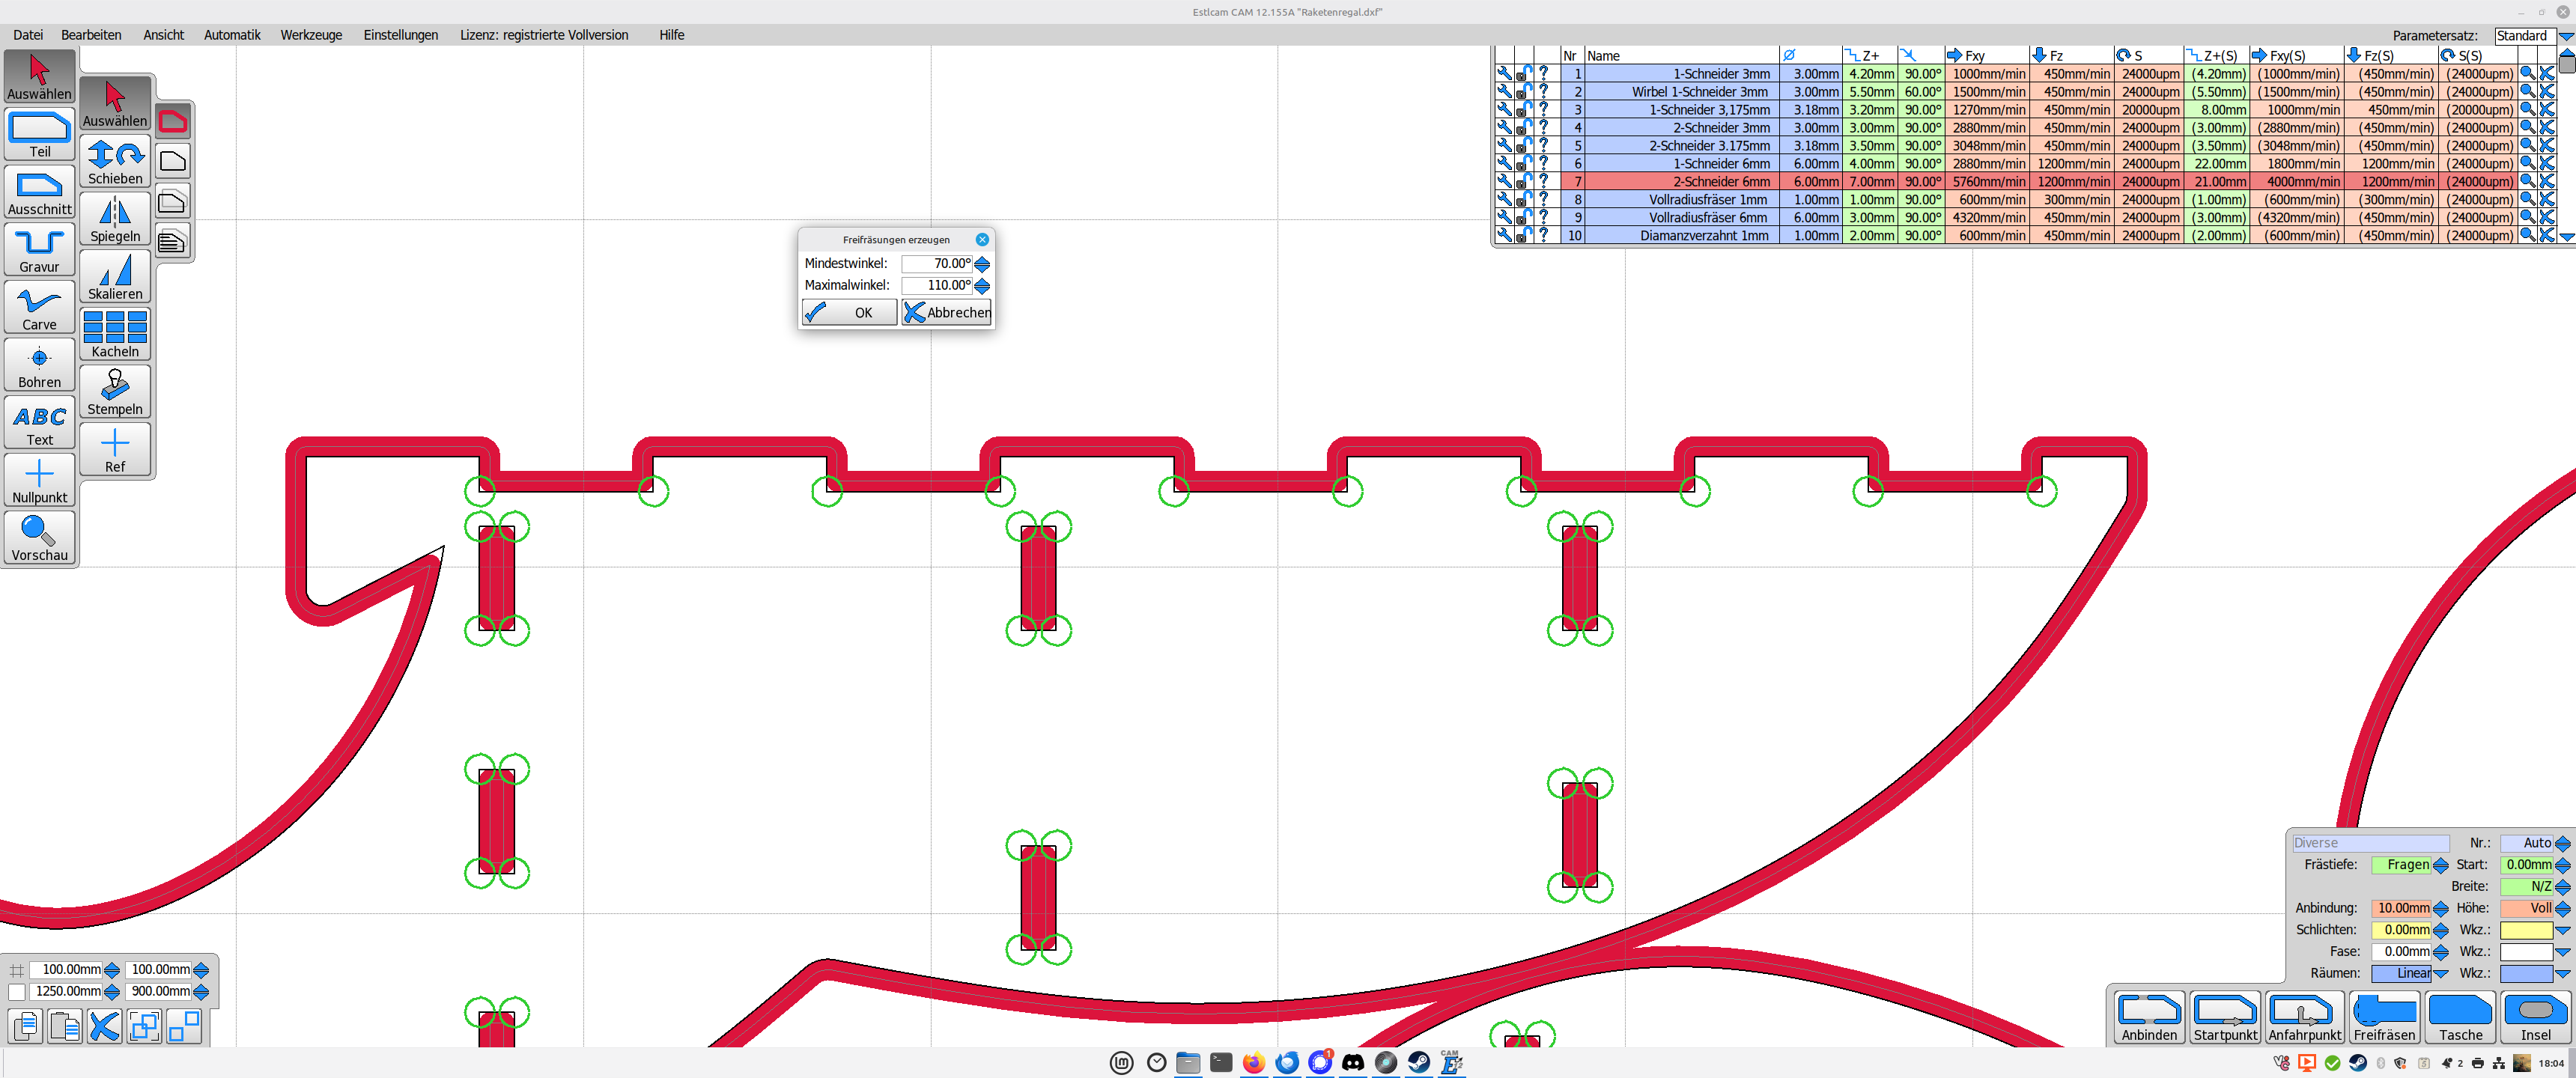
Once you create a “Part” cut path, an exterior profile, you can then optionally do an automatic operation to Add Corner Overcuts and the tool path gets modified.

I tend to do smaller ply boxes and this is not too critical as I use Fusion often and create the inside corner overcuts easily. I asked because I was curious if I missed something.

Typical 6mm Baltic Birch

After creating the exterior tool path

And then after doing the Automatic Inside Corner Overcut it highlights first

Upon accepting it creates the toolpath change

Because I’m an hobbyist I do have access to the local library makerspace that has an Epilog Fusion Edge Laser so easy to use for smaller ply.

As @vicious1 said for larger stuff not a big deal to manually select or model in the model.
Hope to dive deeper in MM today and make some sawdust. I watched all your YouTubes and enjoyed.

2 Likes

HaHa you were way faster then me @Tokoloshe !
I was typing when your reply popped up :+1:

Side Note: You can set the desired min-max inside corner angle it is applied to…As clearly shown by @Tokoloshe 's post!! :slightly_smiling_face:

1 Like

To be seen on my screenshot. :stuck_out_tongue:

On my screen the dialog box is small. Just wanted to highlight for others. Did not mean to step on your reply. :grin:

1 Like

I know, just pulling your leg. :stuck_out_tongue: :heart: Your answer is a lot more in-depth than mine and explains the whole process. :slight_smile:

1 Like

OMG been around this group :joy:long enough to know! :zany_face:

I keep getting distracted and have yet to try MM on an actual job today. A friend of my wife wanted an introduction to 3D printing and came by.

1 Like

BTW I love your French Cleat Shop collection! I am feeling guilty I need to do. We communicated I think years ago about your harpsichord bench?? Do you still have I hope.

BR
Craig
PS Miss my trips to Germany when I was working at Molex. And Two Cherrys Chisels my favorite!!
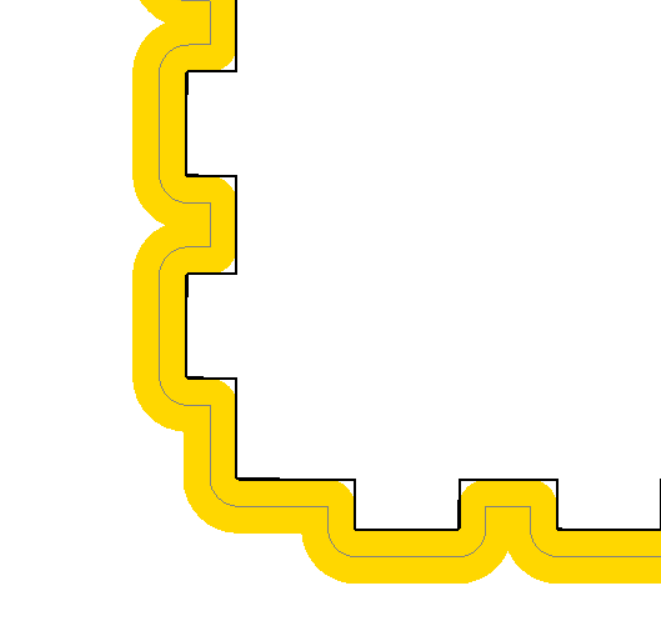
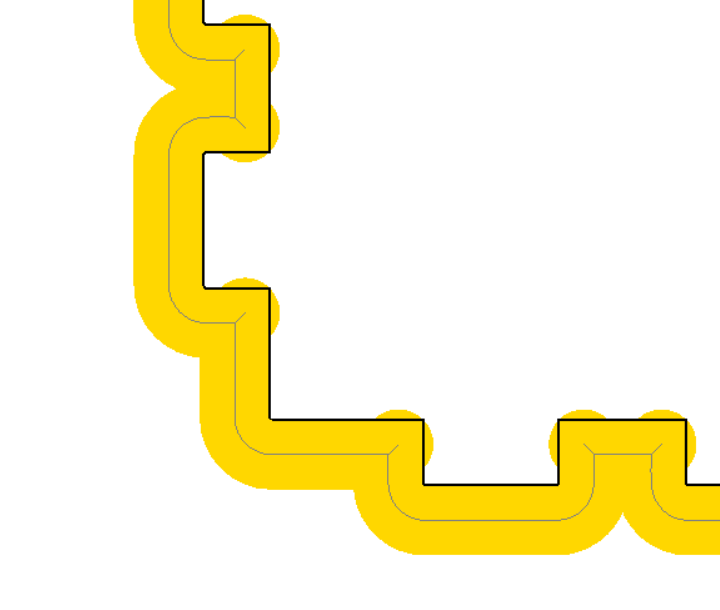
So, if your interior corner angle setting was small enough, would this corner have also worked?

Yes. :slight_smile: I just slapped it together quickly without checking, but this corner is just optical so I just might have left it like it is. :slight_smile:
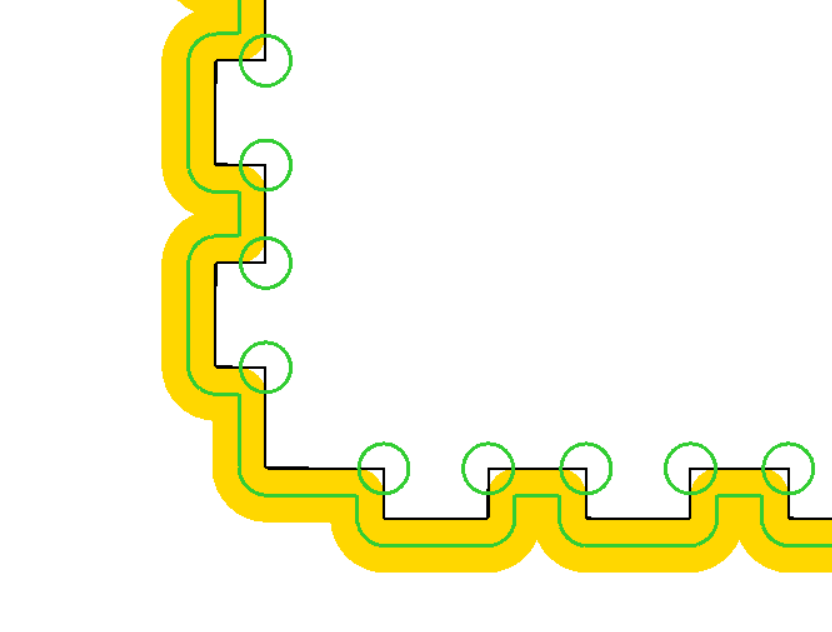
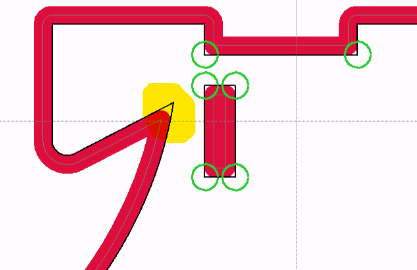
After having it processed the green rings disappear and the dogbones are being shown in red as well like in @CABix’s post.