Measuring AXIS on table LR3

When I asked “Are you setting your Z height…” I am referring to “zeroing” the Z at the correct height, which should be an option on the TFT under the “Home” options screen.

1 Like

OK. So in the short list I thought up…

  • Z height not homed to the top of the material properly. (We’re sure this is not it.)
  • Loose grub screw
  • Table not flat
  • Drawing intended for one pass, but more than one pass (with later pass at deeper depth) got programmed. (We ruled this out.)

Could you explain, exactly what you expect to happen, and what happens instead?


Alright can we doa step by step please

Nothing has moved since my last sketch also I’ve move the z axis and they all reach and touch the end stops but please I’m listening to instructions

ARE we sure this is not it?

It’s not enough just to move the CNC down to the right height. Once you do, you must click on “Home” screen and tap the “Zero Z” button, to tell the machine that’s the new 0 for Z.

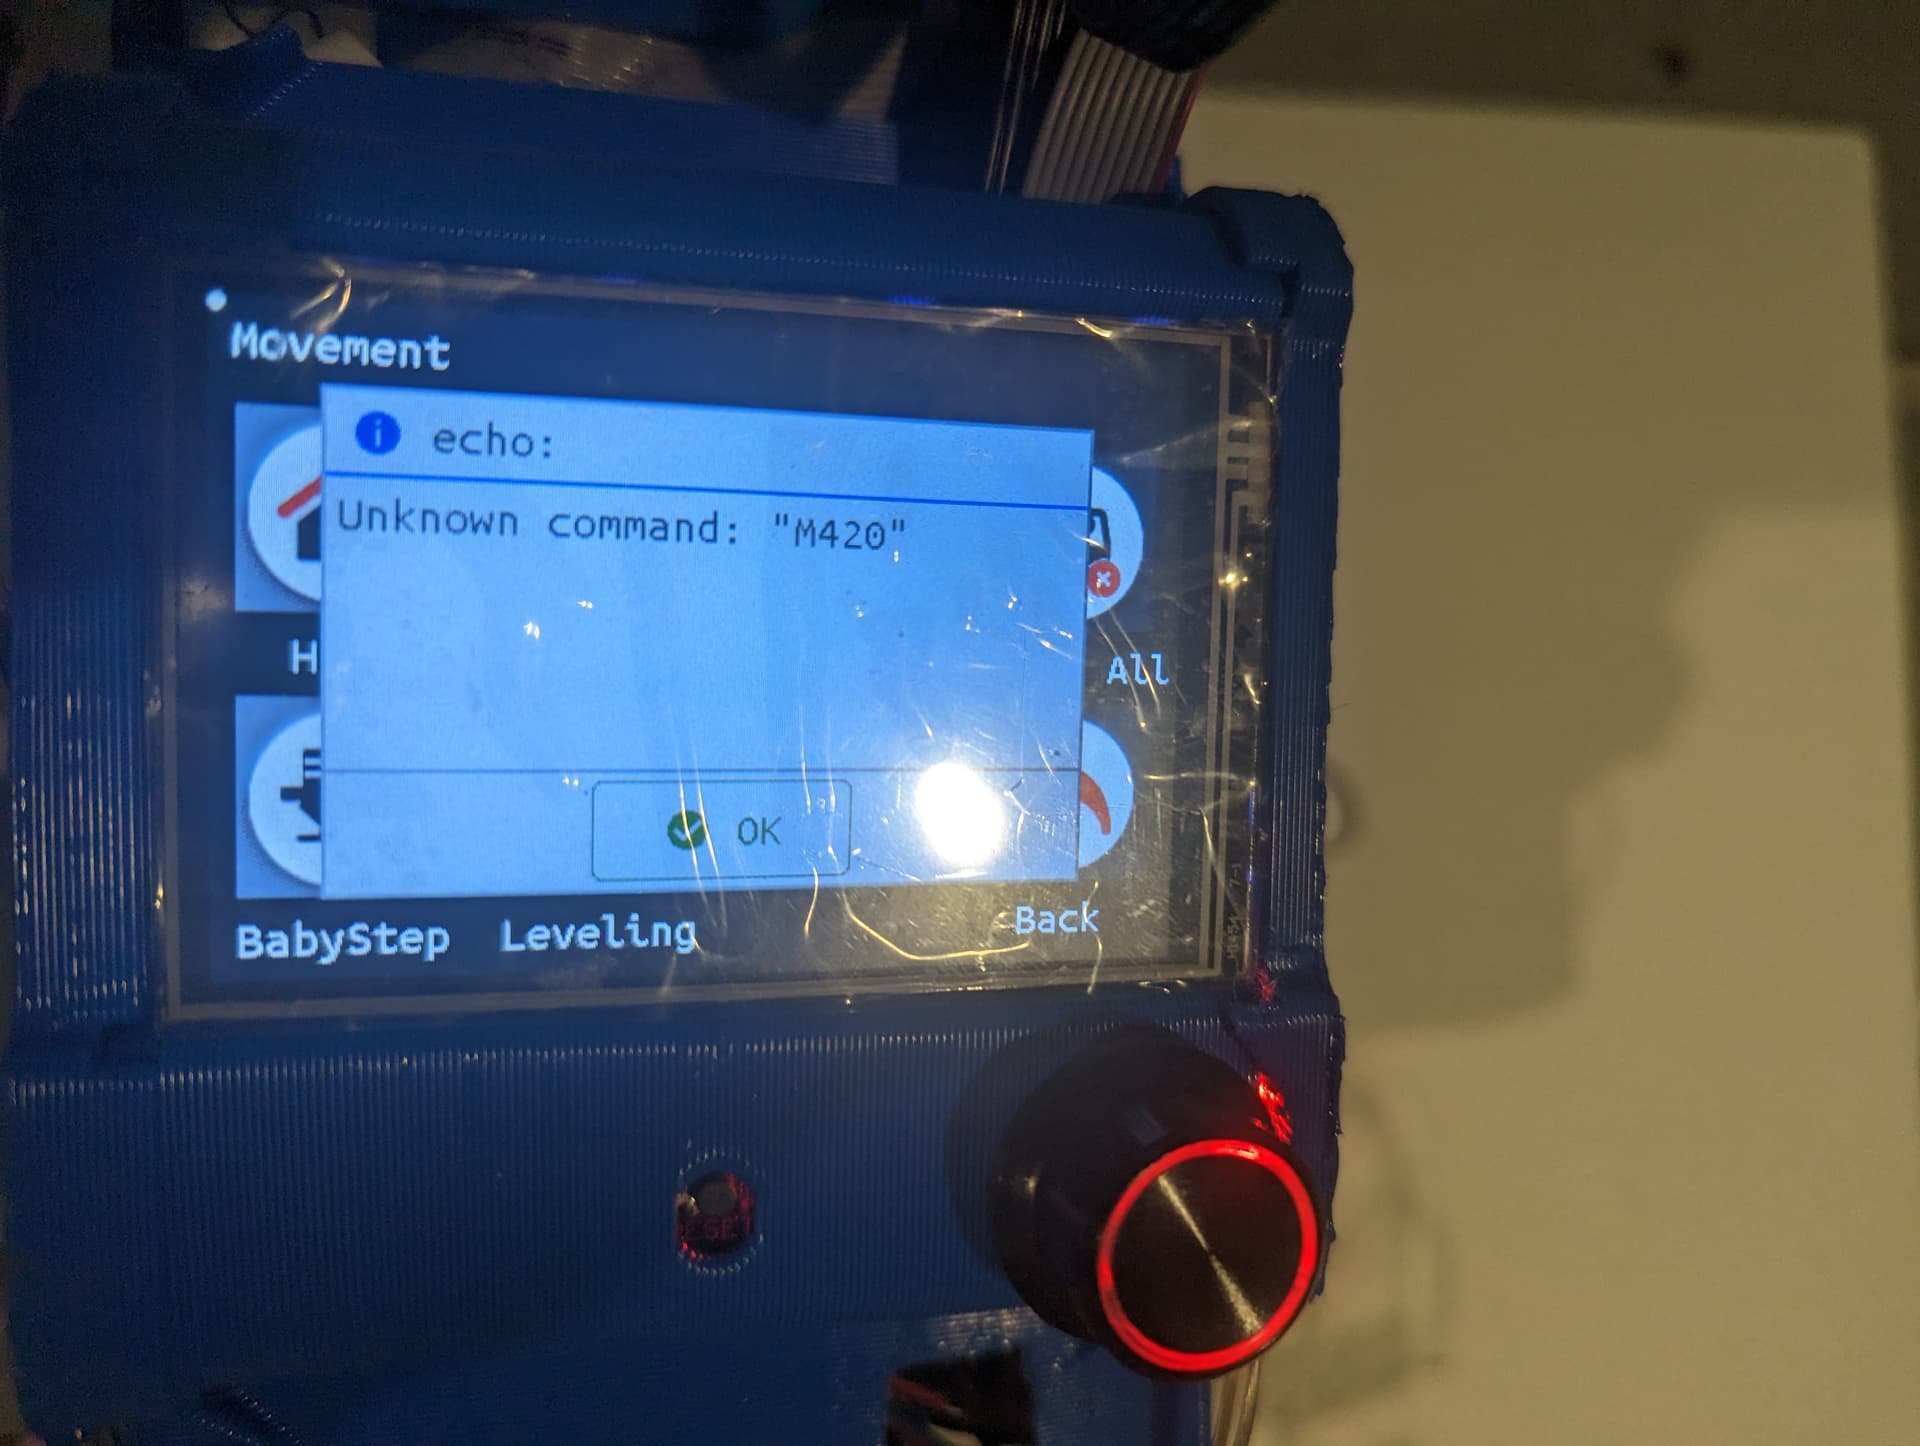
Okay you literally have to let me know where z zero must show . Here’s what I did I hit home and for the zero axis

Ugh. This is now the second time today I’ve read about someone hitting an error of “Unknown command: M420”! Please check out the discussion beginning at the link below, and continuing onward. (Hint: they are still working on it!)

Okay thanks

OK, so for info for future sake, assuming you were not getting the M420 error when you home…

The normal workflow is:

  1. Home the machine Z
  2. Home the machine XY

— these two steps get you to the machine’s 0,0,0 origin, which is likely not the “work piece origin” that you need for a cut job.

  1. Move the CNC’s tool head / bit / pen tip in the X and Y axes to the desired location for the “work piece origin” (the 0,0 you need for X and Y for the cut job).
  2. Zero the X and Y at that new location.
  3. Move the Z height down until the tool tip is on the top of the material.
  4. Zero the Z at that new location.
  5. Optional: Raise the tool up by about 10mm or so for a safe height for XY movement.
  6. Optional: Turn on the router/spindle (if needed for the cut).
  7. Start the cut.

Okay will do I will have to wait for the solution for the problem to be solved I appreciate it

1 Like

You can just disregard the error, I don’t think it will affect anything. We will figure it out, just not sure why it is happening.

1 Like

@sway1 : So, can you just tap “OK” and then get into the Home screen’s options? If so, you could go ahead and try to do the workflow I typed above.

Alright I tried once already same dance but I think I realized something odd about my z axis it reads this when it’s homed and it reads this when it’s bottomed out is this the correct readings ??


Before “zeroing” just ignore what the Z reads in motion control area.

What matters is that you get it zeroed on top your work piece.

Same results actually now when I do run the crown test it works fine .
My biggest concern now is that when I move the y axis by it self it works but now when homing just the y axis the motor on the right of me doesn’t operate so it’s only one side moving which never happened to me.
I did run the test twice

OK, if there are stepper motor movement issues, it’s down to either wiring, or loose grub screw, or firmware. Since it was working, then not, it sounds a whole lot like wiring issues. A firmware issue usually either works or not, and is not intermittent. Anytime you have something that was working and then stopped, it’s likely a wiring connection issue. It could also be a loose grub screw.

Also, I have had wiring issues to cause stepper motor to make a grinding sound!

It’s strange but I’ll have a look.

1 Like

Updates What work can be done onto this test ?

1 Like

Make sure the paper doesn’t move. :smile:

2 Likes