When I run a print that is large and flat, the left side of the print doesn’t squish as much as the right side. Watching the print, I can’t see the Z move up/down as the print is started. What also confuses me is that this map says the left side of the bed is ‘high’, so I’d expect it to squish more not less.
Part of me thinks this is going to be the straw that breaks the camel’s back in me switching to Klipper.
It’s going to be below freezing for 3 days this weekend. Maybe it’s a good weekend to wheel the printer into the house and do the swap by the fireplace. I’m sure the wife won’t mind.
Why use mesh leveling? In my opinion, it’s just to compensate for an inaccurate printer. Build your printer properly, use a 3mm thick aluminum heatbed with a sheet of glass on top, adjust it perfectly once, and you won’t need mesh leveling again. Even 310mm x 220mm with layerhight 0.2mm is no problem
Sure. Looking at my mesh. Which screw do I turn? That’s the crux of my problem. To me 0,0 would be the first datapoint, which would be the front left. But then I’m reading that front left is the 0,4 data point. But that doesn’t make sense as the first layer print I’m doing seems to have the nozzle farther from the print bed on the left side of the print than it does the right.
My bed is already a 3mm aluminum sandwich with a magnetic lift-off plate at the top.
I’m more familiar with Unified Bed Levelling (UBL) but I’ll offer some thoughts.
Marlin Bed Levelling has many subsets, including Bilinear (ABL) and Unified (UBL). Personally I prefer UBL, as it allows for easier editing, viewing and filling in of un-probeable (is that a word?) areas. But there are common themes with both variations.
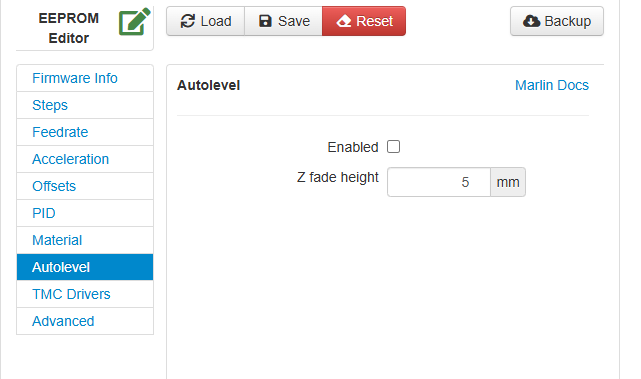
When using any Marlin Bed Levelling, running a Home command (G28) disables the automatic bed levelling function. Are you enabling it with an M420 S before printing?
Marlin Bed Levelling is best used to compensate for minor high and low points within the bed (in other words, a bed that is not flat). It isn’t designed to compensate for a bed that is tilted or has a high corner (in other words, a bed that is not adjusted correctly).
It seems from the matrix results that the whole 4,x row is too high by at least 0.40 (compared to the 0,x row) , and one corner (4,4) is even higher at about 0.80 higher than the 0,x row.
I would start by correcting this through adjustment of the bed levelling screws (lower 4,4 by around 0.80. and lower 4,4 by around 0.40)
You can use ABL to check your results:
Home using G28
Use the G29 command to map the matrix
View the results
Re-adjust the bed level screws as needed
Repeat until you are reasonably level (within 0.05) across the whole matrix
Use ABL to compensate for minor hills or valleys in the bed (that final 0.05)
You shouldn’t need to run a G29 each and every print (IMO). Once you have a reasonably adjusted bed, running G29 once, saving it, and then enabling mesh levelling is all that is required..
Do make sure that your bed is at temperature when doing the ABL. Aluminum and glass beds can expand and contract a fair bit.
it only takes a minute. and I was under the assumption that the aluminum bed would expand more/less depending on the temperature it was set to. Since I change filament types from PLA->petg->asa often, I figured running it before each print wouldn’t hurt.
Grumble Grumble. I need to modify my bed in order to adjust the heights physically. I forgot I had used some hard rubber hose as spacers because the insulation pad thickness was causing issues. The rubber hose lengths aren’t 100% identical across the board.
I need to try printing some spacers that are all the same height. PLA will work for testing, but I’ll want to re-print in ASA at some point.
I think I missed something in my Marlin config. I’m going to take a look at that again and see. I landed on a Bug report in marlin talking about a few other lines in the config I may have not known about.
Is this trying to tell me my aluminum plate is warped? I’m printing a G26 to see if the auto leveling does anything, but I’m betting something weird is still going on.
Good news is, I can see the Z going up and down when testing with the G26. I need to make sure my slicer isn’t doing anything dumb. I’ll try saving this mesh in EEPROM and just recalling it from memory instead of running another G29.