Mame arcade

Not sure if you can call this one an arcade “cabinet”, but I think it is going to suit my use case.

Final picture will go here…if I ever finish it.

What I want

I just want some casual games, quick and fun. If I want to sit down and play for hours there are better ways to do that. So this is just games that work with an arcade joystick and 6 buttons or less. Inexpensive since I do not think it will get all that much use. Less expensive is more fun.

Design

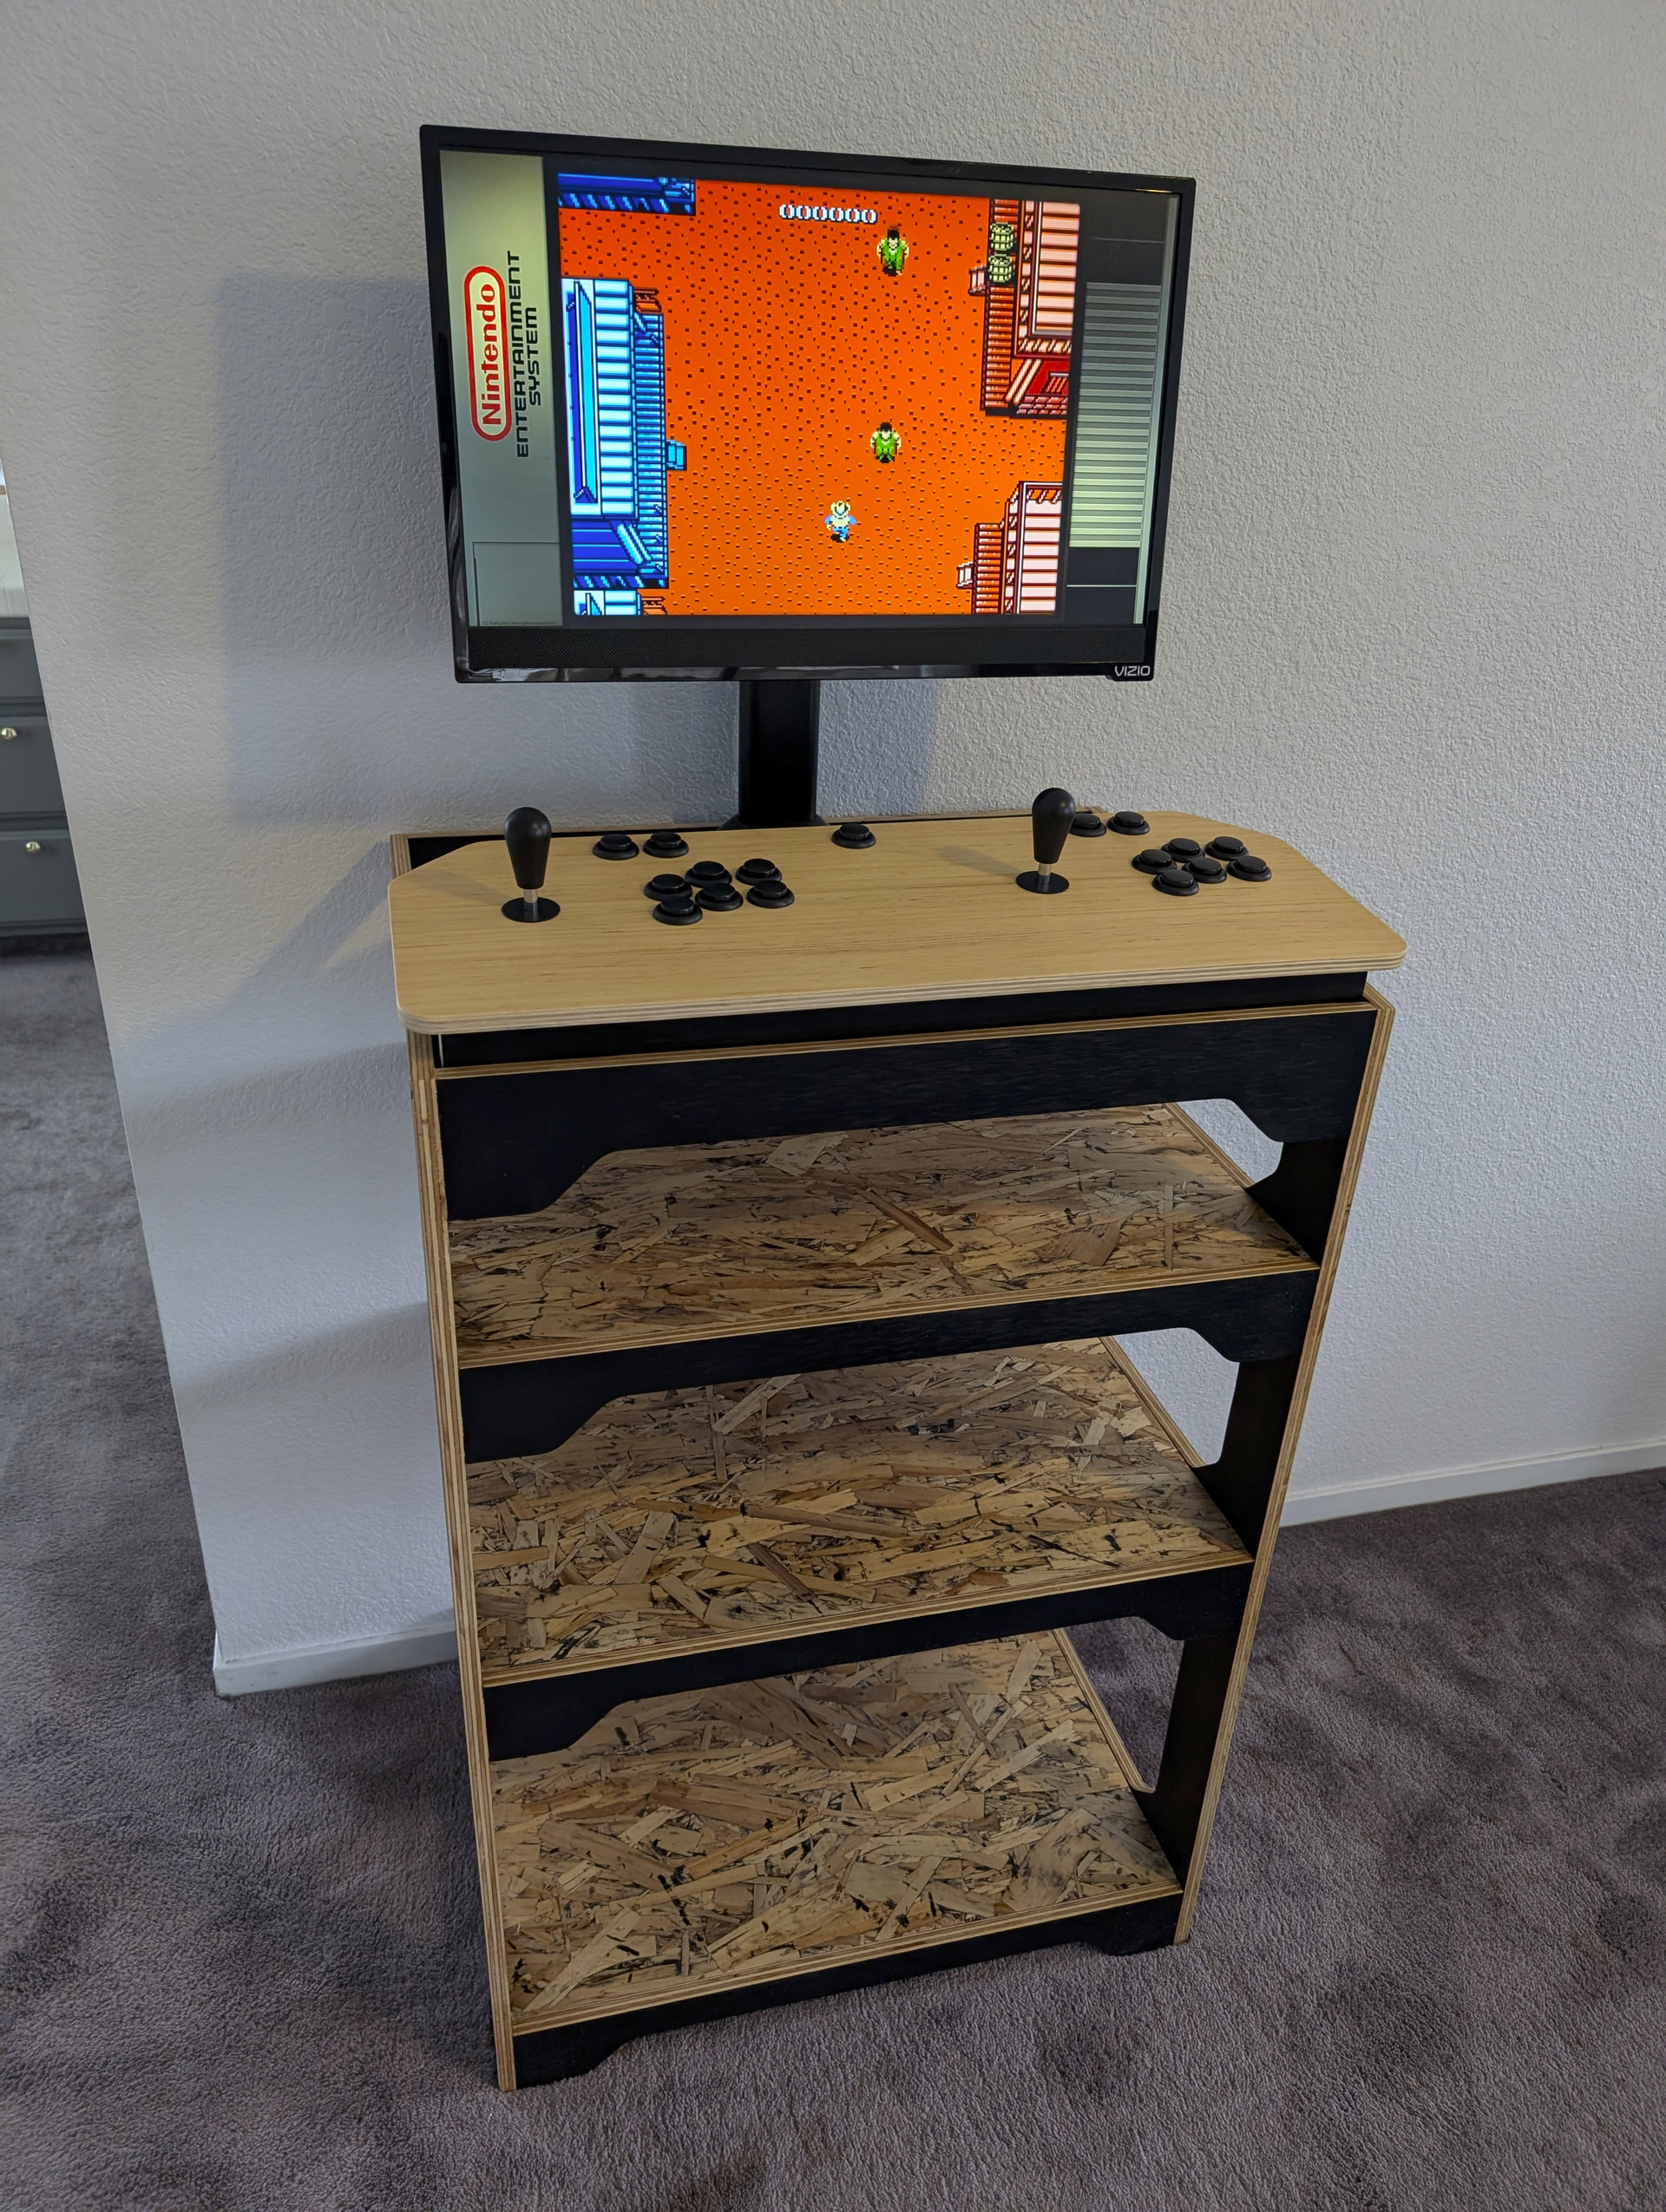
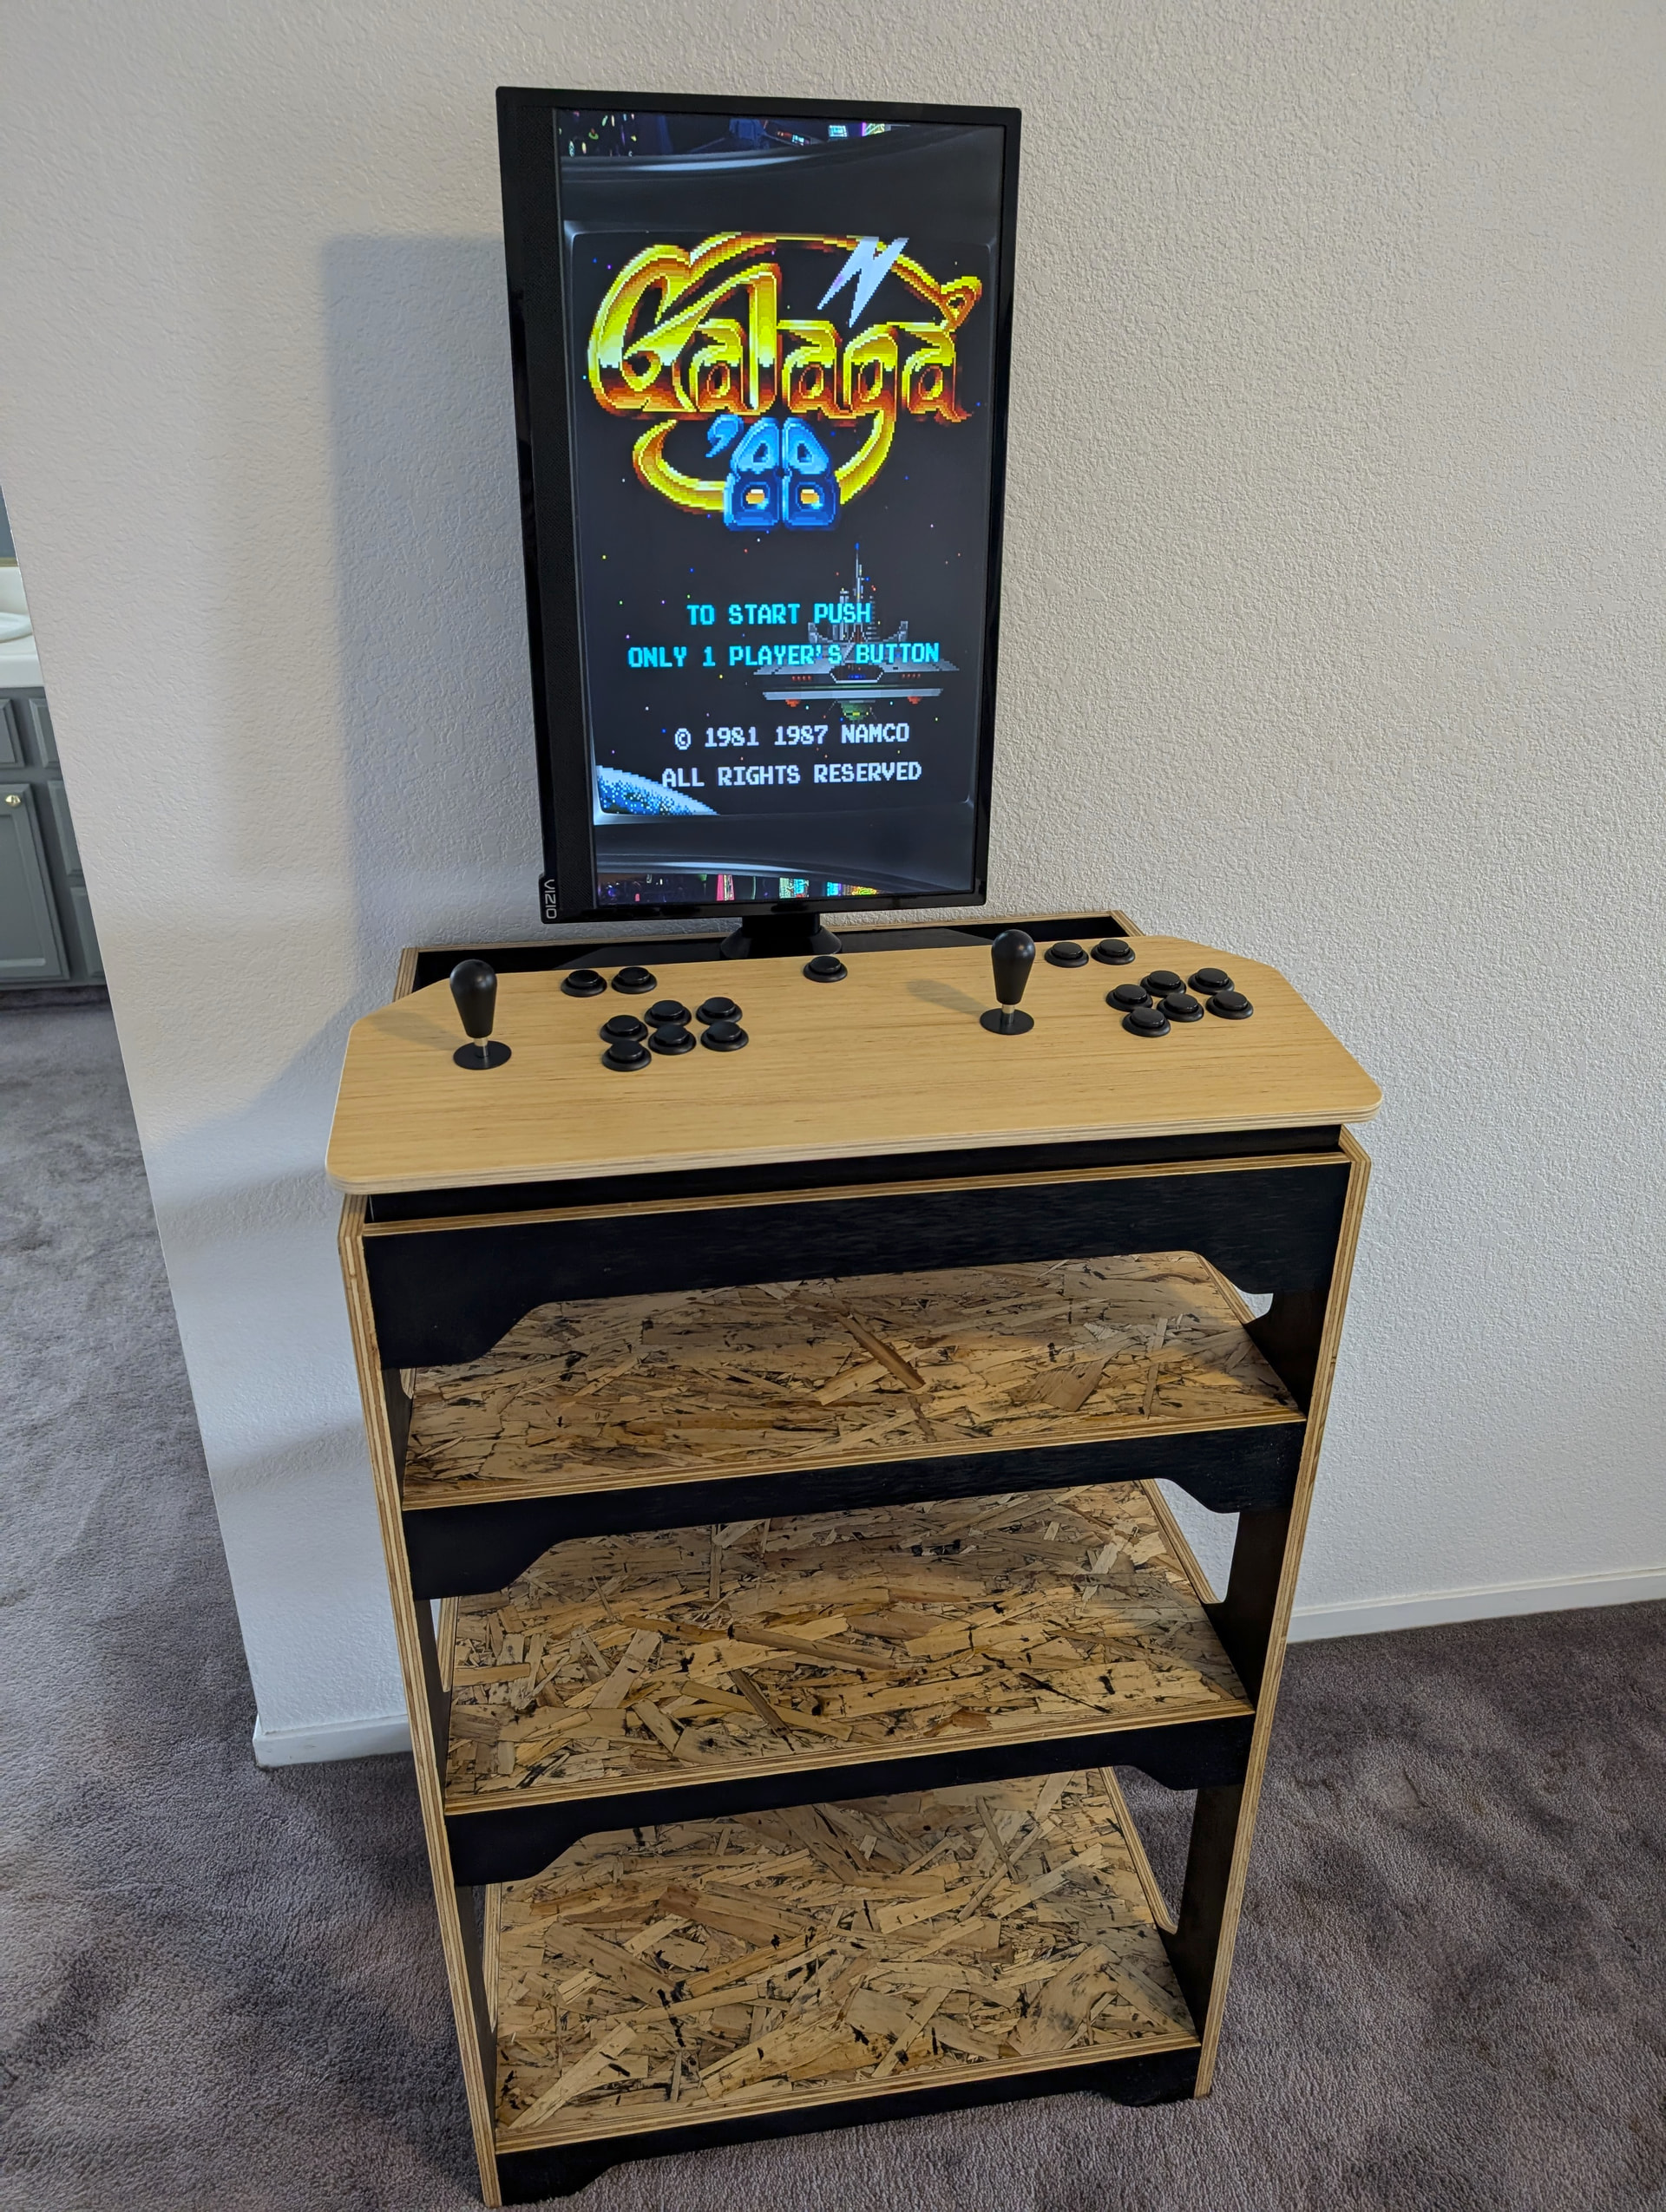
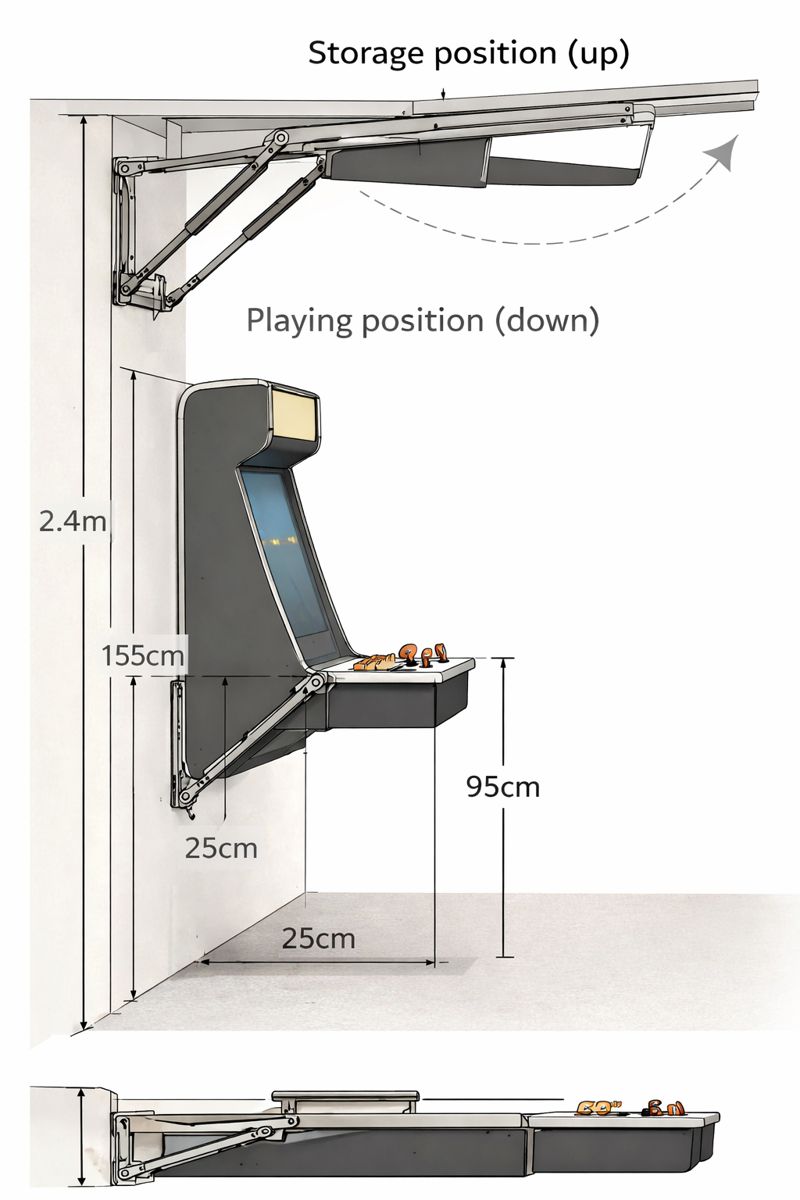
Not sure if I want table-top, or standalone so I made it convertible. Everything fits under the controls so no need for a “cabinet” so I made shelves. I wanted to be able to rotate the monitor for vertical games.

Controls are pretty wide open in the setup so I knew I would need to make a prototype. 6 buttons in case we play some fighting games though.


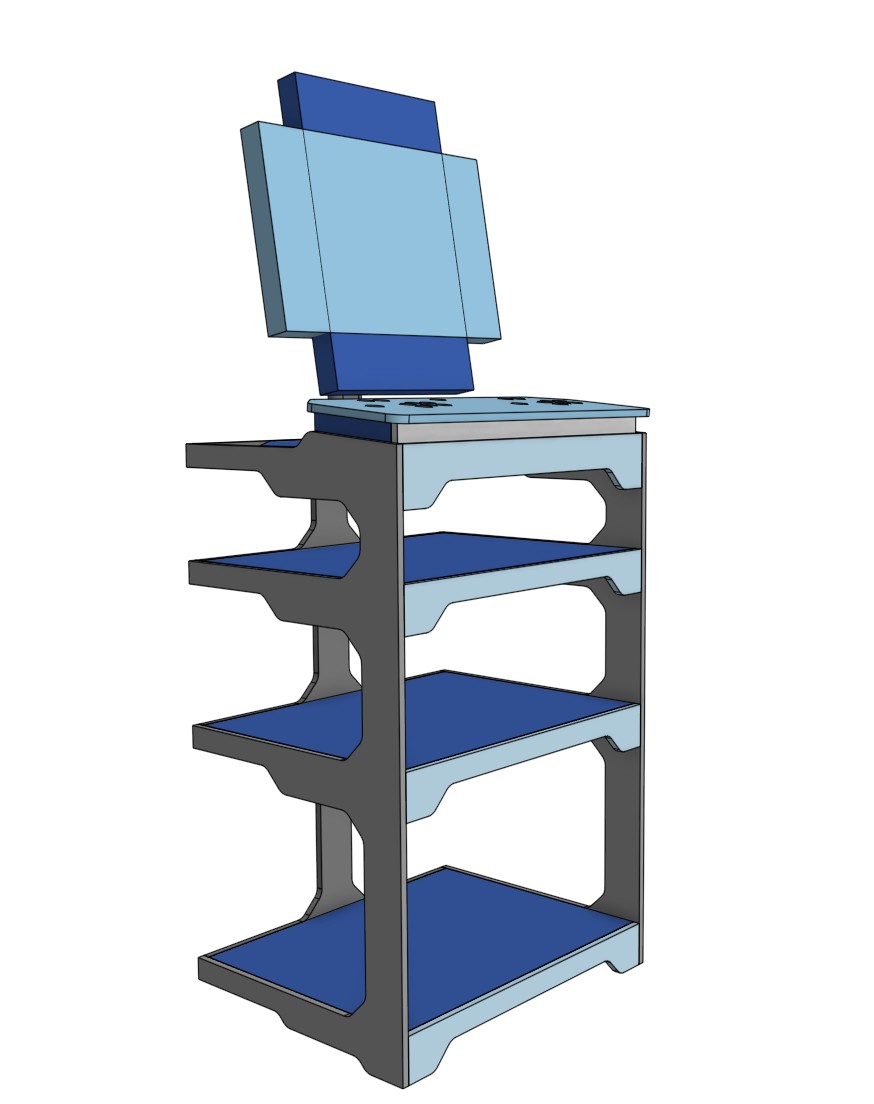
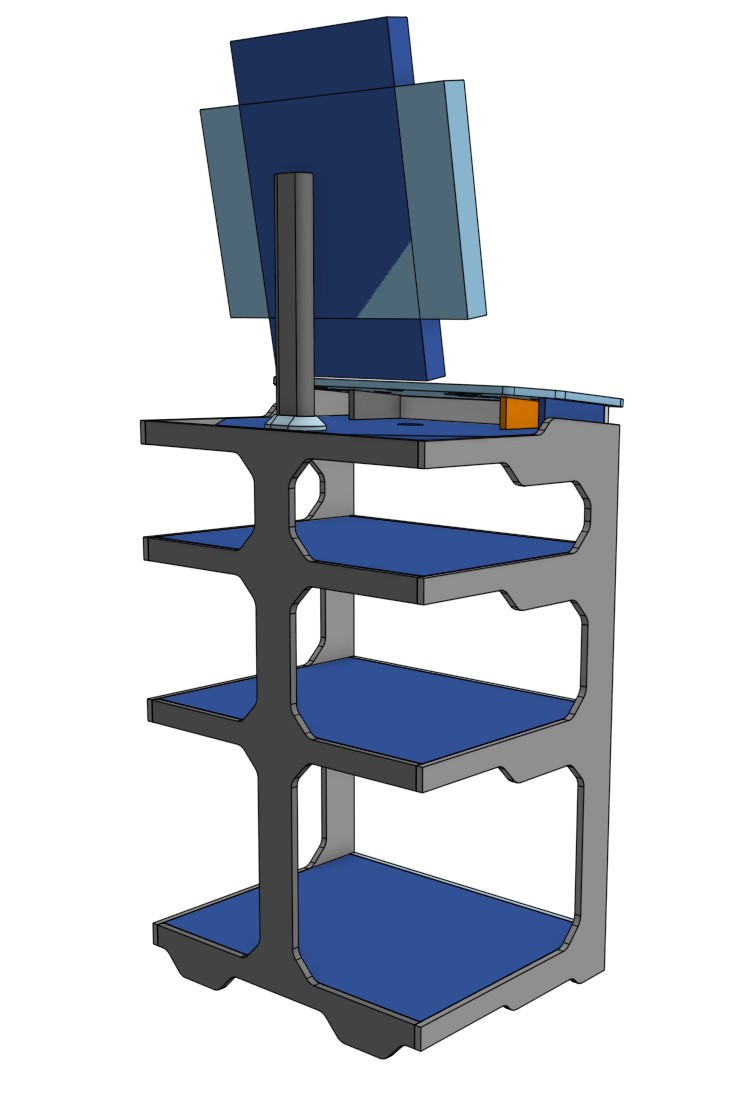
The top section is removable, going for a semi “space / future” vibe. That might be a fun interesting CNC project.

I will add the CAD link here when I test cut the parts…

Parts

I had gotten the buttons and stuff years back when I wanted to build one. Amazon.com they are now $50, no idea if there are any better or worse than these just what I have.

I horded an old 24" tv that seemed the right size. I would not go any bigger, smaller might even be a little better. Resolution is not important, HDMI input is easiest. Amazon.com new ones are $70. A tv is a good option because it has speakers built in.

A stand that can rotate for vertical games, super cool by the way. Amazon.com, $22 adjustable.

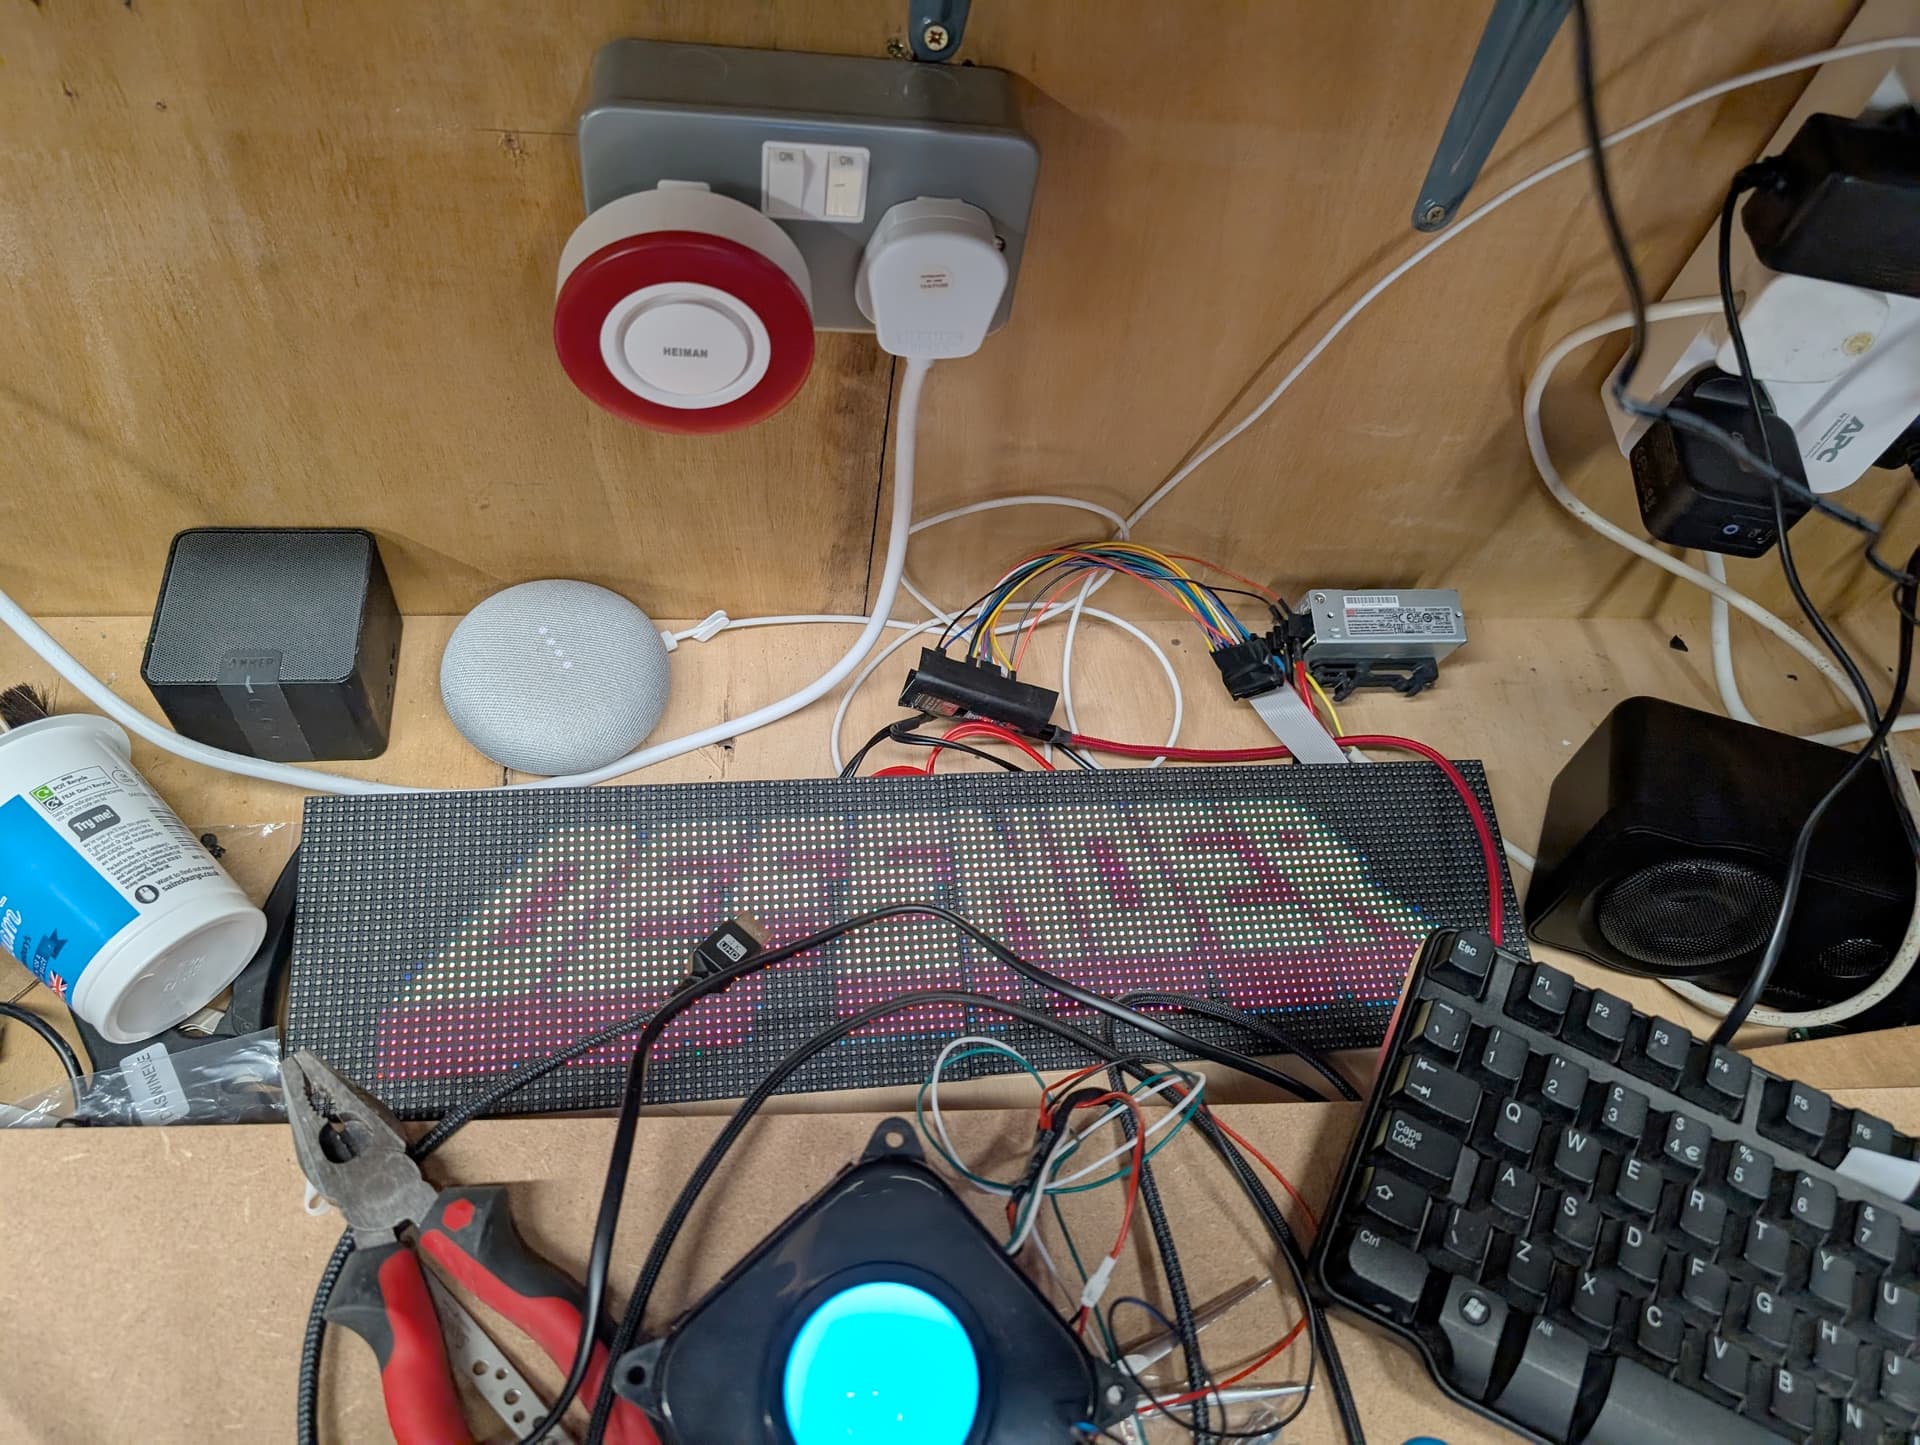
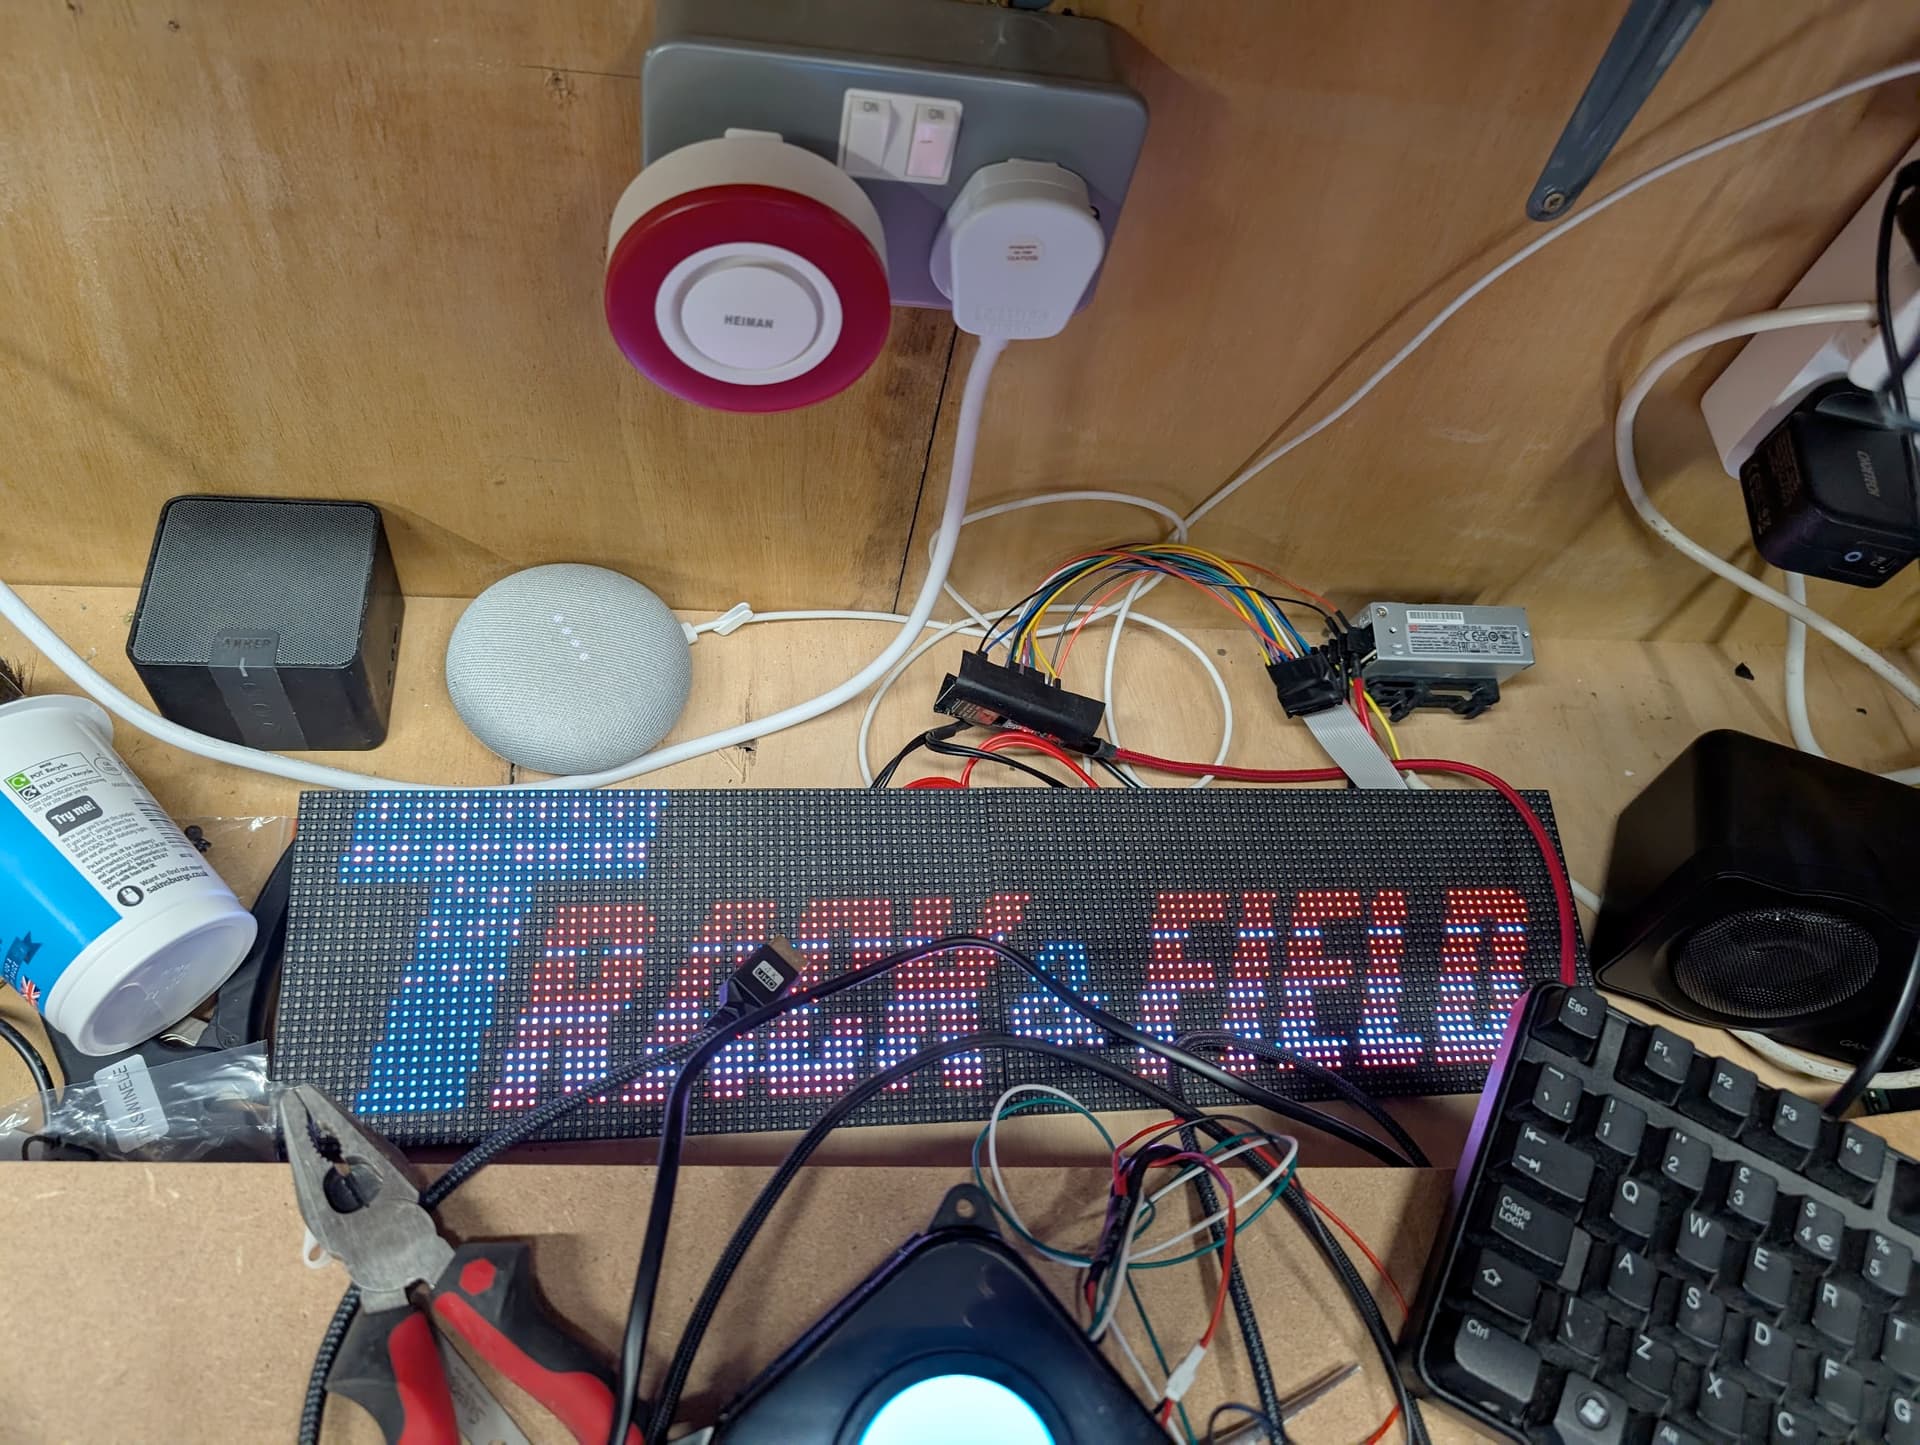
The brains…I tried a raspberry pi zero w, the older one I think (700mhz). No fun at all. So I got a raspberry pi zero2 w…amazing. Seems it can handle up to PS1 games, but I think those are all best with an actual controller. So I would guess I might try some NES or Genesis games but not much higher than that. $22, Amazon.com You can get bundles that include some of the following parts.

PS for the PI - 2.5A or more $9 if you do not already have a spare usb brick, Amazon.com

3 port micro usb hub, Amazon.com $8 initial setup is easier with a keyboard but it is not needed.

mini hdmi to hdmi cable, $6 Amazon.com

16gb+ micro sd card, class ten is fine. Amazon.com $16

Wood for the stand…$unknown yet.

Total if I bought it all today, not including wood, $203

Prototype

How tall should it be? How much room do I actually need between controllers, or the edges? Is the TV too close? Control angle?

I had to whip something up and try it out.

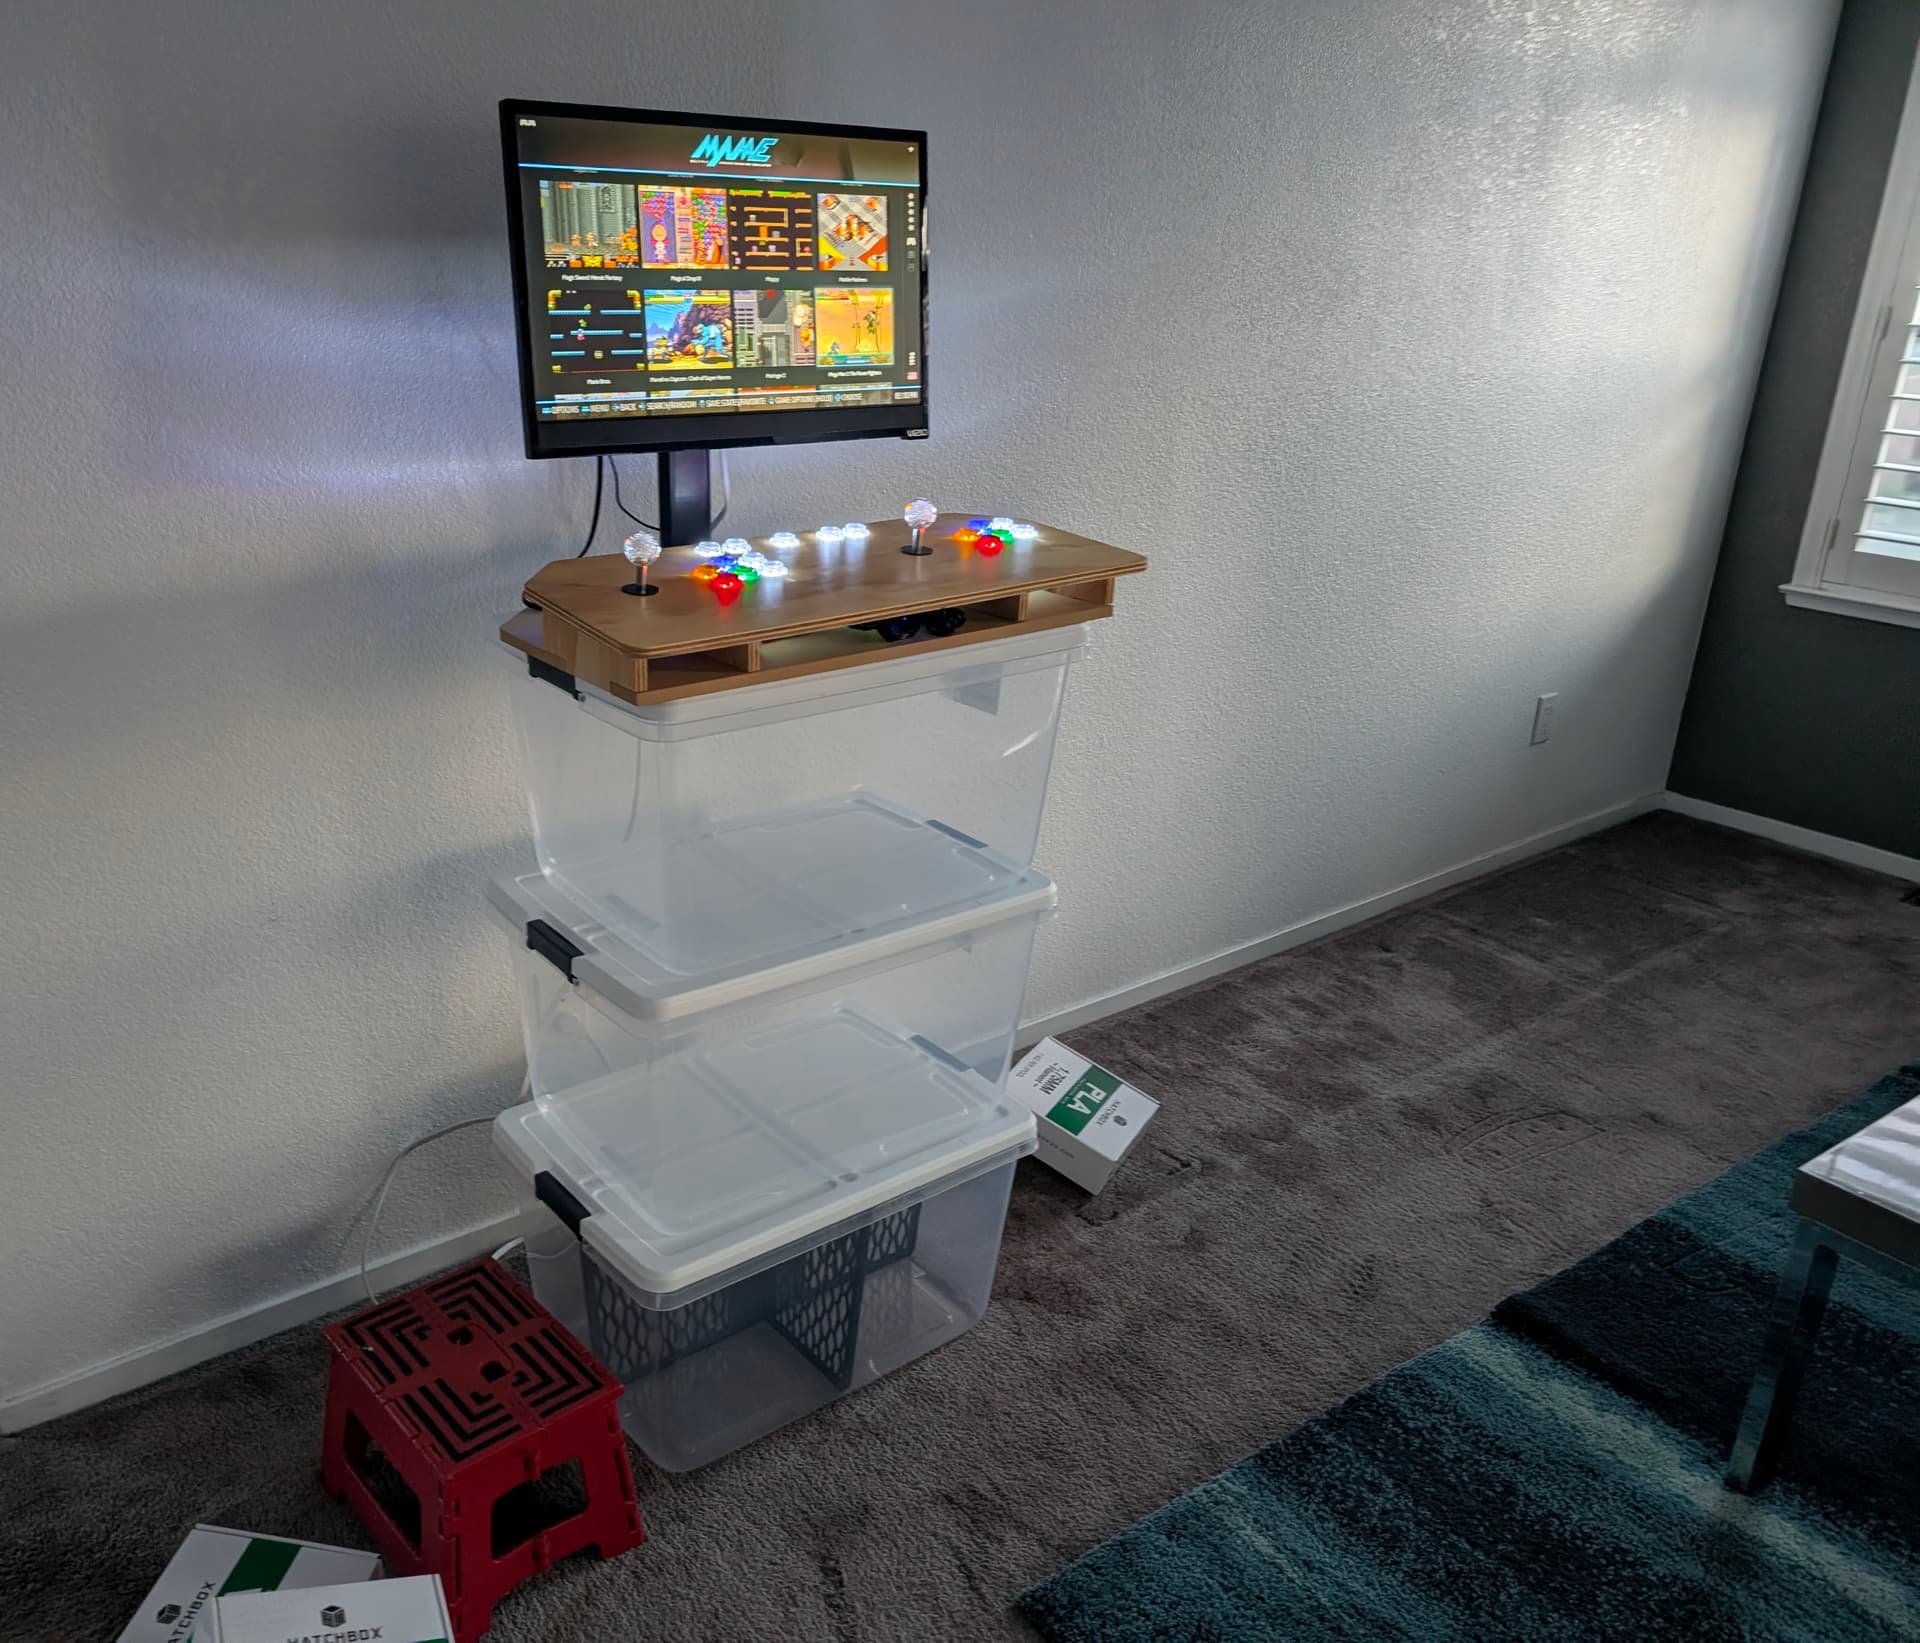
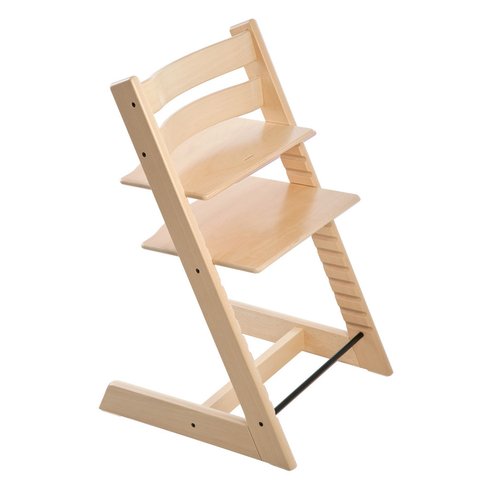
I used the bins, filament boxes, and the stool to test different heights, and angles, and stuff.

I made the CAD semi parametric so I could easily change the biggest unknowns.

9 Likes

Setup

I used Batocera, I tried it out a few times and it was easy enough to install. The included scraper handles the pretty stuff very easily as well. There are some built in sorting features that are cool, vertical games, by genre, two player, decade, system.

Games are pretty easy to get these days. I did use a program to kind cull the herd a bit. I used a rom manager to sort out the top 200 ever, top form the 80 and top from the 90’s. I will start there. That leaves me with ~250 games, and I delete some stuff each time I play. Less is more in this case.

Gotchas

These are things that stumped me for a while and wasted a lot of time.

The controls are mappable, but both sides need to have the buttons in the exact same plug on both USB hubs for some reason. Random button reassignment happens otherwise. There are ports for start and select.

Map player two first, then player one. My player one has the hotkey (center button) player two does not have a hotkey.

Games that only had one joystick and buttons, might be two player but they are two play from only one set of controls. For example if I play two player dig dug, both players take turns on the player one control set. Regular two player games use both controls.

I sorted out the vertical games but still have to rotate them in the settings the first time I play them. save the settings and they will always play turned. Might be able to select them all and do it.

Hotkey and player one start are my “exit” this system buttons.

While in game hotkey and “south” button bring up a different setting menu, lots of fun stuff in there, scan lines and resolution tweaks.

Use the hotkey to shutdown the system properly as often as possible.

Observations

I was not horrible at arcade games when I was a kid…they are actually super hard, dam near impossible. Or I just suck at games.

These games are pretty fun in get together setting. You lose your turn super often. Players get to rotate frequently. No one get lost playin gthere turn for more than a couple minutes, usually a lot less.

3 Likes

I am really lost at how to make the cabinet and stand look. Should I paint them, just varnish, cover it in stickers, get a fancy skin?

I slapped it in blender and went down the rabbit hole of learning that enough to try out colors and finishes and stuff. I got nothing.

1 Like

Will the top section/platform detach and have inserts/mounts for EMT/pipe for when you’re arcading at RRF/OpenSauce events and traveling? Home mode and portable mode?

This is super cool. I built mine originally intending to play mortal kombat side by side. I used a pi zero at first, then a zero 2, then a 3, but id go with a 5 now with retropi or a mini PC. I offloaded the one i made to someone who really wanted it and just have a controller with everything in integrated. Nes tigerheli, tecmobowl, contra, sega or mame sunsetriders, and mame mortal kombat are all favorites.

For finishing, i think every arcade needs neon and some gaudy flashing lights whether inlaid jn epoxy or laser or cnc cut side-lit acrylic. So whether you paint or stain parts is irrelevant to me, but you also need some graphics. I poster-printed and laminated relevant movie art, because it looked nice. Maybe something in there is of interest..

1 Like

Fun build! I have a bartop 24” arcade cabinet that was delivered as a flat package and I only assembled it. I use retropie.

A lot of arcade cabinets have colored t-molding and a name/title marquee.

I am looking at replacing my bartop cabinet with a 32” wall mounted one with support for light guns.

A MAME cabinet is on my list of things I’ve wanted to build for a while. Excited to see thhe end result.

You can see it in the picture, that is tabletop mode. I would like to find a way to ship it though.

Even just for the mame stuff? I can emulate all the rest on the big PC, I just made that one for casual mame. The fighters are not really my thing but maybe the new ones need more horsepower?

You are right at least some RGB, maybe some fun space future laminate stuff on the top and sides.

I was going to at least use some Tmolding but 1/2 sheet seems plenty sturdy and most of the T-molding seems much wider and needs a large cut.

I would not mind a trackball and a golf game. That is good times.

I have wanted to do this for yearssssss, but the choices are overwhelming. The key this time around was realizing I just wanted casual standing up, joystick and buttons. That limited everything enough to make some other choices. If I play anything longer I wanna sit and be real comfortable.

I say just pick a few games you really wanna play again and do it as inexpensive as possible. REbuilding after that if needed is easy.


This style has been on my to do list for a while, but I did not want to commit a wall to it. At least not yet.

3 Likes

Maybe it’s a crazy idea, but you could use a similar design and slap some “feet” on the side to make it a standalone unit?

Maybe even have different attachement points or a slide system for stand-up/seated setups? Something like those baby chair somehow

One could even have separated screen and sticks/brain modules for easier transportation

3 Likes

I haven´t really though about the space it takes up but I guess you could hang it with a french cleat, perhaps have it movable on the left and right direction with a rail.

Another option would be a wall mounted arcade with something foldable. Perhaps the button/joystick part could fold downwards.

EDIT: I like the wall style but I would also like to have holsters on the sides!

2 Likes

I’m loving this. I was (very slowly) going down the whole arcade cabinet look rabbit hole but now this looks like it could be better for a whole myriad of options (Karaoke machine?!)

https://www.youtube.com/shorts/uQOPHhrGYQw is as far as I got. I kinda got distracted :slight_smile:

I’m using Batocera too and yes, I remember being so much better at arcade games!

1 Like

I found this works out quite well. I have 4 machines set up. I have tried a Raspberry Pi with RetroPi, which is nice. It has some advantages in setup and is easily the least expensive overall solution, requiring the least in power maangement, but does lack some finesse. I’ve used other Linux based distros, but in the end Batocera seems to give the most consistent feel and flexibility. It seems to work well without need of a keyboard, which the other linux based solutions that I’ve tried seem to require, if only for setup.

For the height, it kind of depends on what you’re looking for. Authentic arcade consoles were somewhere between 36-40” deck height. Street Fighter II is kind of the epitome of the arcade cabinet, at 38”. Myself, I found that if I took the height of my elbows from the ground when standing, and dropped about 3” from there, so that the top of the joysticks is maybe an inch below that level, it was about perfect for extended play time. Different controllers, such as my GRS Flight yoke again seems to place them just below elbow height while the controls are at rest work nicely, but I could tolerate higher for the flight yoke.

I like to have about a handspan between the nearest controls and the edge of the control board. That is enough for a hand rest below the buttons,

Between the control sets, shoulder width is a minimum, which should allow a pair of right handed players to stand side by side with equal ease to the controls.

good luck with the project!

1 Like

Rambling time…

https://gp2040-ce.info/ is something I’m looking to implement, hopefully this will help my skills issue.

Joystick Controller - Panel Layout is a good resource for button layouts.

I have GRS LED Trackball with Spinner Combo | Thunderstick Studios to go in for Marble Madness & Tempest (amongst other things).

I’m looking to add some side buttons for pinball.

Need to mount speakers somewhere (important imho).

The guns I printed/built are Odcon-v2 (get on the discord for updated stls) using GitHub - TeamOpenFIRE/OpenFIRE-Firmware: Reference firmware for the OpenFIRE project, built for the RP2040 microcontroller

Oh I did a POC of GitHub - PPUC/ZeDMD: A real DMD for virtual pinball machines and PPUC driven real pinball machines which works quite well with Batocera too.

4 Likes

I don’t need another project.

6 Likes

I didn’t do anything nearly as fancy. I made lap-style boxes with the joysticks and buttons that had USB extensions to reach a pi that was sitting on a shelf under a TV. That way we could play sitting on the couch.

Although, I just repurposed the Pi4 I was using last night for the 3d printer :slight_smile:

1 Like

@jeyeager I’m looking forward to seeing your new arcade game setup completed on Friday! :wink: :rofl:

5 Likes

I mean I have this Larkbox Pro and 2 spare 24 inch monitors and a raspberry pi. I messed with MAME before but it’s been a really long time.

2 Likes

Did some quick ai ideas.

4 Likes

That was the original plan…then I just thought, use the wireless game pad I already have.

The key was realizing I don’t really like playing games very much, but it is fun to talk crap with friends and nothing better than some old school game neither one of us can possibly be very good at. So a standup game near the corn hole or darts seems perfect…in my dream back yard kitchen that one day I will have!!!

2 Likes