We need to make that the default again.

oh snap, and they’re just css files… this’ll be cake ![]()
Yep, and all the colors should be variables at the top.
Originally, my themes had extra formatting, but nearly all of them have been incorporated into the defaults.
This is all just extra motivation to get my LR4 up and running..
Just got my touchplate delivered today - when wiring it up, which wire is connected to the clips, and which the plate? The image is a little ambiguous..
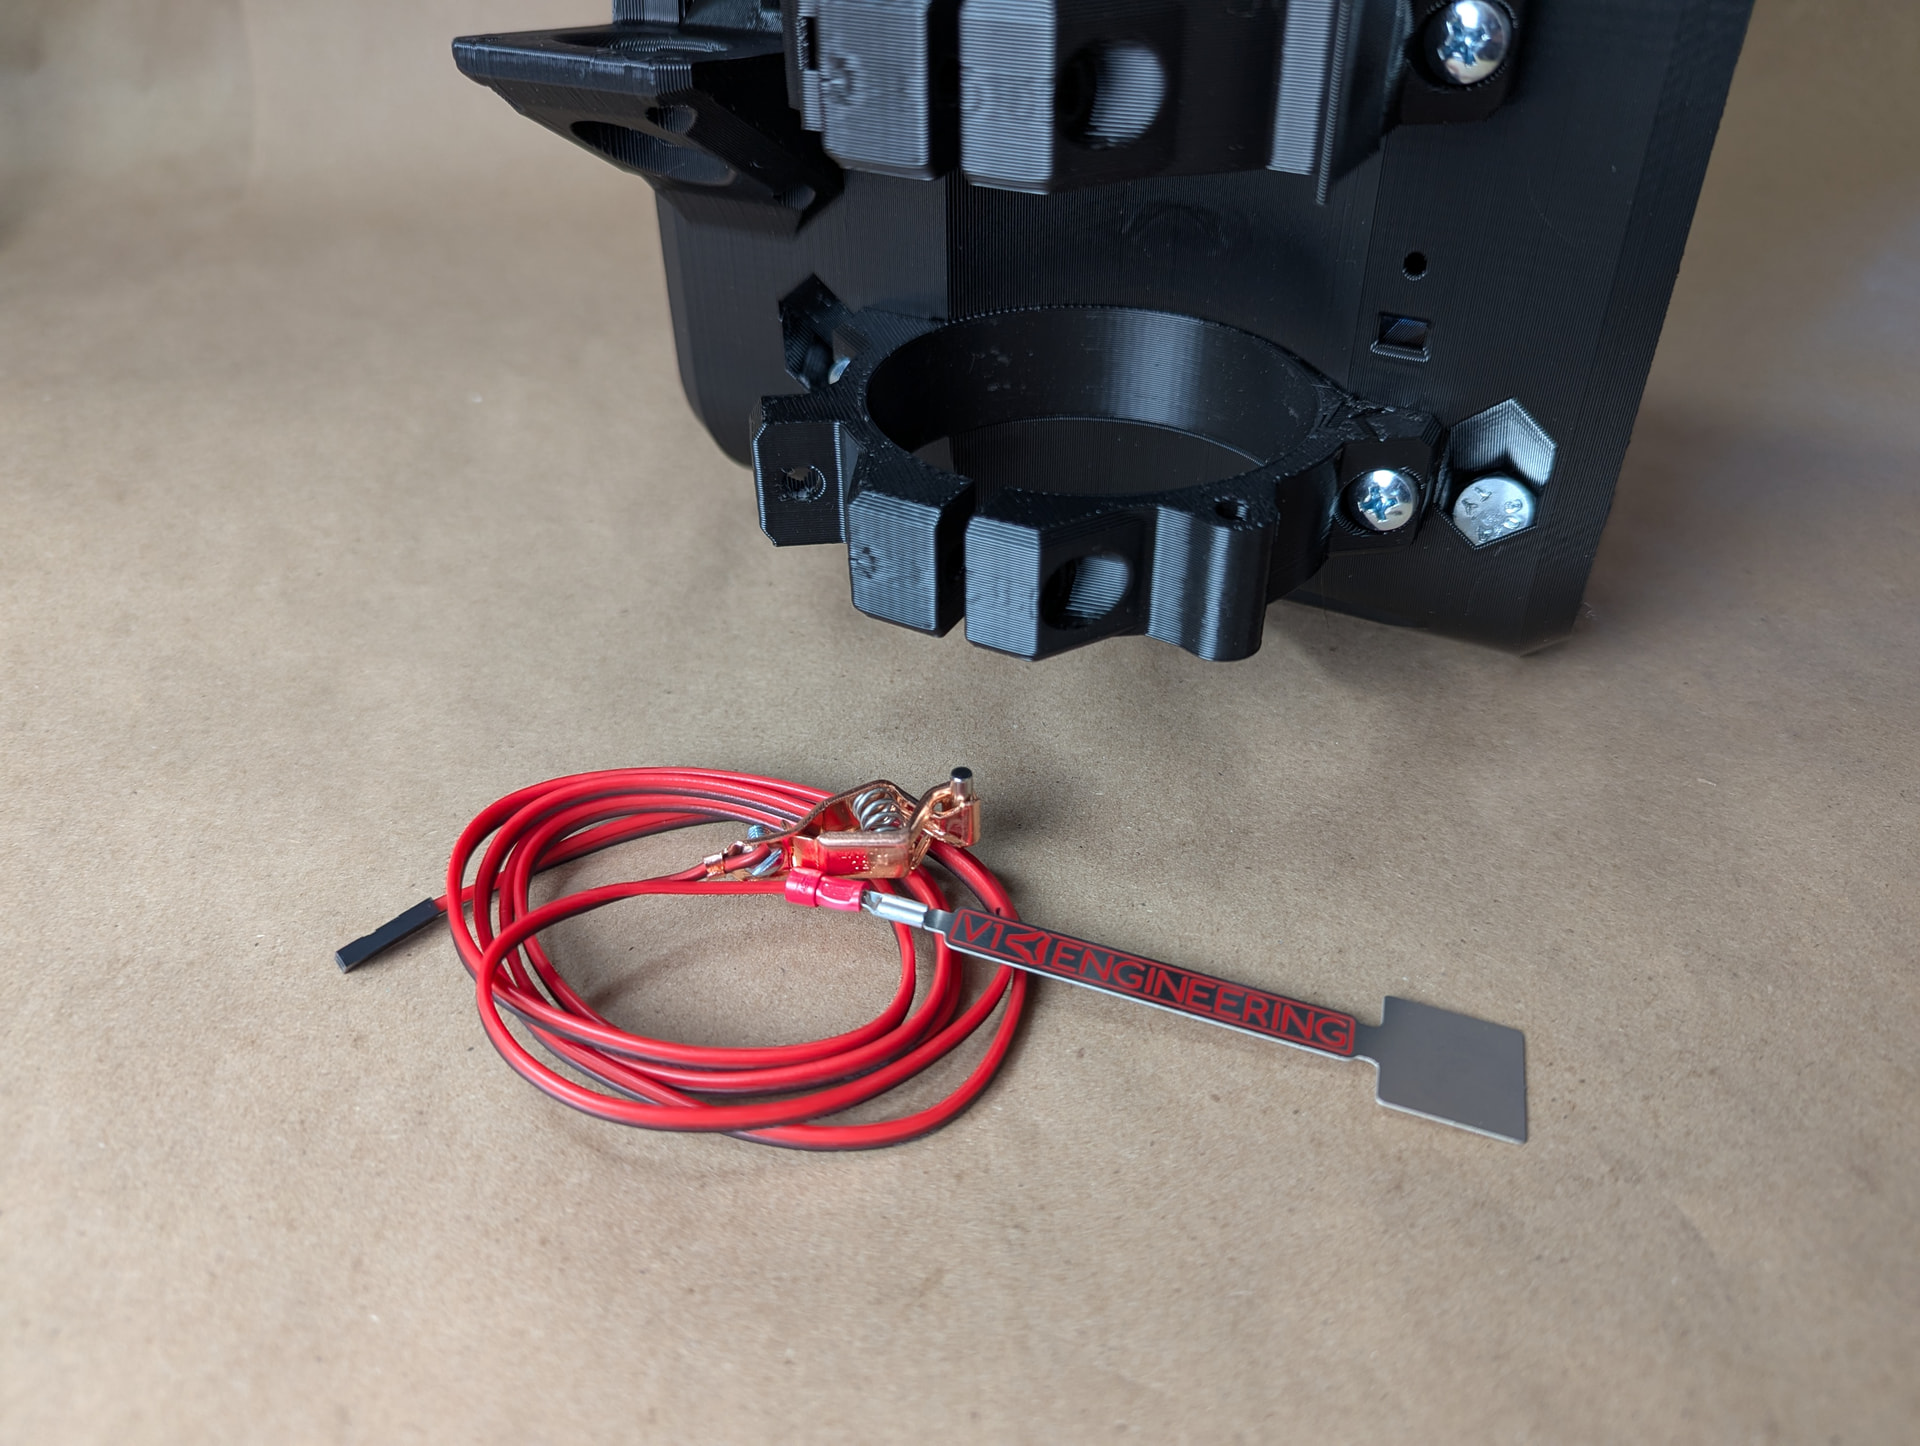
I’m pretty sure the black wire is attached to the clips, but I want to be 100% sure..
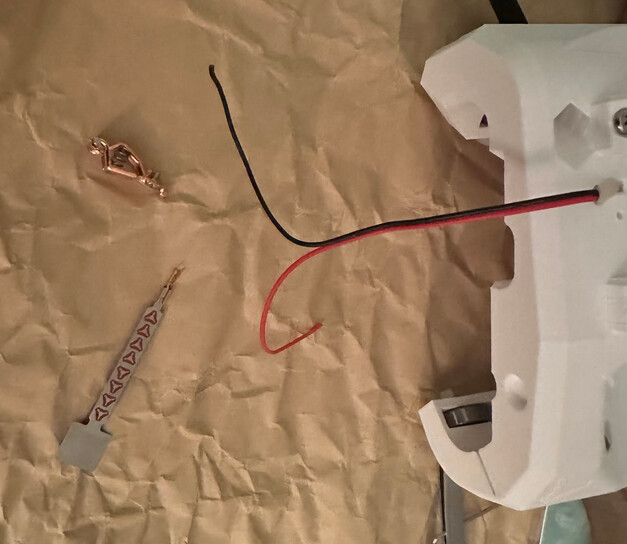
Correct. And make sure that goes on the ground side on the Jackpot and the red on the signal pin
Thank you sir! I really appreciate how responsive the community is ![]()
We try! Doesn’t always happen this fast but generally someone is around to answer most things

Update
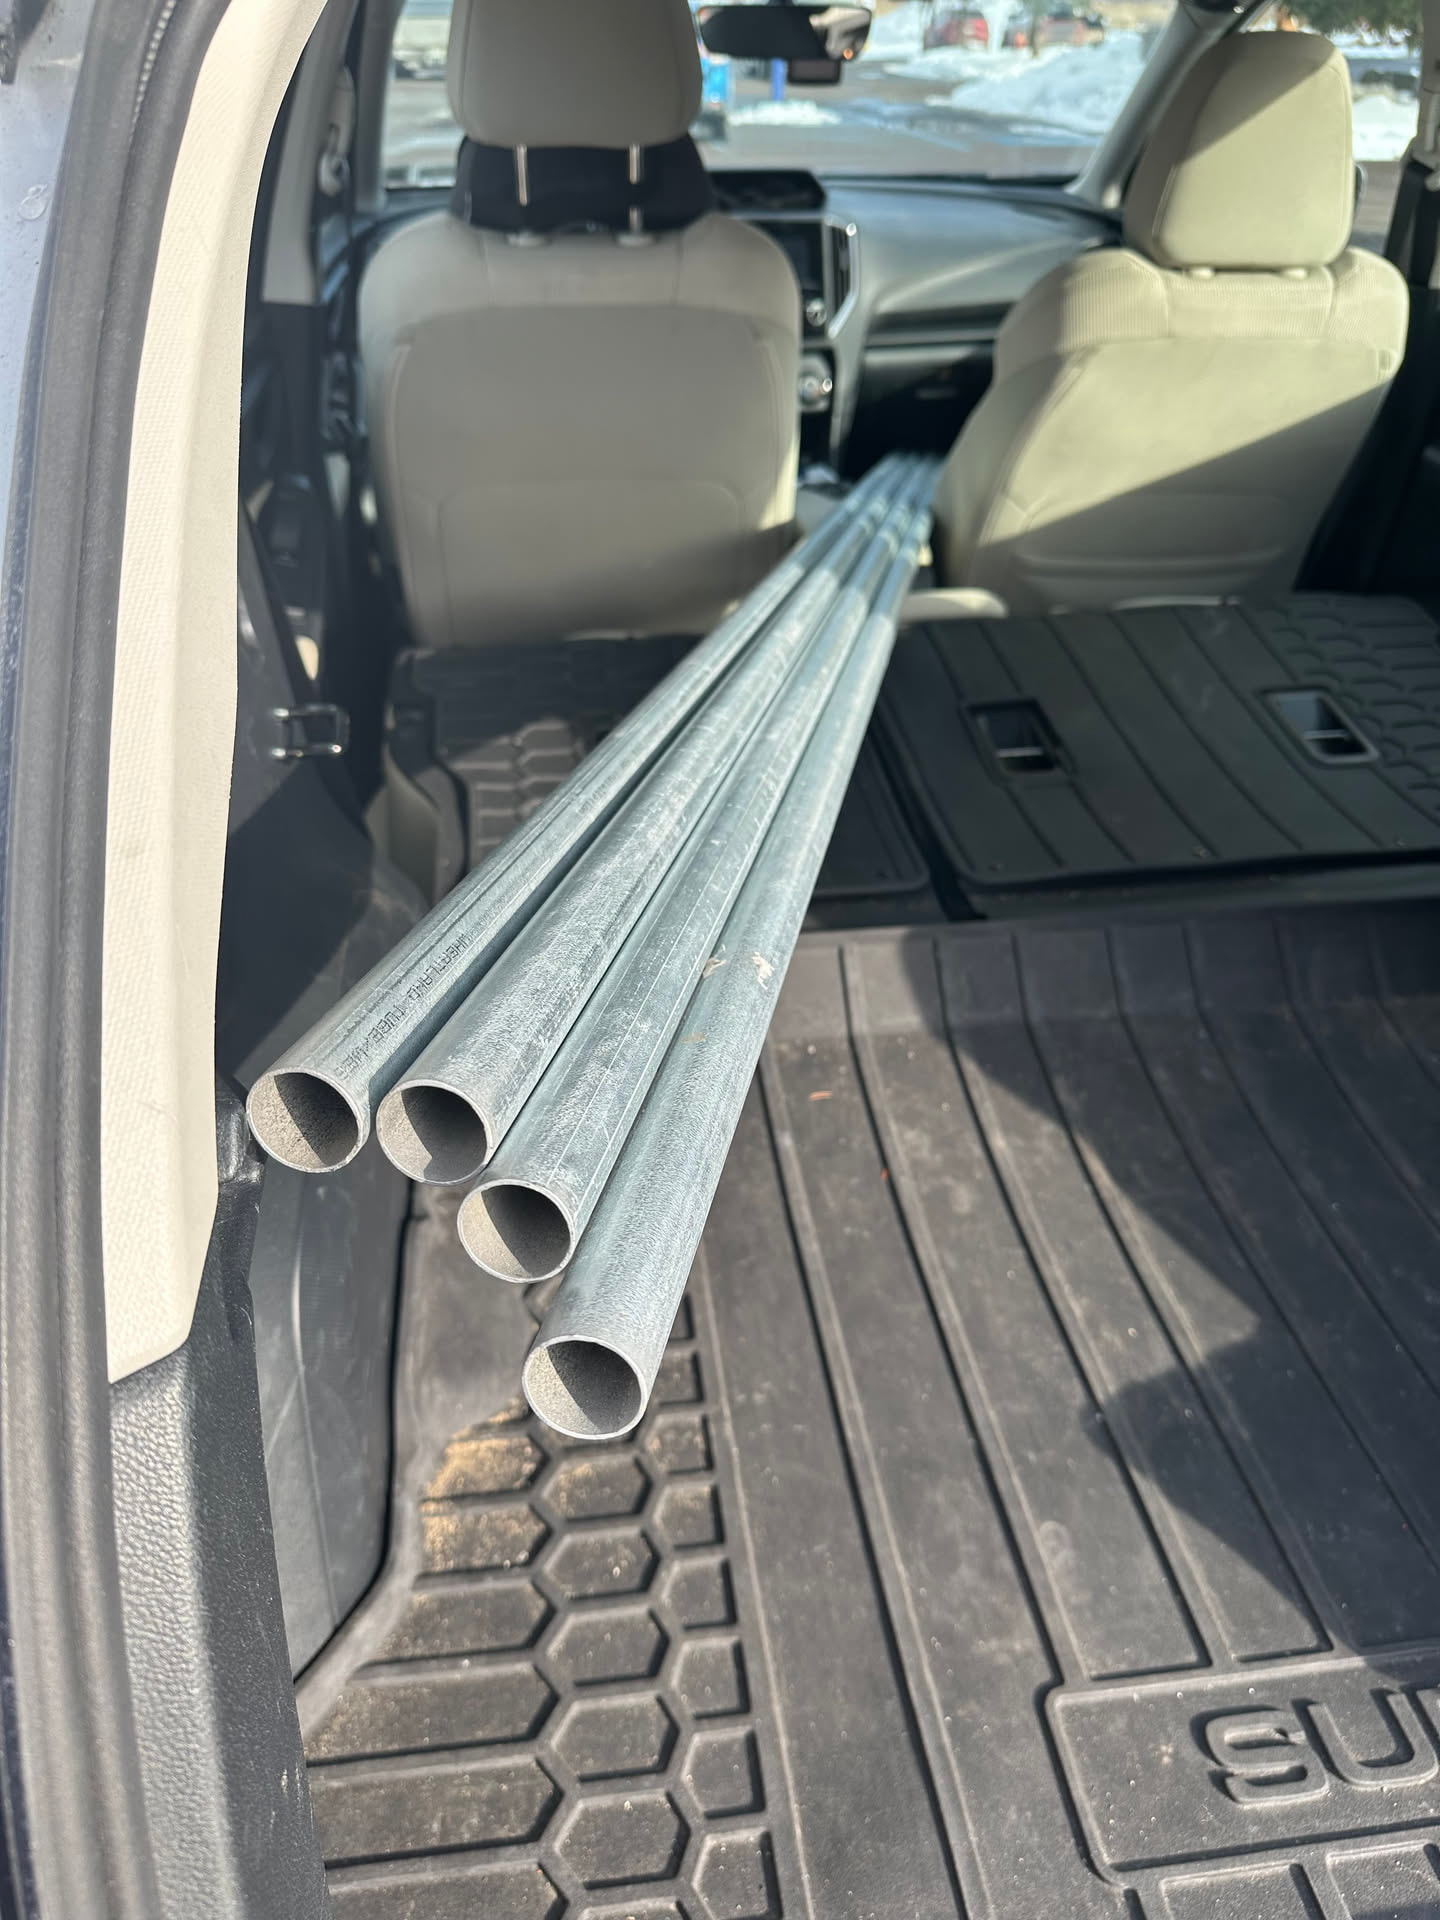
Thanks to @jeyeager, I had the confidence to attempt to grab some conduit today ![]() .
.
As I enjoy anxiously over-preparing and always having at least enough on hand for a given project… I was able to successfully and comfortably fit 4 10ft 1” conduit in my Impreza, crossing one more item off my list.

Next steps are the table side rails (1x4 MDF/PVC board), spoil board (IIRC, 3/4” MDF is suggested?) and some 4x8 OSB for further construction of a table (I have some materials on hand that ought to do for the ribs and such for a parametric table).
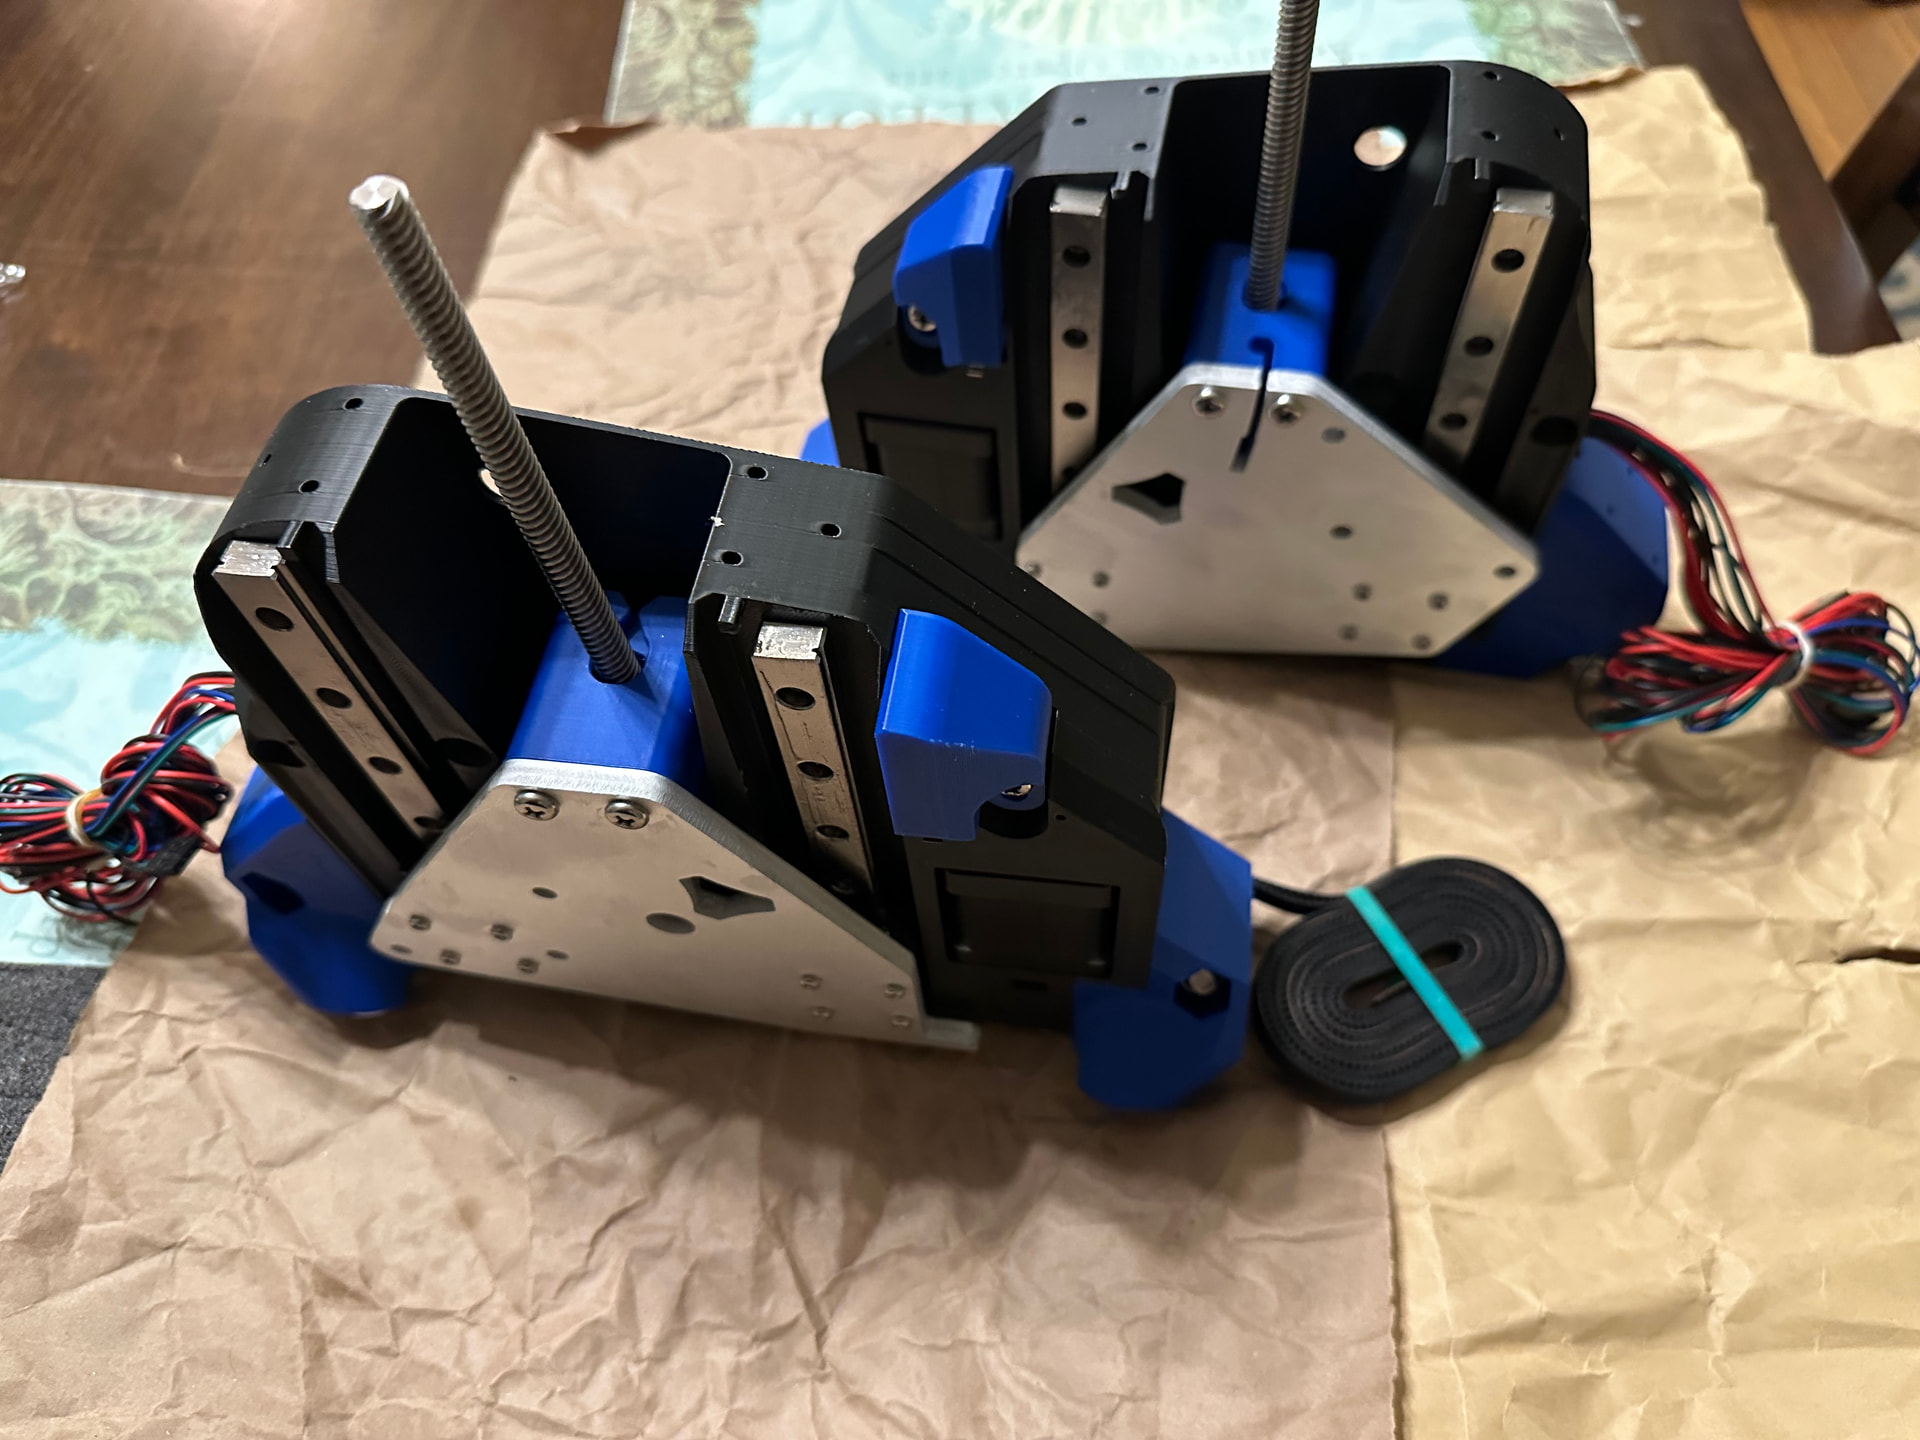
I recently finished the YZ plates, and am satisfied with the results (I had a lot of fun putting things together!).
Once I get my X rails cut from the conduit, I’ll start the rest of the assembly. I’ll need to find a good place for construction, as my garage is not insulated, and the recent polar vortex has everything in there below freezing.
ETA:
I really appreciated this part of the instruction docs;
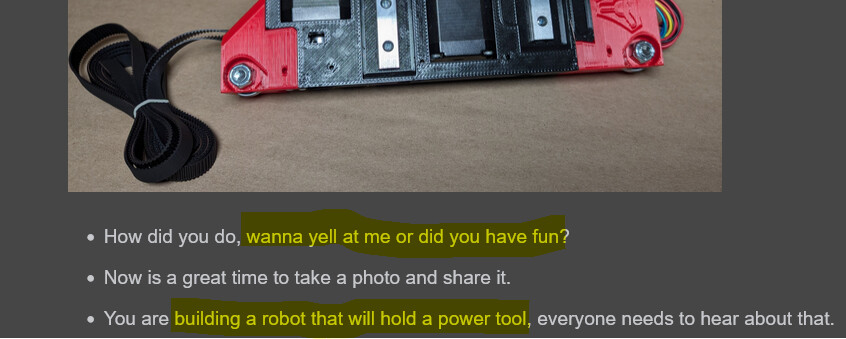
Kitchen table works great, or living room floor. Your wife wont mind one bit ![]()
![]()
![]()
Problem is I’ve already taken over the dining room table for parts assembly ![]()
Living room floor it is then ![]()
Seriously though, I’m likely going to get things started on the 2nd-hand dining-room table I have set up in the loft above the garage (where there’s at least a heater), originally for a D&D campaign I was running.
I can justify having used as much of the living space as I have, because I’ve already promised to use the LR4 to do some work in the kitchen ![]()
![]()
I was able to get the main assembly mostly complete last night (still need to do the measuring / square checks). I have to say, I’m rather pleased with how the color scheme is turning out (not by design).
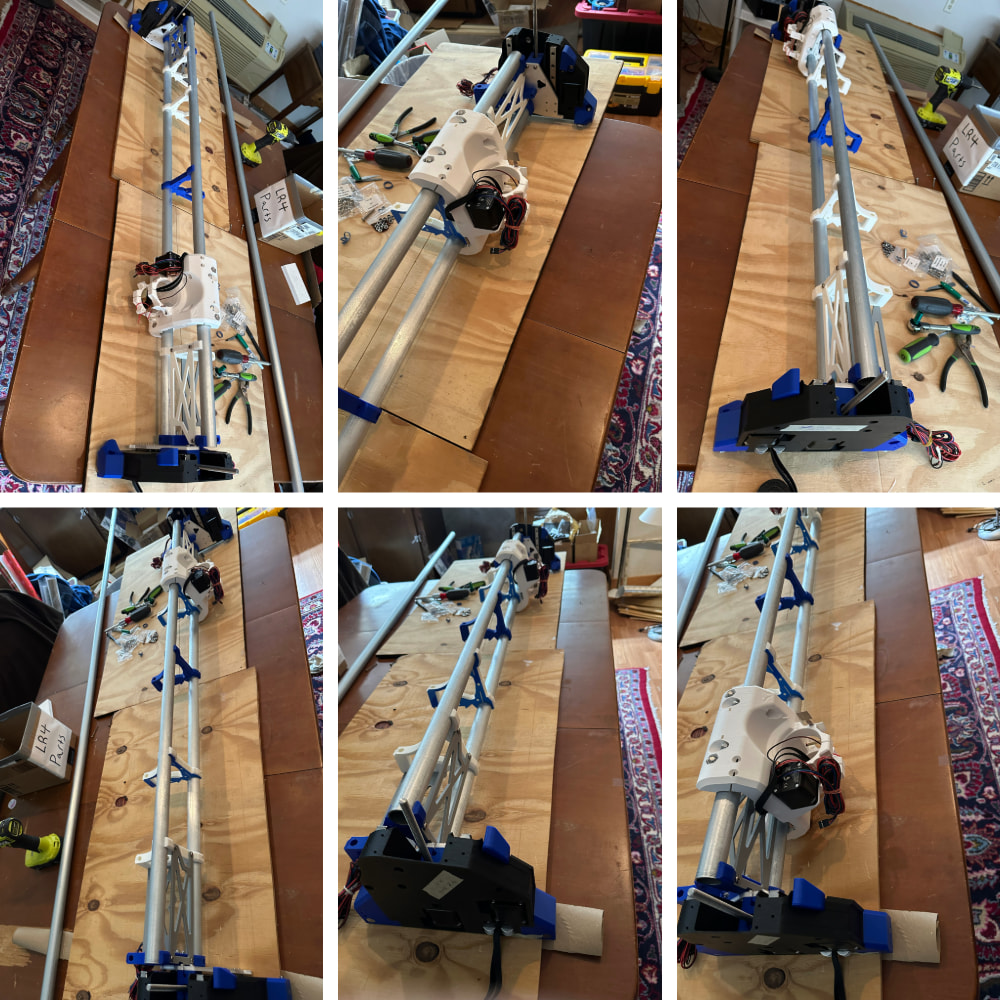
From here, I really need to get started on some form of semi-permanent frame/tabletop to mount the rails and spoil board on.
ETA:
Oh! I meant to mention; the drill took no part in any assembly of this machine. It was merely an innocent bystander.
Been a while since I’ve had time to poke at LR4 assembly - today I was able to swing by the big orange today and pick up some S4S MDF boards.
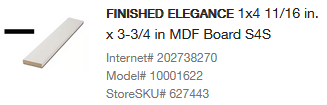
Question I have now; what’s the best way to adhere these? I’m thinking some brads to hold things together and a few screws if it seems necessary (obviously sunk below surface), but what glue works on the coating of these boards? Or does it make sense to strip the surfaces to be adhered and use wood glue?
Adhere them to what?
They’re not really the right thing for a spoil board.
As running surfaces for the YZ plate or anchor for the YZ rail they’re too thin, and you wouldn’t want paint on a surface a bearing rides on.
For the strut plates these are not adhered with adhesives they’re bolted through the screw holes that you’ll cut when you cut the strut plates.
Sorry, I should have added more context; the message I’d replied to was in reference to my search for suitable boards to use as rails on my parametric table build based on Ryan’s design:
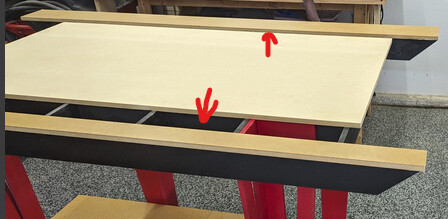
And for adhering, I meant to each other, as in the vertical and horizontal boards at each side of the table. The top surface or the rail needs to be adhered to the vertical strut below it (the black board in the above pic)…