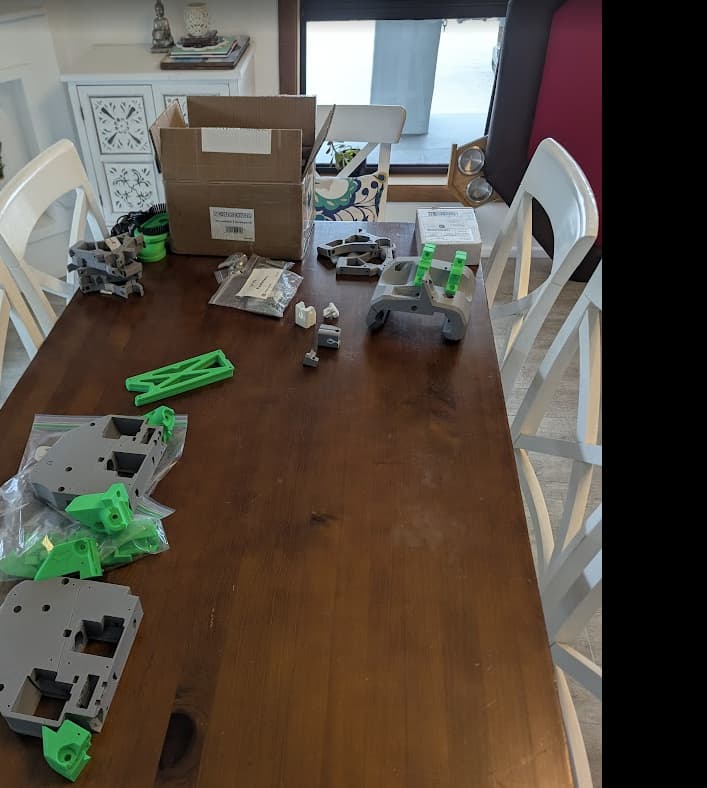
Having stumbled across the V1e site about this time last year (just before the LR4 was released)- it’s taken some time, but finally underway on the LR4 build!
Previously bought the first iteration of the Maslow, but didn’t have the time and wasn’t convinced (unfairly?) on the repeatability/accuracy…. so it never quite happened. Not this time though!!!
The original intent was to build a half sheet LR4 - but having seen some of the folding tables I’m talking myself into a full sheet. Either way, full width beam and the decision can be kicked down the road till it’s time to put the table together.
Ordered the International kit from China and the Jackpot/odds & sods from the USA. Managed to get caught up in the saga that is international shipping (Ryan - if you’re dealing with that on a day-to-day basis then you have my sympathy!). I think the biggest issue is the parcel gets handed off to various parties and the tracking doesn’t necessarily catch up - so there’s uncertainty as to whether it’s still in transit or has disappeared into the ether. That said - everything turned up, so thank you to Ryan!
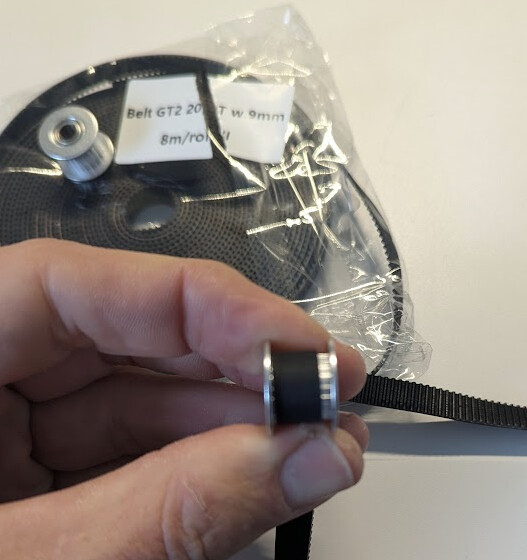
Started assembling this morning - had read through the instructions previously and was a little concerned as to how easy it would be to follow them, but once you’ve actually got the parts in front of you it’s pretty straight forward and found I was really enjoying myself. Only real query I have is in regards to the idlers & belt supplied - I suspect it’s a non-issue, but the idlers are 10mm toothed and the belt is 9mm wide. Any issue with a toothed surface on the back of the belt?
Welcome! Great to see the post of your build @Lurch! Being is Aus does have the logistics guessing game. Glad it all arrived and nothing was missing. I haven’t bought the international kit for the LR4, I bought the LR3 Kit a few years back from Ryan @vicious1. Some others have had to do some mods depending on the wiring attached to the stepper motors. I can’t remember the post off the top of my head but I will have a look and edit this post when I find.
I had my LR3 on a full sheet build with an almost upright tilting table. Have gone with the half sheet for the upgrade to the LR4.
Keep up the great work and any questions, make sure you ask. the community is pretty active. Any ideas also great to have contributions.
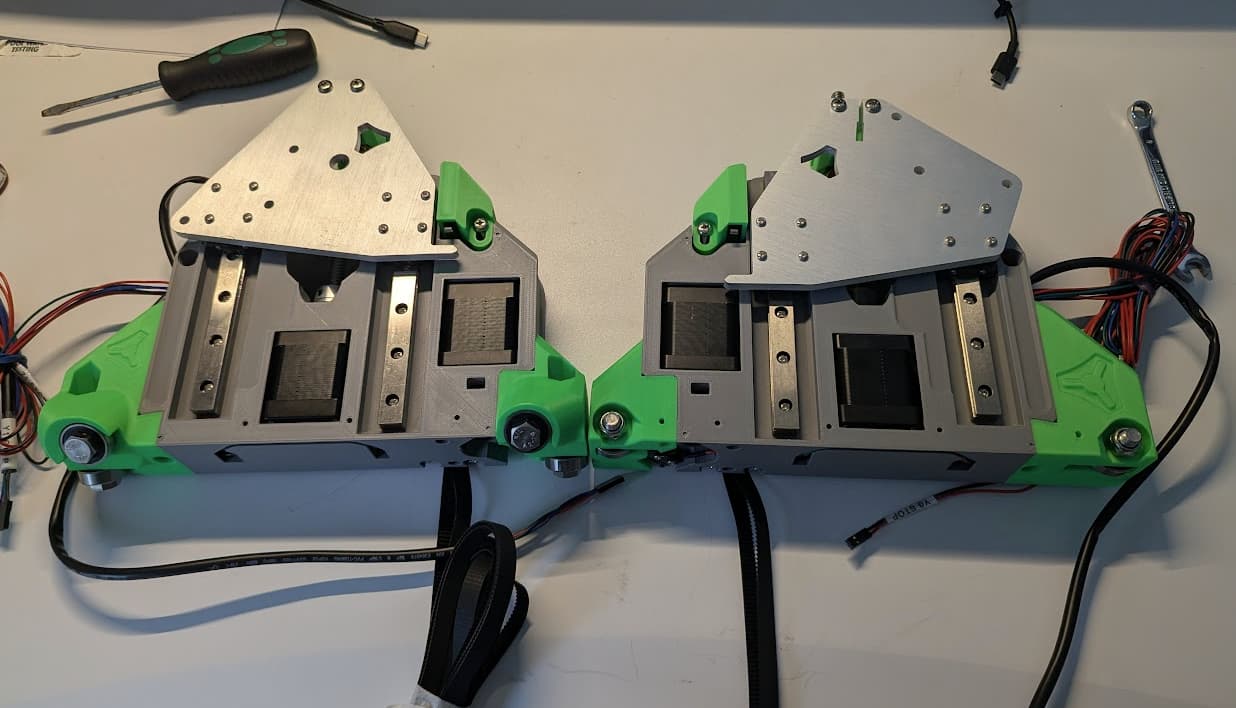
To be fair - no real dramas with the stepper motors. Had to strip the outer sheath, but beyond that the only other item was a couple of heatshrinks that hadn’t been shrunk on the presoldered limit switches. Didn’t think it was all going to fit through tunnels in the YZ plates, but was proved wrong. Hate to think how many iterations that must have taken to get right!
That should not have happened, but there was another user who reported it. If the international kit hadn’t been pulled anyway, Ryan would have needed to talk to the supplier I guess.
I mean that is true but what are we talking 0.001mm difference from the peak of the tooth to a valley? That only changes the tension, not the actual steps.
G-day…. I’m upgrading my LRv2 now. I’m based in Sydney.
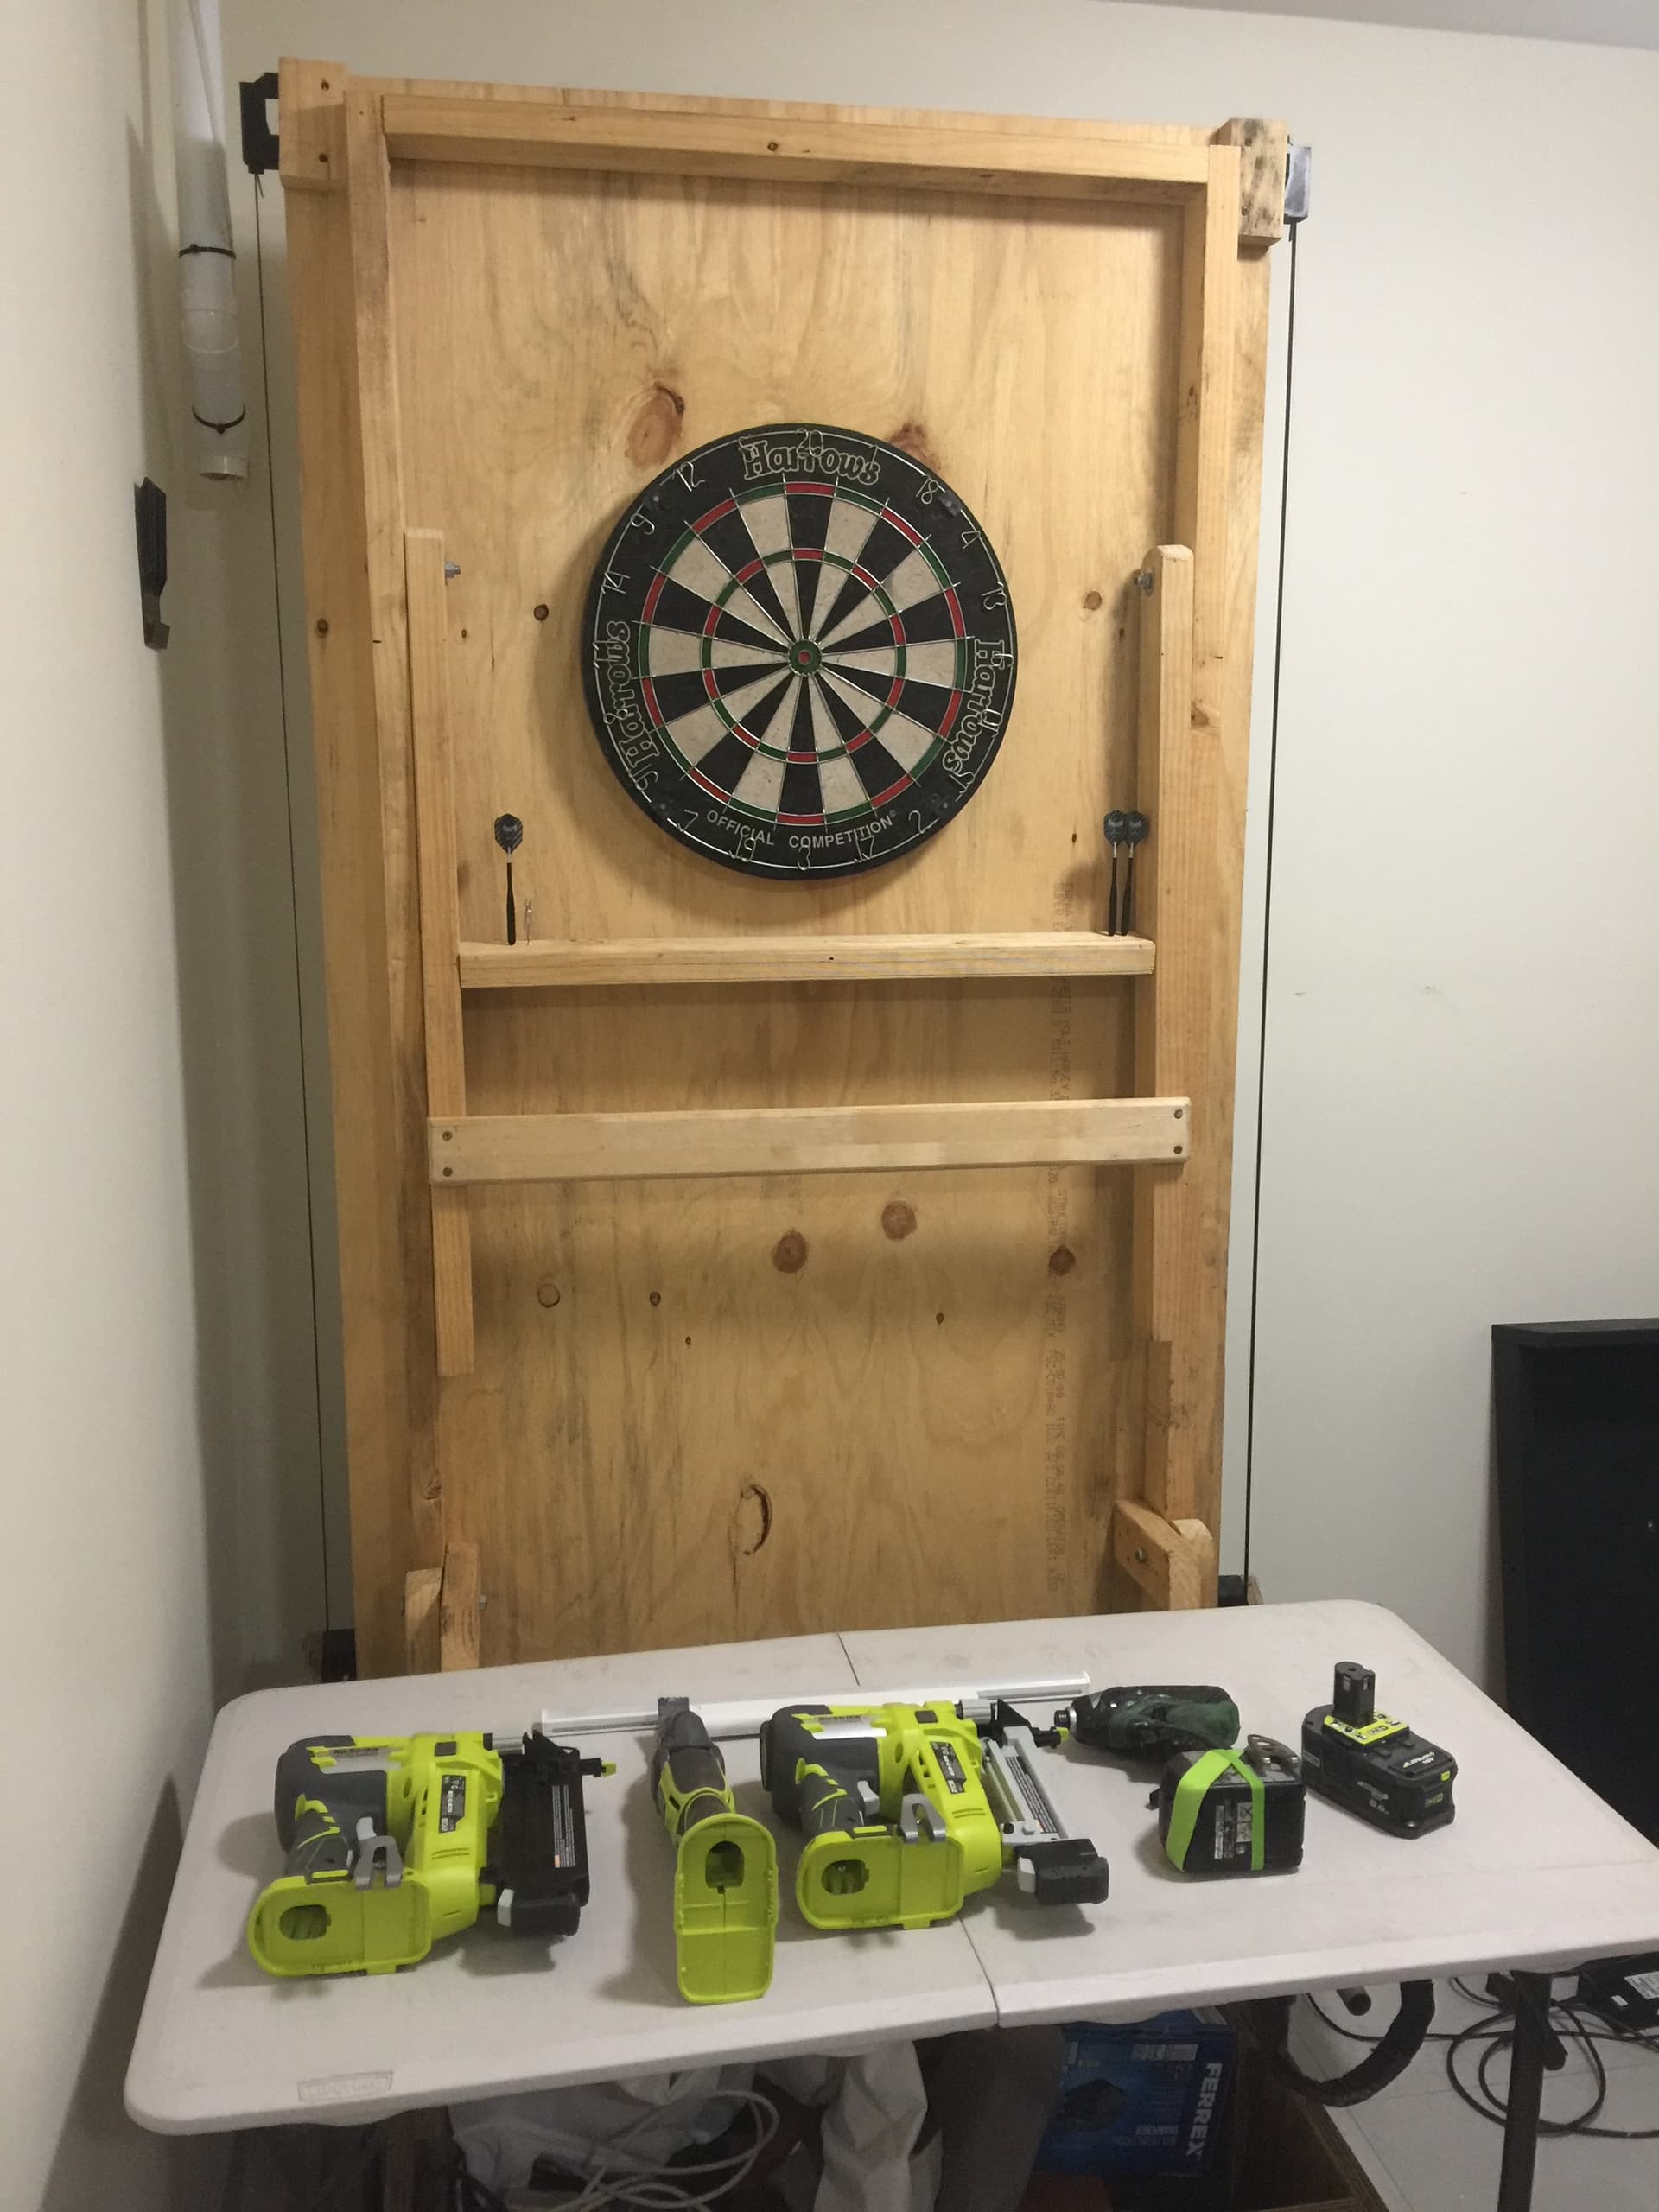
I built a table very similar to the vertical rotating table you have designed. (see pix. )
All parts are printed and have FluidNc installed. Now I’m off to Bunnings to source some tubing.
Very nice! Have resigned myself to the fact that I won’t be doing a full sheet table (not without major modifications to the garage ceiling…….. will hold off for the time being!) - so will go for a full width and perhaps 3/4 length table.
did think about that, but suspect it becomes unwieldly? Structure of the rolling base would be massive and with limited wall space, the footprint would be more than I’m after. If I change my mind later on, then it’s no drama to redo the table
Cheers Melcour - stalled a little until I can get into the shed to build the table, but looking forward to testing it all out!
Initially went to the local Bunnings - closest they had were 1m long sections of curtain rail which I wasn’t overly impressed with. Ended up getting a couple of lengths of 32mm Gal Conduit from TLE on a visit to Wollongong. Not cheap ($60/ 4m length?) and worth calling ahead to make sure they have them in stock - seems to be the trade counters in an industrial area that carry it - others have to order it in.
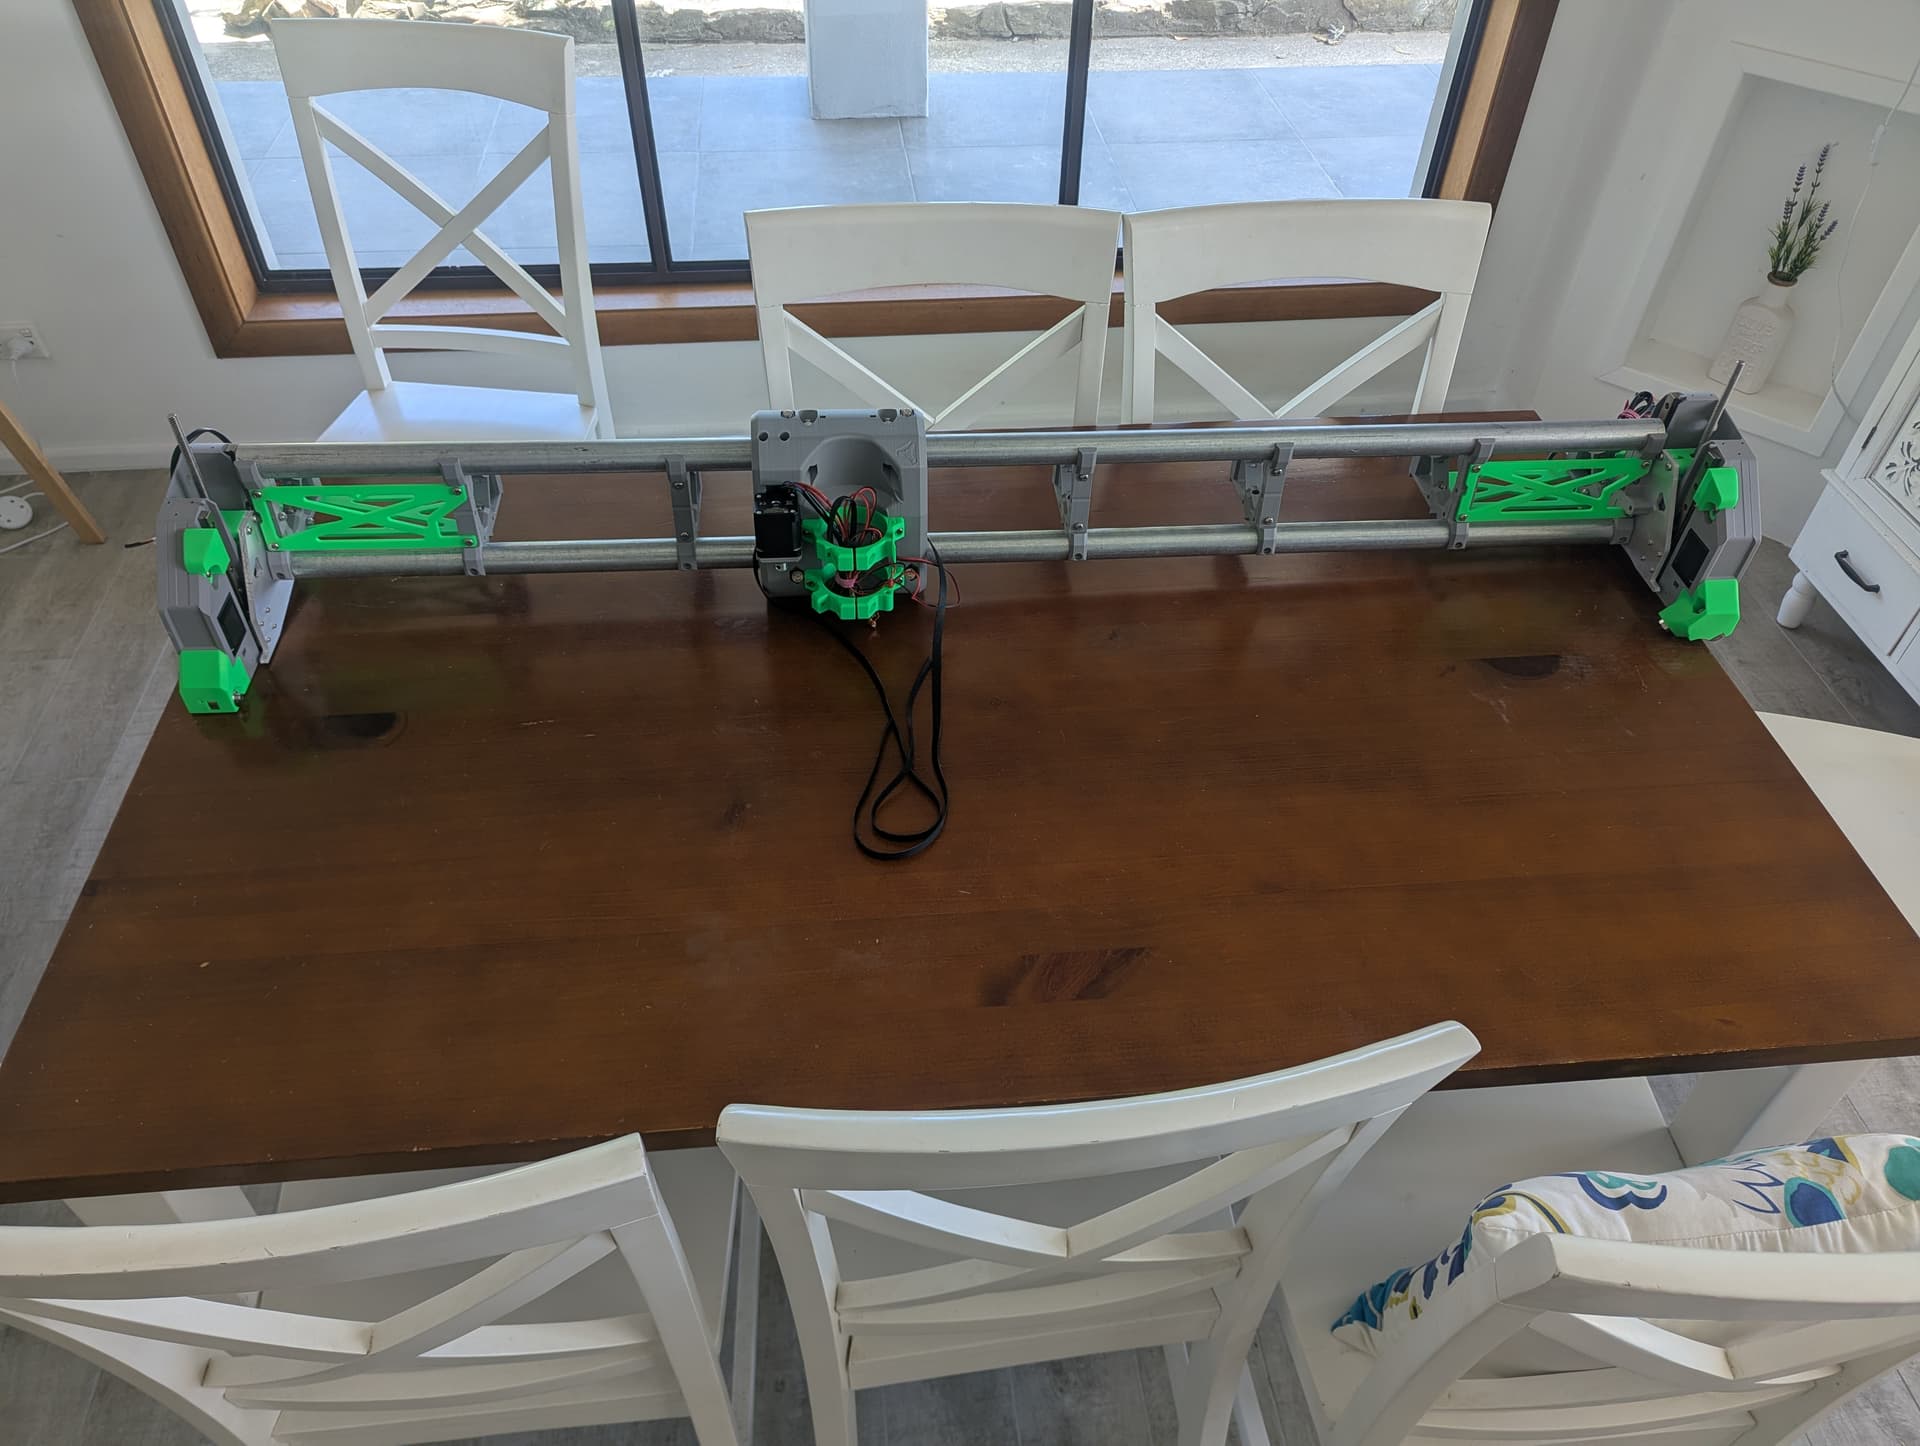
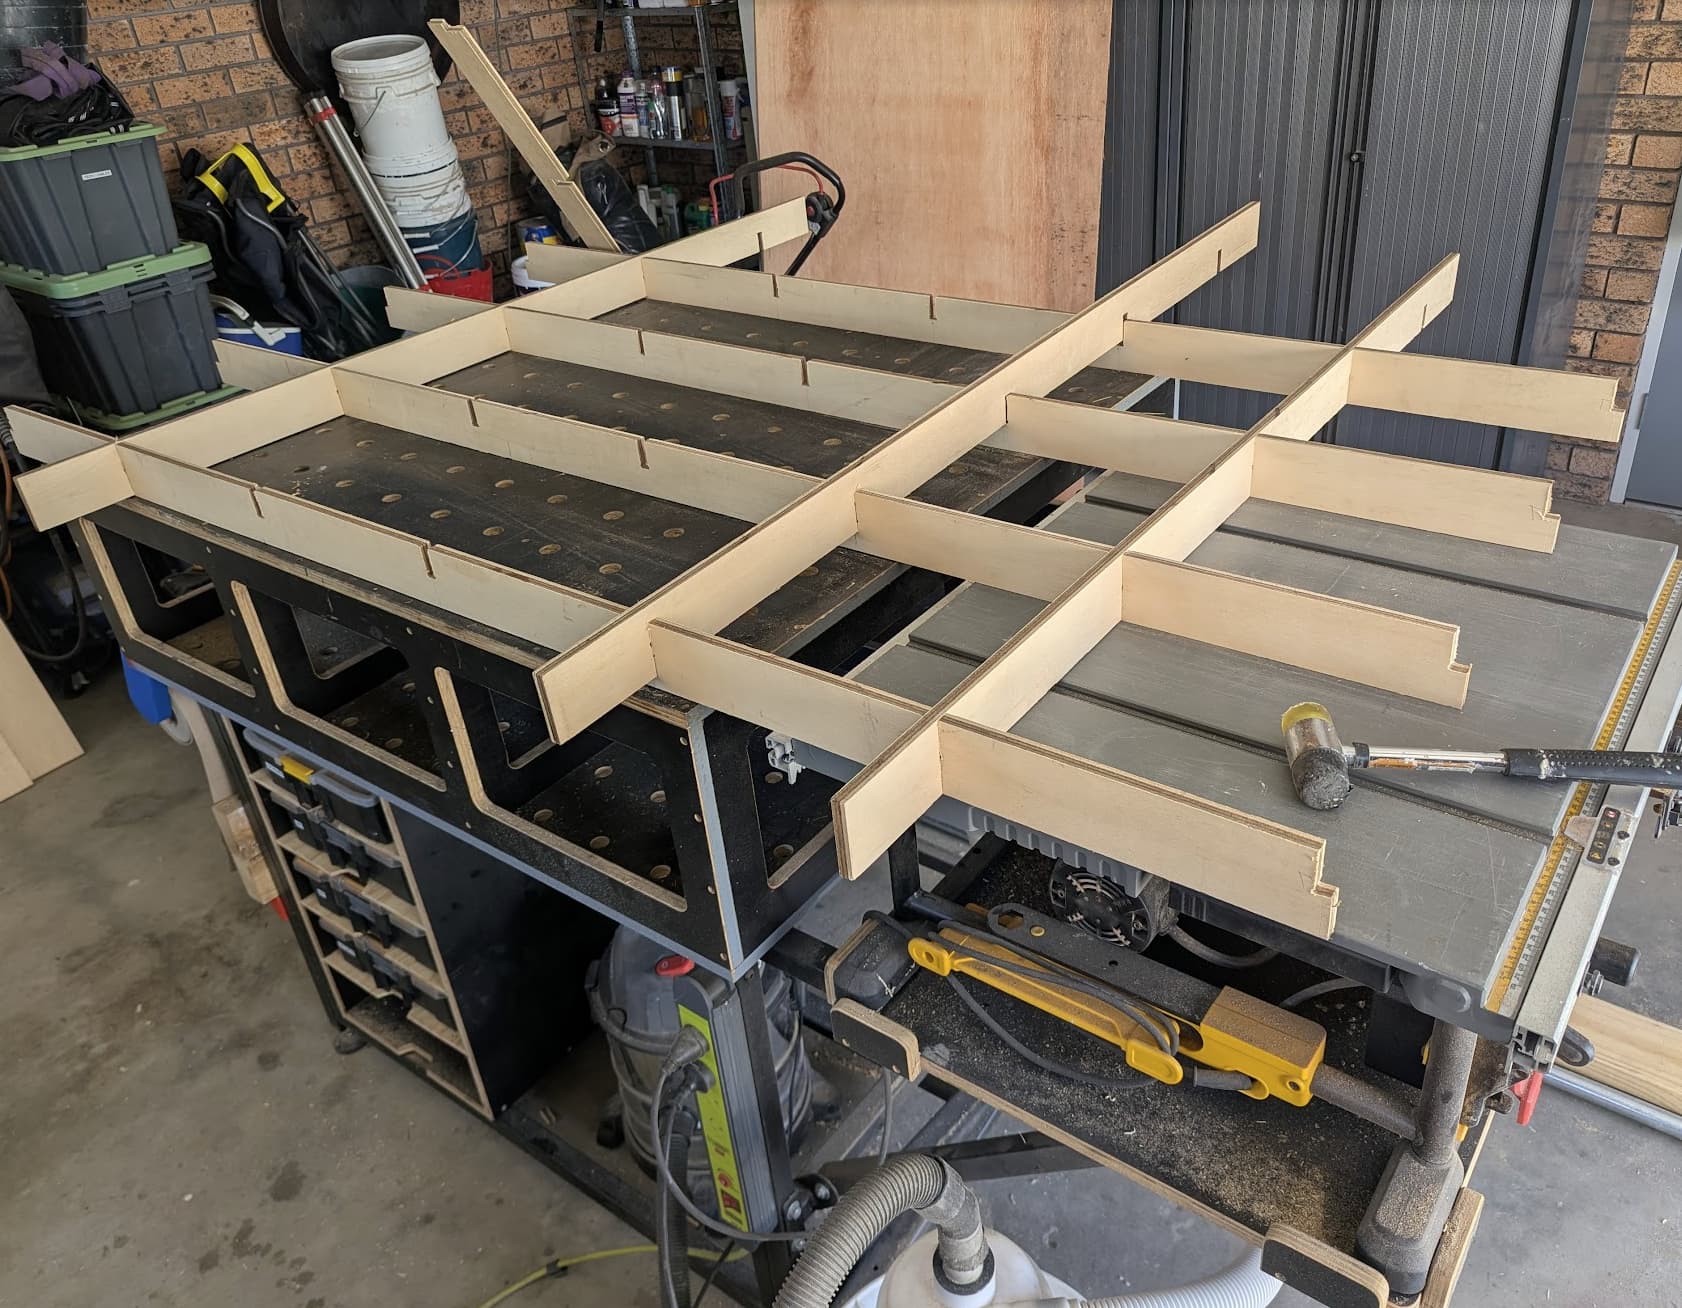
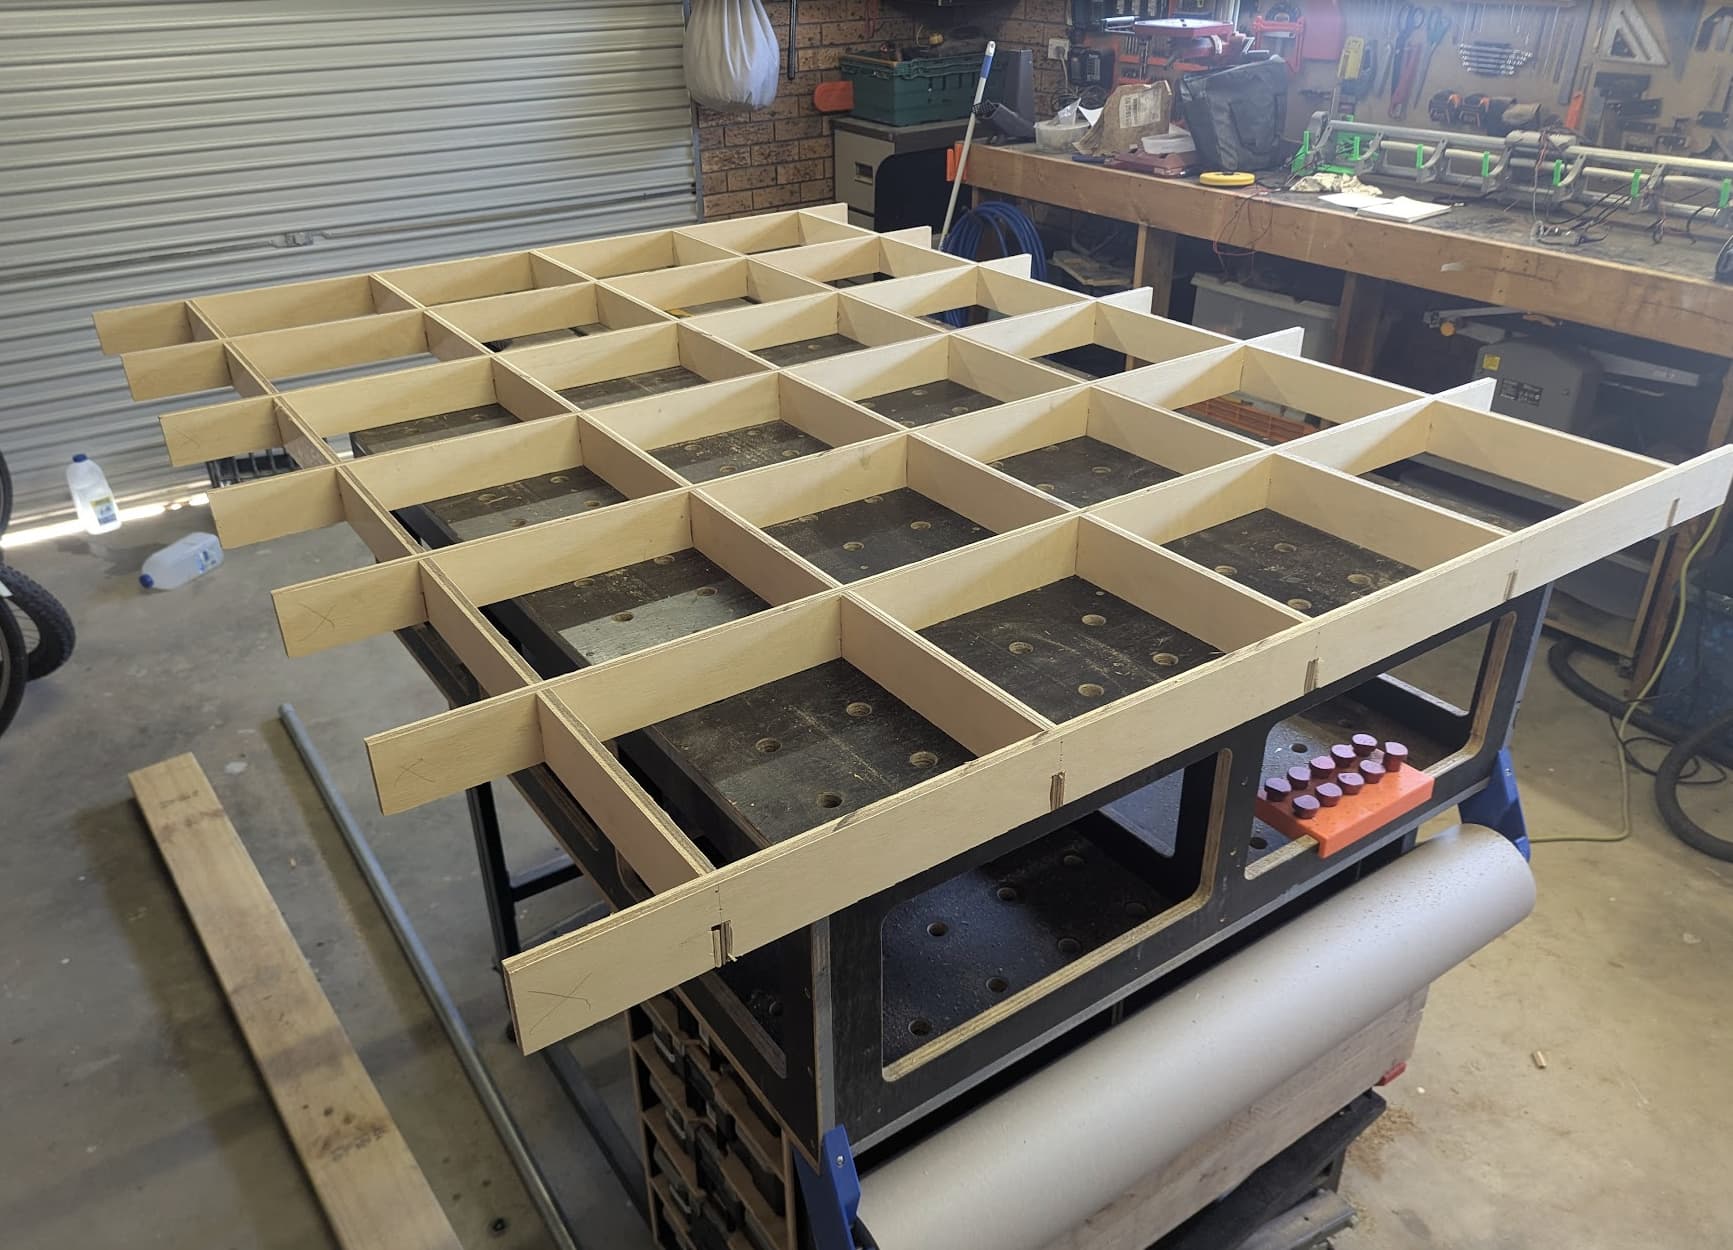
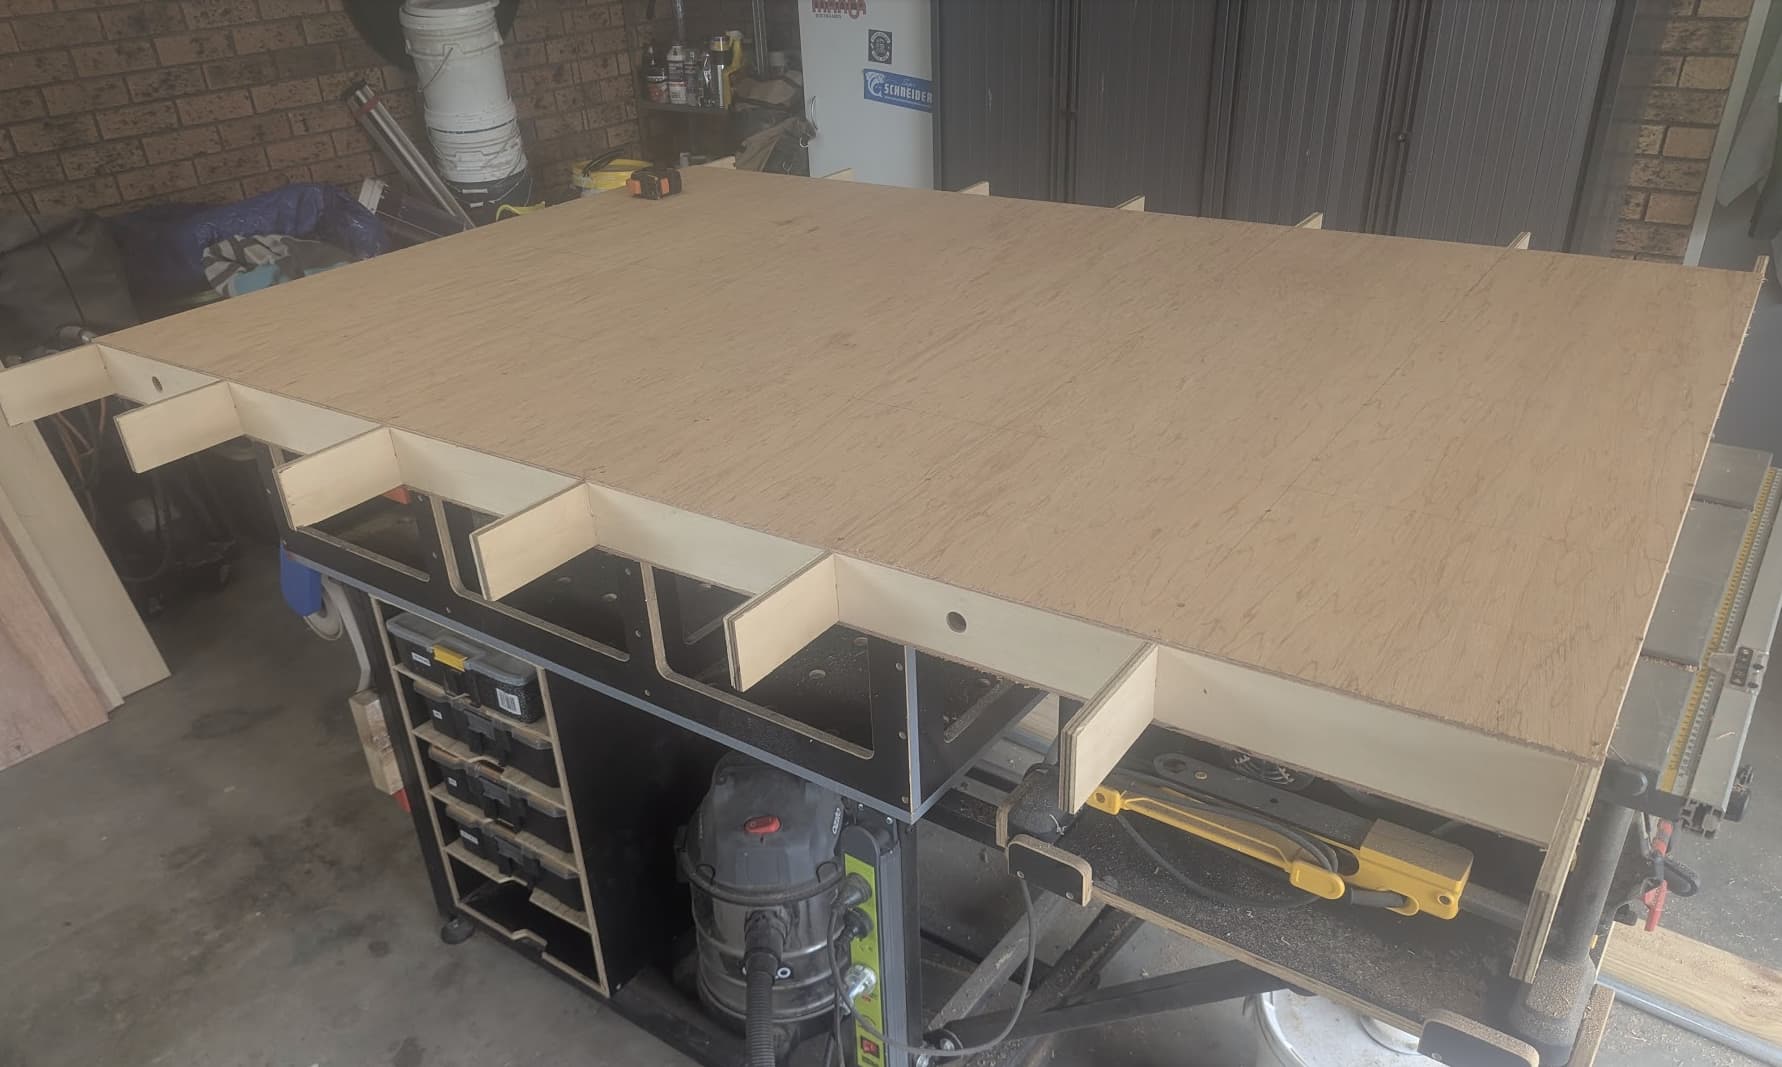
Progress has been made…. though not as quickly as I would like! Have ended up going for 1830x1220 working area on the table. Have made provisions for the folding design above, but figure the best way to do that is by using the LR4 itself! For the time being the torsion box can sit on the assembly table and light enough to move off to the side when I need to.
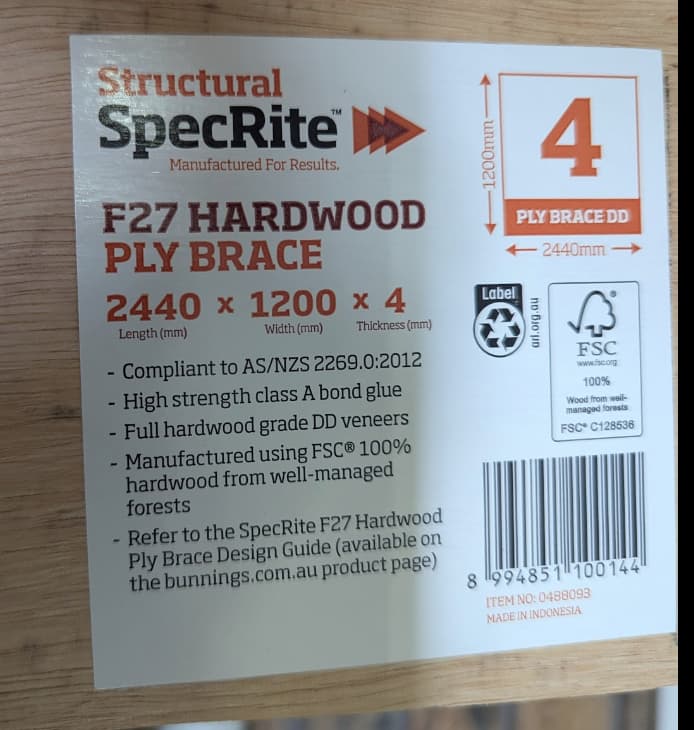
Using 4mm skins for the torsion box, and will put a sacrificial mdf sheet on top of that, but got caught out with these odd dimensions - normally in Oz sheet material is either 2400x1200 or 8x4 (2440x12220) - saw the 2440 and assumed I was sweet for my 1220 width…. Oh well - Each skin is in two pieces
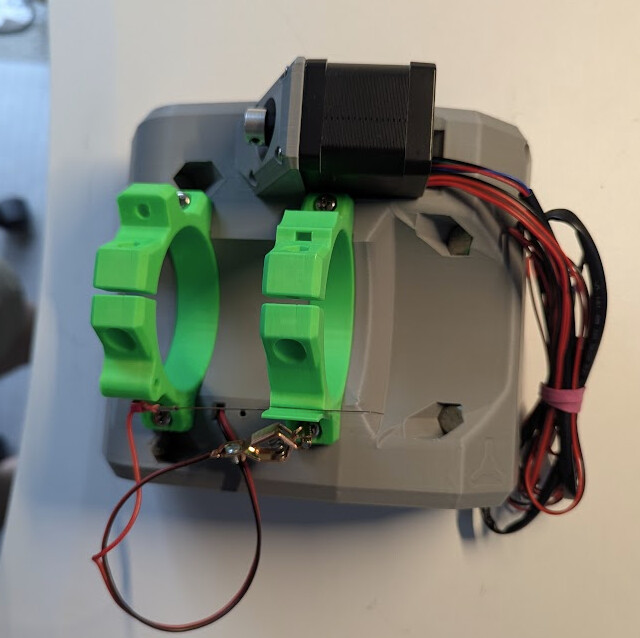
In the process of tidying up wires etc - tempted to remove plugs from the 24v and router power supplies and hardwire into a junction box as a can find a slim 2 outlet extension cable, but would be a hassle if I ever need to remove the router. Shall ponder some more, but fun part feels tantalizingly close!
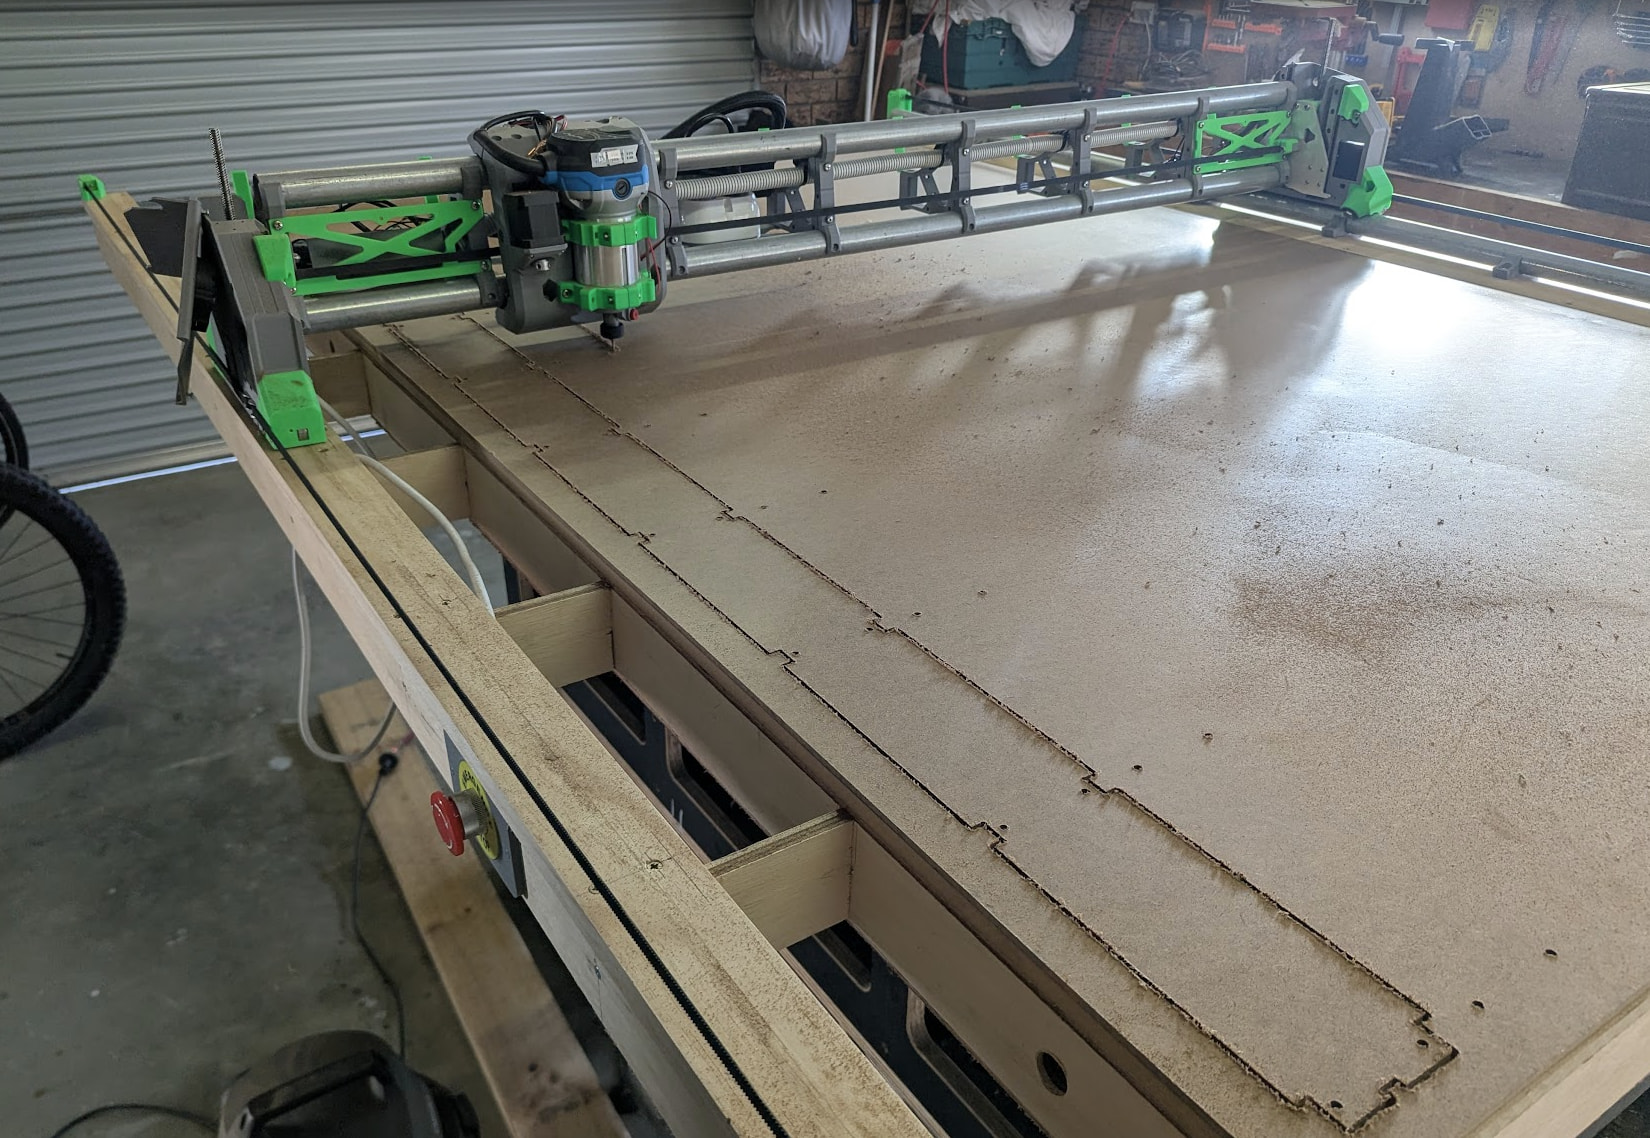
3 months since the last post? - time flies when life (and work ) gets in the way! But happy to say we’ve finally made our first cut on the machine and it’s worked out really well with minimal frustration!
Was ok with the mechanical and wiring aspects - but wasn’t looking forward piecing together the controls side of it - found that a little intimidating, especially when you jump on the Fluidnc wiki - all goes straight over my head! But slowly reading………. and then rereading Ryan’s instructions and it slowly comes together! Have learnt a heap in the last push to get the machine operating, and realised that it’s only the tip of the iceberg.
The feeling that it all moves as it’s supposed to is pretty cool - time to install the strut plates and start playing with it properly!